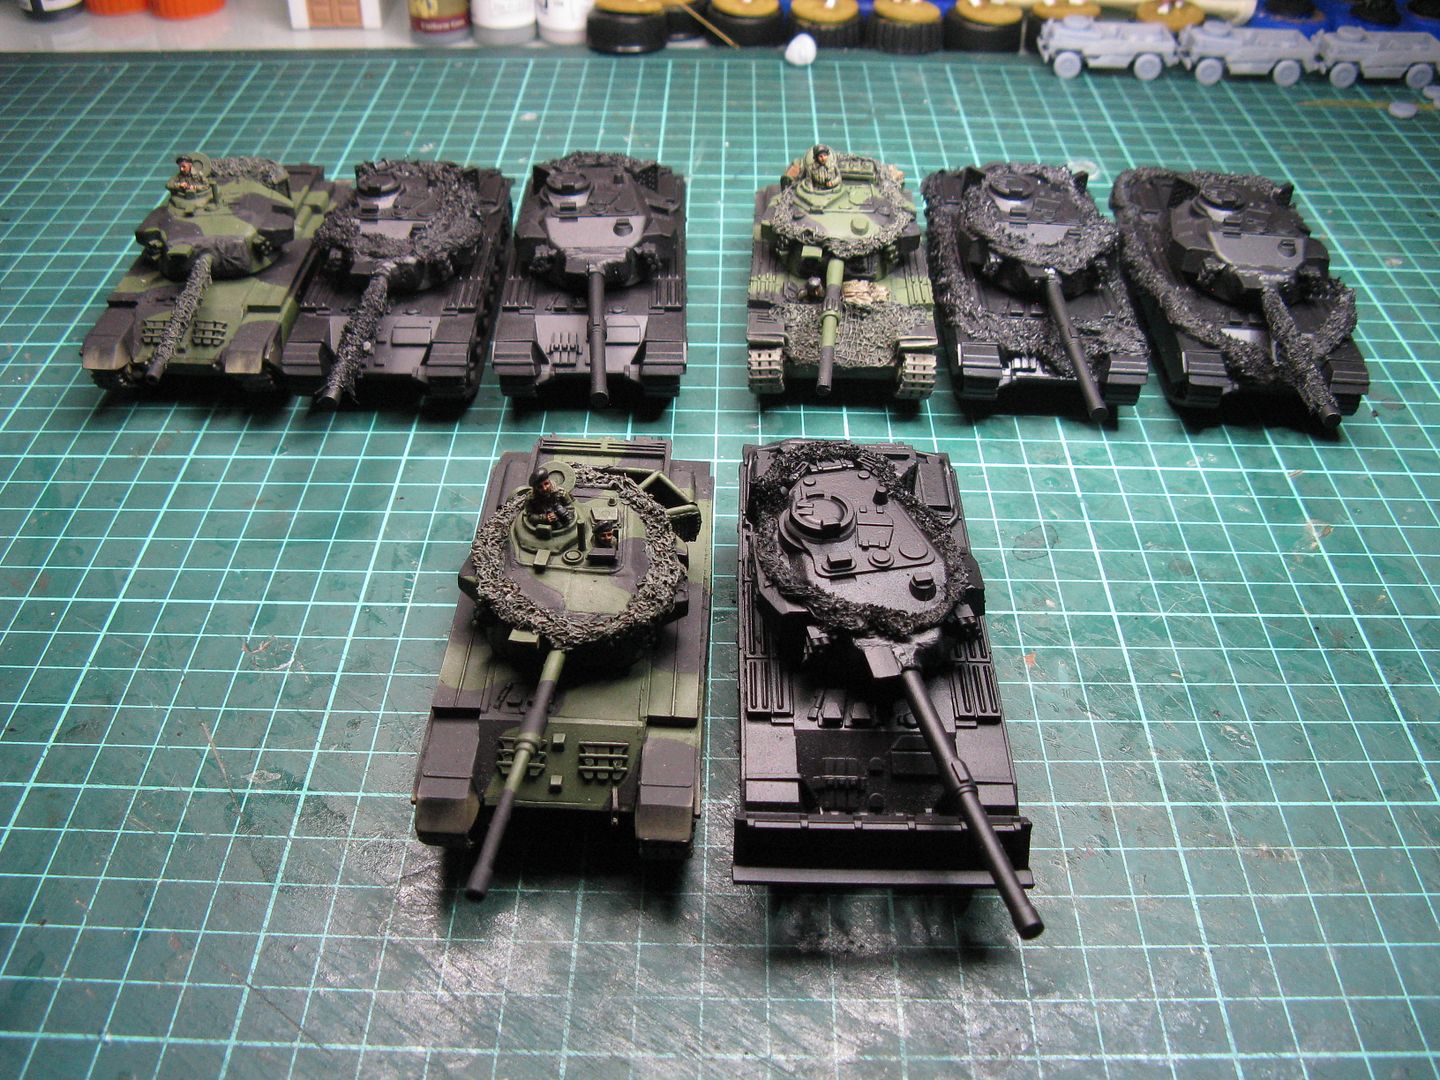
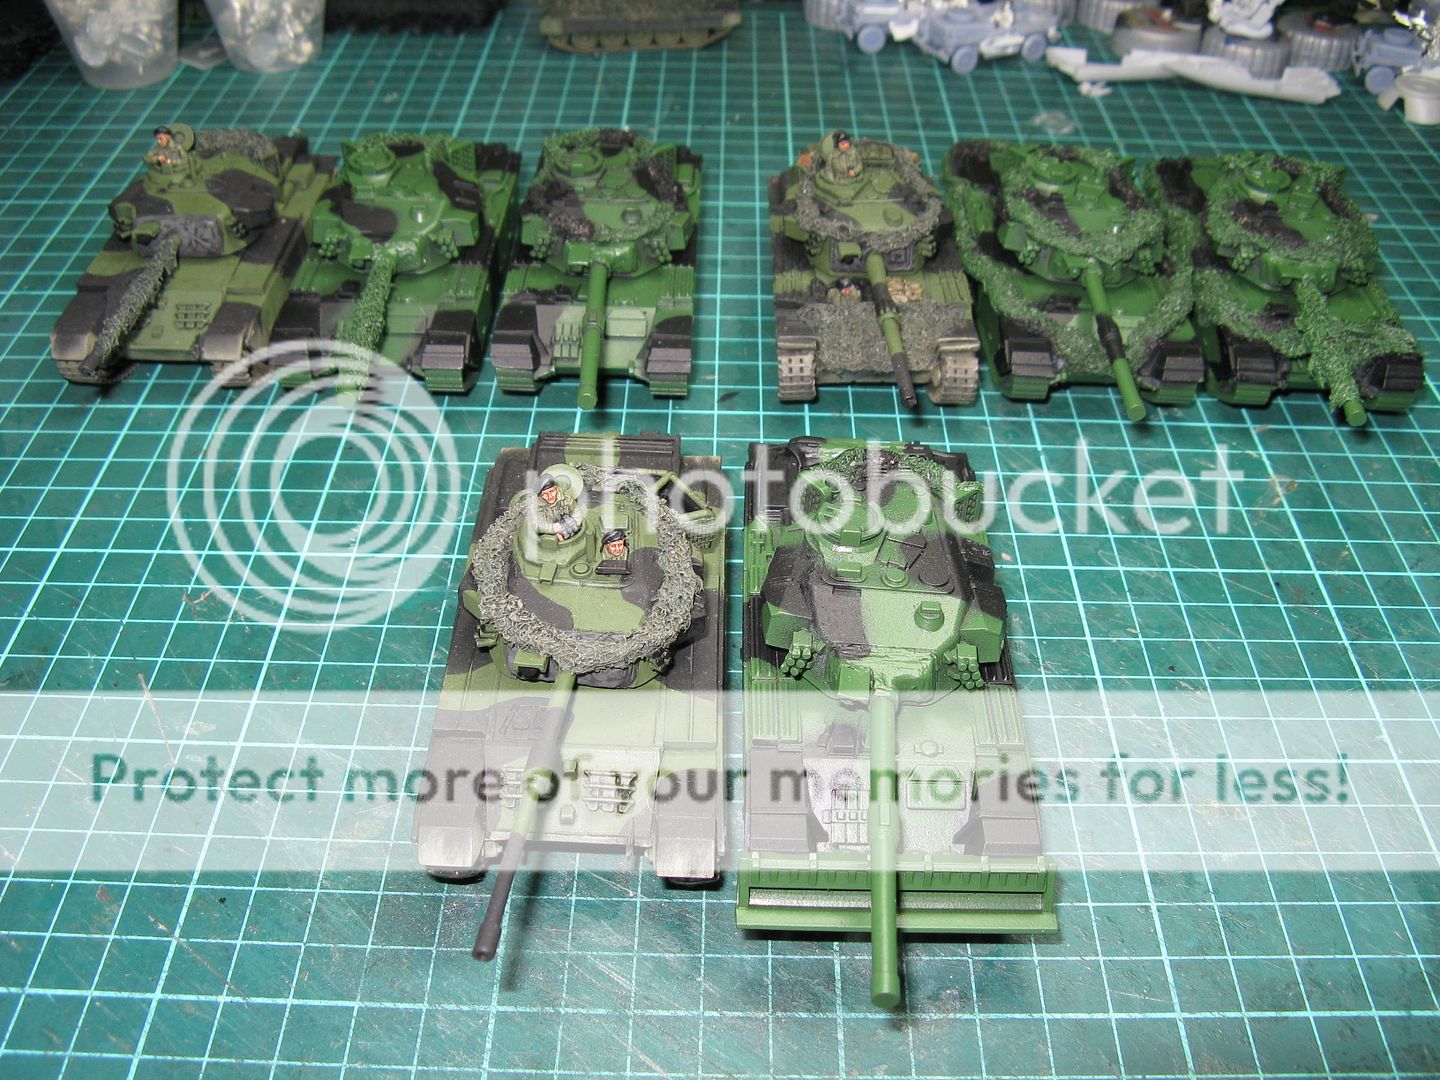
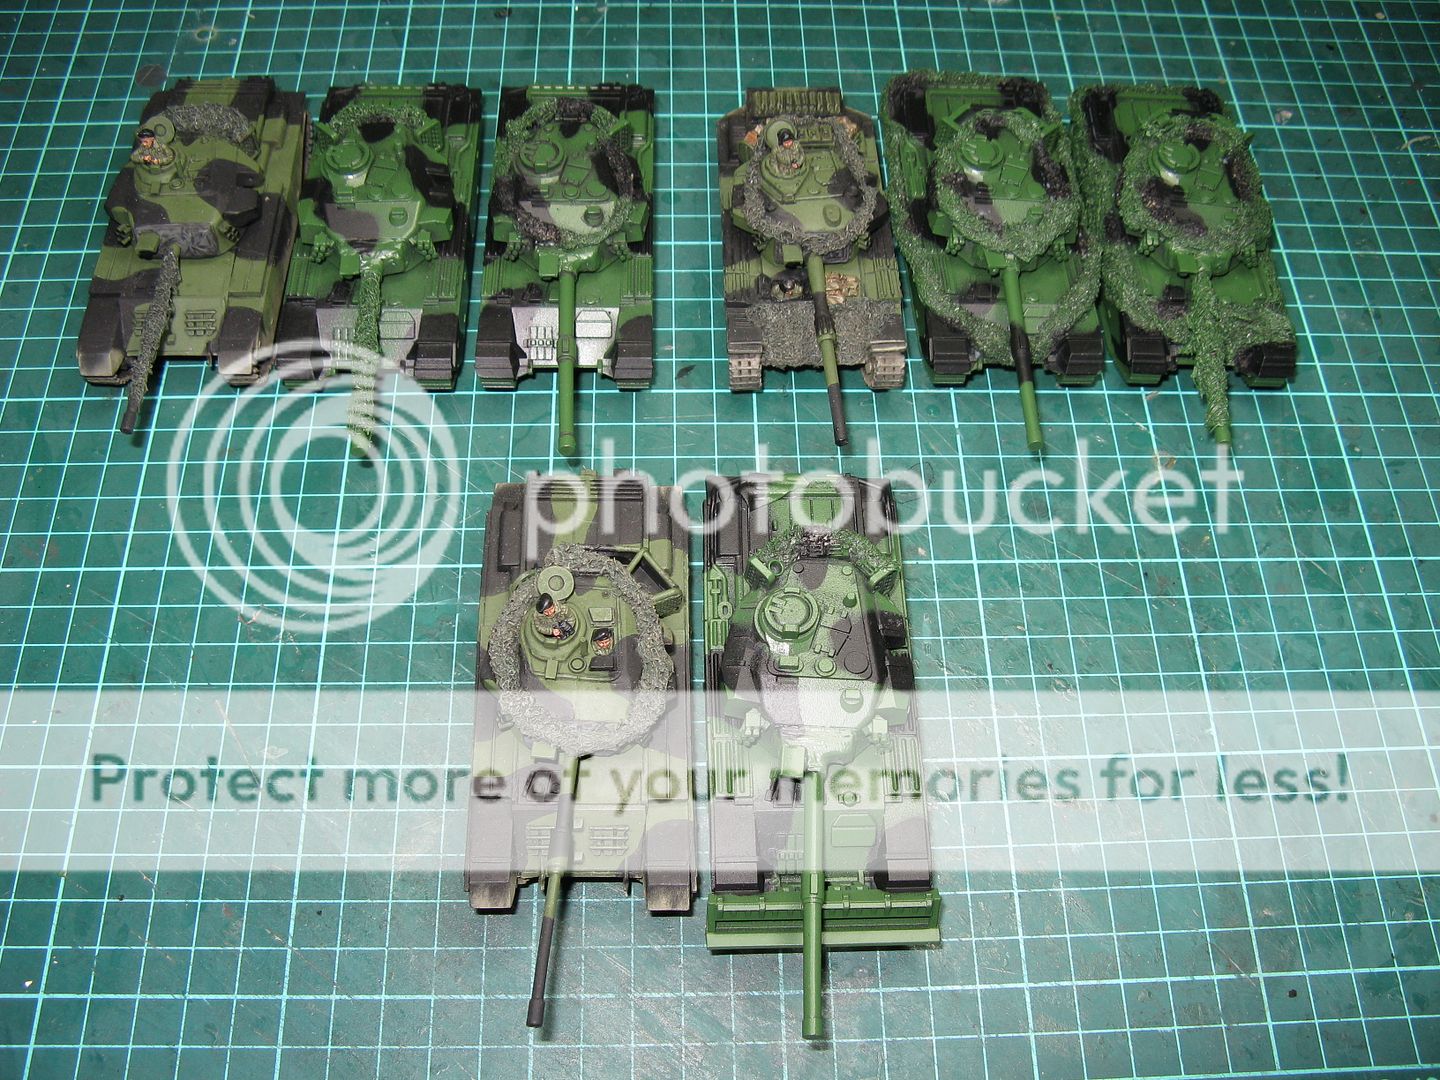
It's been a bit of a crap winter for me. Wet and miserable and I've been quite sick through most of it. On the mend now tho... So apart from working on some army lists, I've not really painted anything - just built a few kits - some of which I've had for quite a while and I just wanted to get them finally done.
29 September 2026
Making Kits
27 July 2026
F-5 Freedom Fighters - W-I-P Part 1
Just a quick update today. Back in March I finished a Hasegawa Norwegian F-5 which you can see here. I was so chuffed with the little guy, that I decided to start on the 2 other F-5s I had in my stash.
They are another ancient (1975) Hasegawa F-5A kit
and an almost as ancient (1991) Matchbox CF-116 (F-5B) kit
These are as I've said - older kits, and have mostly raised panel lines and odd issues like no cockpit - which I was a little surprised at. The Hasegawa kit comes with a pilot but a very basic chair, while the Matchbox kit has no crew figures and the ejector seats look like comfy Lazy-Boy chairs. No other cockpit details are provided so I had to make them from scratch.
For the Matchbox kit this included adding such fundamental things as the cockpit floor!
Anyway - their built now and look like this prior to undercoating:
18 January 2021
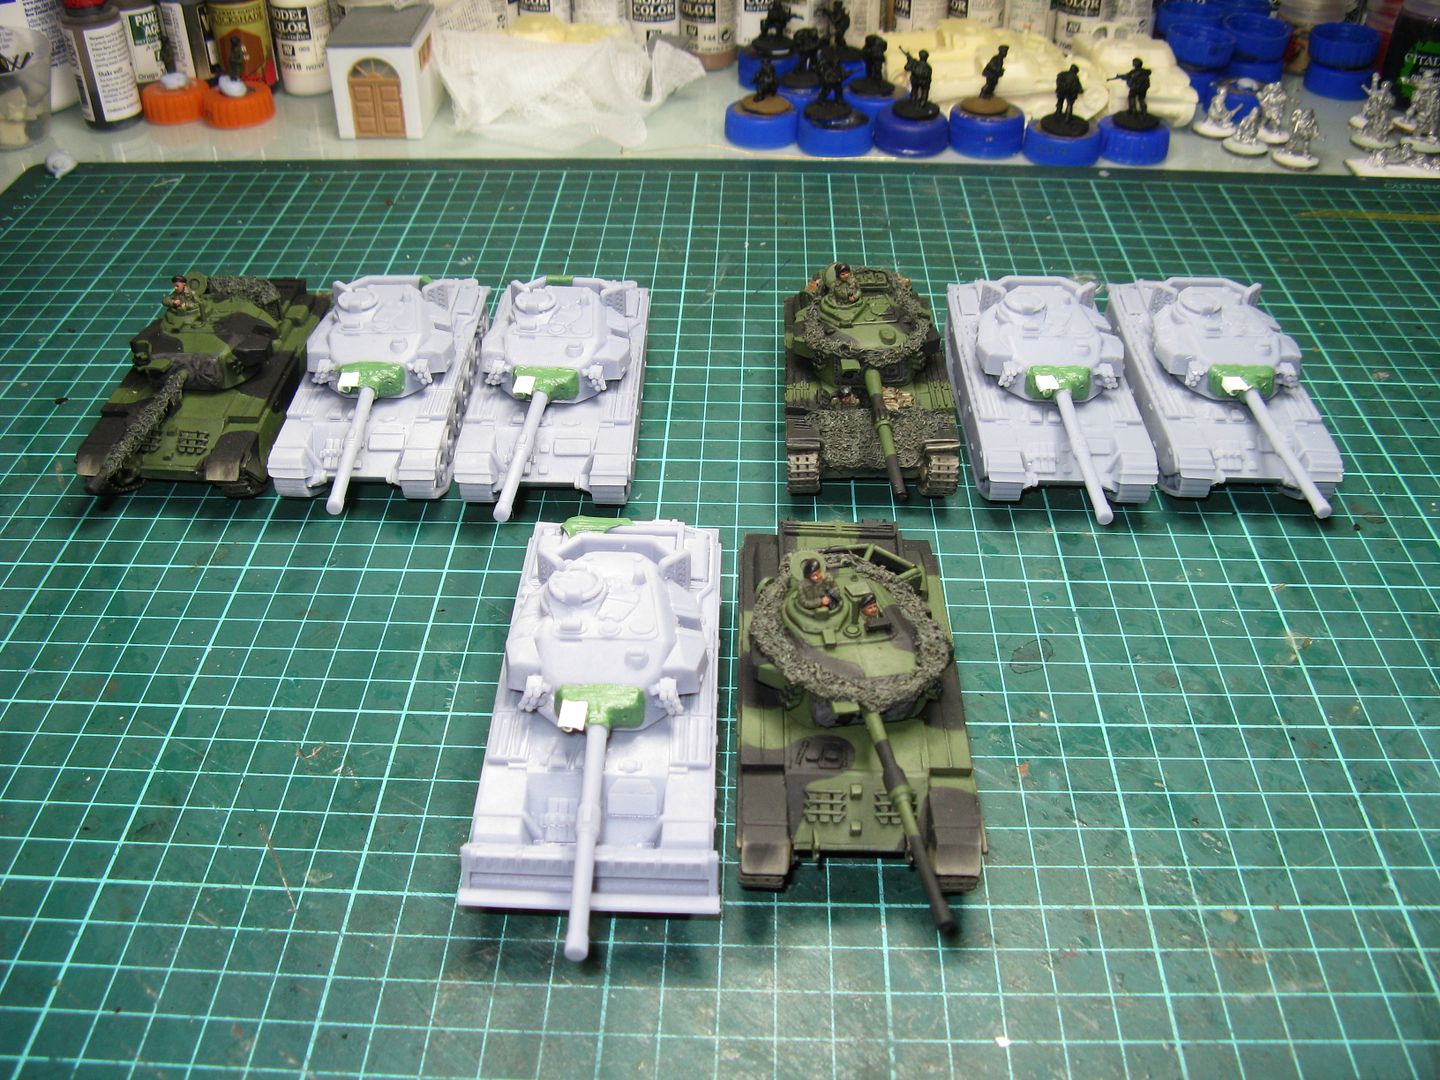
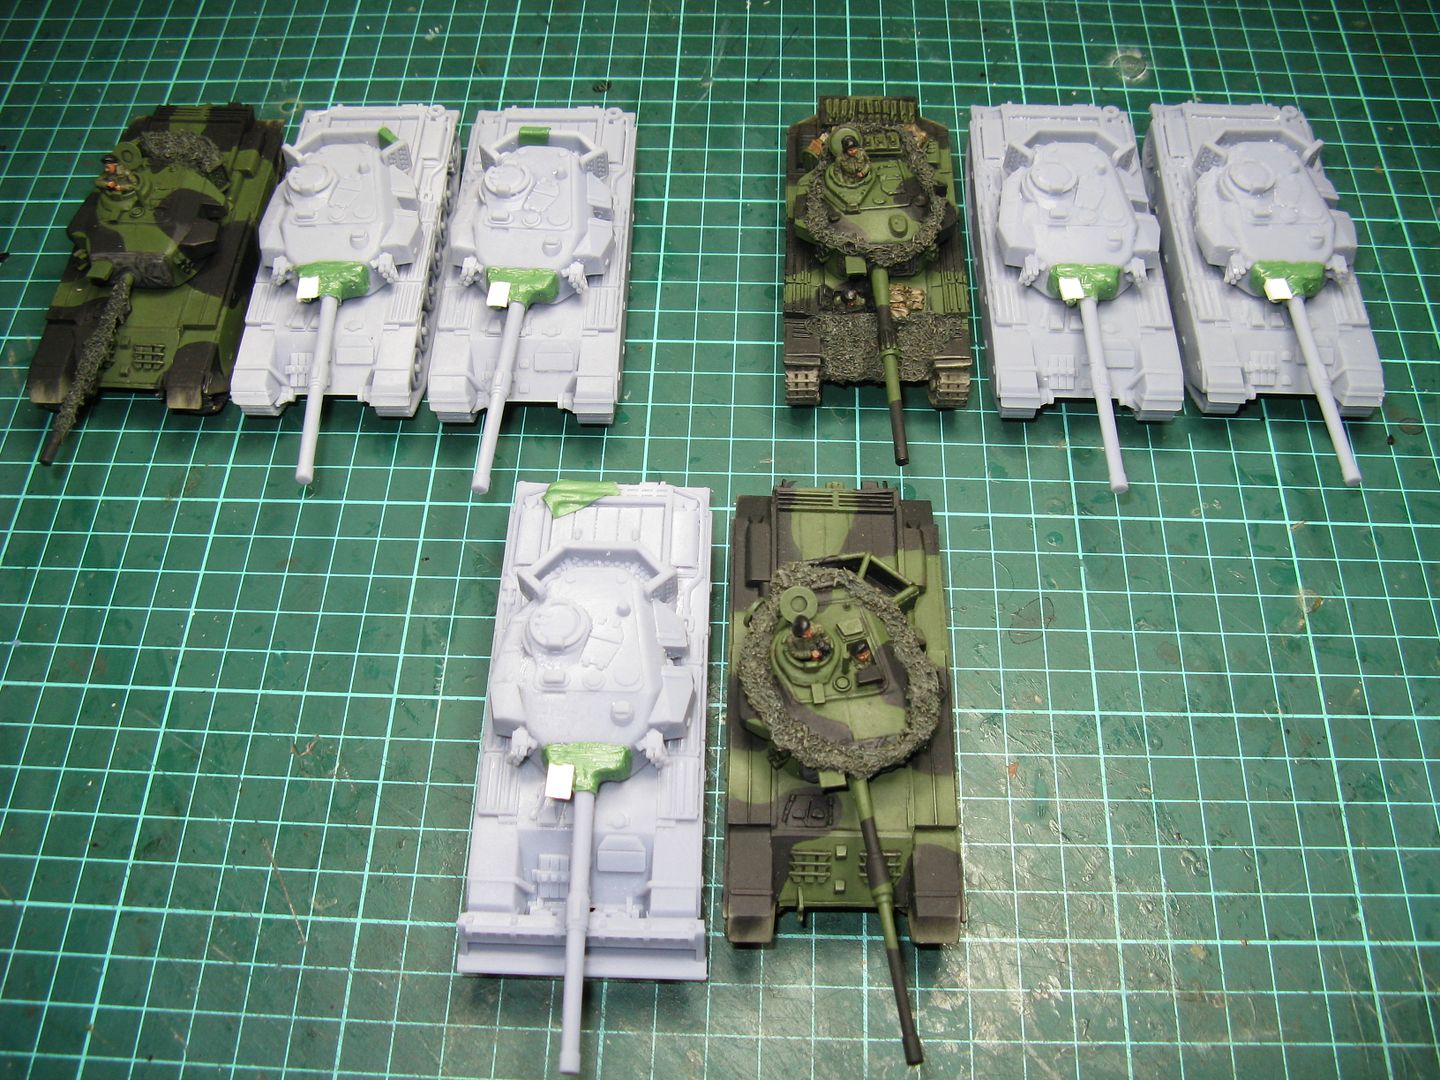
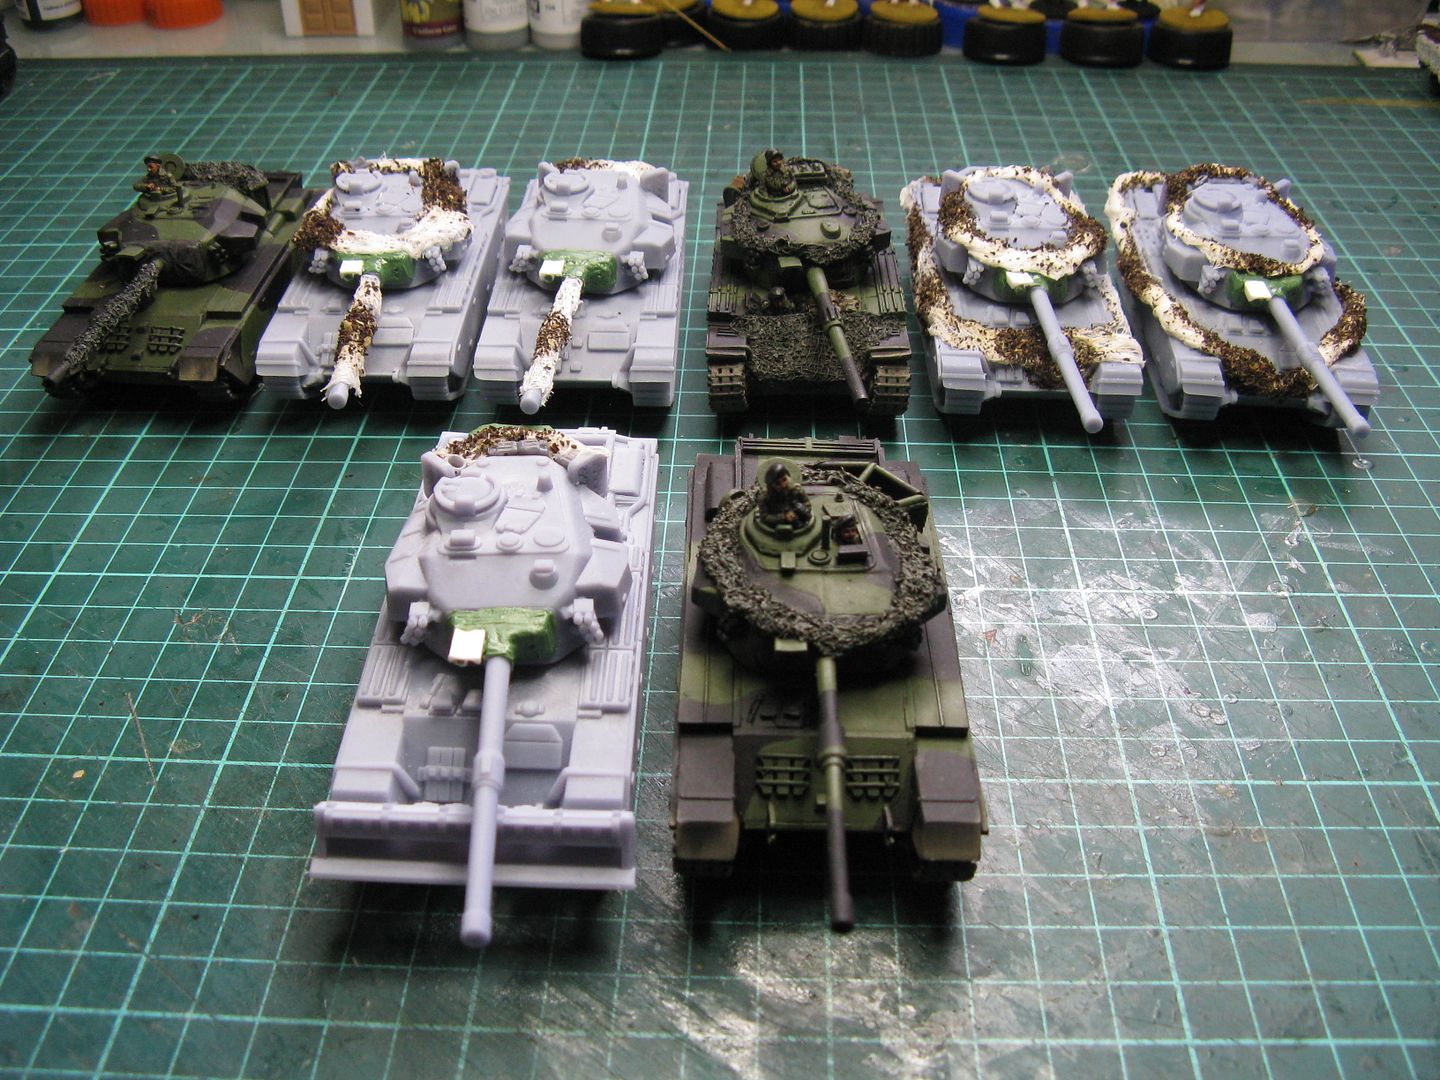
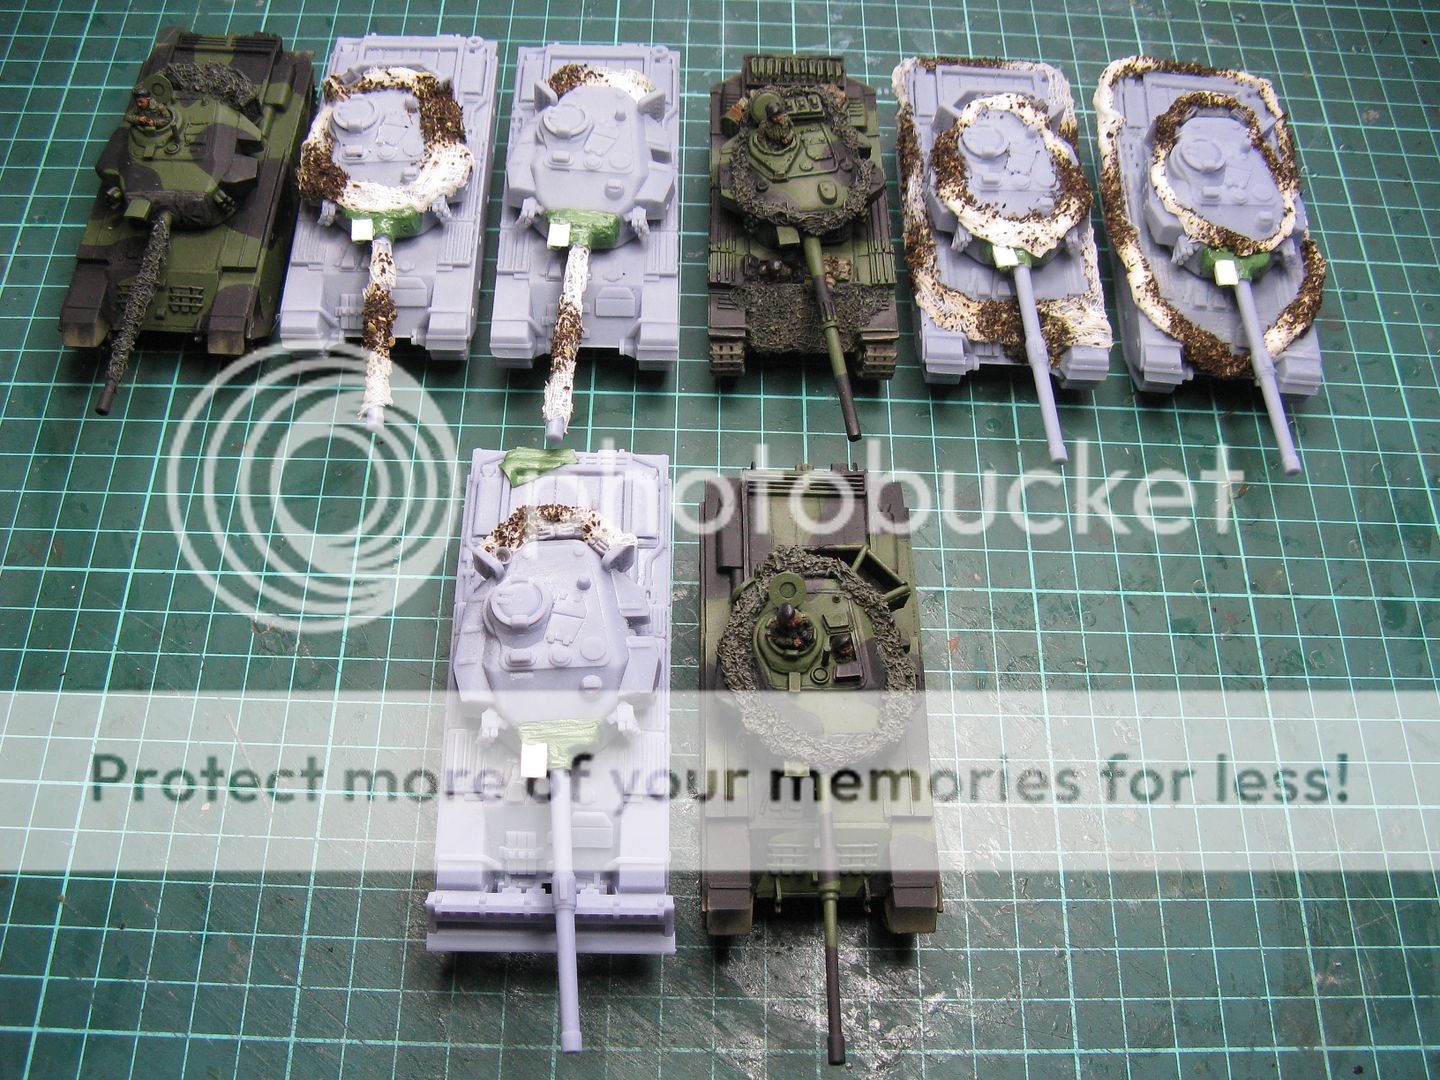
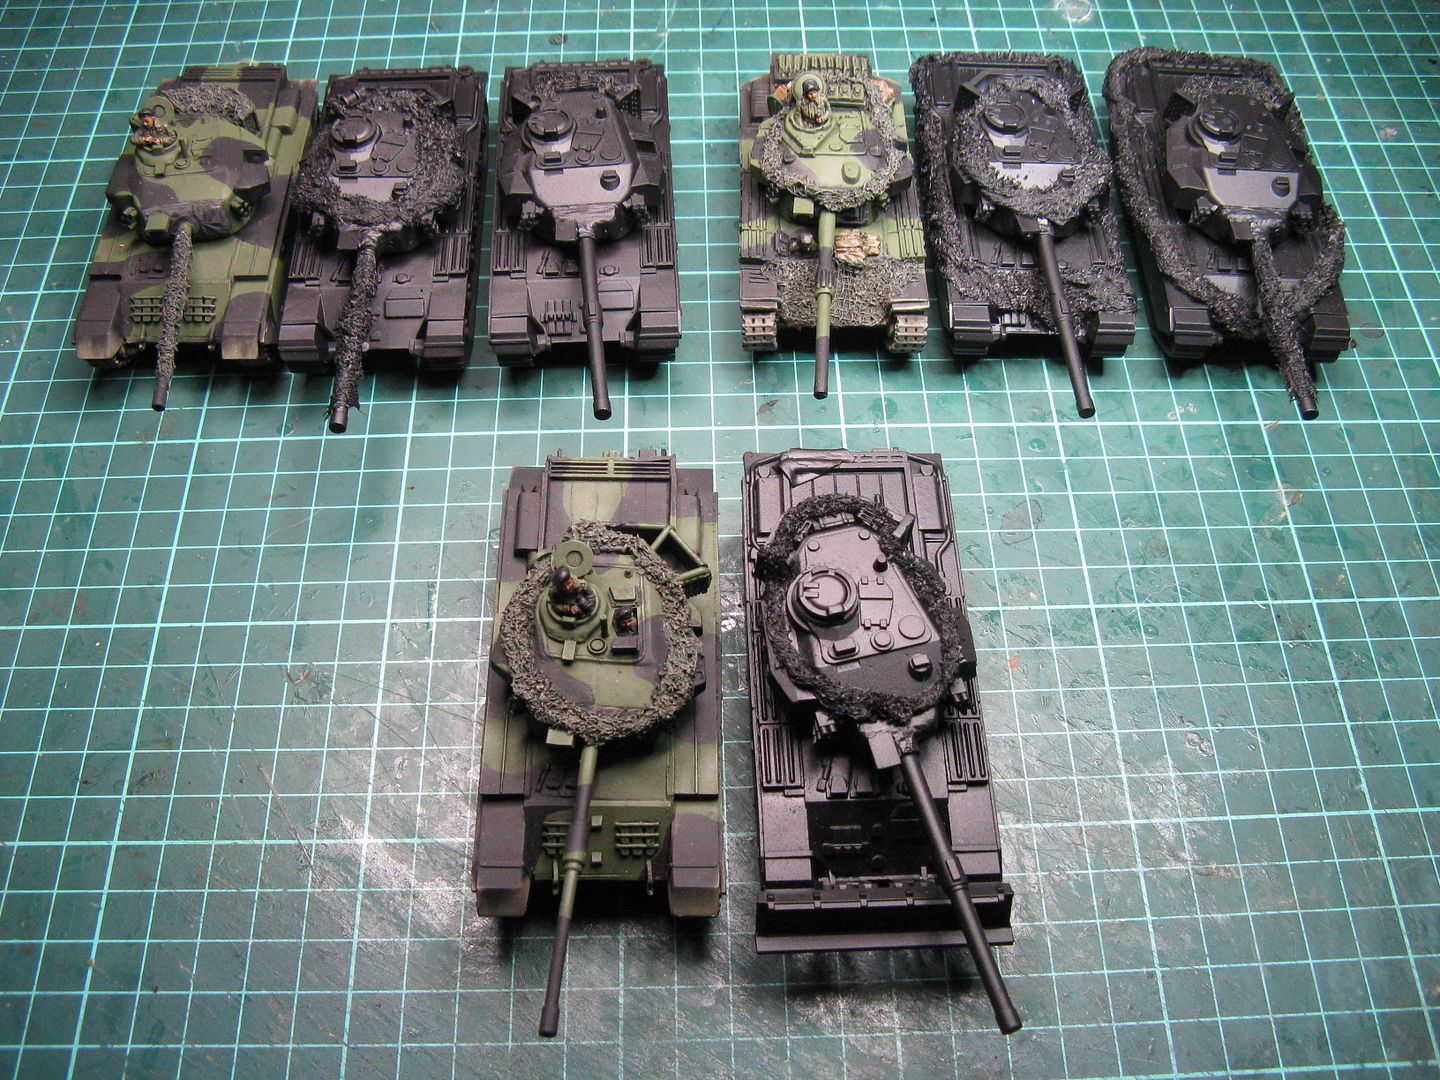
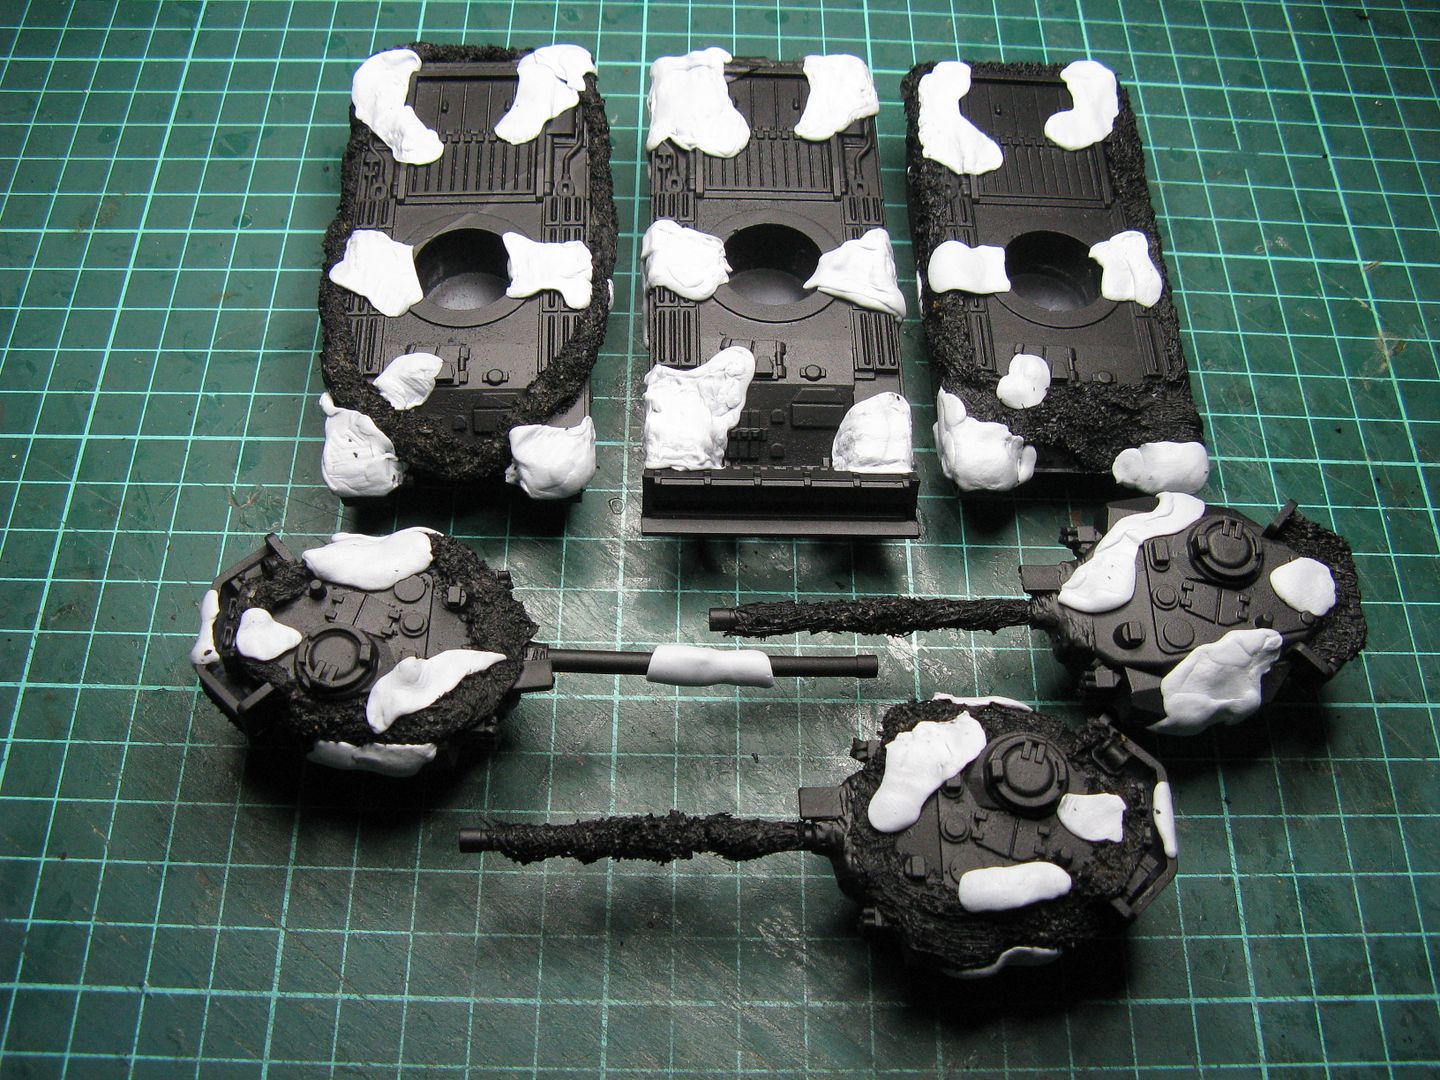
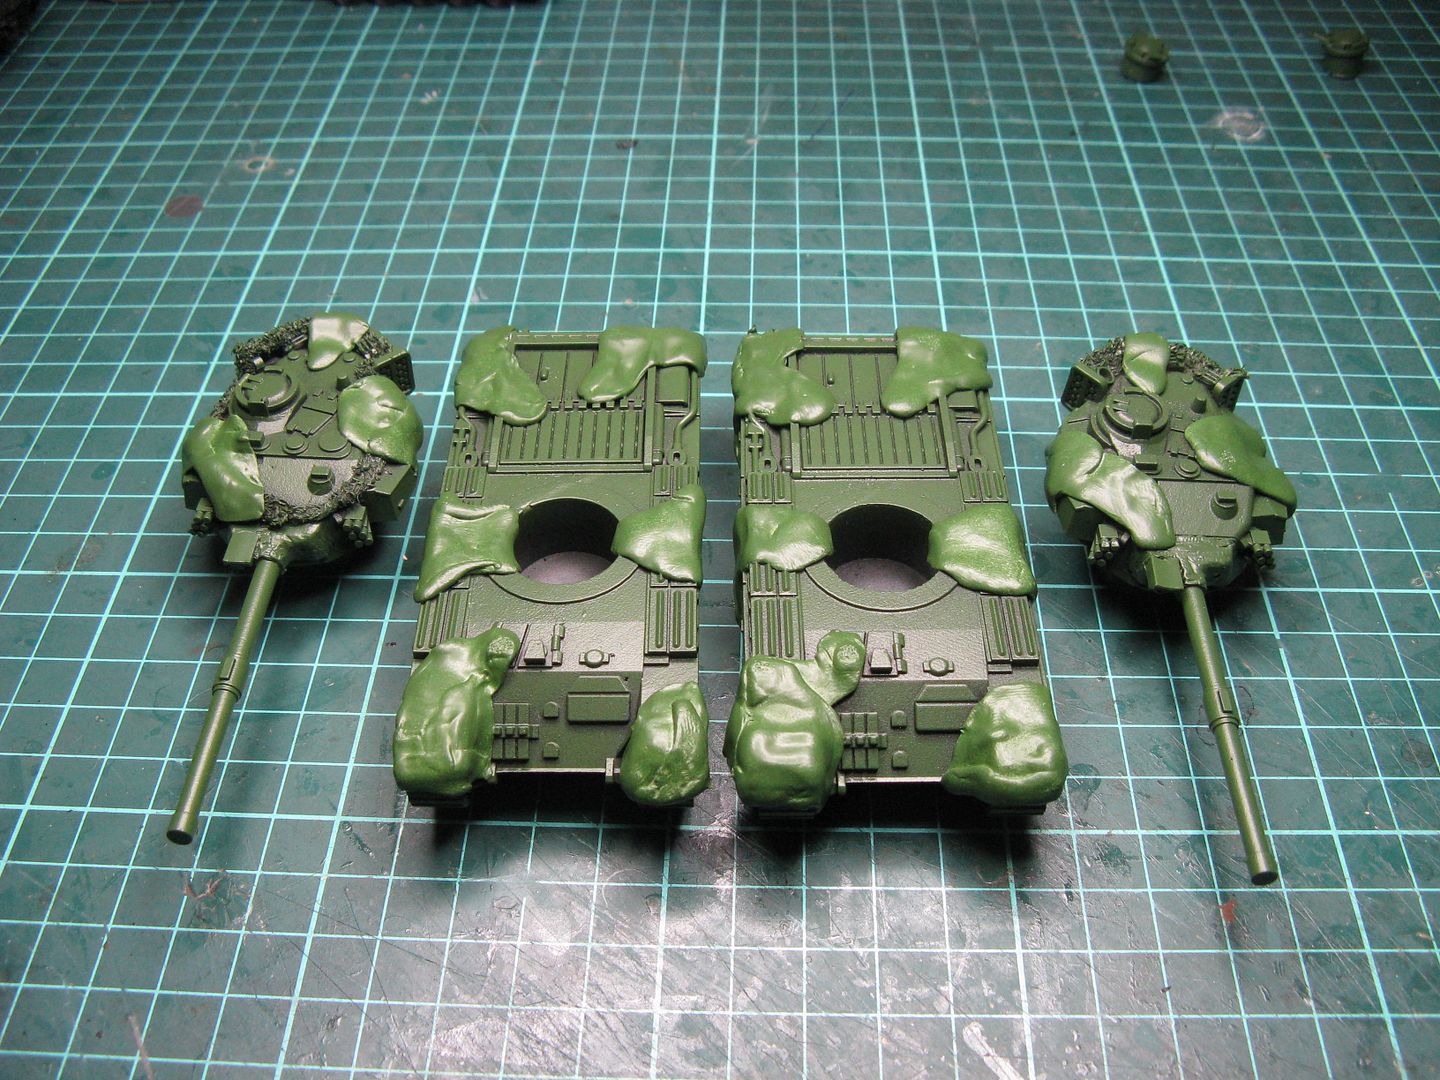
3D Printed Danish Centurions - a Work-in-Progress - Part 1
A few years back, I stumbled across some very cheap Airfix Centurions in a bargain bin at an excellent Hobby store in Newcastle (Australia - not the UK). At the time I already had 3 Centurions, and a pretty detailed list in my head of what I wanted to purchase at the store. Centurions did make an appearance on the list. I stood there for 5 minutes trying to decide on picking them up or not. Eventually I reasoned to myself - I'll never need more than 3 Centurions - and went and bought the stuff I had planned. I've regretted that decision ever since!
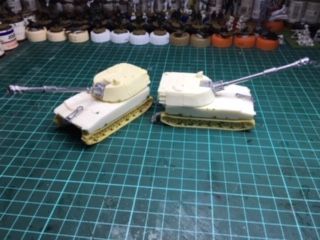
So when I started 3D printing, Centurions were high on the list of things that needed to get printed. Here's a little sample:
29 March 2020
Finally... a new update
Unbelievably it's been months since I last had the opportunity to post an update on this blog. Like many I'm currently in self-isolation/quarantine at home after returning to Australia from the UK. I imagine I'll be in this situation for quite a few months and again like many I'm going to use the opportunity to get a few things back on track - including this blog.
I have had some positive things happen over the last few months - with one of the most prominent being a published scenario in Wargames, Soldiers & Strategy magazine (Issue 106). I'll have more information on that soon, including fixing the odd error that made it into the magazine and adding some stuff that was missed out a whole lot of random events that can spice up the scenario. I'll see if I have any other pics that I took for the article that didn't make it into print and will share those as well.
But today I thought I'd share some photos of what's on my workbench. Many of these of models I'm making/painting for a friend and a couple are for me. I thought this would be a good way to bring the blog back up to speed. I've also some pics of figures and some vehicles to post up as well - they'd be in the near future.
So - once again - on with the show:
Here's a couple M109Gs by S&S Models. Not sure how well you can see but the spades at the rear are down for firing.
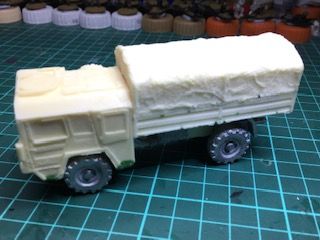
Here's another S&S Models vehicle. This time a MAN Utility LKW gl (4x4 Truck)
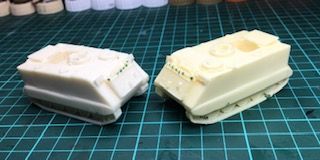
Next up are a couple of M113G's, this time from Hobbyden. Very nice, straight forward models which just needed a bit of green-stuff to fix things like air bubble holes in the smoke dischargers. Once painted I'll add the Commander's hatch , the pintle mount and the MG3 that come with the model.
This is another Hobbyden M113 variant. This time a Panzermorser which comes with a metal 120mm mortar.
Yet another Hobbyden model. This time a M577G.
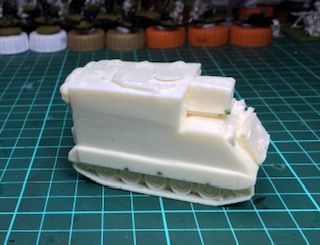
Final M113 variant. A unique West German vehicle the M113 Beobachtungspanzer. There was some significant damage done to this model, so it needed a fair amount of green stuff to fix it.
The final three models are actually for my collection - not my mates...
Back to S&SD Models - a lovely little Iltis with the soft top up. I'll be using this for my Fallschirmjager Command of OP vehicles - amongst other uses.
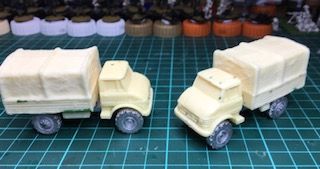
Finally a couple of old school Unimogs, again from S&S Models. These will be for my Danish Motorised Infantry.
So that's it for now. Next post will be more W-I-P photos after cam netting has been added to some of the vehicles.
So stay well everyone, wash your hands and keep away from everyone!
Richard
30 October 2017
Back to Denmark - Final figures Work-in-Progress 1
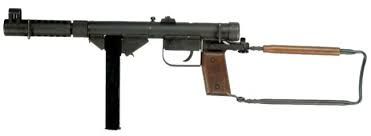
One of the things holding me back was I needed to convert a bunch of the figures and replace whatever personal weapons they have with Hovea m/49 SMGs. My research (for what it's worth) lead me to believe they looked like this:
And with the stock folded, like this:
And in situ - like this:
On the chap on the left.
Back in January I made my first conversion of a Wartime WW2 US Infantry figure with a Thompson SMG to look like this:
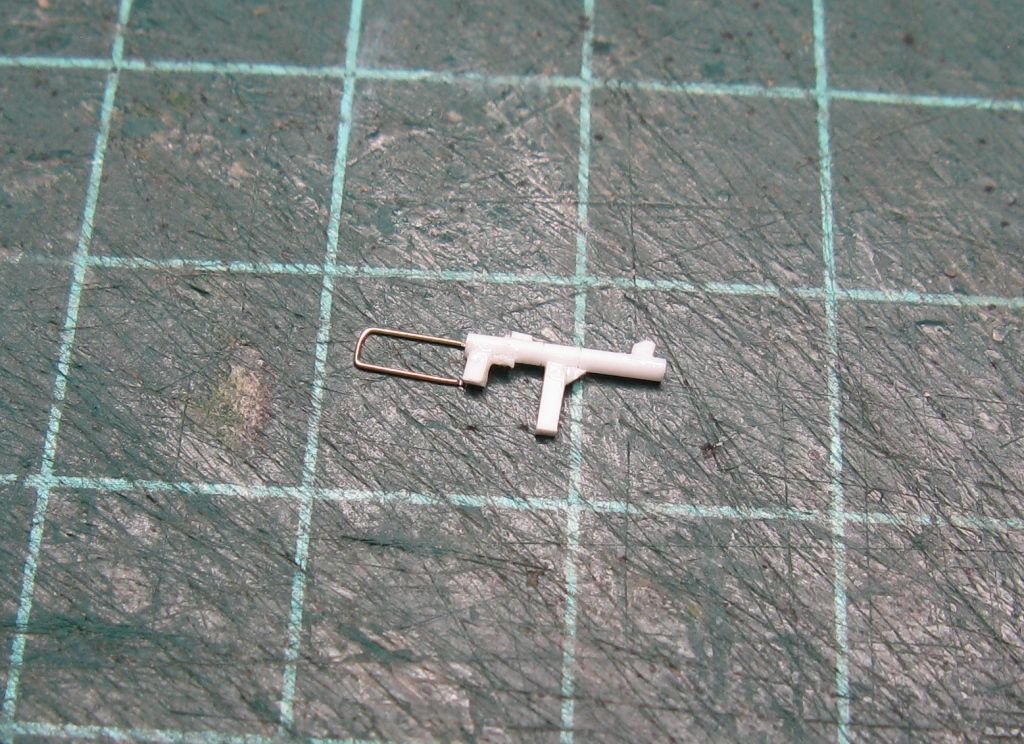
Now I needed to do it all again - on a slightly more industrial scale - as in I needed to make 5 or 6 SMGs.
Here's what they ended up looking like:
And with the stock folded:
Now added to some Wartime figures with added scrim on their helmets:
The chap above actually has the stock unfolded - but it's hard to see in the photo.
This chap is part of my FO team. The stock is folded and the SMG cut down slightly as he is holding the barrel in his left hand.
I also needed a 60mm light mortar team for my Danish Infantry Platoon Command Squad - and I ended up using the AB Figures US 60mm mortar team. I consider it almost heresy to convert AB figures, but all I was doing was removing their rifles, adding SMGs and helmet scrim. So here they are:
Above - is the loader. His SMG (stock extended) is on the ground in front of him.
The No. 2 in the team. His SMG is on his back (stock folded). I was going to add a strap but I think I'll simply paint it on.
So that's the Hoveas. I've also prepared a medic and casualty for the platoon - nothing particularly exciting here.
The casualty
The medic. He'll be placed on the same base as the casualty. Both are Wartime WW2 US Infantry figures.
So that's it for this WIP.
Thanks
Richard
21 September 2017
The Berlin Project - Infantry and Urban Bases - Part 1
I also decided that I wanted all the figures to have specific urban bases - and the easiest to do were urban ruin bases. All support weapons would be on 40mm round "diorama" bases.
Here's some examples of the infantry:
3 Brits on the left and 3 East Germans on the right. More way off in the background.
Here's how my 40mm bases are looking at the moment:
Front
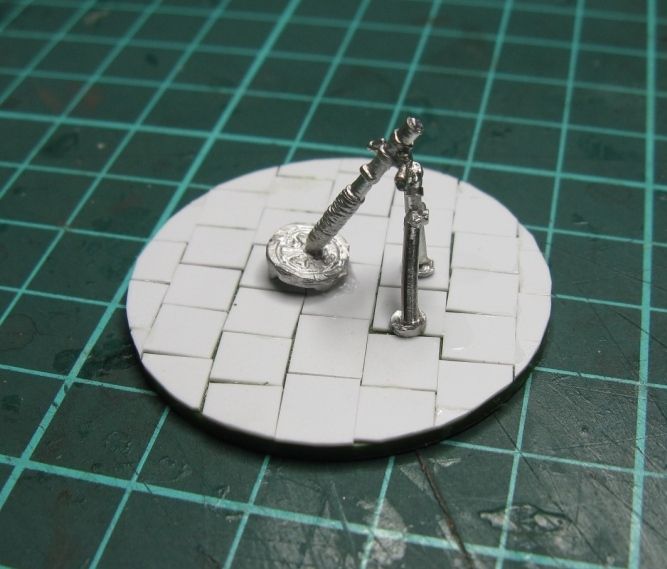
And back. From left to right - a 2 man GMPG (bipod) position - a paved area for a mortar team - a 2 man GPMG (tripod) position. It would have made more sense with the figures on them, but then you wouldn't see everything... I also added the mortar to the central base:
I was trolling through every last British Elhiem figure I had to find a use for them in this list, as I was coming up short in some areas, and I found I had a spare artillery man holding a 105mm round, that I thought with a bit of effort could be holding a mortar round. I cut out the 105mm round and "sculpted" a 81mm mortar round out of plastic rod. The round needs to be trimmed down a bit in this pic:
The new mortar round is a bit short for the pose - but I guess here I'm leaning to the near enough is good enough camp. Here he is with the round glued in place:
All the figures have now been sprayed black (so it means I have to paint the urban base - not such good planning) and I'm now going to do a test team before I get stuck into them.
Thanks
Richard


.jpg)
.jpg)
.jpg)