Showing posts with label Playtest. Show all posts

21 August 2026

Prototype AirLand Battlegroup Army List

OK – so here it is – my first prototype/sample army list to show what I’m thinking in terms of new lists for AirLand Battlegroup.  As I was just re-jigging the West German Panzer/Panzergrenadier Division Battlegroup list, I thought I may as well re-jig it yet again to show you want I mean.  You can have a look at it here.

Before you jump in and have a look here’s the comparison to the current lists which are of course based on the original Battlegroup rules for WW2:

FRONTLINE ASSETS

Forward HQ Units

Infantry Units

Tank Units

Artillery Units

Defences

SUPPORTING ASSETS

Reconnaissance Support Units

Engineer Support Units

Logistics Support Units

Specialist Support Units

Additional Fire Support


The new sample list has the following structure:

FRONTLINE ASSETS

Forward HQ Units

Infantry Units

Reconnaissance Units

Tank & Armoured Anti-tank Units

Defences

SUPPORTING ASSETS

Headquarters Support Units

Artillery Support Units

Aviation & Air Defence Support Units

Engineer Support Units

Combat Support Services Units

Additional Fire Support

So, first the obvious changes.  Recon units are now a frontline asset, while Artillery has been moved to supporting assets.  AFVs, that are not tanks, but are still armoured anti-tank vehicles are moved from the old specialist category into the tanks category.

Units from the Forward HQ that I considered to not be “frontline units” have been moved to a new category Headquarters Support units.  Artillery has been moved supporting assets.  While I see them as a fighting unit, they fight in support of other units – so they got moved.  I got rid of the Specialist category but added Aviation & Air Defence support units.  Looking through the current lists, the specialist category usually contained anti-tank and air defence units.  I’ve split them apart as it made more sense to me and represents a better way of showing the differences between WW2 and WW3!

Another new thing is that several of the support units allow choices from the Additional Fire Support option.

I guess the major change is that Recon units are now a first-choice option rather than just a support option.  I haven’t yet prepared a new Unit Availability Table and accompanying explanation but my thoughts that rather than just having an infantry unit as a must have option, you should be able to choose between either an infantry unit or a reconnaissance unit as your compulsory unit when constructing a list.

As I thought about the types of games I like to play and the battles I’ve read about (real and fictional) for some reason I quite enjoy the covering force where 2 recon forces clash.  I like playing on a pretty big table without necessarily having too much kit on the table at one time.  This works really well with games centred on recce forces.  Modern vehicles move really quickly too, so you don’t need too much stuff to be able to get around much of the table.  I wanted to be able to better represent those games – and so moved the Reconnaissance units from support into the Frontline.

One of the other major changes is the way off-table artillery is represented.  I’ll probably go into more detail in a later post, but again the changes are to represent something I like!  I like artillery systems, but they just shouldn’t be on the tabletop except under very specific purposes.  I can really only think of 1 artillery unit that should be on the table and that’s a 3 gun 2S1 battery that’s been attached to a forward detachment and is either sitting right at the back of the table or is undertaking a direct infantry gun type support role.  Even then the argument is a bit thinly stretched!

The new list pretty much allows you to buy barrages – rather than buying a battery of guns that blats away for you every turn.  This does make it a bit more like the additional fire support section of the list, but it is a lot more flexible – at least it will be for NATO forces.  The first 3 are pretty expensive, but still much cheaper than the current points value of buying the battery.  After that, any subsequent barrages are much cheaper.  Youi can of course buy other more specialist artillery rounds which again can be expensive.  These are limited in the game, so your platoon can’t be supported by a whole bunch of DPICM barrages every turn.

I want to create a system of displaying my off-table guns and the barrages I’ve paid for in a good looking but fun way – where I still get to display a model.  It will be an aide-memoir.  It just won’t be sitting on the actual table.  I have plans – but we’ll see how that turns out.

Finally, as I discussed on Facebook recently - I've included quite a lot of Speculative units/weapons systems into the list.  Based on the poll results - and it turned out to be a much easier option - they are spread out through out the list.  I've marked the speculative units in Red to make it easy to spot them for everyone and again it saves space doing it this way rather than having to write Speculative next to everything.

Anyway – that’s enough explanation for now.

I really-really need feedback on this.  So don’t hold back!

Thanks

Richard

12 August 2026

Updated West German Panzer & Panzergrenadier Division Battlegroup List

It started as a simple exercise.  Having recently finished the Fallschirmjager list, I needed to finalise the West German Jaeger Battlegroup list.  For one thing that list was close to being finished and I needed to get it done.  For another thing the FJ list only allowed Armour to be taken from the Jaeger list - and with no list, no armour!

So I dove into the Jaeger list and the more I read the more I realised it actually needed to be two different lists - otherwise it just became too complicated.  The first list would cover the two Heimatschutzebrigaden (HSB 51 and HSB 56) that were permanently committed to the Field Army.  They were better equipped than more "standard" Heimatschutzebrigaden, including Leopard 1s and in the case of HSB 56 Marders and Jaguars.  The other list would cover remainder of the '5th series' HSB and all of the '6th series' HSB for reasons that will become obvious when you see the lists.

Somehow I ended up down a rabbit hole about Marder Platoons and I became worried that my original West German Panzer/Panzer Grenadier lists might be wrong.  Fortuantely they were correct as to the number of dismounts in a Marder Platoon, but I found they could be made more accurate.  So I decided to change them.  Then I started fiddling with the rest of the Panzer/Panzer Grenadier list until I had basically pretty much revamped it.

I've added a FHQ unit and removed the GSR Team to the Recon units.  I've adjusted the Marder platoon with additional options for each squad, including upgrades to the Marder 1A3.  I deleted the SF MG3 team from their platoon support options.  I adjusted the M113 Pzrgren platoon, deleted a couple of artillery options, added a couple of recon options and made som,e simple changes, made a couple of minor changes to engineers and logistics and upped the size of the Jaguar teams from 2 to 3.  I also introduced the Redeye as the standard MANPADS with the Stinger as an upgrade.

You can find the new West German Panzer/Panzer Grenadier List here and it will replace the V2 list in the NATO Lists TAB above.

As always I'm seeking any constructive feedback, so fire away.

Finally, doing all this made me want to revisit my ideas from a few years back for a complete revamp of the way army lists look & work for AirLand Battlegroup.  So in addition to the V3 Panzer/Panzer Grenadier List and the two new Jaeger list, I'm also working on a AirLand Battlegroup 2 Panzer/Panzer Grenadier sample army list to see what you all think of a new approach.

Thanks for looking

Richard

12 July 2026

US Speculative Armoured Fighjting Vehicles

Hi everyone.

Today I'm uploading a set of AFV Data cards of Speculative Weapon systems of the US Army. This set combines some of the cards previouisly seen in the USAEUR set and the 9th (Motorized) ID set into one and adds a few new vehicles. These come from a range of sources - from Twilight 2000 to a model kit company to the US Armor magazine.

You can find the cards here or in the Cards Tab above.

So you can now field this from Twilight 2000:


This from Magic Factory Model Kit Company (in 1/35th scale I'm afraid)

and this from US Armour Magazine(July-August 1996)

or this - straight out of real life:

The last two have so many weapon systems I had to make extra large cards!

It's all just to add a bit of fun to the game system. I really like these speculative systems which allow you to manipulate history in anyway you want to turn your imaginary Cold War conflict into anything you want.

Some of these vehicles are available to purchase or print, others can be converted by mashing a couple of things together. If interested I'd be happy to post up ideas and options for the models.

I'd be interested to know what you think about including these sorts of systems in the game. Are you a:
  • Purist that thinks if its not fielded in 1986 (for instance) I'm never going to stick it on the tabletop, or
  • Pragmatist that wonders what would have happened if country X had continued pursuing an idea or had put a particular peice of euipment into production.
I mean we are playing a game about a war that never happened so it will always be 100% a "What If" kind of game.

Please let me know what you think!

06 July 2026

Draft Unguided Rocket Playtest rules

Unguided Rockets can be fitted to many of the CAS aircraft and helicopters used by both NATO and WARPAC forces.
 
Unguided rockets are fired from pods installed on CAS aircraft or helicopter, typically on wing hardpoints.  If 2 pods are carried, one will be on each wing.
 
When triggered, each pod fires 2 rockets.  All pods on the CAS aircraft or helicopter must fire an equal number of rockets at once.  So, a CAS aircraft or helicopter with 4 pods would fire a minimum of 8 rockets a turn.  Note, multiple salvoes can be fire at once.  The total number of rockets per pod is shown in the Sample Unguided Rocket table below.
 
Unguided rockets always attack the Top armour of targets.
 
Unguided rockets use a unique variation of the Indirect Artillery Fire rules.  They work as follows for CAS Aircraft:
1.       Place the CAS Aircraft on the table approximately 20” from the target.
2.       Give the CAS Aircraft the Roll-In & Attack order and determine the number of unguided rockets that will be fired.
3.       Roll an Observation Check to observe the target.  If successful, place a point-of-impact marker on the target.
4.       Draw an imaginary line from the CAS Aircraft to and through the point-of-impact marker.
5.       Roll 1D6 on the Unguided Rocket Accuracy Table
  

Unguided Rocket Accuracy Table – D6

D6           Result

1-2          Drop Short.  The pilot fires the unguided rockets from too far away and they drop short of the target.  Roll 2D6 and move the point-of-impact marker the indicated distance down the imaginary line towards the aircraft.  This is where the unguided rockets will hit.

3-4          Hit!  The unguided rockets are accurate and impact centred on the point-of-impact marker.

4-6          Overshoot!  The pilot has been flying too fast and the unguided rockets overshoot the target.  Roll 2D6 and move the point-of-impact marker the indicated distance down the imaginary line away from the target.  This is where the unguided rockets will hit.


6.       Use the Artillery Barrage Accuracy Table to determine misses, potential pins and hits.
 
Helicopters
The only difference with helicopters is that Helicopter must be given the Manoeuvre and Fire order and end its movement in the 20”-30” range band away from its target.
 
Forward Air Controllers and Unguided Rockets
If using a FAC, he can place the point-of-impact marker using the Request Close Air Support order for a CAS Aircraft or Helicopter strike.  This means the pilot does not have to roll to observe the target


Could you please have a read or even better a playtest! Do the rules as written make sense? Do you think they reflect the reality of 1980s unguided rockets? Are they confusing? Do they break Battlegroup?

I am worried that these rules make rockets too powerful, so feedback on that is also welcome.
Let me know what you think.

I've also uploaded a PDF of these rules here and in the Rules tab at the top of the page.

Thanks

Richard
28 June 2026

Unguided Rockets

 There has been some recent discussion on the AirLand Battlegroup Facebook page on the rules for Unguided Rockets - meaning these:


Originally the Cold War rules for these very much reflected the rules for nnguided rockets in WW2 - as in these:


Obviously things have changed in the 40+ years since WW2 and some people think the current rules make unguided rockets into poor precision weapons rather than what they were in reality - more of an area effect weapon.

On Facebook I provided some updated rules for unguided rockets along these lines:

"The Unguided Rockets rules are exactly the same as Battlegroup WW2 Rockets rules with the following exceptions: 

Unguided rockets are fired from pods installed on aircraft or helicopter hardpoints.  When triggered, each pod fires 2 rockets.  All pods on the aircraft or helicopter must fire an equal number of rockets at once.  So, an aircraft or helicopter with 4 pods would fire a minimum of 8 rockets a turn.  Note, multiple salvoes can be fire at once.  The total number of rockets per pod is shown on the table below. 

Unguided rockets and targeting systems have become more accurate over time.  They always hit on a 5 or 6.

Unguided rockets attack the Top armour of targets."

These rules basically conform to the Battl;egroup WW2 rulebook, but give the unguided rockets a better chance of hitting the target.

Then on Facebook I put up a poll - which is there now if you go for a look - which gives a couple of options.  Option 1 is to leave things as they currently are with the new update.  Option 2 is to change the rules to allow use of the Artillery Barrage Table to better reflect the area effect of the rockets impacting on the target area.

I decided to test out both options - which I have now done,

I’ve decided to use a Sepecat Jaguar GR.1 as the attacking aircraft.  It is equipped with 2 SNEB rocket pods (one on each wing with 6 rockets in each pod).  

For the sake of the experiment we’ll make 3 attacks against a Soviet tank column with the centre T-72A being the target point in each attack.  In the first attack the Jaguar will be firing 4 rockets, the second attack will be with 8 rockets and the final attack with 12 rockets.

Option 1 – the current updated rules.

In this option the player chooses to use Aimed Fire with HE shells. He successfully observes the Soviet tank column and chooses to target the centre T-72A.

First attack – Rolling 4D6 I score: 2,3,6,6 = two hits on 1 tank

Second attack – Rolling 8Dg I score: 1,1,2,2,3,3,5,6 – two hits on 1 tank

Third attack – Rolling 12D6 I score: 1,1,2,2,3,4,5,5,5,6,6,6 – six hits on 1 tank

AP 6 vs Top Armour 2 = need a 5 on 2D6 to penetrate. 

1st – 8, 3 = 1 penetrating hit = dead tank

2nd – 2, 4 = 1 immobilising hit. 1 glancing hit = 2 morale tests and the tank isn't going anywhere

3rd – 5, 4, 9, 5, 4, 7 = 2 penetrating hits = doubly dead tank.

Option 2.  Place the target point on the target - which will be the centre tank.  Any enemy unit within 10” of the target point has a chance of being hit.  Roll for each rocket fired on the “Artillery Barrage Accuracy Table”. On a 1, the rocket simply misses. 2-5 are potential pins. 6 is a hit. Allocate pins and hits using the Indirect Artillery Fire rules. If a successfully hit target is armoured, use its Top armour. Follow the standard HE rules.

Same rolls as previous example

First attack – 2,3,6,6 – two hits, two potential pins – 2 tanks are hit, same 2 tanks are potentially pinned as well.

Second attack – 1,1,2,2,3,3,5,6 – two hits, four potential pins, two misses – 2 tanks are hit, all 3 tanks are potentially pinned, with the centre tank is potentially pinned twice.

Third attack – 1,1,2,2,3,4,5,5,5,6,6,6 – six hits, four potential pins, two misses – all 3 tanks are hit, all 3 tanks are potentially pinned, with the centre tank is potentially pinned twice.

Roll for hits first AP 6 vs Top Armour 2 = need a 5 on 2D6 to penetrate.  For the sake of this example I need a HE size for the rockets and I decide to classify all rockets as Medium, except for S-13 which I'll classify as Heavy.

1st – For the hits I roll - 8, 3 = 1 penetrating hit = 1 tank KO'ed.  2nd tank must make a morale test. I roll a 2 on the suppressing fire effect table so the tank is not pinned (unless it is already pinned from the morale test).  

2nd – For the hits I roll - 2, 4 = 1 immobilising hit and 2 morale tests.  For my pinning tests I roll badly and none of the tanks are pinned (unless they are already pinned from the morale tests - which may have led to the crew abandoning the immobilised tank).

3rd – For the hits I roll - 5, 4, 9, 5, 4, 7 = 2 penetrating hits = 2 KOed tanks.  The surviving tank must make 2 morale tests.  Once that's done it tests to see if it's pinned (let's assume it only has 1 potential pin).  I roll a 5 and it is pinned.  Depending on the results of the 2 morale test this may lead to the abandonment of the tank.


So using the Artillery Barrage Table and rules option makes unguided rockets significantly more powerful.  More powerful than bombs even!

That's something to think about...

More on this shortly.

Thanks if you made it this far!

Richard


20 May 2024

Unmanned Aerial Vehicles (UAV)s in the "Totally Unofficial" Battlegroup Cold War Rules

Currently I'm writing the army list for the US 9th Infantry Division (Motorised) the High Technology Test Bed force for the US Army in the 1980s.  They either had, or kind of pretended to have, a lot of very cool bits of kit for the day and worked up these disparate bits and bobs into a well functioning motorised brigade which performed well in various exercises and tests.

As I've been reading about this division, I came across a few references to their use of UAVs - specifically one called "Mercury Green".  It appears this UAV was used to provide long-range surveillance, route reconnaissance and more - even some limited EW tasks.  Information from the UAV could be down-linked, processed and digitally reported to appropriate users in real time.  All the elements could be carried on HMMWVs.

Previously I had not considered UAVs to be part of a tactical battle as represented in Battlegroup.  My information on at least what I could see as the more prevalent UAVs of the day such as the Canadair CL-289, showed they had more of an operational role - flying pre-programmed routes, recording data onto something like video tape and then delivering the whole package back to base once it had completed the whole mission.  The tape was then analysed and the intelligence would be used primarily for planning purposes - rather than real time intel that could be used to direct artillery for instance.

Mercury Green appears to be well ahead of those other systems - but so far I've failed to find anything else about it.  I think therefore, it may have been a code name for the Lockheed MGM-105 Aquila, seen here. 

This UAV fits into the timeframe, and was part of a target acquisition, designation and aerial reconnaissance platform which was what I imagine was a low-light TV camera and a laser designator - specifically to lase targets for Copperhead rounds.

Interestingly, after the success of Israeli UAVs over the Beqaa Valley in 1982 the US Army pushed for Aquila Lite, where all the UAV assets could be fitted to HMMWVs, unlike this standard Aquila being launched from a 5-ton truck:

The other option of course is that Mercury Green was a cover name for the IAI Scout or the AAI RQ-2 Pioneer, seen here on the back of a 5-ton truck:

That's all academic in a way - as now, after ignoring them, if I wanted to properly represent this cutting edge motorised division, I needed some rules for them.  So here's what I've come up with so far - it's a little like the EW rules in that you'd get a bunch of options but you have to choose 1 to be used once per game.

~~~~~~~~~~~~~~~~~~~~~~~~~~~~~~~~~~~~~~~~~~~~~~~~~~~~~~~~

UAVs are Restricted and Unique.  Taking a UAV allows a player to employ it once per game.  When employed the player must roll a D6.  On a roll of 3+ they can then select one of the following UAV options to take: 

  • When your opponent has rolled for reinforcements, you may choose the enemy units to be placed on the edge of the table
  • Just before the first turn of the game, once both sides have  deployed you may change the aiming point of one of your Timed Barrages.
  • For one turn the UAV acts as a Forward Observation and Lasing Team and may direct one Copperhead PGM round.
  • Add +2 to your own side's counter-battery fire
~~~~~~~~~~~~~~~~~~~~~~~~~~~~~~~~~~~~~~~~~~~~~~~~~~~~~~~~~

So that's my current thinking.  I'd be very interested in any additions or subtractions you make from these rule ideas and any feedback such as what you'd think this would be worth points wise.

Please note that I'm only really considering this for the 9th ID (Motorised) at the moment, so it's not like this will significantly shake up the game.

Thanks as always

Richard


30 March 2020

My Unofficial Battlegroup: Cold War - UPDATE - New French AFV Data

One thousand apologies for not posting this sooner - but here is the most up-to-date copy of the French AFV Stats.  Looking at it and the most recent NATO Gun Data table, I don't believe I have added the different French weapons into the table.  That's a job for another day - but at least you can see the AFV data now.

French AFV Data

Once you've had a look through let me know if you find any obvious errors etc or missing vehicles etc.

Thanks

Richard
27 August 2019

My Unofficial Battlegroup: Cold War - UPDATE - New and Edited French Lists

Time for another update.  It's been a while I know but I've recently completed my revision of THREE French lists and I now feel they are in much better shape than they were when I first published the French Armoured Division Battlegroup list.

So here are the revised and new lists for the French:

French Armoured Division Battlegroup

French Infantry Division Battlegroup

French Rapid Reaction Force Battlegroup

I believe with these lists you should be able to replicate almost any French force from the mid to late 1980's - even possibly the first Gulf War.

The French have some awesome kit - certainly the best Armoured Cars (like the AMX-10RC) of any of the other lists, and also some pretty old and funky stuff (like the AMX-13).  I just need access to a complete range of French infantry options and then this is on my "to complete" list as I've already been putting away the odd bit of French kit for years.

Anyway - I think I have the Czechs still to do and then I'm largely calling the Army Lists complete.  Also as Battlegroup NORTHAG is coming closer - and will not be compatible with any of my stuff I won't be doing any more on this project.

As NORTHAG has gone in a slightly different direction I've decided to take the work I have done and work it into something different again, with my take on a Cold War game.

More of that in the future.

Thanks

Richard
18 February 2019

My Unofficial Battlegroup: Cold War - UPDATED - New AFV Data Tables

Hi Everyone

Another quick update - this time with four new AFV Data Tables for the Norwegians, Belgian, Polish and East Germans.  The Norwegian table has been updated to match the new version of the army list while the Belgian, Polish and East German AFV Data tables are brand new, and should (hopefully) cover everything in each of those nationalities lists.

If you can spot any problems with the tables, please let me know.

Here they are

Norwegian AFV Data

Belgian AFV Data

Polish AFV Data

East German AFV Data

Thanks

Richard
29 October 2018

My Unofficial Battlegroup: Cold War - West German Panzer Battlegroup List Updated

Just a very quick note to let you know the West German Panzer Division list has been updated.  The links at the top and side of the page have both been updated.  Mostly simple changes and corrections based on feedback.  Most dramatically Leopard 2 units are no longer veterans and are now a little cheaper points-wise.

Thanks

Richard
24 October 2018

My Unofficial Battlegroup: Cold War - Polish Airborne Brigade Battlegroup List

So finally I'm able to publish the last Polish list - the 6th Pomeranian Airborne Brigade.  This is another useful list if you want to game out the Battle for Denmark.

So here is the list

Polish Airborne Brigade Battlegroup

Still had no real feedback on these lists - so if you're interested in the Poles and you've had a look at the lists, please point out any errors or areas where we've missed something out.

As I said this will be the last list for the Poles - now we'll be moving to some French lists for a change.

Thanks

Richard
16 September 2018

My Unofficial Battlegroup: Cold War - Polish Naval Landing Brigade Battlegroup List

So today I'm posting up the third of the four Polish Lists that we have planned.  This list can be used to create a force from the 7th Luzycka Naval Landing Brigade - a very useful list if like me you'd like to play out a Battle for Denmark Campaign.

So here is the list

Polish Naval Landing Brigade Battlegroup

We haven't really had any feedback on the Polish lists so far, so please have a look at them and let me know what you think.

Thanks

Richard
09 September 2018

My Unofficial Battlegroup: Cold War - Polish Armoured Division Battlegroup List

Sorry - I had to pull the list and sort out a couple of small errors.  That is all now fixed

So here is the next Polish list - their Armoured Division list.  Not really that much different to the Motorised Rifle list - but now with T-72s!

Here it is:

Polish Armoured Division Battlegroup

As always - please let me know what you think - good or bad...

Thanks

Richard
05 September 2018

My Unofficial Battlegroup: Cold War - Polish Motorised Rifle Division Battlegroup List

Well this has been some time in coming, but I'm very pleased to be posting up today the newest list for my unofficial Battlegroup: Cold War.  This time around it's the first Polish list - focussed on the Polish Motorised Rilfe Divisions of the Pomeranian Military District - the ones that would be primarily involved in heading towards Denmark (with the 15. MRD being assigned the role of the main force to come ashore on Zeeland as the follow-on force to Soviet and Polish Naval Infantry.

Anyway - here it is:

Polish Motorised Rifle Division Battlegropup 1.1

Once again the speed by which this list appeared and most of the heavy lifting is all down to Paul Cziganj whose immense help has meant you are getting this now, not 3 years from now when I could have gotten around to it by myself!  So thanks Paul, once again.

So please have a look for yourself.  Download, let me know of any errors or omissions etc and I'll be happy to go back in a revise.

Oh yes - I'll now also be adding the Belgian list to the side bar for easy access.

Thanks

Richard
11 August 2018

West of Hannover - A BAOR vs Soviets After Action Report (the first attempt at Part 2)

It's been a while since the game, and Photobucket seems to lovingly randomise the order of the photos - so I've put this together the best I can.  Bear in mind that all T-72s and T-80s in the following photos are actually T-64Bs.  OK?

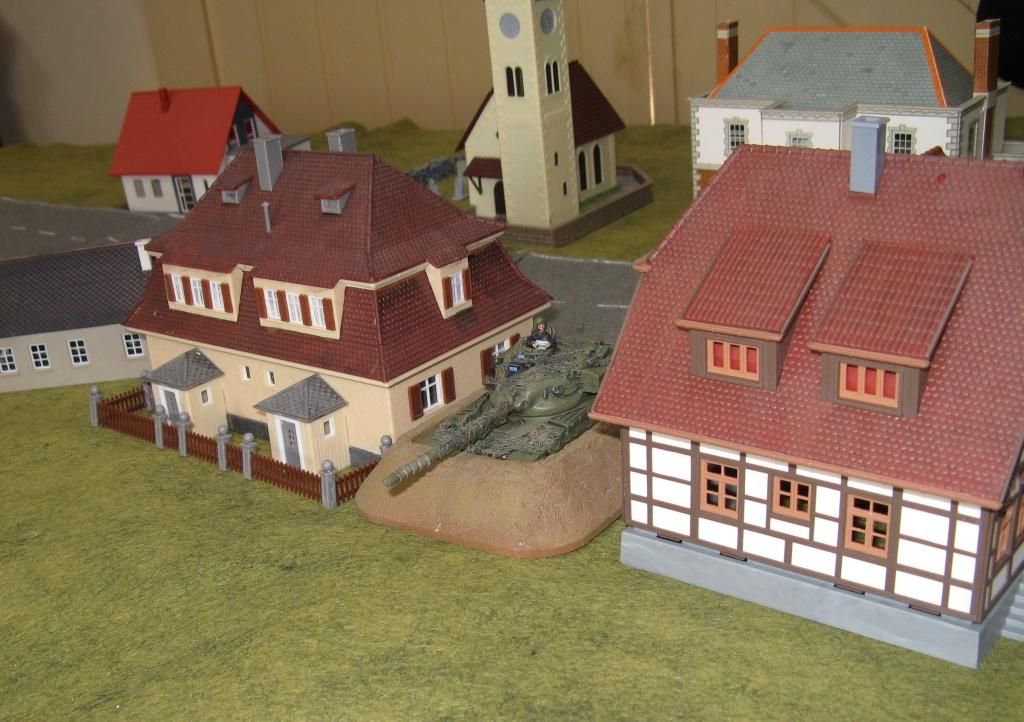
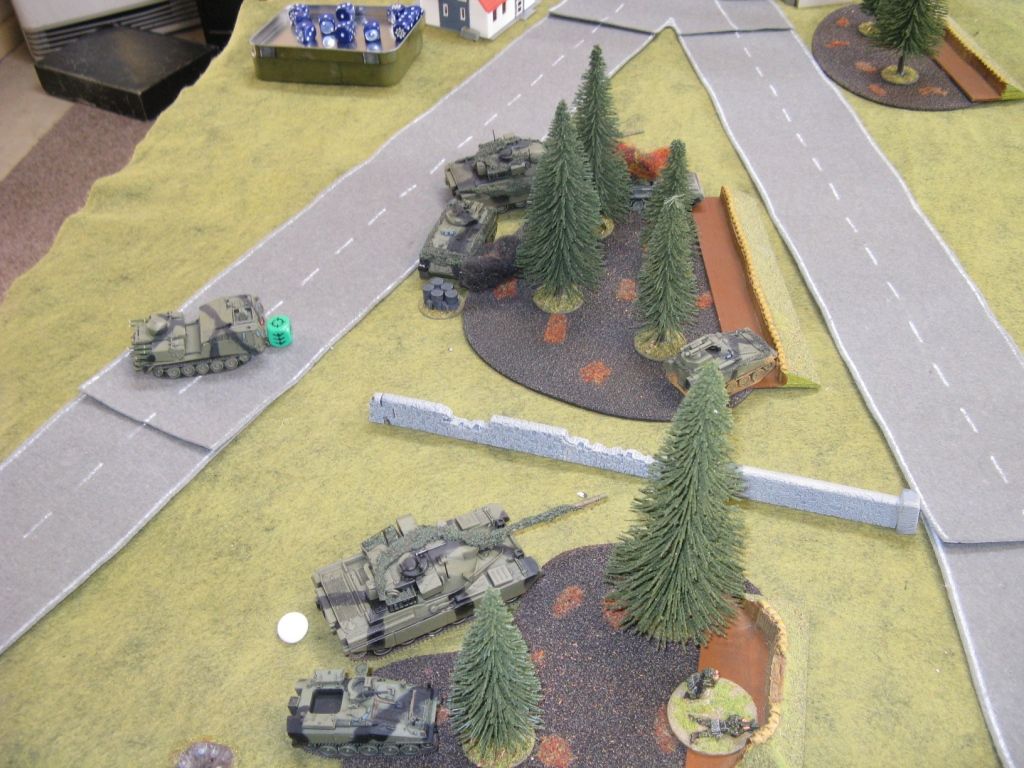
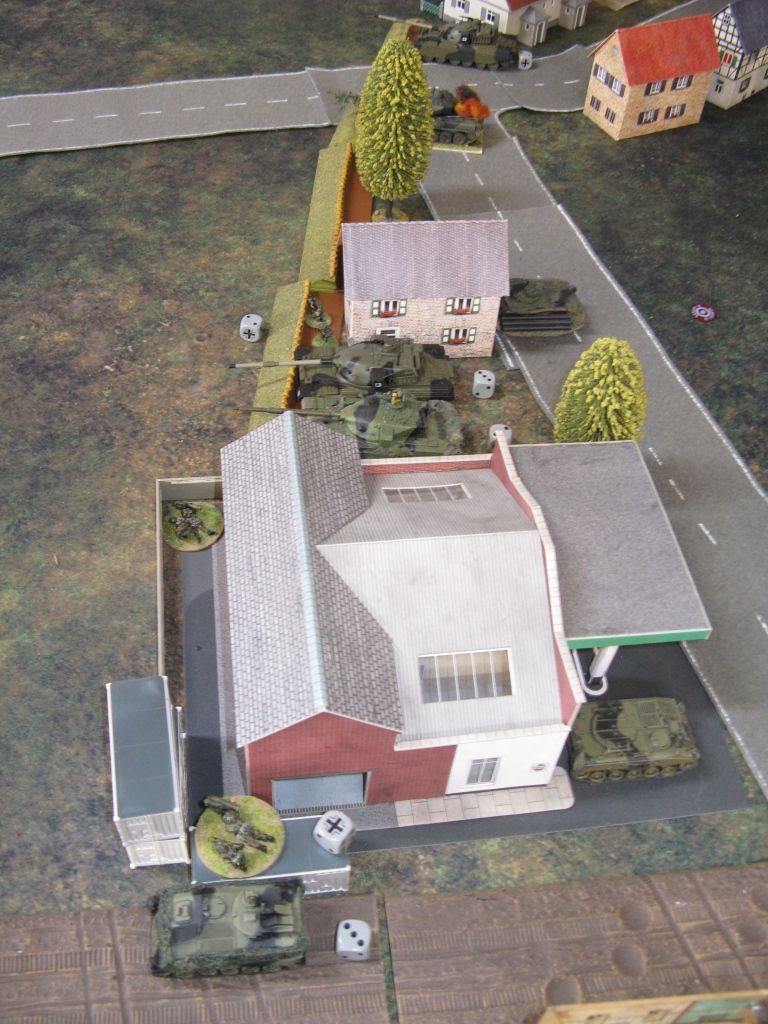
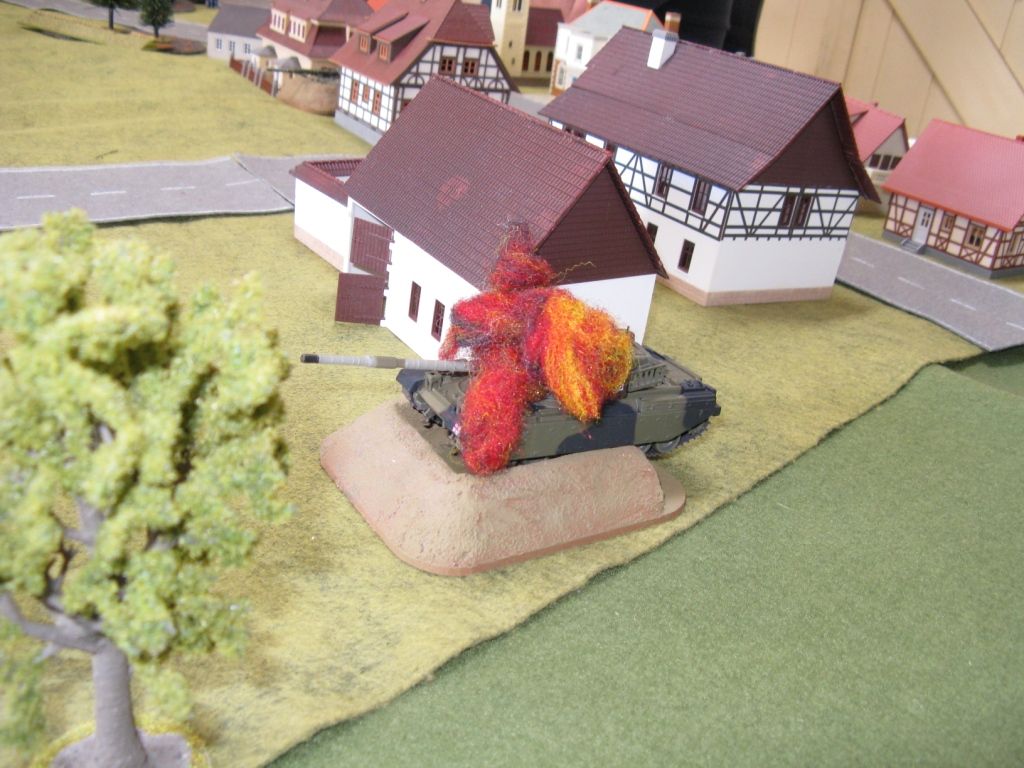
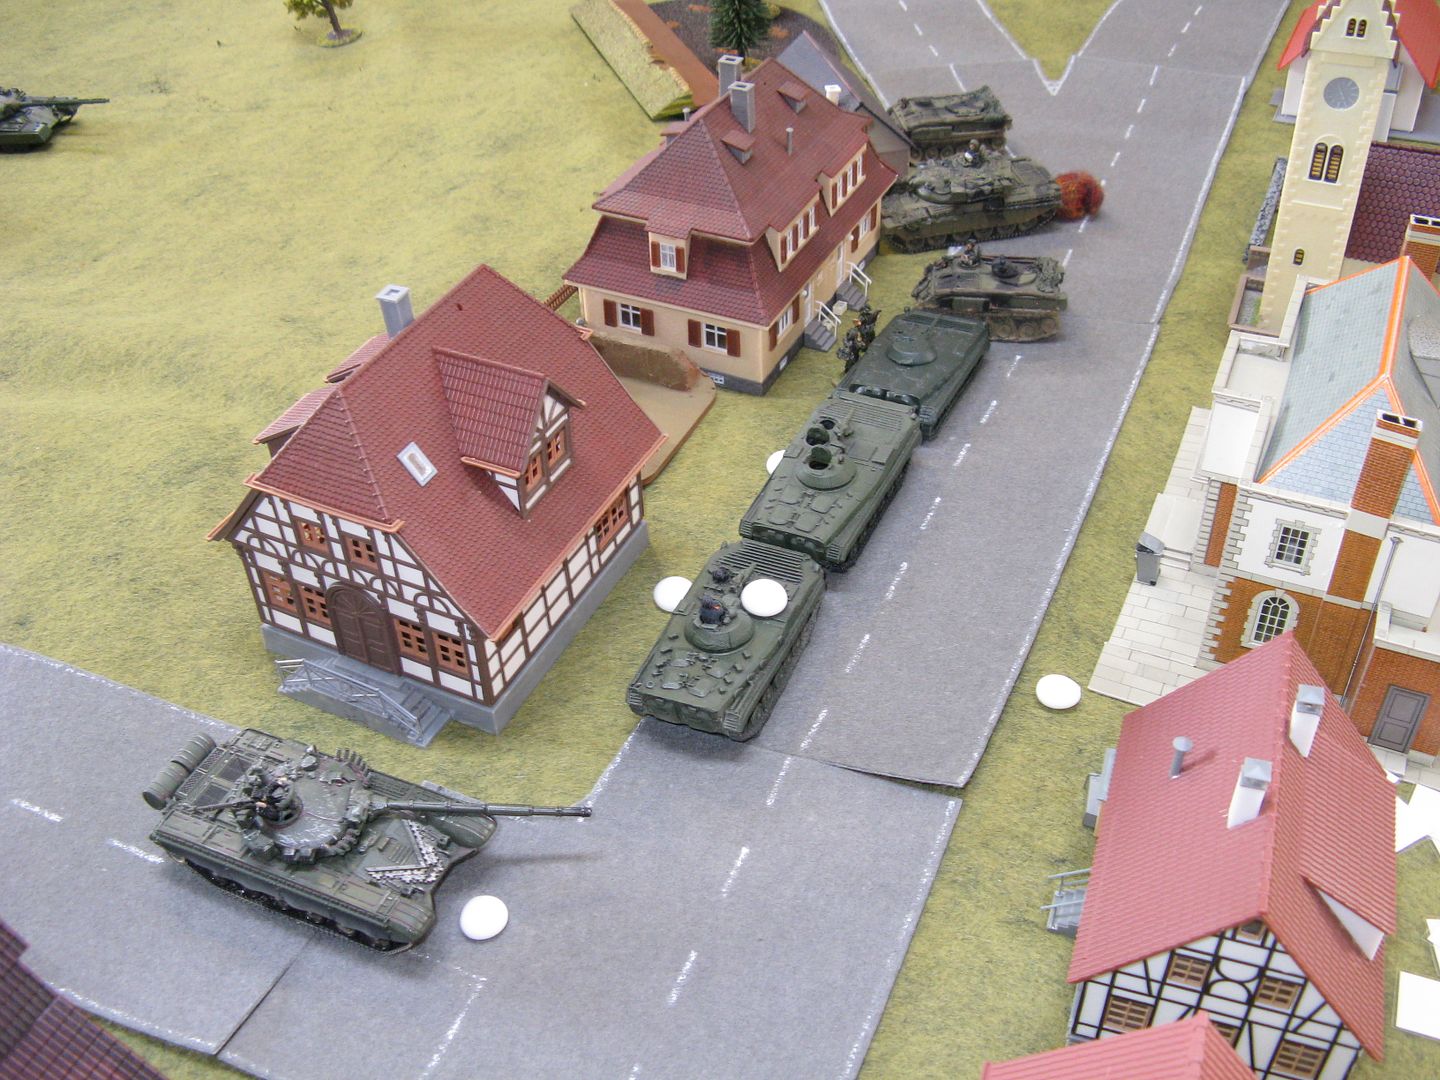
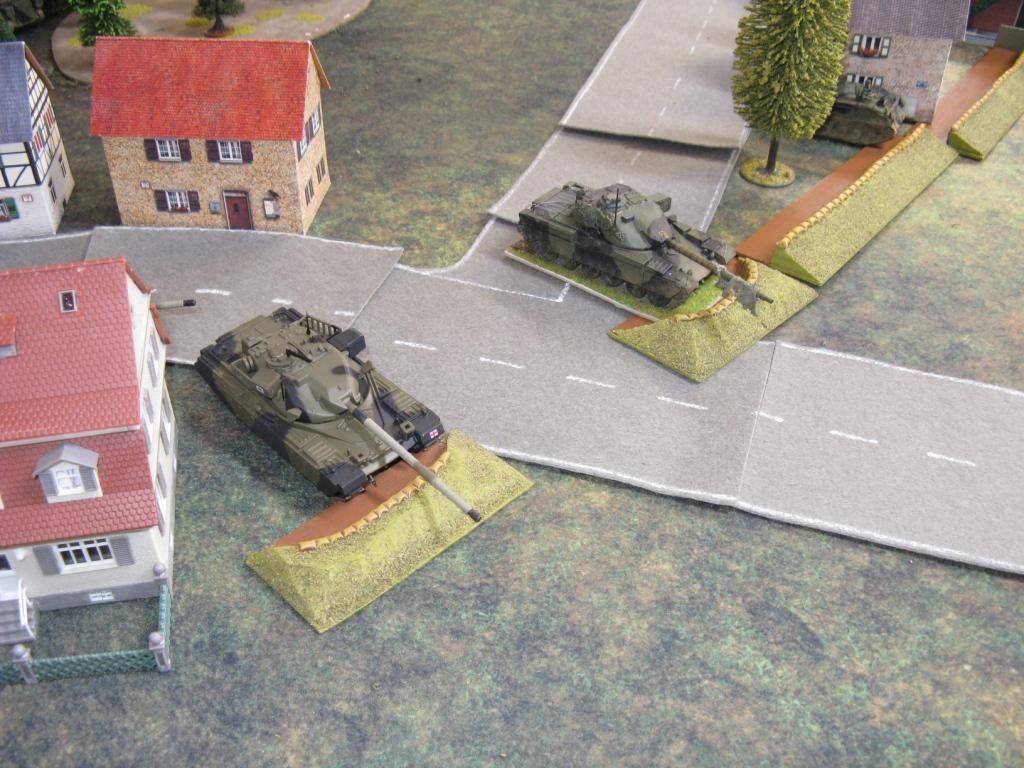
First NATO started their set-up.  On Table 1 the chieftains set up in fighting positions between the houses:


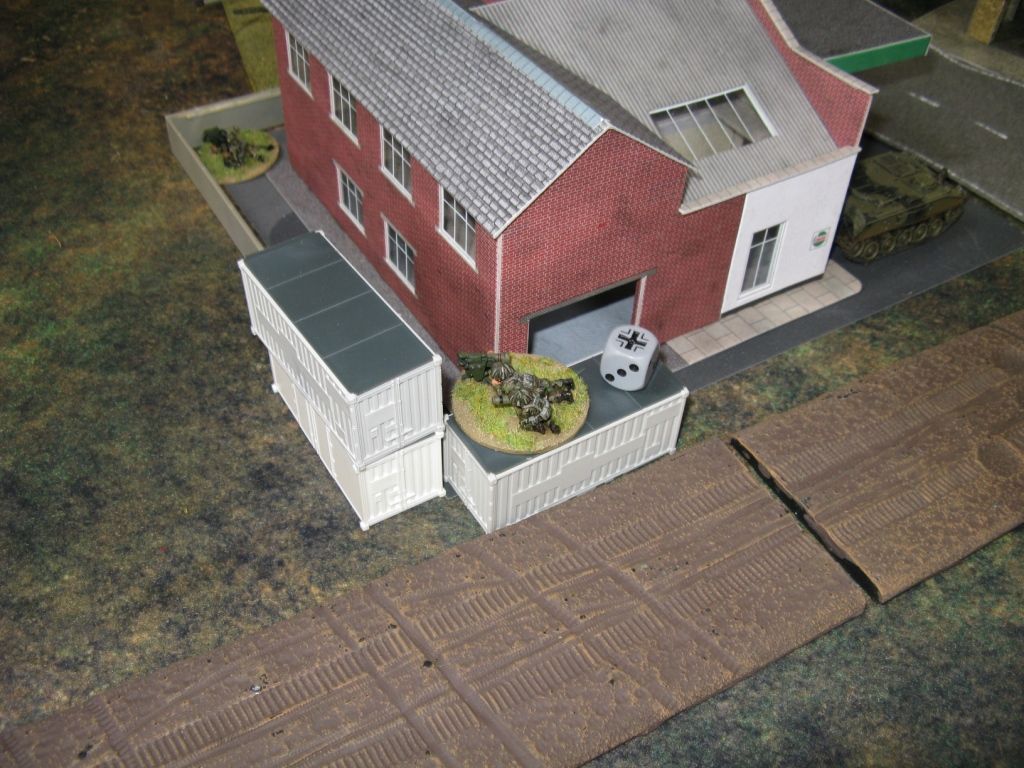
And two infantry section did likewise:


The Mortar team was also on call to provide immediate support:


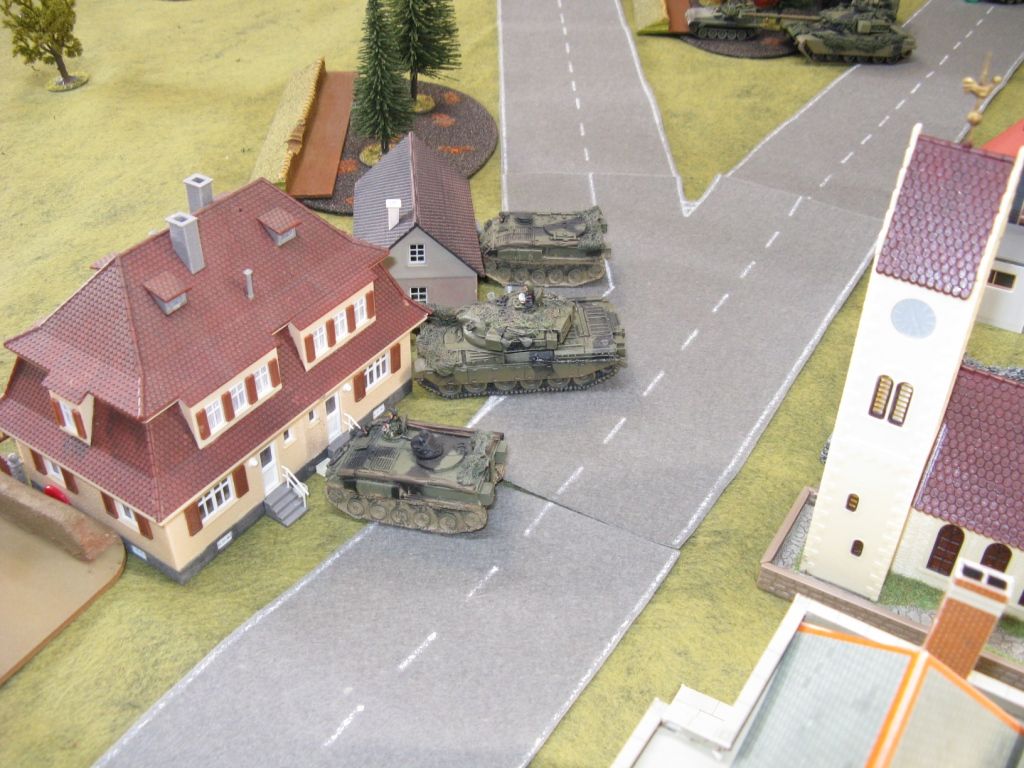
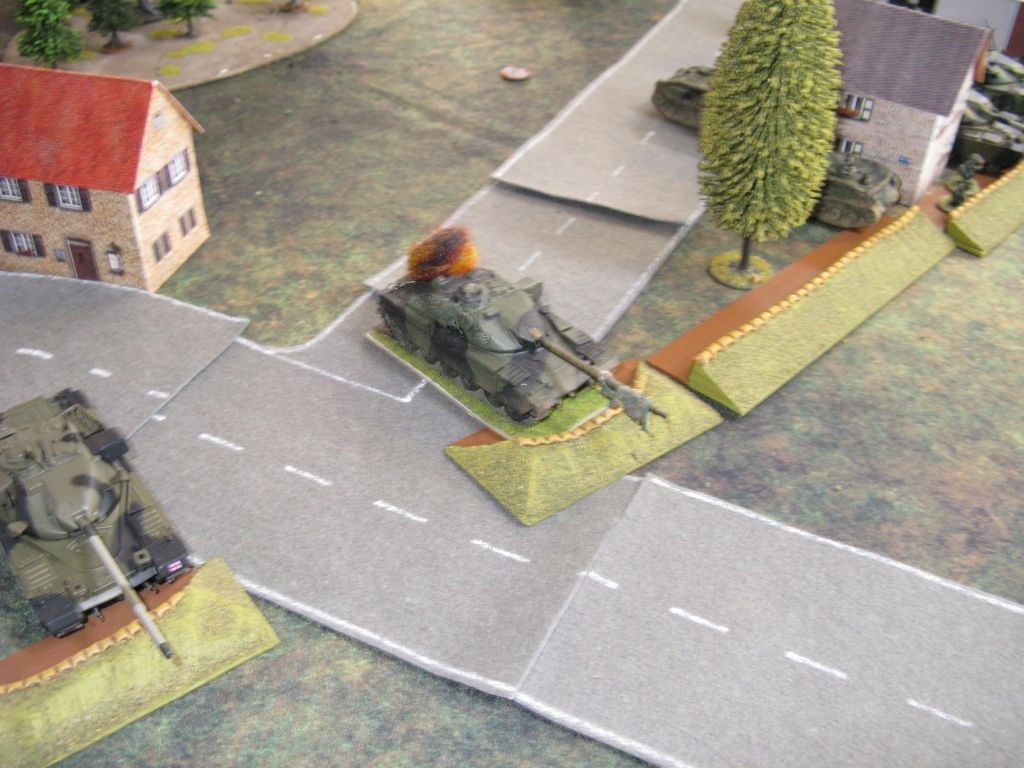
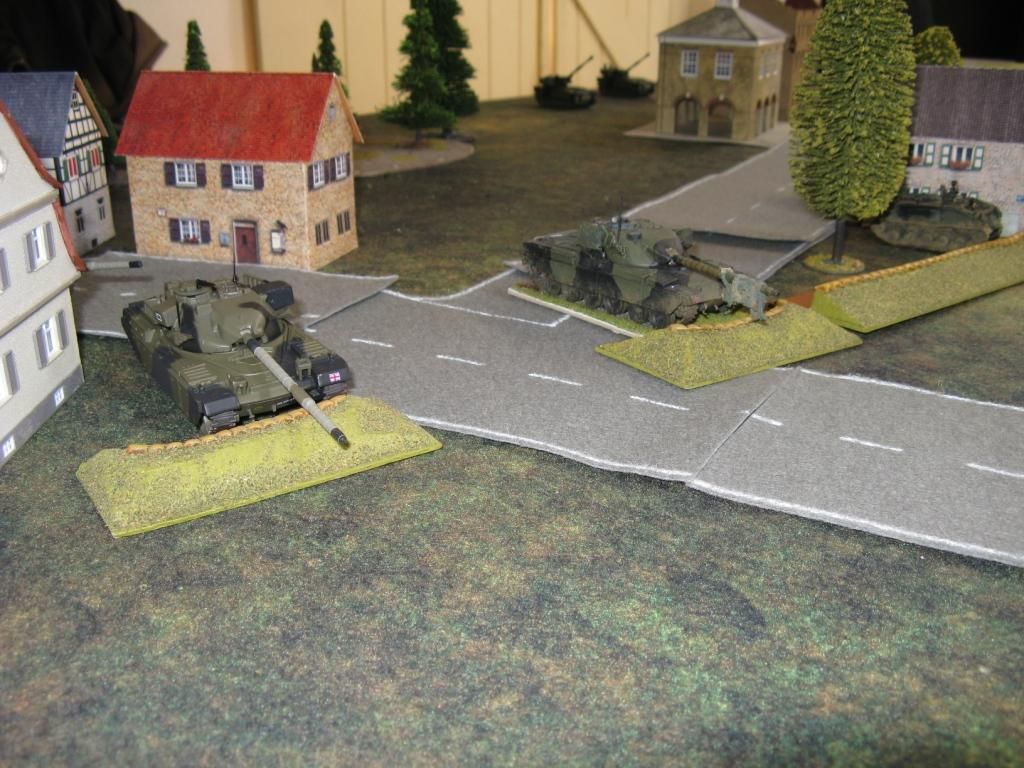
On Table 2 set-up it was a similar story, with the Chieftains dug in around the road junctions:


And another angle:


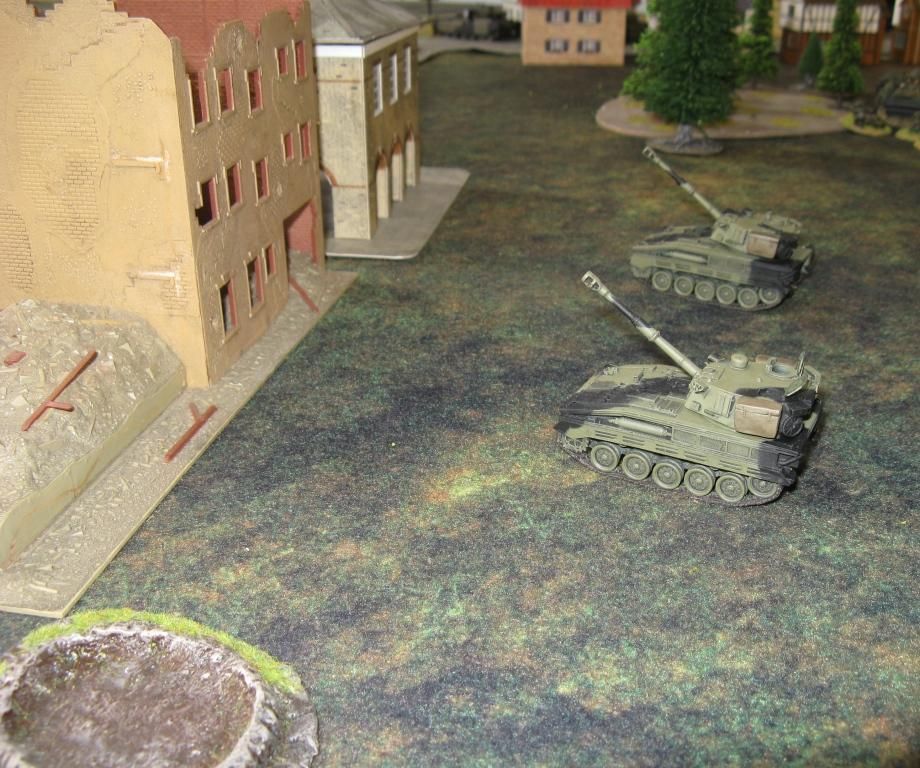
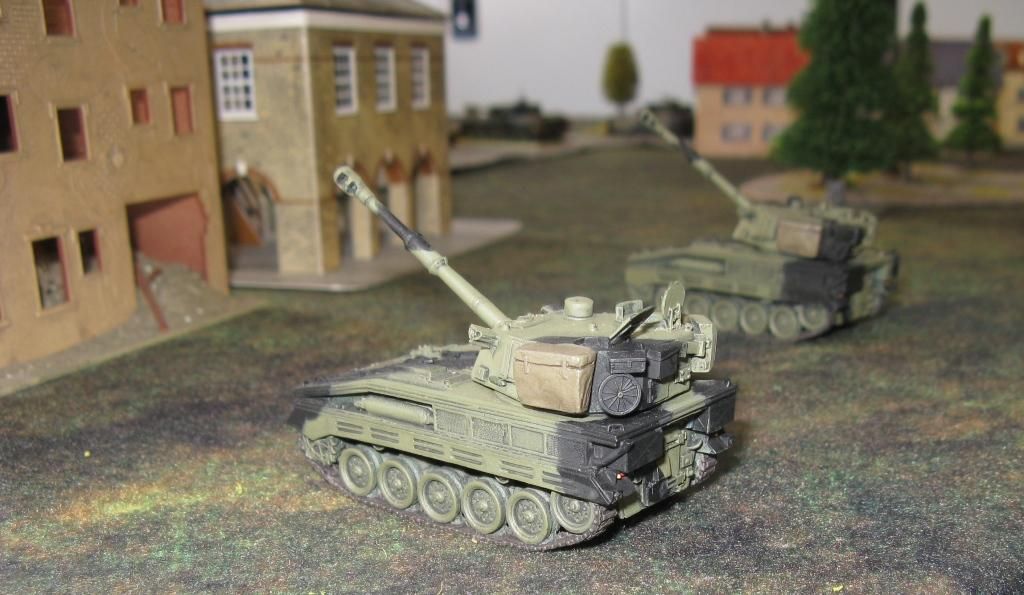
With the Abbots in support (like the FV432M the artillery support was available to either table)


A Swingfire armed FV438 and the Milan Teams waited, hiding behind the garage:


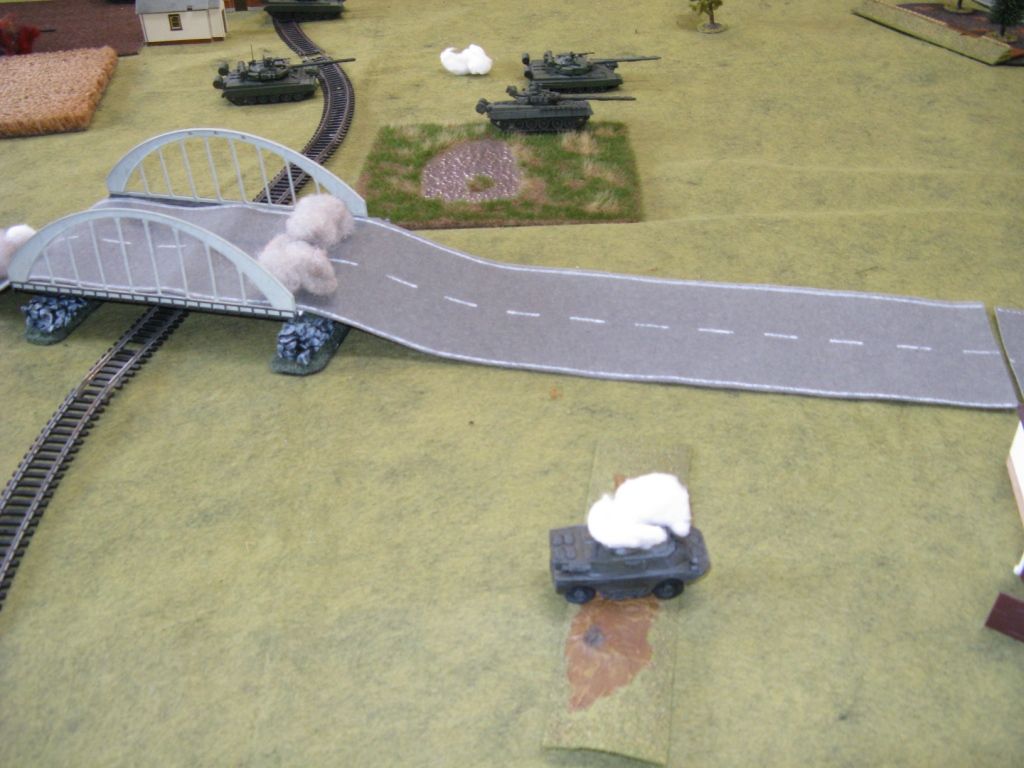
One Scorpion was deployed well in advance of the rest of the NATO force on Table 2:


He would be my first target...

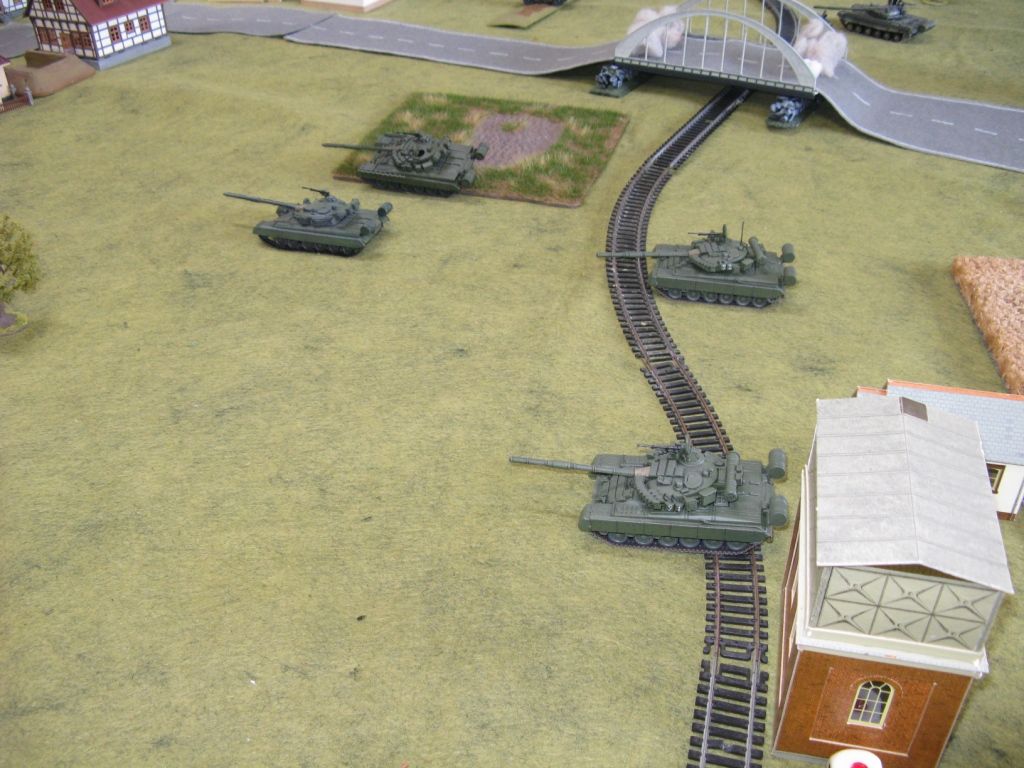
Back on Table 1, Soviet forces began to deploy:


And then more substantial Soviet forces arrive:


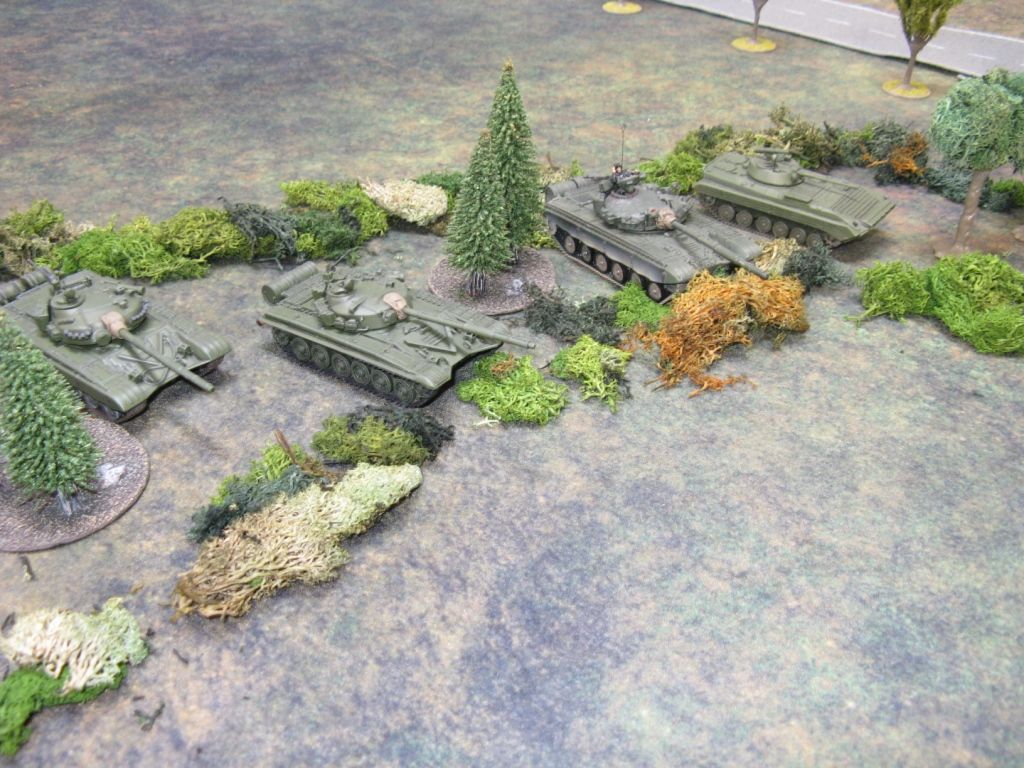
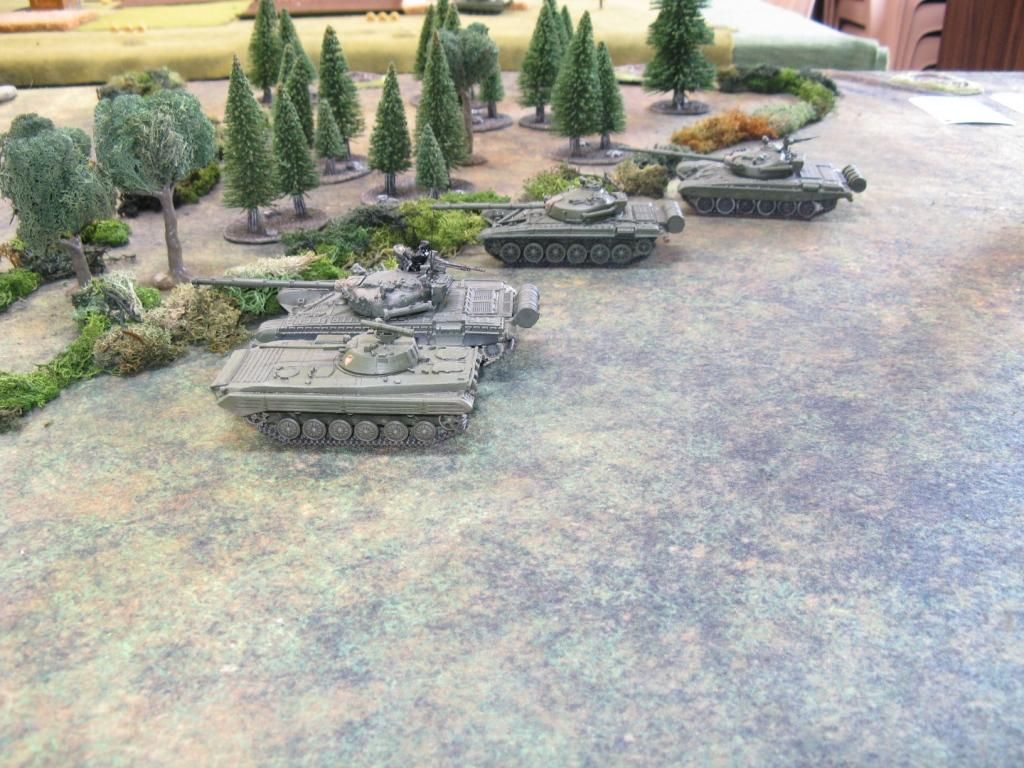
My Soviets move up to a decent sized wooded area:


And then into them.  This is nice...


Mick's lads continue to motor forwards:


The road to the bridge is clear!


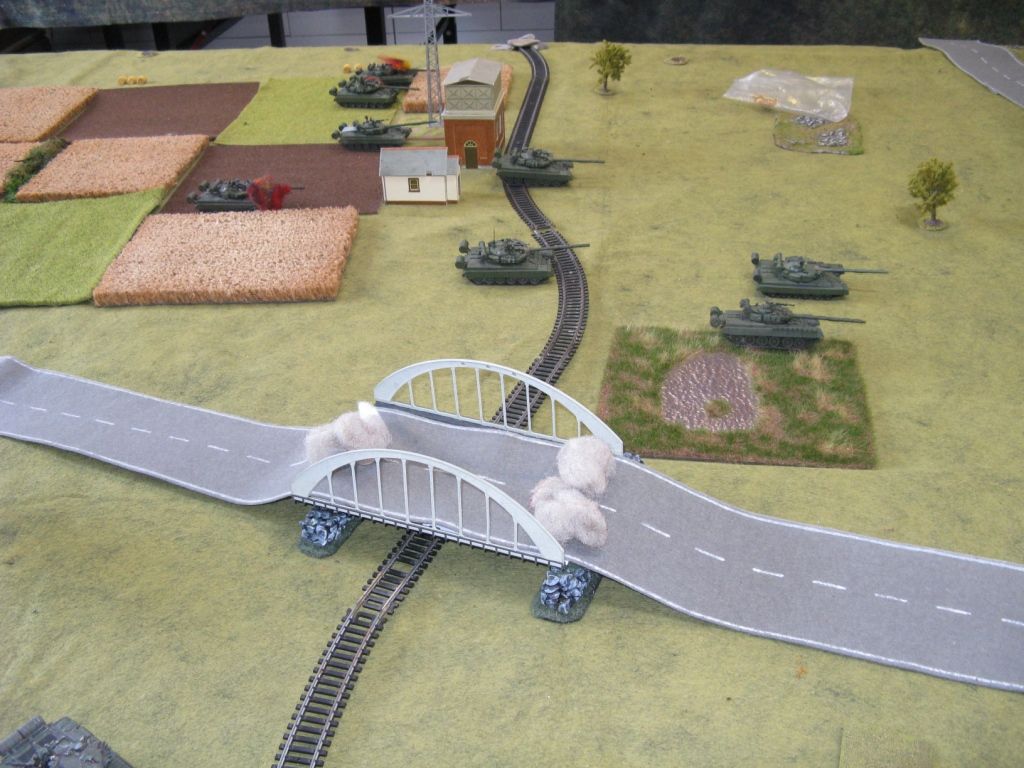
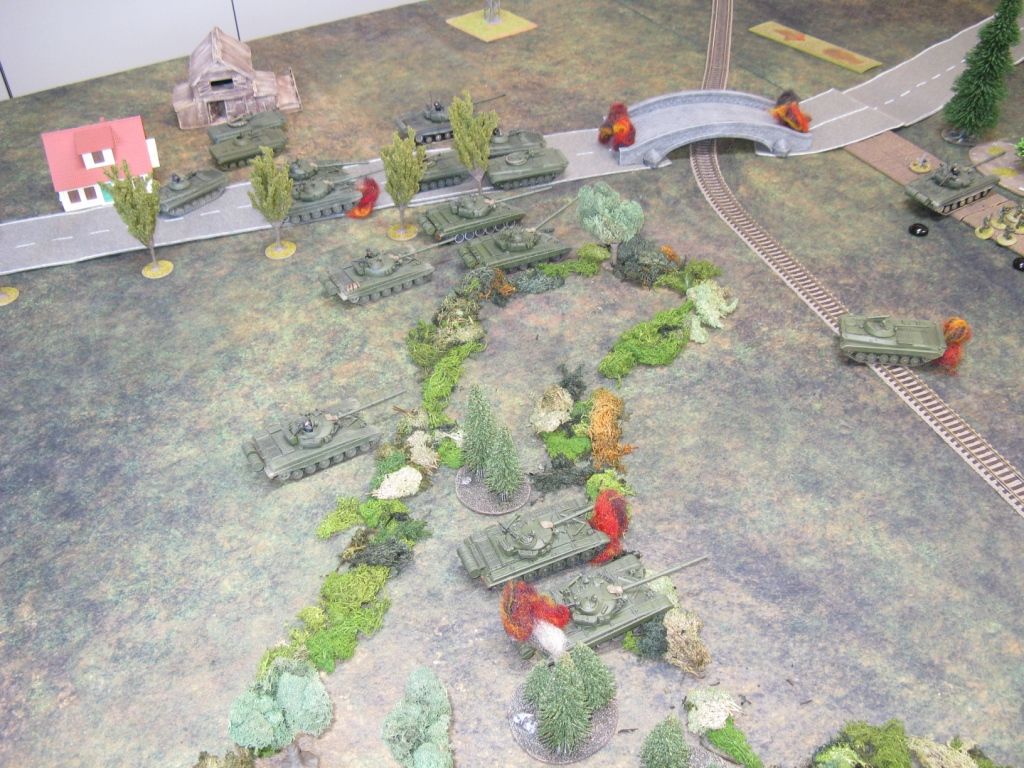
Bugger!  Both bridges are blown on the same NATO turn.  Detours are required:


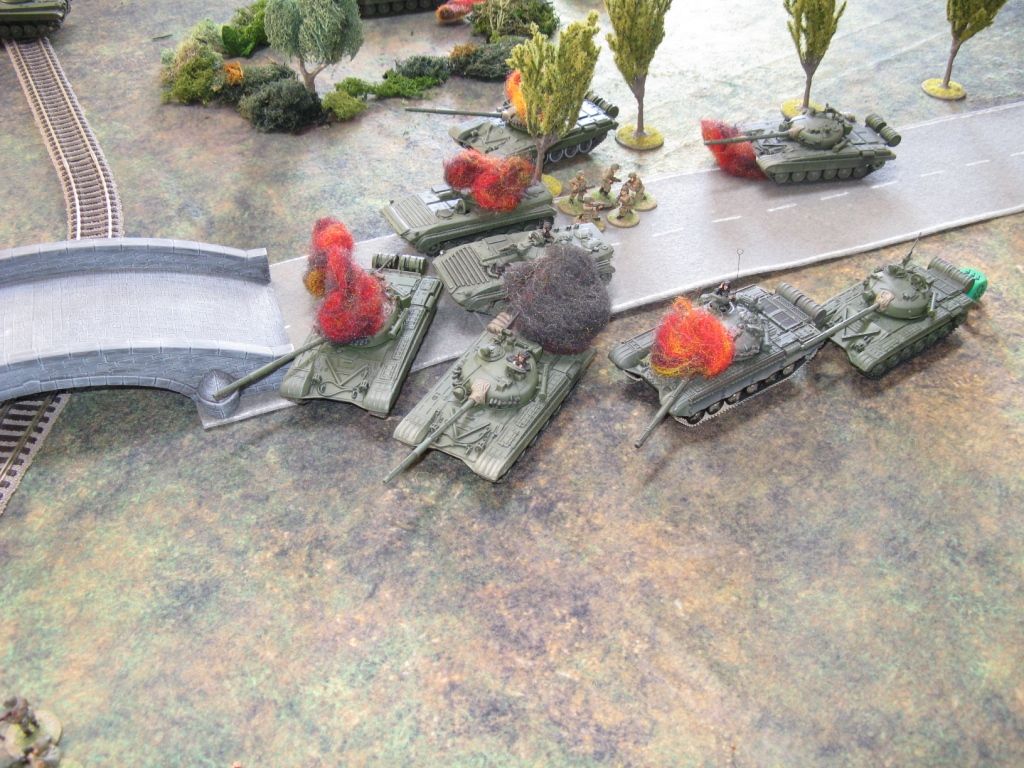
Leading to our first loss:


Probably should have said losses.  At this point things appear to be going well for me and not so well for Mick.  No Mick - you take the artillery - I don't need it...  A wee be of hubris never hurt anybody... right?


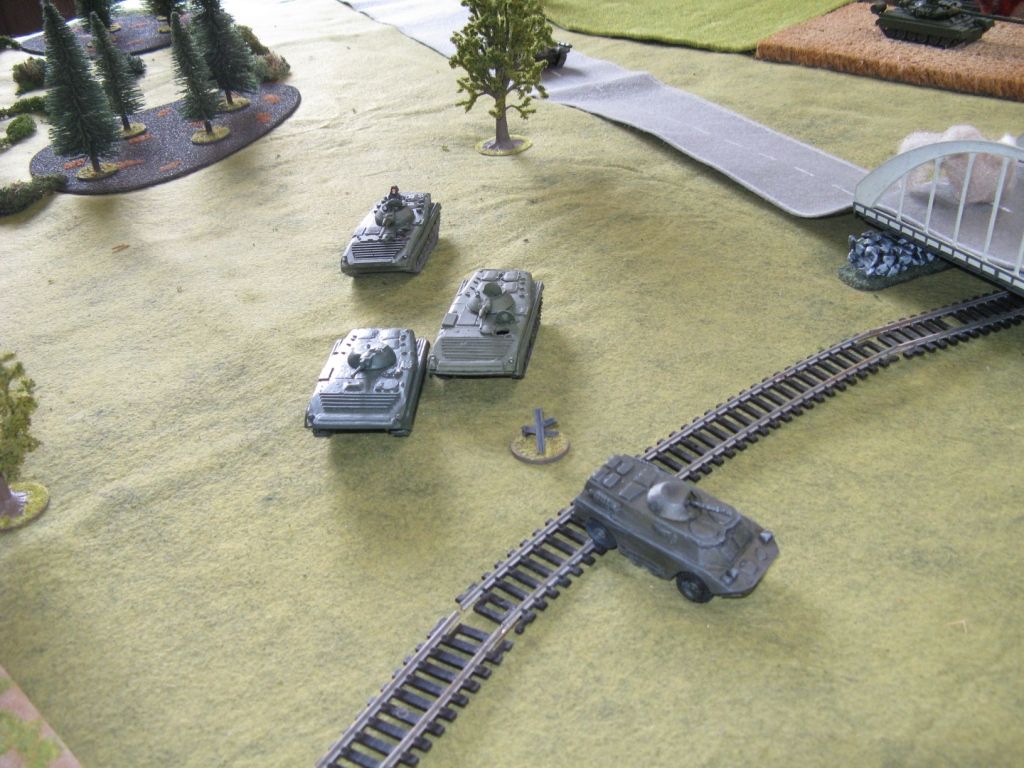
My BMP-2 Recon Squad moves forwards, dismounts and takes on the Scimitar, knocking it out.


My first kill!


Charles's reply is to move forward his Swingfire unit and deploy his remote team:

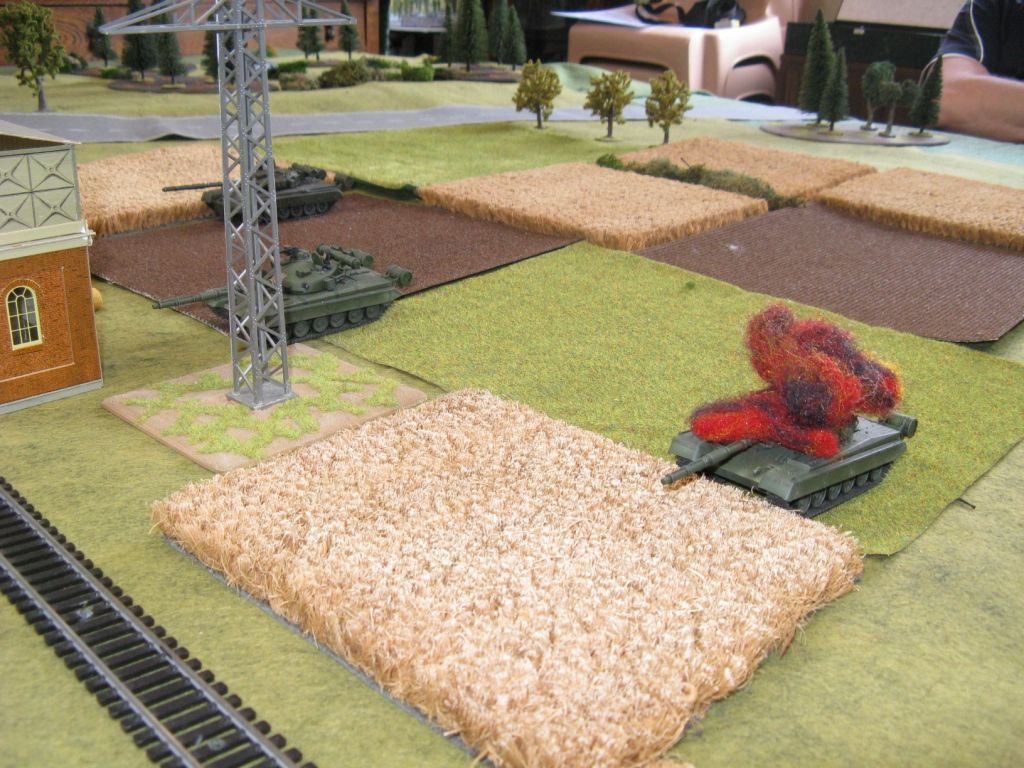
I'm not exactly sure why he did that, but who cares - my carefully hidden tanks in the woods just got hammered!


It's OK - I have plenty more.  Nah - I got this - I don't need no arty!  Let's start to divert around the woods towards the smoking bridge remains.


Oops - looks like this route is covered to:


Yeah - no doubt.  Charles has that angle pretty well covered also.


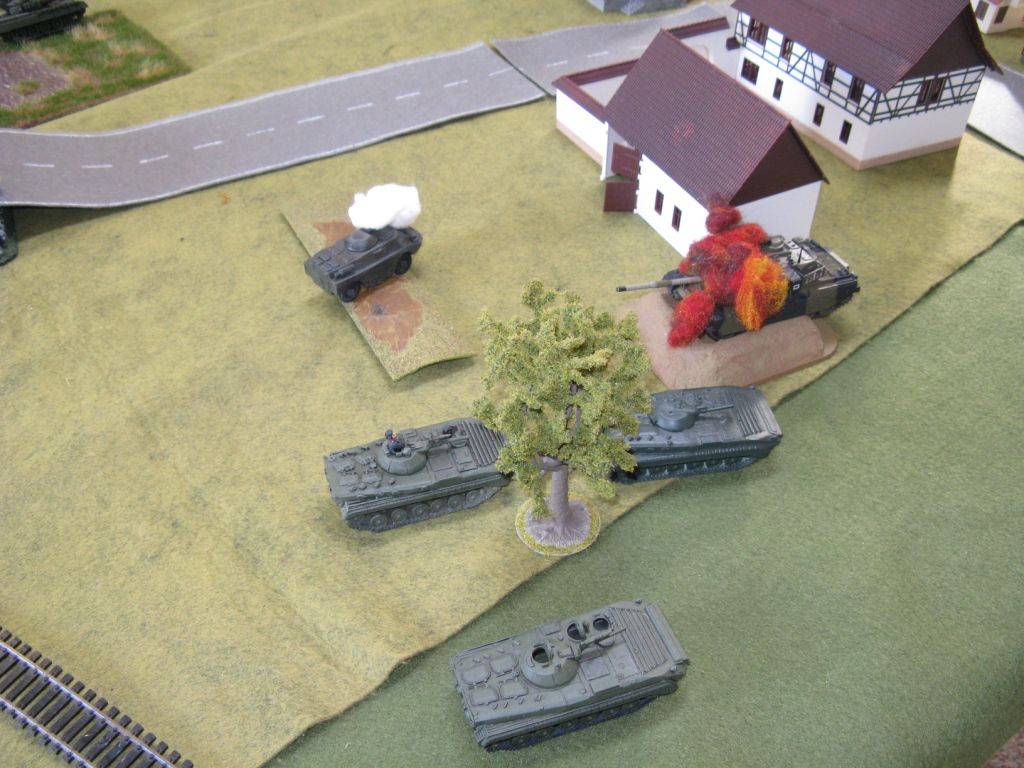
As one T-64B makes it in behind the final piece of cover before the British lines, my BMP-2 takes a hit and explodes.  My remaining tropps rush towards the T-64B.  Charles nicely points out I've just driven into his hidden minefield.  Ahhhhhh bum.


Now things look a bit like this on my Table:


Where as back on Table 1, things have shifted a little.  Mick's Soviets are again on the move:


He's taking the odd hit, but nothing like the killing zone on Table 2:


And he has lots of tanks, with good arcs of fire moving forwards:


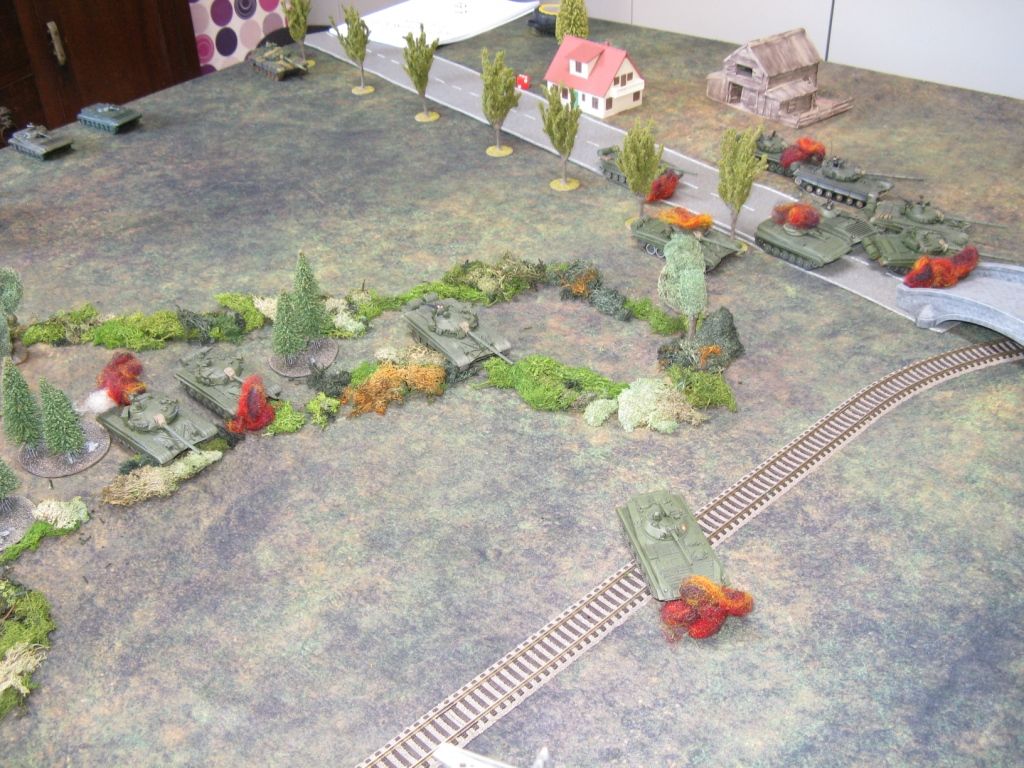
Closer and closer to the rail line which is the biggest obstacle before the British lines on his table:


Meanwhile BAOR reinforcements have arrived and taken position


And the same story on Table 2, while the infantry wait with nothing to do...


More flamin' Milans!


At about this point you'll note the photography (and the generalship) takes on a distinct tone of mashocism.  It's like the car crash you can't look away from.


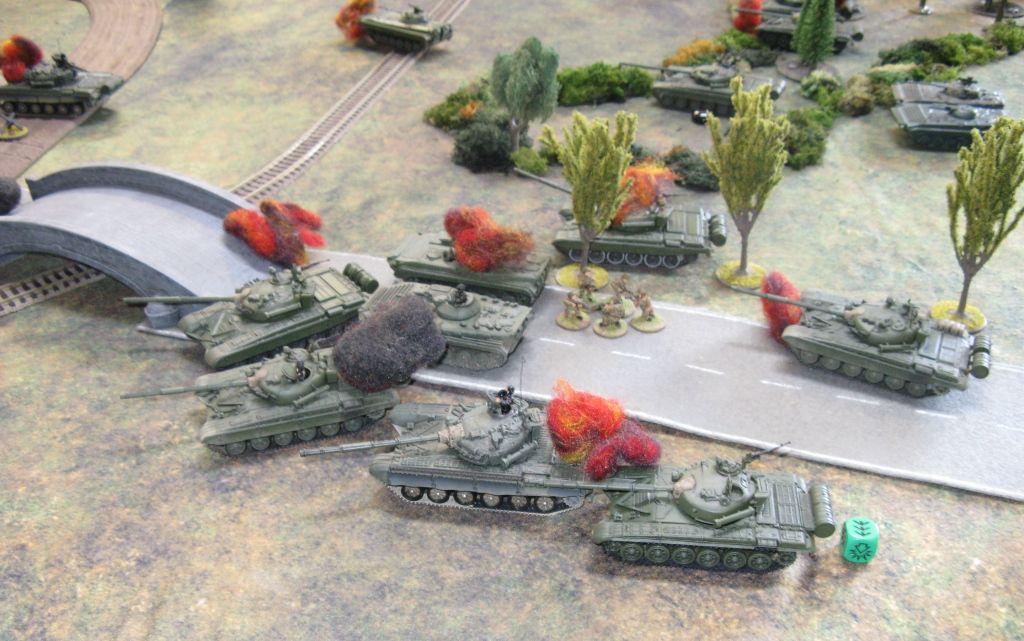
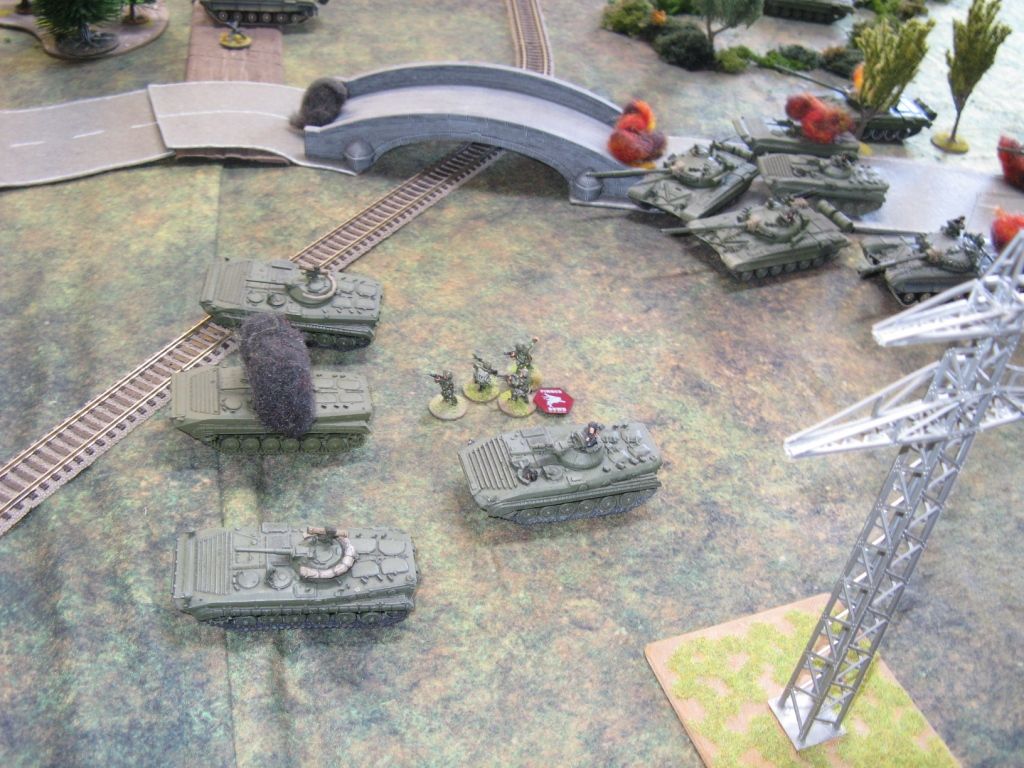
A T-64B & BMP death zone begins to appear around the bridge.  


I seriously believed it was the best way forwards - I swear:


On Table 1, it is a completely different story.  Less terrain actually mean a straighter drive, so Mick was making good progress.  It didn't hurt that Greg was having no luck with the dice while Charles was literally hitting everything he aimed at.


Over the railway - full steam ahead.


The first of a number of Chieftains on this table takes a hit.


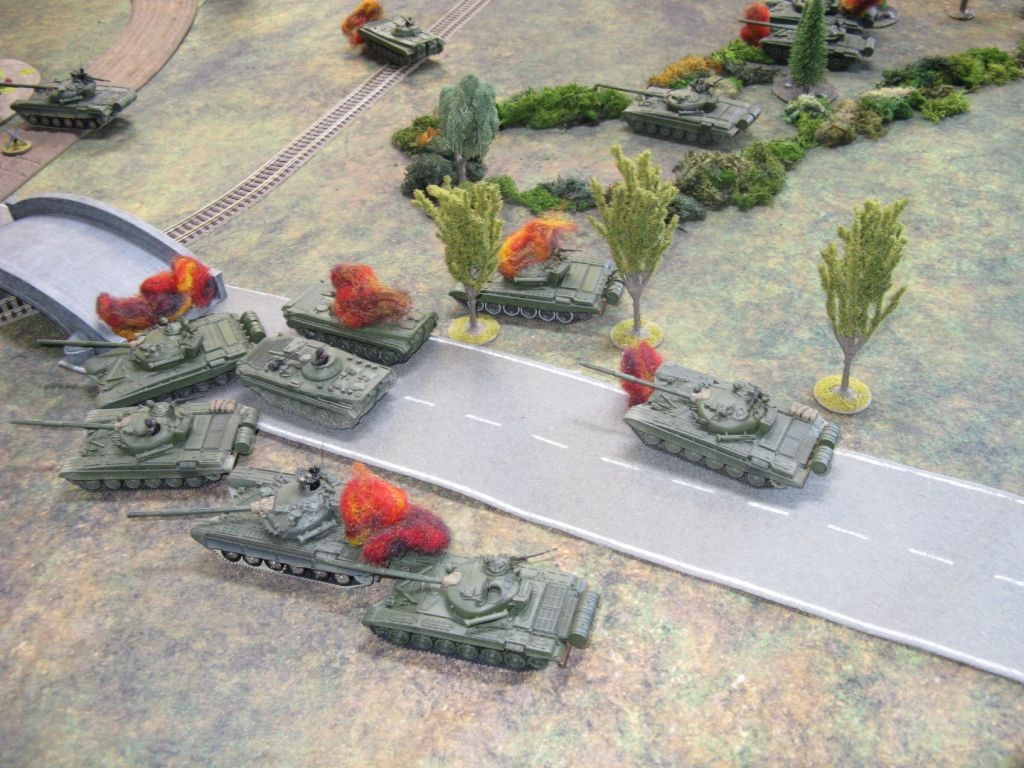
Not that Mick wasn't losing vehicles.  As you can see the Soviets had used so much flamey looking fluff balls that we had to resort to cotton wool to cover the amount of dead stuff we (really me) had.


Getting closer!


OK - now Mick is ready to start rolling up the British flank


Back on Table 2 I almost fainted when I actually killed a Chieftain.  I would be the rather pathetic highlight of my game.  If we ignore the Scimitar, I only suffered something like a 20 to 1 kill ratio - meaning I lost 20 units and he lost 1.  I guess that artillery wouldn't have been such a bad idea afterall!
 

Here's the middle of the beginning of the end.


Here's an example of reinforcing defeat


Here's an excellent example of what happens when you send a platoon of BMPs charging straight at dug-in tanks and missiles.


Here's the remnants of that platoon trying to escape their burning vehicles.


Here's why I'll never be a Hero of the Soviet Union - although, I sure if I survived all this to be able to report...

I could say I brilliantly lulled the enemy into a false sense of security while my partner in the attack rolled up the other flank.

Here are Mick's forces rolling into Lehre - taking the Brits in the rear.


So on Table 1 the Soviets won a glorious victory whilst on Table 2 the Soviets suffered an ignominious defeat.  So -does that make it a balanced playtest?  I kind of think so.

I think the playtest worked.  I don't own any 6mm or 15mm Cold war kit - and had to make do with 20mm gear.  Sure - this would look stupid on a 6' x 4' table - but spread across two 9' x 5' with 4 players it worked well.  No real problems with the rules - sure air did not turn up and our artillery (especially the Soviets arty) was pretty light on - but that didn't stop us having a fun game.

Always lots to think about afterward - but as a good Soviet player, I would have promoted Mick and then taken myself out back and shot myself.
Onwards and upwards

Thanks for looking

Richard