I always wanted to have a SA-9 Gaskin or two - principally an ACE Models one if possible. But alas, to-date, that seems likely to never happen. I did however snag an ACE SA-13 Gopher (which for some reason it doesn't appear that I've ever taken a photo of it and posted it here). At one point I decided to use a spare Britannia BRDM-2 hull and marry it with the Gopher SAM launcher turret, You can see the entried about that here and here.
I was never completely satisfied with that - mainly because you could only have one or the other.
So a while back a friend of mine was putting in an order with Butler's Printed Models and asked if I wanted anything. I'm not a dive in feet first kind of person, so decided to order 3 turrets - which handily enough BPM allow you to order separately. I got an SA-9 SAM turret and two M901 ITV TOW Hammerhead turrets. I'll deal with the later in another post, but once arrived I cleaned up the turret quite quickly and tried it out on the BRDM-2 hull. I was very satisfied with the result.
I then painted it very quickly and took just 1 photo for some reason. Here's the completed model:
Very happy with the purchase. It looks like BPM does some great prints and others that are not so great based on what my mate ended up buying. Glad I put my toe in the water, but also glad I didn't spend up big.
Thanks
Richard
Showing posts with label Britannia. Show all posts
27 April 2020
12 July 2017
Danish Battlegroup
OK - back to 20mm, and back to the Danes for the last time for a while I think.
When finishing the Centurions I thought it might be nice to take a couple of photos of all the Danish armour finished thus far. So without further ado - here we go:
Front Row Left to Right: 3 x S-Model M113 forming a Danish Mechanised Platoon, and a S-Model conversion to a M150 TOW Carrier
Back Row Left to Right: 2 x Airfix and 1 x Britannia Centurion forming a Tank Platoon, 2 x Warmaster M41 Walker Bulldog tanks to field as individual light recon tanks.
I've built an Italeri M106 to add some mortar support to my force, and will also be adding a couple of Unimog trucks, which can play a couple of roles. One day I'd like to add a platoon of Leopard 1A4s as well - maybe when PSC does the Leopard 1 in 20mm.
Anyway - it's likely you'll see West Germans next...
Thanks
Richard
04 July 2017
Danish Centurion Platoon
OK - so there are some benefits of getting sick and having to spend a couple of days at home. For one, despite the remnants of a killer headache, I was able to spend a bit of time and finish off the Centurion platoon.
So - let's get straight into it then:
Centurion 1
Centurion 2 (Platoon Commander)
Centurion 3
So Centurion 1 and 2 are Airfix, while Centurion 3 is by Britannia. It appears that I completely forgot to green stuff the Britannia tank, which I'm both annoyed at and thankful for. Annoyed that I forgot to do it, and thankful I didn't, coz I'd still be doing it months later!
All the tanks have AB Figures crew and S&S Centurion smoke dischargers. Centurion 1 also has an S&S turret bustle. The LLTV sights were scratch built by me, along with the turret bustle on Centurion 2 and some other bits and pieces on the two Airfix Centurions. I added all the camo nets of course.
Finally some shots of the Platoon together:
02 July 2017
Danish Centurions - Work-In-Progress - Part 5
Well my plan to have these finished about a week ago got interrupted by real life, Battlegroup: NORTHAG and plain old end-of-financial-year exhaustion. So things have not progressed as quickly as I hoped, but over the weekend I made some progress.
First thing you'll notice is that I'm back to 3 tanks. I followed the advice of Rolf from a week or two back, and covered the tacky tracks with undiluted PVA glue (and then threw away the brush!). I left it to dry for 24 hours and lo and behold, it was no longer sticky! Yah! So the Centurion on the left is the one I put to one side previously, but is now returned to the fold.
The central tank is the Britannia one. It comes with the driver hatch open and crew figure molded in as part of the resin tank. The driver was missing most of his head so I loped it off long ago. I decided to replaced it with a AB Figures head (to match the rest of the crew), but after chopping up the AB figure and cleaning up the head it just didn't look right. So I decided that I needed to clean out the whole driver and put in a new Britannia 1/2 figure. So I did that, then decided he would look out of place and decided to do another AB half figure.
So long story short, once I stopped dithering I started work on all the crew figures, which should be ready for the next photo. Before I add them I have to decide on decals, then do the weathering, and then add the crew.
So maybe next week... who knows... obviously not me!
Thanks
Richard
21 June 2017
Danish Centurions - Work-In-Progress - Part 4
Another quick update as we are closing in on the finish line with these 2 Centurions. Last night I was able to get a fair bit of work done (not that you can really tell in the photos...) with several dry-brush coats over the light green:
Then I had a little time left so started to paint the first colour on the cam nets on both, and the ammo cans and Jerry cans on the Britannia Centurion.
So hopefully these two will be finished over the weekend and ten I just have to deal with the "Tacky Tracked Beast from Hell" to finish off the platoon.
Thanks
Richard
20 June 2017
Danish Centurions - Work-In-Progress - Part 3
Very quick update today. Last night I black-lined 2 of the Centurions and took a quick pic:
I was trying to have these finished by Friday, but very much doubt that will be the case!
Anyhow - that's it for now.
Richard
I was trying to have these finished by Friday, but very much doubt that will be the case!
Anyhow - that's it for now.
Richard
19 June 2017
Danish Centurions - Work-In-Progress - Part 2
Back in May 2015 I posted Part One of a Work-In-Progress for my Danish Centurions. At the time I had made two Airfix Centurions and needed another one to make up a Platoon. Finding a third Airfix one proved essentially impossible, so I got a Britannia Centurion instead.
I needed to adjust the Britannia Centurion slightly as it is representing an Aussie Cent in Vietnam and has two spare wheels on the front glacis. They were carefully removed and some camo netting placed there to cover any mistakes. The head of the driver was severely miscast and had to be loped off! Poor chap. Apart from that I added some S&S Centurion smoke dischargers and filled in as many holes as I could before it drove me insane. (Still missed plenty).
I sprayed all 3 of them black a month ago or so and that's when I hit my first major (and still not resolved) problem. One Airfix Centurion took the spray perfectly, while the tracks on the second one turned extremely tacky and went glossy and remain so to this day. It makes it really tough to handle the tank and I'm not 100% sure what to do at this point. So after this WIP I'll concentrate on finishing the other 2 and then turn my attention to the one that's not playing nice.
Anyway - so rather than taking my normal route of masking off some black areas and spraying, I decided to simply brush paint on the light green cam colour. Here is how they turned out:
So that's looking OK - ready of the next few steps... You can see the Centurion in the middle is sitting on an old Itunes card. I didn't want it sticking to my desk and if you look closely you can see track marks on the card! It leaves marks on you finger when you pick it up wrong as well.
So let's ignore that one for now and over the next few days, I hope we'll see progress in the other two.
Onwards and upwards
Richard
30 April 2017
SA-9 Gaskin
Fear not, dear reader - this is not another randomly started and never finished work-in-progress post, but finally a finished product post. And it will be a short one.
Over the weekend I knocked out the Britannia chassis/main body BRDM-2 so it could be fitted to the SA-13 launcher turret to make it into a good proxy for a 9K31 Strela-1 SA-9 Gaskin which you can read about on wikipedia here if you so desire.
Anyway - onto the completed model photos:
So there we are - project and SA-9 completed.
My BRDM collection continues to grow...
Thanks all
Richard
26 April 2017
Here comes another one! SA-9 Gaskin Work-In-Progress
I’ve always wanted an SA-9 Gaskin for some reason. Probably because it was pretty common but I’ve
always liked the vehicle. When I was a
kid (and had no $$) I somehow was able to get a couple of bits of micro armour –
no idea where from – and I chose a Gaskin and a Scorpion. So I guess I’ve liked it for a long time!
Anyway… I wanted
to get an ACE Models SA-9, but they are literally as rare as hen’s teeth and
the 1 I found on Ebay (in years of looking) went for a lot more than I was
willing to pay. So the dream died a little
bit.
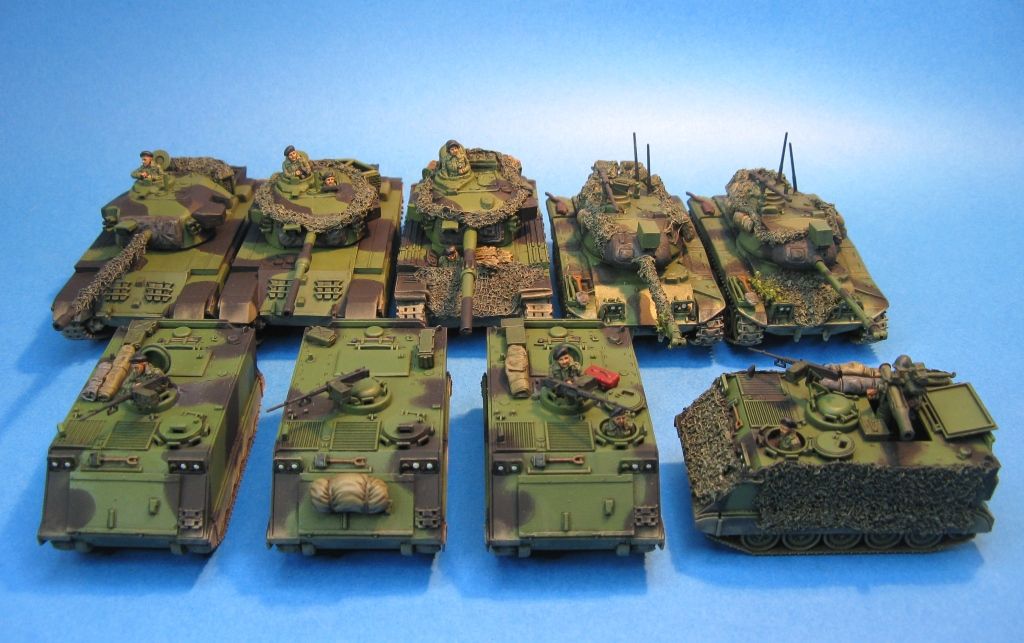
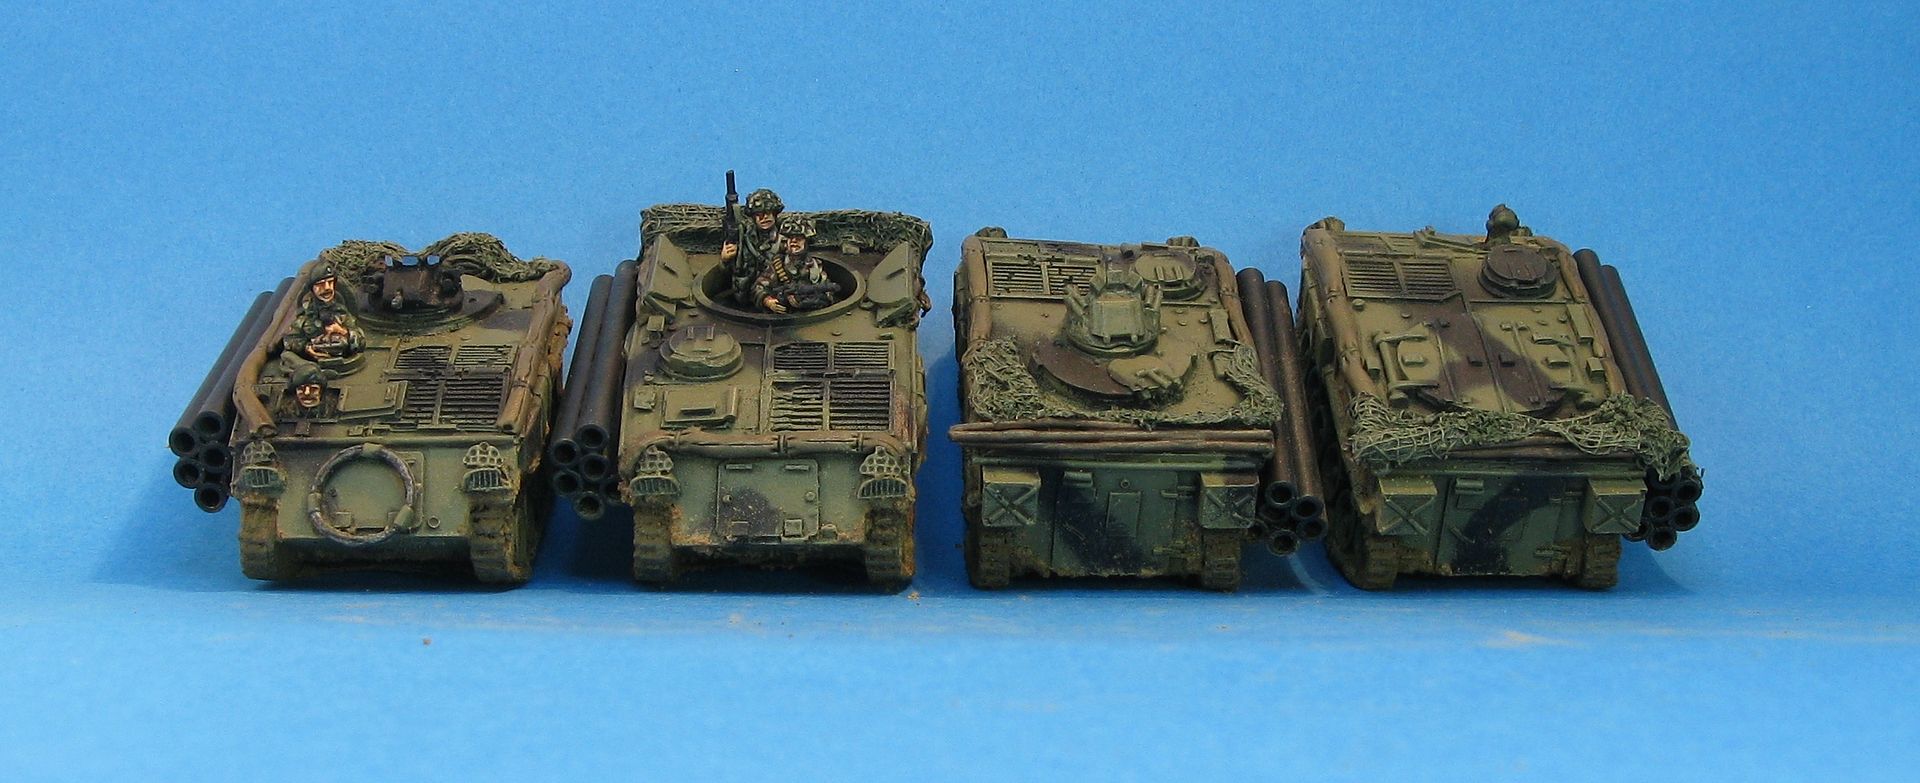
This has meant that whenever I put together a Soviet
force and want to add a mobile SAM I go for a SA-13 Gopher – as I have the
model. In my lists this is a bit more
expensive than a SA-9 – as it’s a better missile.
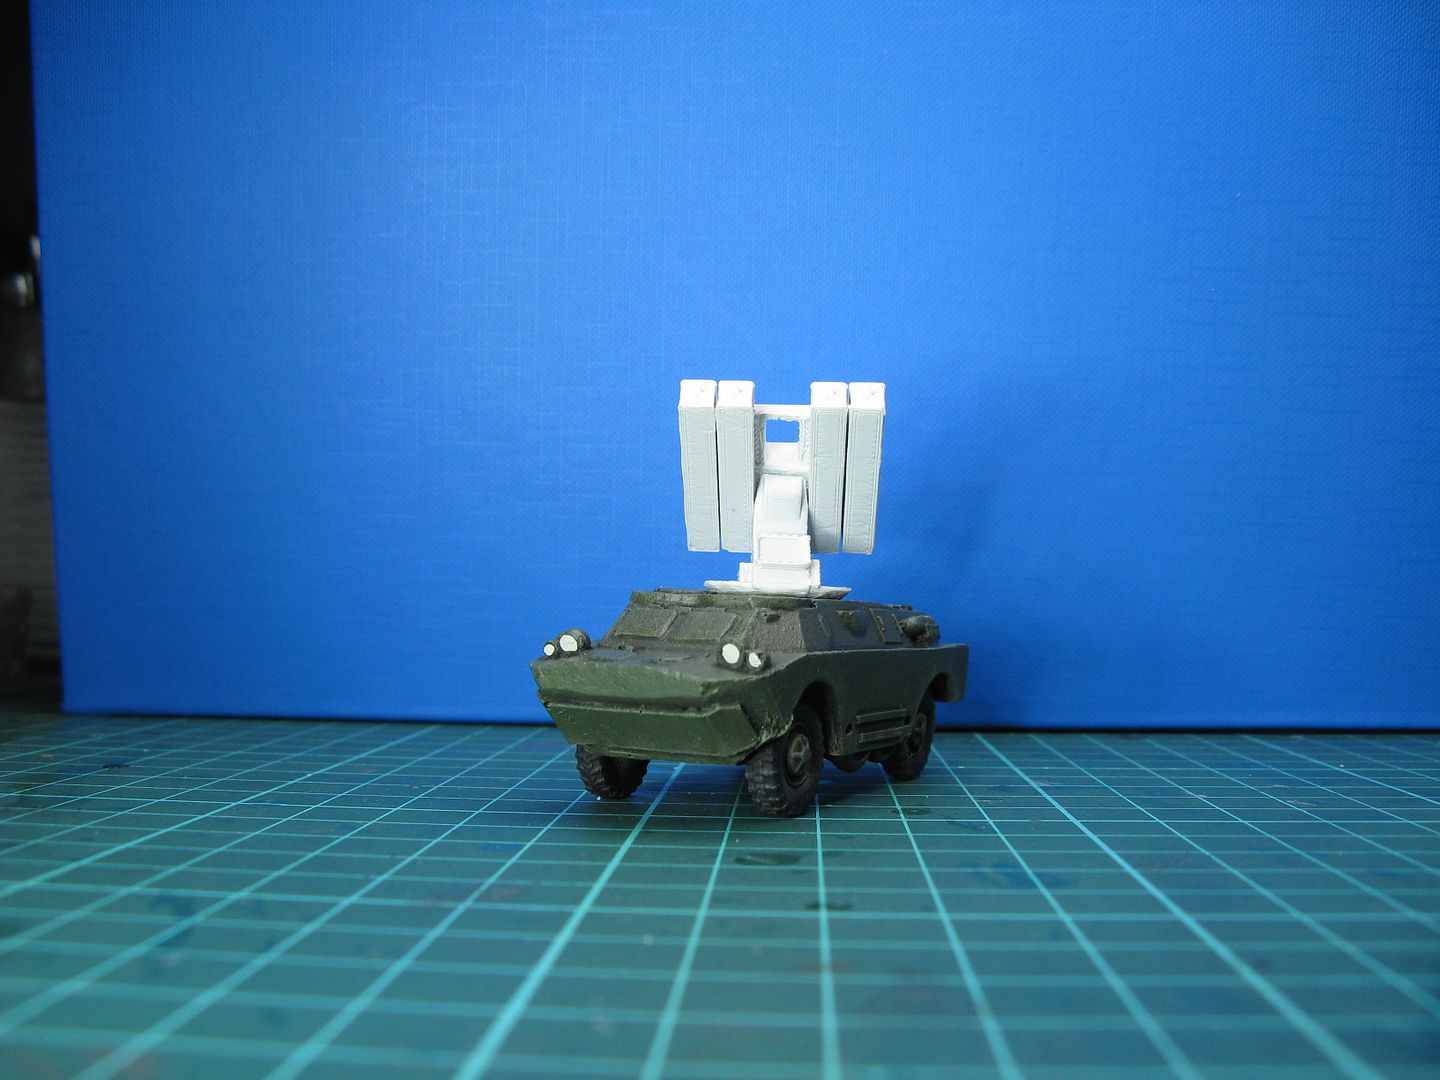
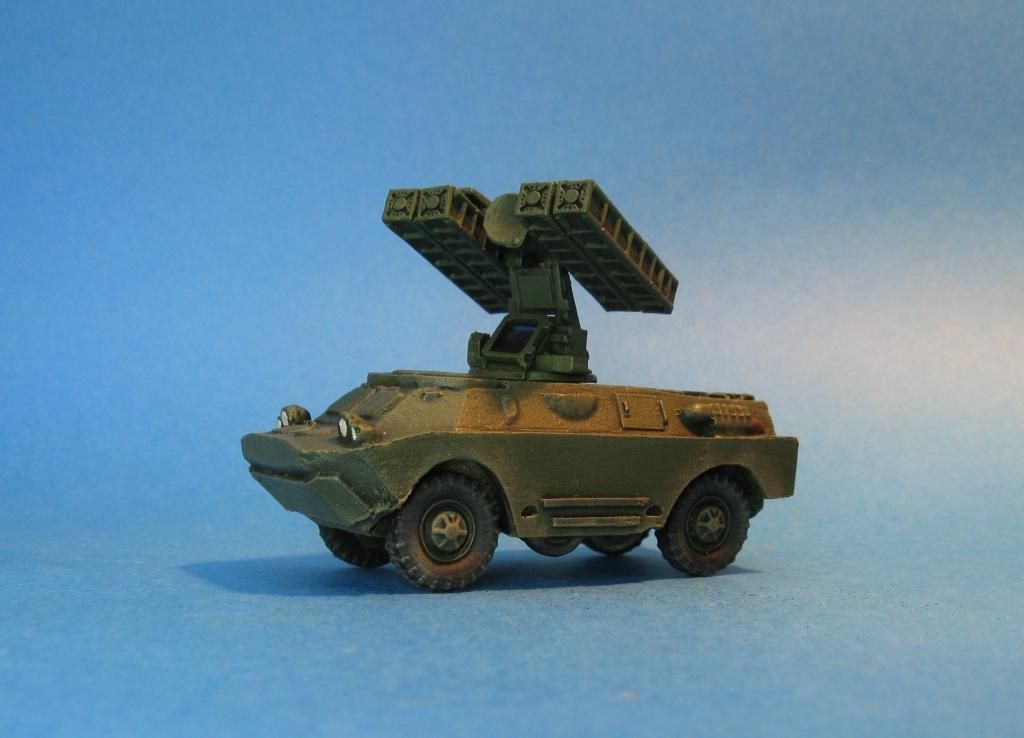
One day I was thinking about it, and I realised the SAM hammerhead
on the SA-13 is almost identical as on a SA-9.
Hang on a moment… I stopped
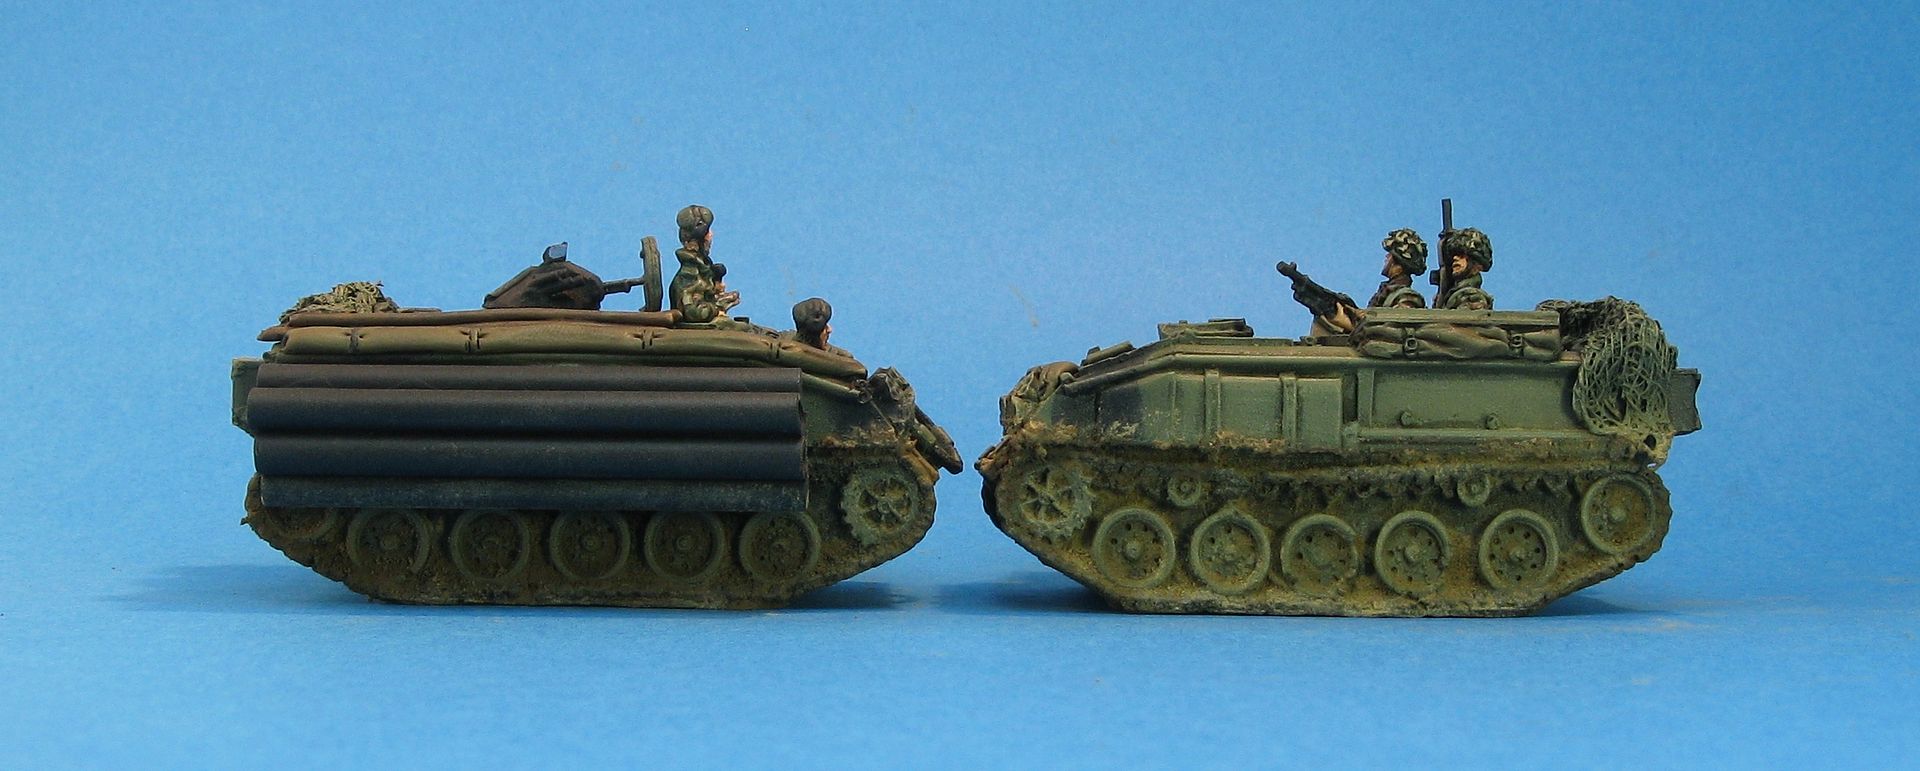
whatever it was I was doing and went over to my cabinet and grabbed a completed
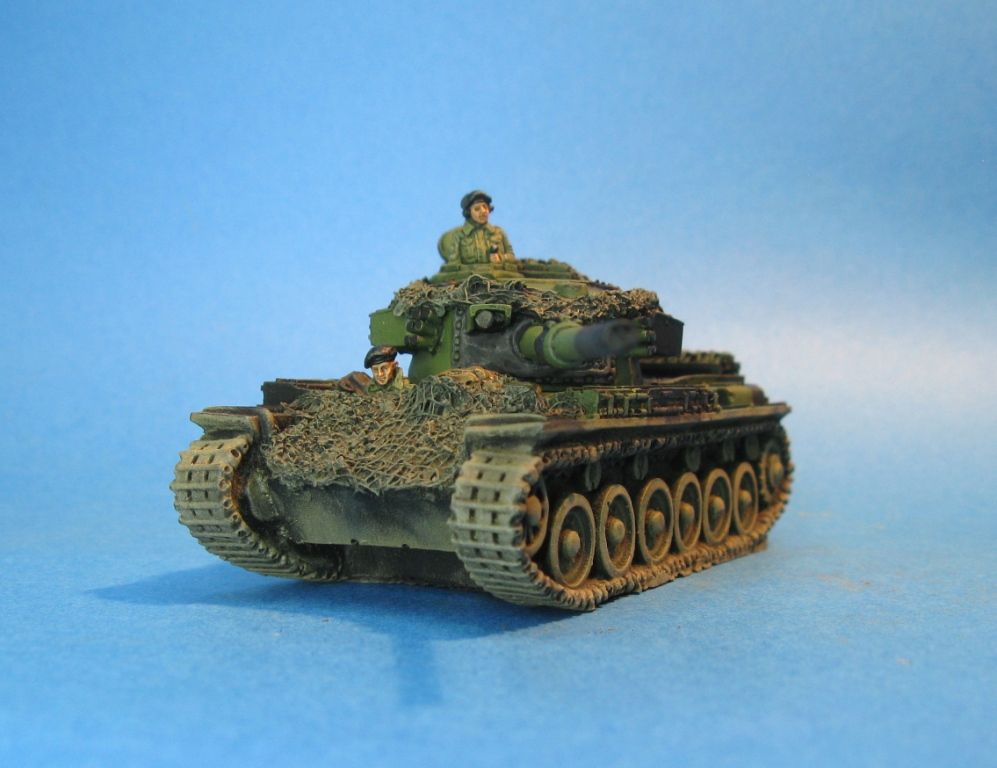
Britannia BRDM-2 and the launcher hammerhead from the SA-13 and put them
together. Not an exact fit – but good
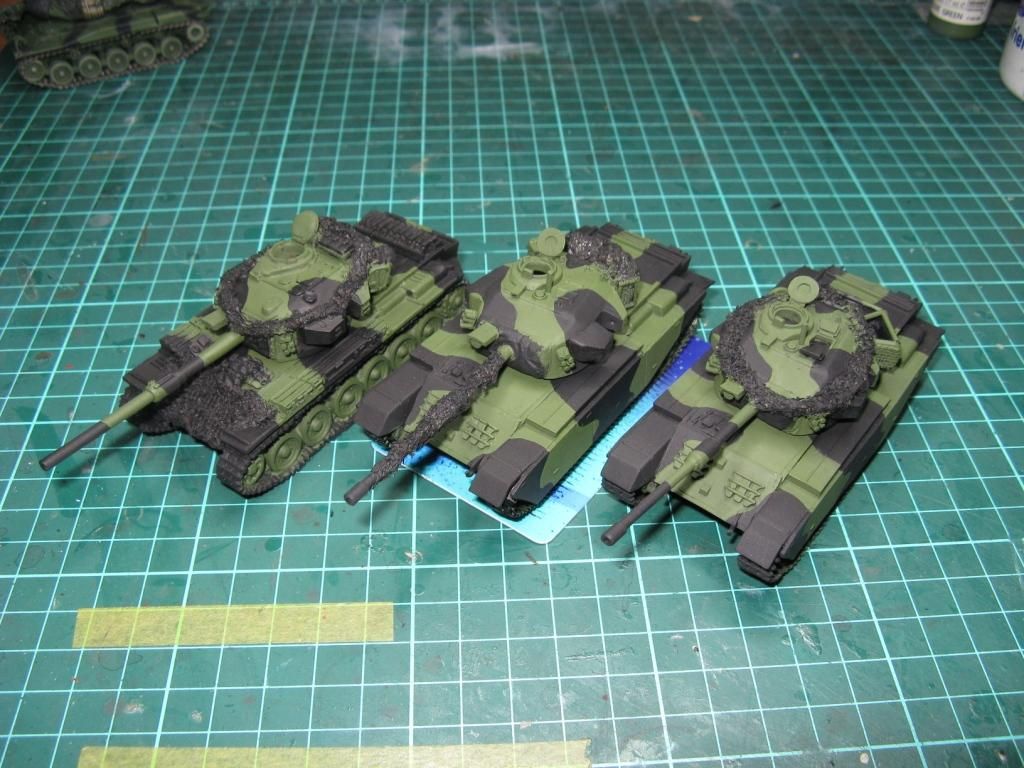
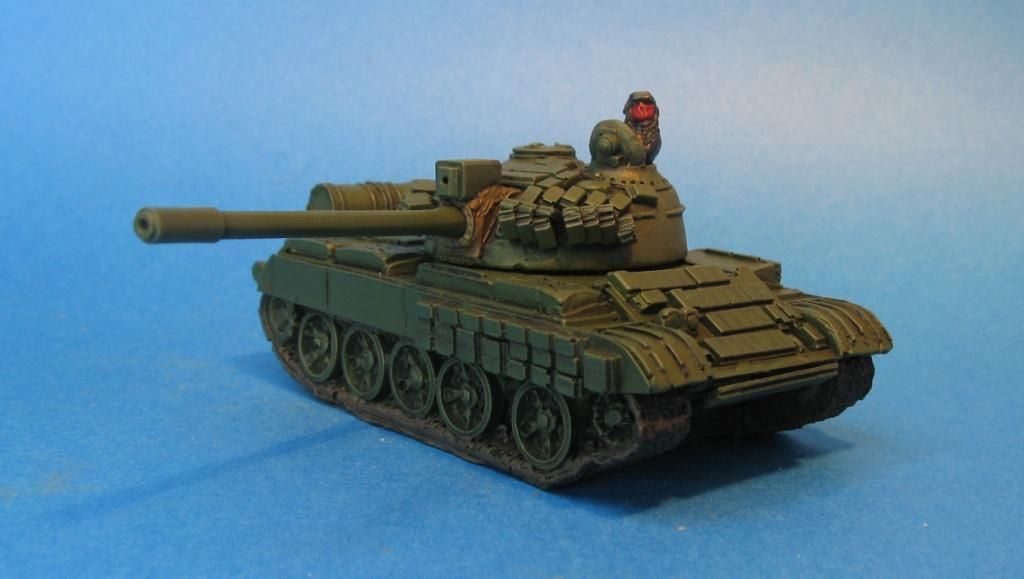
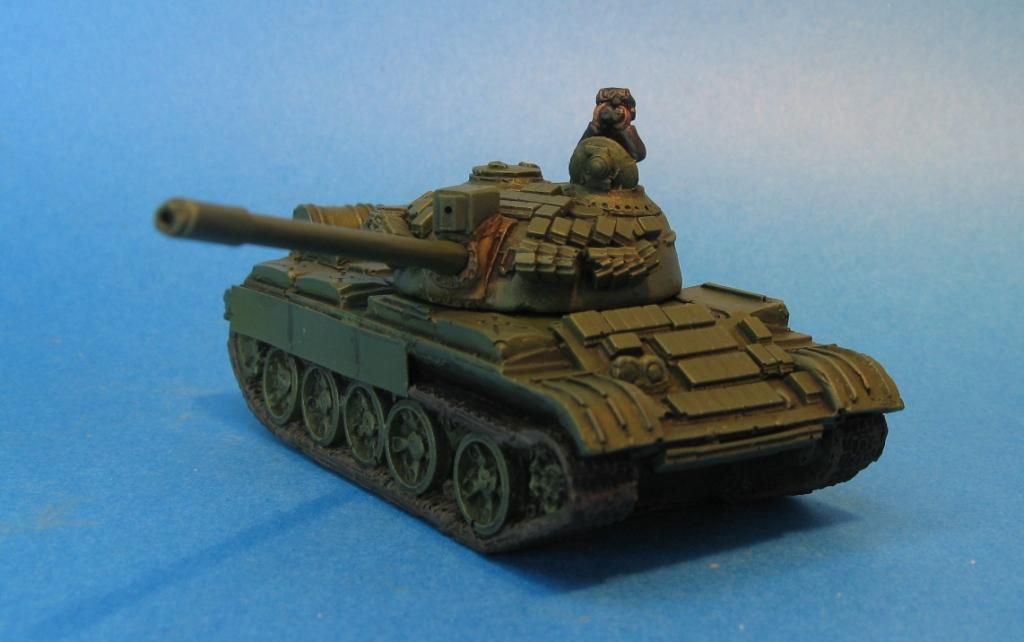
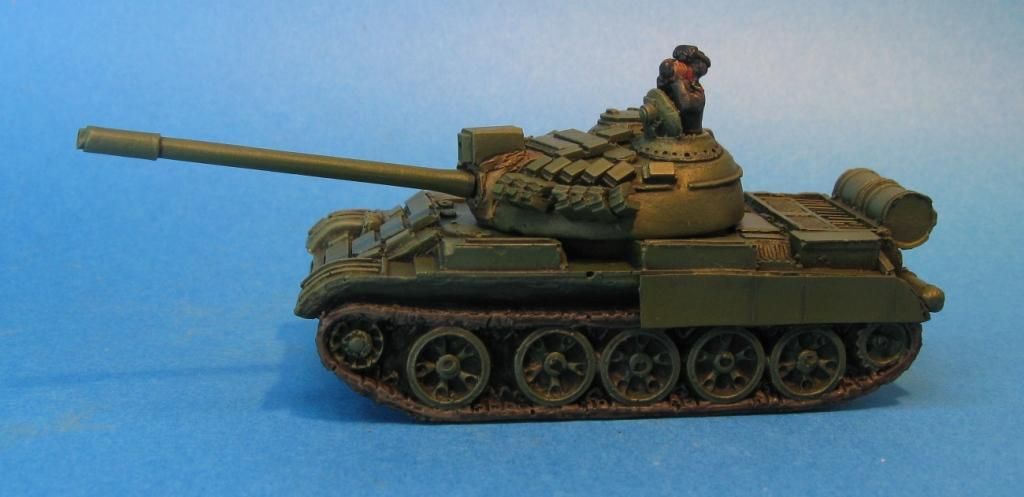
enough to game with. In fact, you may
not have noticed but I included this very slap-dash conversion in my last two
games:
Its the one with the red square around it!
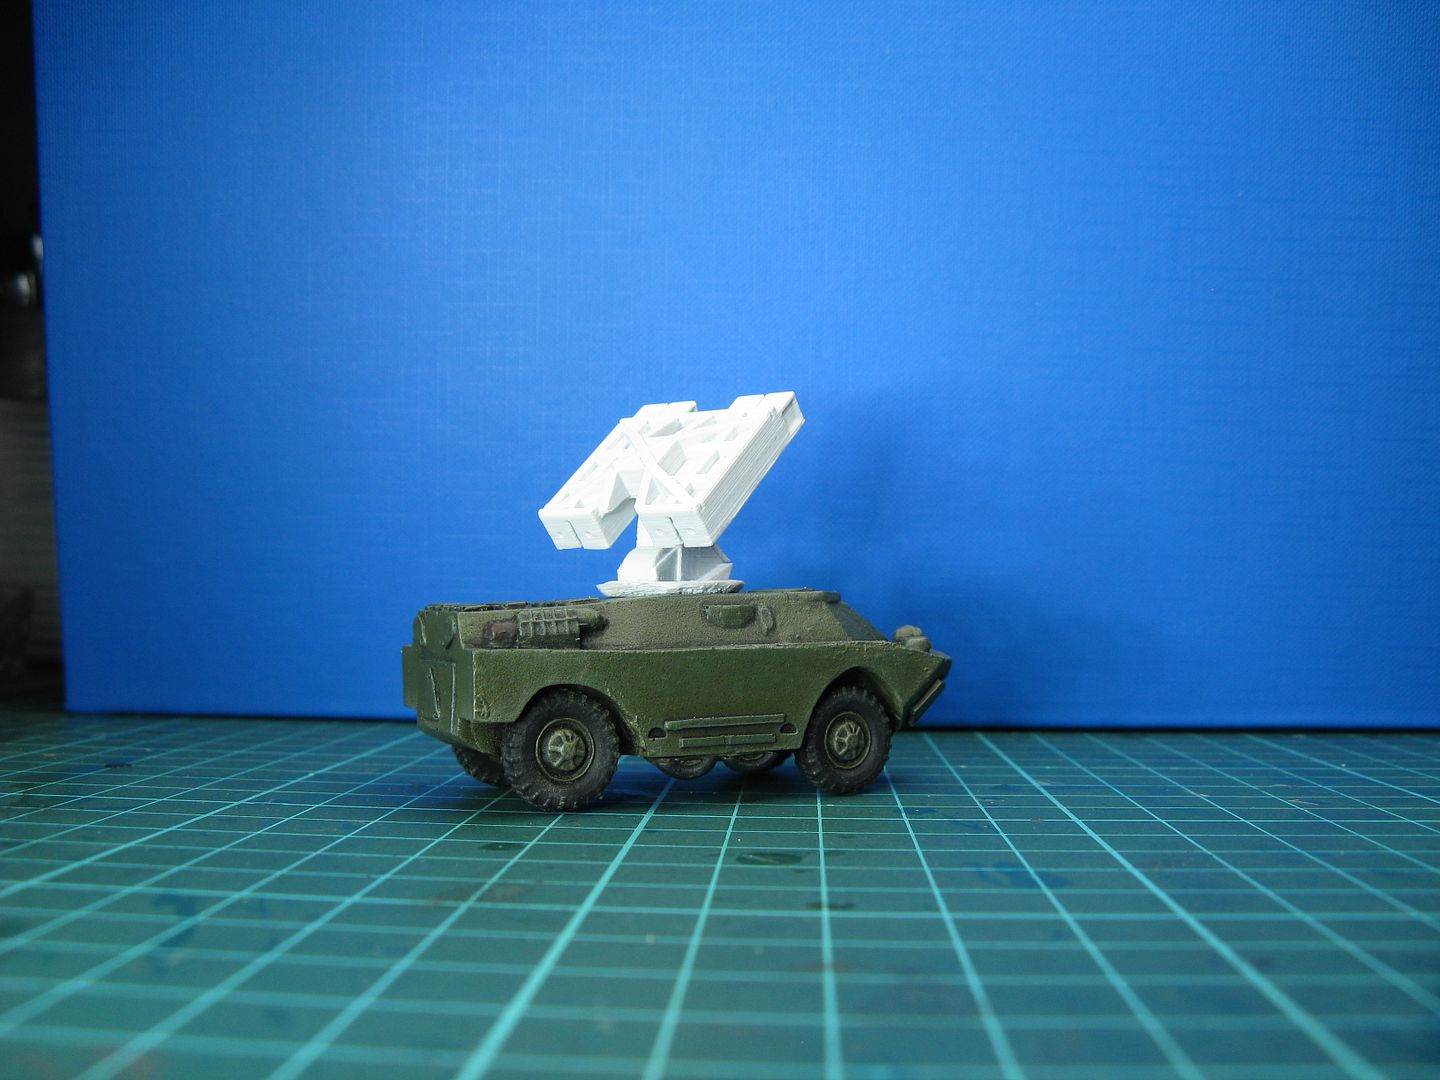
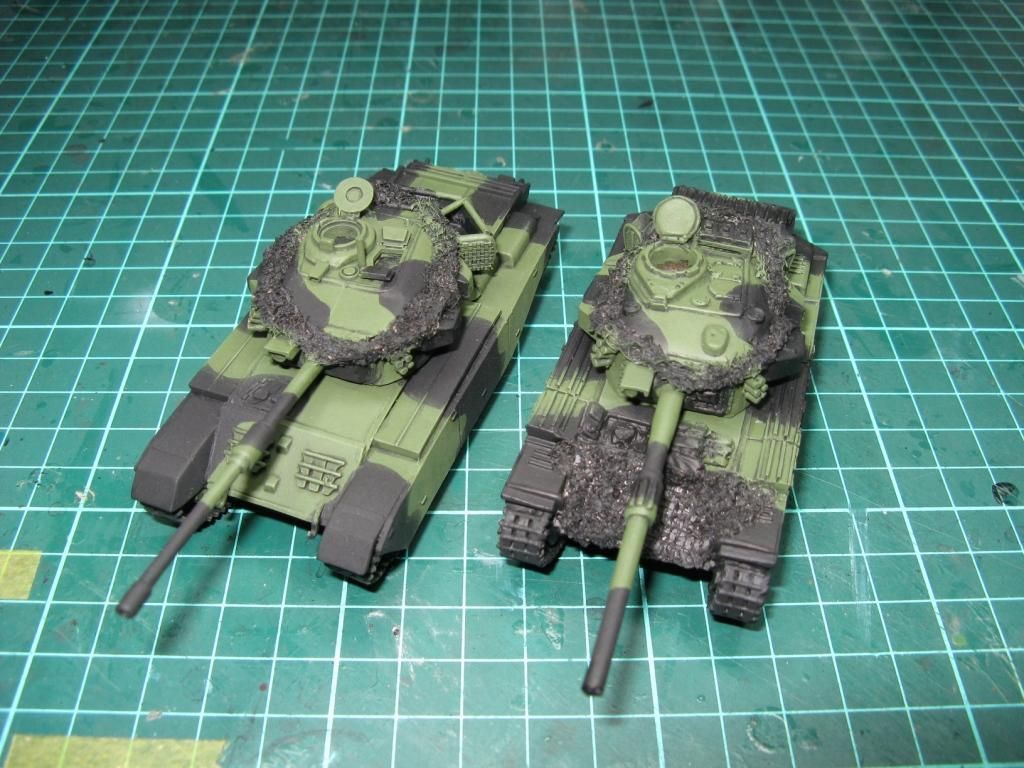
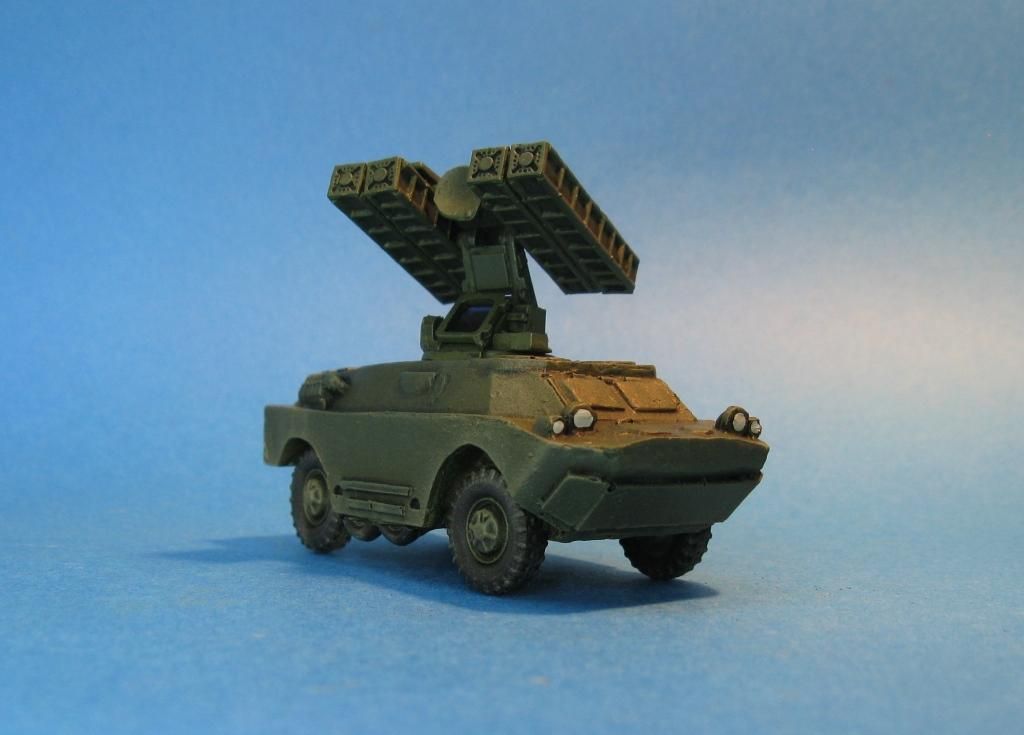
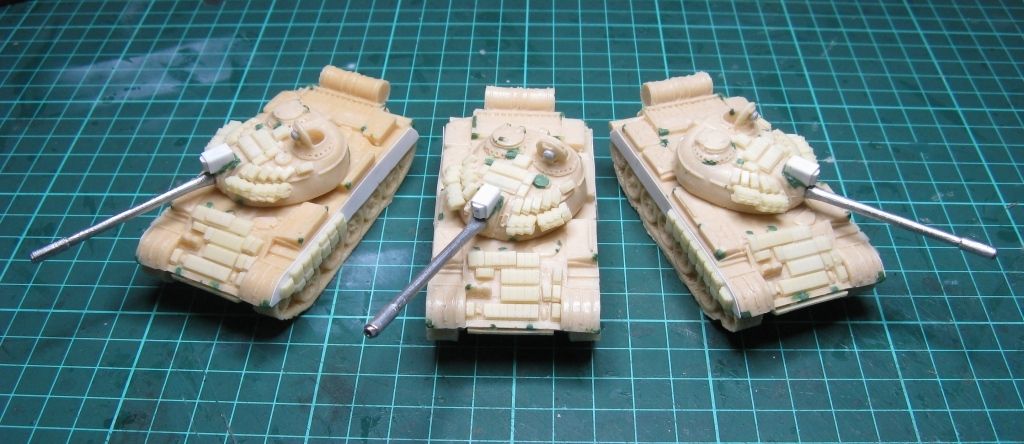
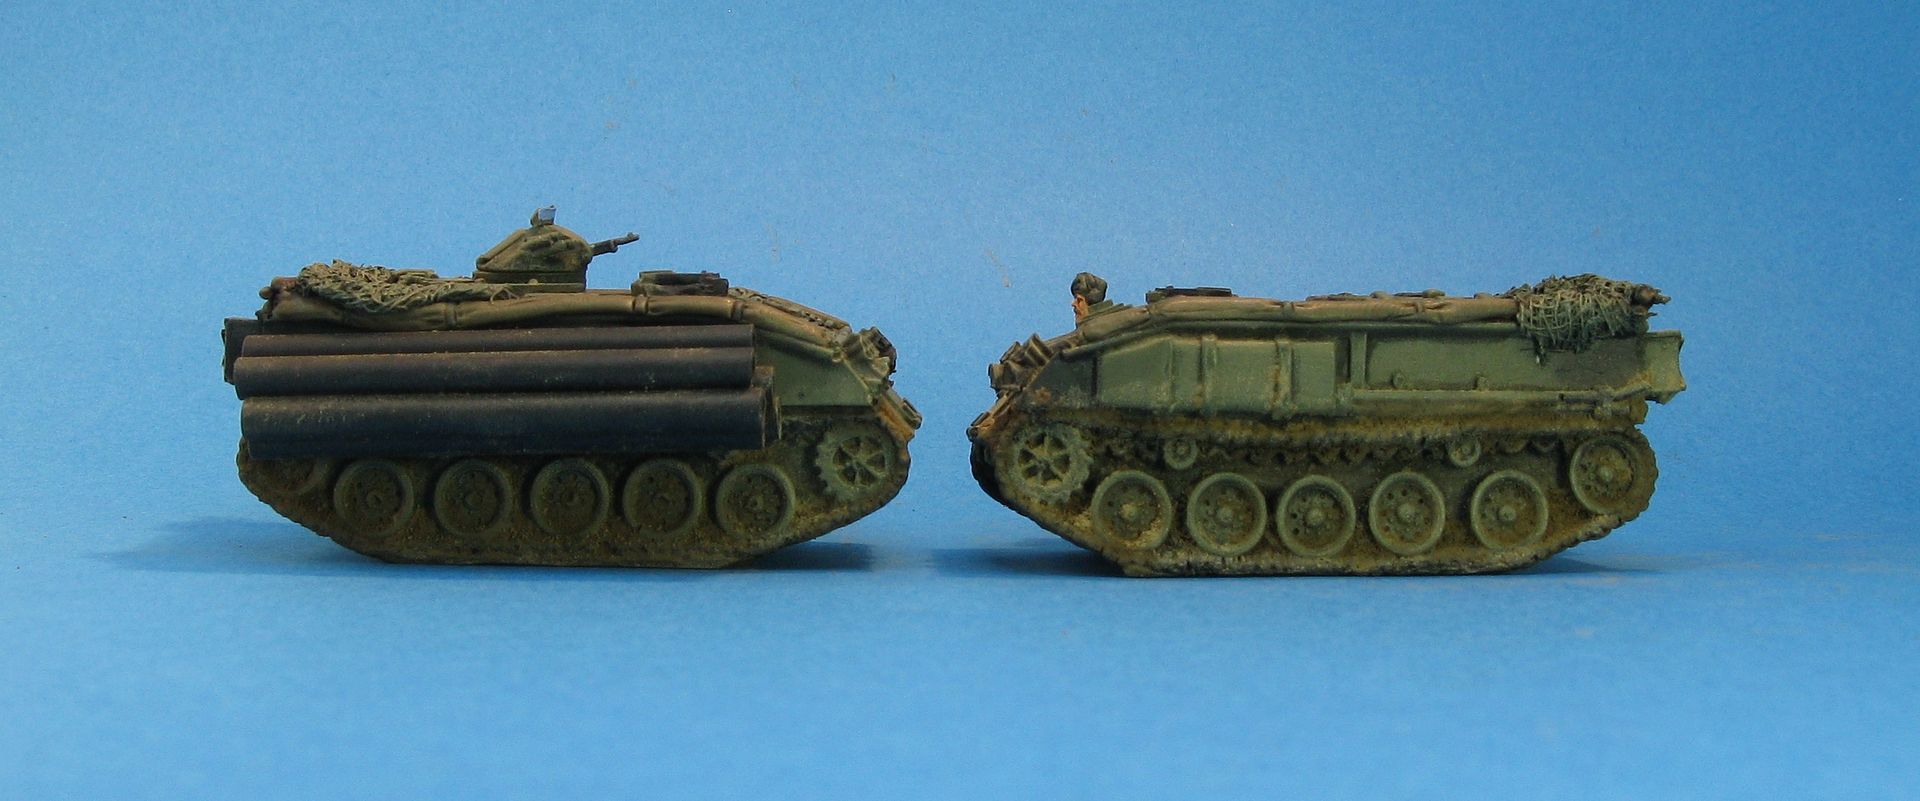
So then I decided to do a new Britannia BRDM-2 – slightly
modified to better accept the ACE Models SA-13 launcher. Essentially all I did was add some plastic
card and filler to make the SA-13 launcher head fit slightly better:
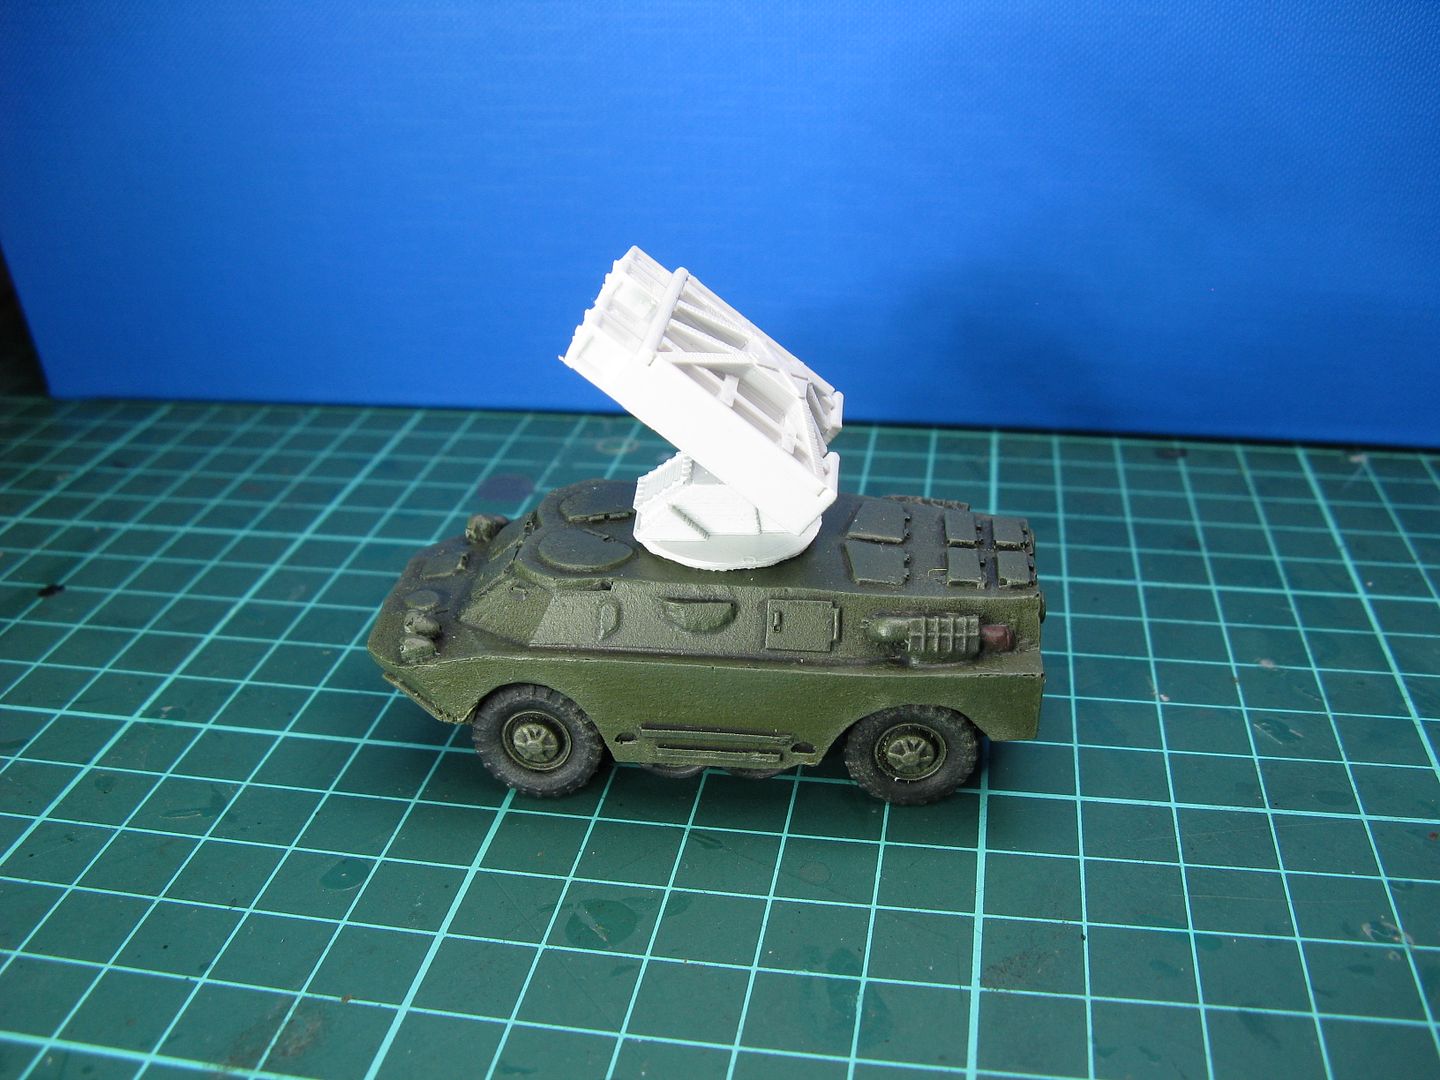
You can see it needed a bit of green stuff work as well.
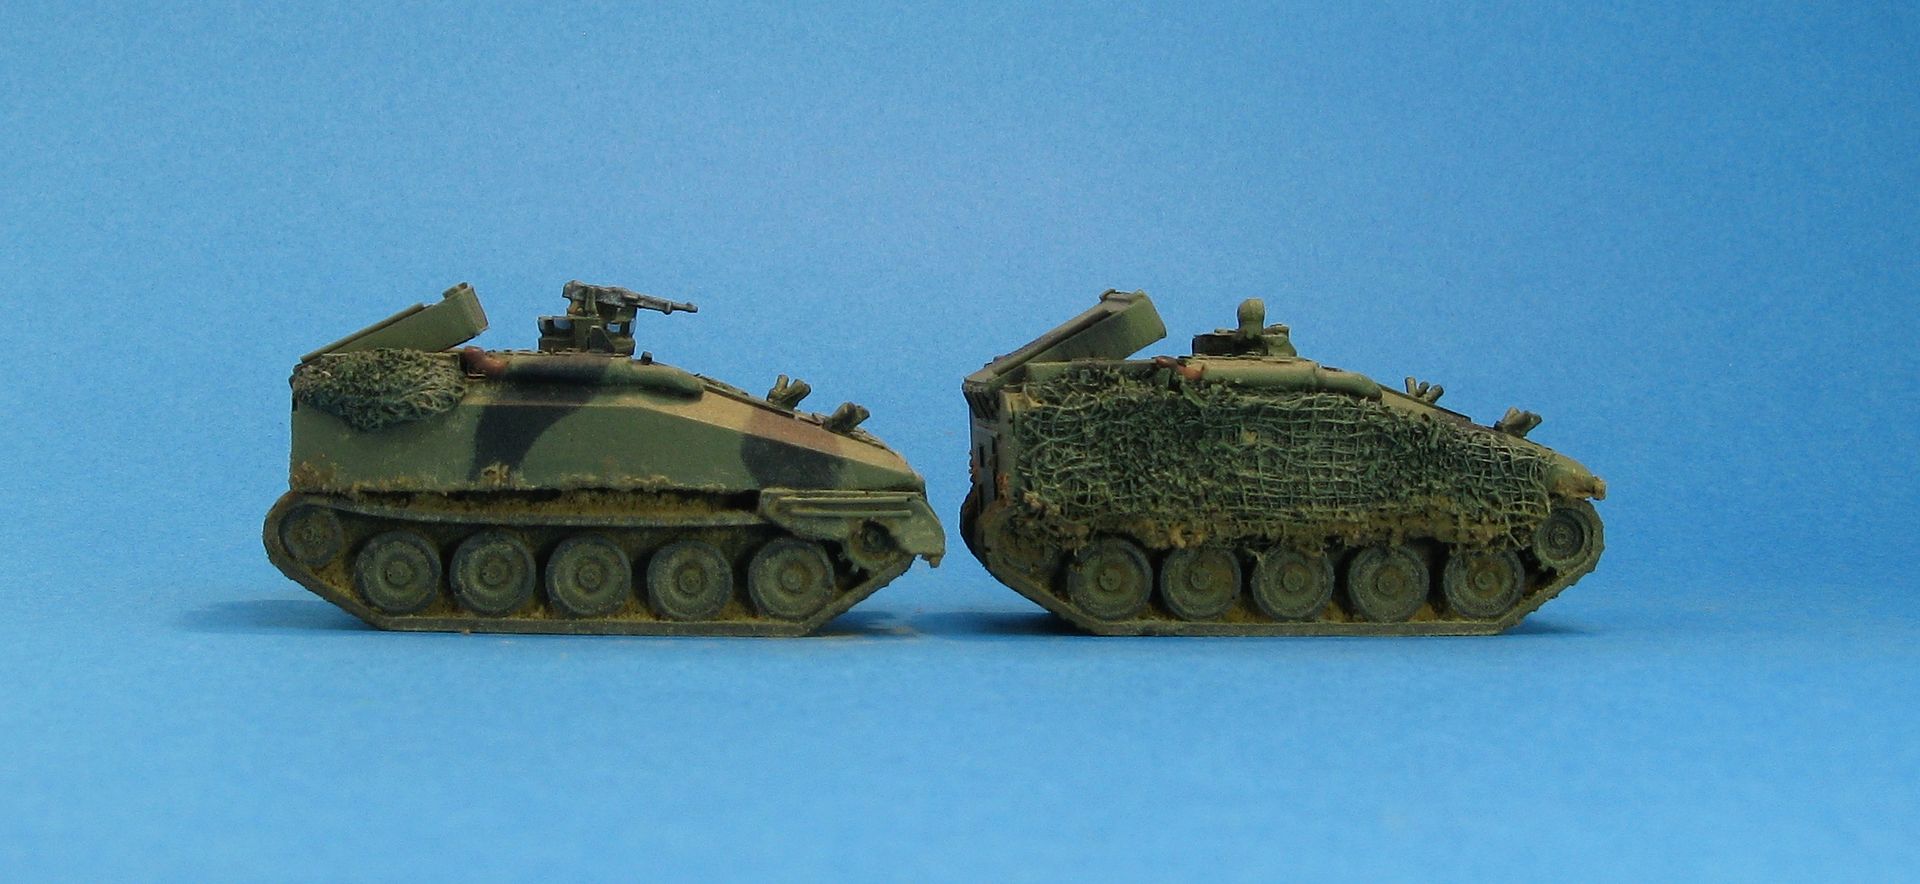
So here is how it might look with the launcher added:
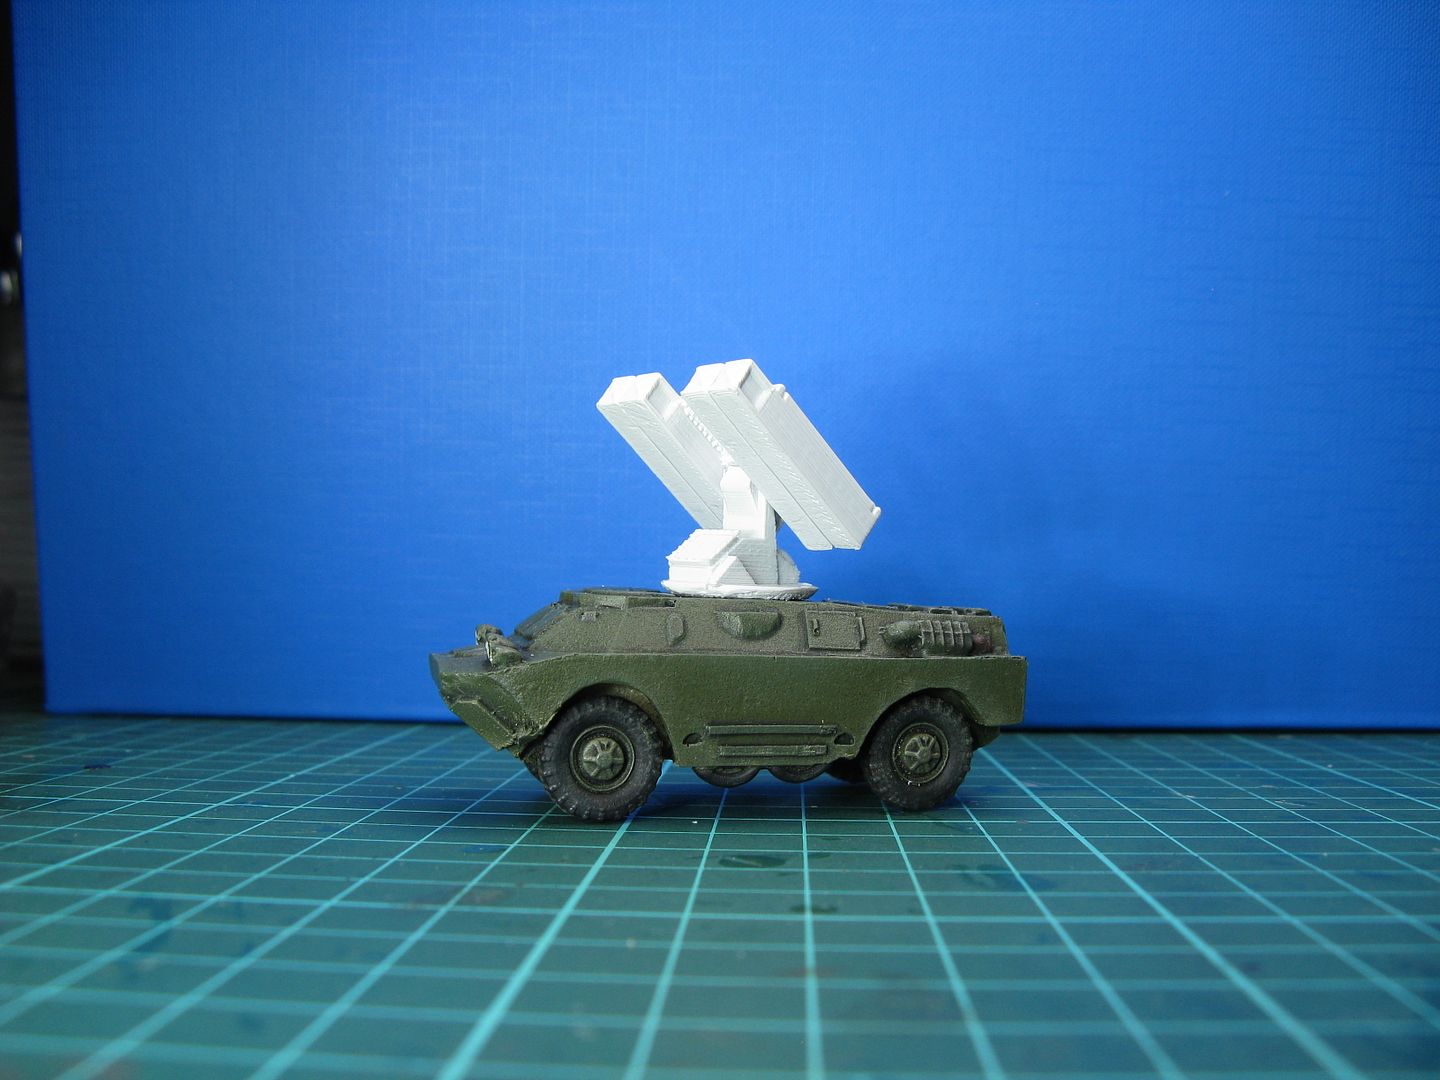
So now it just needs to be painted and I have a dedicated
BRDM-2 body if I want to use a SA-9 Gaskin.
Of course this does not solve the problem if I want to run a force with
both a SA-9 and a SA-13, but I think the chances of wanting to do that are
pretty slim.
So I’m putting this down as a win – just a worry that it
took me something like 4 or 5 years to work it out! D’oh!!!!
Have fun
Richard
11 December 2015
Self-Propelled Mortar Collection
Just for a bit of fun I got all my self-propelled mortars out for a look - now the "set" is complete. this does not of course mean it won't ever be added to - but the SP mortars for my 4 main forces are now done.
From left to right there are 2 S&S Models US Army M106s, the a single Italeri (conversion) West German Panzermorser, then a Soviet ACE Models 2S9 Nona, a S&S Models West German panzermorser and then finally 2 Britannia FV432M.
Quite a useful little bunch of models...
Thanks
Richard
From left to right there are 2 S&S Models US Army M106s, the a single Italeri (conversion) West German Panzermorser, then a Soviet ACE Models 2S9 Nona, a S&S Models West German panzermorser and then finally 2 Britannia FV432M.
Quite a useful little bunch of models...
Thanks
Richard
01 October 2015
T-55AMV Platoon - Completed!
Back in August I showed you a W-I-P of some Britannia T-55s I was converting into T-55AMV. They are now "finished" - as in good enough to take photos, but no real weathering - so I thought I'd put them up.
As I said before my ERA work on the turrets is pretty dodgy - but considering what I was working with I'm quite happy with the results. And apart from some mud I'll never have to touch these crappilycast models ever again!
Crews are by Liberation. I'll be getting some Elhiem ones shortly...
So here they are:
So there they are...
One step closer to Norway!
Thanks
Richard
06 August 2015
Soviet Naval Infantry - T-55AMV Platoon - a Work-in-Progress
Back to the Northern Front theme...
After several years of poo-pooing T-55s and PT-76's as "too old" and "something I didn't need to get", I'm now the proud owner or several and am about to get one more very special T-55AM. But before that happens, I've been working on several Britannia T-55s with the ultimate aim of having them look like this:
Now I'm not aware of any current (may be some planned) T-55AMV kits - so I decided the 3 Britannia T-55s would form a decent foundation for the AMV variant. To say I was very disappointed with the T-55s as they stood (when compared to say a Trumpter T-55) is a massive understatement. The Trumpeter kit goes together like a dream. and while the Britannia resin model is only several peices, I've spent hours going over them, green stuffing air bubbles and trying to fix massive blemishes. The resin has to be the cheapest I've seen in a model kit, and crumbles as you cut it. The end result - before adding anything to them, was a long way from perfect - more like I just gave up...
So, through several hands (thanks to John and Michael) I managed to get my paws on some resin cast ERA blocks. I added some card side skirts and glued on the bricks as best I could.
And ended up with a slightly dodgy "representative" platoon of T-55AMVs that will suffice very nicely until something (alot) better comes along.
Here they are just before I sprayed them:
I also added a laser range-finder above the main gun and a light near the Commander's hatch.
Under the 3 foot rule, I hope they will look fine...
That's all for now - next up some much better PT-76s... Off to do some spraying!
Thanks
Richard
29 March 2014
FV432s (and more) finished...
So the latest Guild group build (part 1 of a year long build) finishes tomorrow and I managed to finish my entry today.
Basically I have completed 2 FV432 platoons and 2 CVR(T) Strikers. These have been painted in my standard way - as explained in the previous Work-in-Progress posts here. The only real difference with my previous British cold war kit is that I used the PSC British Armour spray as a base coat - and I used Vallejo Pigments and Binder to complete the vehicles today.
If you want to be picky, you could say they are still kind-of unfinished as I've yet to put decals on - but that may never happen so I think they are pretty much done.
Less chat - on with the pics!
"A" Platoon
"B" Platoon
These are all Britannia FV432s, fairly extensively stowed and 4 of them have had S&S Models Peak Engineering Turrets added. All the figures are also Britannia and come with the vehicles.
As I said I also finished 2 S&S Models Strikers:
Put everything together and this is what you get:
That's it for now...
Thanks
Richard
Subscribe to:
Comments (Atom)


