Let the Game begin…
Just a small disclaimer – I played the Soviets in both
games so the ARRs will be largely from my point of view. Sorry…
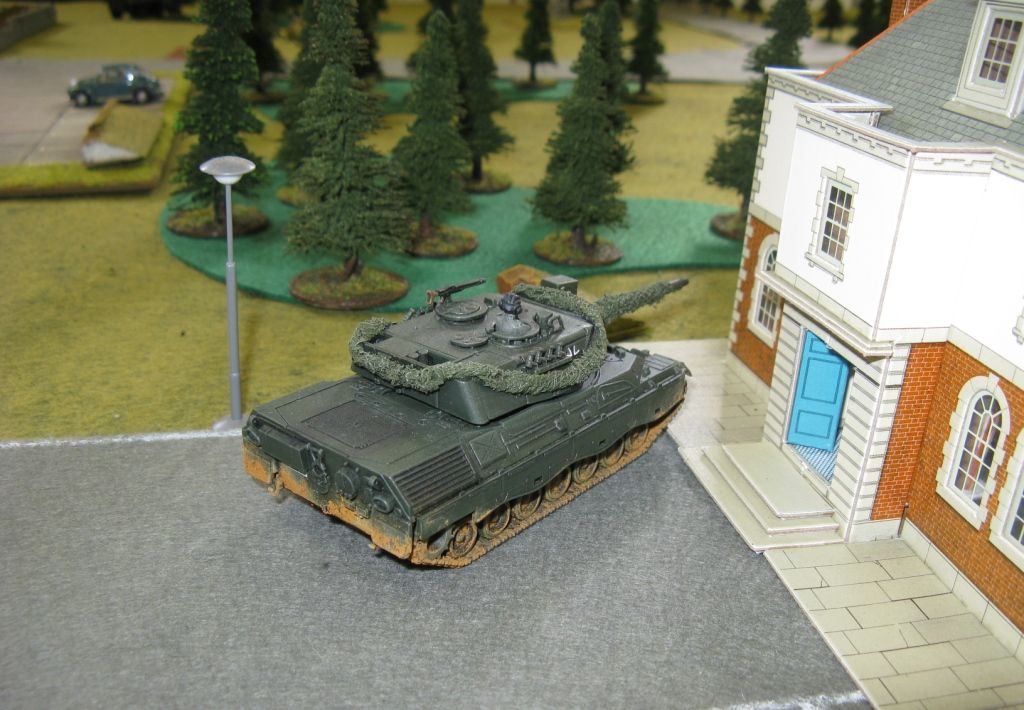
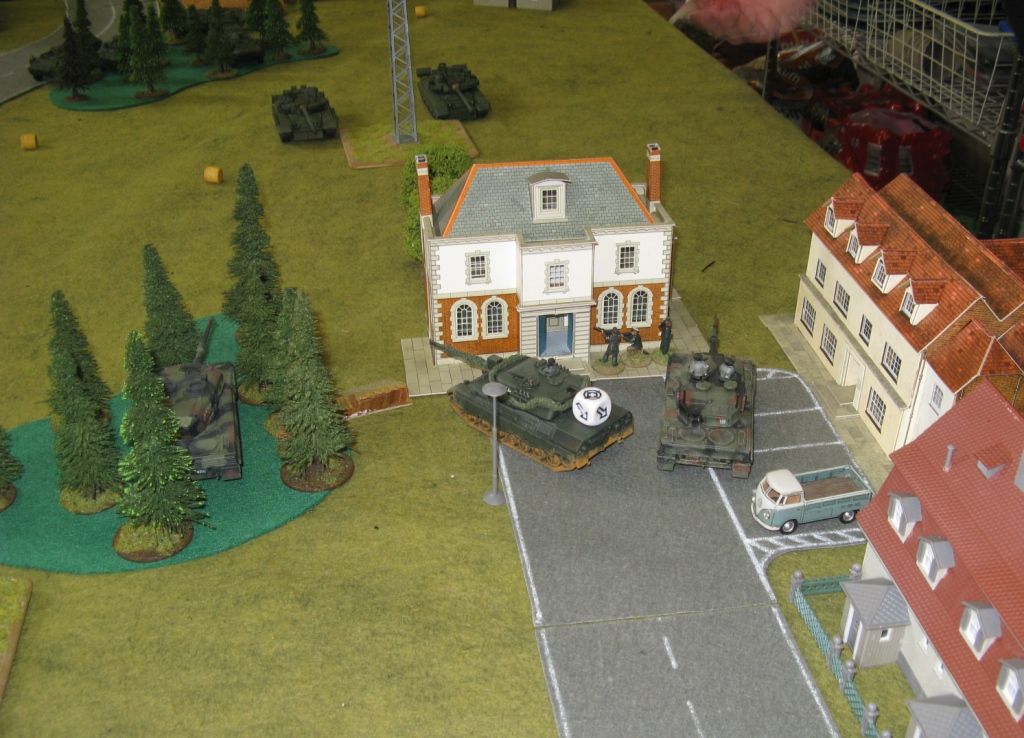
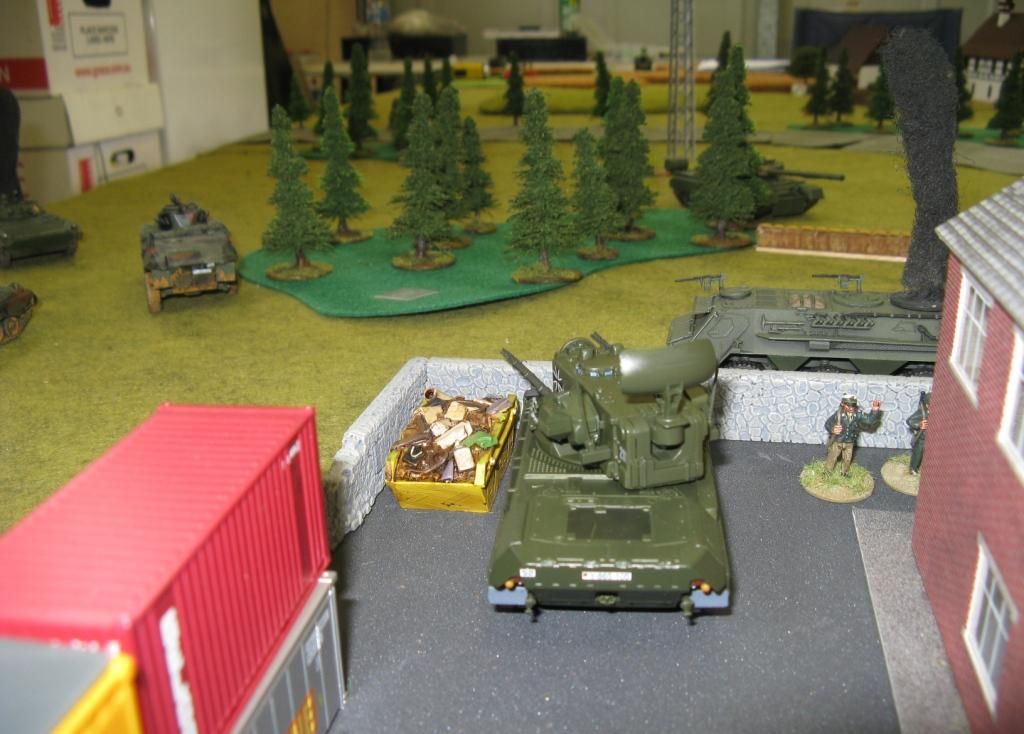
So the first units to set up in the Game were the West
German recce units – of which the Leopard 1A4 set up in a defensive position on
the Soviet left flank.
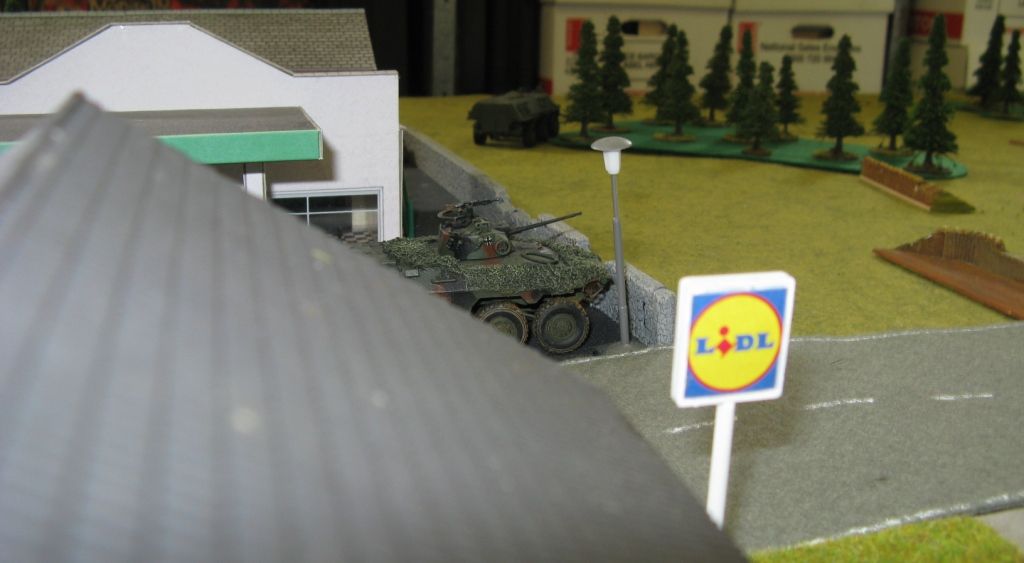
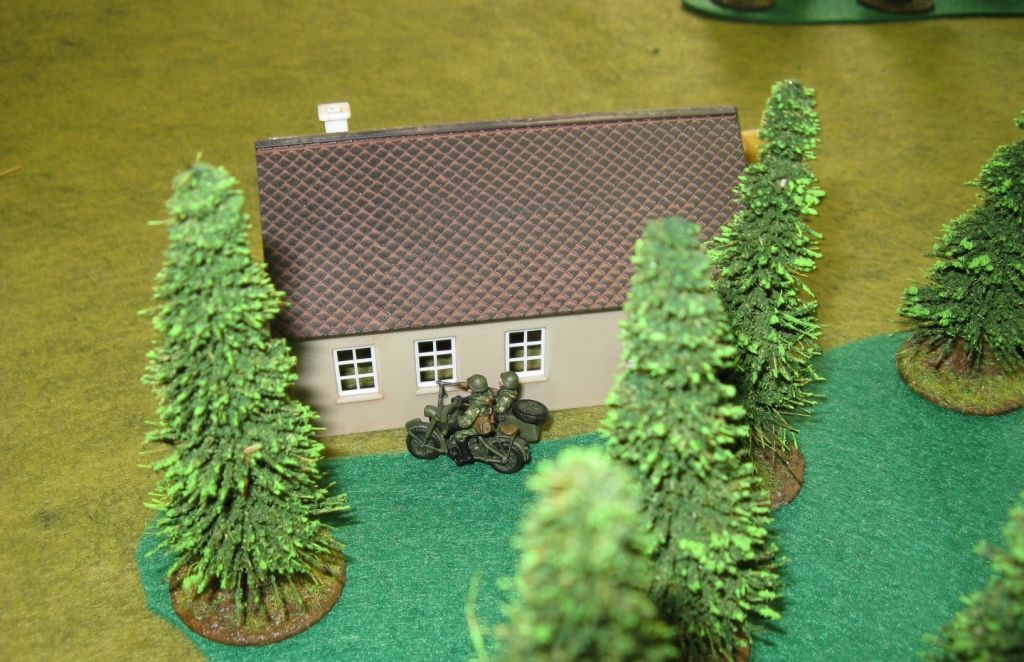
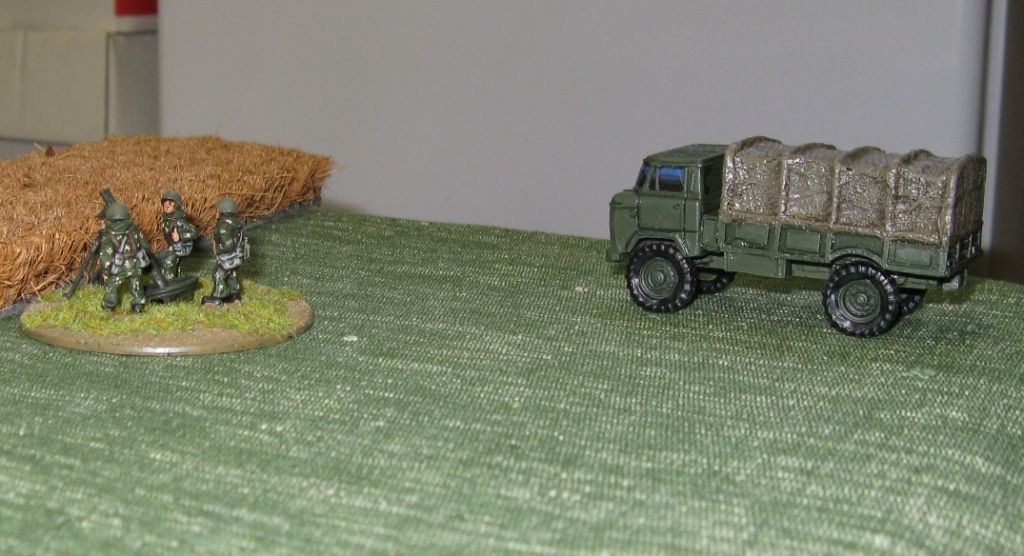
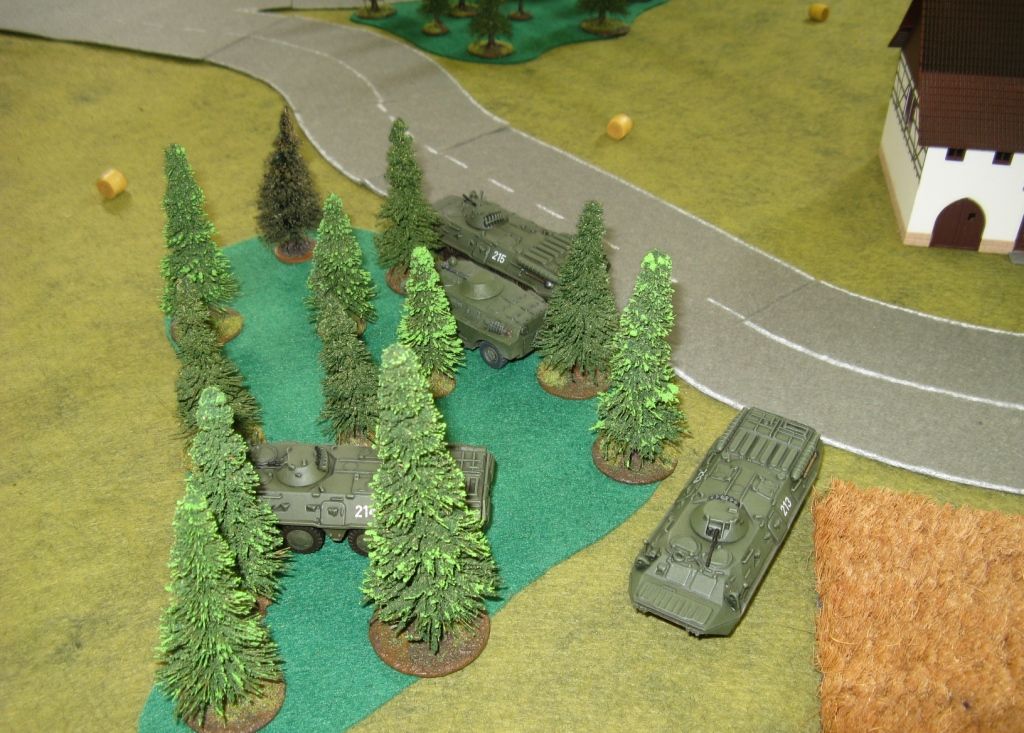
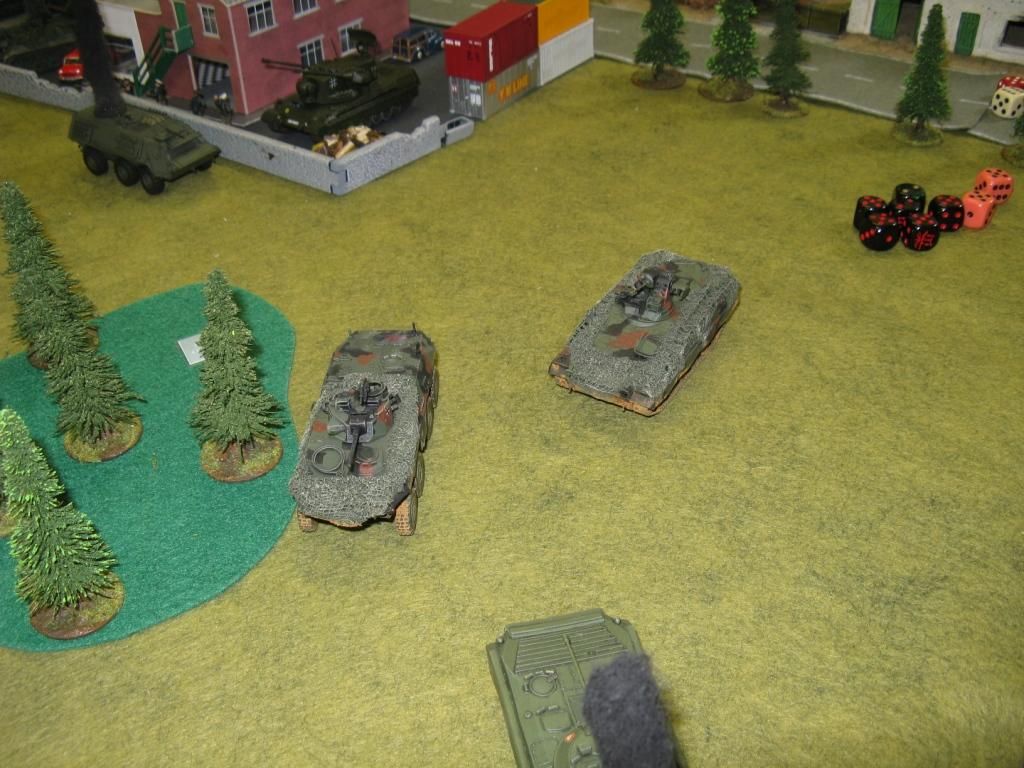
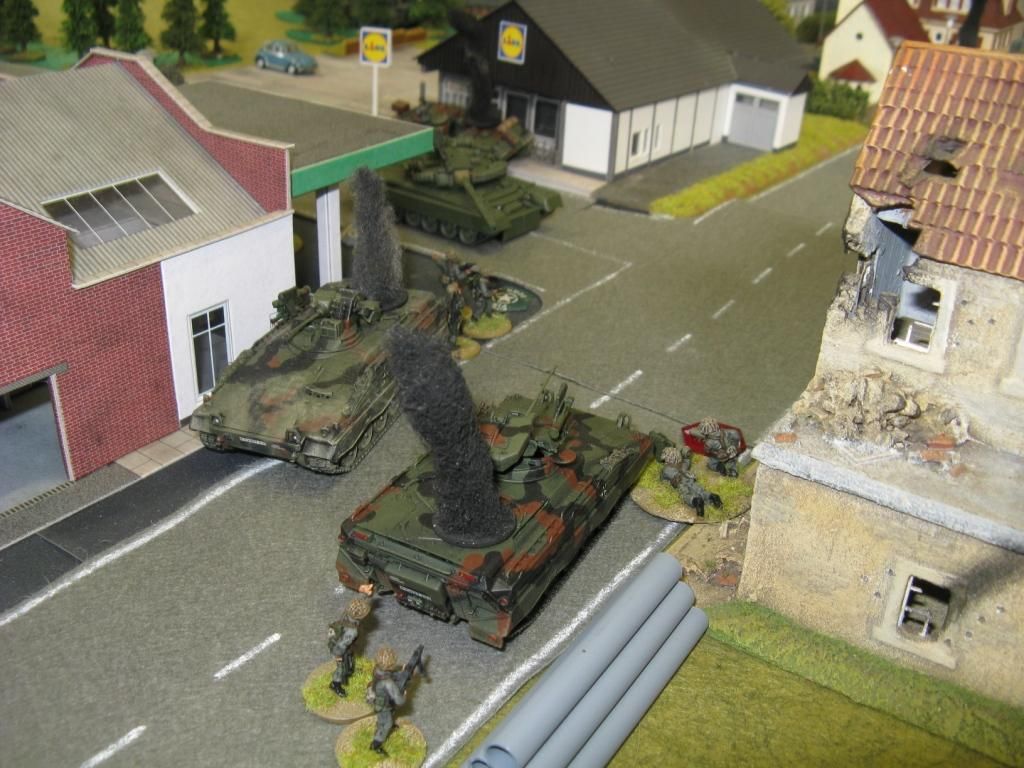
I in turn set up my recce elements. I had no significant plans for the motorcycle combination or the BRDM beyond sit tight in a good position until the heavy mortar showed up, and then start calling in fire. So the motorcycle combination set up behind a worker's hut on my left flank...
While the BRDM-2 set up in some woods in the centre of the table. That had my left flank and centre covered by observers for the mortar.

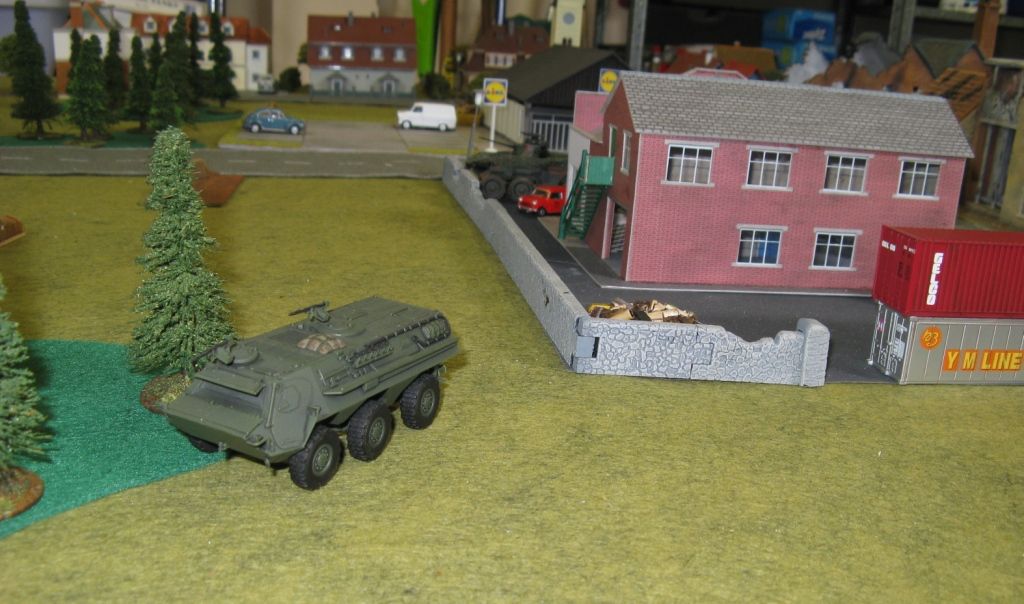
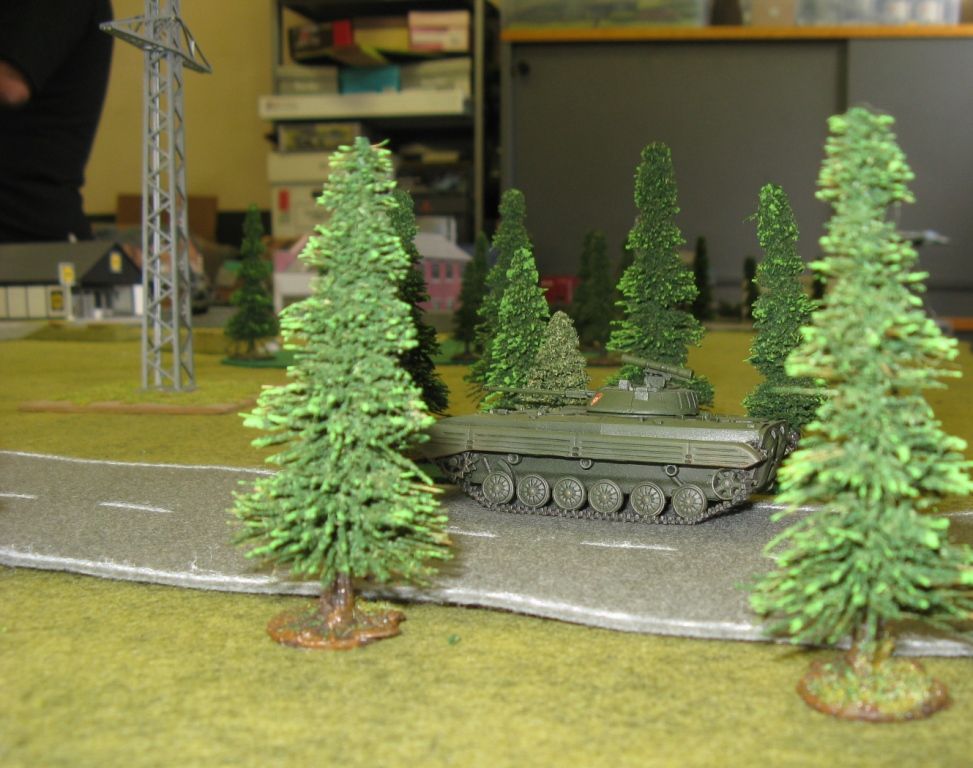
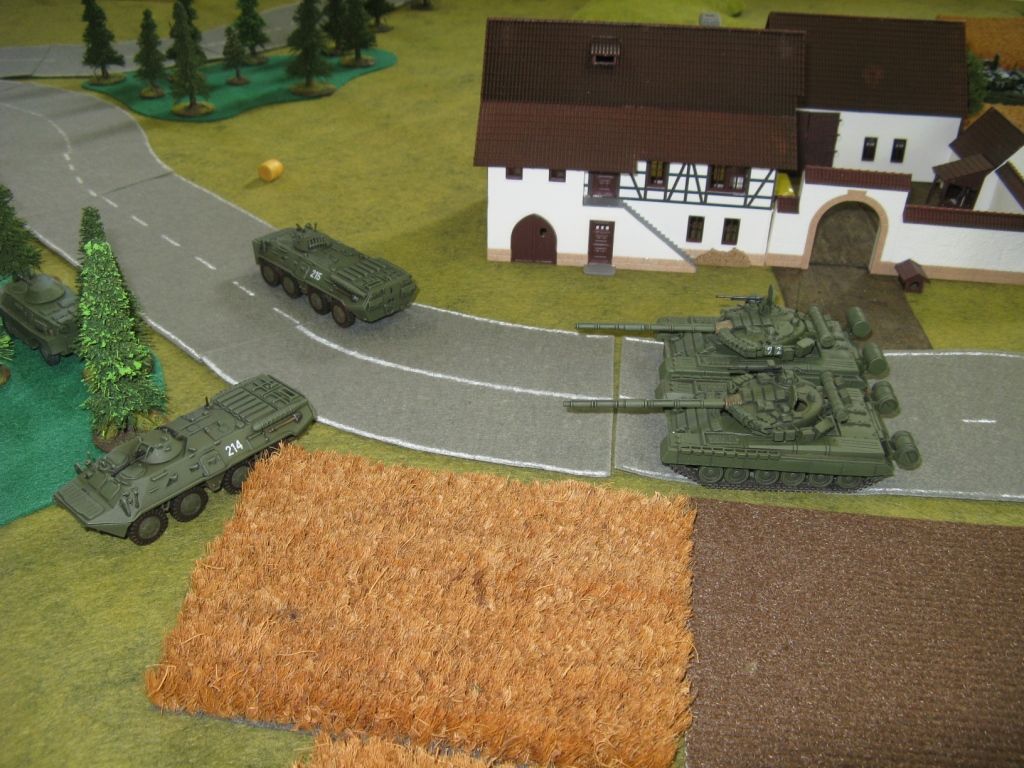
The BMP-2 set up on the side road on my right flank.
It turned out that our Scout Battle Phase would last 3 turns and I would go first. I didn't have a solid plan of what to do with the BMP_2, apart from "Avoid being shot by the tank!" and I was reasonably happy for the motorcycle combo and the BRDM-2 to sit tight and wait for developments. But I though I could have a crack at the Fuchs, and by knocking it out, rid the West Germans of one of their officers.
So the BMP-2 set off in search of the Fuchs. Over the course of a couple of turns, I dumped the dismounts into the woods near the Fuchs and then swung around the woods to take a shot if the RPG chap missed.
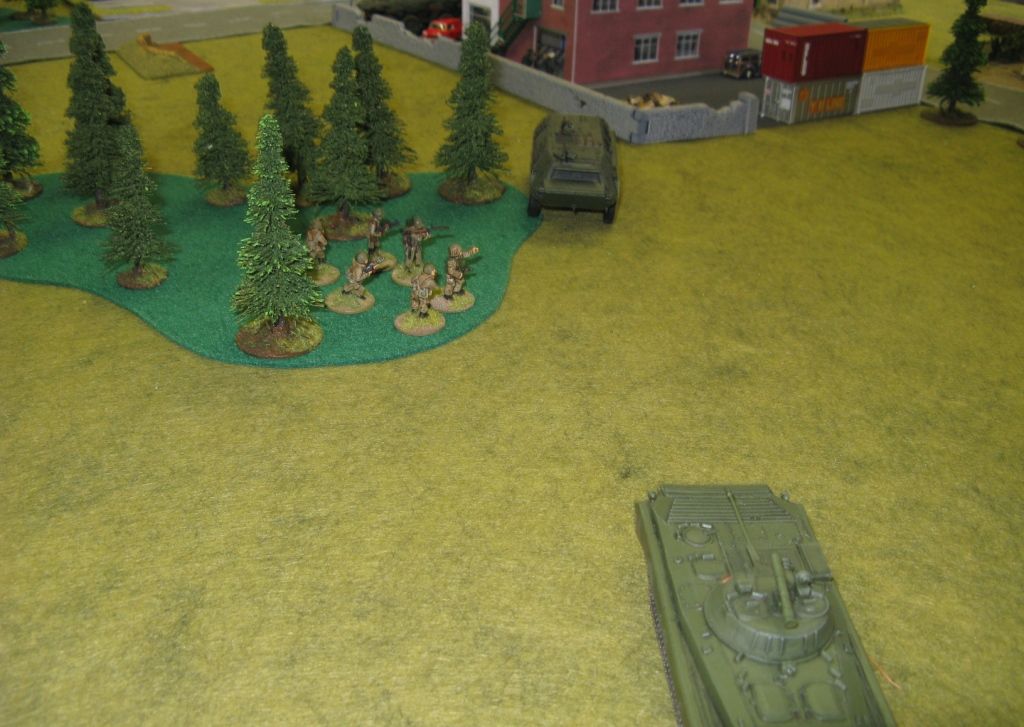
Well of course he missed and the BMP missed... (Story of my life). The Fuchs moved back, out of line of sight of the BMP-2, and the Luchs swung around behind the garage, along the main drag and stopped in cover to take a shot at the BMP.
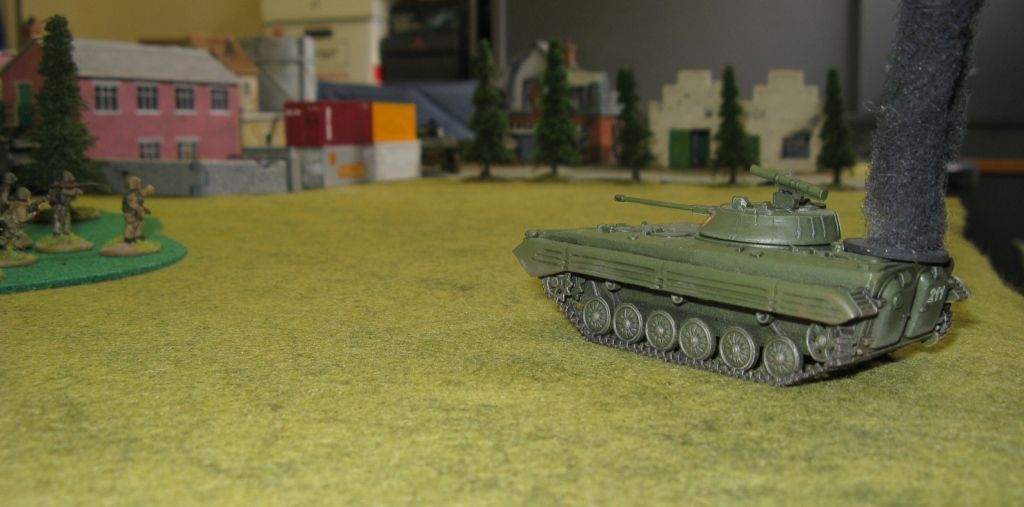
Yup! Pretty much what I expected. The dismounts did get a teeny tiny bit of semi-revenge on the next turn by pinning the Fuchs.

And so the Scout Battle phase came to an end and the main game began. As we both had 900 point forces we decided to use 3D6 for orders and 2D6 for reserves. Next game (using the same points) we decided 2D6 for orders and 1D6 for reserves. It actually made for a much more interesting game - but more on that later.
My reserves started to come on. First up were the T-80BVs and a couple of BTR-80s and the mortar team.

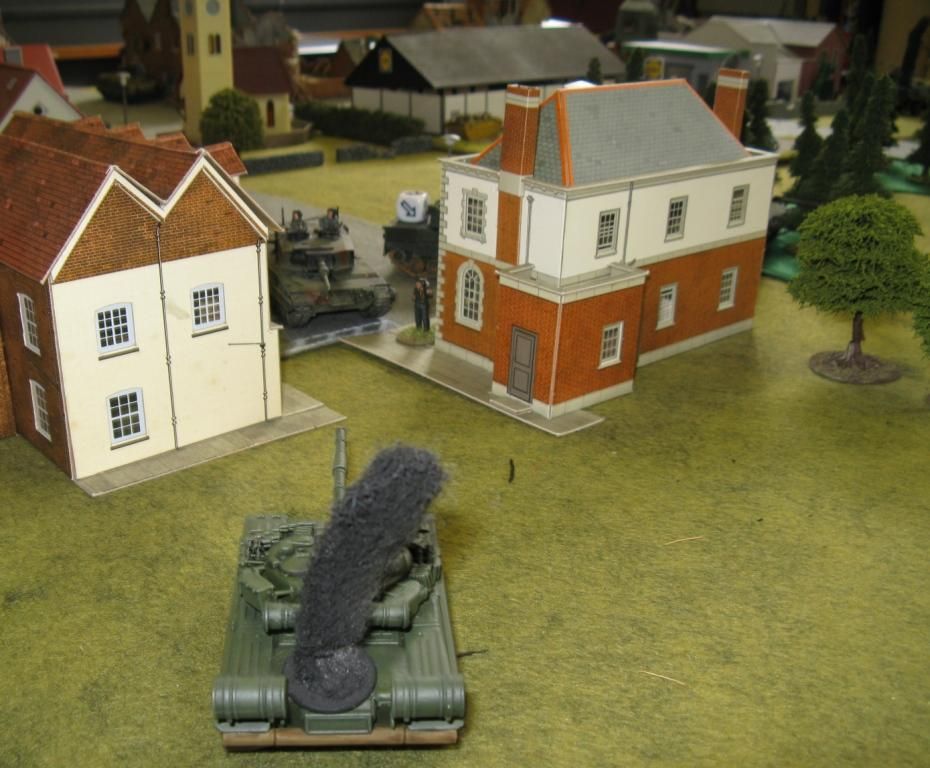
The Heavy Mortar Team got into action straight away, and barely missed a turn of firing for the rest of the game. I can't remember it killing anything big, but it pinned and harrassed and took out the odd West German soldier.
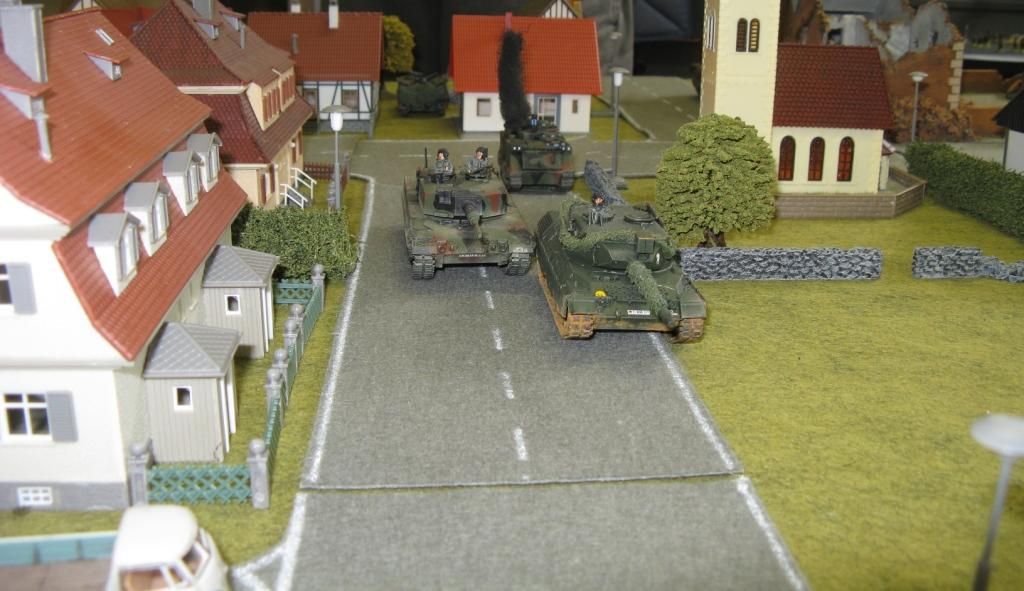
On the first NATO turn, their entire force flooded onto the table. Taking up positions in town and both Leopard 2A4s driving out to support the lone 1A4.
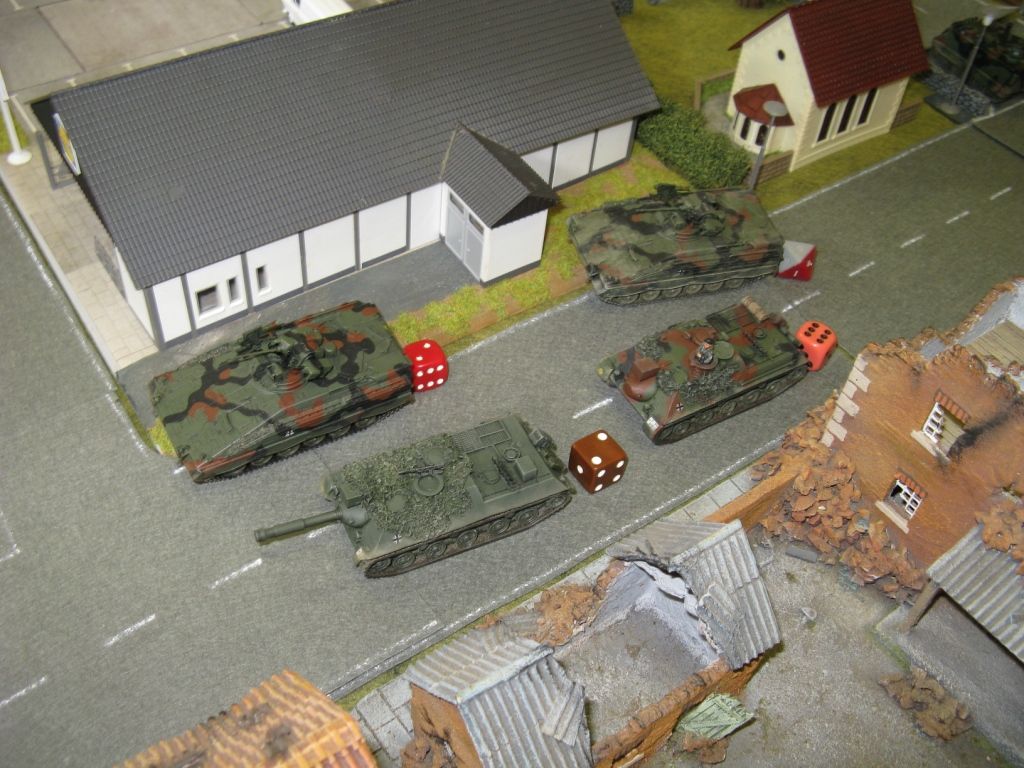
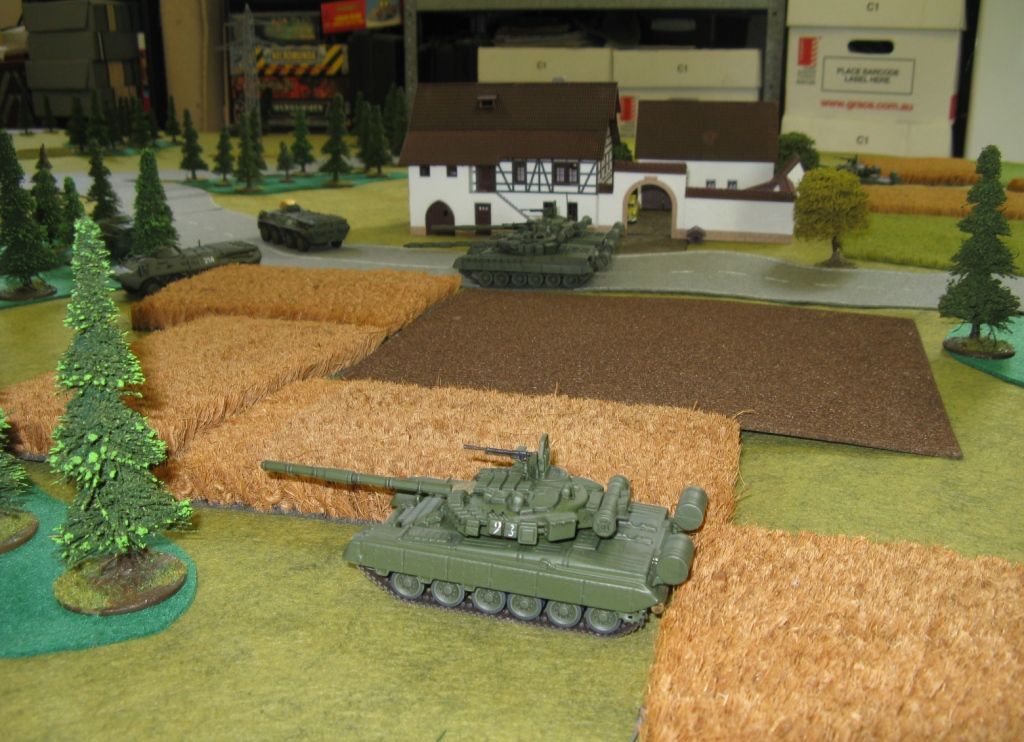
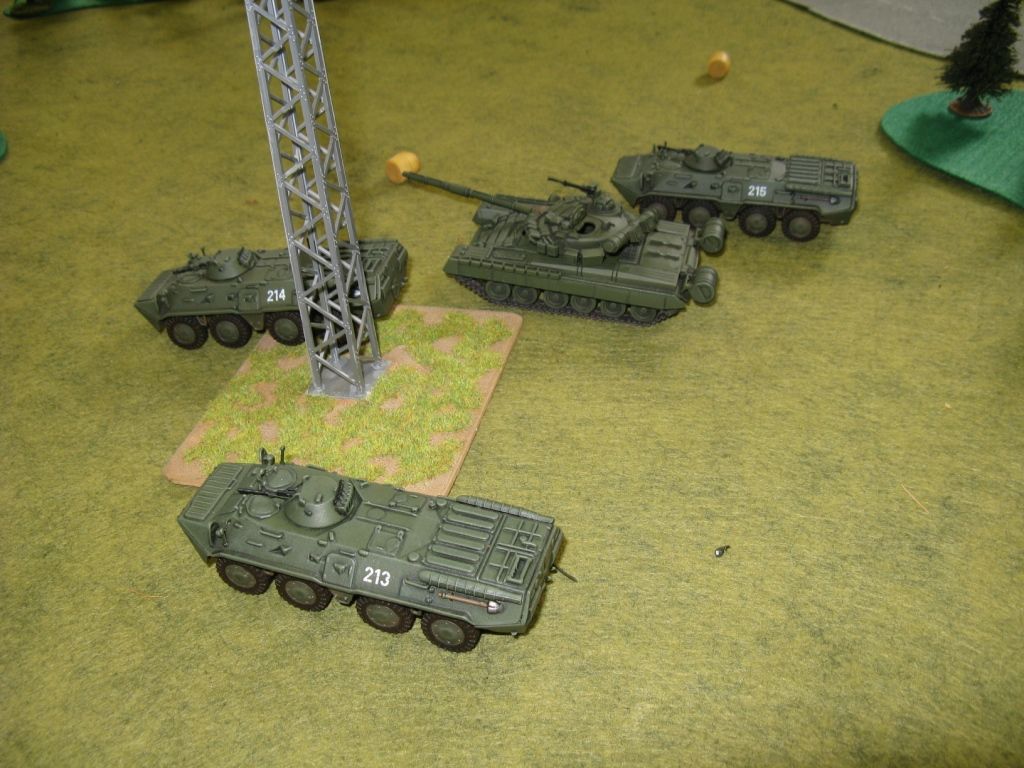
You can see from the photo above that I sent two brave T-80s out to catch the attention of the 3 Leopards.
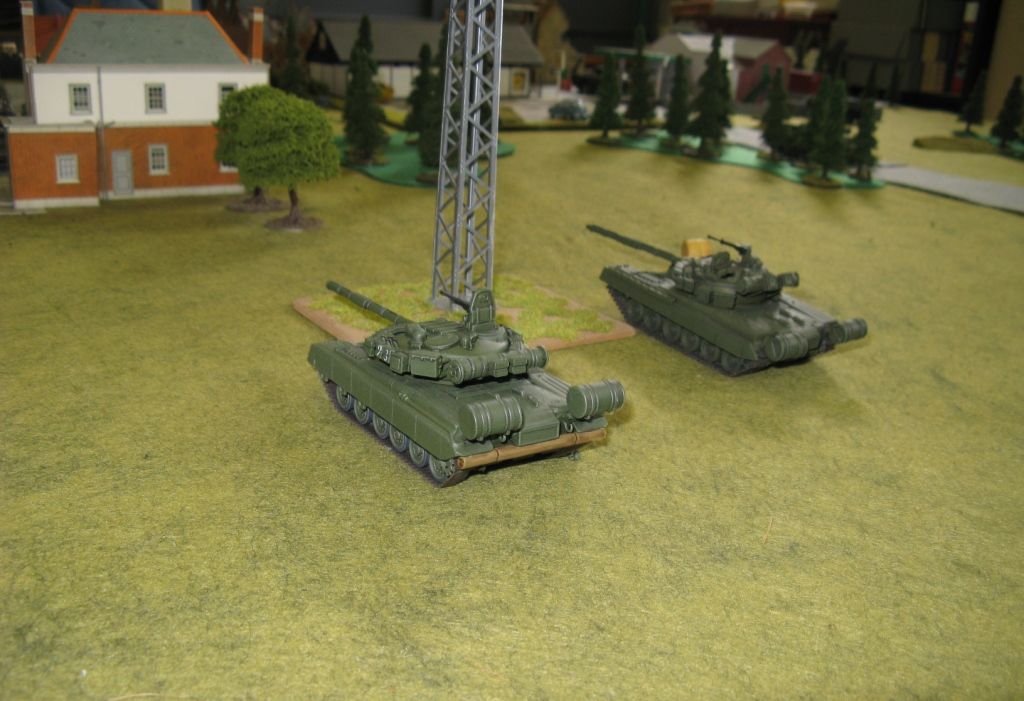
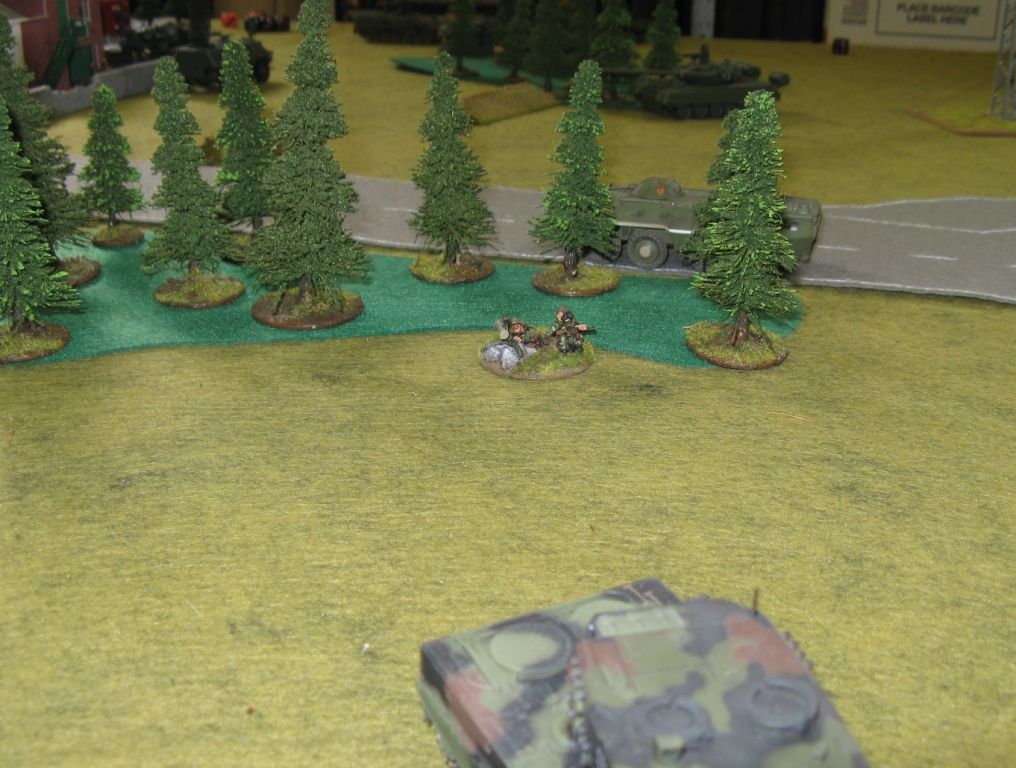
Hidden behind the trees, on the main road into the village in the distance is another T-80, which was about to be presented with a couple of gift targets. Meanwhile the T-80 on my right flank had advanced as well.
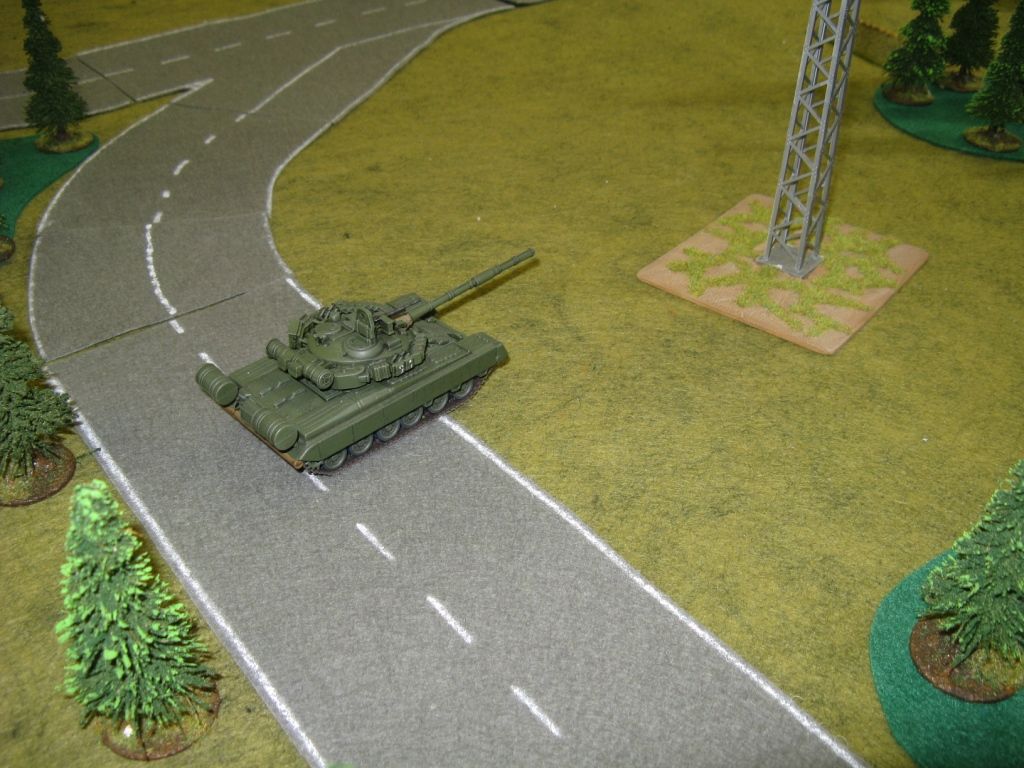
He combined with the T-80 on the main road and did some of there best shooting in the game.


As you can see they took out the two stand-in Jaguar 1s, while the infantry dismounts from the destroyed BMP-2 knocked out the Fuchs.
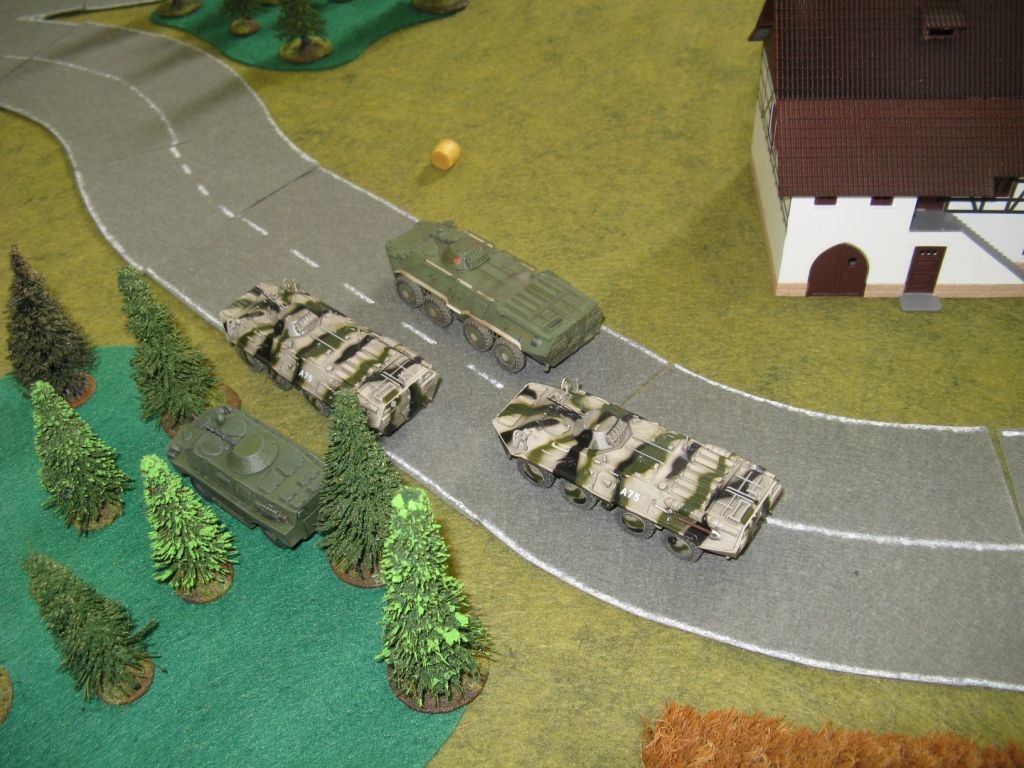
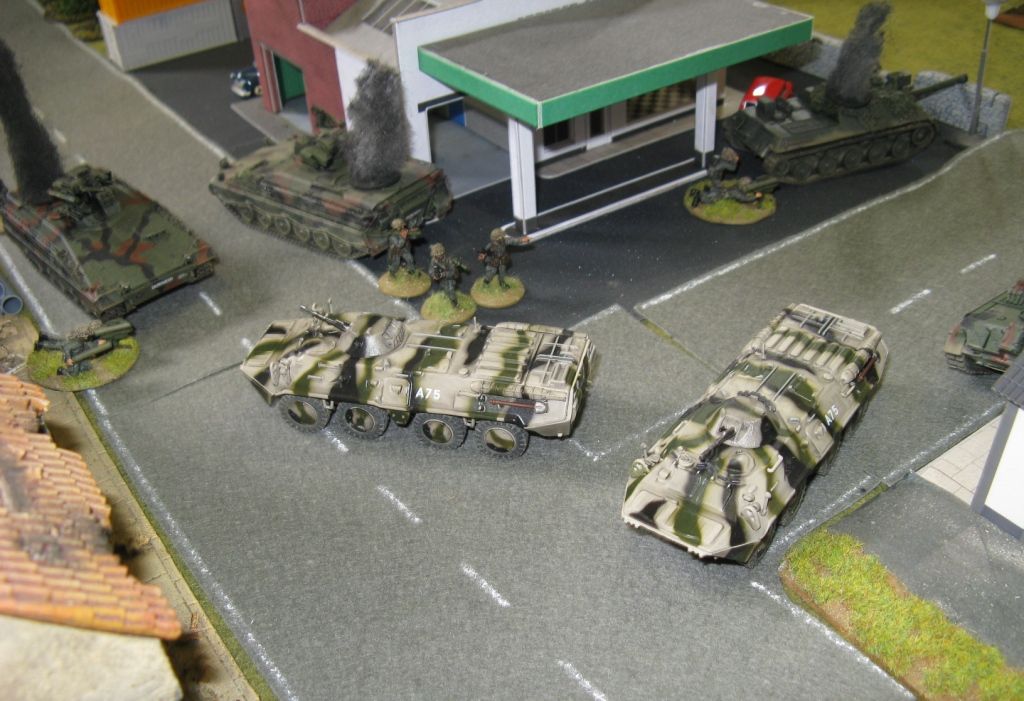
In my centre my first BTR-80 platoon consolidated.

You can see the first vehicle from the second BTR-80 platoon coming up the road, with my AT-5 BRDM-2 takes a semi-overwatch position to cover the advance on the left flank.
My timed strikes came in and destroyed the M113 Artillery Observation vehicle and a Marder. I love my timed strikes! If only I could have killed a Leopard 2...
The BTR-80 platoon then charged out to start an attack on the police unit in the building to their front.
This Leopard 2 had something to say about that though:

And my T-80 Platoon commander bit the dust...
Wishing to avenge his untimely death, the other T-80 on this flank moved to take a point-blank shot between the two buildings.
He hit! But with the Leopards Advanced Armour Trait the round bounced and disappeared into the distance. Guess what happened on the next turn...
Yes - pretty obvious really...
But my infantry managed to assault and drive off the police unit in the building, so the Leopards behind the building backed down the road
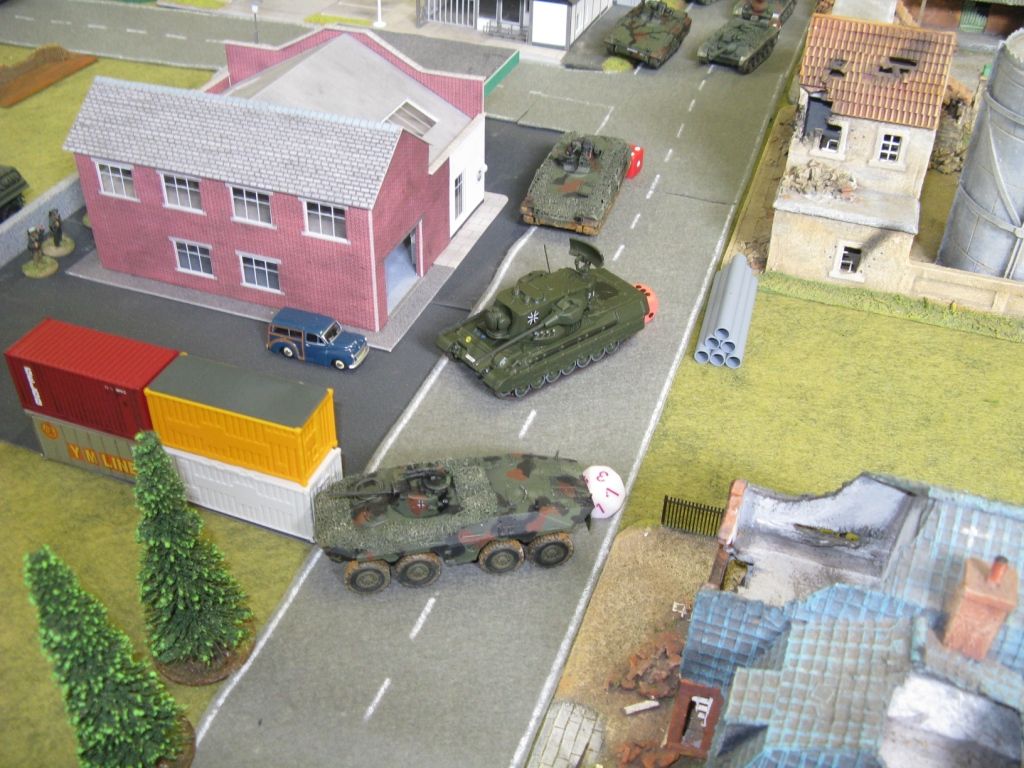
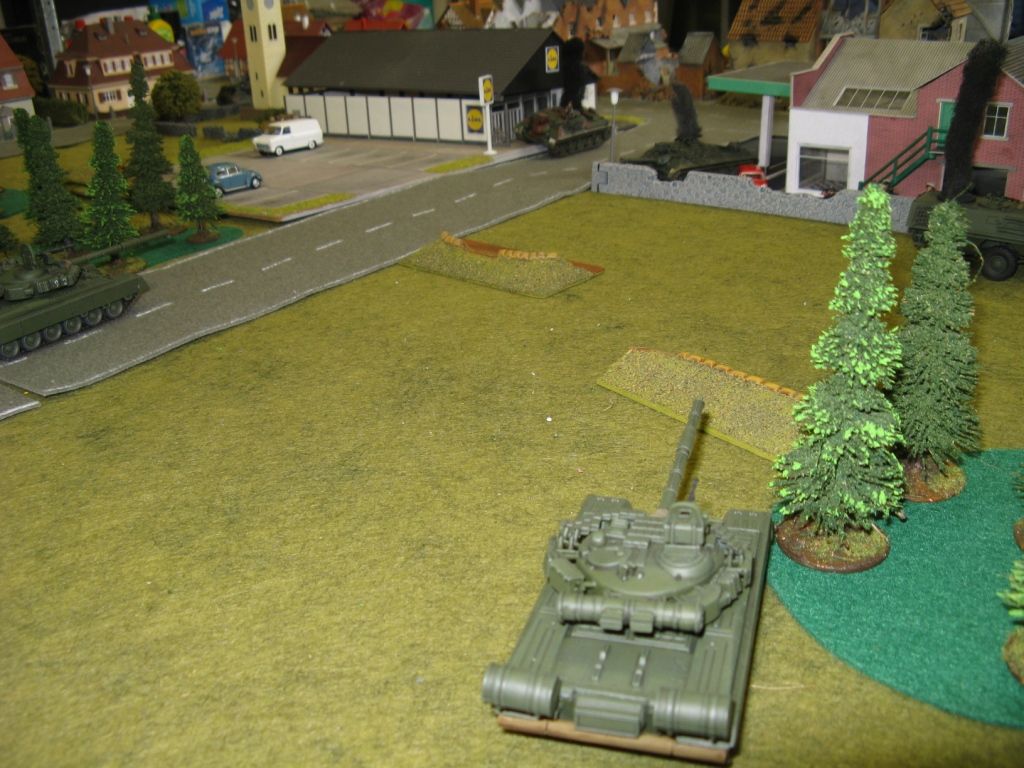
My second platoon of BTRs continued to advance down the table
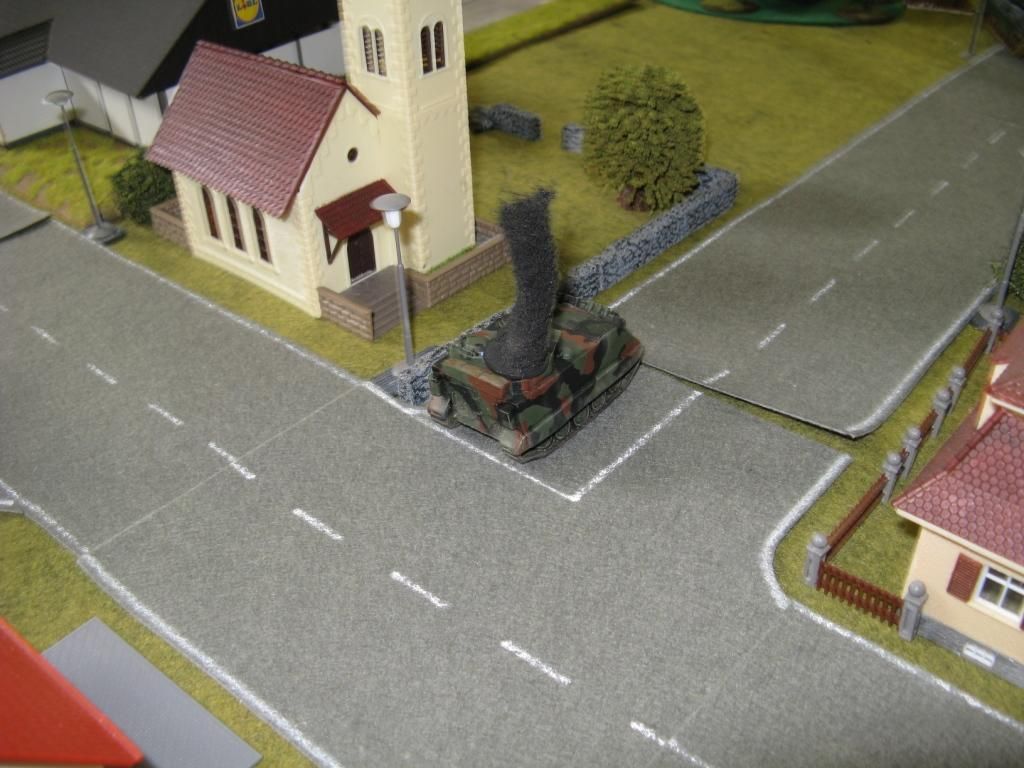
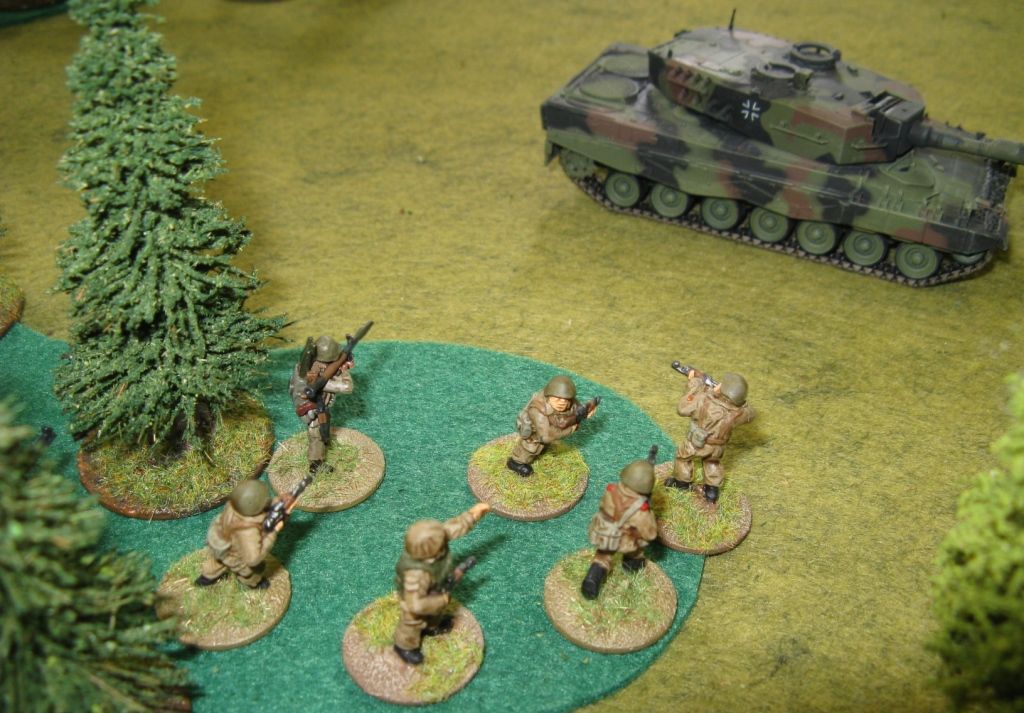
Meanwhile, the Gepard decided to test its twin canons on an innocent group of Soviet dismounts who had been hiding in the woods hurting no-one (after the Fuchs of course).
As you can see - not a figure left alive in those woods now! Somewhat inexplicably, the West German also decided to start to advance up the table.
While the Leopard 2A4 who had established himself in the woods on the other side of the table, also drove forwards and knocked out an empty BTR-80. I just had to get this guy so I attacked him from 3 different angles
RPG! into his side armour. Result - Ha! I laugh in the face of your RPG!
AT-4 into your rear armour. Miss................................... No photo of the other attack. An AT-5 Konkurs into his front armour. BOUNCE! Nothing could touch this Leopard 2A4.
Anyway, while all this was going on I was charging some troops through the backyards of the houses on my left flank.

And down the road in front of those house, trying to take out the Leo 1A4

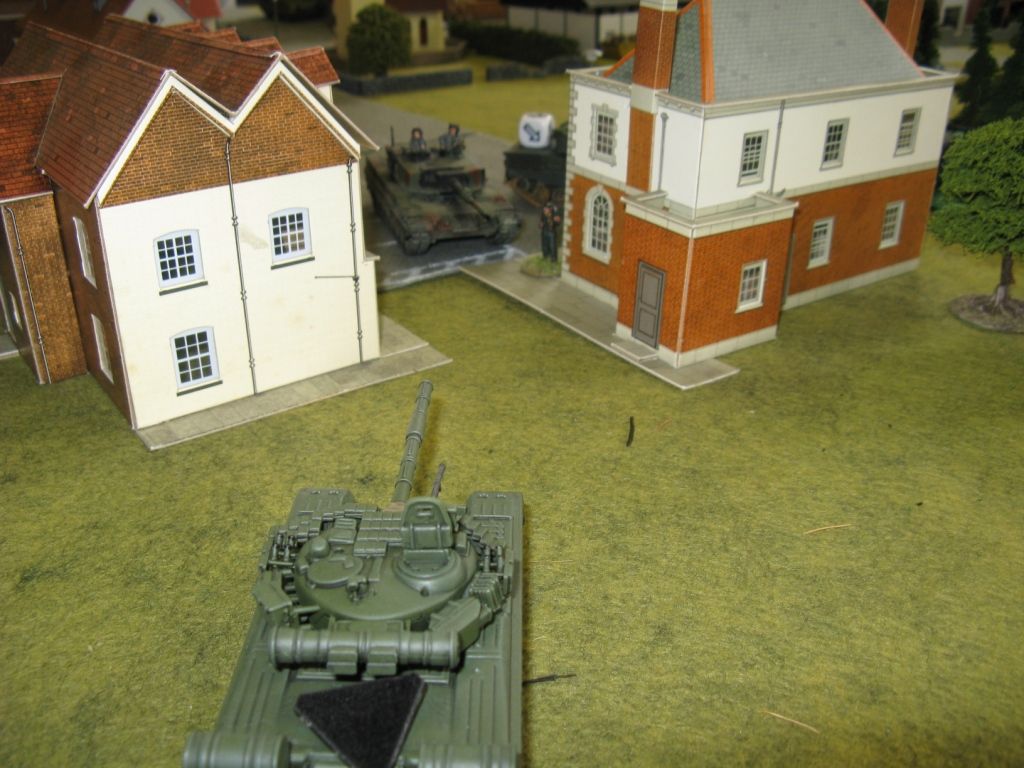
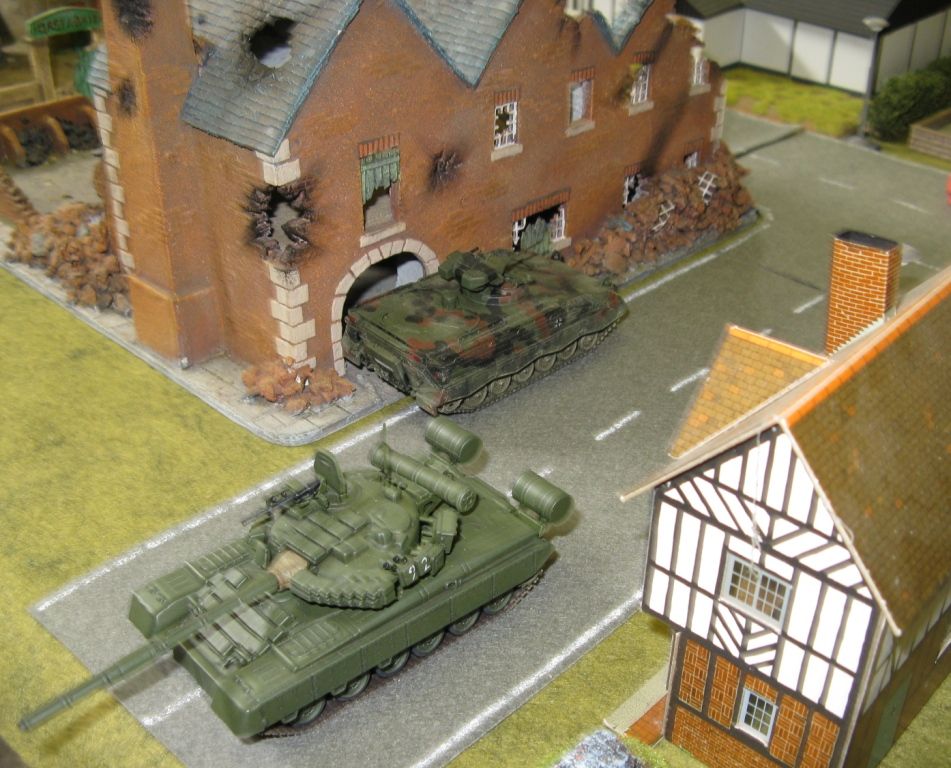
Note my use of the word trying... But I was keeping them busy. Busy enough for my T-80 on the main road to town, to drive into the centre of town and dispatch a Marder up close and personal.
It was followed by two BTRs...
... while the T-80 drove onto the bridge...
... and shot up the engineers rigging it for destruction. On my turn 5.
So I took some loses, but inflicted much more and concentrating on the victory conditions, won the game. The West Germans seemed to forget about the bridge to some extent and looked more interested in inflicting damage.
I didn't mention, because I failed to take photos, that the West Germans also had an Alpha Jet turn up, only to be hit twice by the ZSU-23-4 and have a SA-9 SAM fired at it. It left the table without doing anything.
They also had a PAH-1 helicopter turn up, which fired a HOT missile, pinned one of my T-80s and then left to find more trade elsewhere.
So the game had plenty of action, a couple of incidents we hadn't tested before (like the Gepard making mincemeat of some of my dismounts) and was all round a fun game.
That's it for now. The next AAR will be up on Monday
Thanks
Richard
Superb- nice to see the Leopard 2A4 stand firm.
ReplyDeleteCheers,
Pete.
Very cool.
ReplyDeleteWow! Looks like a pretty exciting game!
ReplyDeleteThanks for sharing the scenario and the AAR.
ReplyDeleteCheers
Richard N
Thanks chaps - always appreciate the comments.
ReplyDeleteRichard
Superb- nice to see the Leopard 2A4 stand firm.
ReplyDelete** goldenslot mobile**
** สล็อต ออนไลน์ ได้ เงิน จริง**