09 July 2014

What the.....? Part 3 - An attempt at a Work-In-Progress

Quick update as I managed to progress things a bit more today - so just some quick photos.

The hangar/shelters have dried and today had some tea leaves and chopped up coriander (dried) leaves added.  Here they are drying in the sun:


On a roll I added the grass to the bases:


Next up is painting the shelters and adding the final touches to the bases.

That's all for now

Richard

06 July 2014

What the....? Part 2 - An attempt at a Work-In-Progress

OK - so it's not so much of a What the...? anymore because in the Part 1 post here Pete guessed it pretty quickly - so they are officially bases for a Harrier hide or dispersal site. 

So I finally got a little more work done on them this weekend.  The bases have been base coated and given a quick dry-brush - so they now look like this:


Now they need to be grassed and then the metal "decking" added in the 3 lines on each base.

I've also started work on the camouflaged netting shelters.  Here 3 of them not long after being made - still very wet with glue & water:


Finally - here's a couple of photos of my prototype shelter I made the day before - all dry and ready for the next stage - placed on top of one of the bases so you can better imagine how it might eventually look.


Not perfect by a long shot - but pretty reasonable and I'm happy with them so far.

That's it for now - need to take a couple more photos and then the next post will be a tutorial on my US Woodland Cam.

Thanks

Richard


22 June 2014

Cold War British Infantry

Keeping up the seemingly random nature of my painting and therefore posting, today's photos are of some British Infantry I prepared for our last game.  They are a mix of Liberation Miniatures and Elhiem Figures.

Here goes:


Liberation Minatures British NCOs - Front & Back


Liberation Miniatures Carl Gustav and Light Mortar - Front & Back


Elhiem Figures M72 LAW - Front & Back


Elhiem Figures - Officer and NCO - Front & Back


Elhiem Figures - Milan Teams


One of each (so the match fairly well) - Remote Firing Team - for use with a CVR(T) Striker or a FV438 Swingfire.  Remote was scratch built by me (if you couldn't tell...) and I'm not happy with the humungous sized wire spool - but was the only one I could find and fiddle with in my bit's box.  It will do until I find a more appropriately sixed spool.

That's all for now

Richard


14 June 2014

US Army in Europe - Cold War Infantry

This is the first look at a new sub-project I've slowly been building up for a while now - some in boxes, some put together and some, finally, painted.

Rather than jump straight into armour - I thought it best if I have a crack at conpleting some infantry first.  Years (2007 I think) ago I had picked up a few of these boxes:


There's a excellent review of this set here at Plastic Soldier Review.  Needless to say, whilst I liked some of the figures I could never really get past the soft plastic nature of them.  I thought I'd spend hours painting them, just for the paint to rub off...  So they sat in their box for 7 years or so.

Then about a month ago, browsing through Hobbyco in Sydney I stumbled across these:


Finding Preiser infantry sets retail in Australia is akin to winning the lottery.  So I grabbed these and quickly put them together.  There's another excellent review of these figures at Plastic Soldier Review here.

Then I also got my hands on a few of Elhiem's great figures.  Right now he only has a limited range specifically for US Cold War - so I got some of them, and I also got a couple of other sets - like the 1990s US Ranger sets that have M16s etc.

So anyway - I've just finished painting some and having been a while, decided to post them up here before even putting some grass on the bases... lazy huh...  All figures have been painted in what I'll call my simplistic Woodland Cam.

So I'll start with the Revell figures - I've only used a few to fill in specific slots missing or needing additional weapons in the Preiser set


The Dragon gunner is possibly one of the most useful figures in the Revell set.


A couple of good useful poses.  M203 Grenadier.


SAW gunner and RTO

Now onto the Prieser.  The box gives you 2 exact same sets.  I didn't use the female soldier in the set, and did one set by the book and tried to mix up the second set a little for some variation.  Here's a sample:


HQ or Platoon Command troops - looking suitably confused.  Love the poses here - where else do you get a guy scratching his head?  Unfortunately - the pointing NCO is the only figure with a M203 in the set.


Walking chaps - or should that be dudes.  Middle dude has a SAW.


More walking guys with M16s

Now onto some Elhiem figures.  These are not the Cold war figures - I'll be using them in a tutorial soon.  These are IBA03 as far as I can remember.  Not perfect for Cold War mid 1980s - but good enough for me.


Finally for comparison purposes - here one from each manufacturer:


From Left to Right: Prieser, Elhiem then Revell.

So that's it for now

Thanks

Richard


24 May 2014

What the...? Part 1 - An attempt at a Work-In-Progress

Humbliest apologies...  Apart from life being hectic/hell at the moment - I've been concentrating on rules writing and a bit of aircraft kit building rather than painting.  I do have a number of thing ready for photos - just to tired to go through the hassle of taking decent photos - so today I just have two very quick photos...

Photo one is the first work-in-progress for a Terrain Group Build on The Guild.  No clues as to what it might be - so here you go:


I'd be interested in your guesses.

Second up is a little bit of aircraft recognition.  If you get any of these wrong you need to hang your head in shame:


That's all for now

Richard

04 May 2014

Scenes from the Cold War - Roads

Well, this is just mildly embarrassing.  Back in January last year (2013) I put up a work-in-progress post on some roads I had just made here.  All I had to do was paint on the white lines and the roads were good to go.

So it took me over 1 year to get around to finishing them off - and the motivator was the game shown in the last post.  I had lots to do to for that game and so the day before I selected an almost random collection of road pieces and started working on them.  Turns out I completed just enough to cover the table well for the game (not 1 peice left over) and it looked pretty damn good - in my humble opinion.

So, before moving onto the next thing, I finished off the rest of my previously cut up road peices.  This is what it looked like:


I quickly measured up just the straights and I have about 40 feet of roads - this doesn't include curves or intersections.  For a bit of fun I laid as many peices as I could out on the table:


But I couldn't use them all...

So that project is kind of finished.  Kind of because I've run out of the special felt I used to make the roads and have not seen it available again since.  I'll keep my eye out for it as I think I need more intersections and different curves - but have plenty of roads to be gaming with now.

Thanks

Richard


29 April 2014

Covering Force v Reconnaissance by Fire AAR

OK - so onto the next mission...

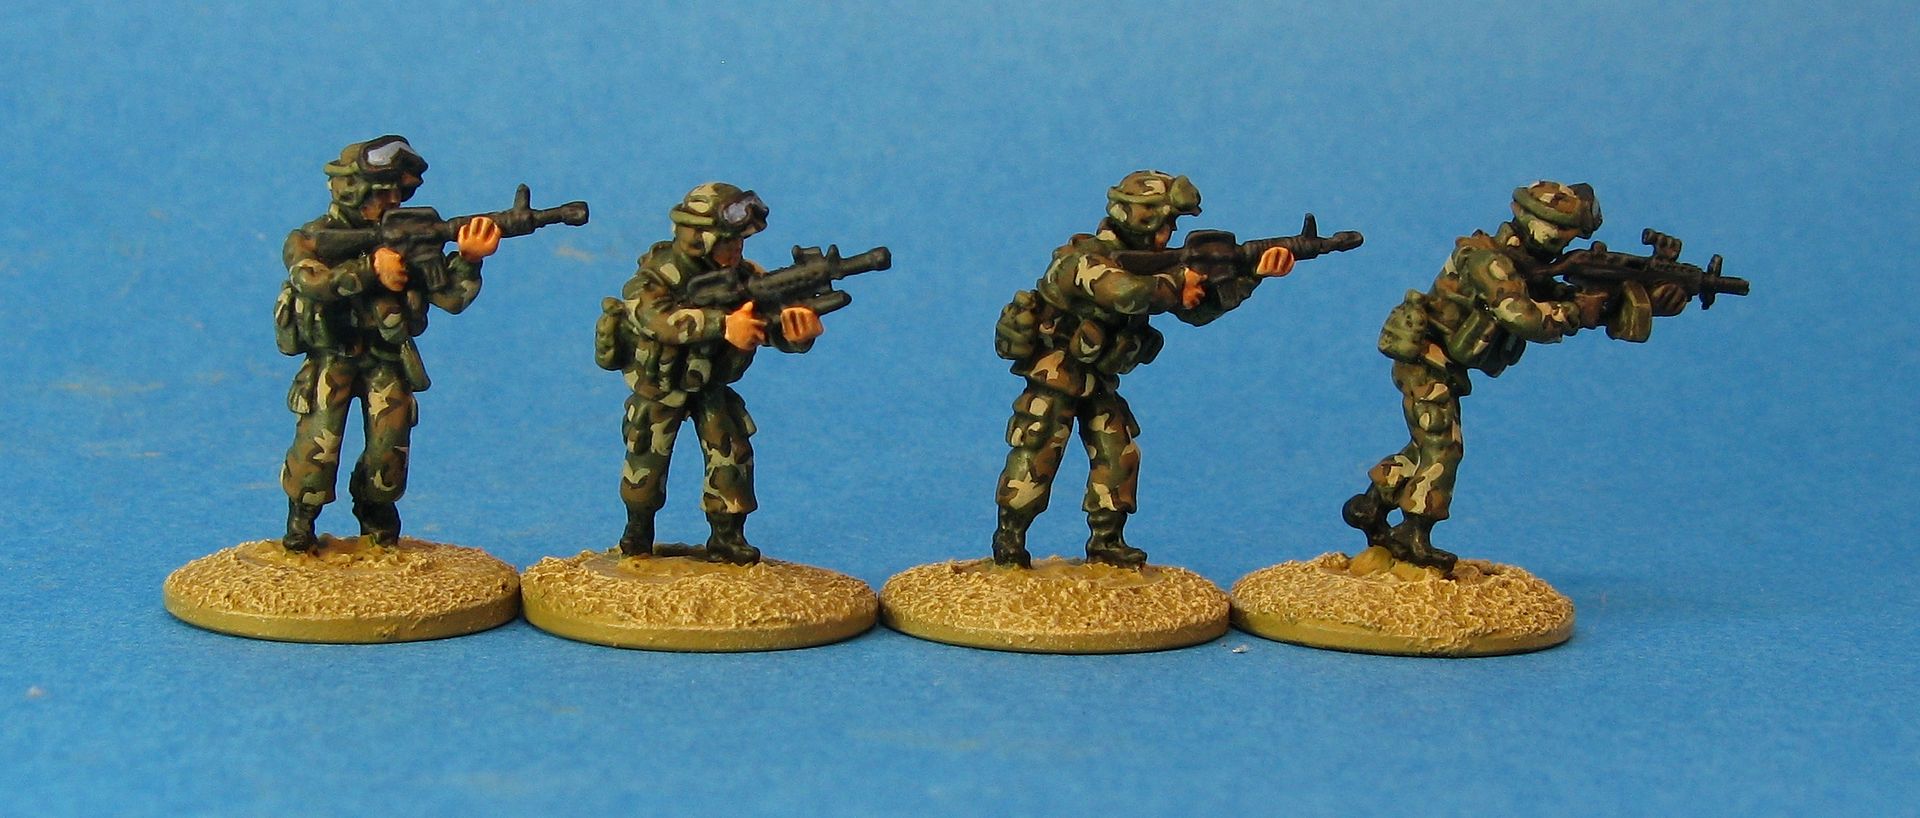
A few days later I was able to referee a much larger game (still not a huge game - about 575 pts a side) with Greg and Andrew taking control of a British Army Covering Force made up of elements of the 9th/12th Royal Lancers and C Company, 2nd Battalion Royal Green Howards.  The two Michaels would be running the Soviets, with a reinforced Combat Reconnaissance Patrol from one of the battalions of the 248th Guards Motor Rifle Regiment.

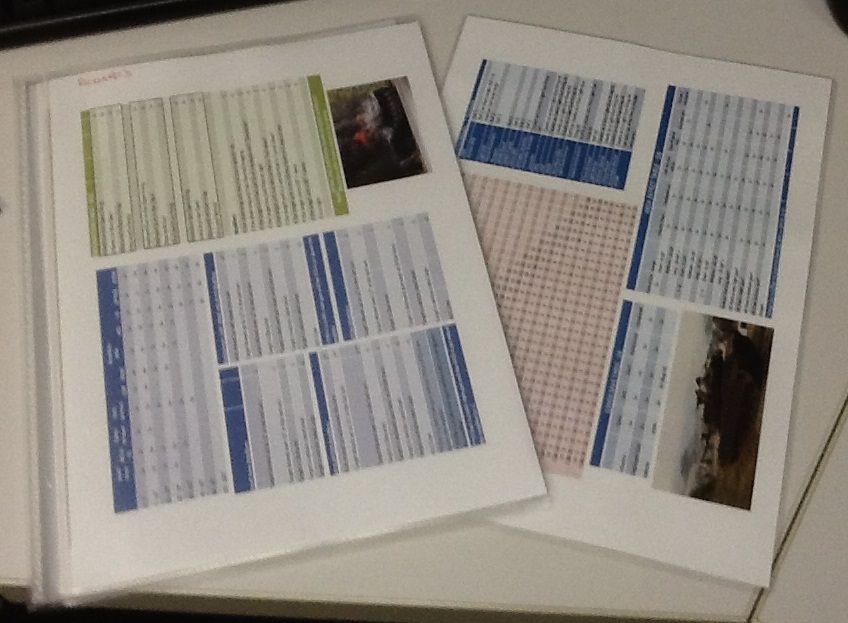
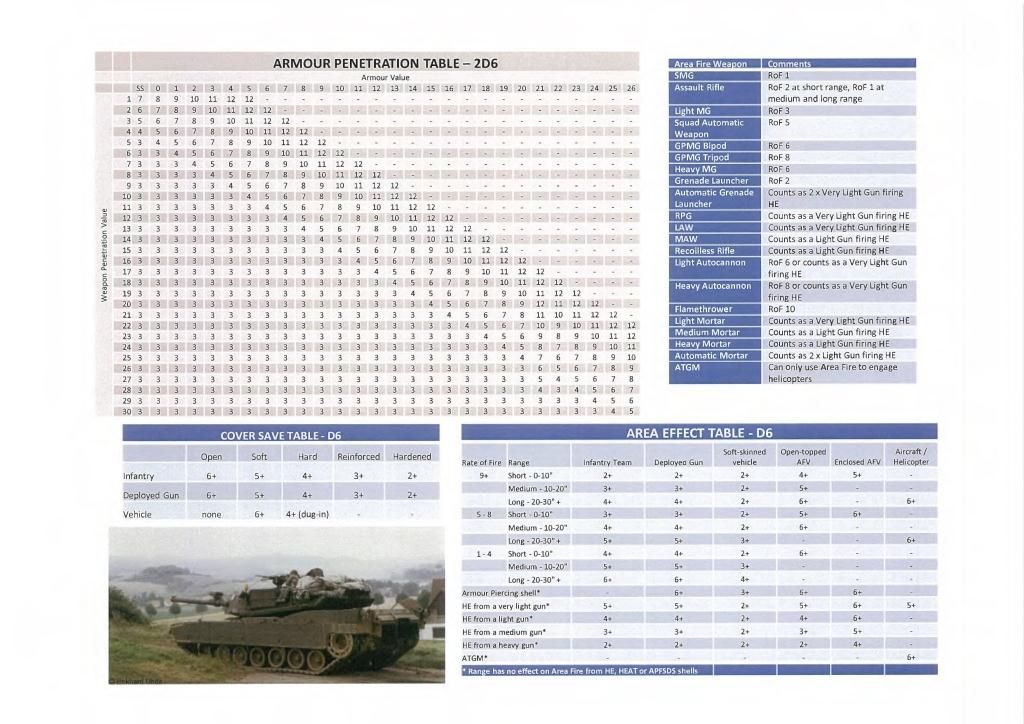
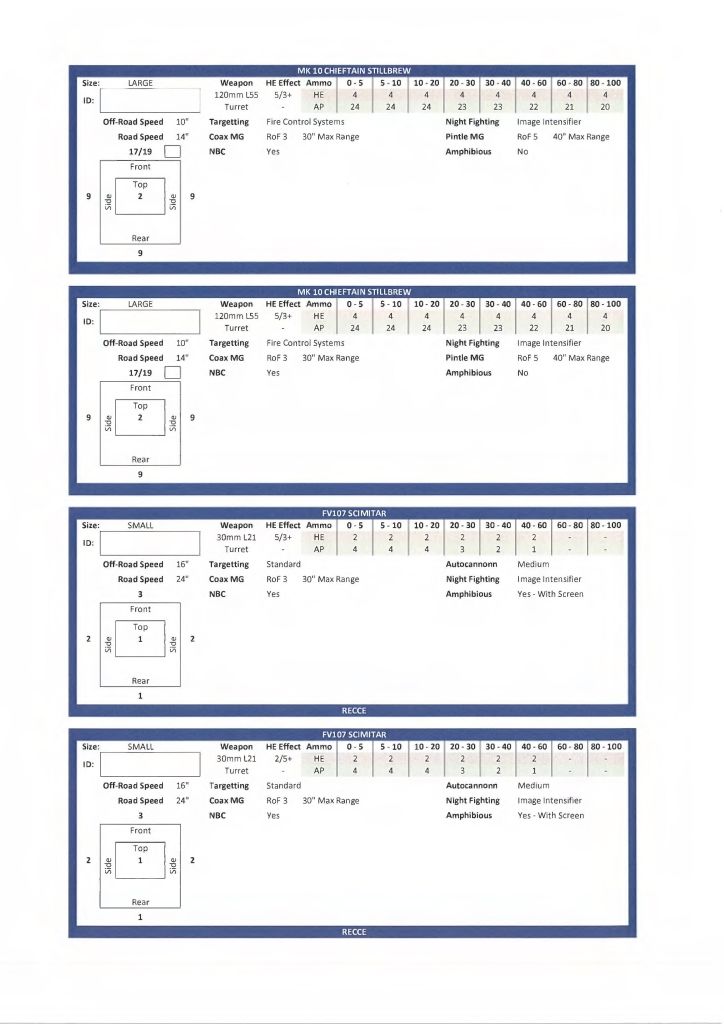
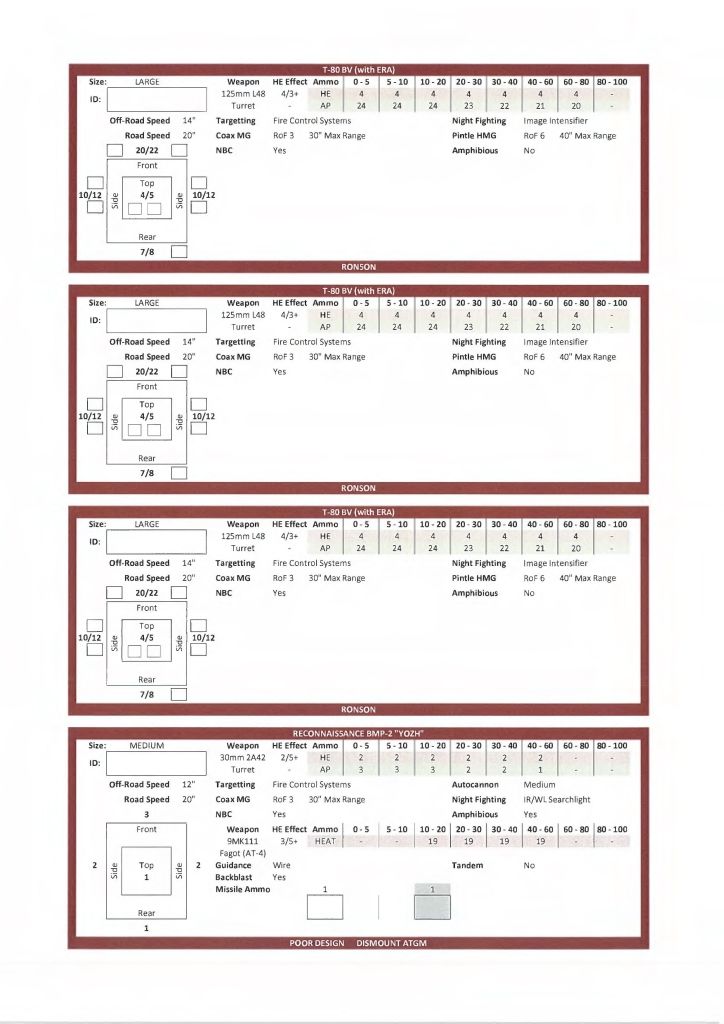
The players were provided with a Mission Pack.  It included 2 Quick Reference Sheets, their army list, Battle Ratings and Momentum Points charts, vehicle cards for all the AFVs in their list, other stats for their list as required, a Mission brief and then all the statistics for their opponents vehicles and their own vehicles (a fairly complete listing of for example, all the tanks, MICVs, APCs, Artillery systems, recce etc).  The pack and the QRS looked a little like this:


Here's a few random shots of selections from the packs, starting with one side of the QRS


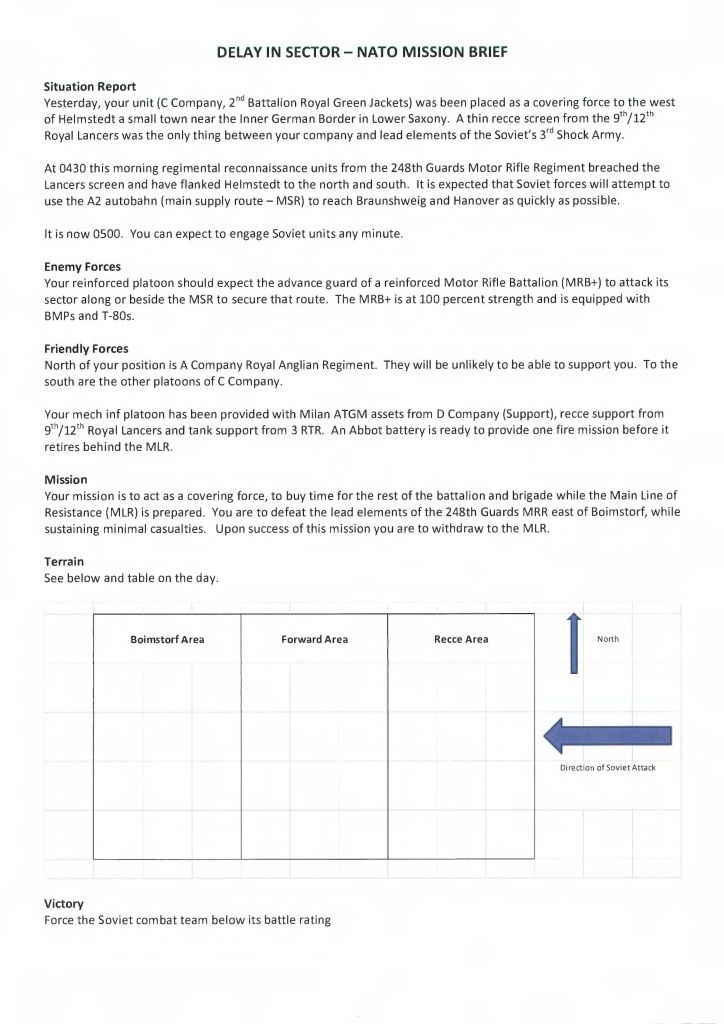
the front page of the NATO brief


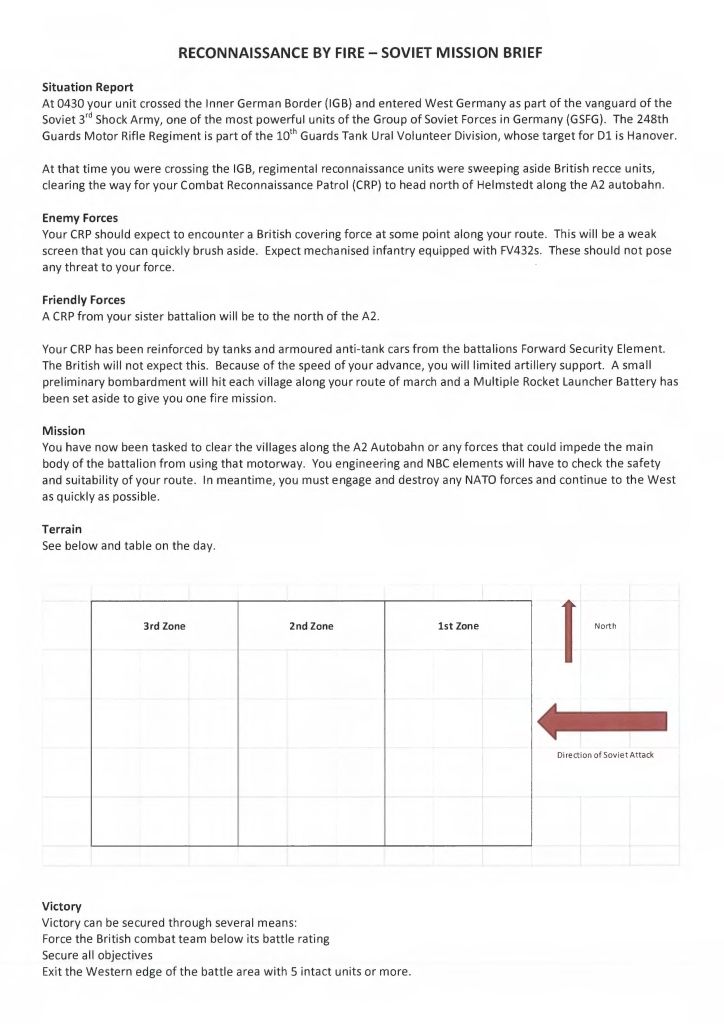
the front page of the Soviet brief


samples of some NATO vehicle cards


samples of some WARPAC vehicle cards


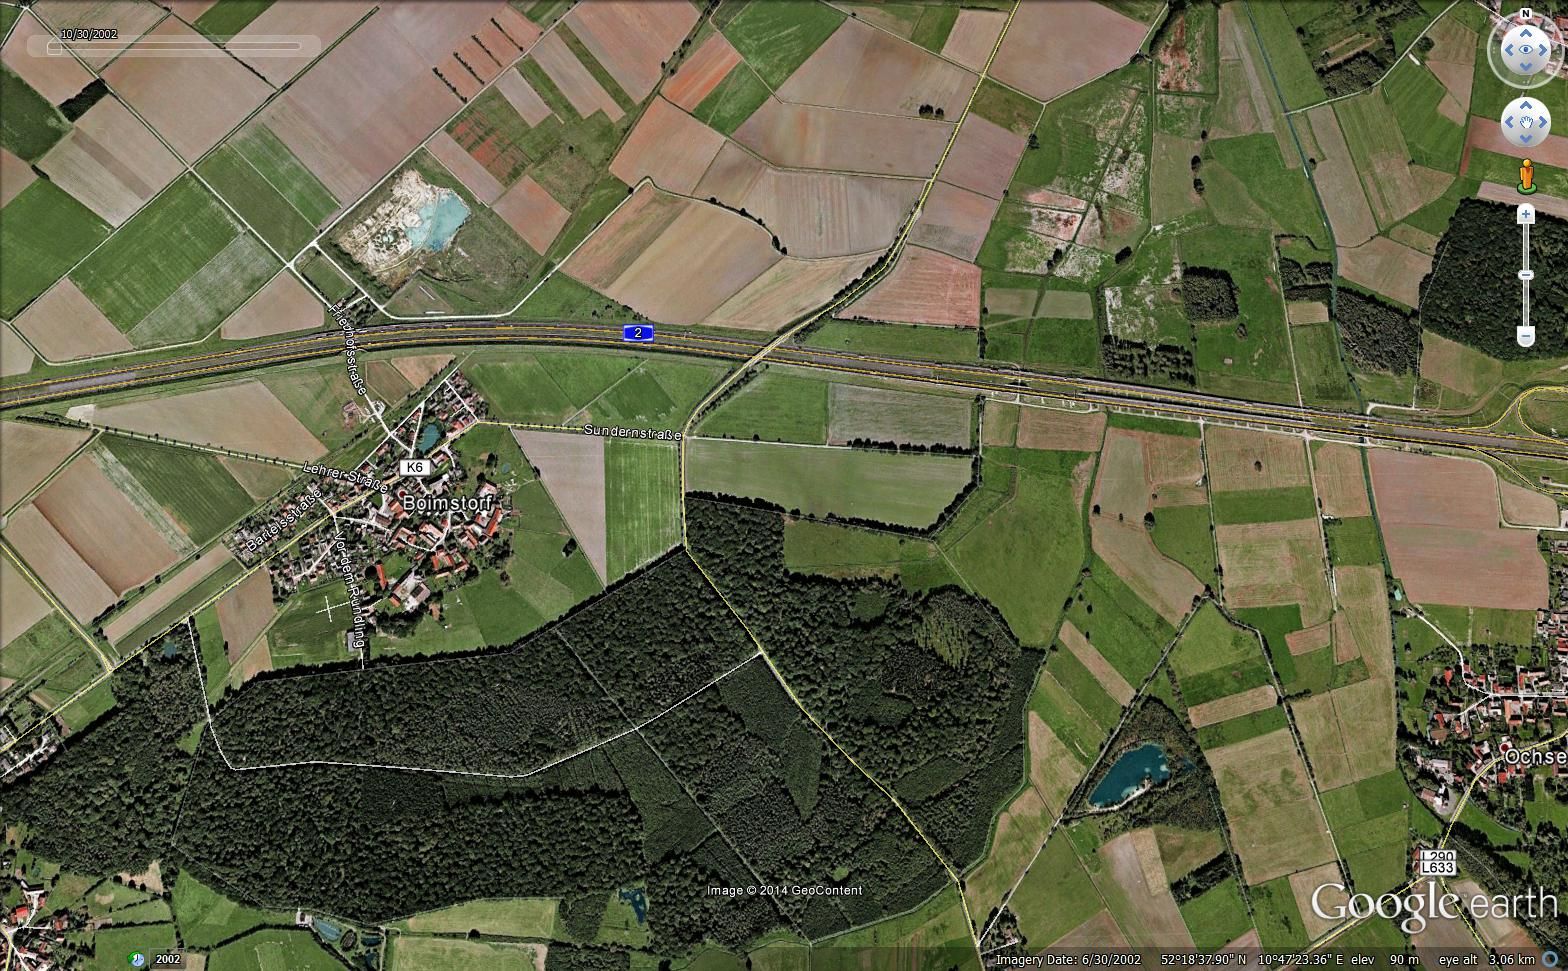
Originally I wanted the table to cover a portion of this map from Google Earth with the Soviets attacking from right to left and the NATO forces defence tied into the small town/village of Boimstorf.  The idea being that from Boimstorf they could interdict anything coming along the A2, which leads to Braunsheig (Brunswick) and onto Hanover.


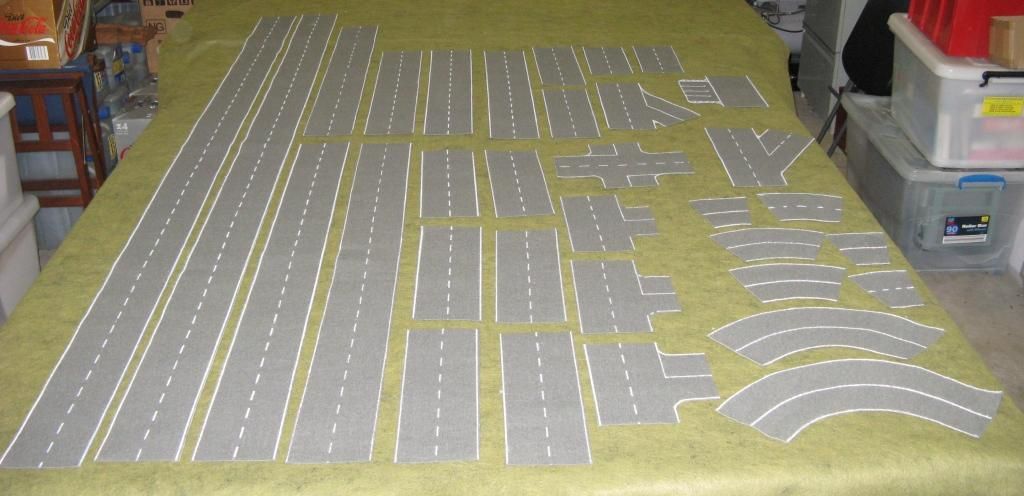
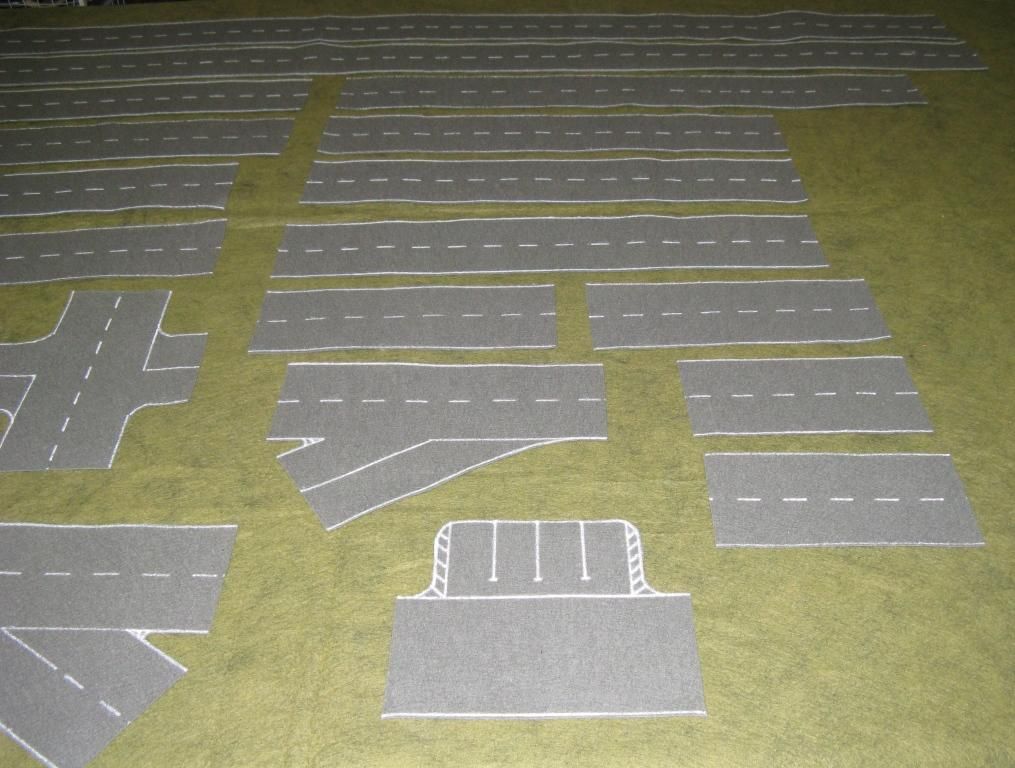
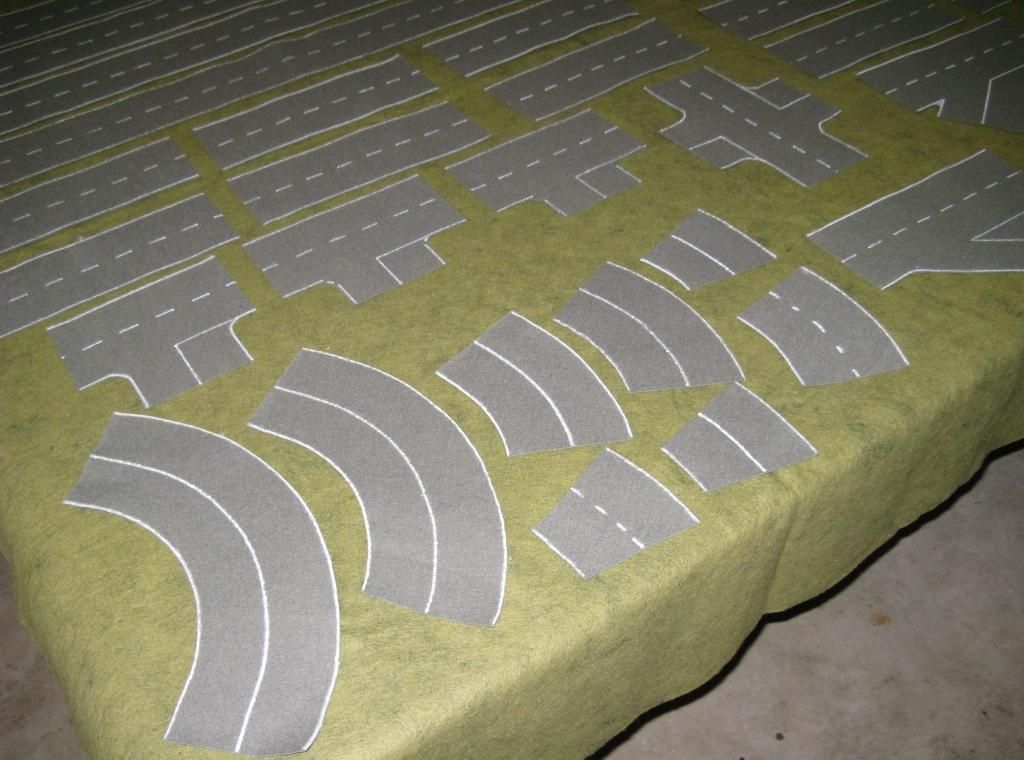
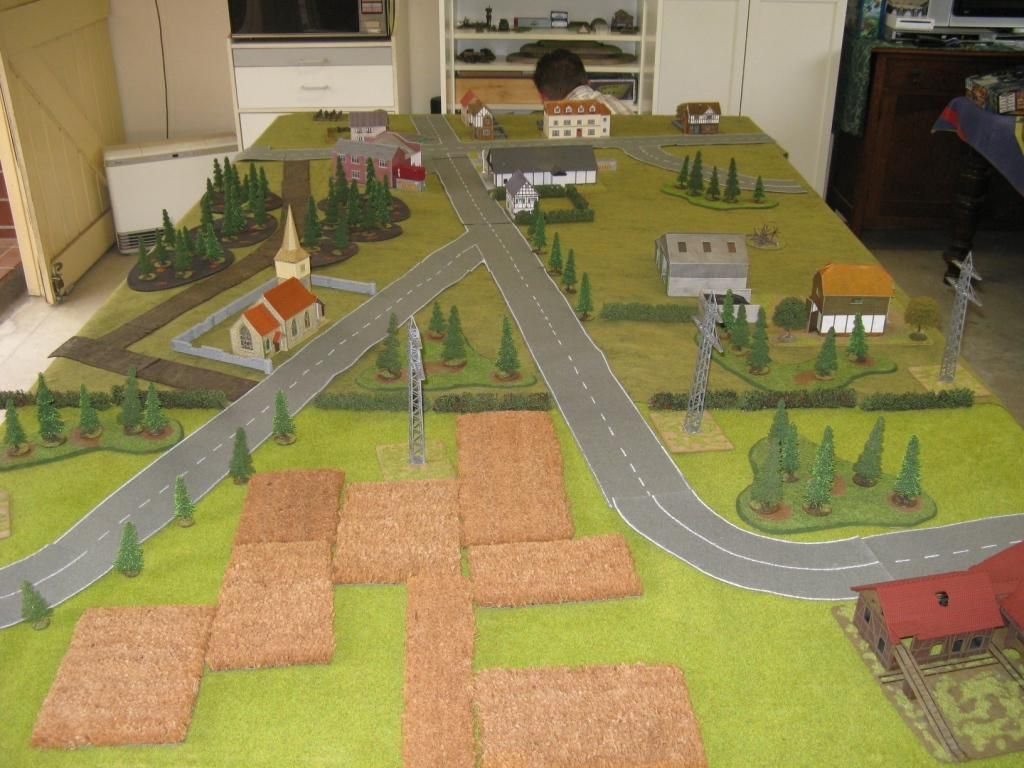
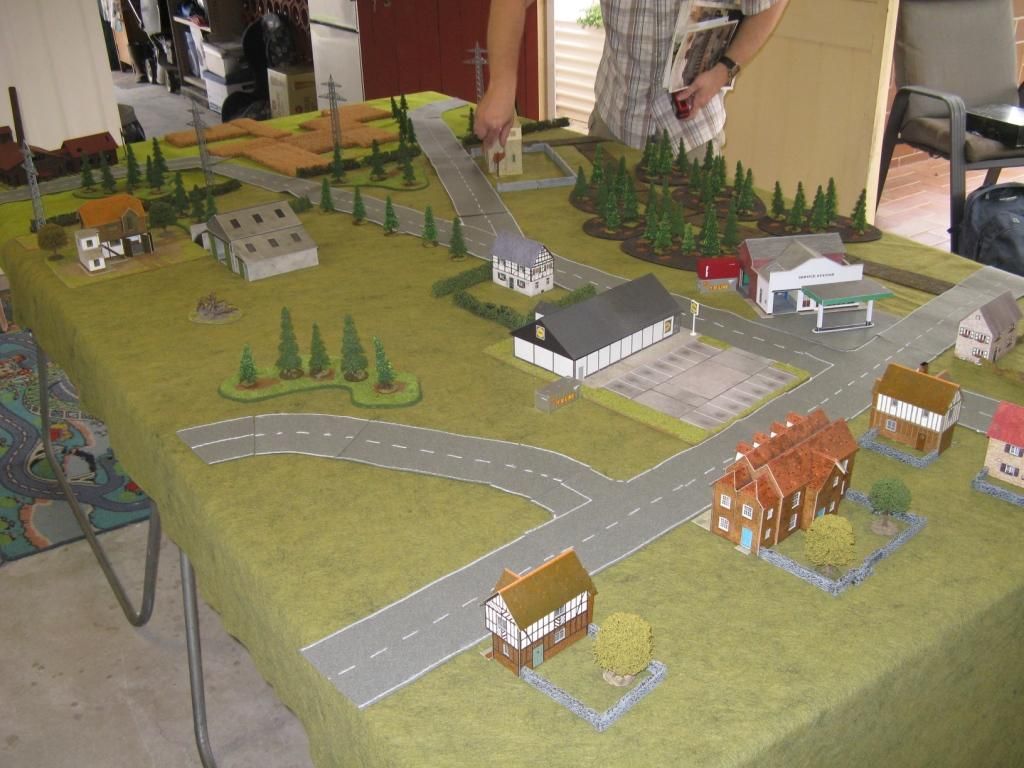
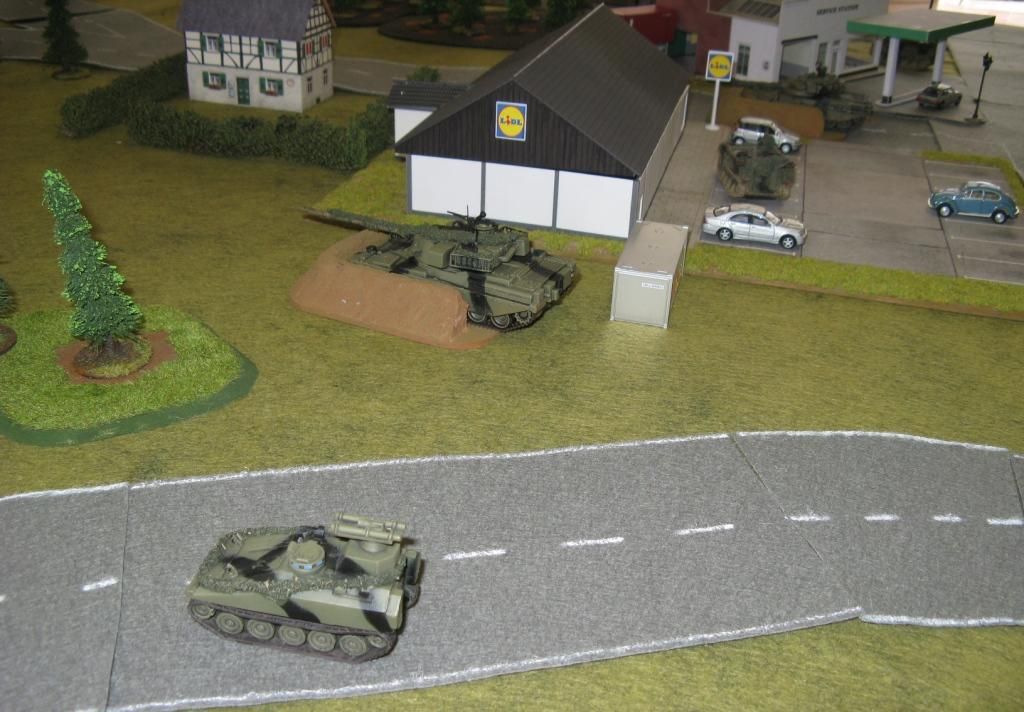
Of course the resulting table did not end up particularly lokking like that - but I was pretty happy with it anyway.


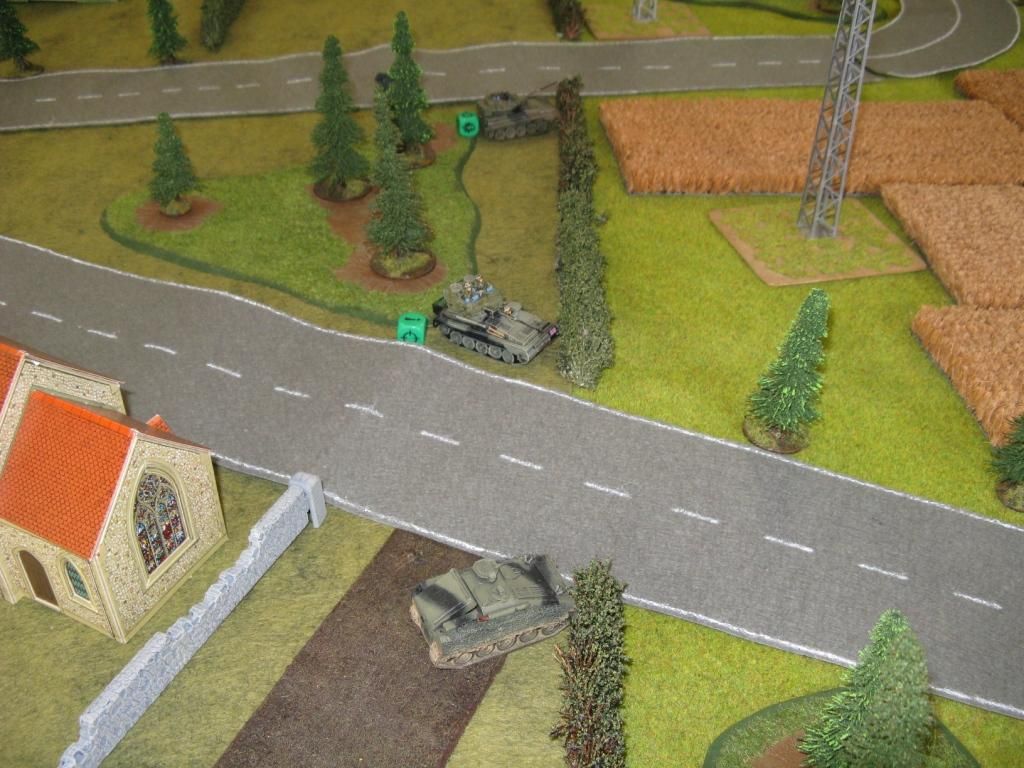
This photo is from the Soviet end of the table.  The next is from the NATO end.


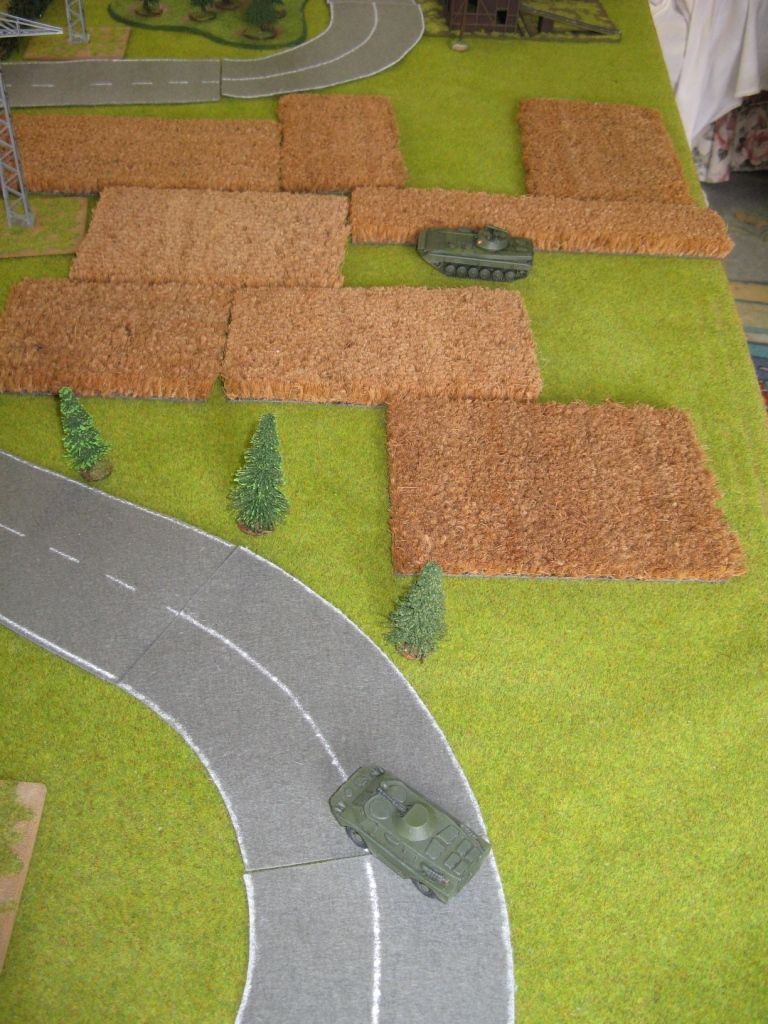
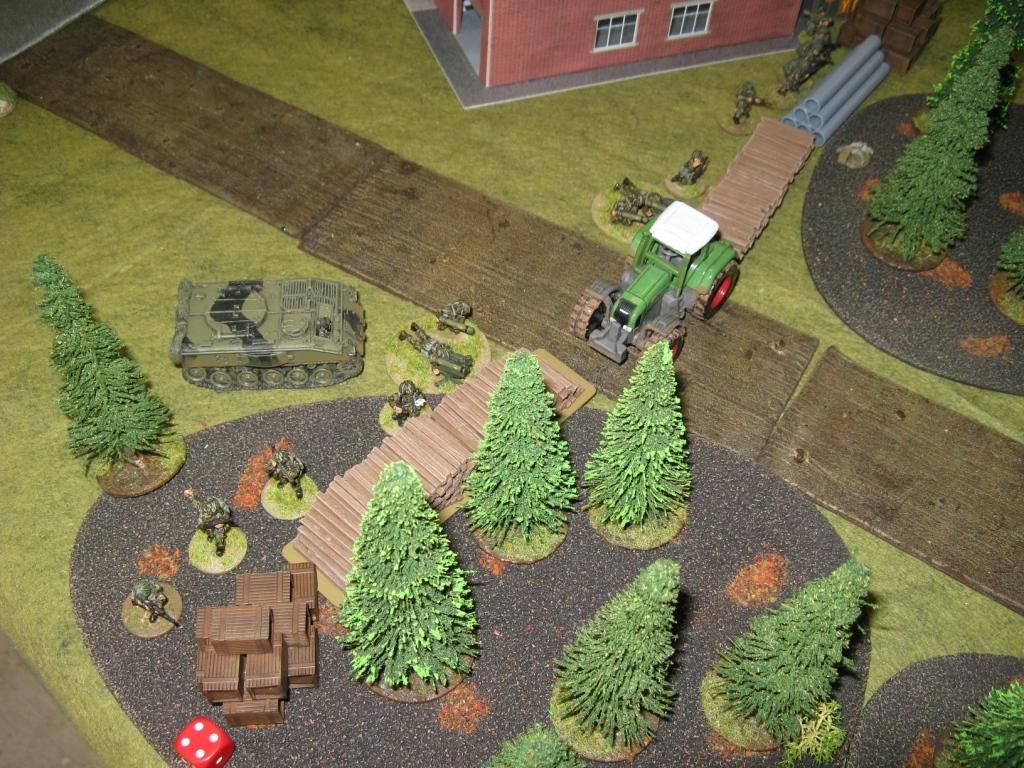
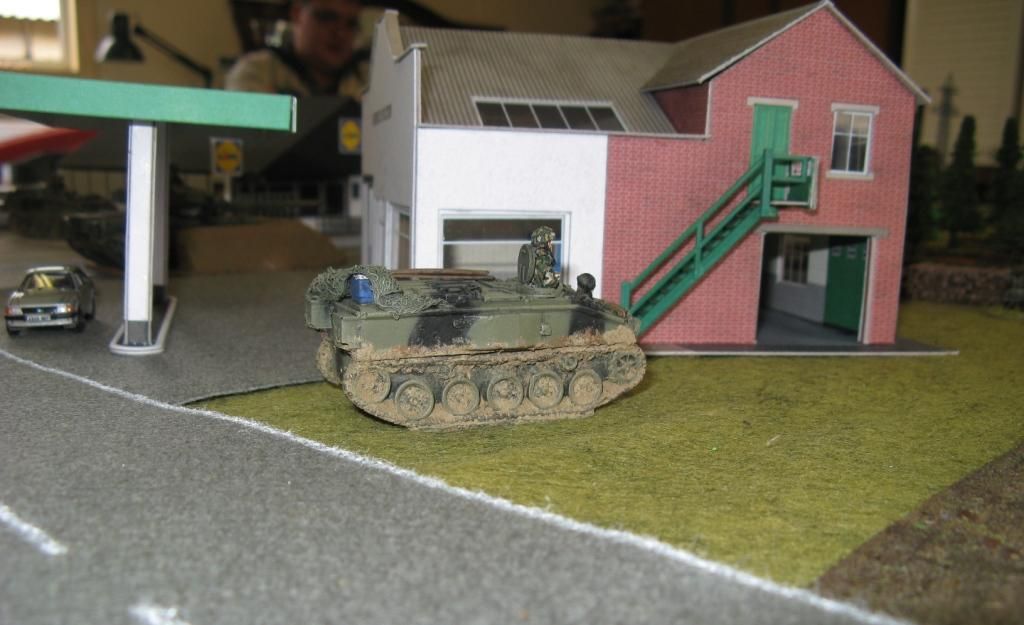
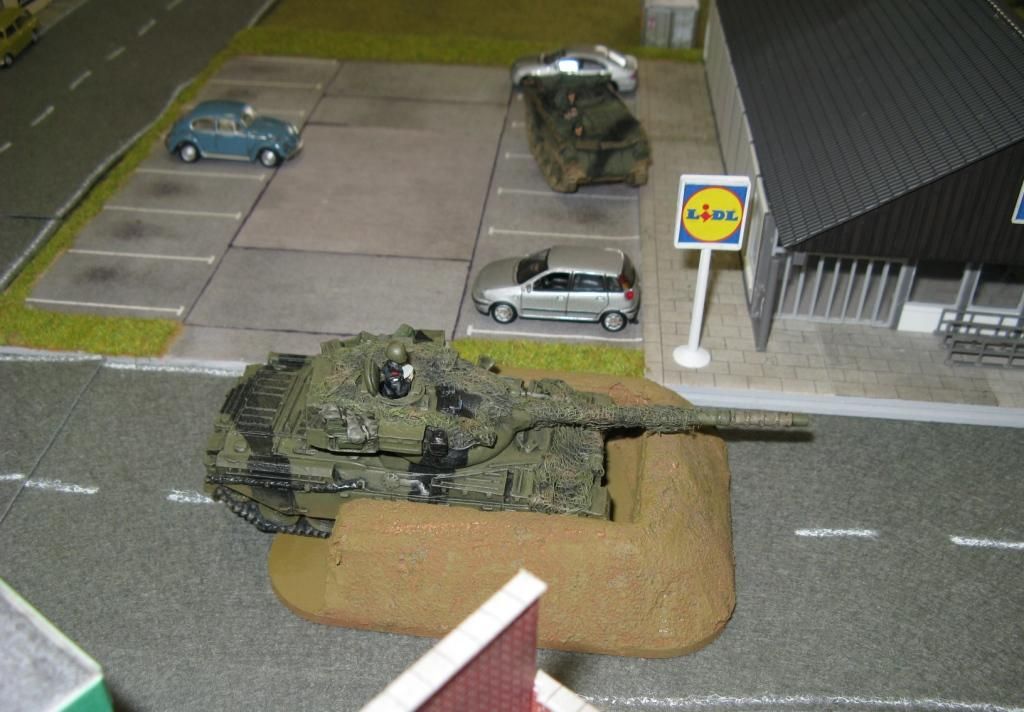
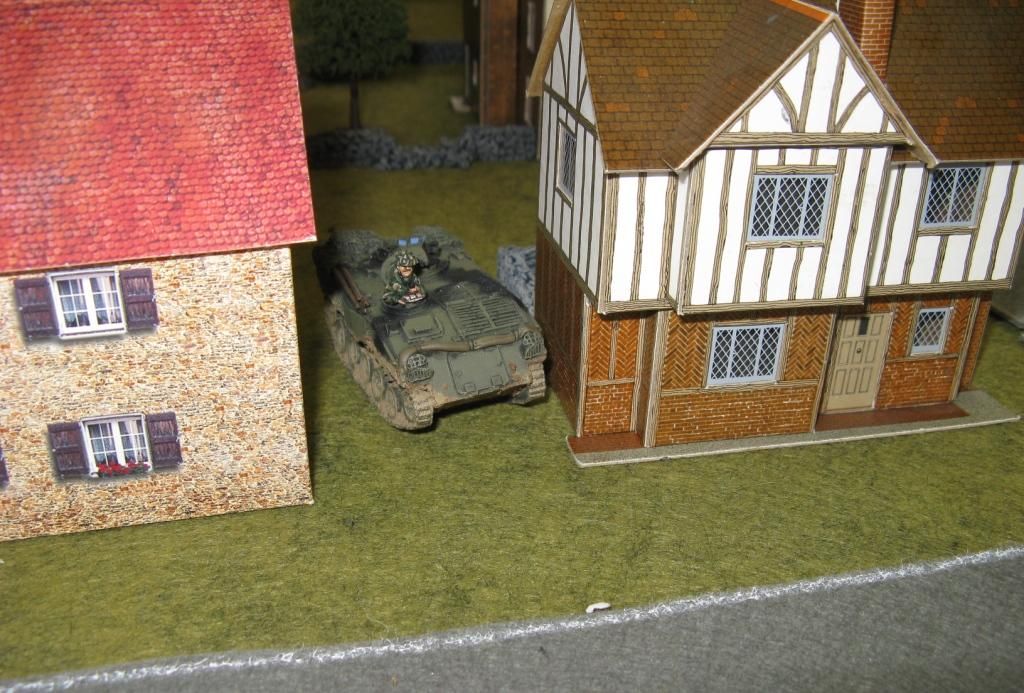
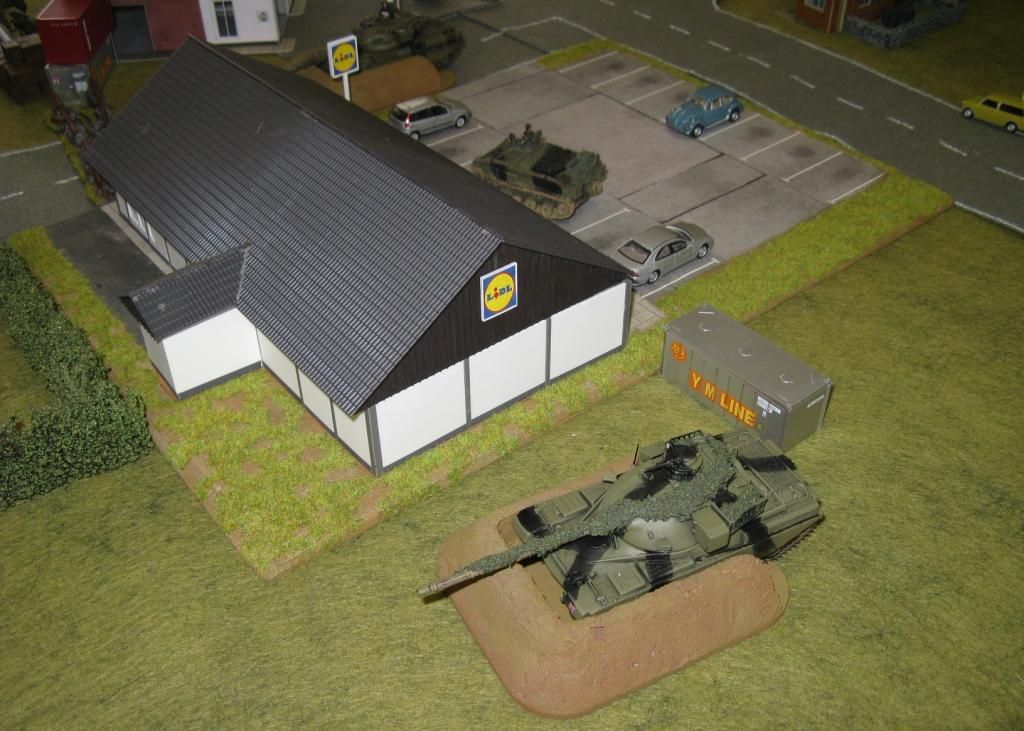
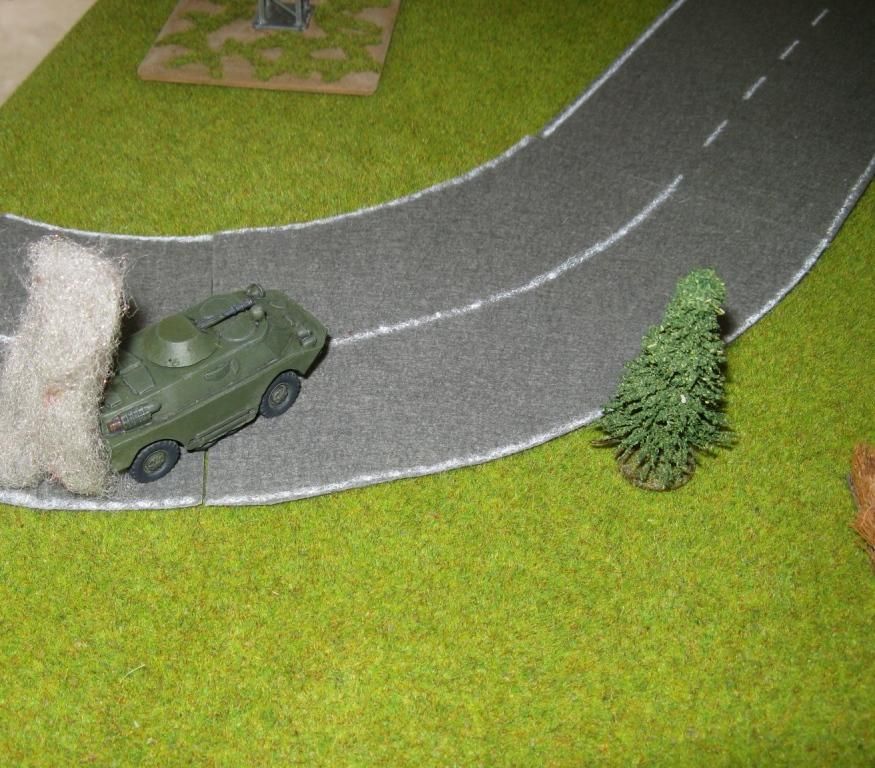
Now a couple of random table shots:


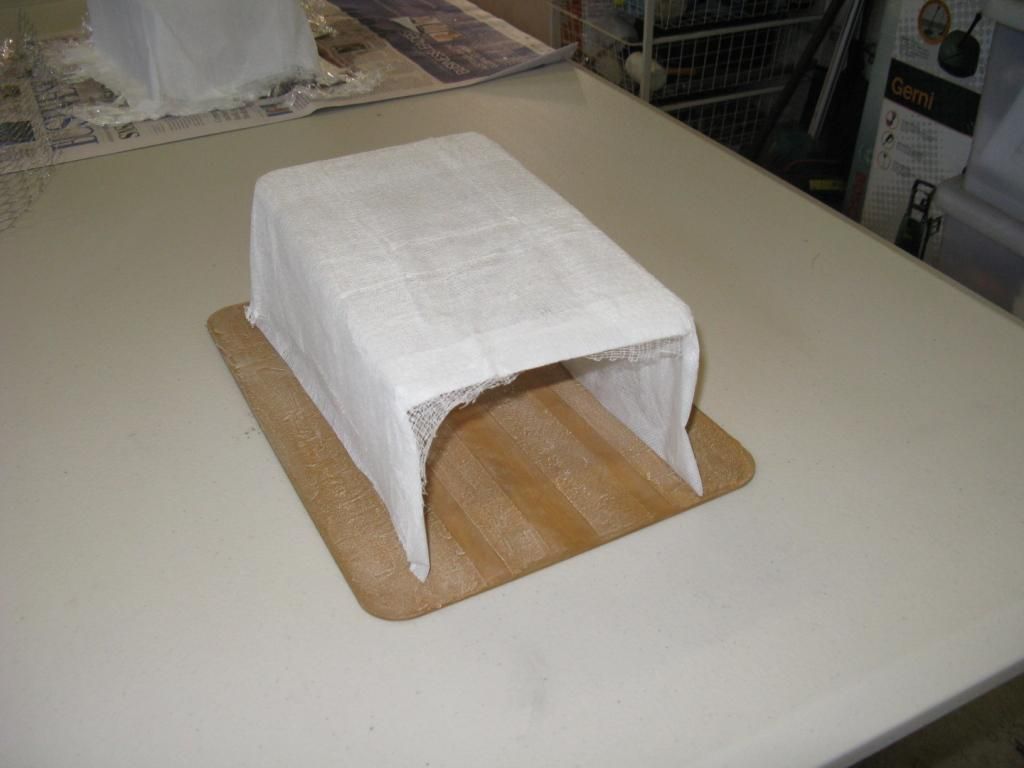
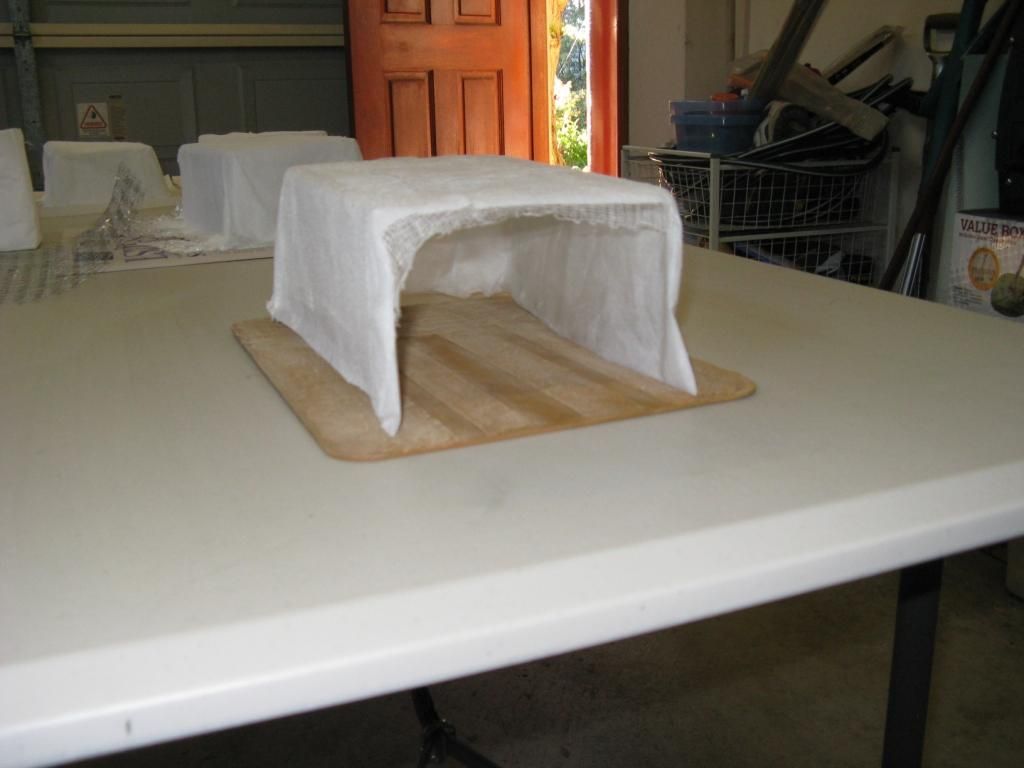
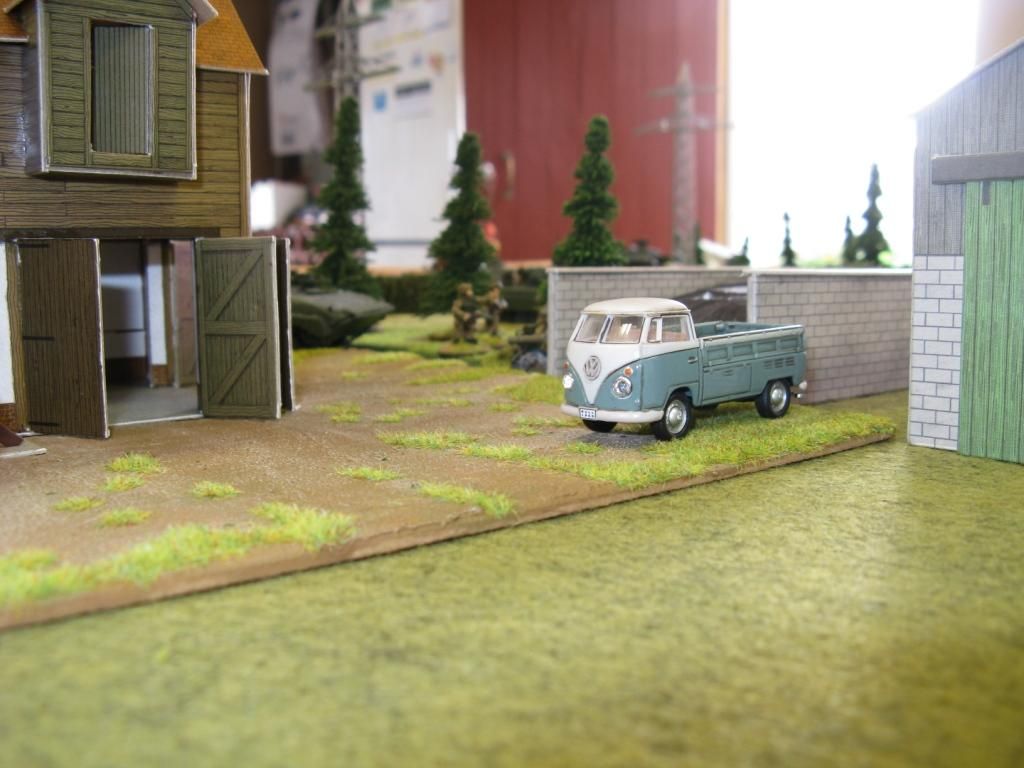
The roads, church and service station plus a few other bits and bobs were completed by me especially for the game.  It forced me to complete things - which I actually appreciated!

The forces were as follows:

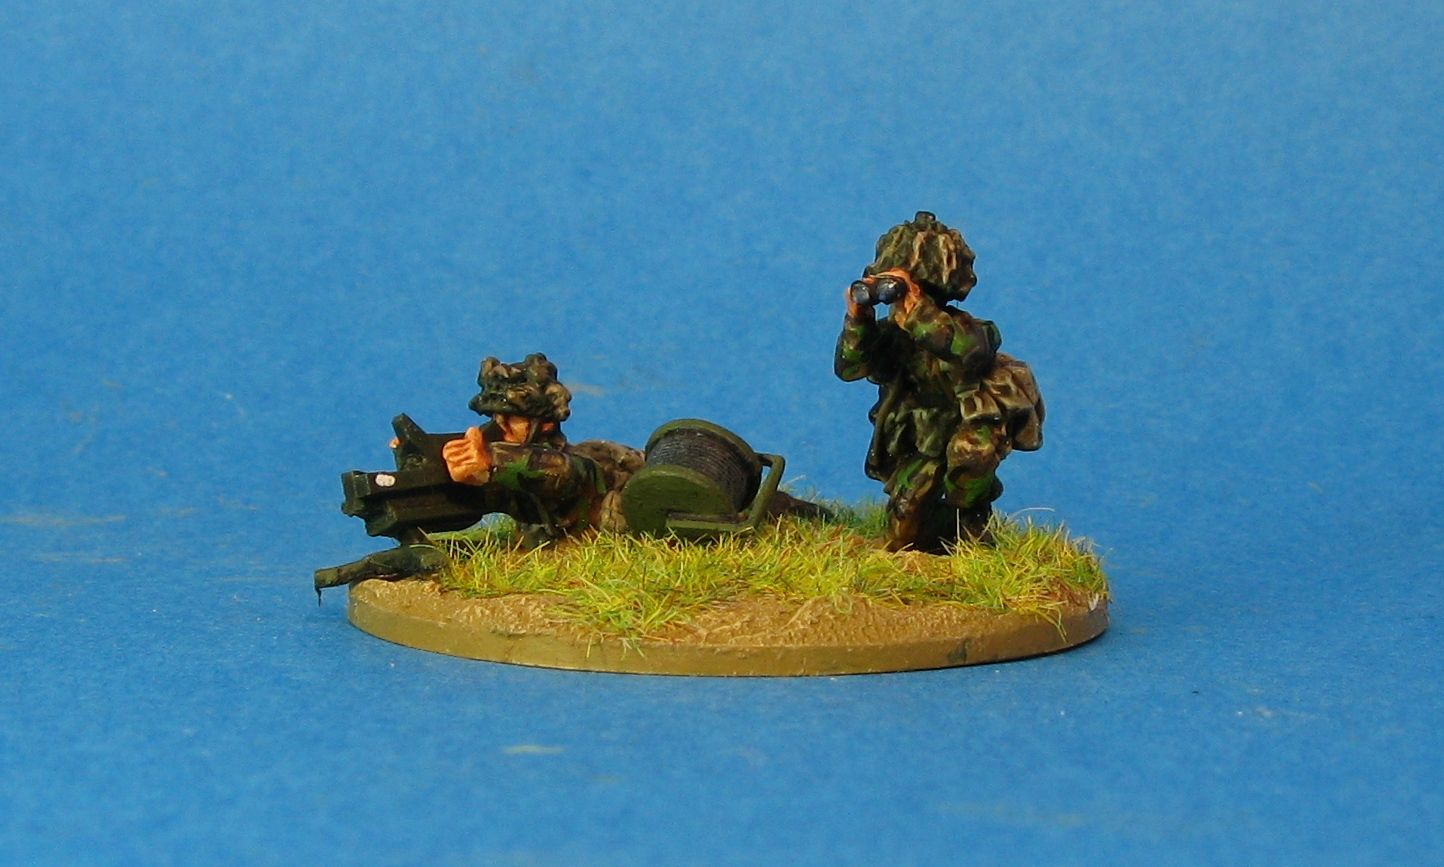
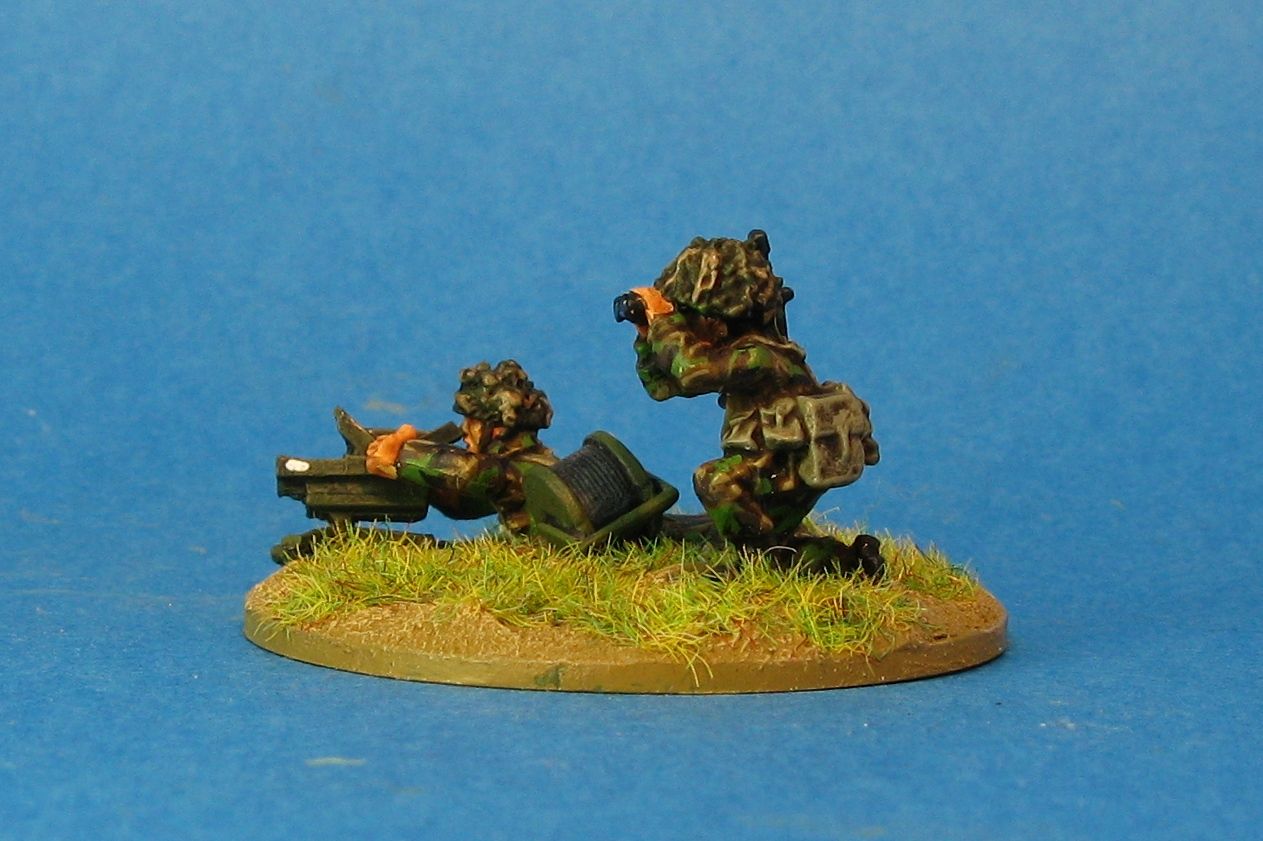
BAOR - 1 Officer, 3 Scouts, Battle Rating 38
2 x Mk 10 Chieftain Stillbrew
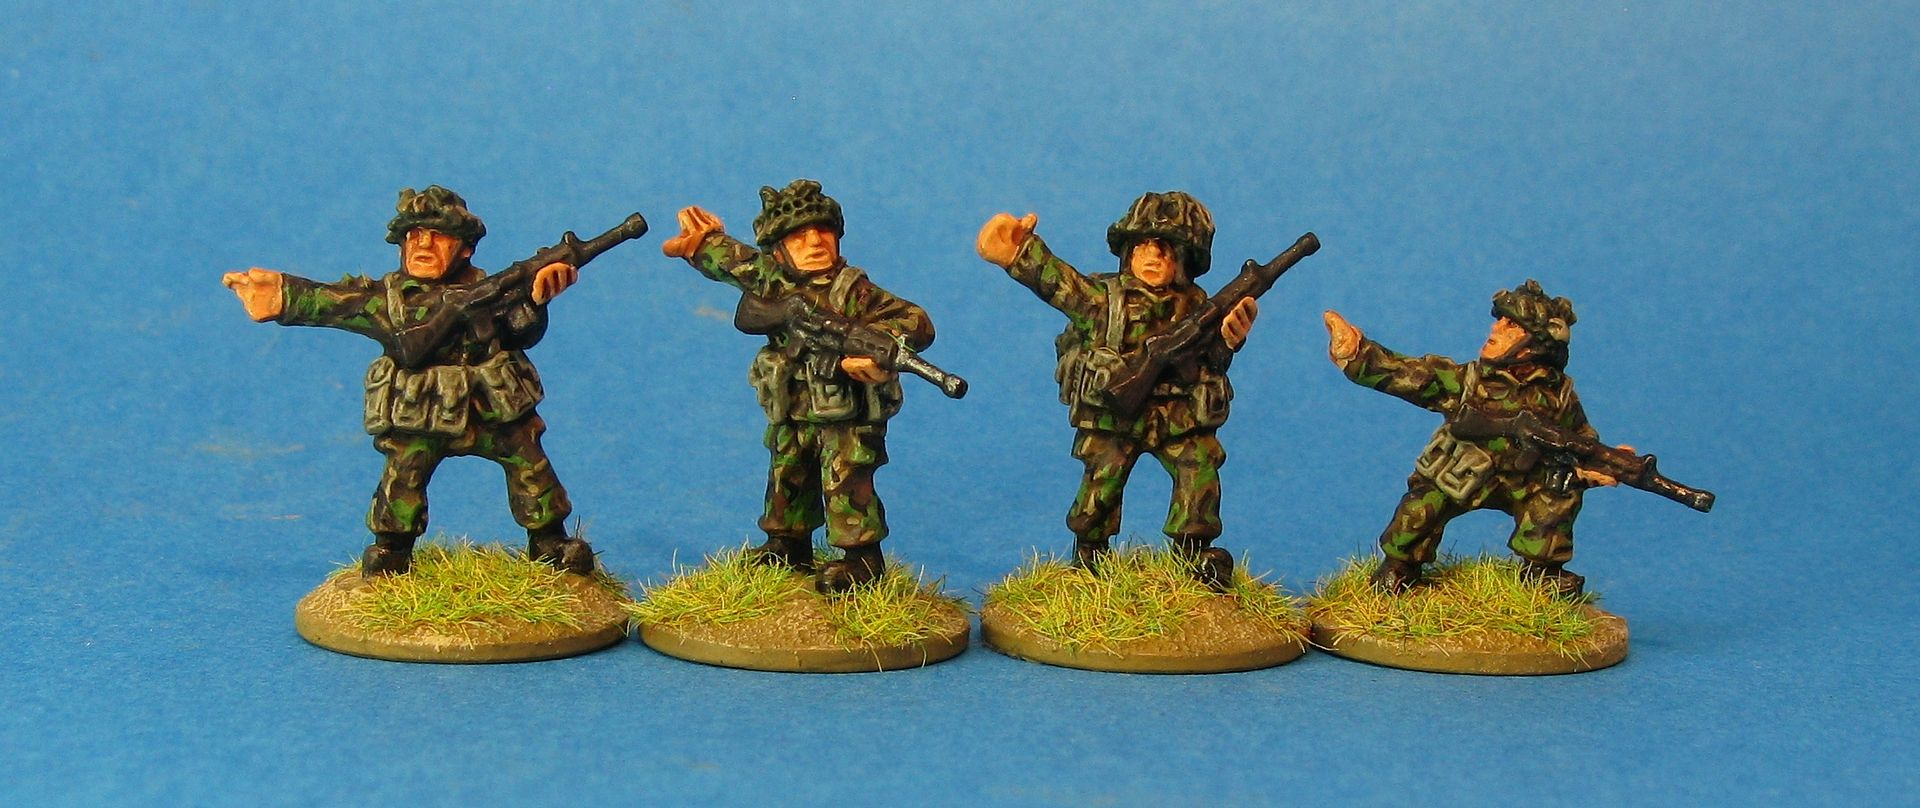
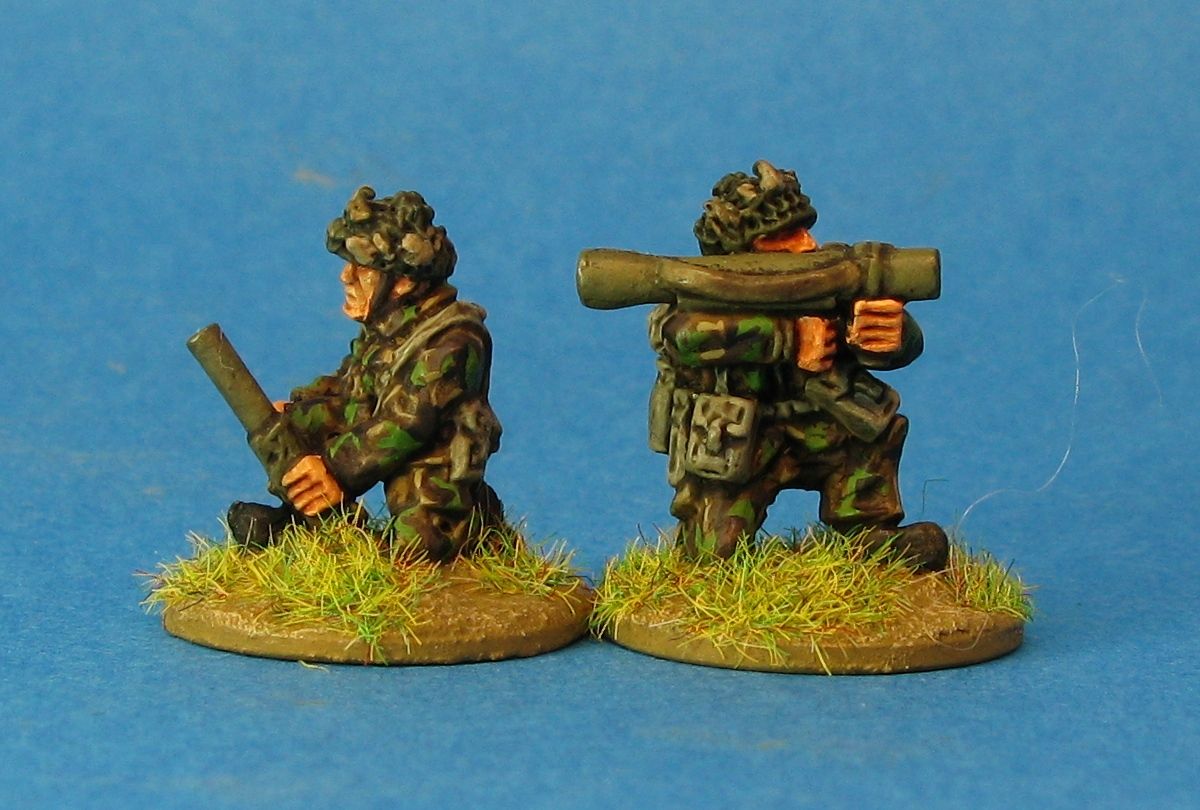
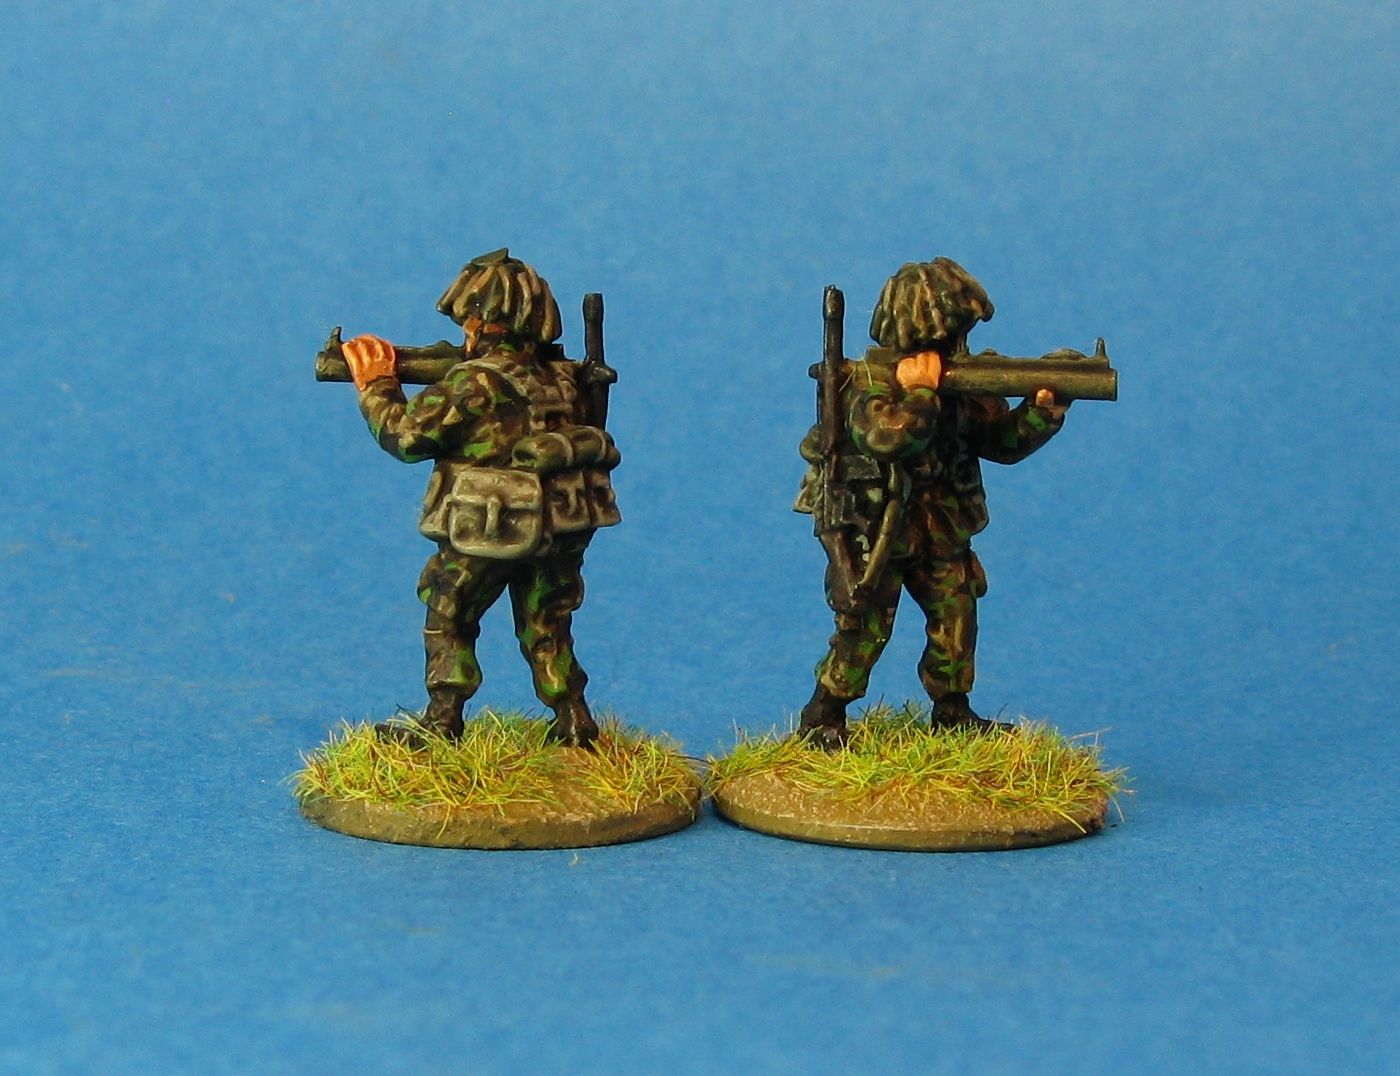
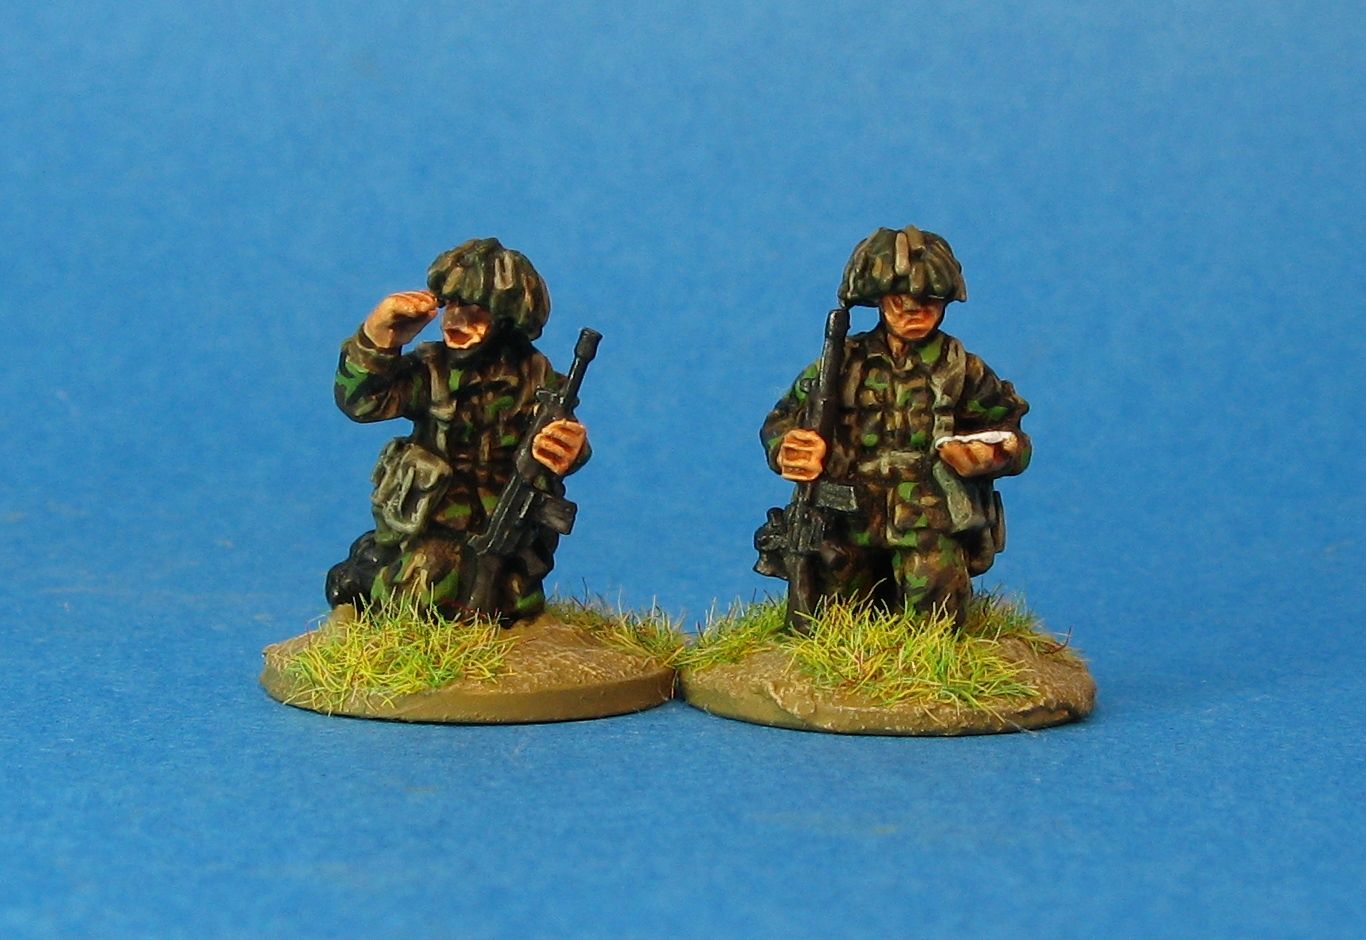
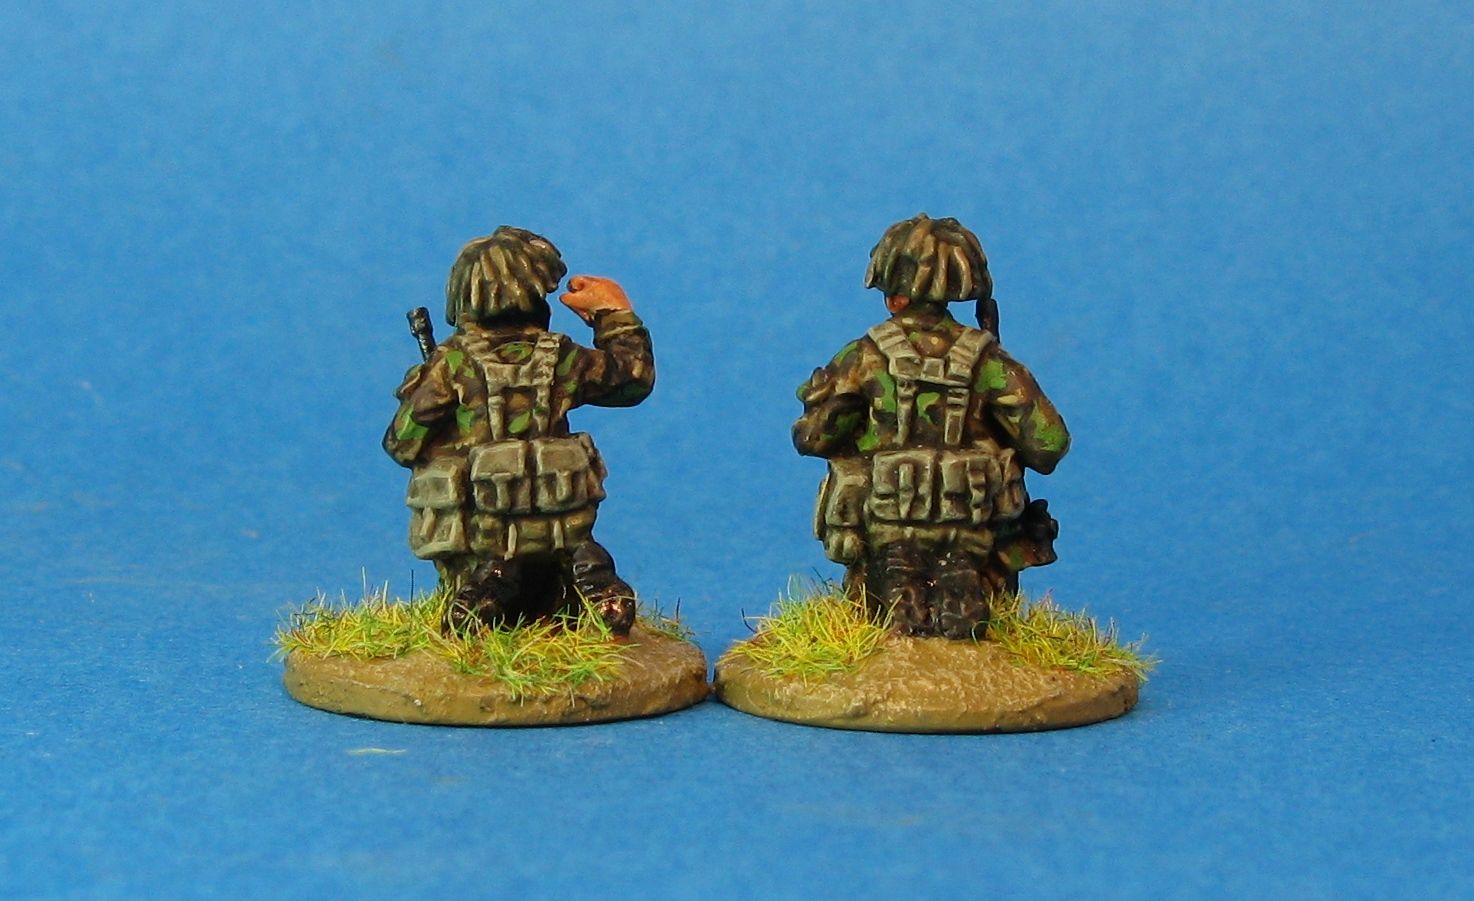
1 x Mechanised Infantry platoon w/FV432 (2 with MG turrets) and 4 x M72A2
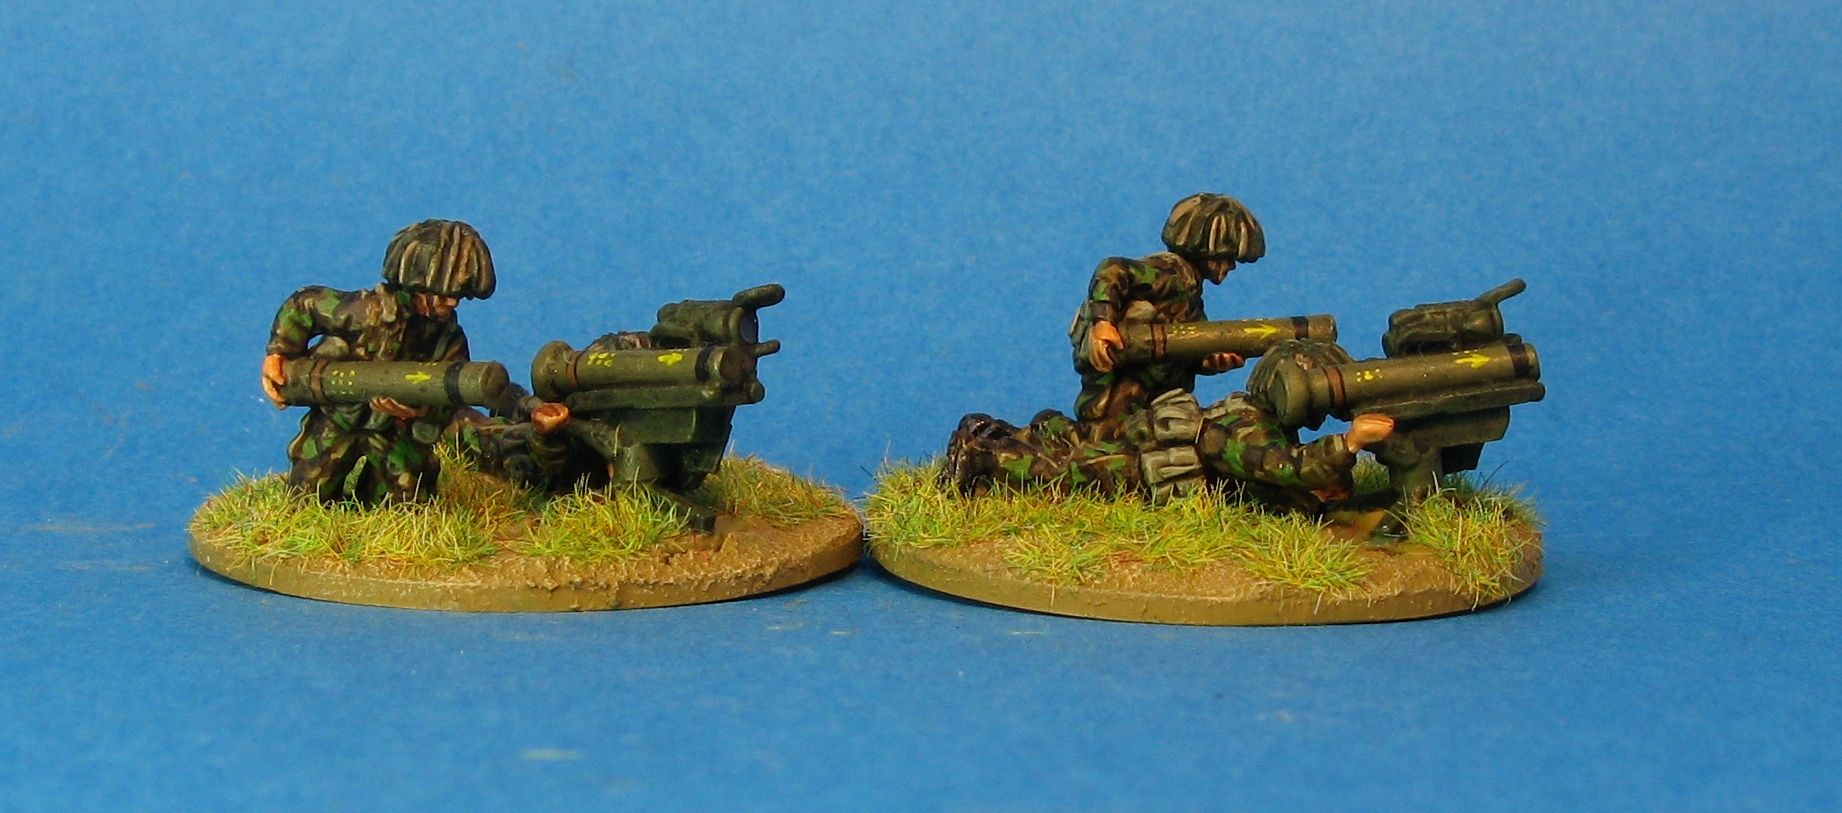
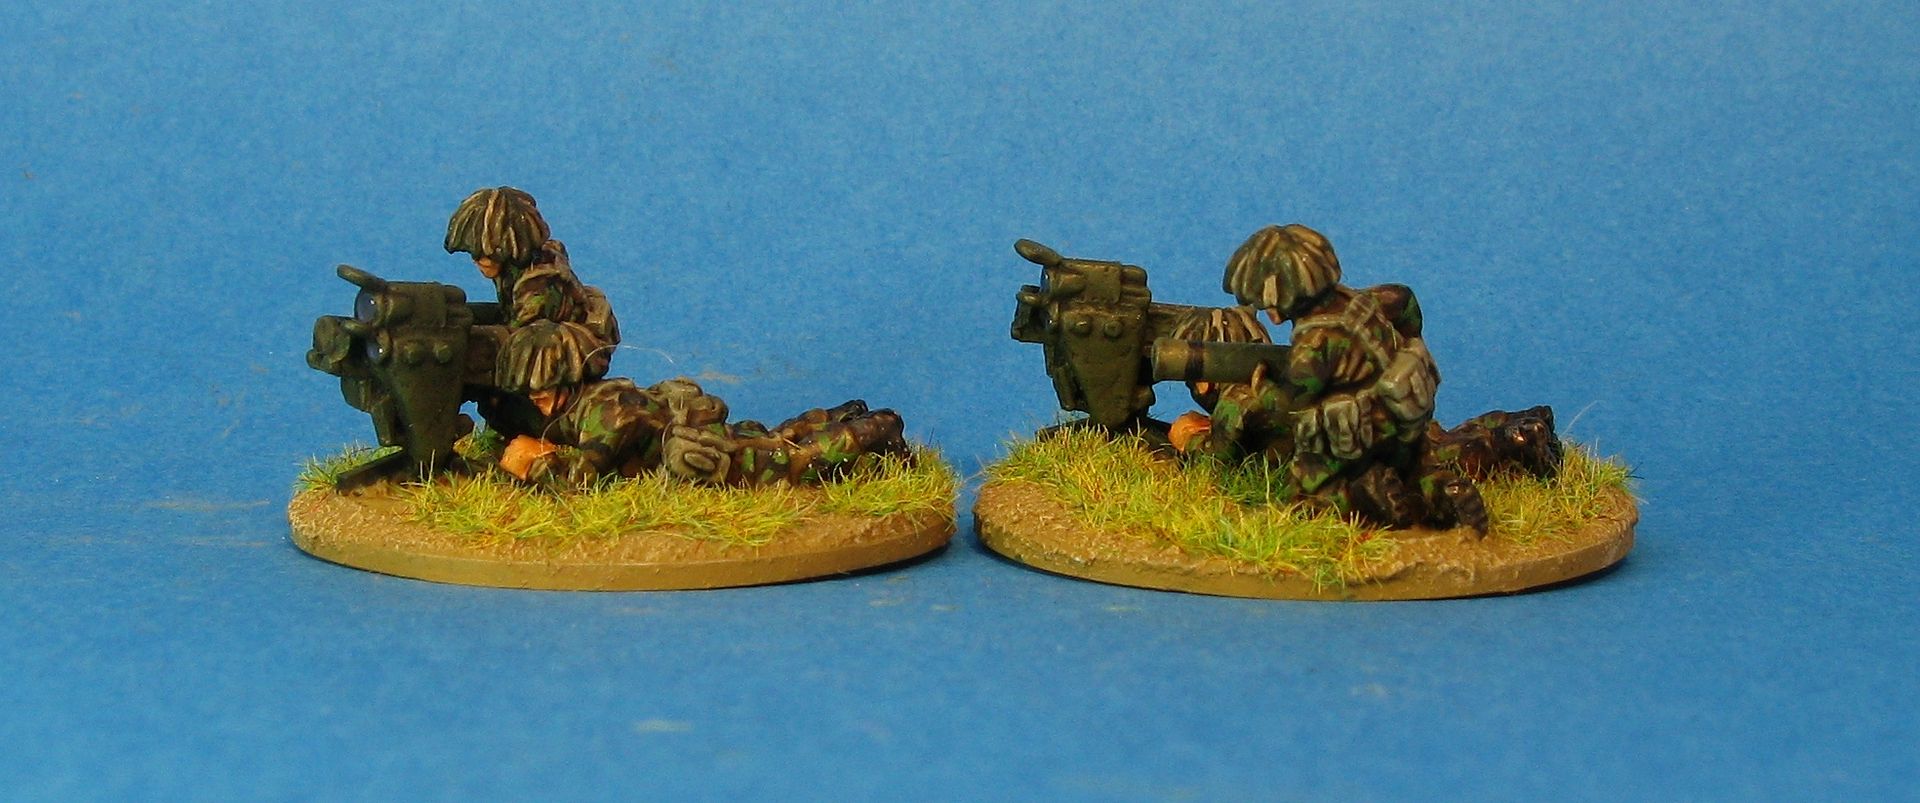
2 x Milan ATGM teams w/FV432
1 x Spartan MCT
2 x Scimitars
1 x Striker
1 x Timed 105mm HE Barrage

The Brits also had some defences - 2 tank fighting positions, 2 improvised barricades, an improvised road block, a minefield and a cellar shelter.

WARPAC - 2 Officers, 3 Scouts, Battel Rating 31
1 x T-80BV Platoon (3 tanks)
1 x BMP Motor Rifle Platoon w/BMP-1P
1 x Recon BMP Motor Rifle Squad in a BMP-2
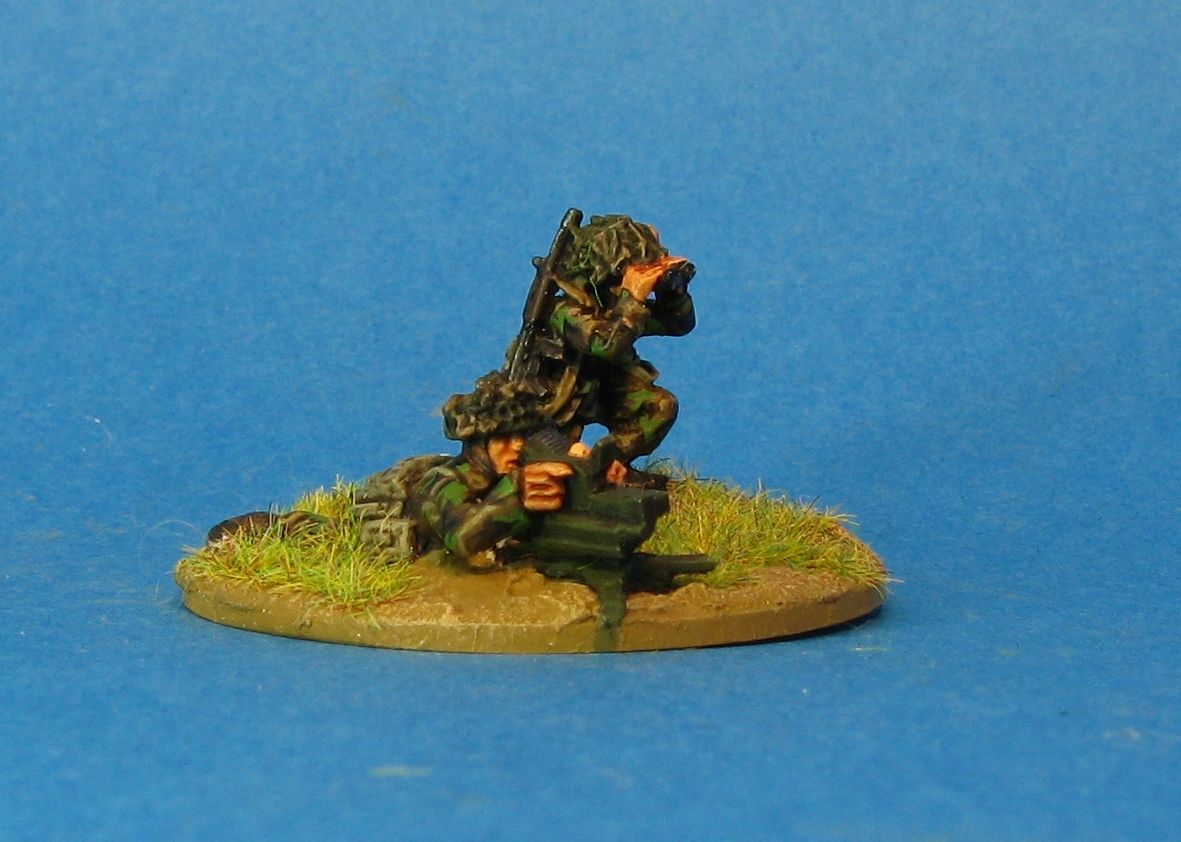
1 x NBC Recon Patrol
1 x BRDM-2 (free as the Soviets won the first mission)
1 x Combat Engineer Squad in a BTR-70
1 x 9P148 Konkurs BRDM-2
1 x Timed MRL HE Barrage

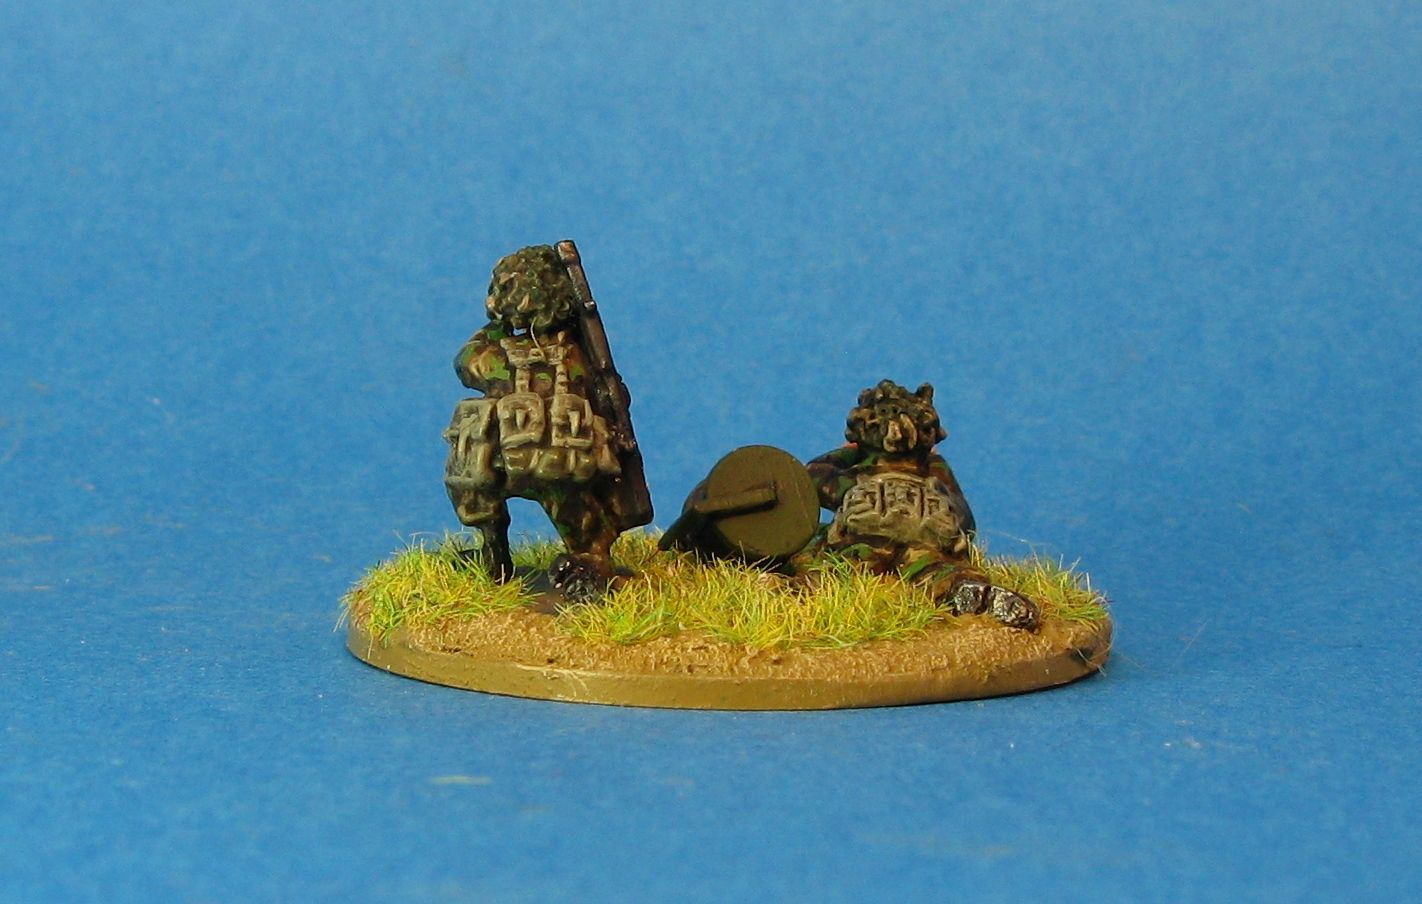
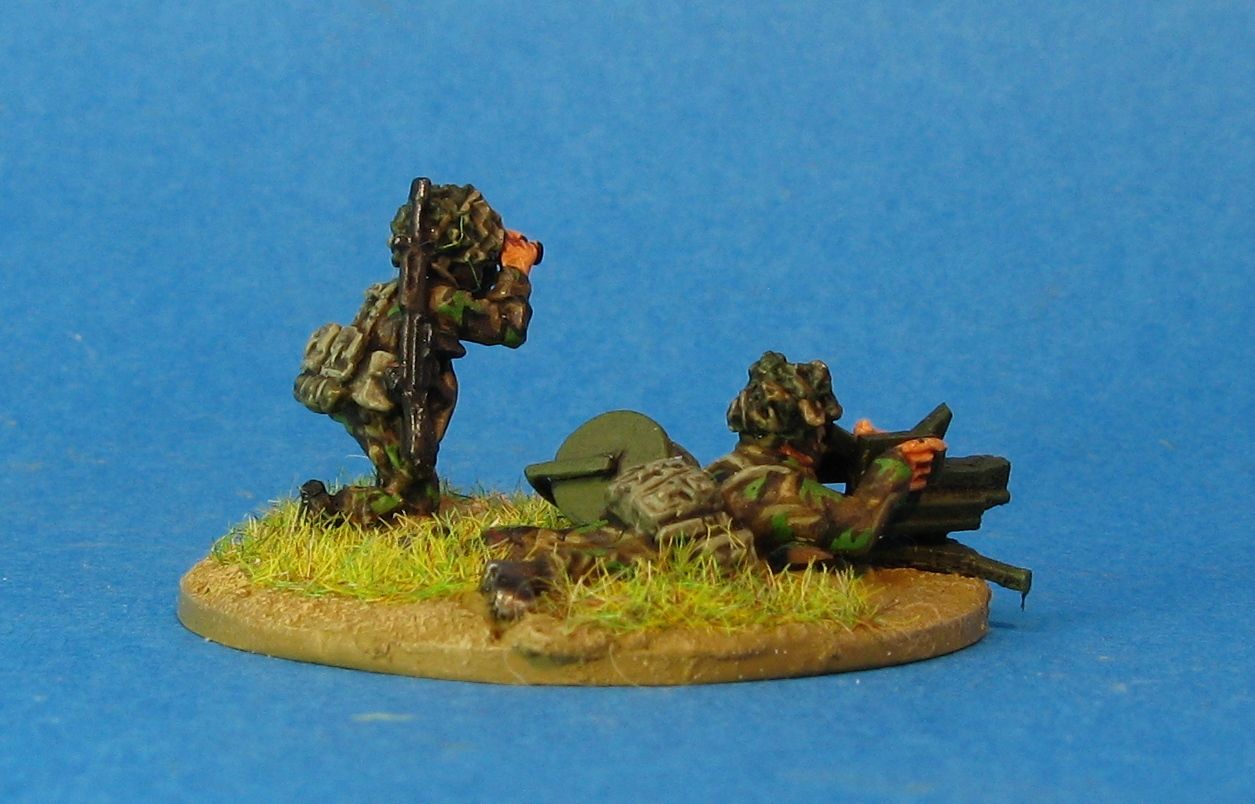
First the recce units deployed - here I made a mistake in the design of the mission and allowed the Brits to deploy on Ambush Fire fairly close to where the Soviets would enter the table.  In retrospect I should not have done that.  Oh well...


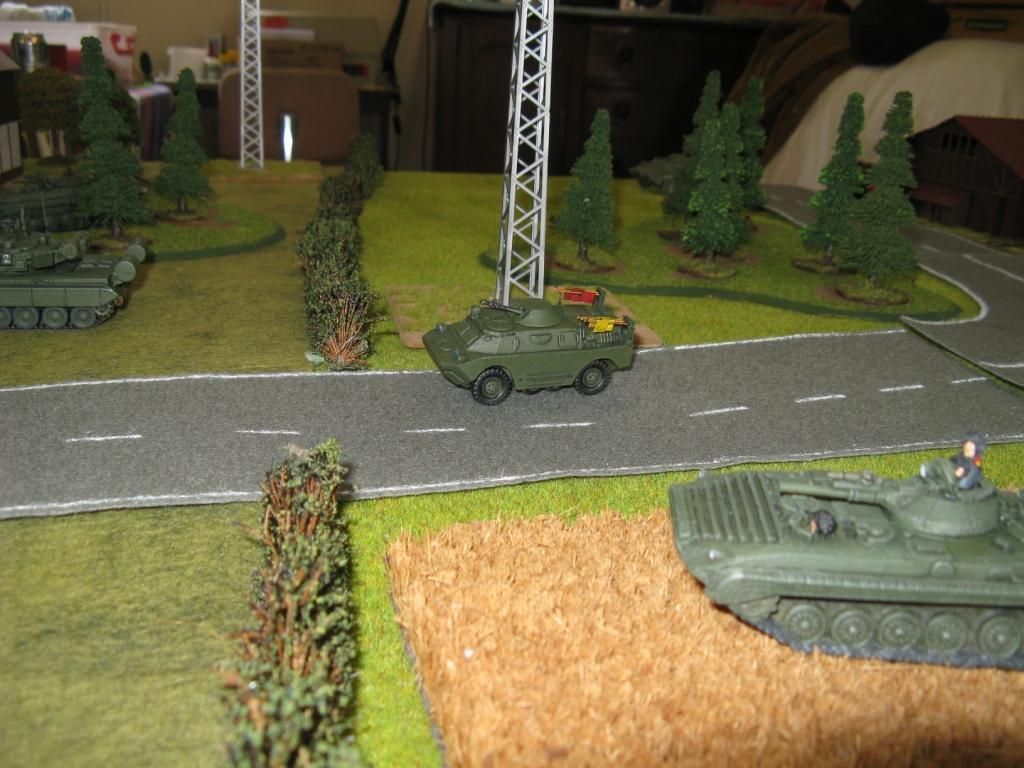
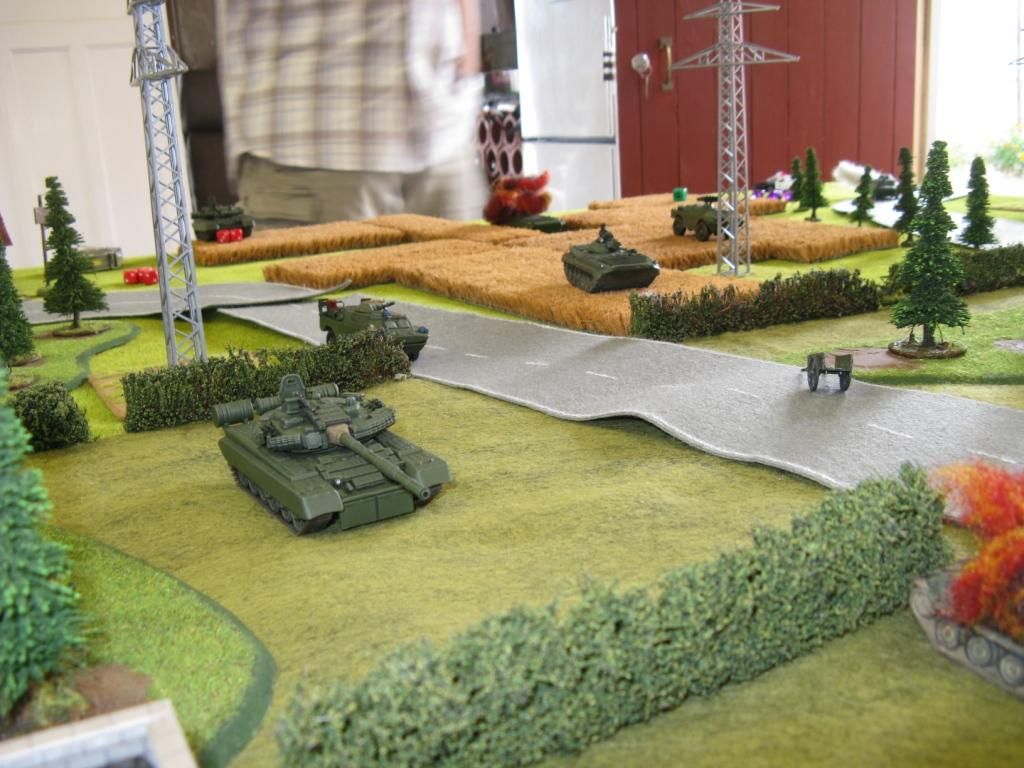
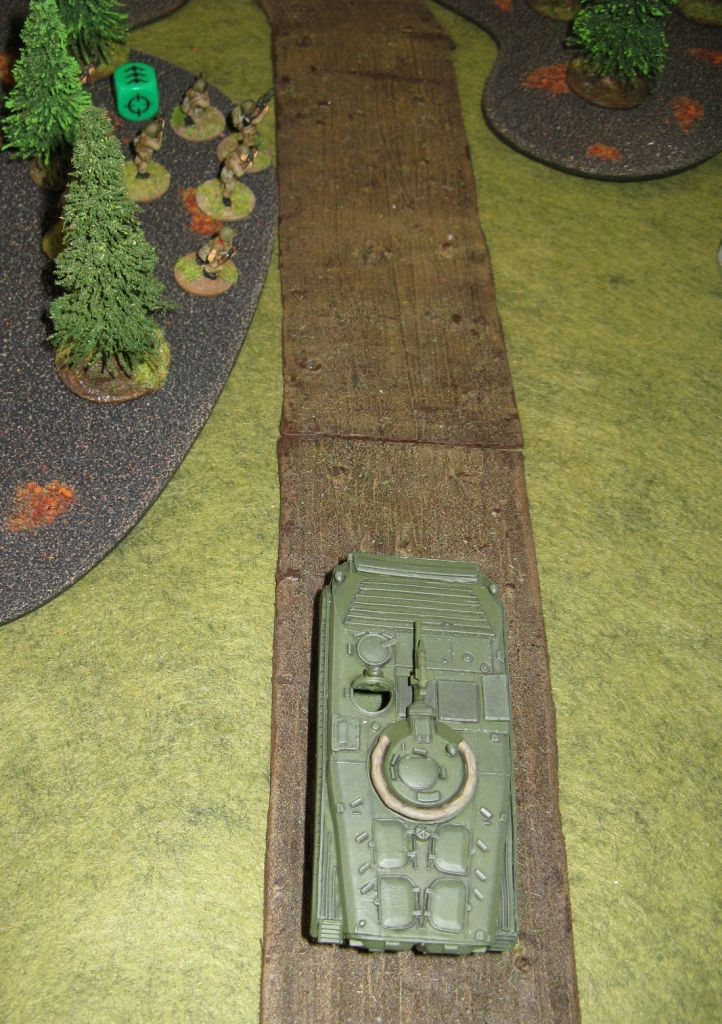
Then the Soviets started to come on


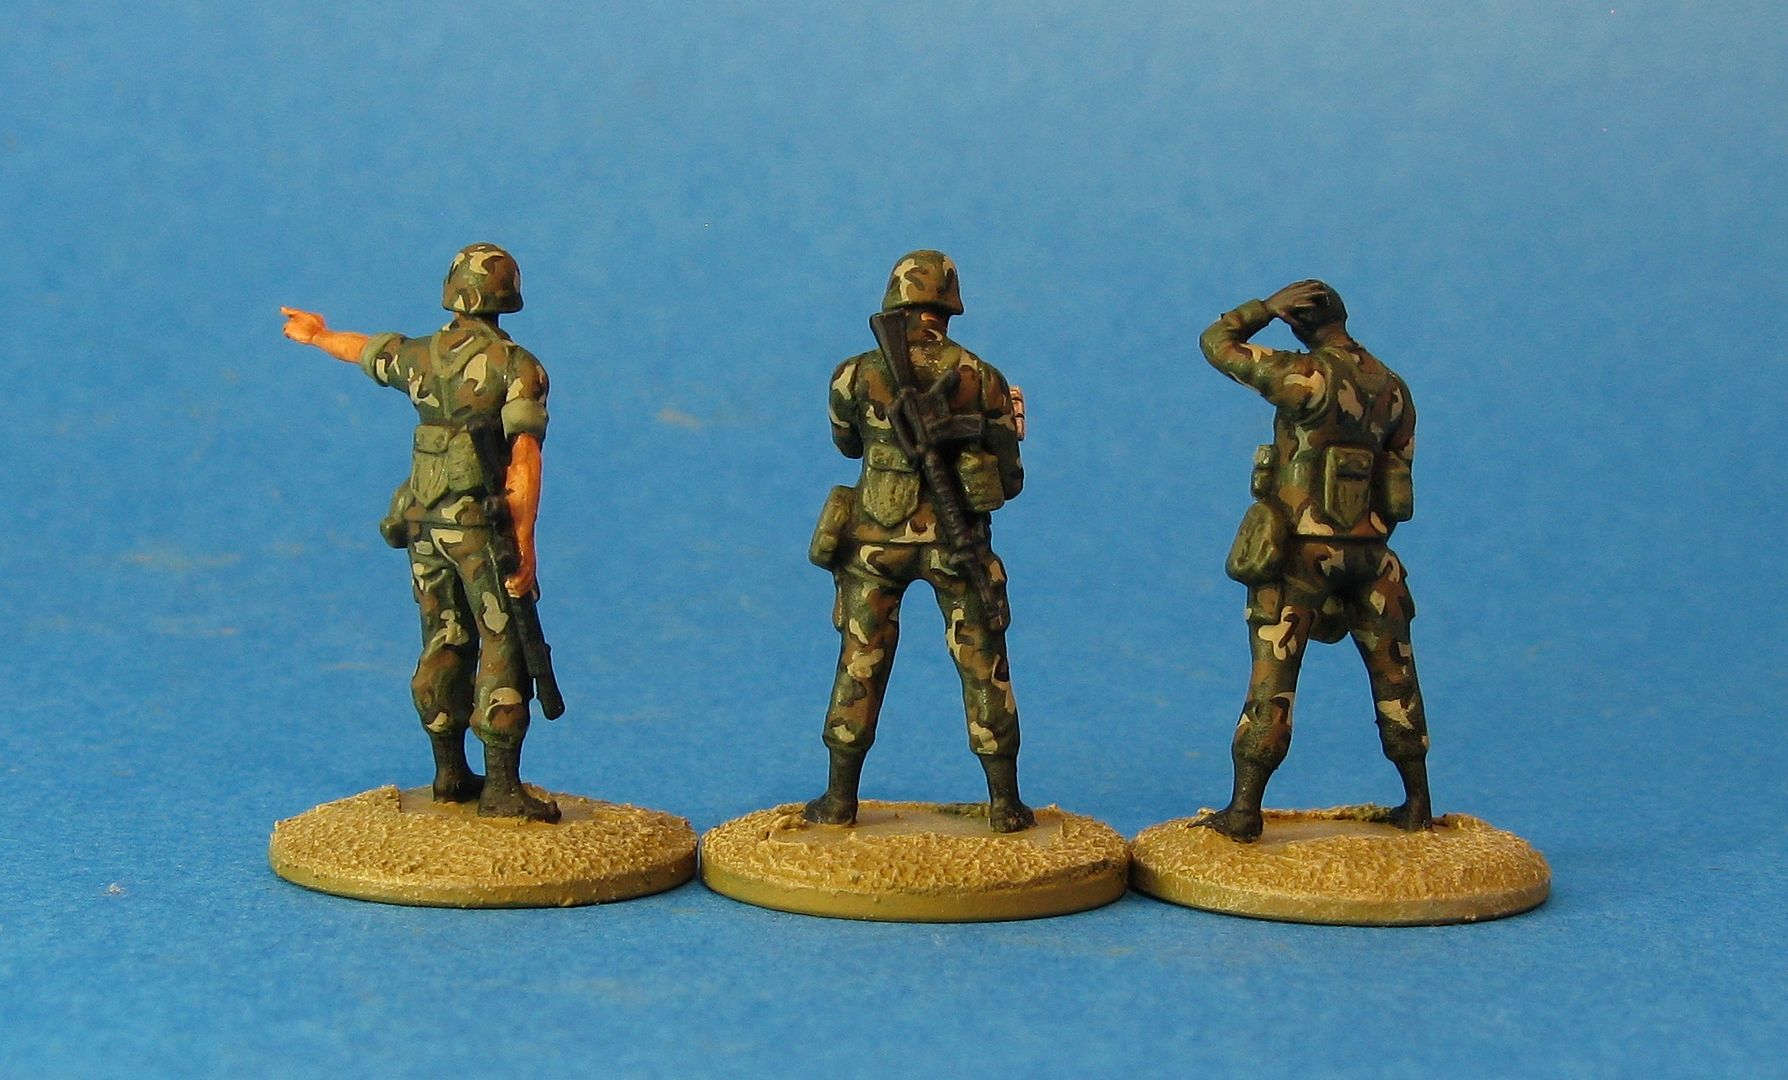
Then the British main force deployed


Note the Spartan MCT in the last photo - finished in time for the game. 

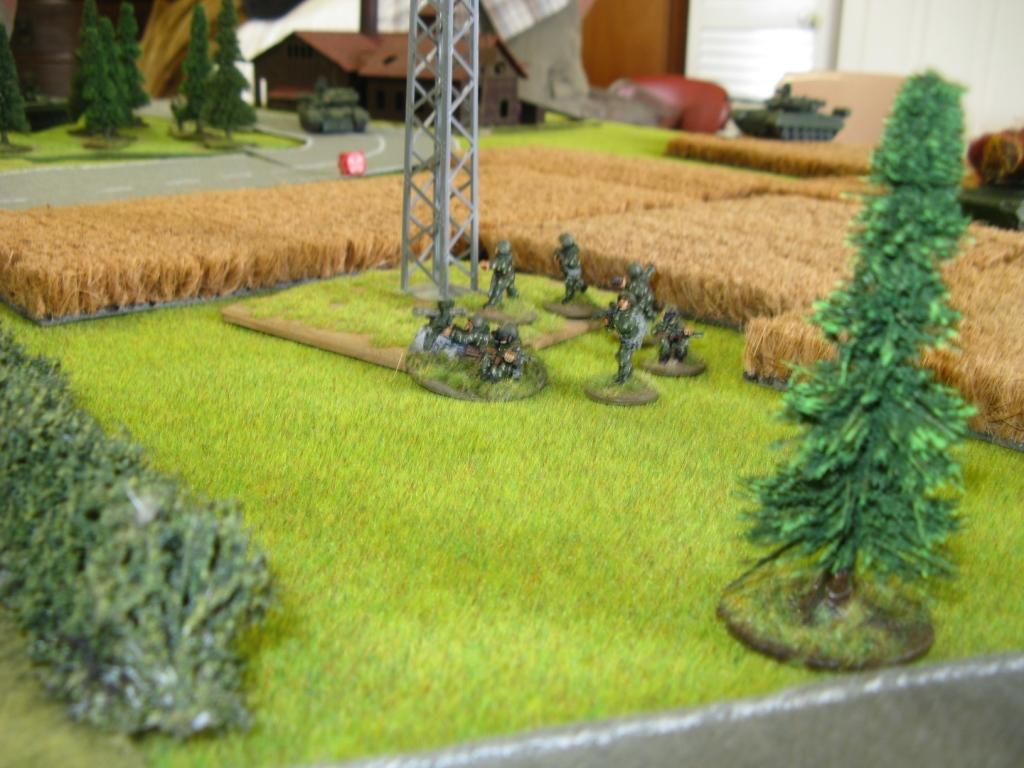
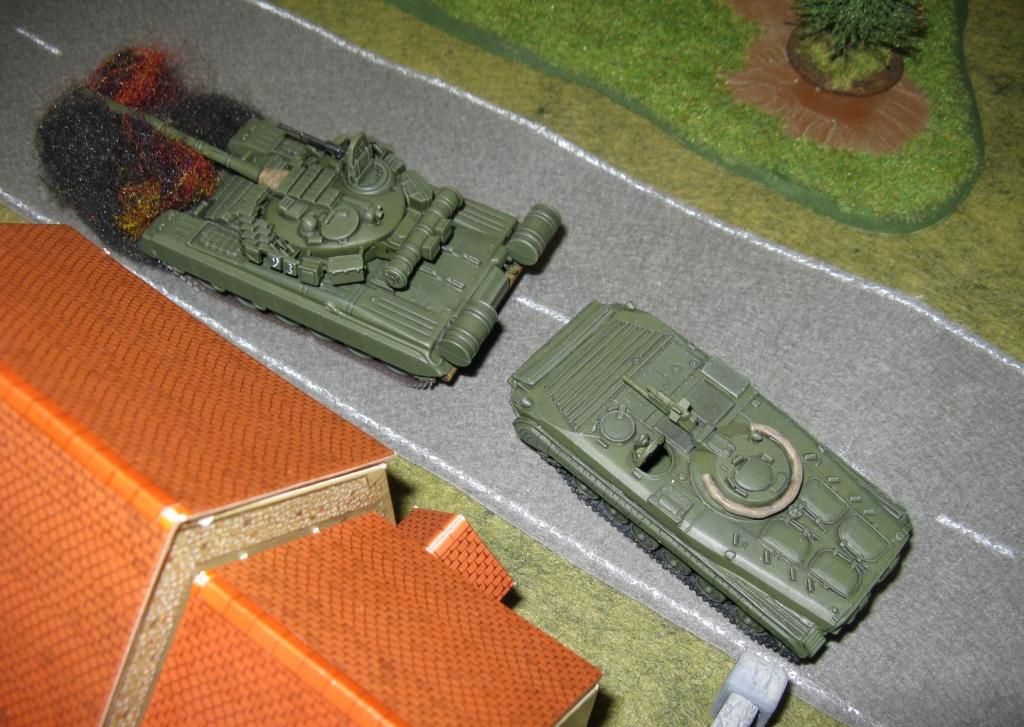
As the Soviets attempted to advance they were immediately taken under fire from the NATO recce


But more Soviet forces began to arrive


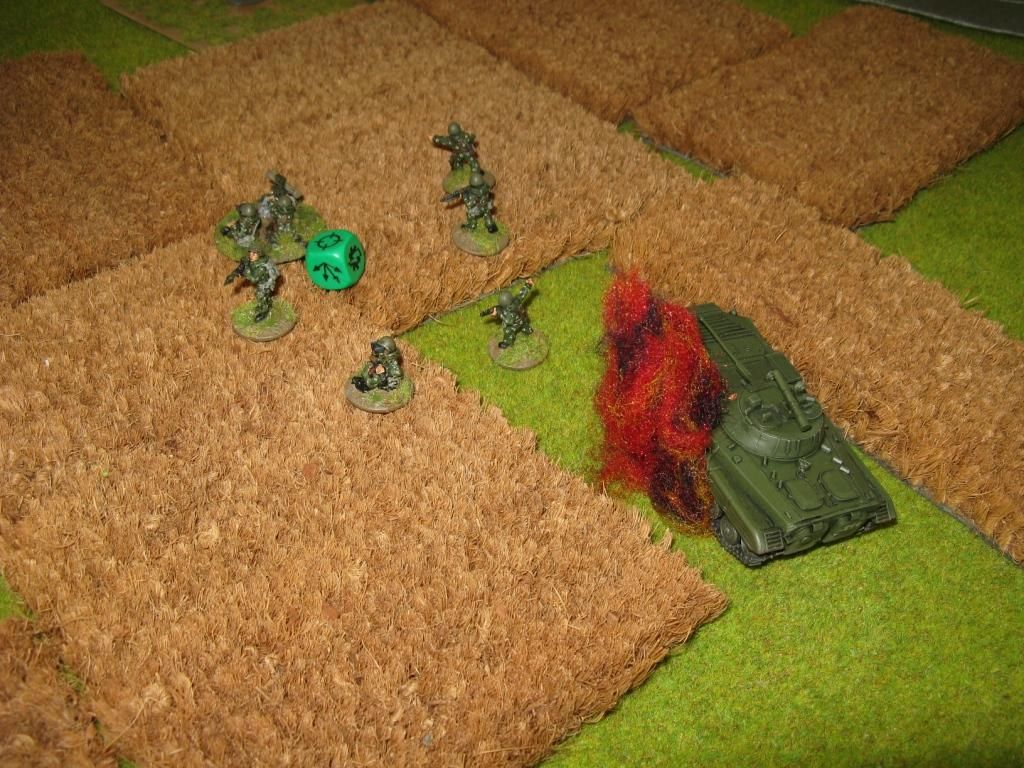
In the rear of these 2 photos you can see the NBC Recon Patrol conducting an NBC test.  The soviets started to slowly advance


And finally took out one of the Scimitars


and eventually the Striker


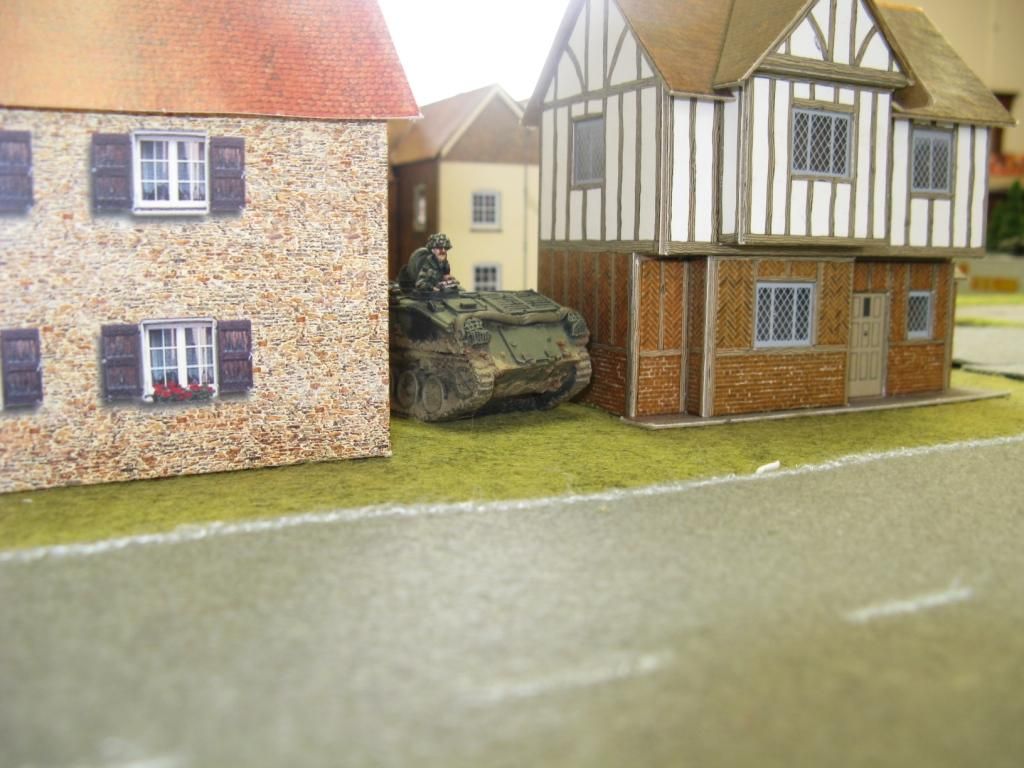
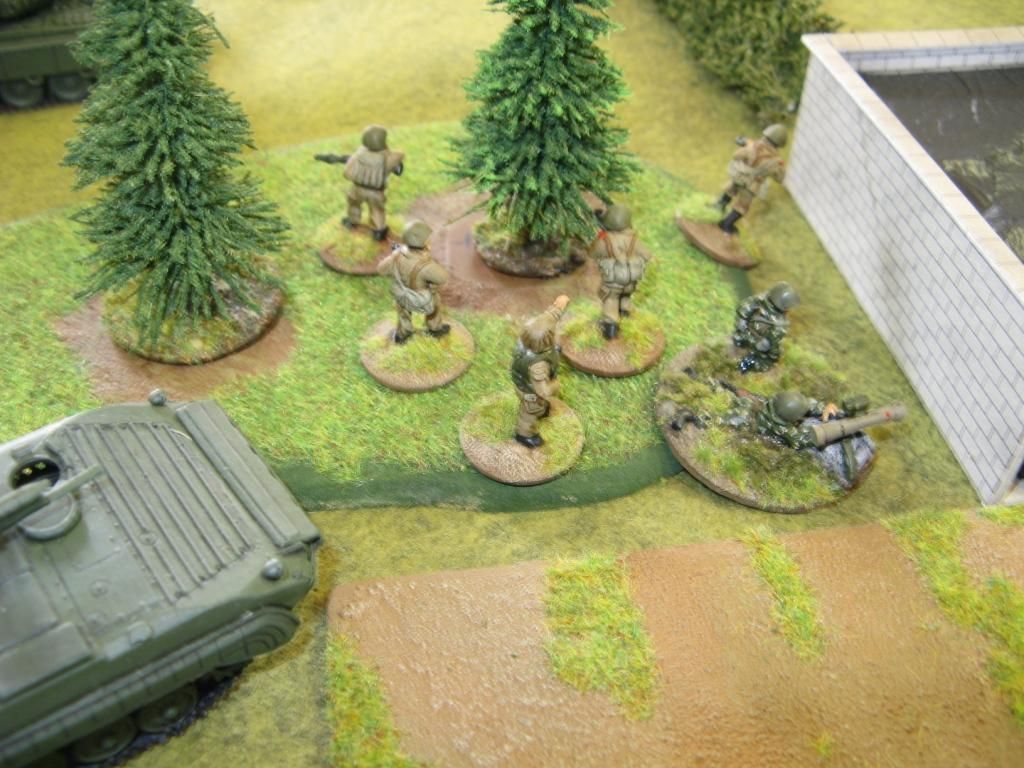
Meanwhile at the other end of the table, the British main force patiently waited


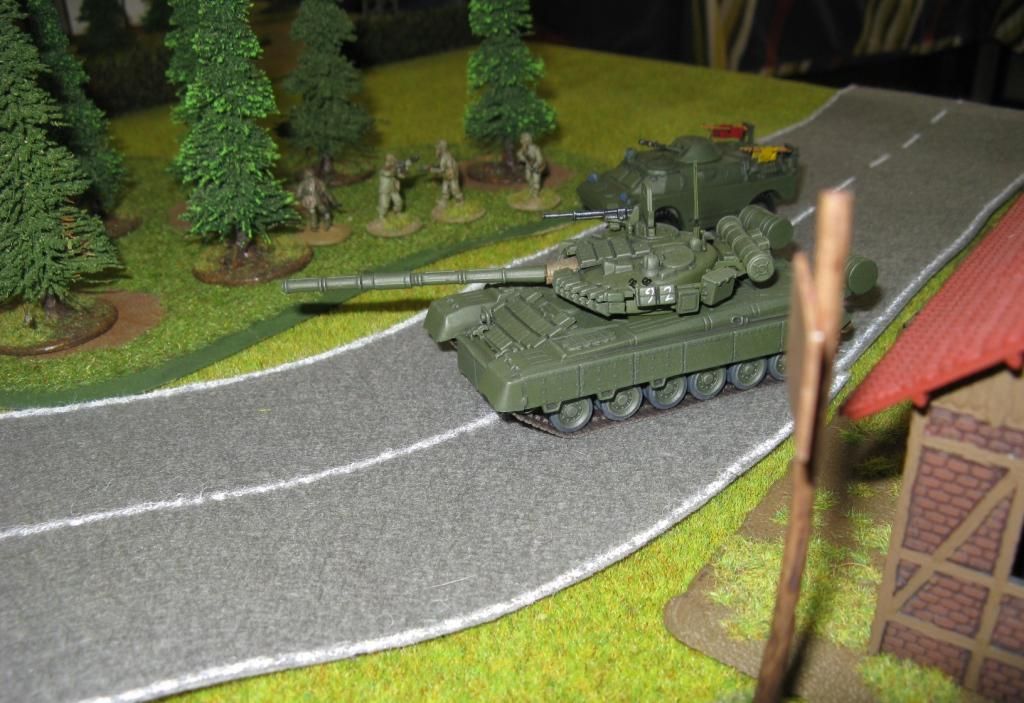
Eventually the recce scree was either knocked out or withdrawn and the Soviets started to get closer to Boimstorf - not without loosing more kit though


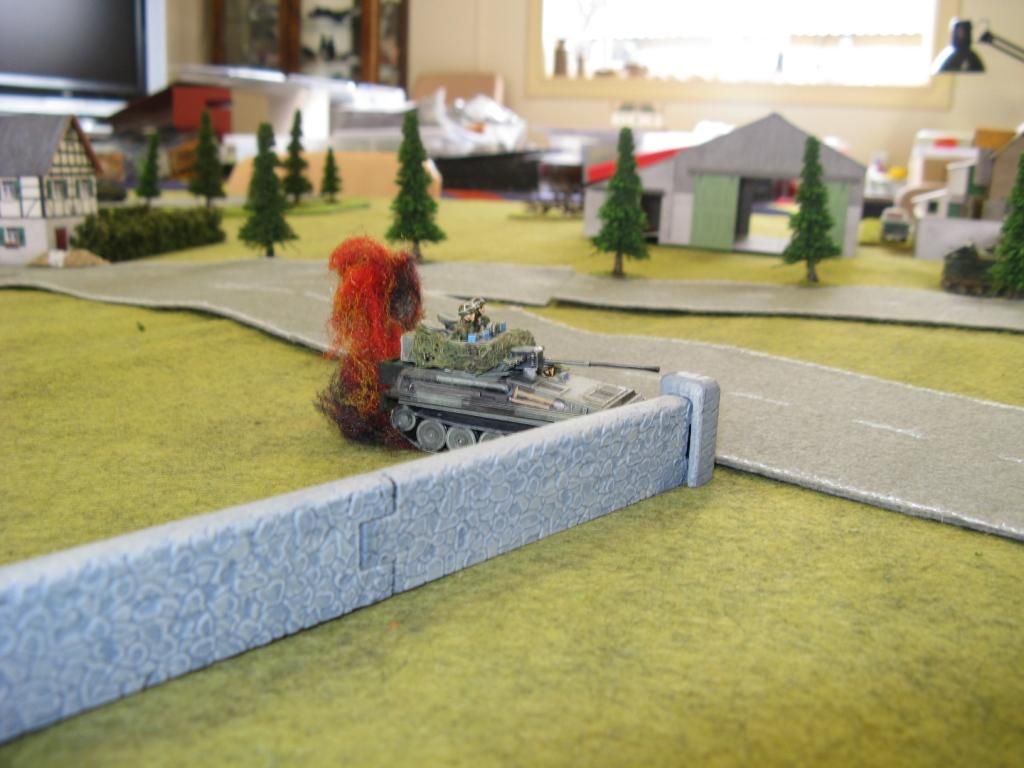
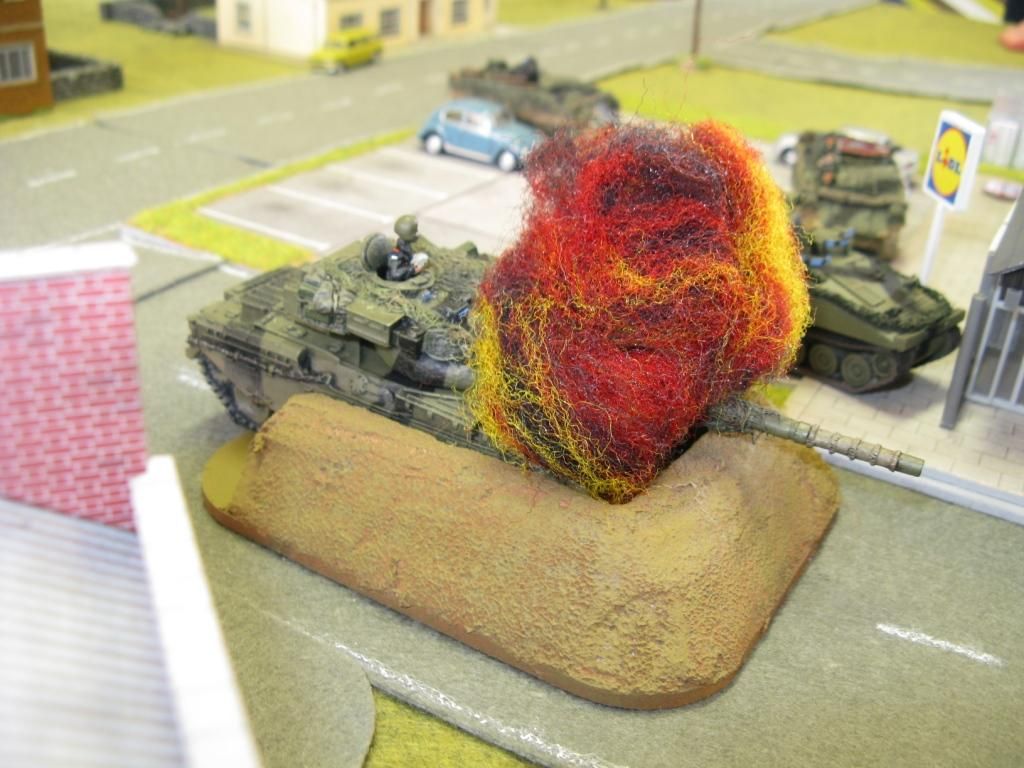
And in an impressive (some would say very lucky) display of shooting, the Soviets managed to kill one of the Chieftains


Thinking that the fighting position wasn't quite as invulnerable as he had first believed, the other Chieftain advances to take the fight to the Soviets
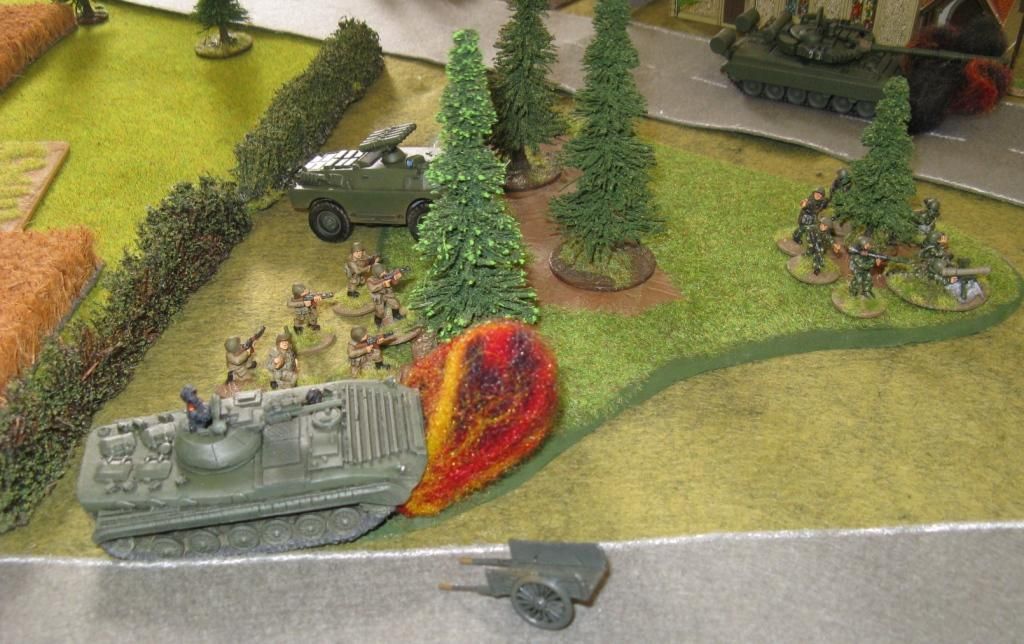

Killing another BMP


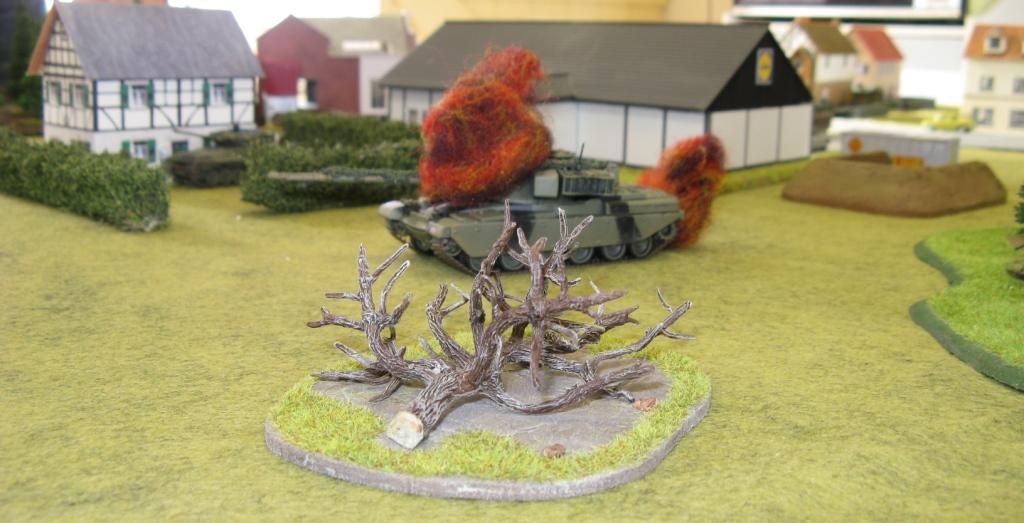
Soviet retribution swiftly followed


and the Soviets continued to advance, knowing the Brits had now lost both their tanks.


However, despite the advance and destruction caused, they had taken too long and the NATO force had achieved it's aim of slowing the advance to buy more time for the main line of resistance to be strengthened - so it was a NATO victory.

When the dust had settled, the NATO force had won by 7 BR, while they had also gained 16 momentum points to the Soviets 8.

That was it for the game - it seems everyone enjoyed themselves and a few have now rushed off to start their own 20mm Cold war force.

Thanks - I know it was a long one...

Richard