11 August 2018

West of Hannover - A BAOR vs Soviets After Action Report (the first attempt at Part 2)

It's been a while since the game, and Photobucket seems to lovingly randomise the order of the photos - so I've put this together the best I can.  Bear in mind that all T-72s and T-80s in the following photos are actually T-64Bs.  OK?

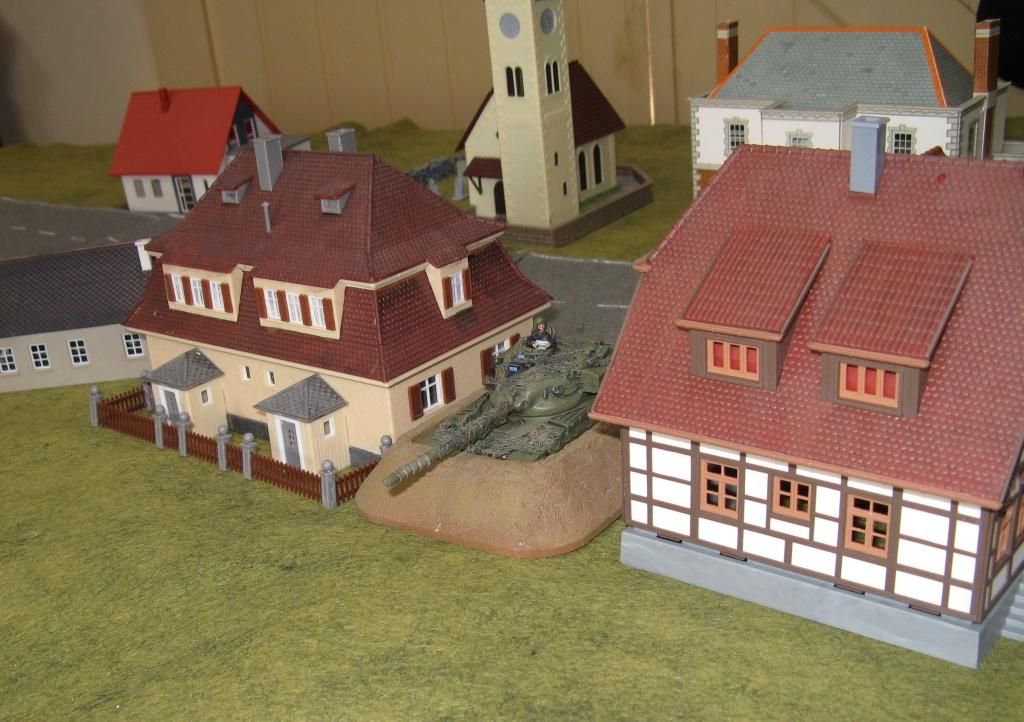
First NATO started their set-up.  On Table 1 the chieftains set up in fighting positions between the houses:

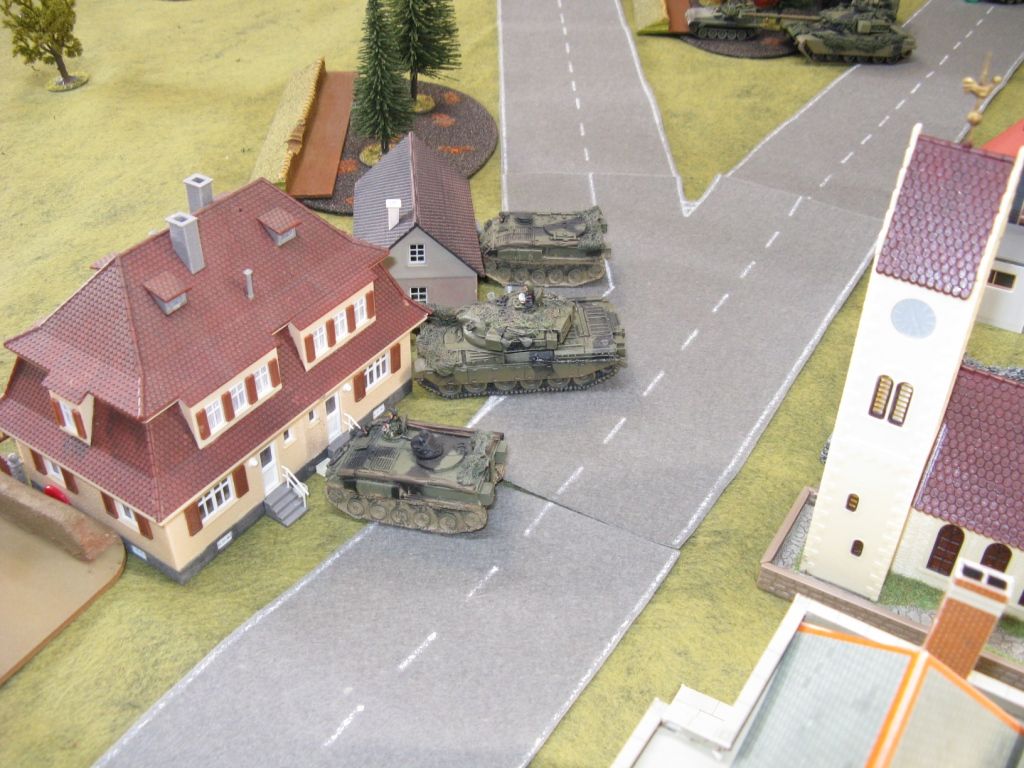
And two infantry section did likewise:

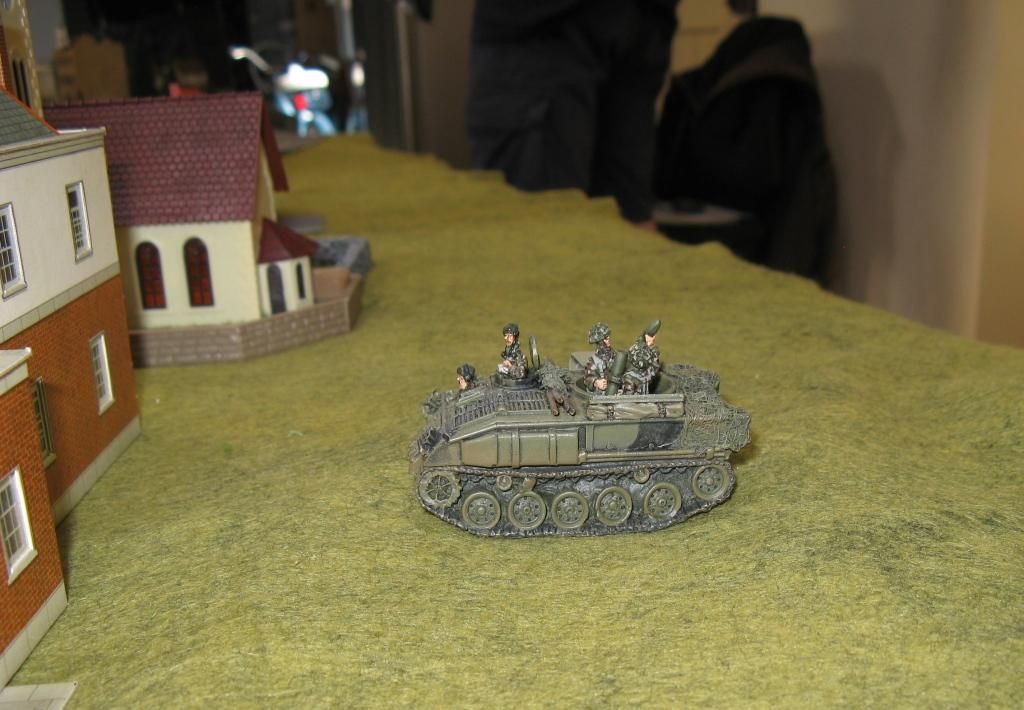
The Mortar team was also on call to provide immediate support:

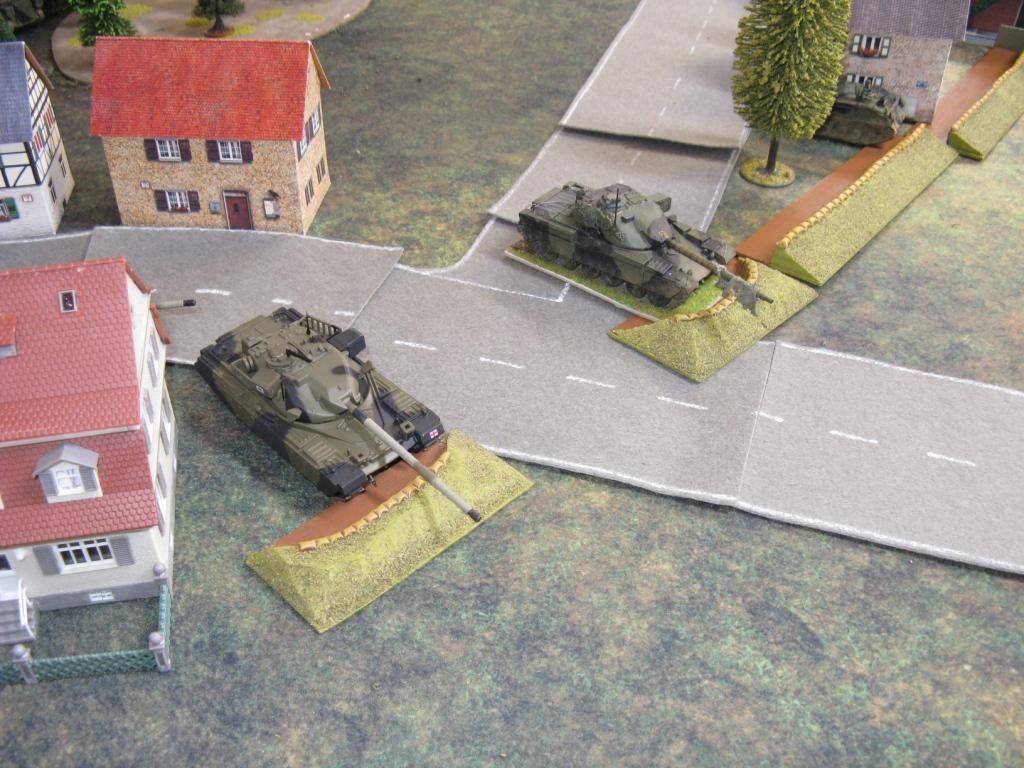
On Table 2 set-up it was a similar story, with the Chieftains dug in around the road junctions:

And another angle:
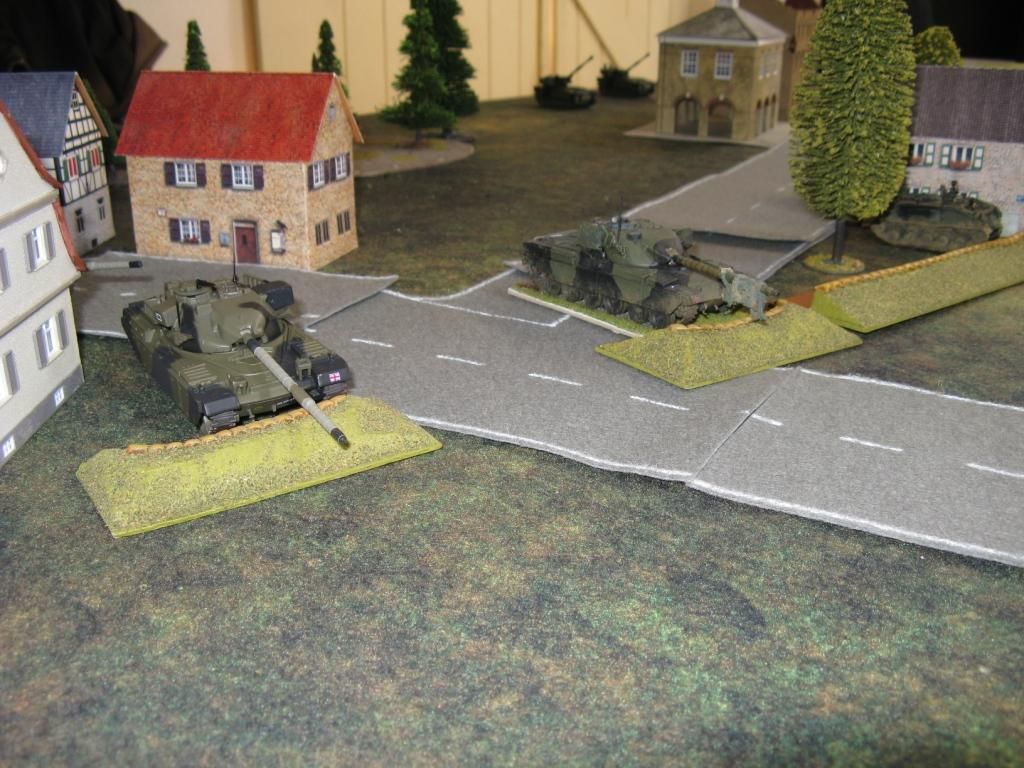

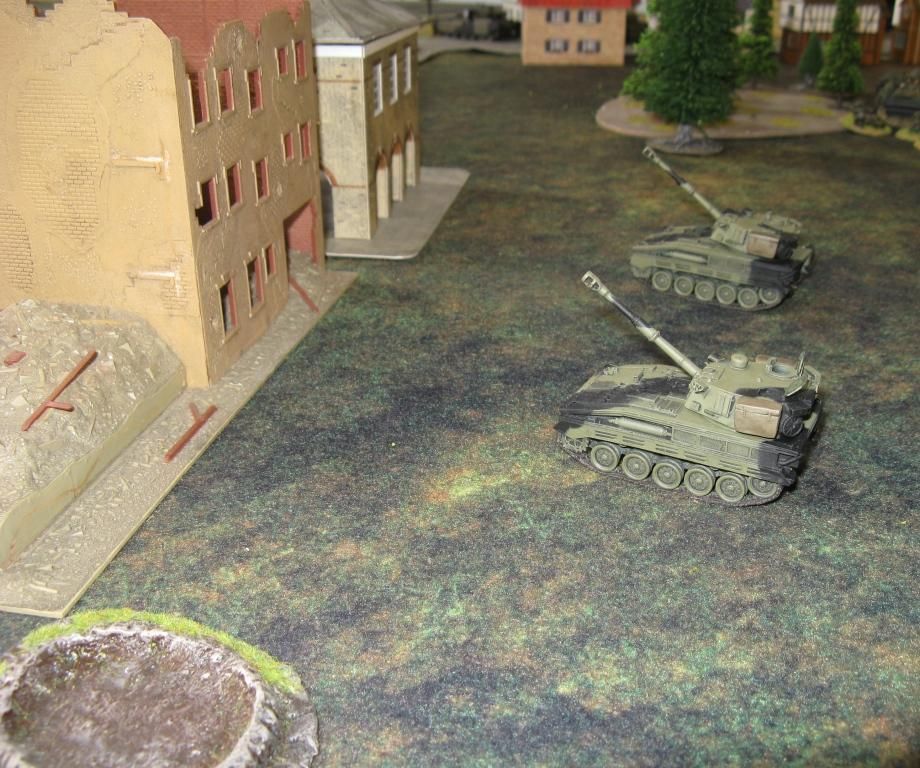
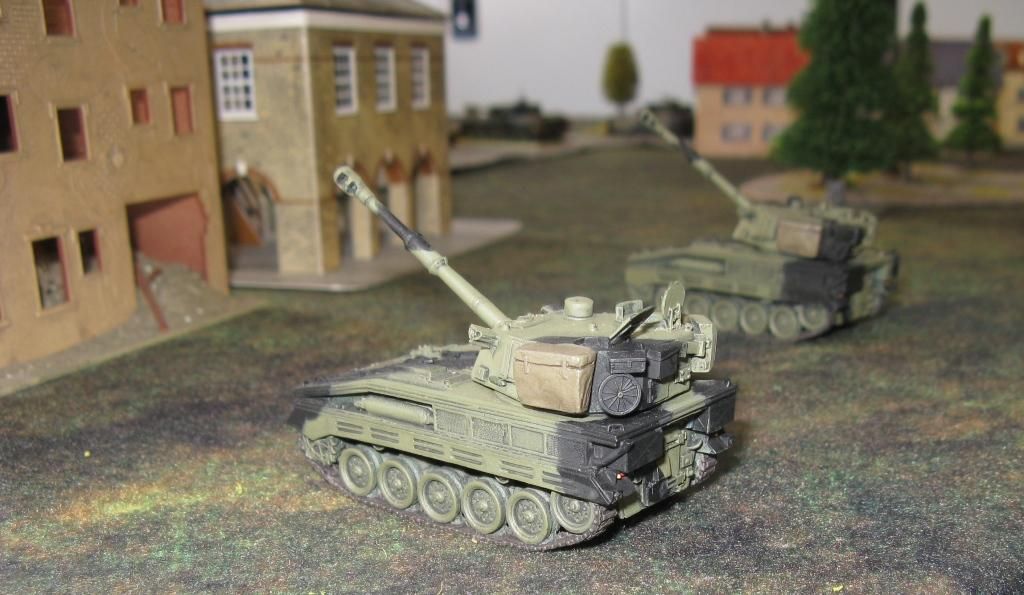
With the Abbots in support (like the FV432M the artillery support was available to either table)

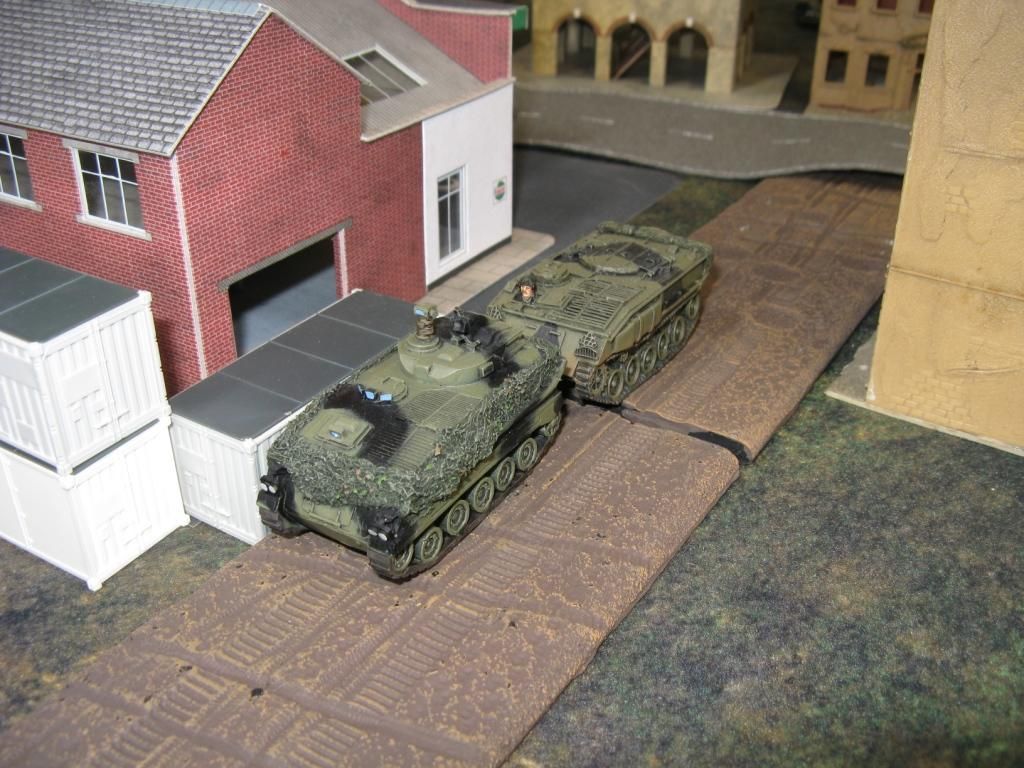
A Swingfire armed FV438 and the Milan Teams waited, hiding behind the garage:

One Scorpion was deployed well in advance of the rest of the NATO force on Table 2:
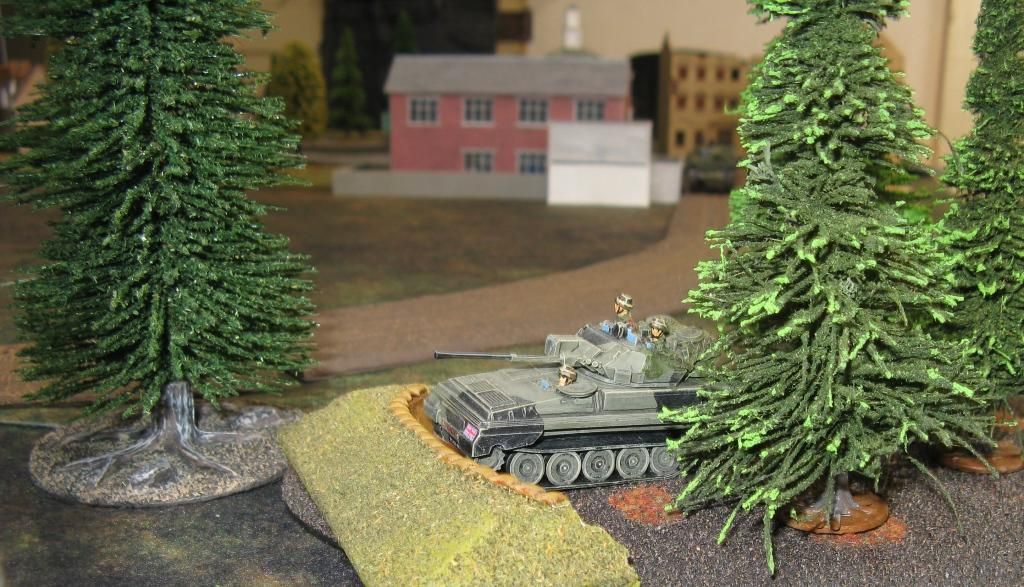

He would be my first target...

Back on Table 1, Soviet forces began to deploy:
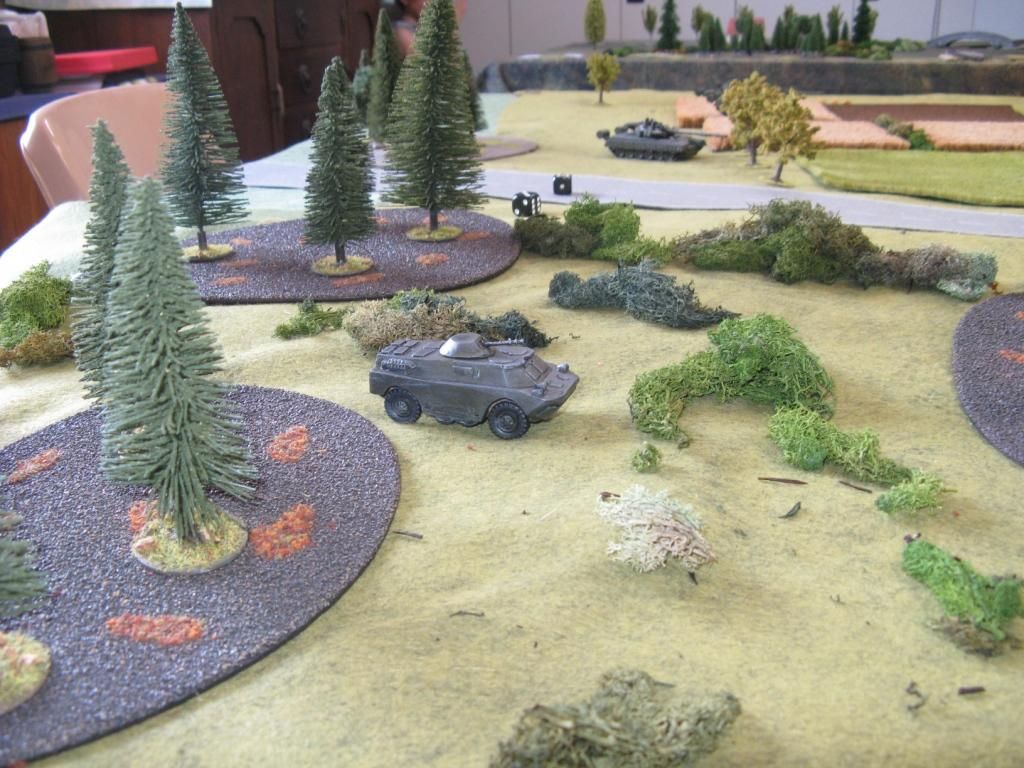

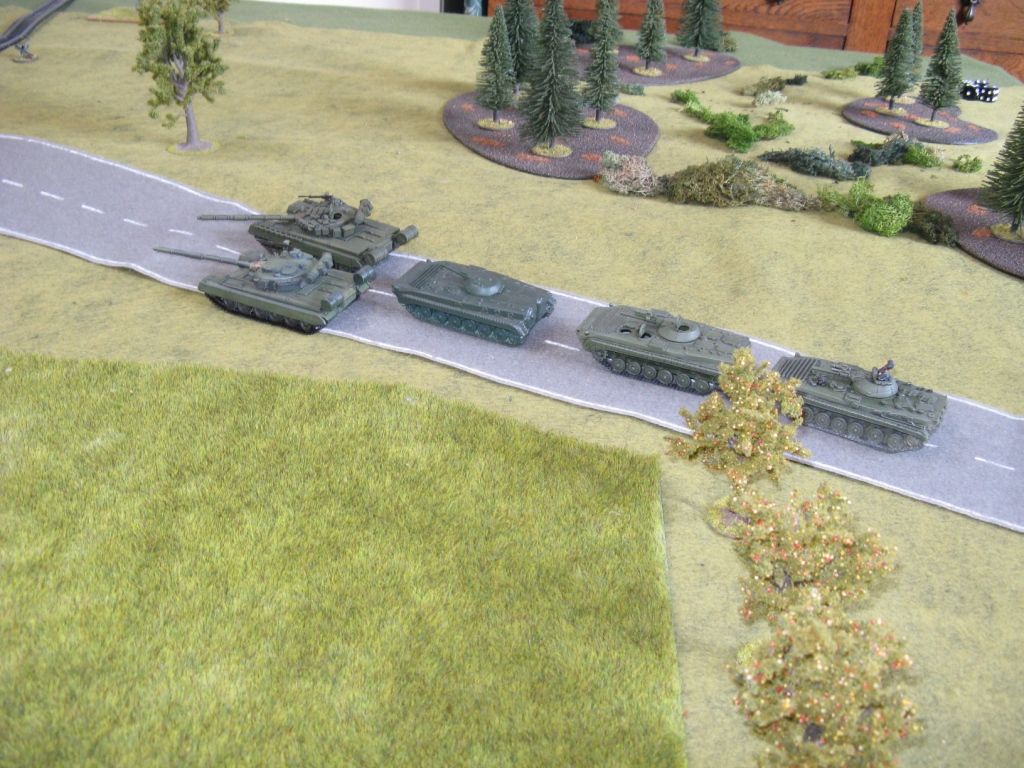
And then more substantial Soviet forces arrive:

My Soviets move up to a decent sized wooded area:
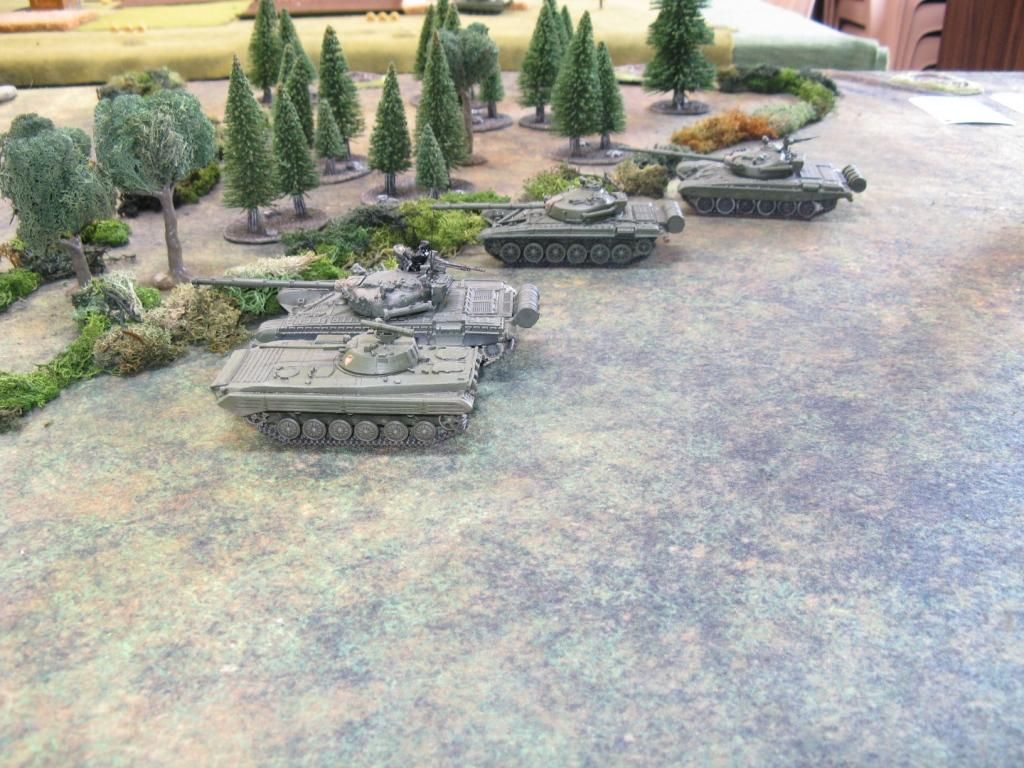

And then into them.  This is nice...
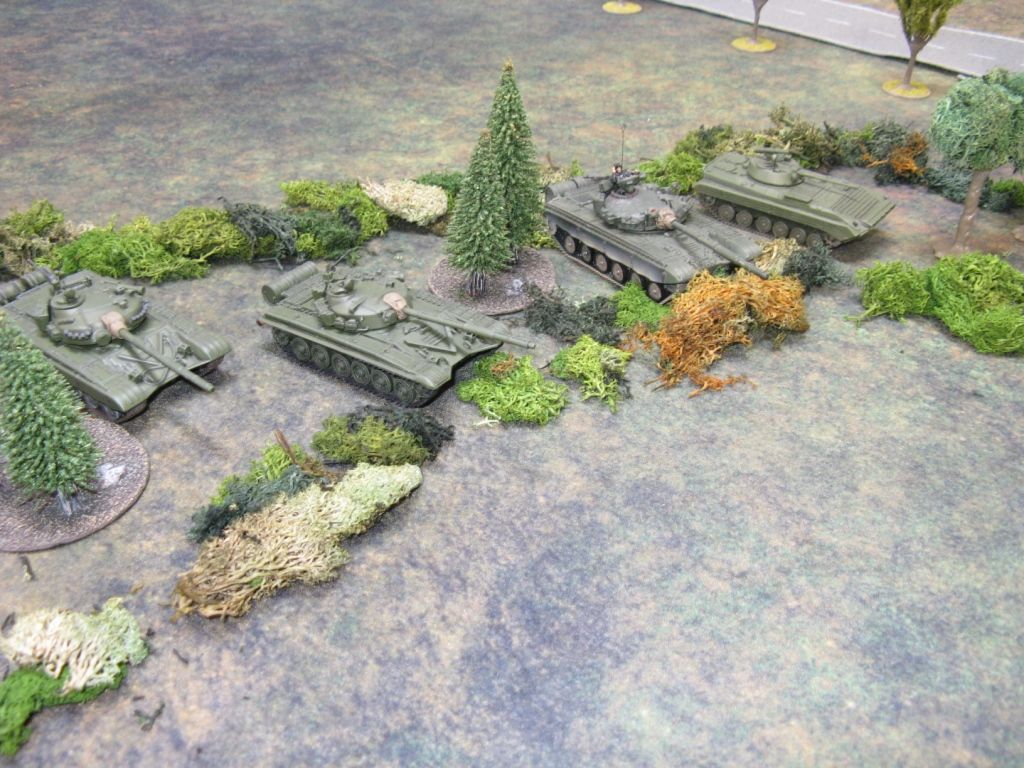

Mick's lads continue to motor forwards:
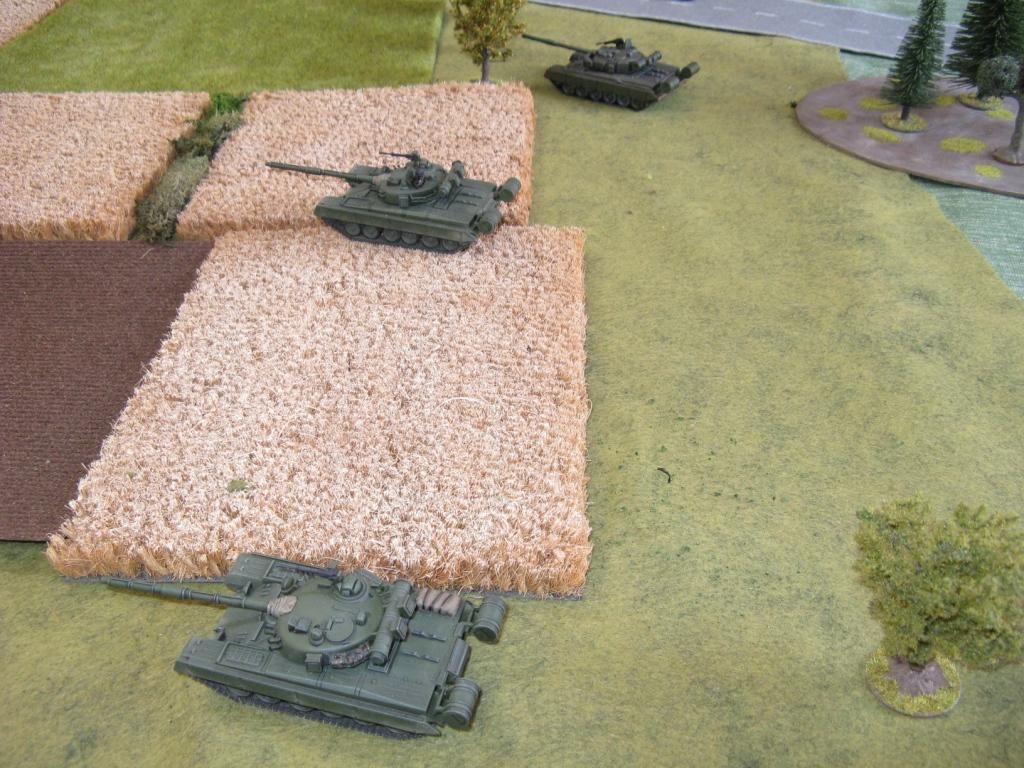

The road to the bridge is clear!
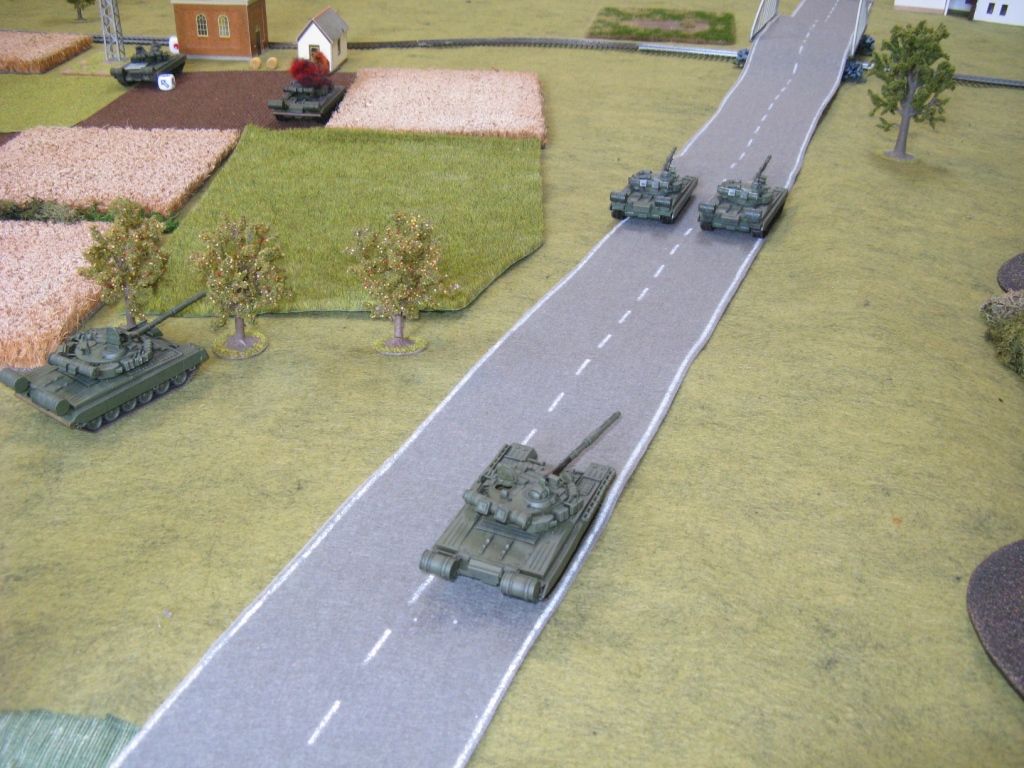

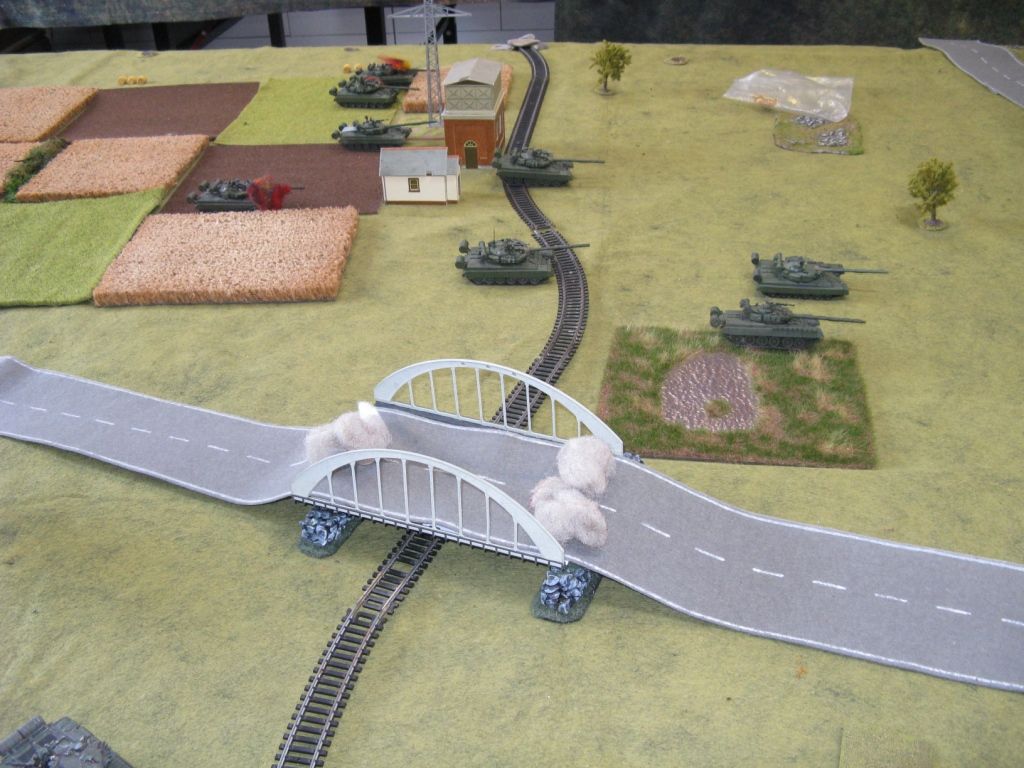
Bugger!  Both bridges are blown on the same NATO turn.  Detours are required:
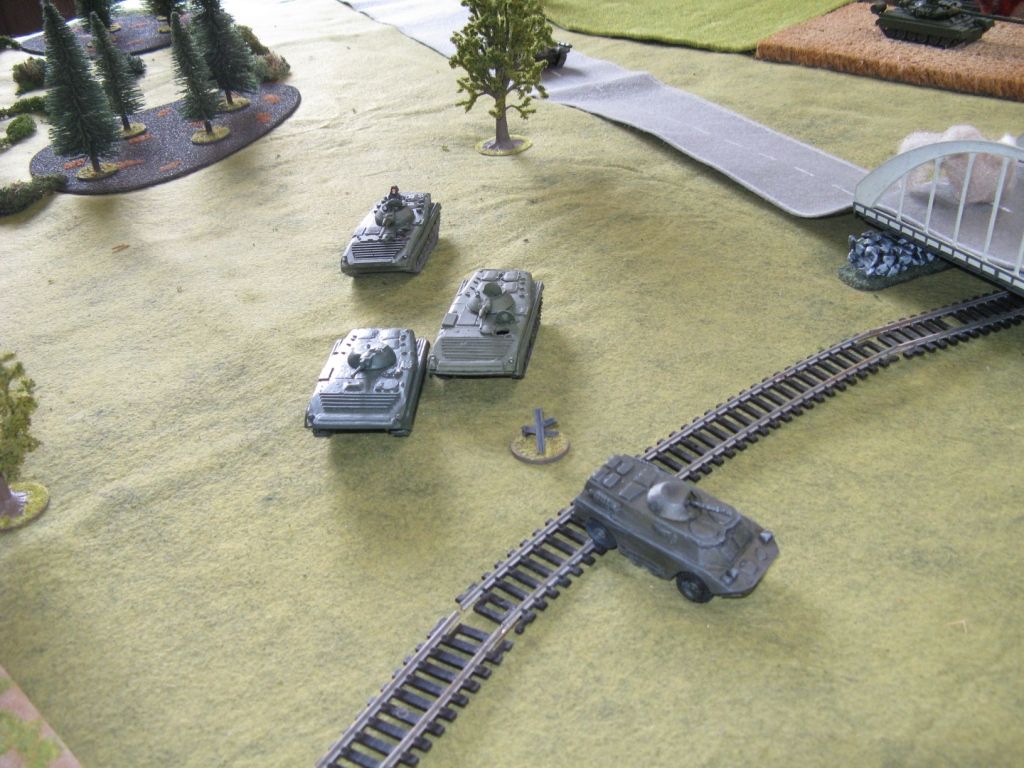

Leading to our first loss:
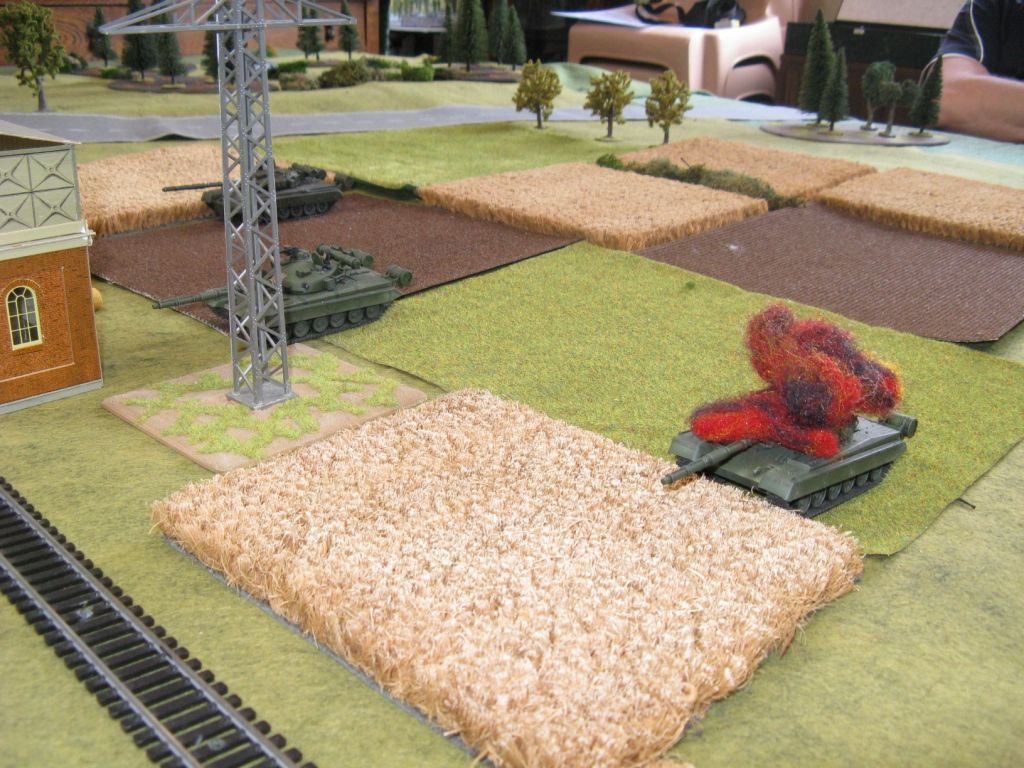

Probably should have said losses.  At this point things appear to be going well for me and not so well for Mick.  No Mick - you take the artillery - I don't need it...  A wee be of hubris never hurt anybody... right?


My BMP-2 Recon Squad moves forwards, dismounts and takes on the Scimitar, knocking it out.


My first kill!
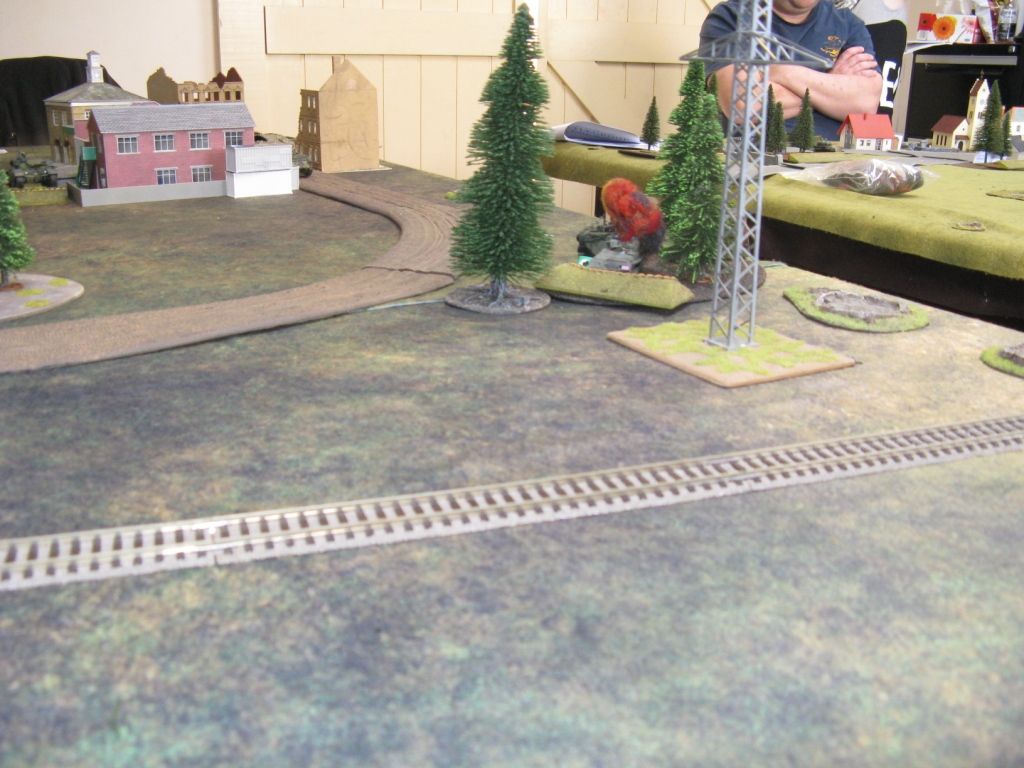

Charles's reply is to move forward his Swingfire unit and deploy his remote team:
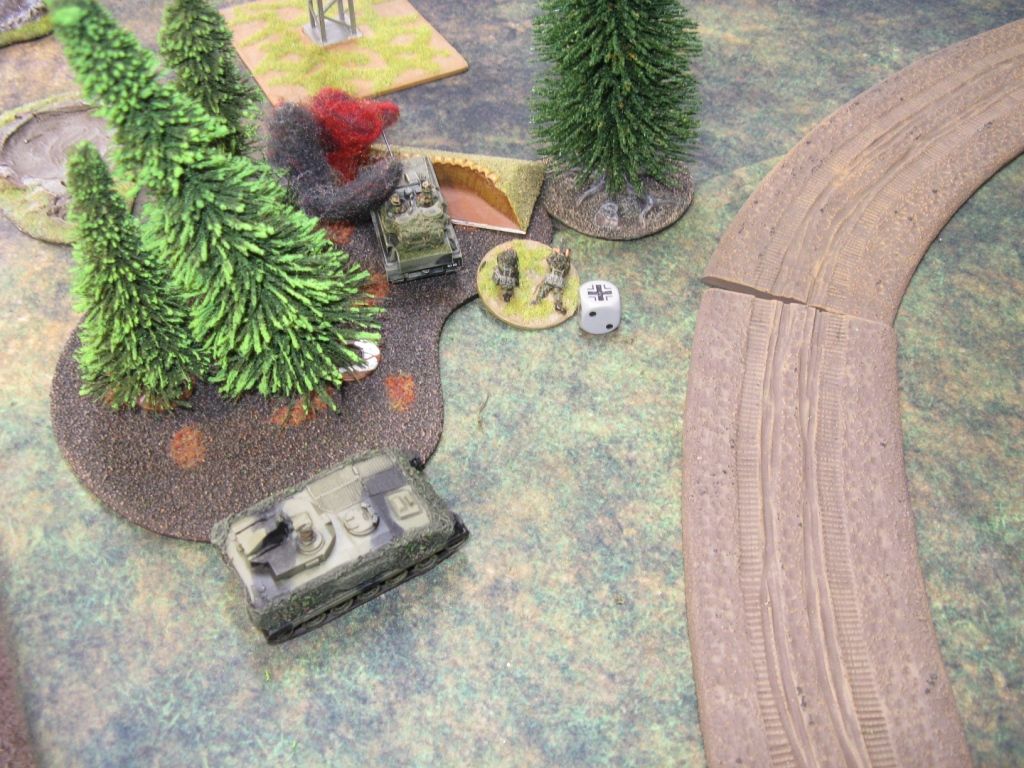

I'm not exactly sure why he did that, but who cares - my carefully hidden tanks in the woods just got hammered!


It's OK - I have plenty more.  Nah - I got this - I don't need no arty!  Let's start to divert around the woods towards the smoking bridge remains.
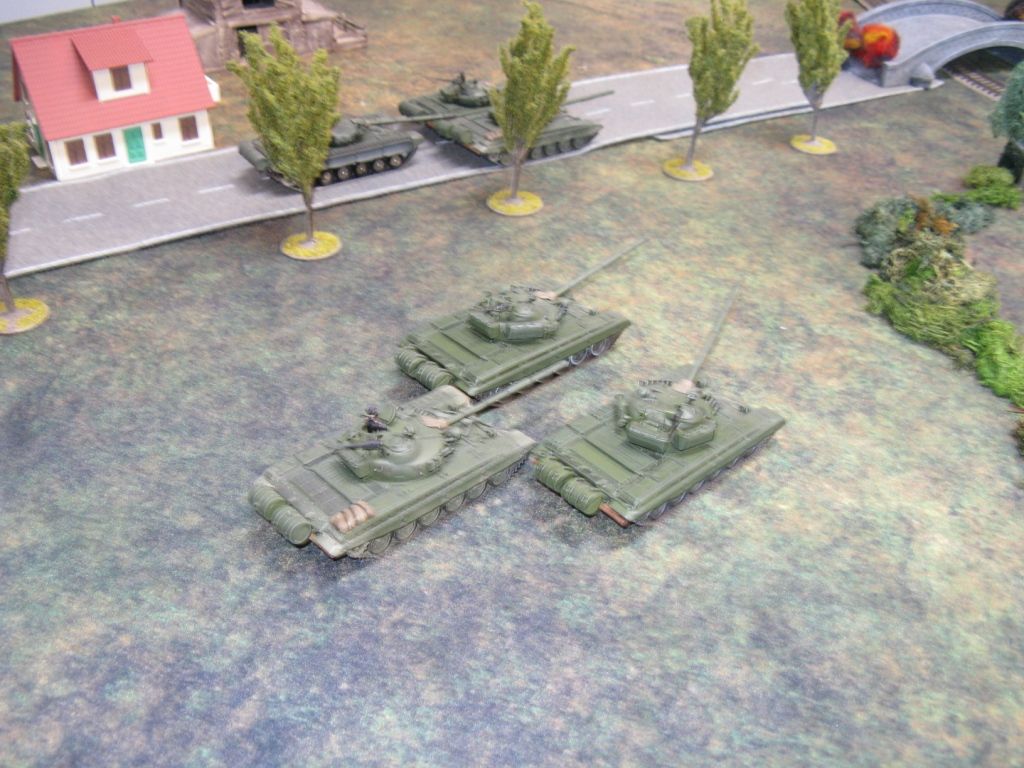

Oops - looks like this route is covered to:
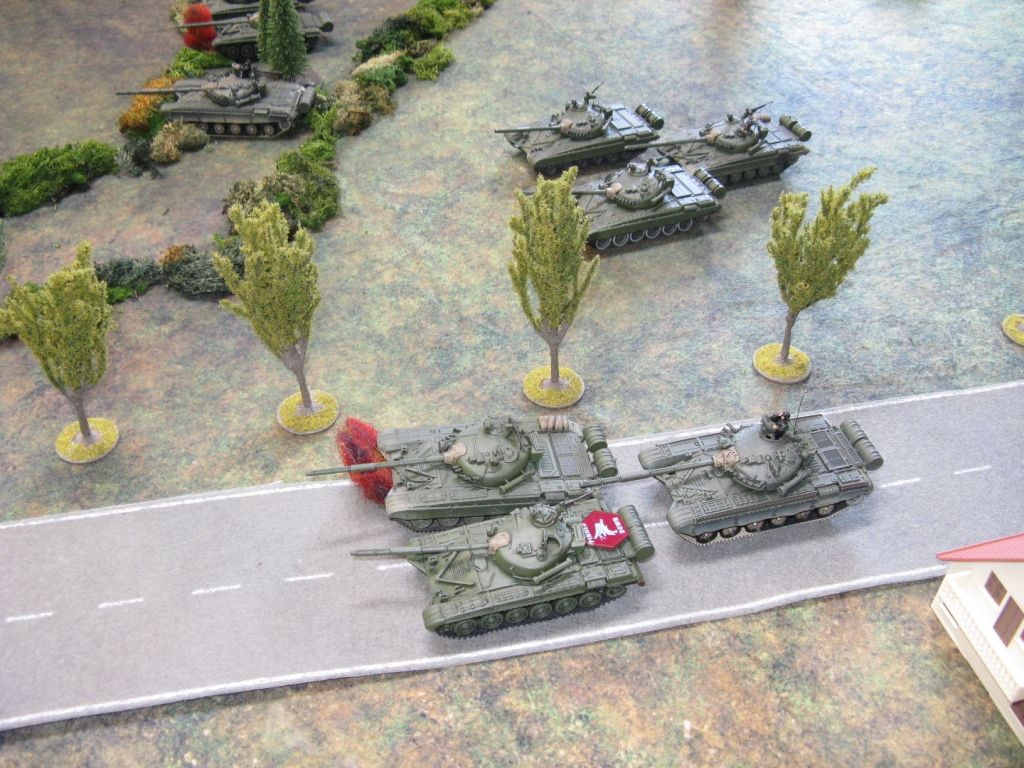

Yeah - no doubt.  Charles has that angle pretty well covered also.
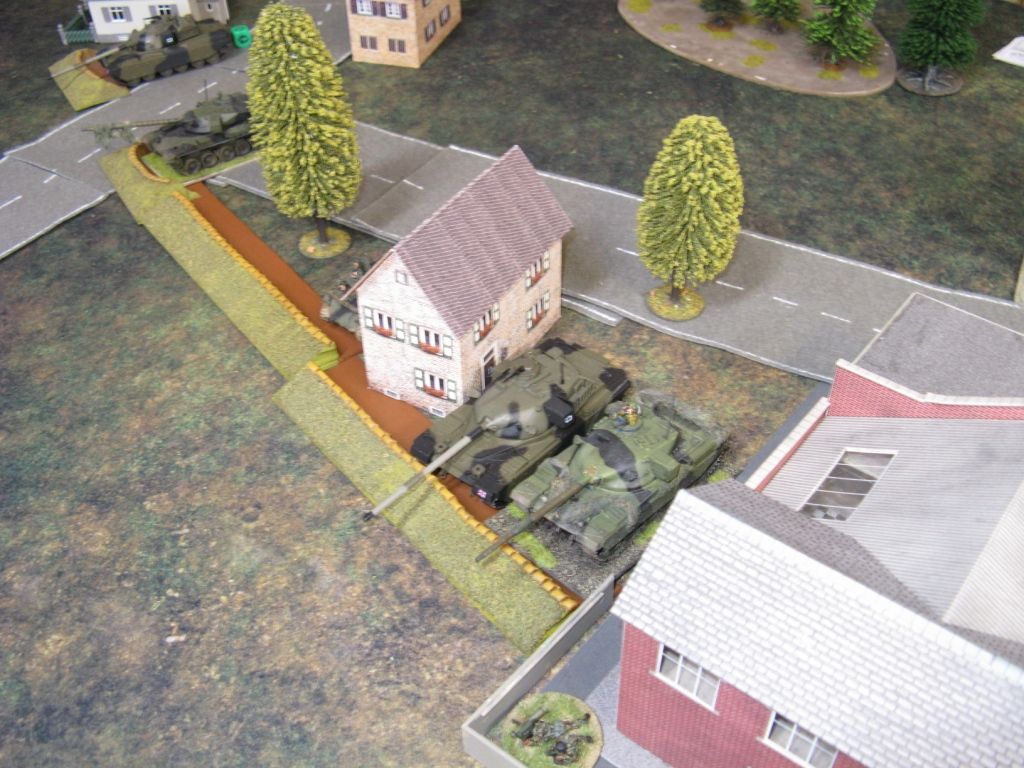

As one T-64B makes it in behind the final piece of cover before the British lines, my BMP-2 takes a hit and explodes.  My remaining tropps rush towards the T-64B.  Charles nicely points out I've just driven into his hidden minefield.  Ahhhhhh bum.
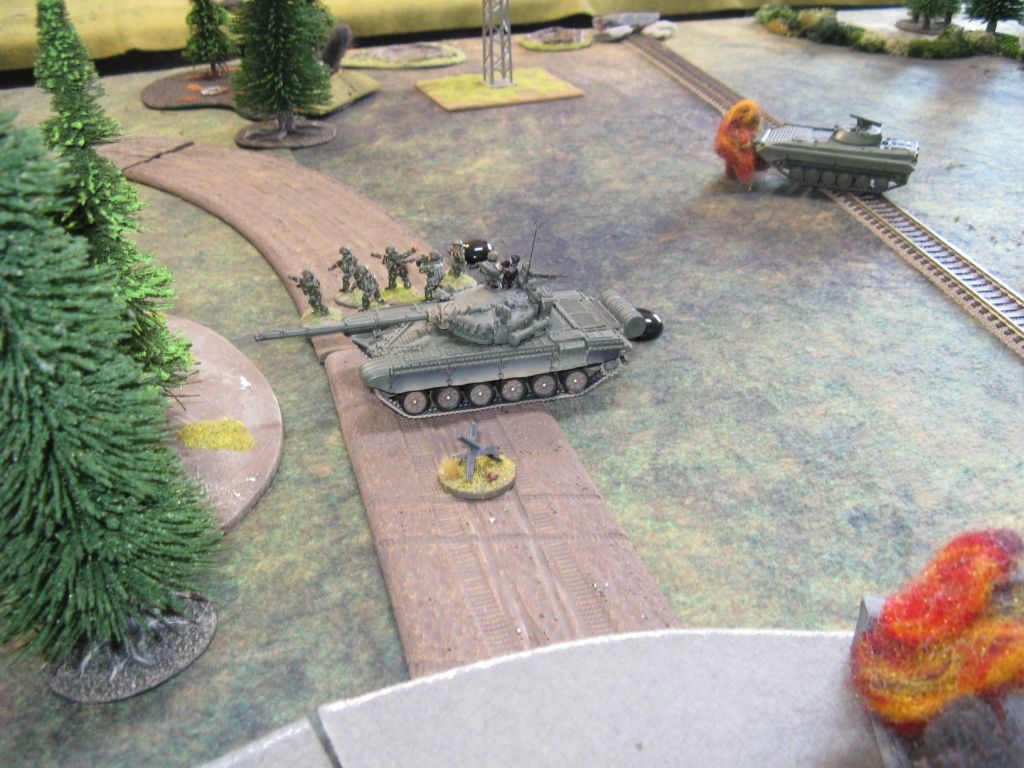

Now things look a bit like this on my Table:


Where as back on Table 1, things have shifted a little.  Mick's Soviets are again on the move:
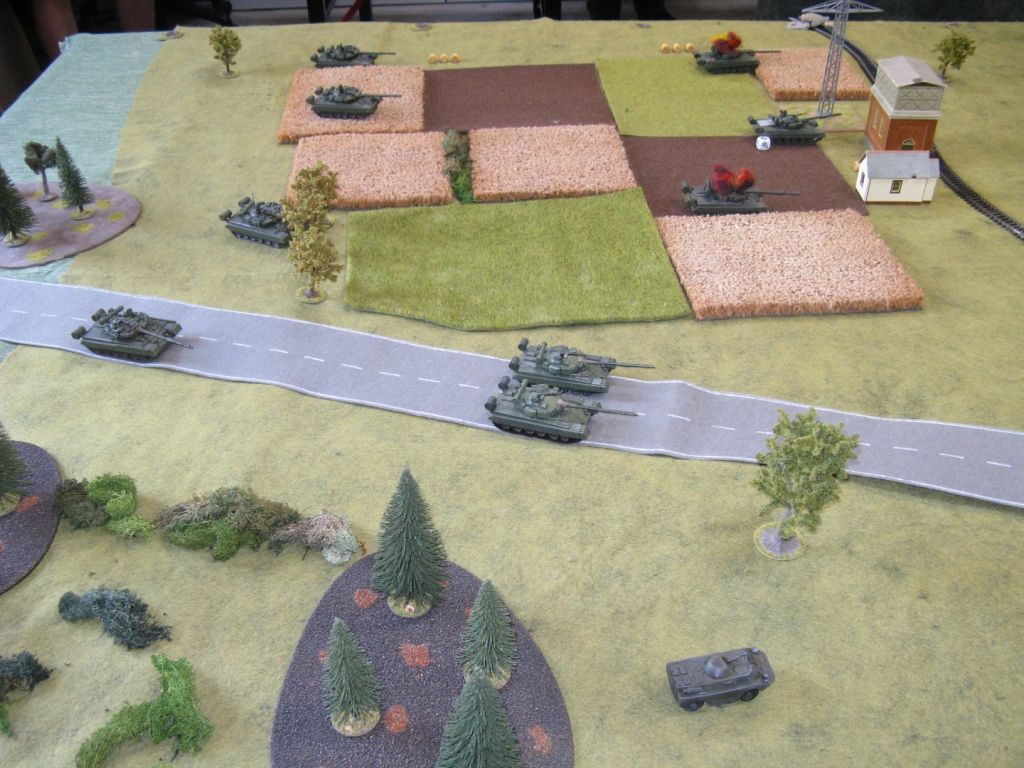

He's taking the odd hit, but nothing like the killing zone on Table 2:
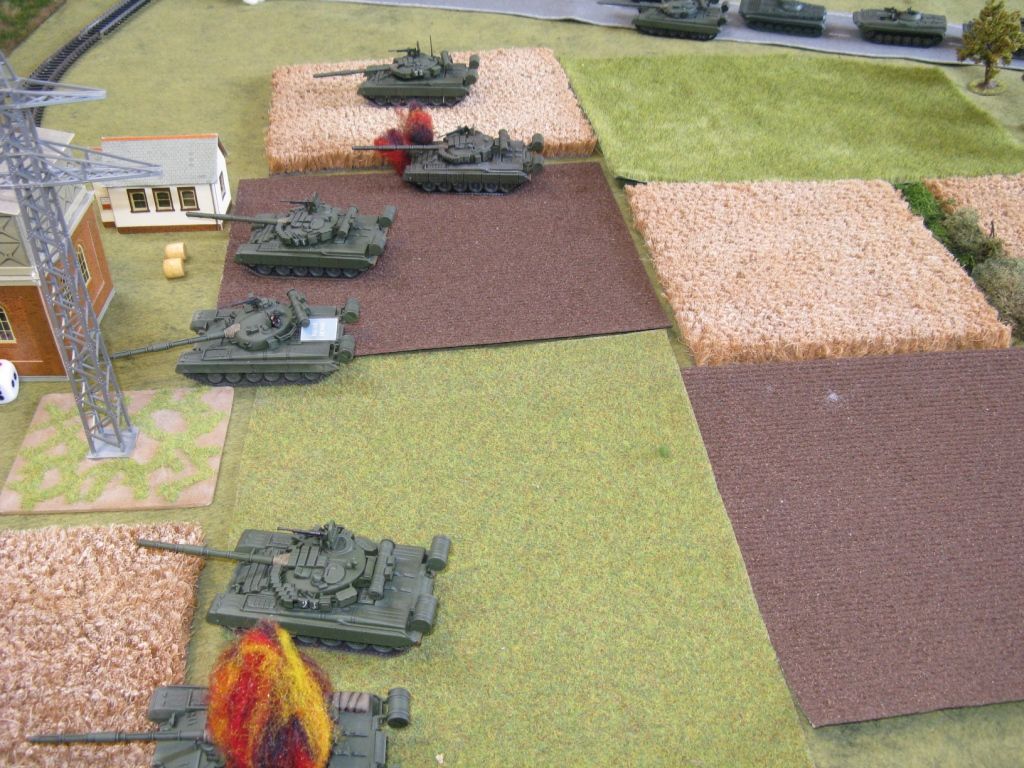

And he has lots of tanks, with good arcs of fire moving forwards:
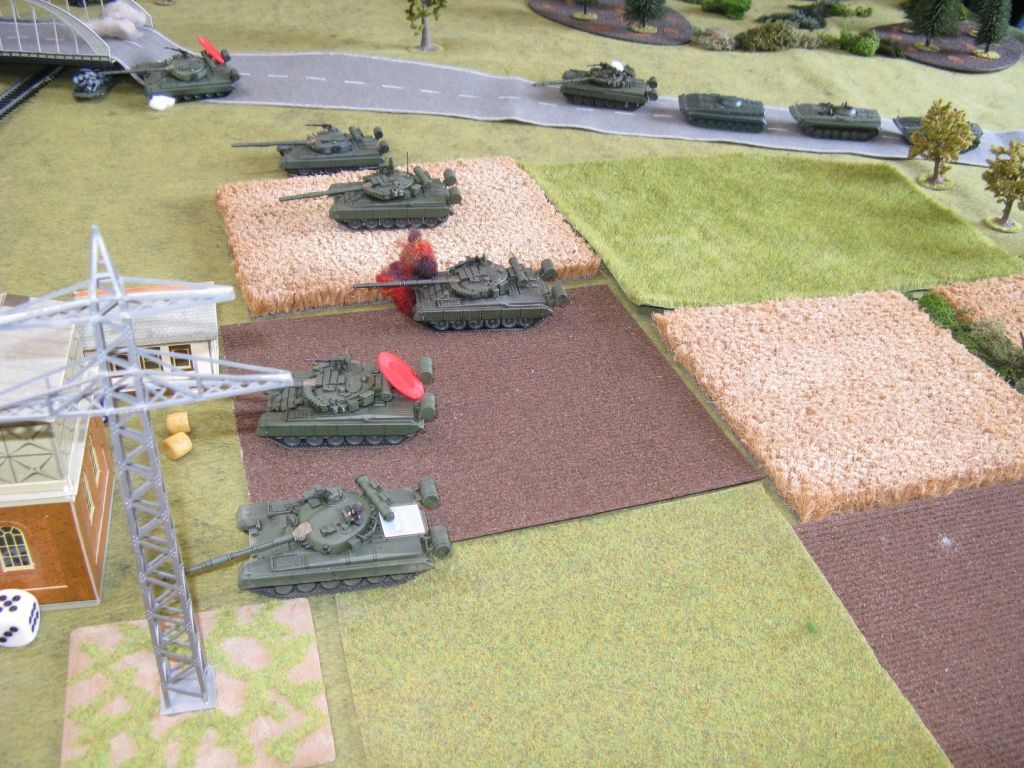

Closer and closer to the rail line which is the biggest obstacle before the British lines on his table:
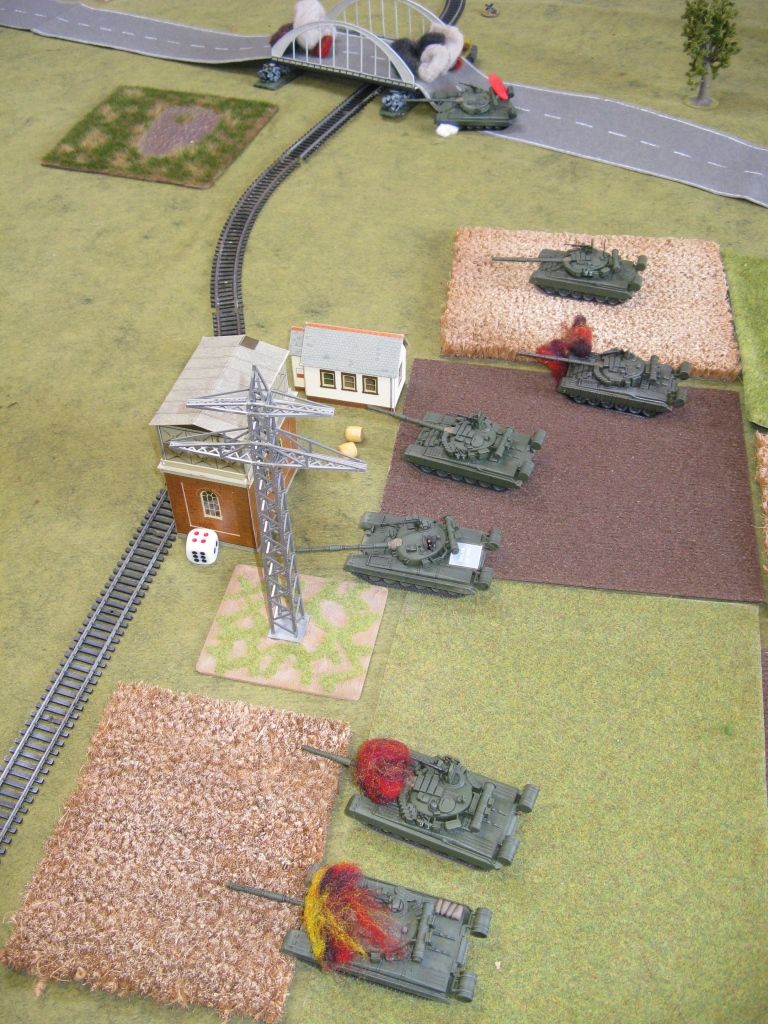

Meanwhile BAOR reinforcements have arrived and taken position
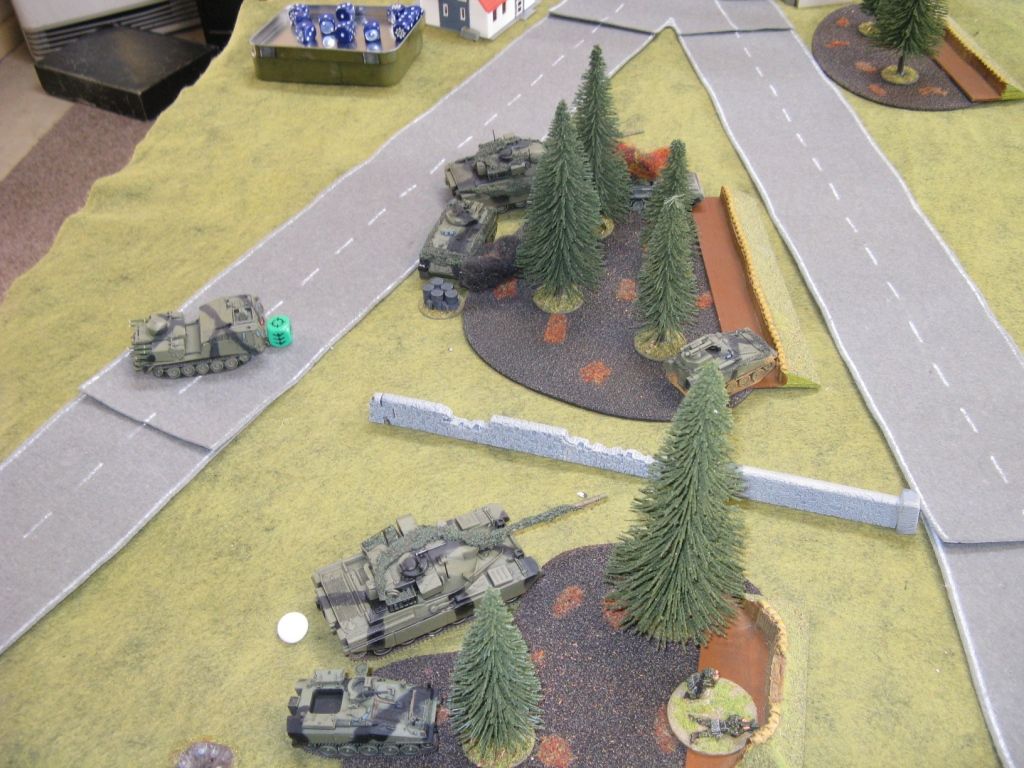

And the same story on Table 2, while the infantry wait with nothing to do...
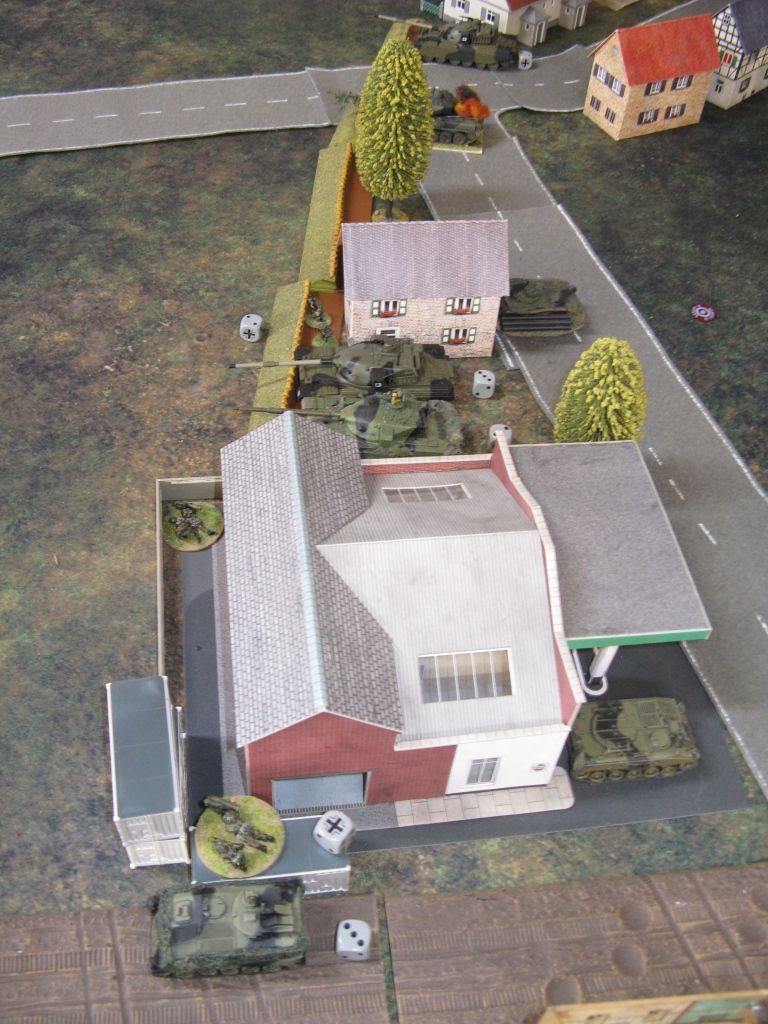

More flamin' Milans!
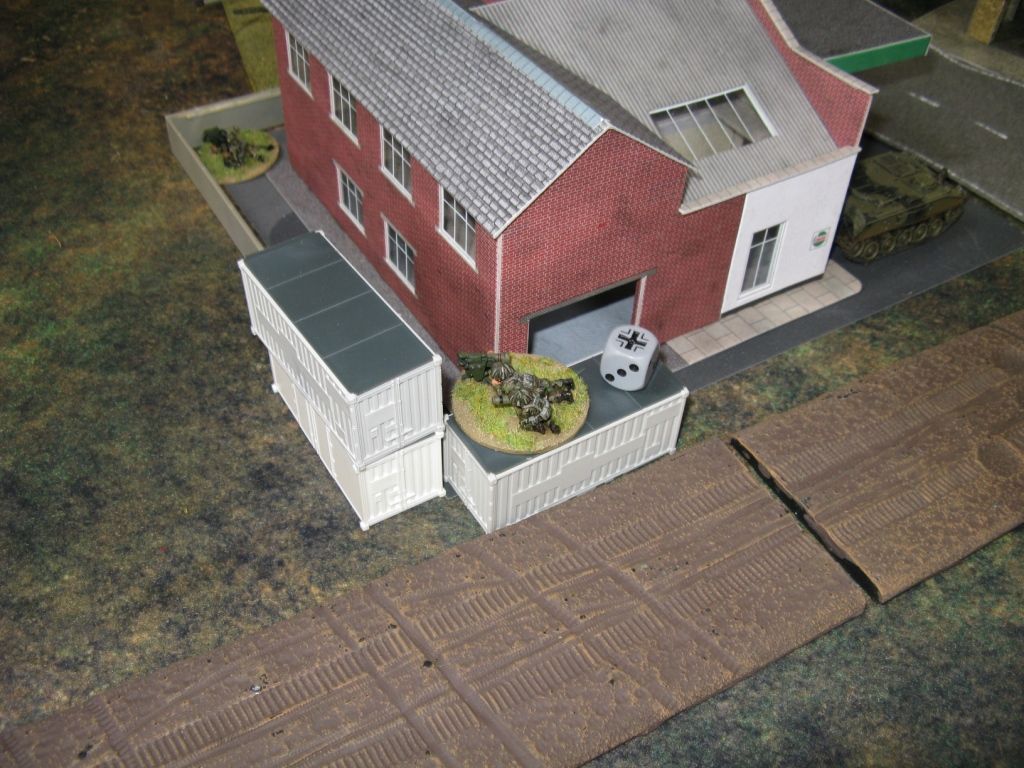

At about this point you'll note the photography (and the generalship) takes on a distinct tone of mashocism.  It's like the car crash you can't look away from.
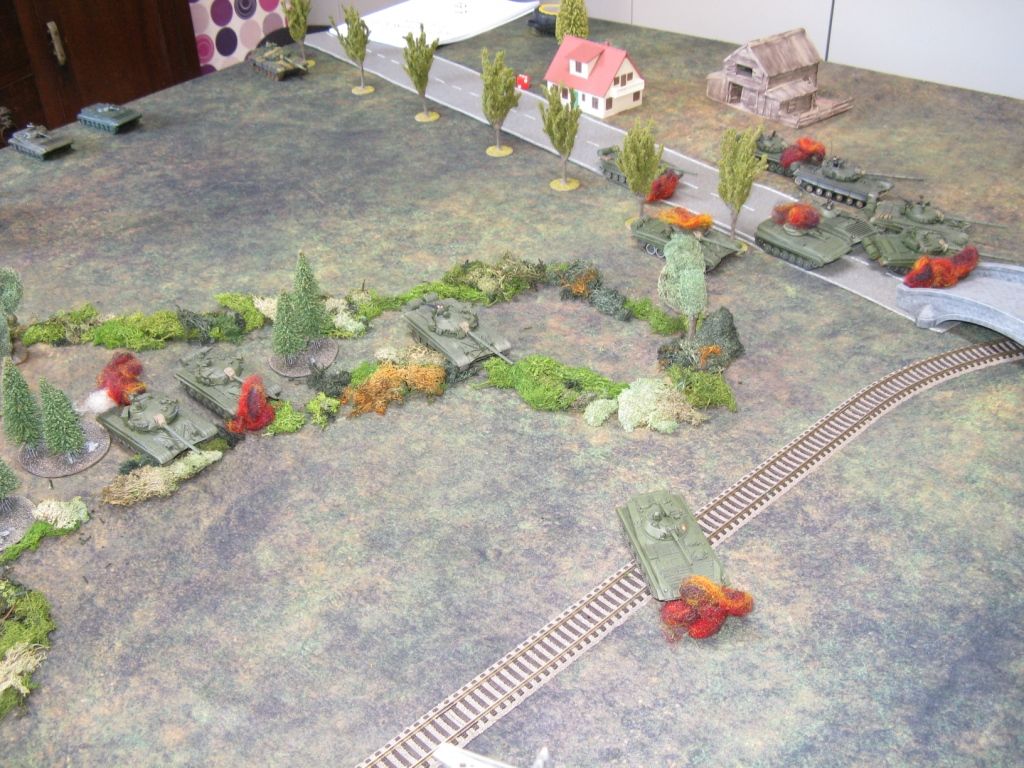

A T-64B & BMP death zone begins to appear around the bridge.  


I seriously believed it was the best way forwards - I swear:
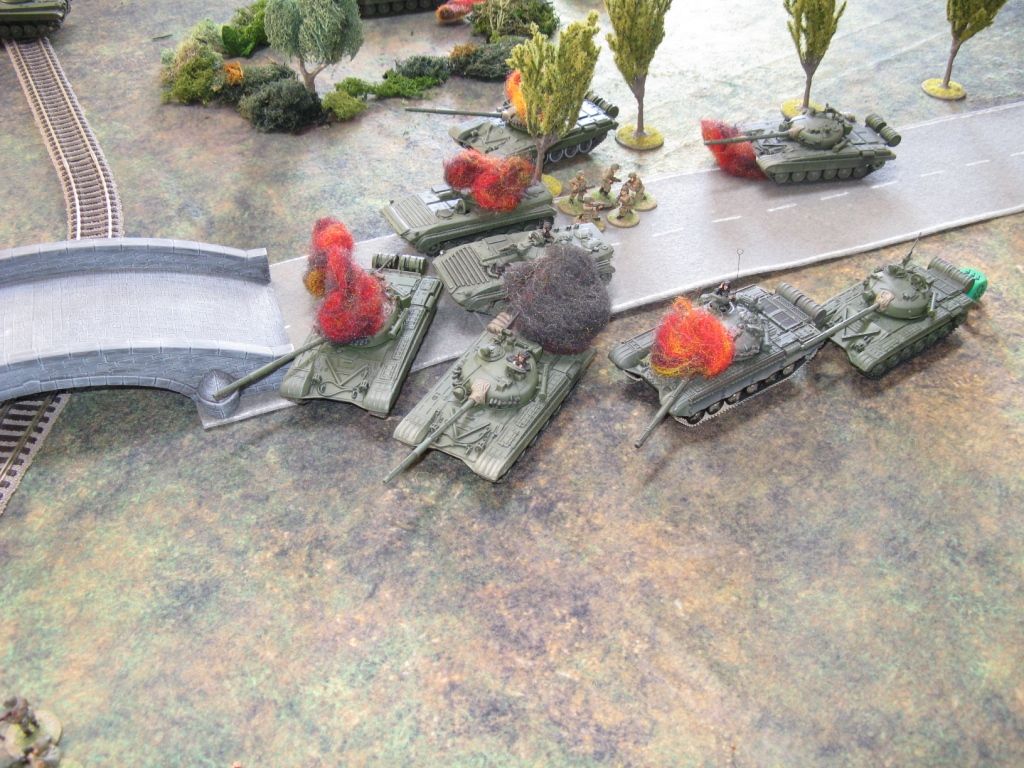

On Table 1, it is a completely different story.  Less terrain actually mean a straighter drive, so Mick was making good progress.  It didn't hurt that Greg was having no luck with the dice while Charles was literally hitting everything he aimed at.


Over the railway - full steam ahead.

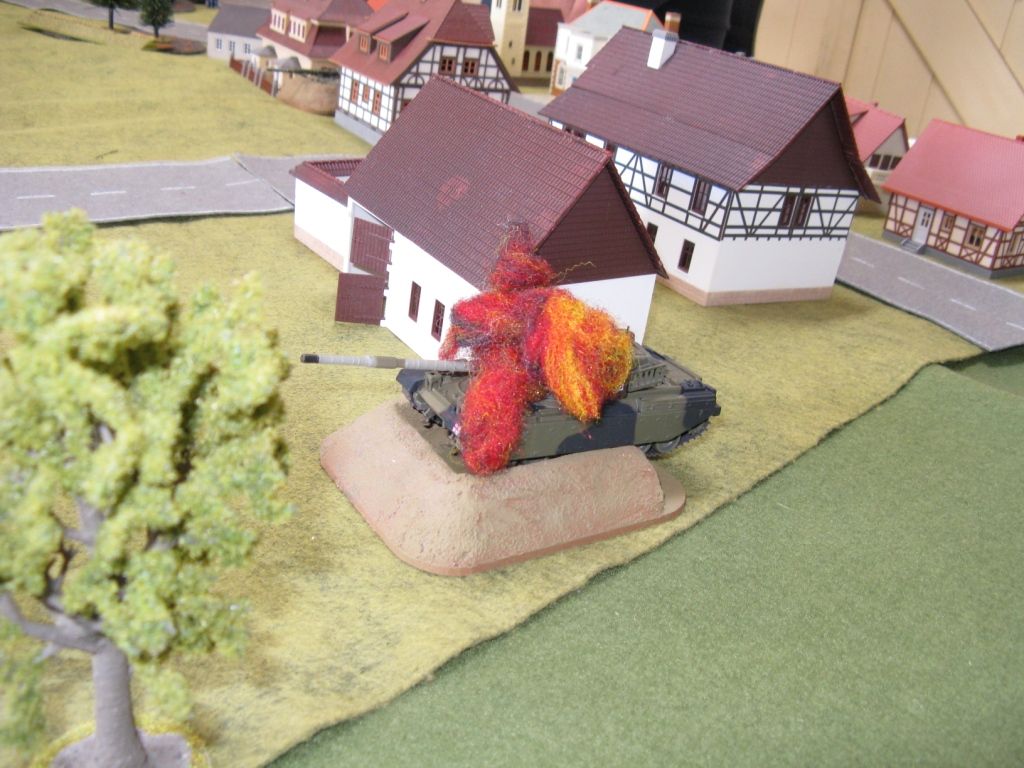
The first of a number of Chieftains on this table takes a hit.

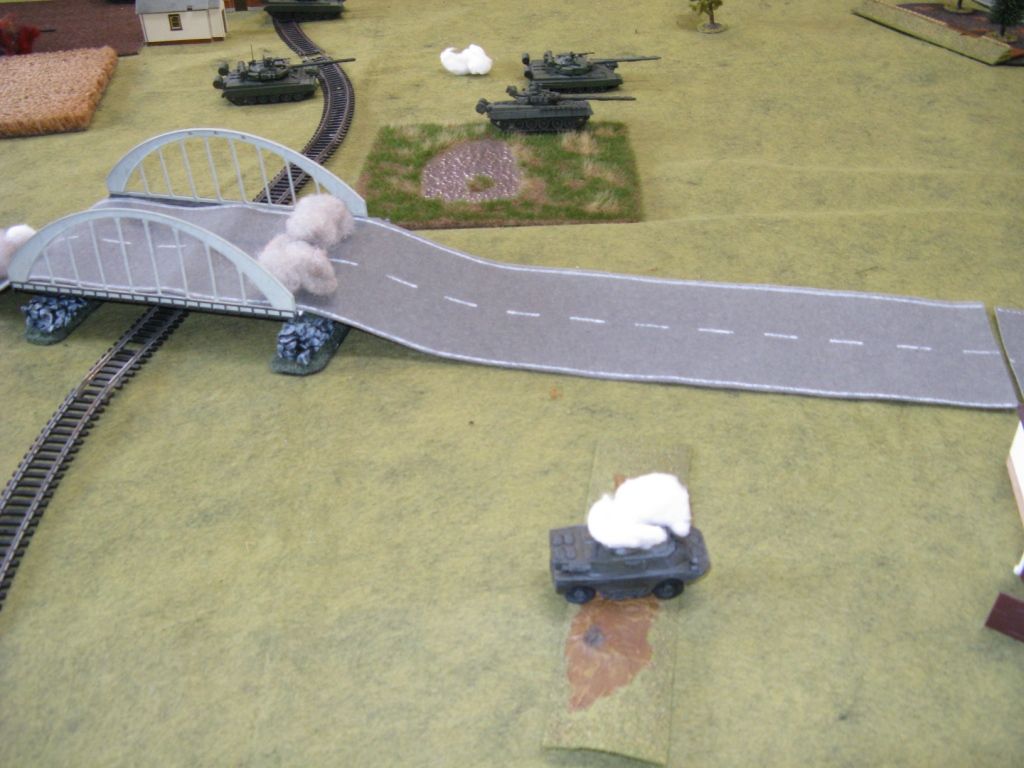
Not that Mick wasn't losing vehicles.  As you can see the Soviets had used so much flamey looking fluff balls that we had to resort to cotton wool to cover the amount of dead stuff we (really me) had.
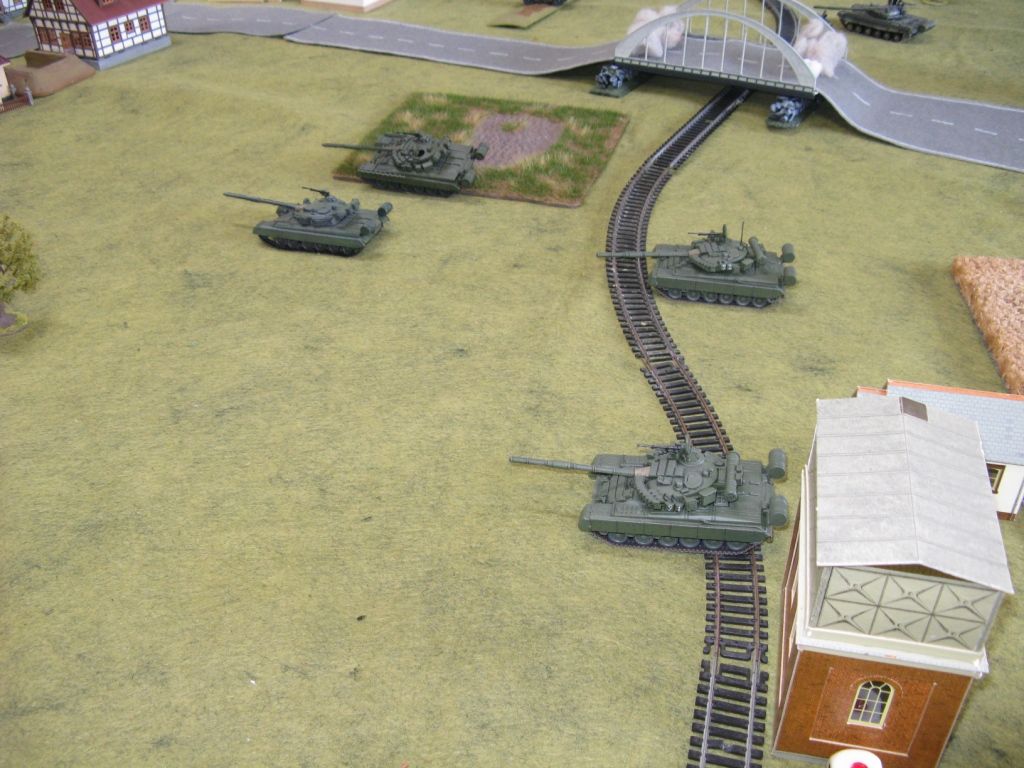
Getting closer!


OK - now Mick is ready to start rolling up the British flank
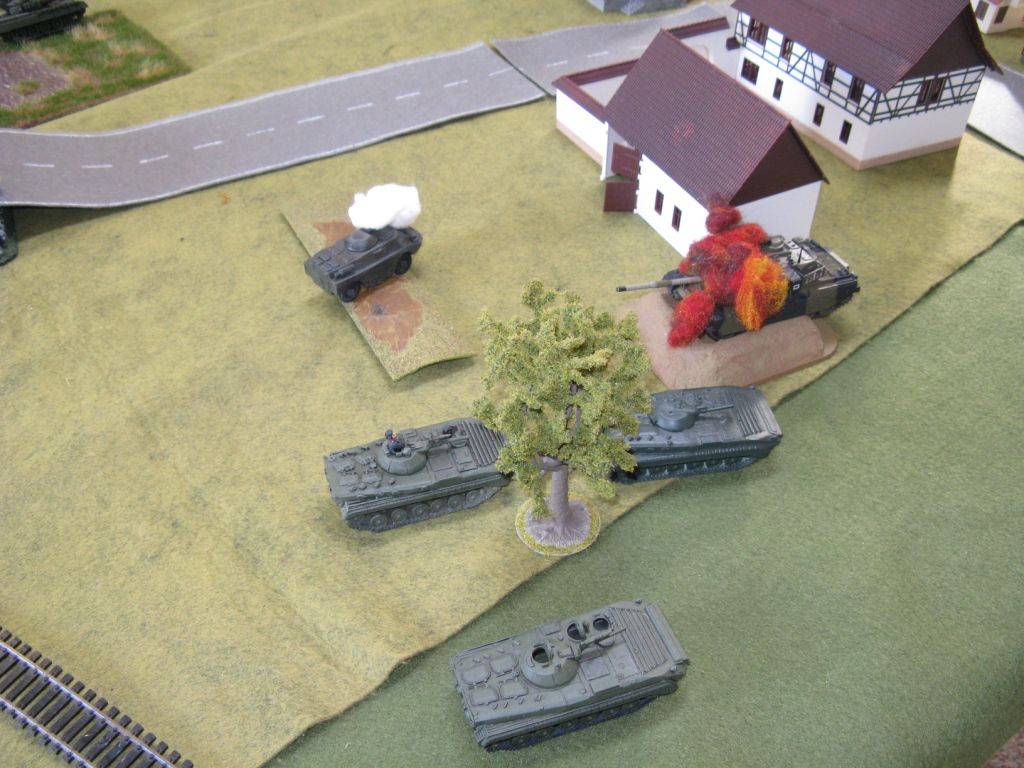

Back on Table 2 I almost fainted when I actually killed a Chieftain.  I would be the rather pathetic highlight of my game.  If we ignore the Scimitar, I only suffered something like a 20 to 1 kill ratio - meaning I lost 20 units and he lost 1.  I guess that artillery wouldn't have been such a bad idea afterall!
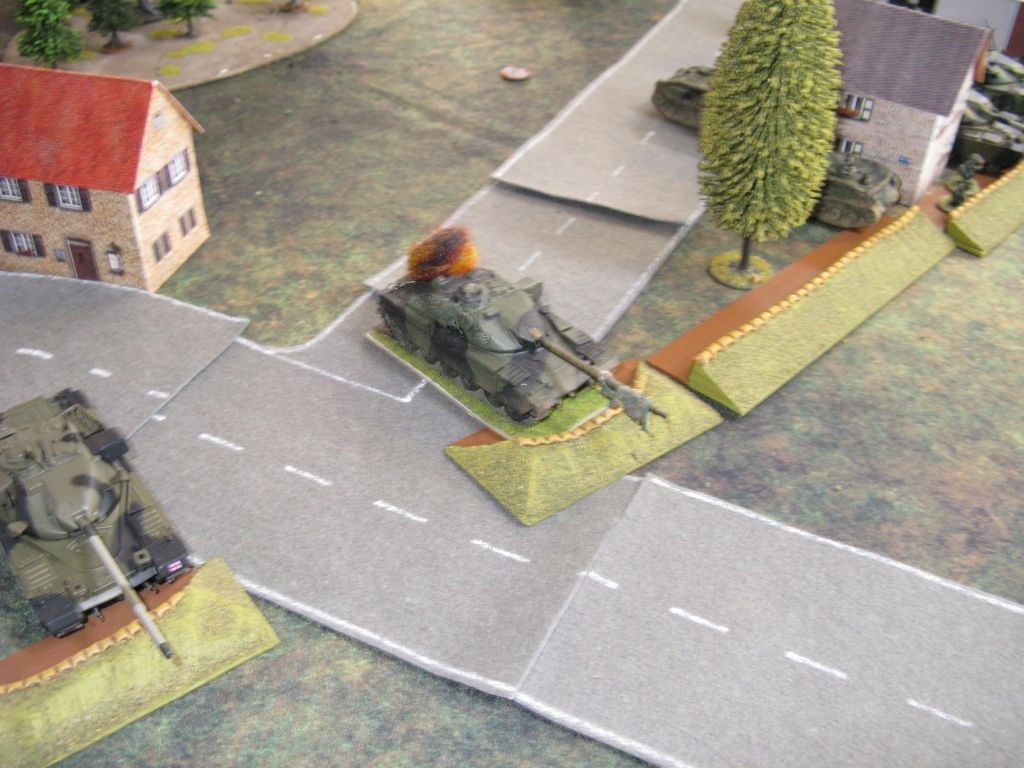
 

Here's the middle of the beginning of the end.
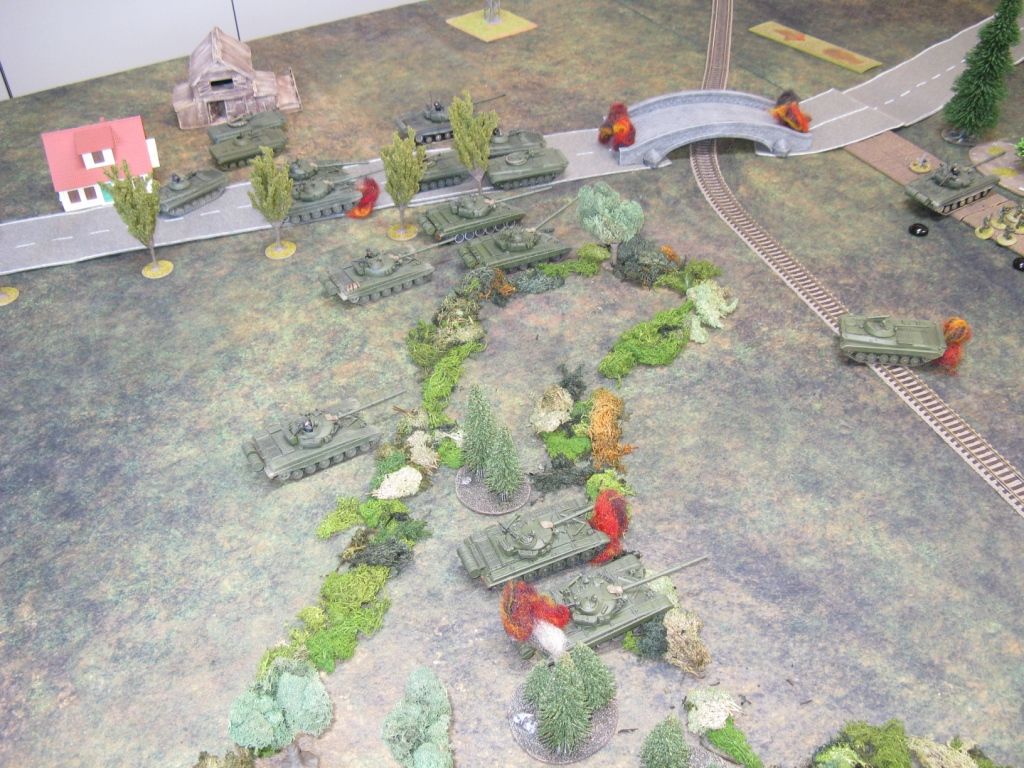

Here's an example of reinforcing defeat
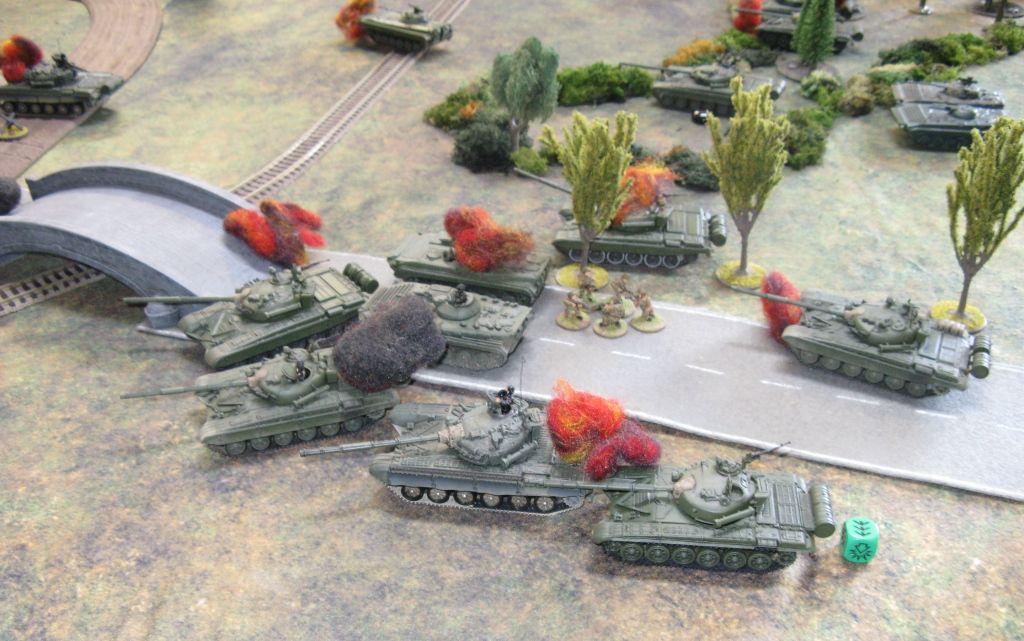

Here's an excellent example of what happens when you send a platoon of BMPs charging straight at dug-in tanks and missiles.
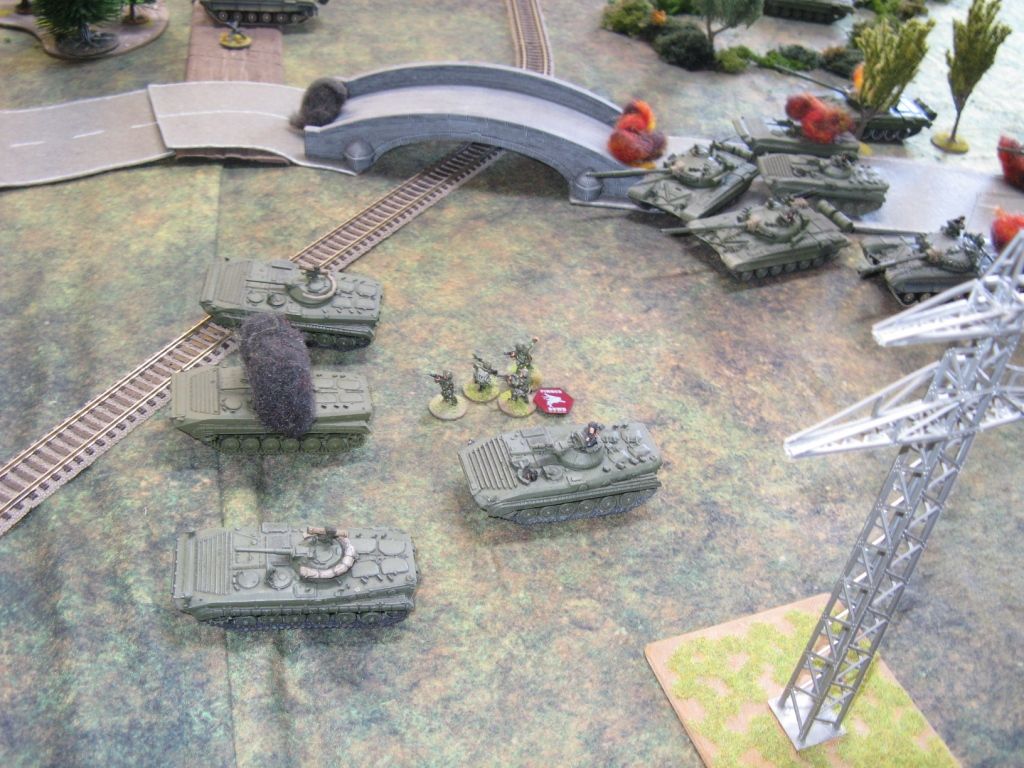

Here's the remnants of that platoon trying to escape their burning vehicles.


Here's why I'll never be a Hero of the Soviet Union - although, I sure if I survived all this to be able to report...
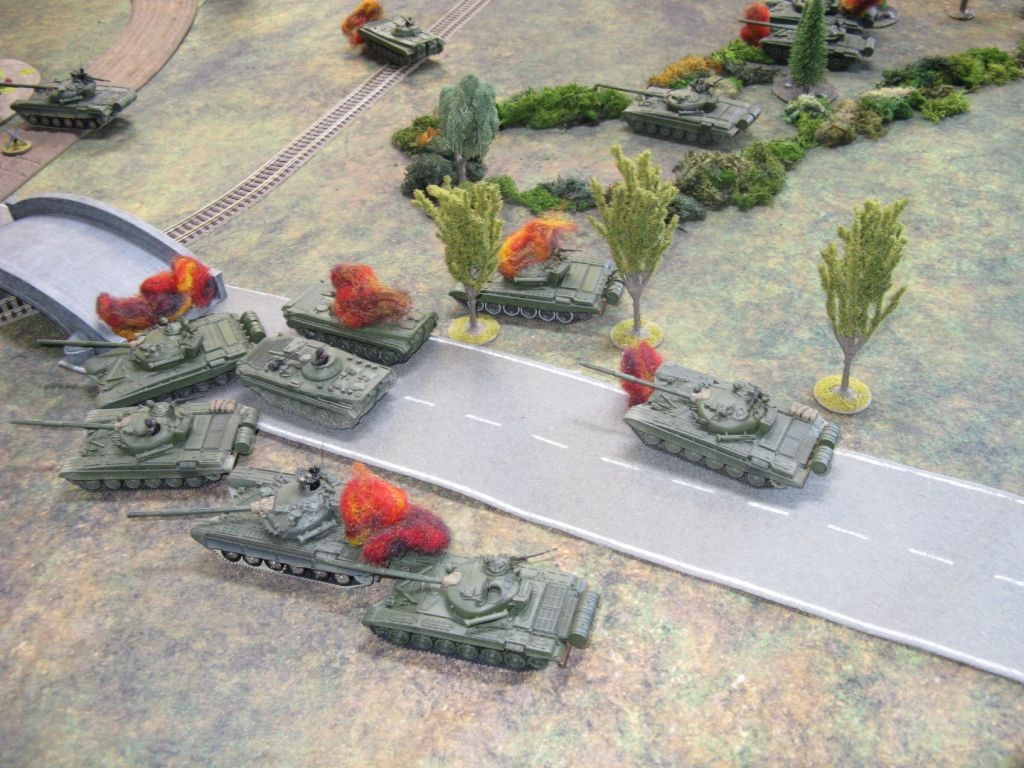
I could say I brilliantly lulled the enemy into a false sense of security while my partner in the attack rolled up the other flank.

Here are Mick's forces rolling into Lehre - taking the Brits in the rear.
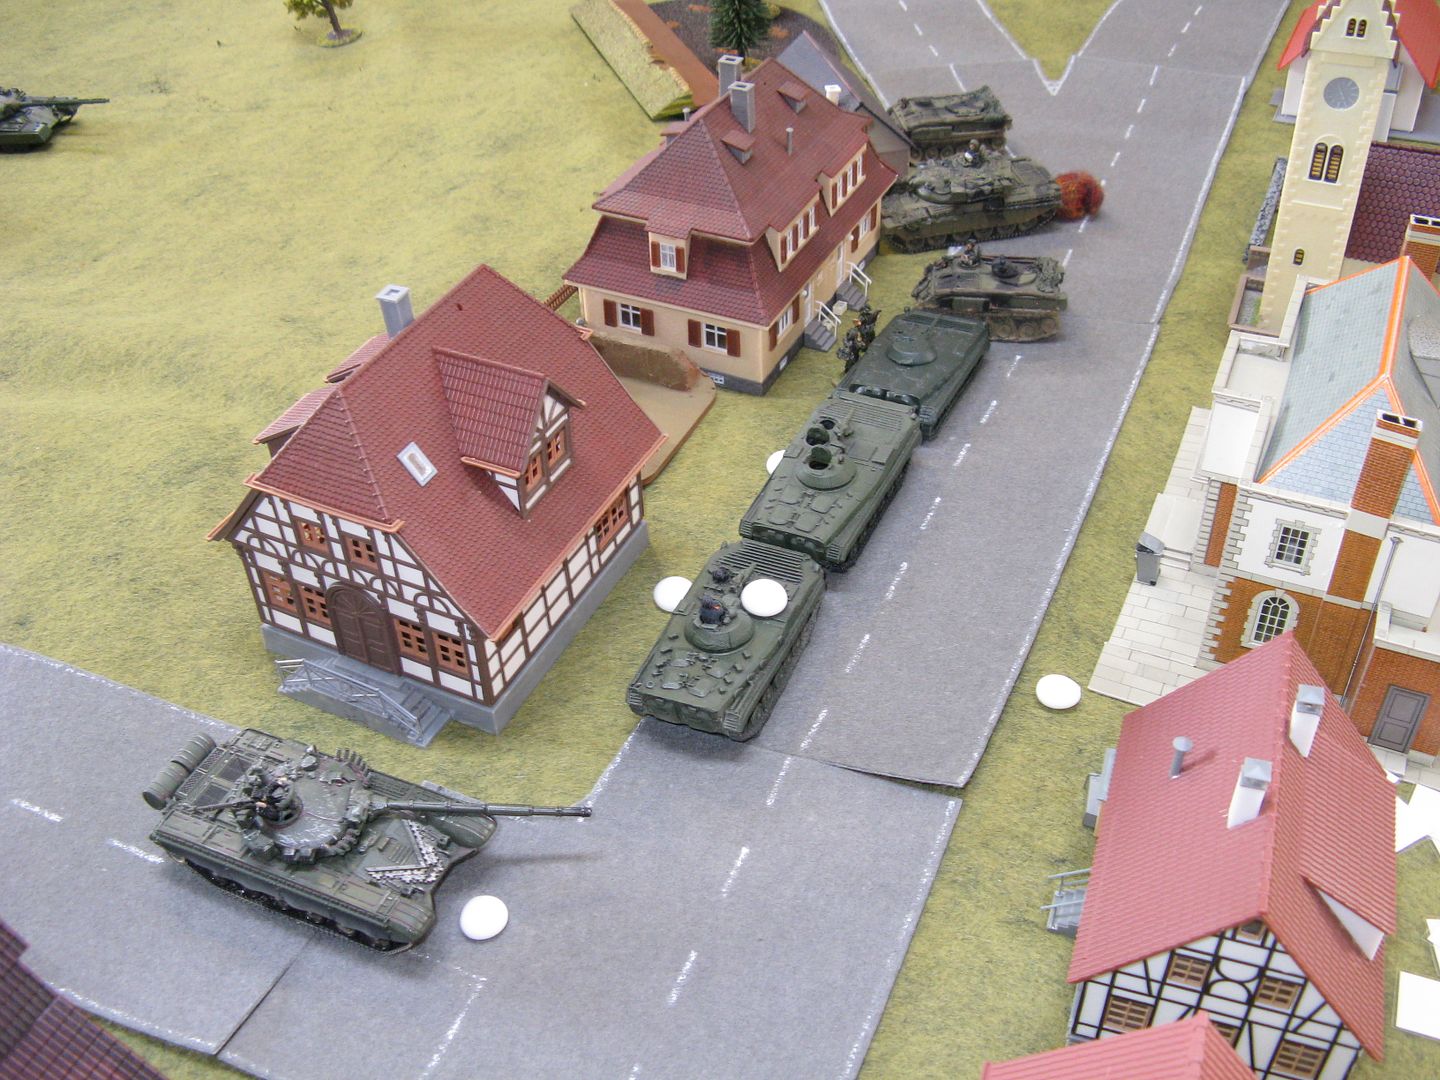

So on Table 1 the Soviets won a glorious victory whilst on Table 2 the Soviets suffered an ignominious defeat.  So -does that make it a balanced playtest?  I kind of think so.

I think the playtest worked.  I don't own any 6mm or 15mm Cold war kit - and had to make do with 20mm gear.  Sure - this would look stupid on a 6' x 4' table - but spread across two 9' x 5' with 4 players it worked well.  No real problems with the rules - sure air did not turn up and our artillery (especially the Soviets arty) was pretty light on - but that didn't stop us having a fun game.

Always lots to think about afterward - but as a good Soviet player, I would have promoted Mick and then taken myself out back and shot myself.

Onwards and upwards

Thanks for looking

Richard


West of Hannover - A BAOR vs Soviets After Action Report (another attempt at Part 1)

Back  in April I posted up a coupe of pics of what was meant to be the prelude to a large After Action Report.  We had an all day game, I tried to take a bunch of photos and as usual I started with the table layout.  Unfortunately, real life slammed me pretty hard right about then, and all my "free time" at home got spent on anything other than my hobby time.

So now, although all my hobby stuff is packed away, I have a bit of spare time and I thought it was time I rid myself of the guilt of not putting up this report.  So I'll pretty much start from scratch - so settle in.

OK - the premise of the game was to test to see whether or not my unofficial BG:Cold War rules could cope with a large battle - rather than a platoon plus kind of skirmish.  To do this I decided to test a game with "real" Battlegroups.  I was also testing whether or not you could do this in 20mm rather than a smaller scale.

The BAOR force would be a Squadron/Company sized combat team - similar to the US team described in the book "Team Yankee" - except Brits of course!  It would consist of:

Forward HQ (1435 pts - 65 BR)

  • Combat Team CO & 2IC - both in Chieftain TOGS MBTs
  • Forward Signals Unit in a Sultan

Tanks

  • 2 x Troops of 3 Chieftain TOGS MBTs

Infantry Units

  • Mechanised Infantry Platoon in FV432 (2 with MG turrets)
  • Self-Propelled medium Mortar (in a FV432M)
  • 2 Milan Teams (in a FV432)
  • 1 Spartan MCT

Artillery Units

  • FO Team (in a FV432)
  • 2 x Abbot SPGs (on table)

Reconnaissance Units

  • 2 x Scimitars

Logistics

  • 1 x Stalwart

Specialist Units

  • 1 Blowpipe Team (in a Spartan)
  • Tracked Rapier
  • Guided Weapons Section (2 x FV428)

Additional Fire Support

  • 2 x Pre-registered Target Points
  • 2 x Counter battery Fire Missions
  • 2 x Timed 155mm HE barrages

Defences

  • 6 x Tank Fighting Positions
  • 20" of Trenches
  • 2 x Minefields
  • 2 x Bridge Demolitions


While the NATO force got a company sized team with add-on assets, the Soviets got a Battalion sized force with some add-ons.

Forward HQ - (1997 pts - 92 BR)

  • 1 x Battalion Commander (in a T-64BK)
  • 1 x Artillery Command Post (in a ACRV)

Tanks

  • 2 x T-64 Companies (each with 10 T-64B)

Infantry

  • 1 x BMP-1 company (with 10 BMP-1Ps)
  • 1 x MANPADS Section (in a BMP-1)
  • 1 x Fire Support Section (in a BMP-1)

Artillery Units

  • 3 x 122mm guns (an off-table battery)

Reconnaissance Units

  • 1 x Recon BMP Squad (in a BMP-2)
  • 1 x BRDM-2

Specialist Support Units

  • 2 x ZSU-23-4 Shilka

So that's about 28 tanks on the table, along with about 31+ other vehicles.  I then had to decide how to fit this all into one game on 1 table - that a normal human being could reach across!

So... of course... I cheated.  I found this nice straight stretch of autobahn heading from the Inner German Border towards Hannover, in the British sector.  It seemed like a perfectly sensible road for the Soviets to speed along on their way to liberate the workers of Hannover from their capitalist oppressors.  It also seemed like a perfectly good road for BAOR engineers to crater, mine, and drop every bridge along it's length in front of the Soviets.  Here it is:


Since it was impassable (and a raised road in my mind) it would make a perfect boundary between two tables.  There is a road (and maybe a tunnel) connecting the villages of Lehre to the north to Essehof in teh south.  As long as it is controlled by the British they can pass units backwards and forwards to their heart content along it.  If the Soviets control it at the end of the game - so can they.

The top red outlined box would become Table 1.  It turned out looking like this from the Soviet's point-of-view:


And like this from the NATO end with the village of Lehre in the foreground:


The bottom box on the map then becomes Table 2.  We laid it out with the Soviet end looking like this:


Here's a table-eyed view of the road heading towards the NATO held village of Essehof:


And here's the NATO point of view looking back down Table 2:


So now we were ready to start the game.  Greg and Charles took up the cudgel for NATO (the dastardly oppressors previously mentioned) while Mick and myself played the role of the Heroes of the Soviet Union.  As such you'll have to forgive me as more photos ended up being taken of the massacre on my table (Table 2) than of the more free-wheeling attack on the other table (Table 1).

Next up - the game itself.

Thanks

Richard

09 August 2018

My Unofficial Battlegroup: Cold War - Belgian Mechanised Infantry - Armoured Battlegroup List

Sorry it's been a while - but "Real Life" is raging pretty hard at the moment and after completing a bunch of painting commissions all my gear has been packed away.  So the only thing I have to work on, is army lists.

So today I've finished a draft Belgian List.  I think it's reasonable accurate, but will be updating it once I get any feedback.  So here it is:

Belgian Mechanised Infantry - Armoured Battlegroup

So please have a look and let me know what you think

Thanks

Richard