18 June 2017

Danish M150 or Danish M113 with TOW ATGM

There appears to be some debate at present as to whether or not there was any such vehicle as the M150 or was it simply a M113 with TOW ATGM.  I don't have an opinion, although everytime I decide it's an M150, I find further evidence that it wasn't, and then more evidence that it was.

Anyway - the Danes had them and I decided to make one!  I used a S-Model M113 as the basis (as I had one spare from the rest of the platoon (2 boxes of two).  I used a Dragon TOW system (from the spectacularly useful HMMWV box sets) and both AB Figures and Elhiem for the crew.  I also used some ValueGear stowage - pretty much the same as in my previous post.

Onto the pics:


Originally I had planned on having the TOW face forwards, but once the drive and the .50 cal were in place I thought it made the front of the vehicle look to "crowded" so I decided to have it firing off to the side.  Hopefully you can see the TOW tripod legs, folded up on the rear deck.

Finally - here is a pic of the M113 Platoon and the M150 (or not):


That's it for today.

Thanks

Richard

14 June 2017

The Mechanised Bit - Danish M113 Platoon

OK - so on with the show and onto the transports for the troops shown last week.  The Armoured Personnel Carrier of choice for the Danes was the ubiquitous M113A1.  I've chosen to use the excellent S-Models M113 and have added some bits and pieces of stowage primarily from Value Gear and other model kits.  Figures are all AB Figures - British Tank Crew in Pixie Suits.

Here is the Platoon Commanders track:


1st Squad's Track:


2nd Squad's Track:


Now the whole platoon:


So there they are.  Ready to roll out and take on some Soviets...

Thanks for looking

Richard

08 June 2017

Danish Mechanised Infantry Platoon sans the mechanised bit

Another group of Elhiem NATO and West German figures finished about a week ago, that had to wait to be photographed.  And now they are done under the guise of Danes.  I did a reasonable amount of research and this is my best stab at a Platoon TO&E.  They will initially be transported by M113, and at some stage I'll have the option to mount them in trucks.

First up the Platoon Command Squad


In the future I'll be changing out a few figures to make this more accurate but it will do for now.  I'll add in a "proper" officer figure with an Hovea M/49 SMG and a radio operator, and replace the mortar team with a proper 60mm mortar.  The current mortar team will then be moved to be a medium mortar supporting leg infantry or home guard units.

Now the first squad:


Pretty straight forward set-up.  NCO, Carl Gustav MAW gunner, MG3 gunner (called a M/62 in Danish Service) and 5 chaps with the Danish M/75 (which is their G3 equivalent)

And the second squad has exactly the same make-up:


That's the platoon as it stands.  I also painted up an old (and unavailable?) West German Redeye SAM operator, known in Danish service as the Hamlet or SAMlet:


So all I'm missing now is a medic and a sustained fire GPMG Team.  Elhiem don't make either at the moment - I'll just keep my fingers crossed.  AT least I now have enough Danish infantry for a decent game - once I finish their M113s...

...and the Centurions...   Well now you know my plans for the next month!

Thanks

Richard

28 May 2017

Even more Revell Leopard 1A5s

Well it's about time I posted again - it's not like I haven't been doing anything - the exact opposite actually - been very busy doing some commissions and stuff for other people.  These Leopard 1A5s are sadly not for me (I need a couple more to finish my platoon).

As I've said before - it's a great kit and is generally a pleasure to put together.  Anjd here is the finished product:


So there we are - job done and time to move on to some of my own stuff for a week.

Thanks

Richard

07 May 2017

Matchbox Phantom FG1/FGR2 - Revisited & Completed (Again!)

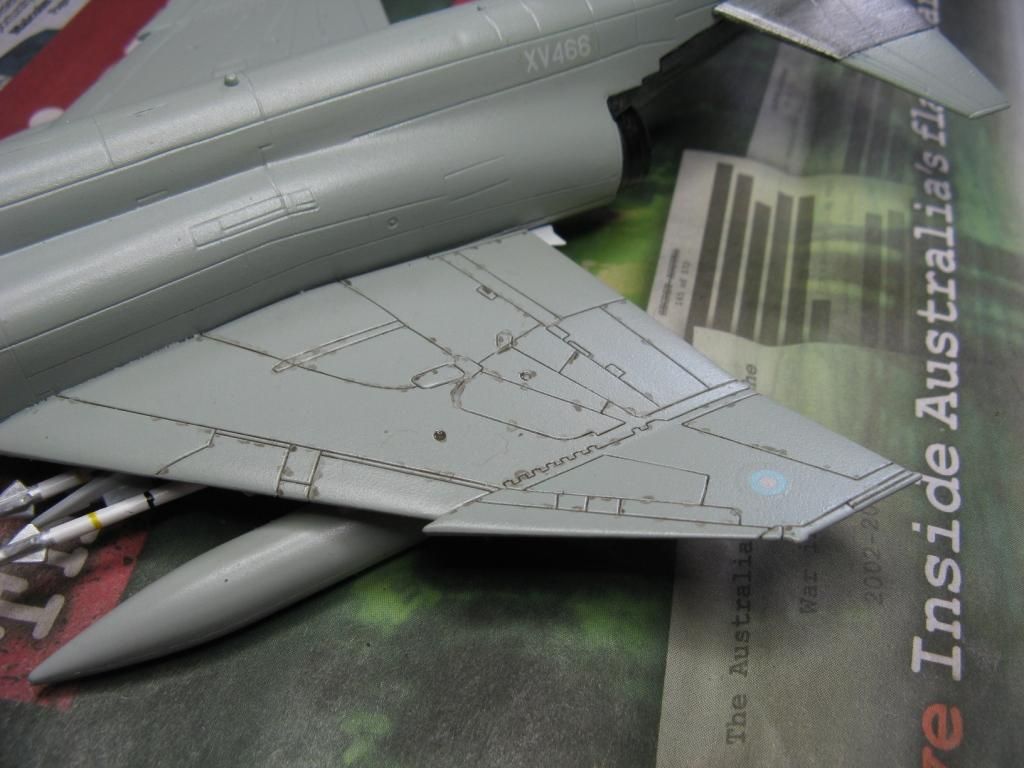
Well - as I posted last time I've revisited my Matchbox Phantom FG1/FGR2 kit that I "finished" back in December last year.  Back then, Paul Foster commented that the model might pop a bit more if I did the panel lines.  I completely agreed with him, and when the right product came along I decided to have a crack at it.

So here's the original:


And here's the new version


Original


New


Original


New


Original


New


So there we go - all done.  Interested in what you think of the panel lines - particularly on the top of the aircraft.  Too dark?  I'm not sure.  Typing this I just realised that I still need to hit it with a flat coat.  I wonder whether this will tone down the darker panel lines somewhat.

Oh well - I guess it's not finished after all.....  Will any of these projects ever end!!!!!

Richard

04 May 2017

Matchbox Phantom FG1/FGR2 - Revisited

Well this is actually a revisit rather than a proper Work-In-Progress.

I try and keep an eye out on new products or procedures that will help my modelling - particularly my aircraft modeling which is not great.  I stumbled across this product...


...and did a bit of investigating, watched a couple of clips on Youtube, and thought I'd give it a go.

So
I re-sprayed my Phantom with an Acrylic Gloss coat, and started to have use the Panel Line Wash:


This is what it looks like when you pin wash the panel lines.  It doesn't take long as the wash flows nicely along the lines when you dot it on a panel line.  I've used the darkest grey wash here as I tried the medium wash and you couldn't see it very well.  I might try the medium on the underside of the plane as it is lighter.

The idea is you pin wash it one, and then use MiG Enamel thinners to carefully wipe it off, leaving the wash in the panel lines.  It takes a bit of effort - and I'm sure the way I'm doing it is not 100% fantastic - but so far I think it looks better.  I should probably have started on a brown or green plane to start with but the Phantom is the plane that needs the effect the most.

Next time I show the Phantom - hopefully it will look significantly better!

Thanks

Richard

02 May 2017

Back to the BAOR - Objective Complete

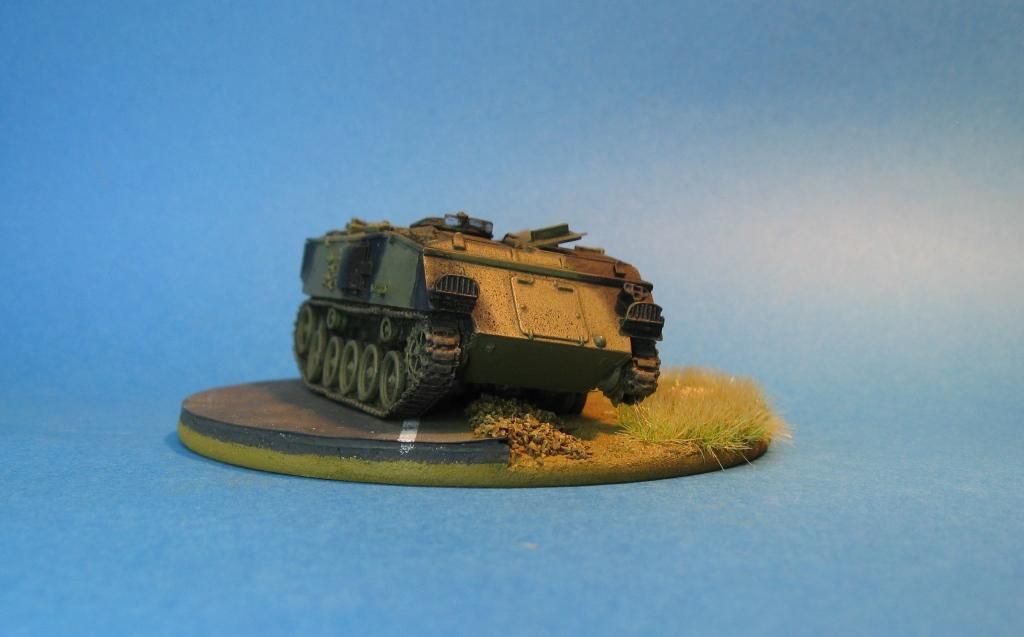
Here we go with another completed little side project - done really just to do something a little bit different.  Eventually I'd love to have a set of themed objective markers, and I had to start somewhere, so why not with a damaged Cromwell Models FV432.

Here it is:


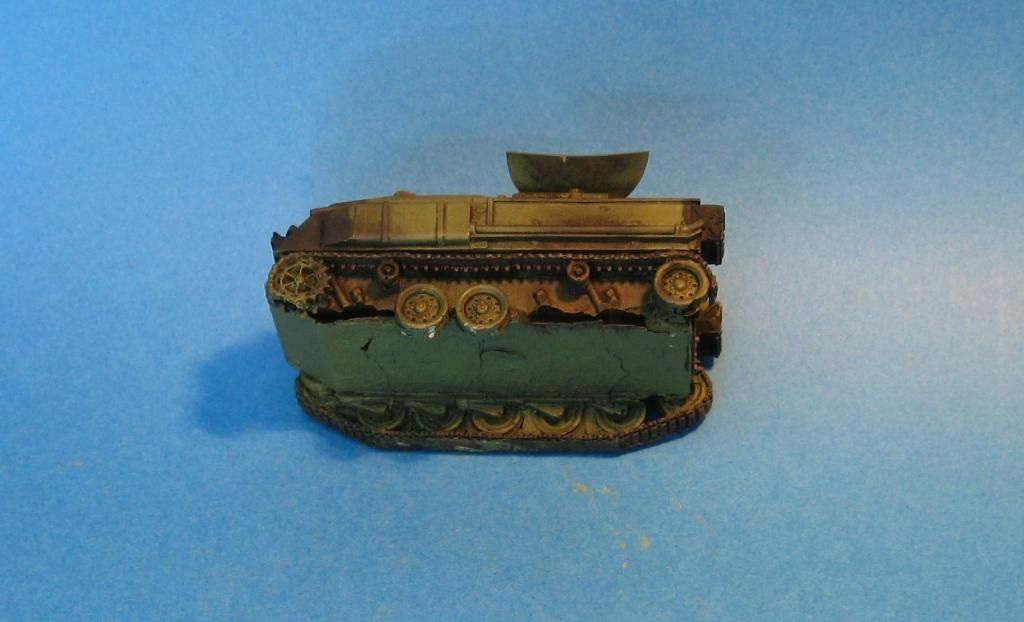
And now the separate components:


The FV432 - showing the damage to the model.  I tried to make it look burnt out - not sure if it really shows up in this pic.

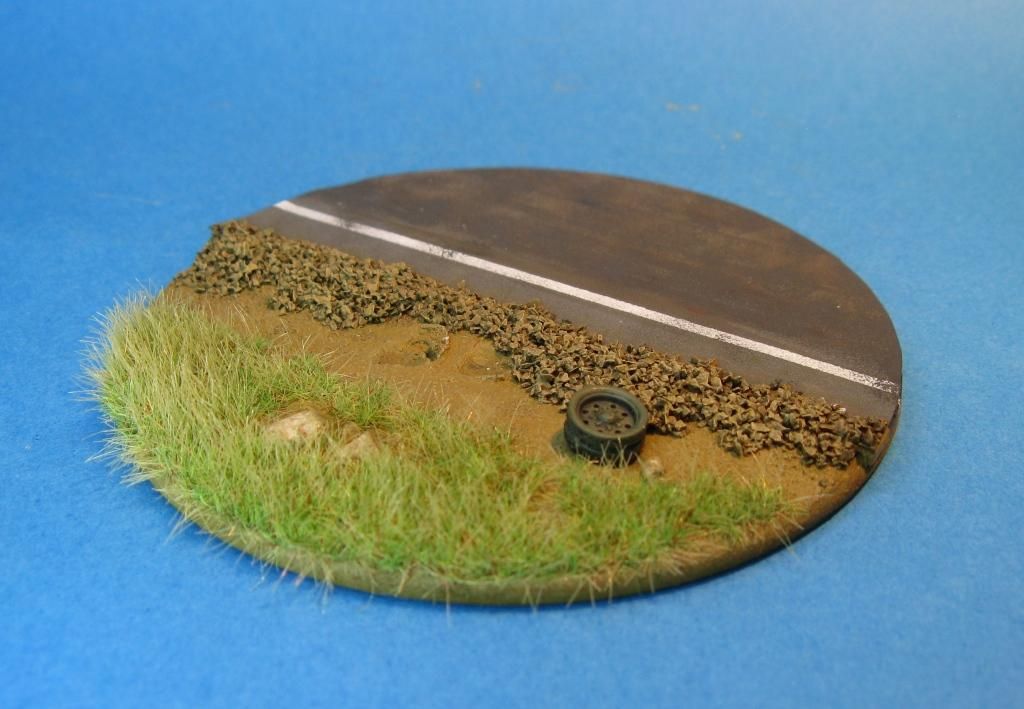
And the base:


And that's it!

Don't worry though - the next post will be another WIP!

Thanks

Richard