My wargaming passions have the Cold War running first, with the NWE campaigns in World War Two running a close second. When given the chance to playtest BGO I jumped at it - bearing mind there is a (distant) possibility that in the (distant) future there (just) may be a Cold war supplement for this system (if I have any say/influence etc) in it.
So last weekend saw Dean and I playtesting a couple of the new lists from BGO. As part of the playtesting process we’d been asked to take the German Panzer Division Battle Group out in a standard meeting engagement type mission (Attack/Counter-Attack) against a British Armoured Division Battle Group. I’d be commanding the Germans.
To make things interesting Dean and I decided to pull out some of our old 15mm kit which had been gathering dust for a few years and give it a whirl. We selected 750 point forces as we wanted to test playing a platoon level game at the highest point’s level to see what impact this would have on our command/orders.
My list looked like this:

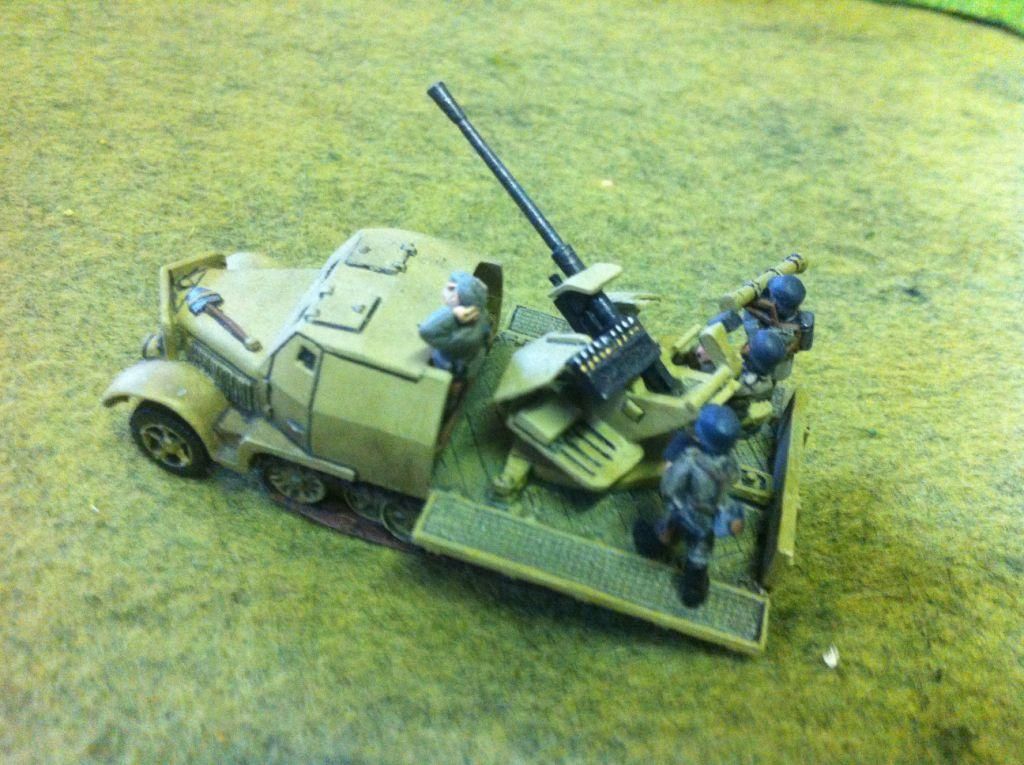
and consisted of a Forward HQ with a Forward Signals Van, an Armoured Panzer Grenadier Platoon upgraded with Panzerfausts, a Panzer IV H Platoon, a Panther upgraded to “Panzer Ace”, a FO team, a Medium Panzer Artillery Battery, a Recon Platoon Command, 2 Pumas (coz I like ‘em), a Supply column with 2 trucks, an Armoured SdKfz 7 w/37mm AA and finally a Timed 150mm barrage off table. My BR was 38.
Dean’s list looked like this:
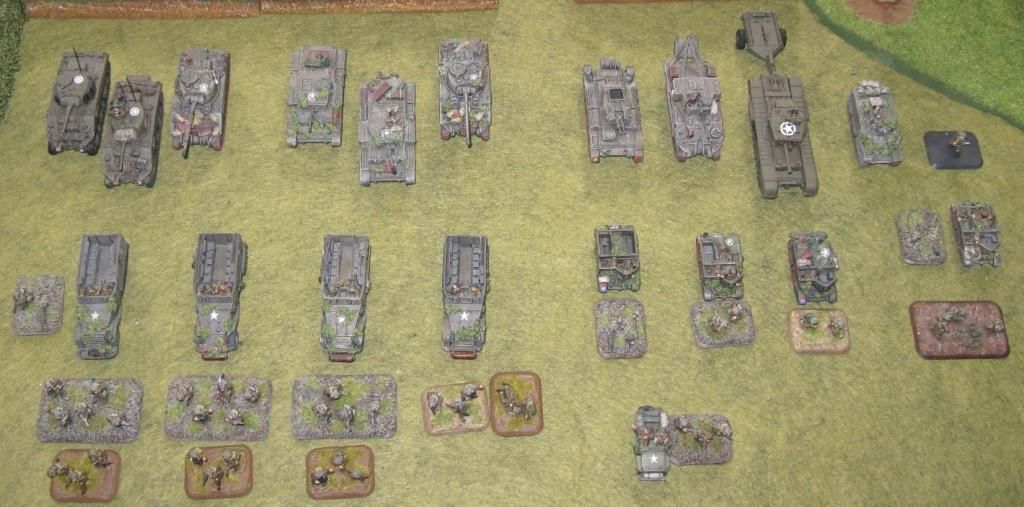
and consisted of a Forward HQ and a Dispatch Rider, a Motor Infantry Platoon with an attached PIAT team in Bren Carrier, a Carrier Section, a Sherman Tank Troop and a Cromwell Tank Troop, a Heavy Mortar Team, a recce M5 Stuart, a Sherman ARV, a Crusader AA Mk II, and a Churchill Crocodile. Off table he had a 1st Target Priority – off table artillery support request and Dean also had a Registered Target Point. Deans BR was 53.
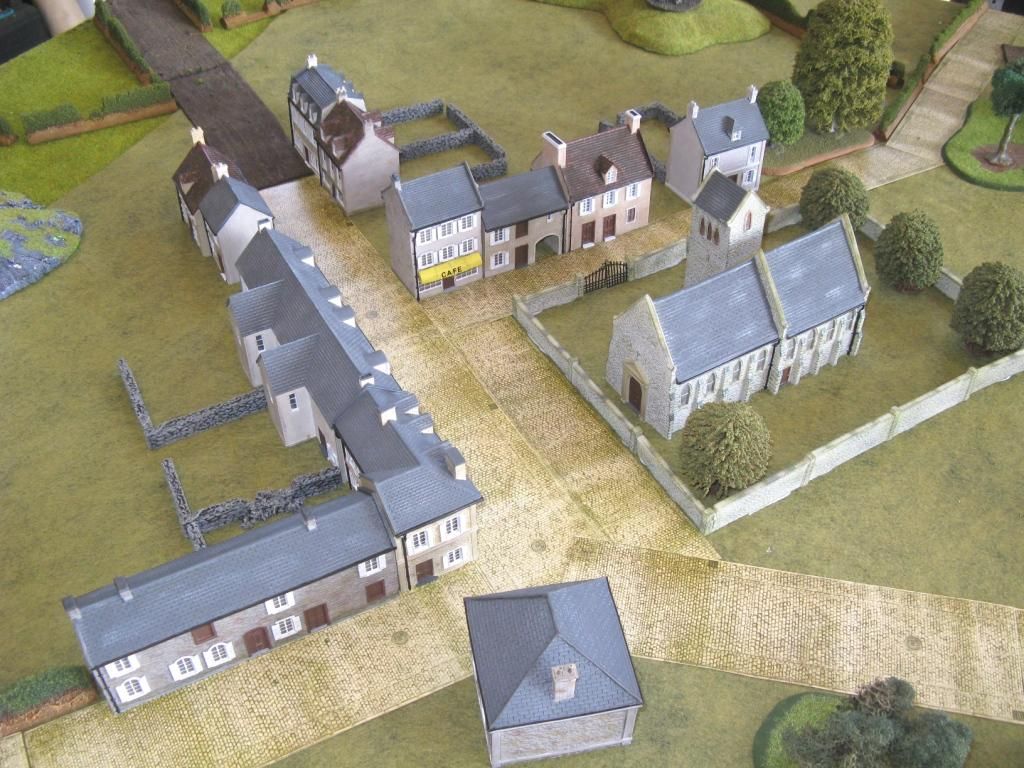
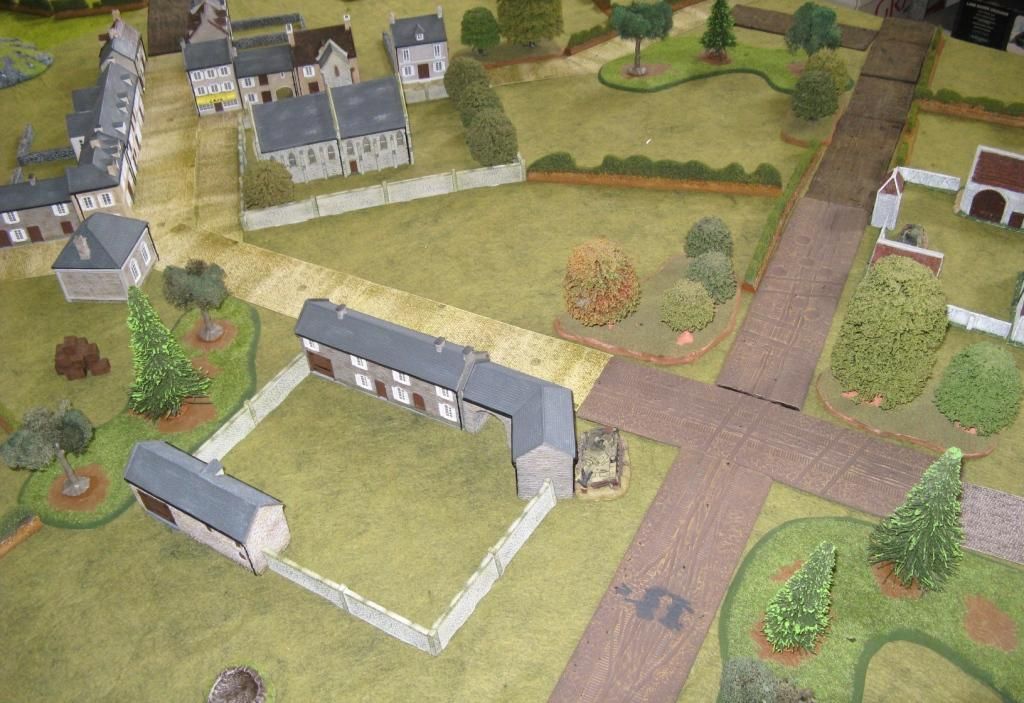
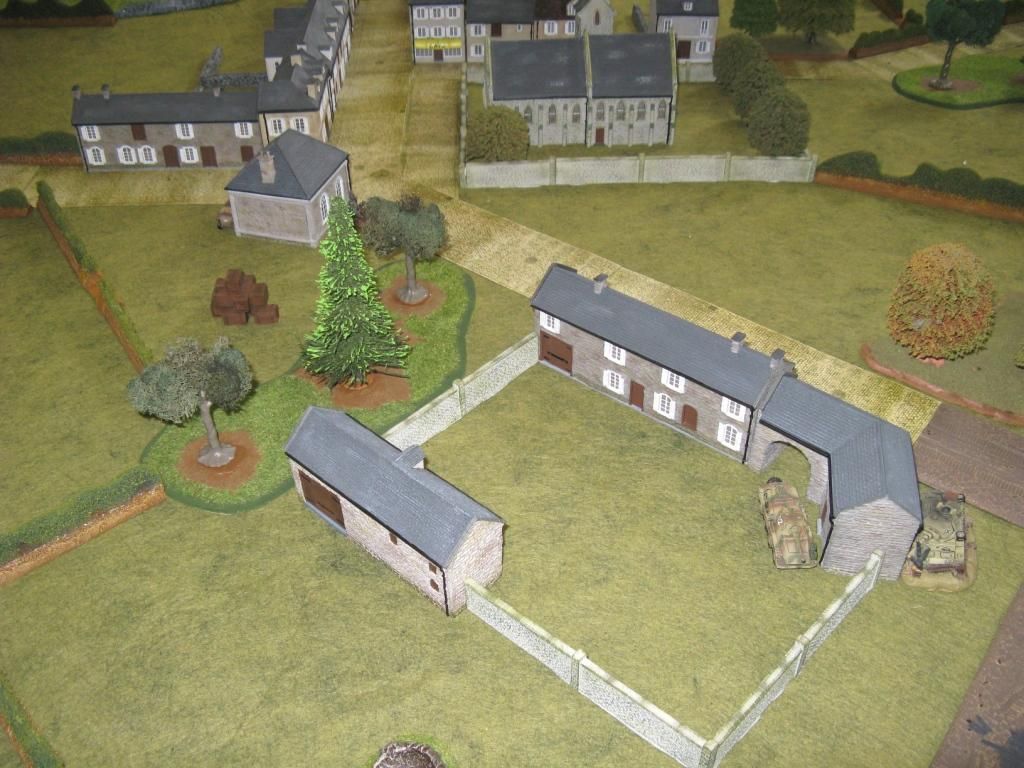
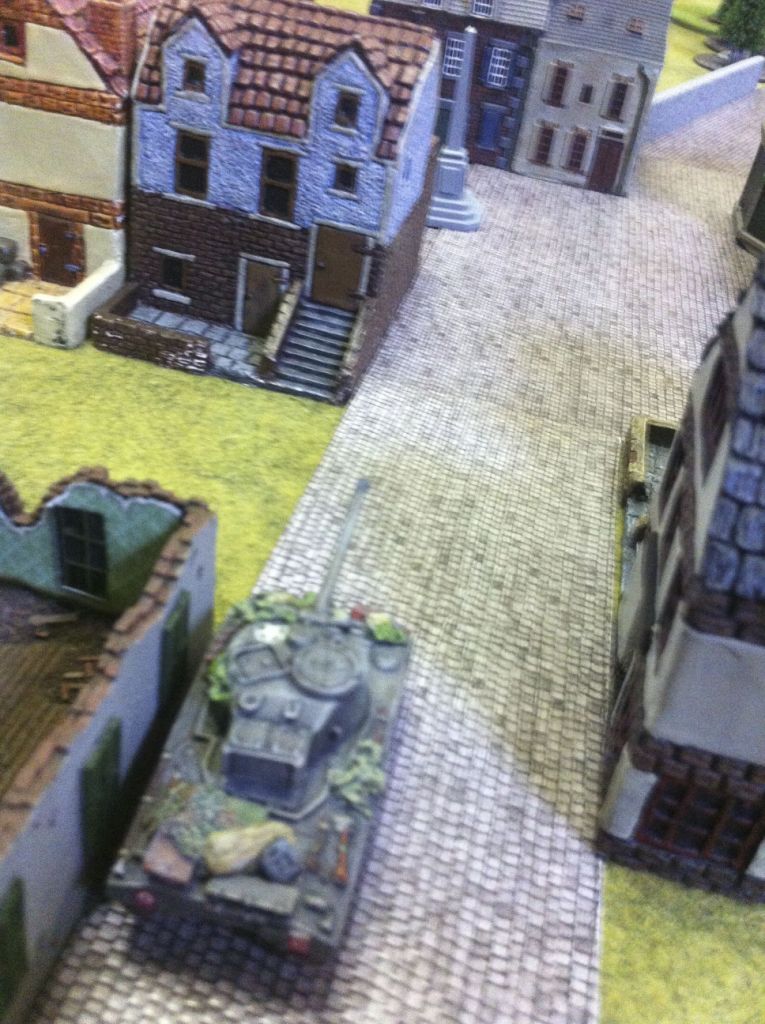
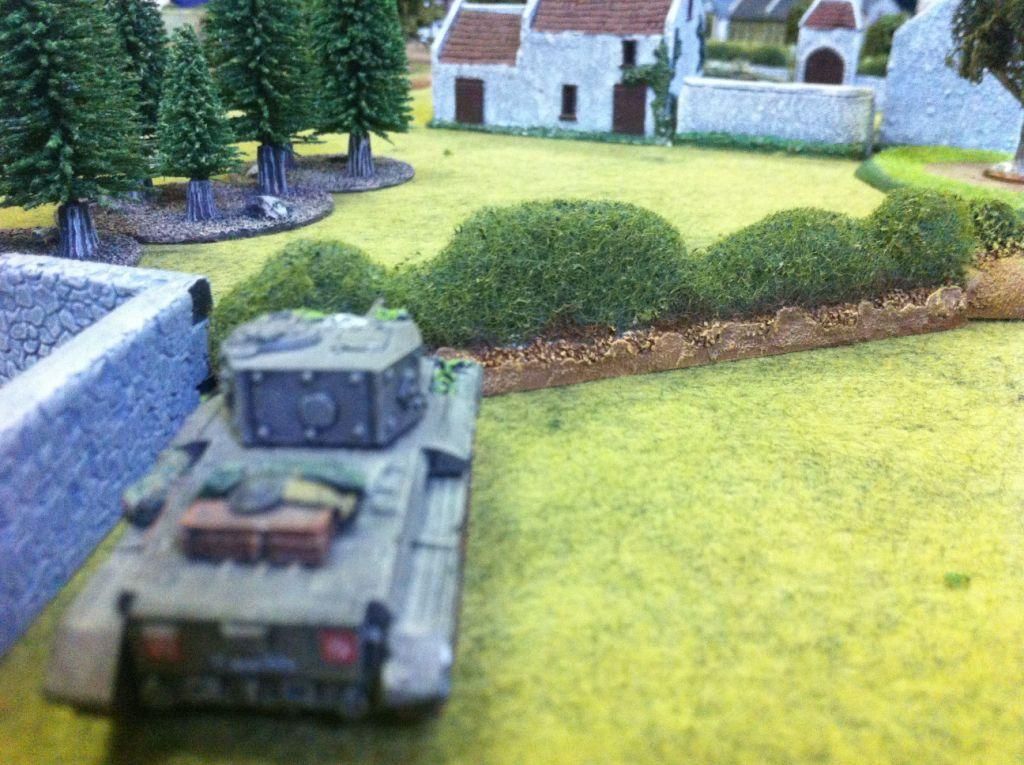
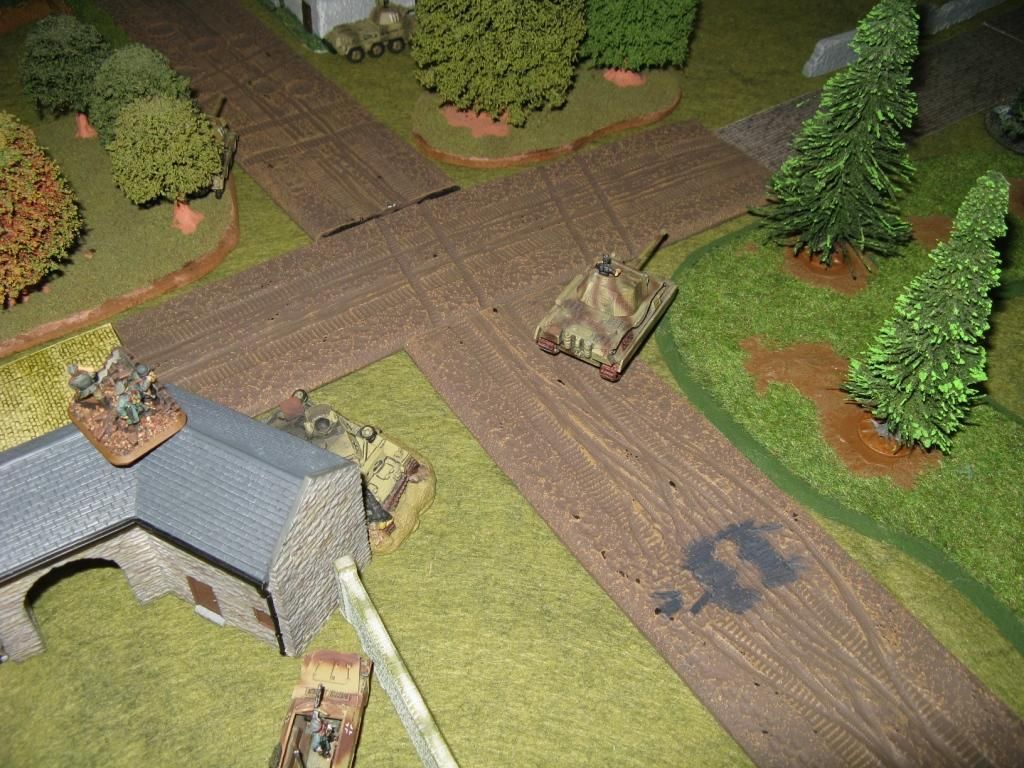
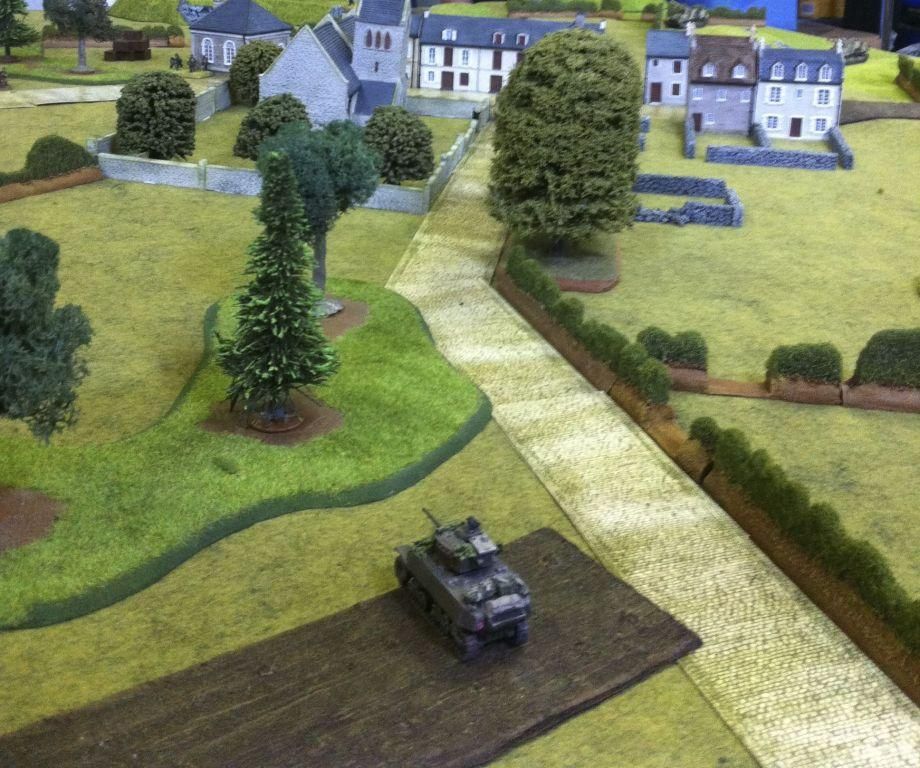
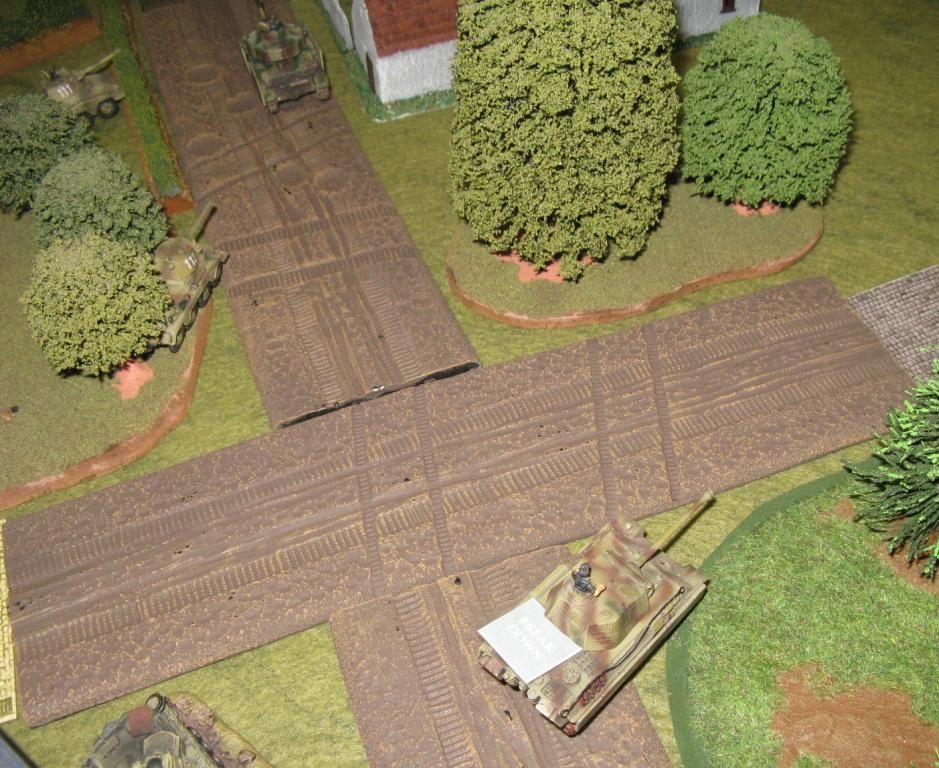
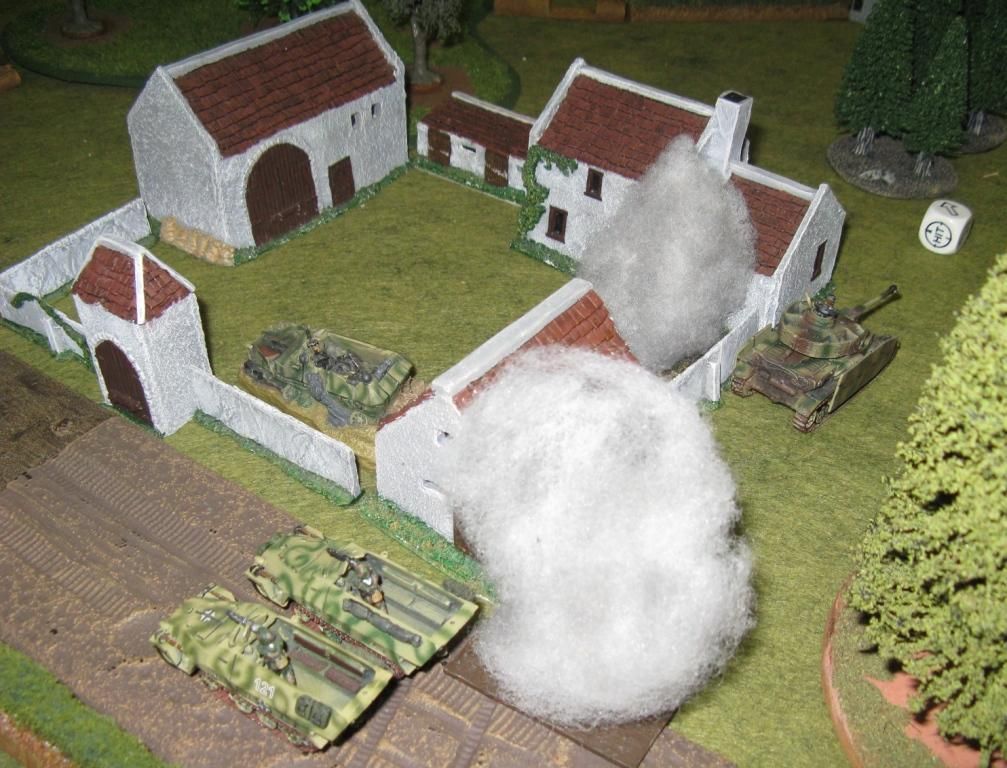
The table consisted of a pair of small villages largely surrounded by hedged fields with a few roads criss-crossing the table. Here it is seen from the British end:
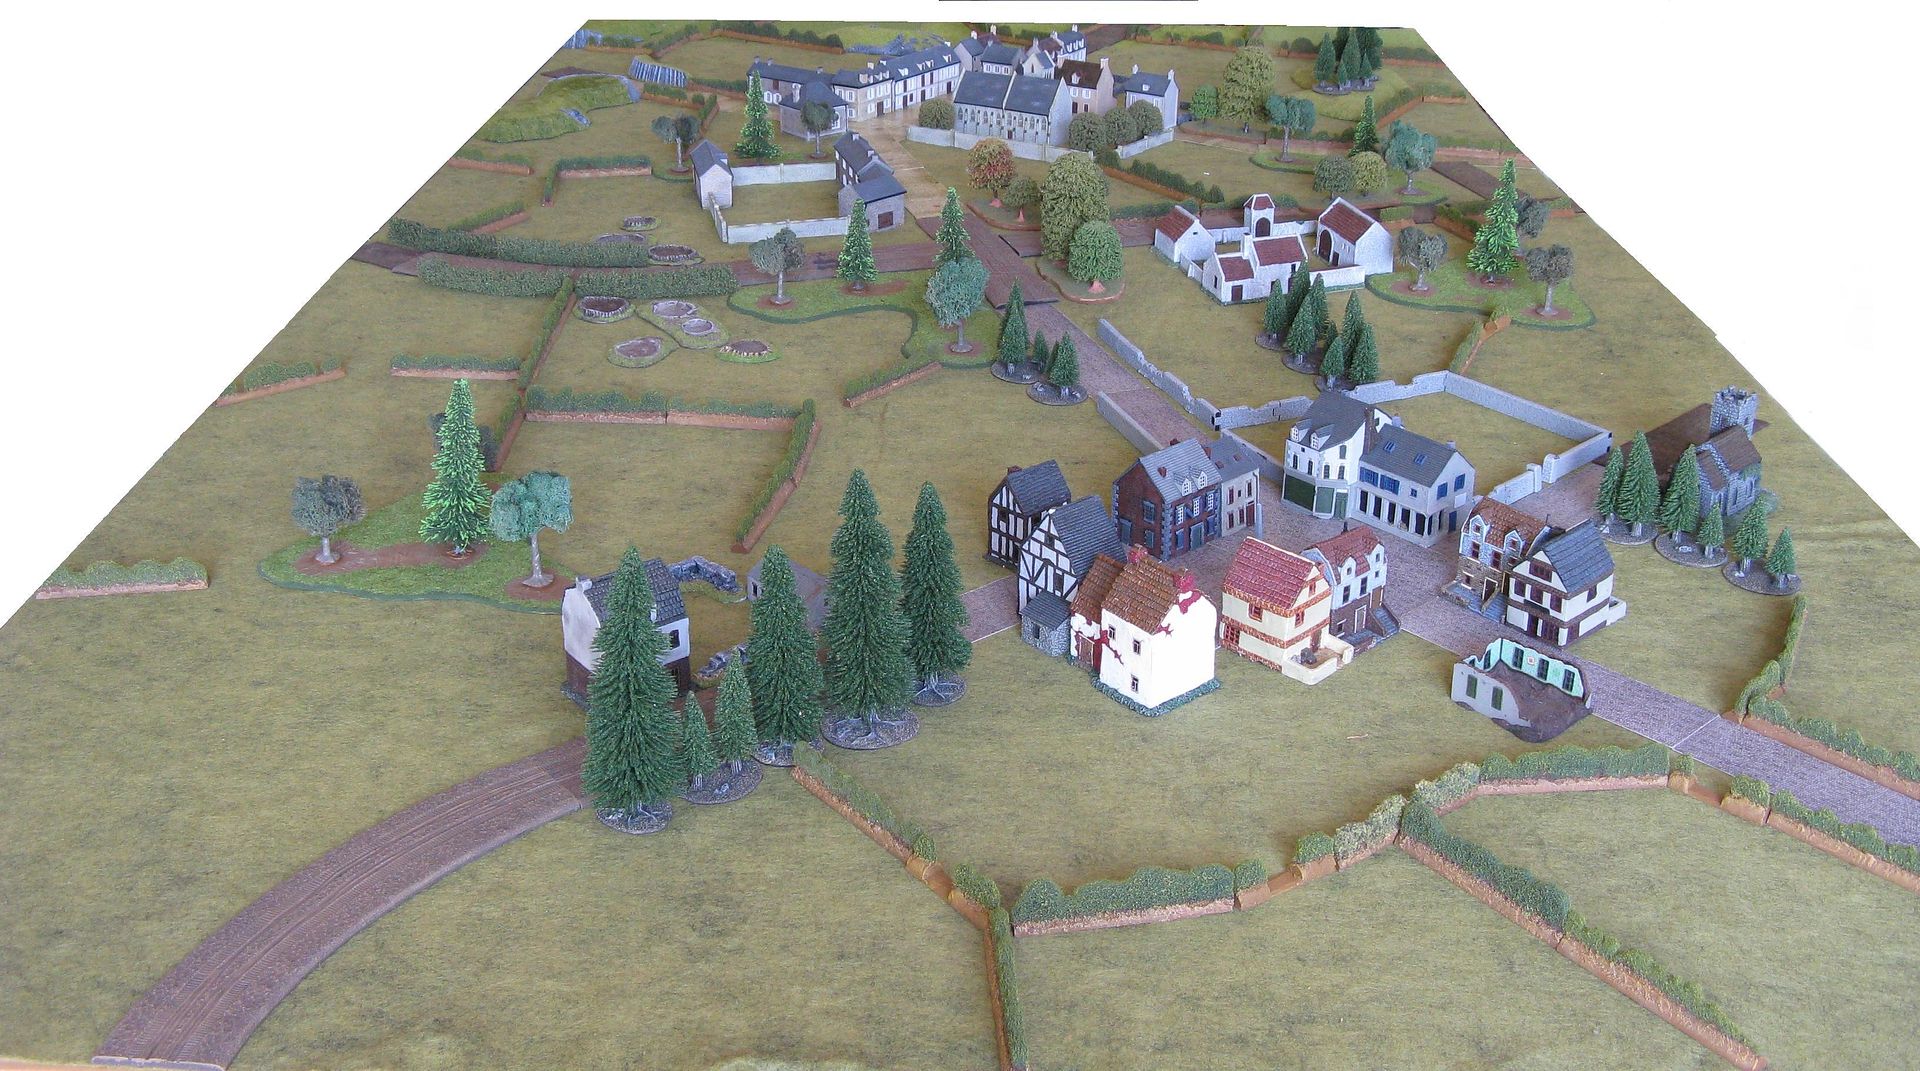
And from the German end:

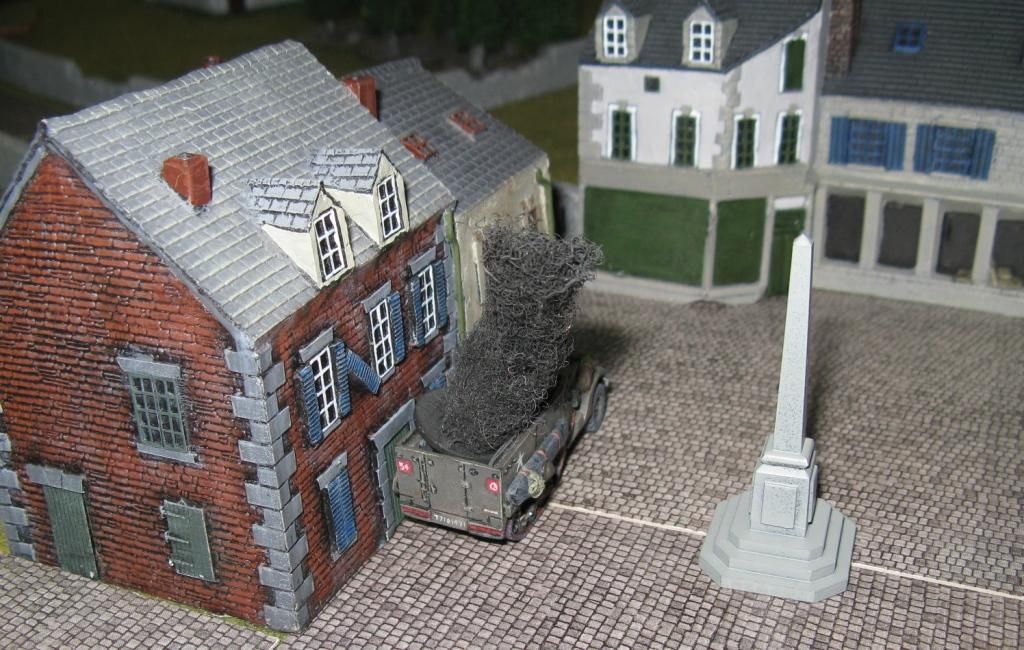
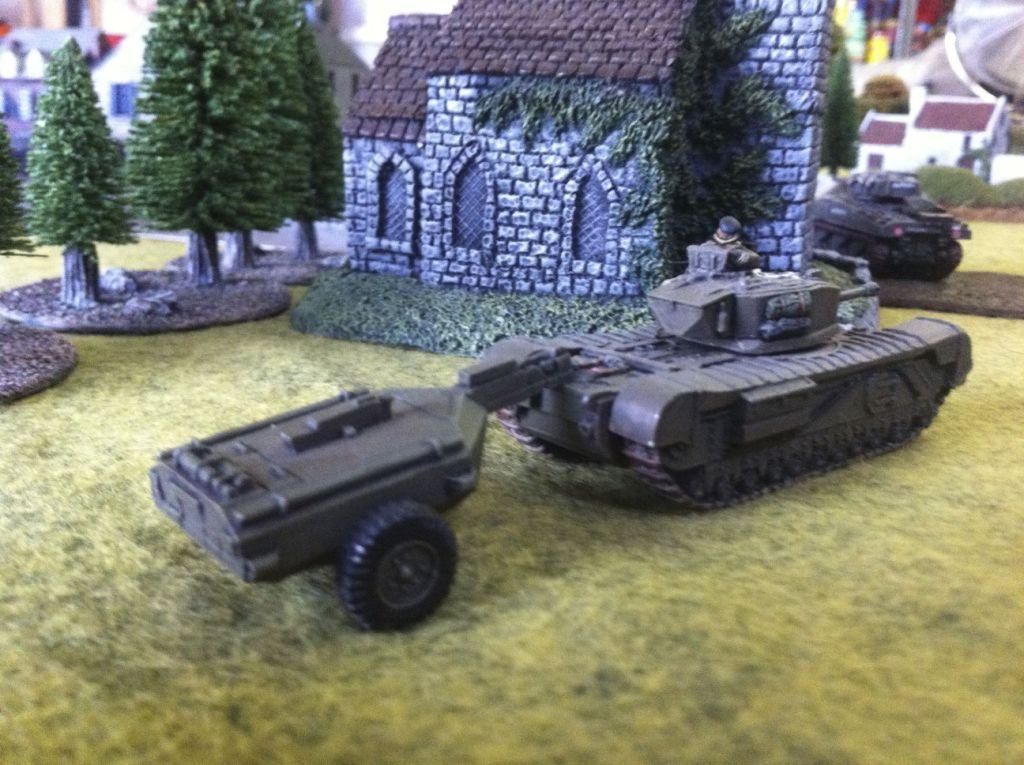
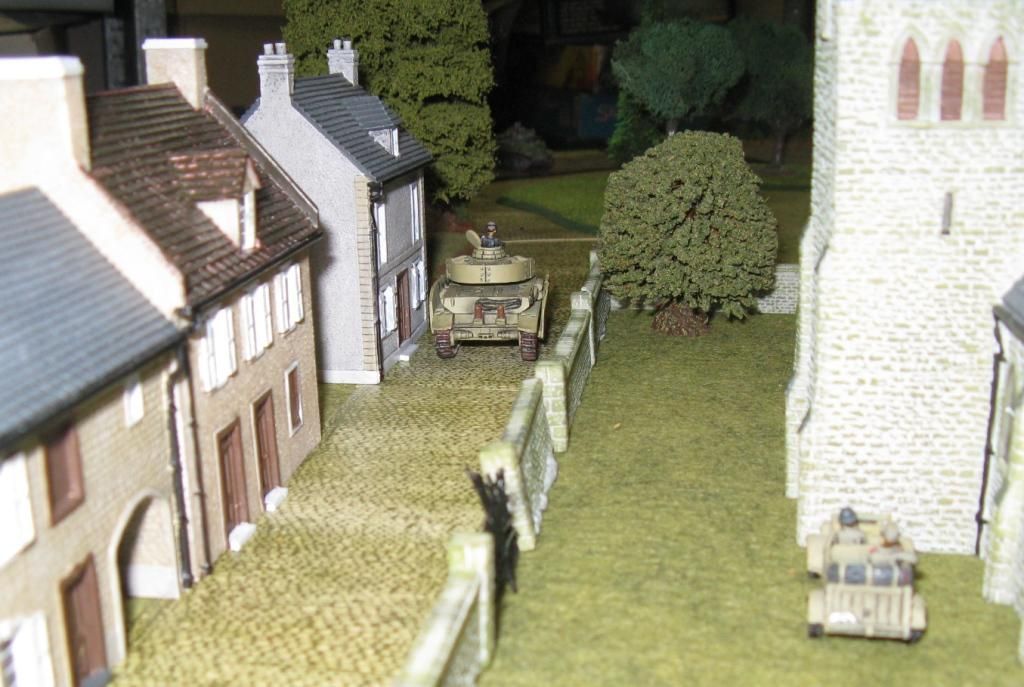
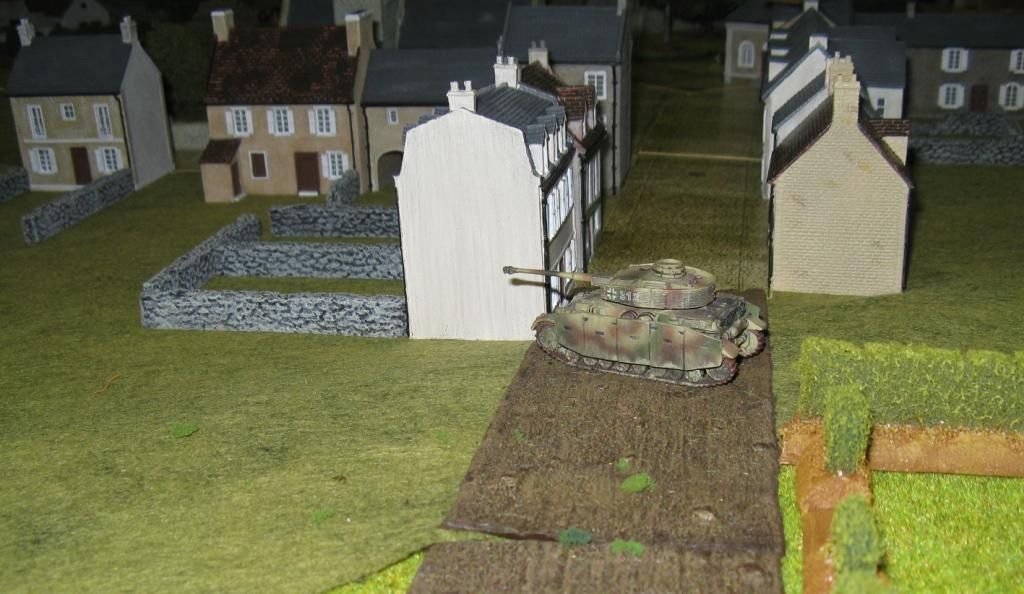
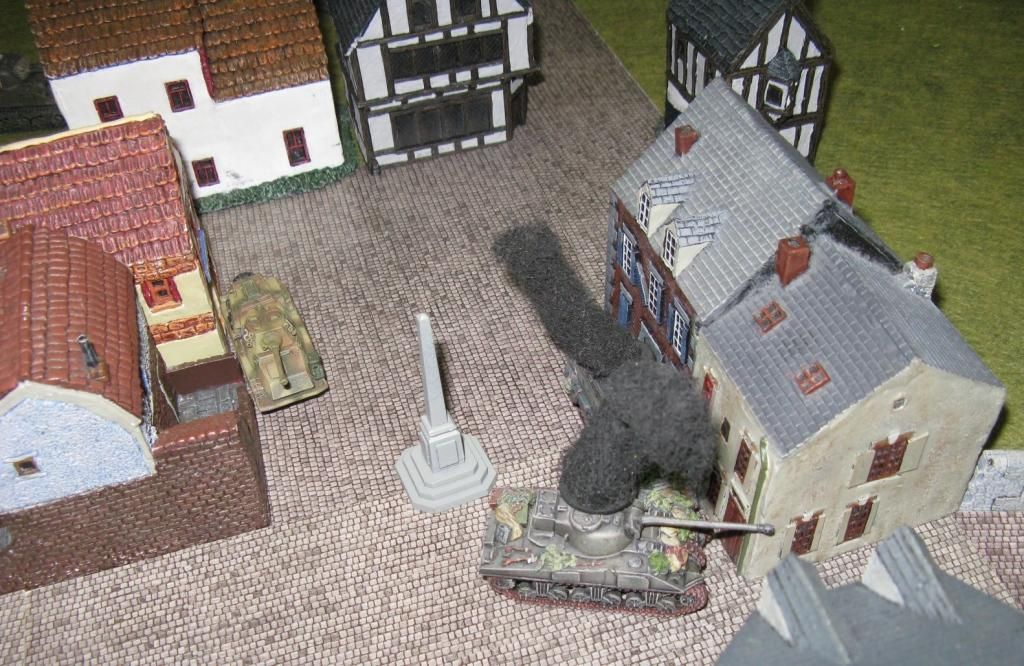
Here are some close-ups of the two villages and the two farms:


Four Objectives were placed on the table. We determined that we would have to place one objective each in the no-man’s land centre of the table and the other objective in our opponent’s half of the table.
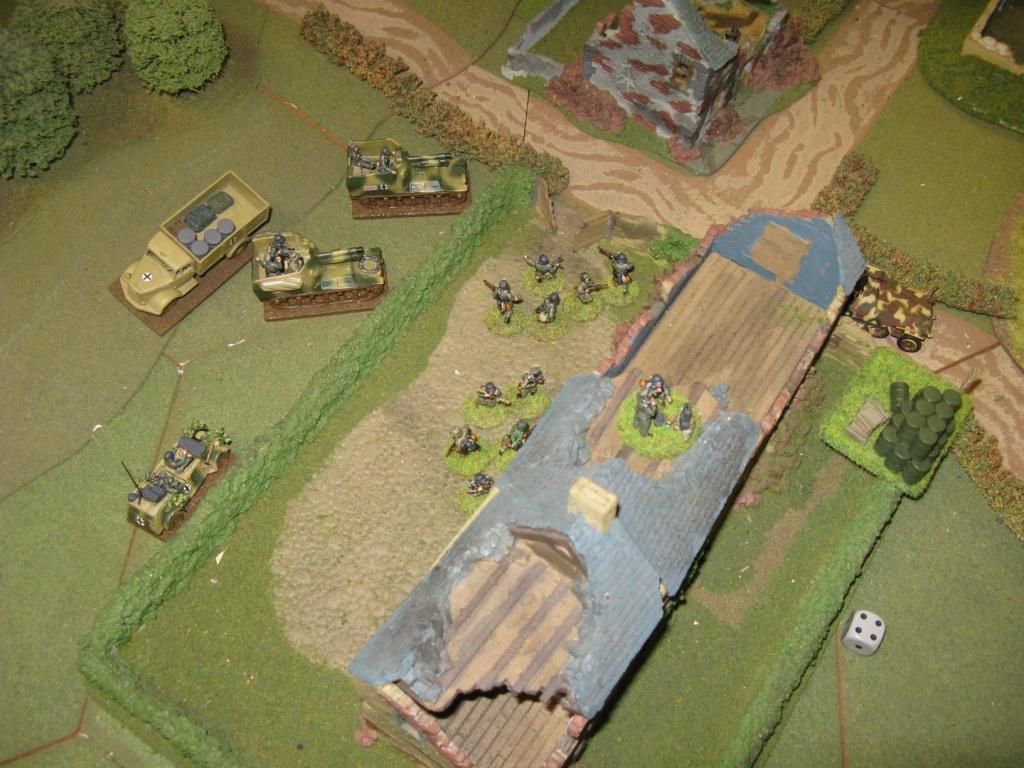
The first German objective (the memorial) was placed in the town square closest to the British table edge:
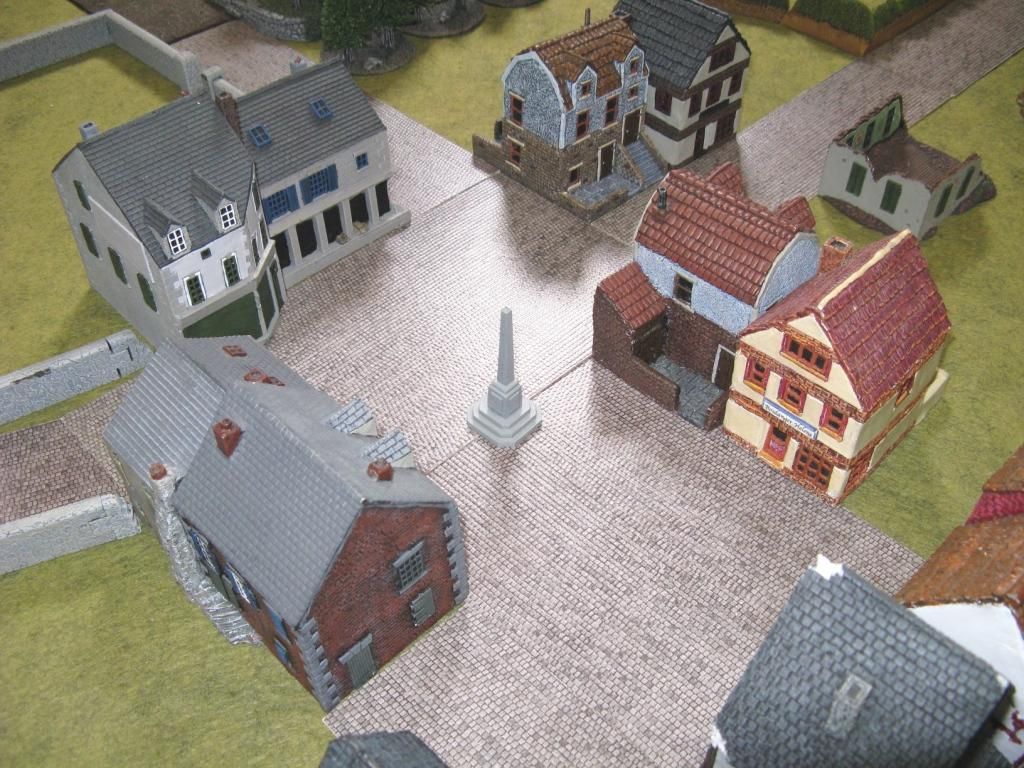
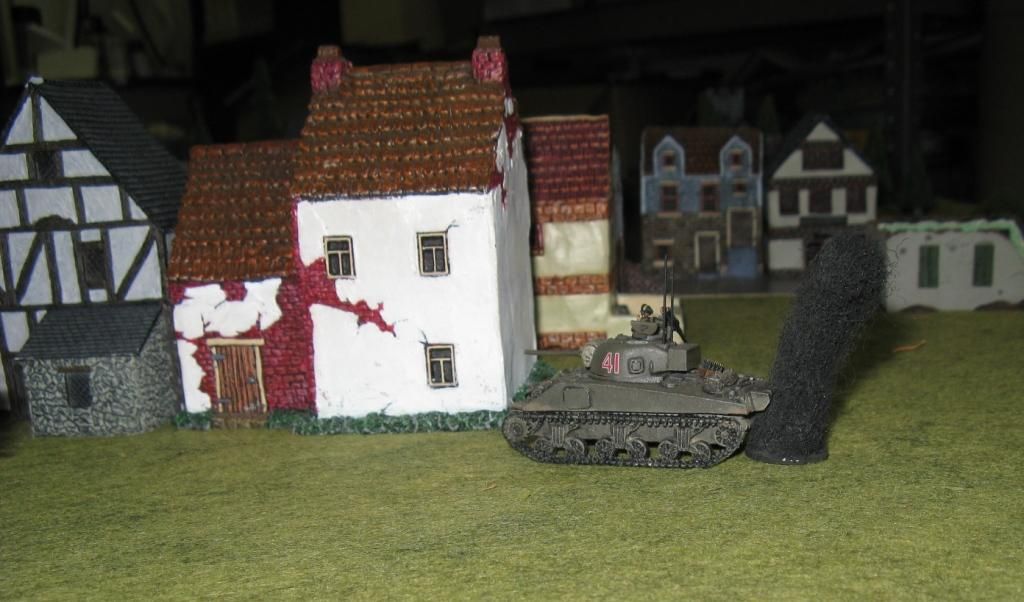
while the first British objective (the stack of boxes) went behind the schoolhouse. Subsequent objectives (a destroyed Panzer III and a destroyed SdKfz 251) went near each of the two farms in the centre of the table.
Things began fairly badly for the British as bad weather rolled over the countryside, ensuring that the RAF (and Luftwaffe) would remain on the ground for the duration. It also meant that both our AA vehicles would not get much action in during the game.
The British were also out-scouted, and the German Recon Command set up on one objective in the German deployment zone so before the game began the British had had to take a couple counters. It was the beginning of a trend that would continue for the rest of the game!

Keeping up with that the Germans won the right to go first.
The first couple of turns were fairly quiet as it was mainly just the recce elements on what was a fairly large tabletop for 15mm with a fair amount of terrain to hide amongst. The Germans succeeded in taking both the central objectives (and thought furtively about trying to pounce on the fourth before many Brits had arrived on the board). They also got the maximum possible reinforcements

The third turn saw an exchange of off-board artillery with a German 4 x 150mm harassment barrage successfully pinning a Firefly and a Cromwell, while two British 7.2” guns attempted to flatten the local church and only managed to pin the German FO team who had taken up residence in the belfry.
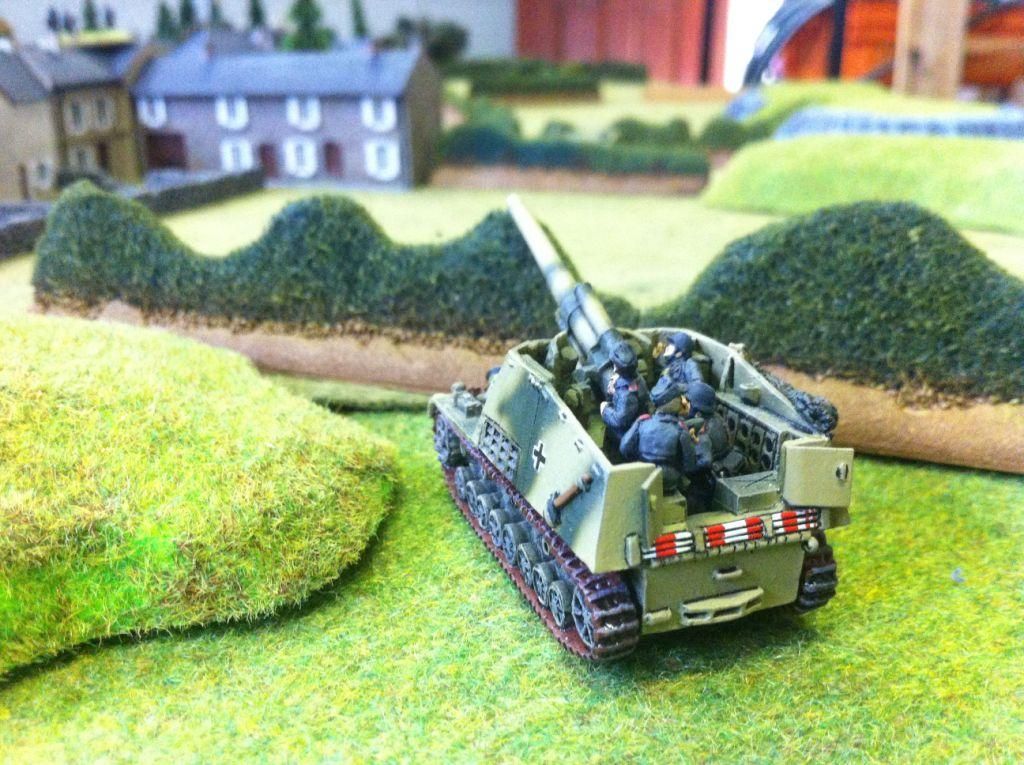
By turn 4 the Germans had most of their forces in place and were able to unleash the first of several highly destructive barrages of the Brits, this one scattered badly (for the British) and brewed up the Motor Rifle Platoon CO in his half-track and the Sherman Tank Troop’s CO.

Meanwhile the British reinforcements trickled on, definitely giving the Germans a numbers advantage.
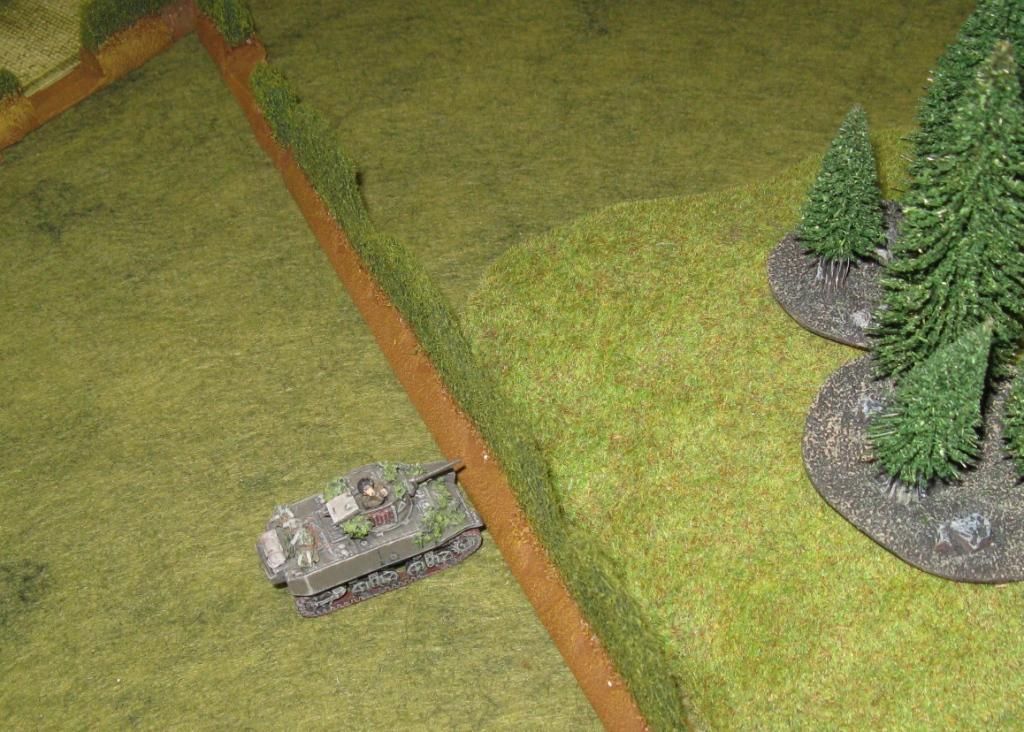
In the middle of the table the Germans now had a couple of tanks lurking, with Panther going on Ambush Fire.
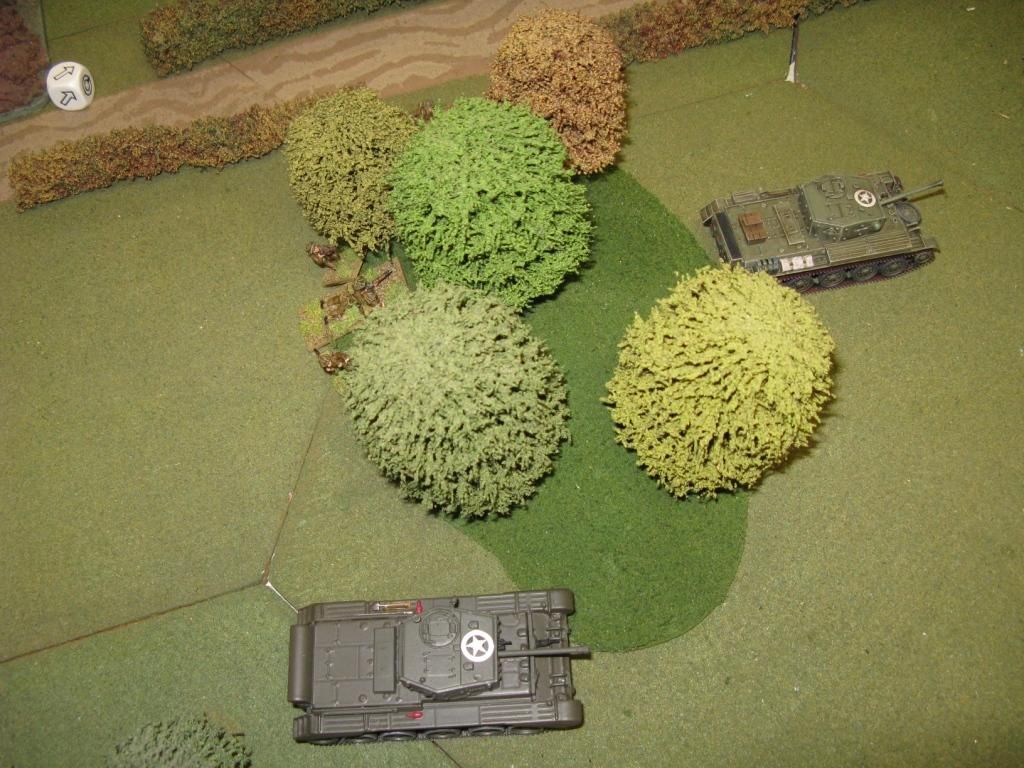
At the other end of the table the M5 Stuart had spent several turns creeping along the German’s left flank and would soon be in a position to irritate my artillery park – so a couple of Panzer IVs were sent to corner and dispatch him. One might not be enough to catch him. Of course my first shot missed – better luck next turn.


The next few turns saw shots traded amongst the tanks with some seriously good rolling seeing the panther on overwatch hitting a moving Sherman at long range and then in some seriously bad rolling failing to kill him. Fortunately for me, Deans literal roll of “1’s” continued and the Firefly was pinned.
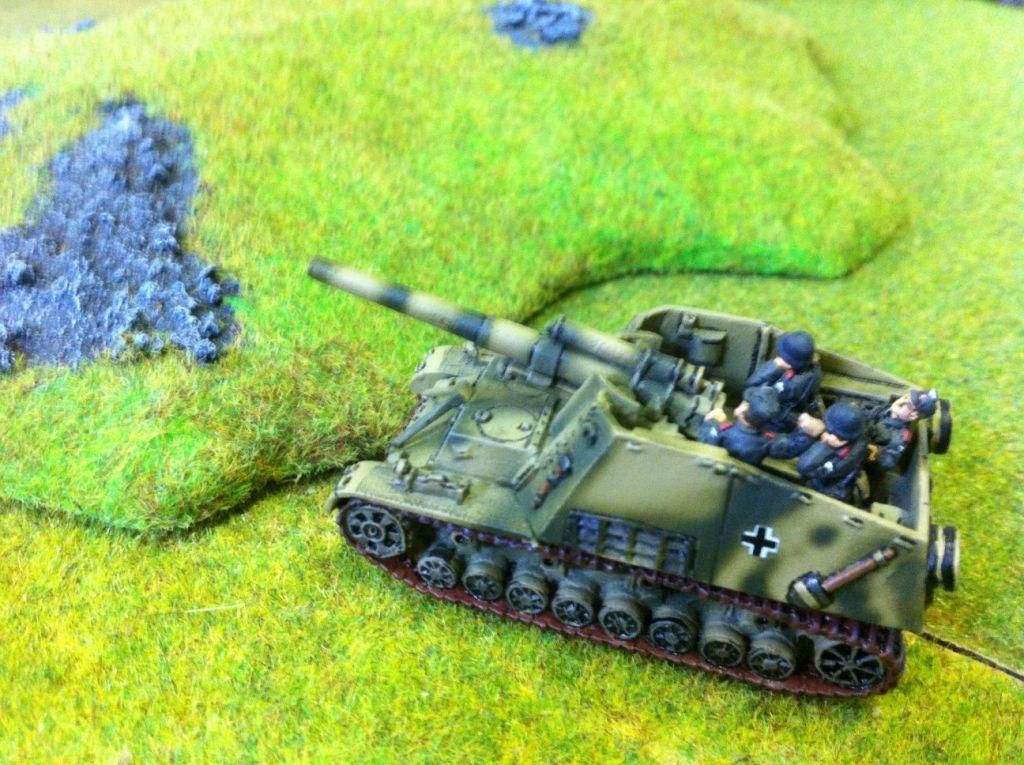
Eventually the M5 Stuart was knocked out by a Panzer IV (the CO of the platoon) who was in turn brewed up by a Cromwell, who was then KO’ed by a Puma. The Panther finally managed to take out the Firefly, while the Hummel’s killed the other Firefly. Sadly as a result of all these BR chits flying - the Panther ended up immobilised.


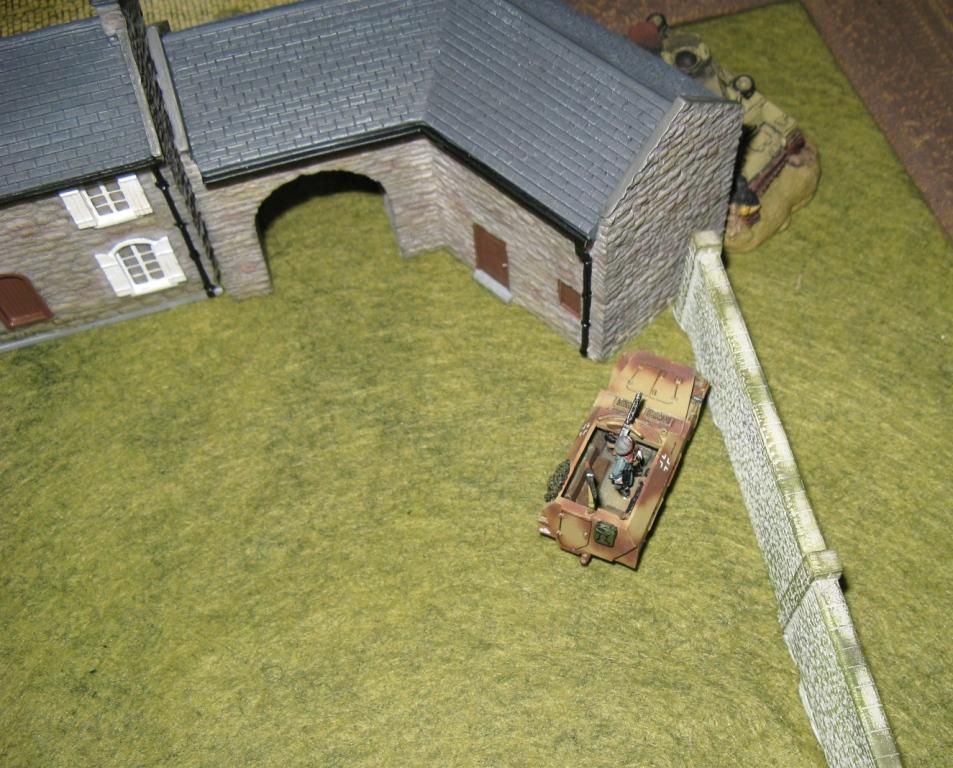
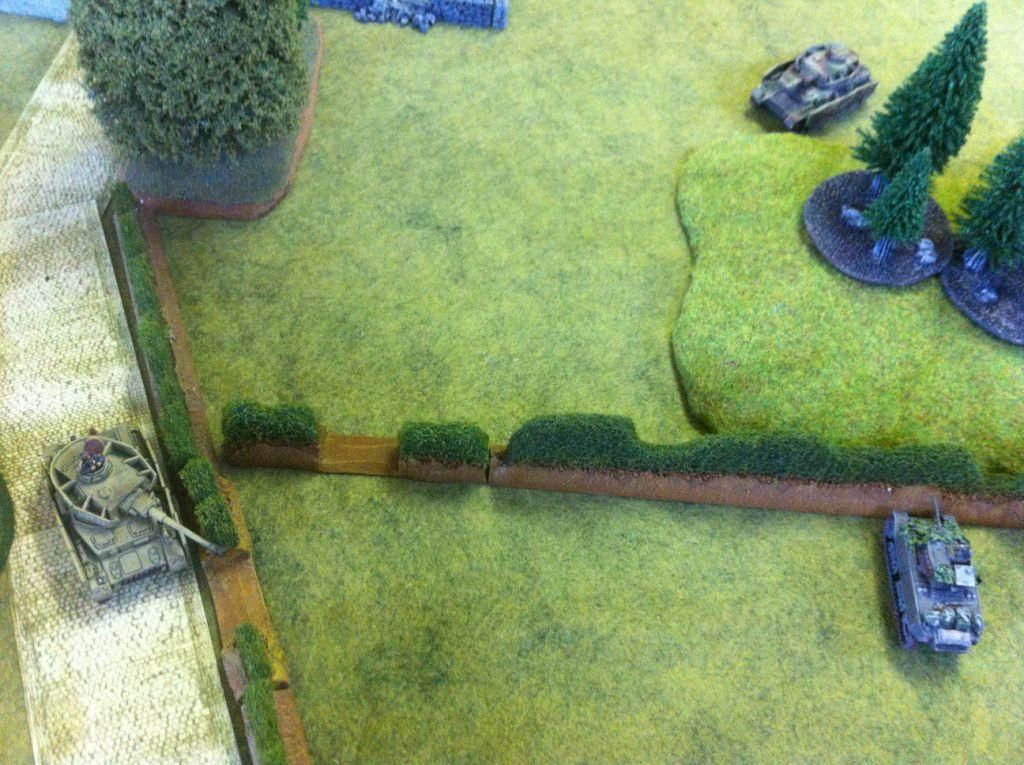
In a bold (some would say rash, most would say stupid) move one of the Puma’s hurtled down the main road between the two towns and contested the final objective not in German hands. All the Germans had to do was kill the British Company CO and a detached Bren Team (which Dean had left there early while the rest of the section advanced) in the next turn and victory would be theirs.
Sadly for the German’s the British didn’t quite see things turning out that way. Reinforcements arrived on the table and an M5 half-track drove up behind the houses and the troops onboard disembarked into the houses beside the Puma. Pulling out their PIAT, they let loose and lo and behold, much to the surprise of both of us, managed to take out the Puma. Fair reward for the stupid Puma move on my part.
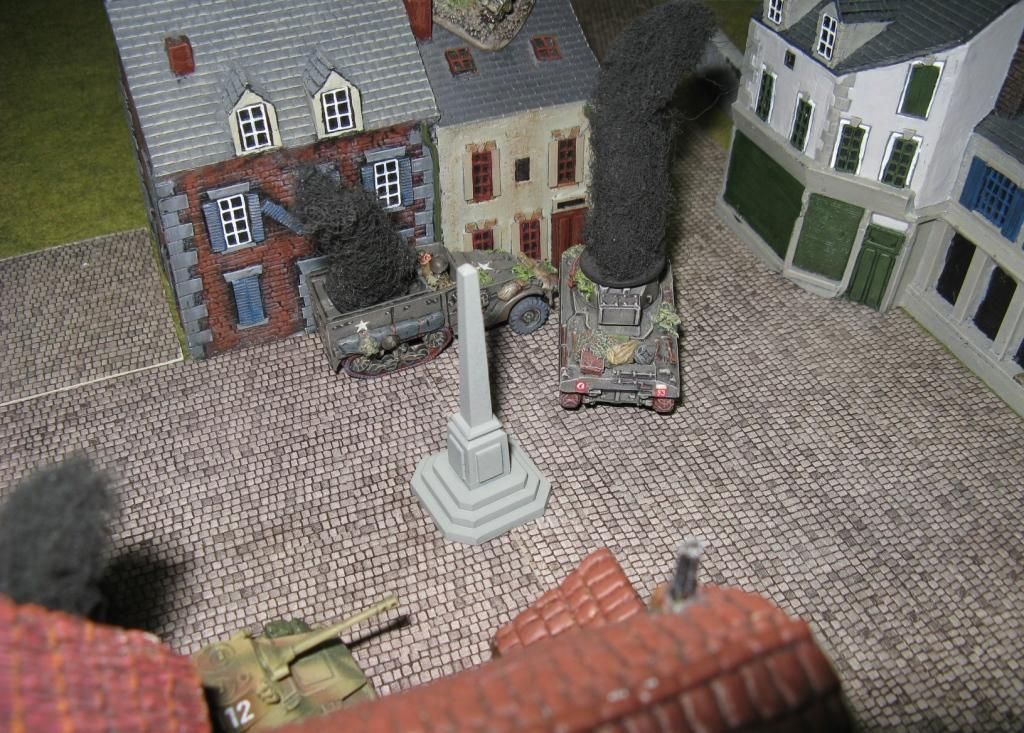
Revenge came soon after for the Germans when another Hummel barrage killed the PIAT team, the M5 half-track and several of the lads cowering nearby.
Dean managed to drop a 120mm mortar barrage down on my armoured half-tracks and a Pzr IV.
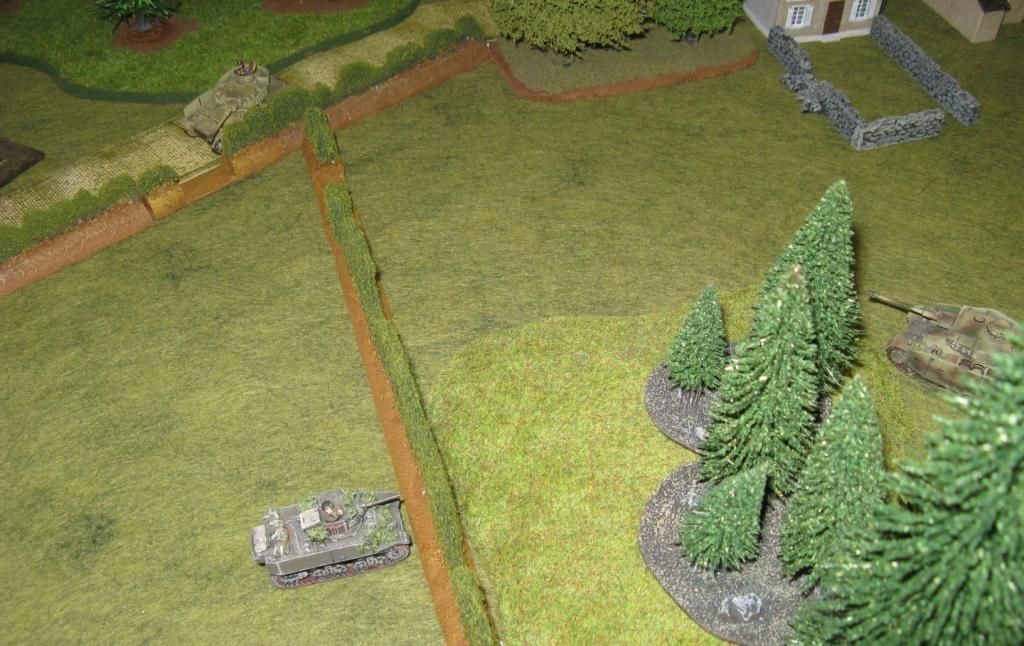
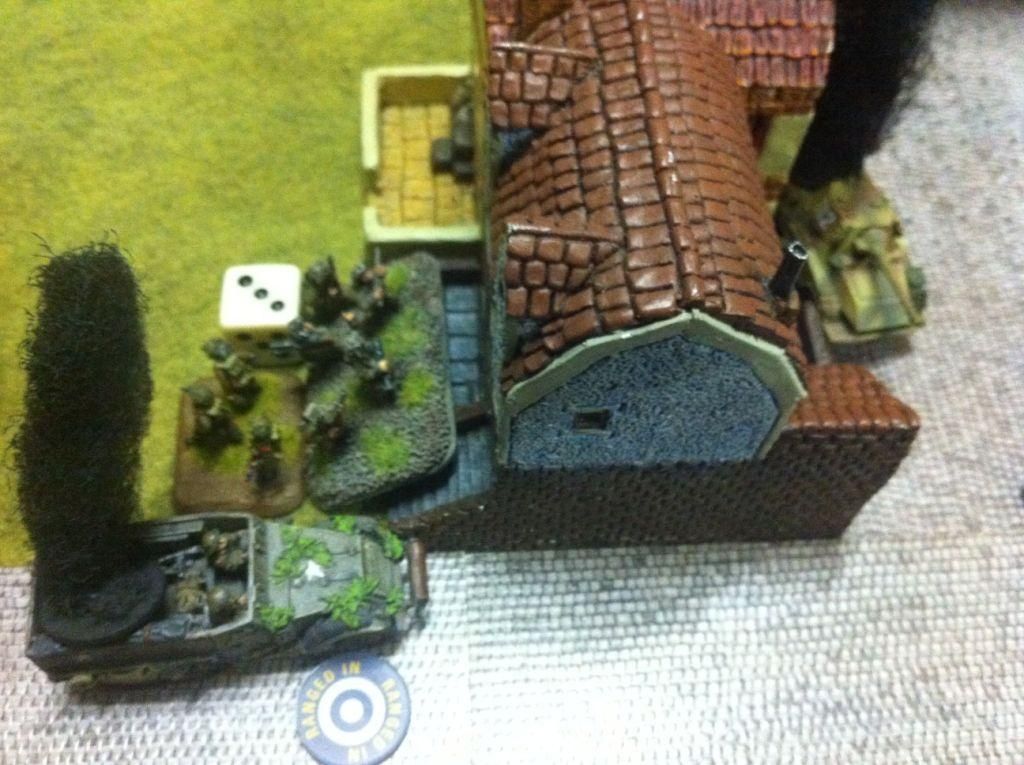
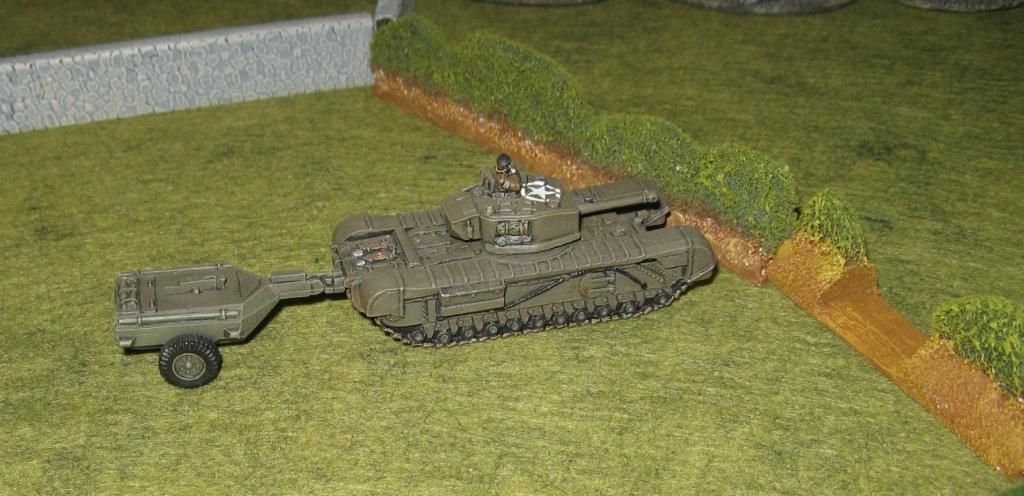
Several turns later the Germans somewhat re-enacted the British PIAT team move and moving their SdKfz 251s from behind the farm, along a road and then into a field, deploying the infantry into some woods nearby. The rifle teams moved up through the woods, seeing the awesome Churchill Crocodile lurking nearby. Surviving some desultory machine-gun fire (it failed to pin them) they managed to kill the beast with panzerfaust fire.
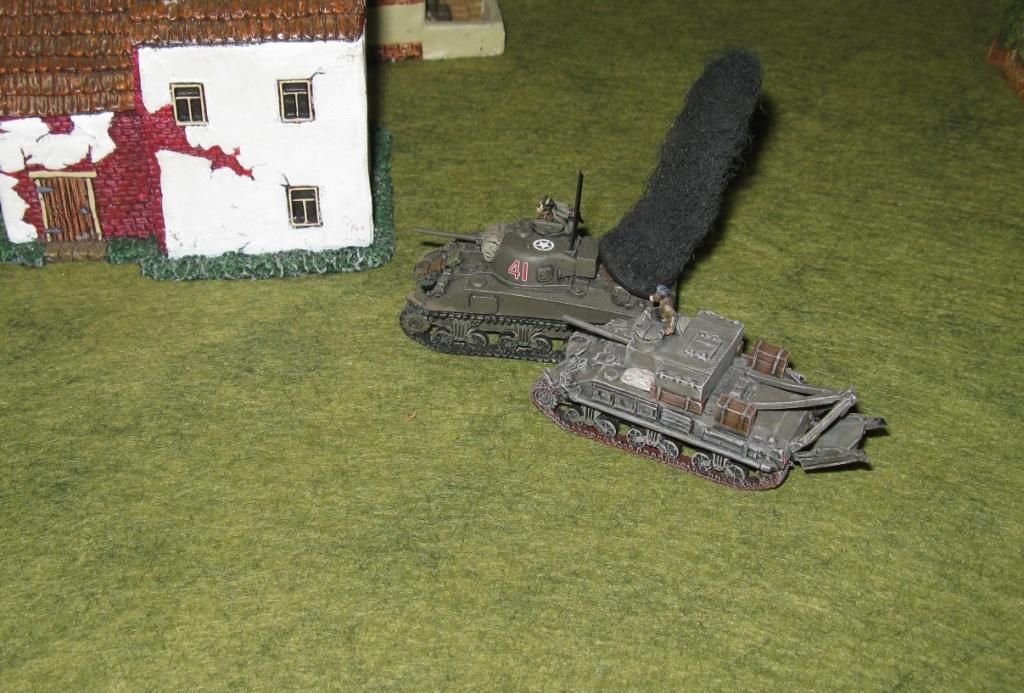
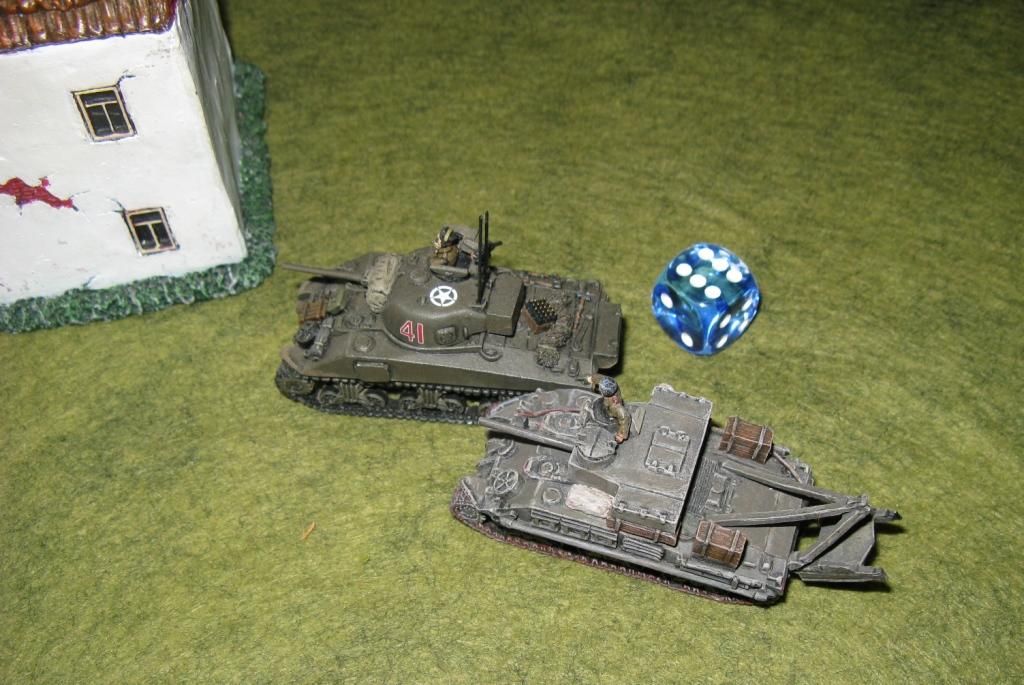
Meanwhile the Sherman ARV had arrived on the table. It moved up to the Sherman Troop commander’s tank and began working on it – seeing if it could fix the artillery damage. A turn later and it was back in action. Well done that ARV!
The death of the Crocodile and a couple of Panzer IV’s killing another Sherman had pushed the British close to their breaking point and as it was getting late we decided to call it a night. In total the British had lost 38 BR while the Germans had lost just 13 – so it was a fairly comprehensive victory to the Jerries.
We both had a great time and love the new Battlegroup setting – a return to our old favourite – Normandy.
Thanks for reading
Richard