As you may have realised from some of my previous posts
(like this one here) I’ve been expanding my standard Central
European cold war horizons to include some forces (now being built) based
around NATO’s Northern Flank for a new project: THE SOVIET INVASION OF
SCANDANAVIA – 1986
I find this a really interesting area of operations - very different to the Central European theatre in many ways - but a critical setting in any Cold War scenario. In my plans this includes Norway - which will be the main subject of today's post - as well as Denmark, but also includes Sweden and Finland. I'm yet to decide exactly what direction to go down for Sweden and Finland - but have some pretty solid ideas for Norway and Denmark.
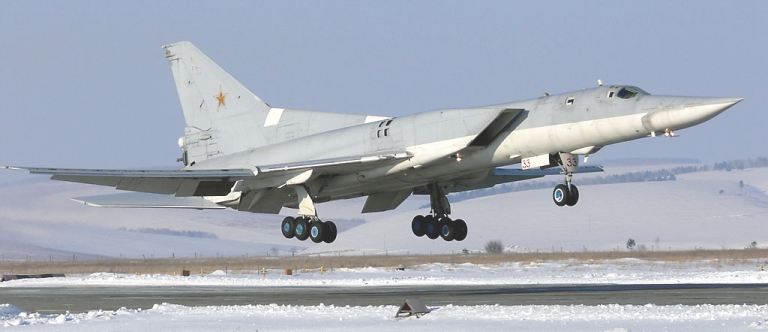
The Soviets had some very pressing strategic reasons for wanting to take over at least northern Norway and the whole of Denmark. Looking at Norway in particular, it's northern bases and early warning facilities sat directly astride the exit corridor of the Soviets largest and most powerful naval force - the Red Banner Northern Fleet. That of course includes the massive Soviet Naval Aviation assets based throughout the Kola Peninsula region, who would need to sortie out into the Atlantic.
Apart from not having to deal with Norwegian of other NATO aircraft based on their doorstep, those very same bases would give Soviet aircraft greater range and make it easier for them to reach Iceland, the UK and further south into the Atlantic.
Another by-product of the Soviets taking Northern Norway is that this would put a major brake on the NATO Maritime Strategy of forward operations in the Norwegian sea - right up to direct attacks on Soviet bases in the Murmansk region. But more on that later.
One thing I really like about looking at this theatre of operations is that you can play a range of games. Naval assets are very important in this setting - so you could use a game like
2nd Fleet or
Harpoon to game that aspect. If you are interested in running some Fast Attack Craft you could play
Bulldogs Away!! There is massive scope of Amphibious Landings, Air Assaults, River crossings, games with extremely different and difficult weather effects, Raids, SF action etc etc.
Another thing that interests me is the correlation of forces. Rather than massive armies smashing each other across the length and breadth of West Germany, any clash in Northern Norway is more likely to include some of the more elite units on both sides, suh as the Soviets VDV and Naval Infantry up against Royal Marines (British and Dutch), USMC, ACE Mobile Force, along side units fielding some of the older and/or lighter and/or funky kit around such as T-55s, PT-76s, upgraded WW2 era Chaffee tanks, NM135s etc.
Finally the terrain is fairly unique as well - with a single road supporting most of Northern Norway, fjords, mountains, arctic tundra, etc.
So you should be able to have very different Cold War games, using different forces, on different terrain - so the games should have a very different feel about them.
Now there is some excellent resources out there that describe in some detail the military situation, the setting etc on NATO's northern flank. Some are free - such as
"Don't Rock the Boat: Reinforcing Norway in Crisis and War" and
"A-10 Operations and the Battle for North Norway" can be downloaded for free from the RAND Corporation.
Others you have to buy... After reading several reviews and comments I ending up buying "Battle for the Fiords - NATO's Forward Maritime Strategy in Action" by Eric Grove with Graham Thompson.
I got mine very cheaply from
Thriftbooks - who I had never used before and was very impressed with.
The primary focus of this book is to report on Exercise Teamwork '88 which was really a series of joined-up naval exercises plus some Amphibious exercises which attempted to replicate almost the entire spectrum of NATO's forward maritime strategy.
To put things in context, in Chapter 1 the author first gives us a quick overview of evolution of NATO maritime strategy since the early 1950s. He discusses NATO's "Striking Fleet" a term I had not seen before, and interestingly the history shows how NATO has moved from a fairly aggressive sail right at 'em approach in the early years, through a period in the 1970s where a step back was taken and it looked basically like Norway was considered lost before the war even began, up into the 1980s when the NATO (read mainly US Navy's) plans were to take "...offensive actions that keep the Soviet Navy focussed on threats to their own forces in the Norwegian and Barents Seas..." and to "..be ready to carry the fight to the enemy and not to react to his actions, to deny him sanctuaries" and "to threaten key elements of his warfighting strategy in his home waters".
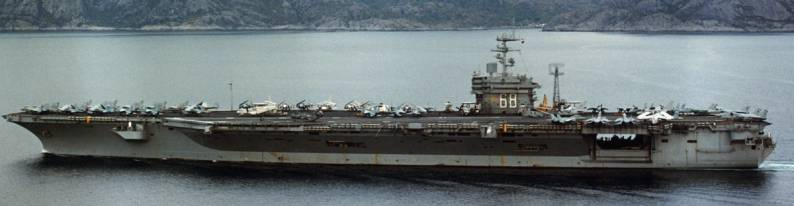
Now - my strategic naval experience (ha ha ha) is entirely based around reading "Red Storm Rising", playing Harpoon and other boardgames etc. I remember a spot in RSR when USS Dallas(?) I think is right on the Soviet's door step before the war and just as hostilities are initiated, is pulled back for political reasons and Clancy says something like "...thus throwing years of naval planning out the window".
I had never really understood what that actually meant until now, reading this book. I had always thought - but hang on, if the Soviets can smash a Carrier Battlegroup fairly easily way out in the Atlantic (like they do in RSR) - how would a CBG survive even closer to the Soviet mainland. Well... - this book provides one of the possible answers to that question as well. More on that in a minute.
Here's one of the many maps in the book. This one graphically shows NATO's forward maritime strategy.
I'd read a least one
argument against the forward strategy (written by an army officer?) which had basically said - "Hey - all the action is in Central Europe. All the Navy should worry about is getting the convoys through to us so we can smash the Reds and win the war where it counts" He also says something like "Any move towards the Kola Peninsula or a SSBM sanctuary by a large naval force is more likely to cause the Soviets to go nuclear than deter anything" - or at least words to those effects. Kinda made sense to me.
So reading this book, I got the other side of the story. The main thrust is - if NATO gives the Soviets so much to worry about up North, the Soviets will have to react or else things could really go pear-shaped for them. Reacting means pulling assets (subs in particular), which would have been able to go convoy hunting, or attack Norway etc back towards home waters to take on the Striking Fleet. So - attack is the best defence - who knew!
Chapter 2 discusses some of the planning, background to the conflict (some of which is kind of silly - but it was for the purposes of the exercise) but some of which does have some excellent "detail seeds" which should be in a thorough background piece for any person working on a idea for why the Cold War went hot. Then the book starts to list the forces that would be going into action. This is broken down into the Striking Fleet Atlantic, the Amphibious Striking Force, the ASW Striking Force. It also lists naval air and land based air support that would be involved. All the listing is very useful.

Chapter 3 goes into a fair amount of detail into how the first parts of the exercise played out. This was a "Freeplay" battle around the GIUK Gap - with the idea being, I imagine - to represent the Striking Fleet with it's ASW Group in advance and Amphib Group bringing up the rear trying to smash through the GIUK barrier which is being defended by Soviet SSN and aircraft. It contains lovely little details, like the fact that the Royal Navy's best ASW platform, which helped pick off numerous subs, was a very unassuming Leander Class frigate HMS Cleopatra which seems to have had an impressive towed array.
It appears that the author was based in the ASW fleet for quite a while and he details the actions taken by the HMS Illustrious's Sea Harriers using Sea Eagle ASM against Soviet Surface Action Groups which show some of the value of these excellent little fighters.
Chapter 4 for me was where it really starts to get interesting. Here we start to get into a potential scenario for how the Forward Strategy may have worked. Basically as the Striking Fleet gets closer to Norway (having blown through the GIUK gap), mine-hunters go to work clearing any Soviet mines from a selected fiord. This is followed up by the ASW Group who arrive next and have a limited time to saturate the fiord looking for enemy subs - especially the little diesel ones like the Kilo class which would have been used in this area. Norwegian subs would also be used for this anti-submarine work.
NATO aircraft, including B-52s can also be used to lay mines to prevent entry into the fiord by enemy subs and surface vessels.
Then the Striking Fleet arrives and parks in the fiord - which is big enough to allow a full range of carrier operations from within the protection of the fiord.
You can see I saved all the best pics for this bit!
It's not as easy as all that in reality - NATO's anti-mine assets are quite limited and many which took part in the exercise were taken from their native countries where I imagine in a shooting war they would have steady trade without this tasking. In addition to that, the anti-sub work is very challenging due to the nature of the environment - namely the very rocky bottom of the fiord, the mixing of fresh water and salt water, low sonar ranges etc. In the exercise a number of NATO ships had incidents with rocks and one can imagine in wartime conditions they would be tempted to get even closer to the shoreline looking for subs or seeking to hide from missiles.

The Fiord strategy seems to have a fair amount going for it. The CBG and other groups can be relatively well protected by the physical envronment. Their ASW and AA assets, which are by themselves very impressive, can be supplemented by land-based, AWACS, ASW and anti-air assets as well as ground based SAM and AAA platforms. The aircraft from the carriers can support land engagements, including amphibious assualts untertaken by the Amphib group further up the coast. It would significantly add to any defence of Northern Norway and would go a fair way to evening up the forces in the region.
Chapter 5 goes into the war in the fiords and includes air and sub attacks on the carriers, integrating air defences and anti-sub defences.
Chapter 6 is
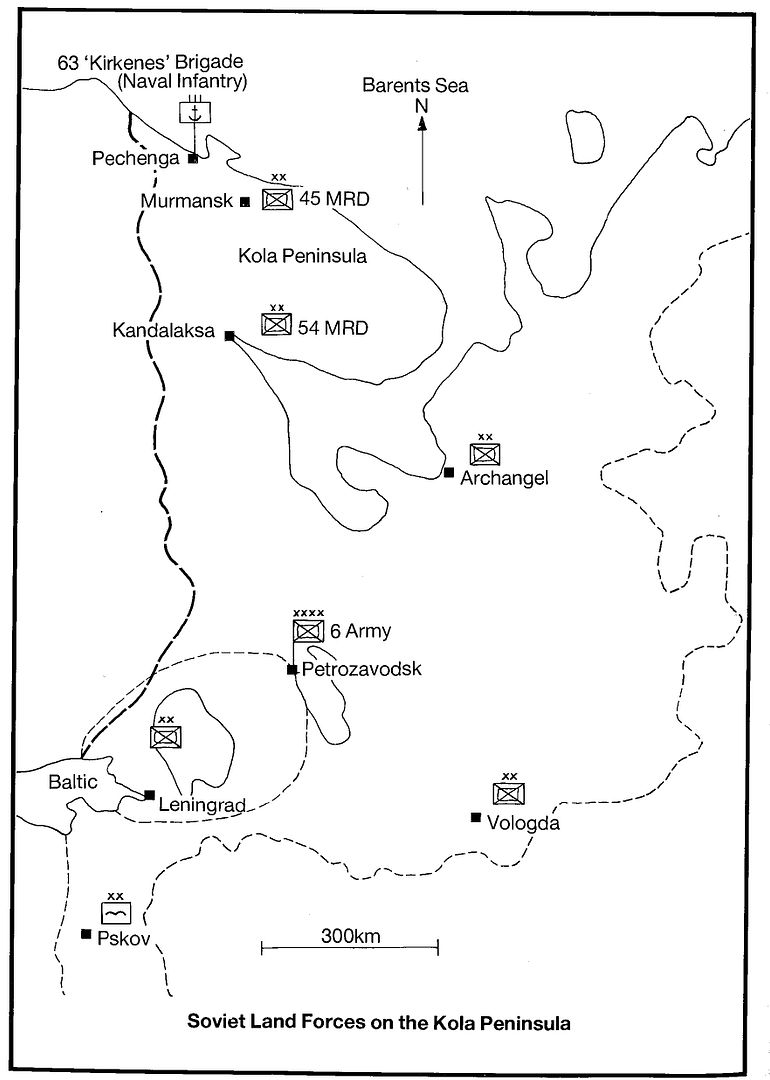
THE chapter if your only interested in land-based action - as it deals with the Amphibious landings and operations ashore. It provides a brief background on Norway, the geography, climate, transport links etc and makes reference to the difficulties operating in this environment.
It lists Soviet assets available - along with this very handy map:
and goes into some detail of how a Soviet amphibious assualt might take place and the sort of weaknesses or challenges a Soviet sea-borne assault might face. The book then goes into some detail on the various Norwegian and other NATO forces that are available and some of the "action" undertaken during the exercise.
The last two chapters deal with Logistics - which was actually more interesting than I first thought - and Lessons Learned. Again this is quite interesting to anyone interested in this region and the Cold war in general - but neither of these chapters probably have that much of use for a wargamer - apart from some more "seed" ideas.
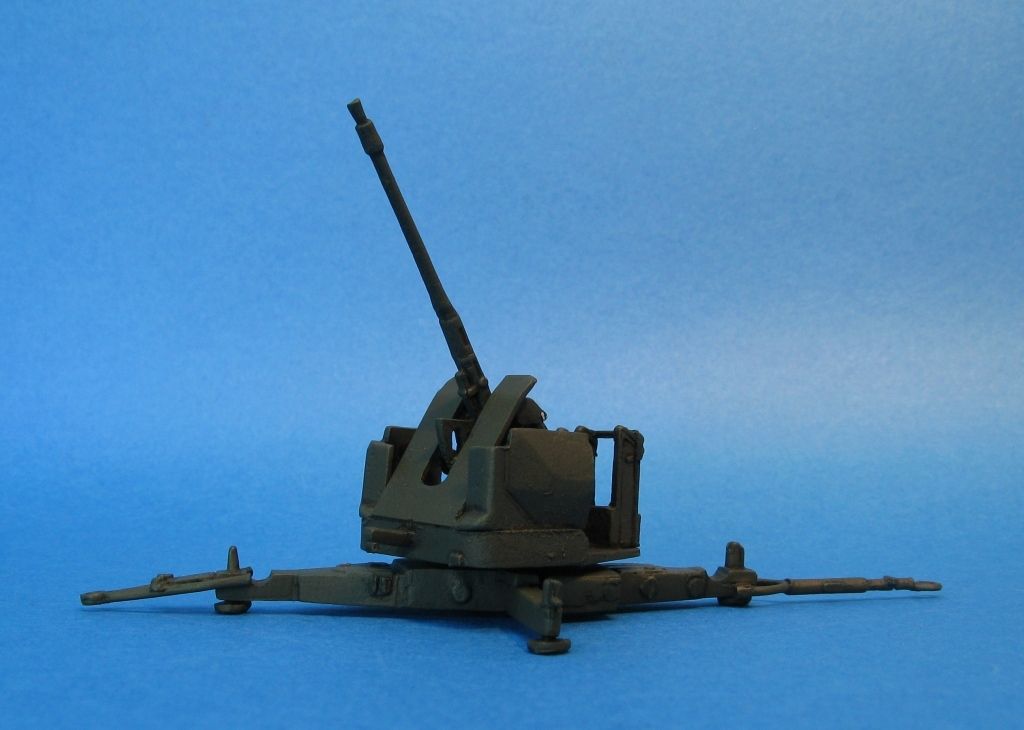
I should add here that the book is chock full of pictures - most of them of ships - but a lot of aircraft and ground forces as well. And the good thing about all the ground photos is that I've neer seen any of the before!
So - all in all I'm very happy with my purchase of this book - and using it along with the other research I have done into this region - it all adds flavour into how I'd like "my" northern flank campaign and games to run.
If you're interested and can get it as cheaply as I did - I'd say go for it!
Thanks (and sorry for the extra long post!)
Richard