Over the weekend I finally managed to get in a Cold War game with Mick - this time set in Norway.
A small disclaimer before I begin - the terrain is not exactly how I would have liked it, but it was the best I could do on the day. It was also a useful exercise to work out the sort of things I needed for a "wilderness" setting in Northern Norway and to give me a good idea of what to work towards completing. Also, if I waited until everything was just so, I never get a game in at all!!
Anyway - we used the Roadblock scenario from the new
Battlegroup: Wacht am Rhein supplement. The story behind the scenario is relatively simple. The Soviets have invaded Northern Norway by air land and sea. They have taken a couple of Norwegian airbases and small ports and are now trying to push out their areas of control around those bases waiting for their overland comrades to arrive.
NATO forces have been pushed back but are determined to resist. A small Royal Marine Commando reinforced platoon has been helo-lifted to form a roadblock at an intersection of the E6 and a small side road - looking to stop any Soviets driving down the road.
A quick preview of the forces involved.
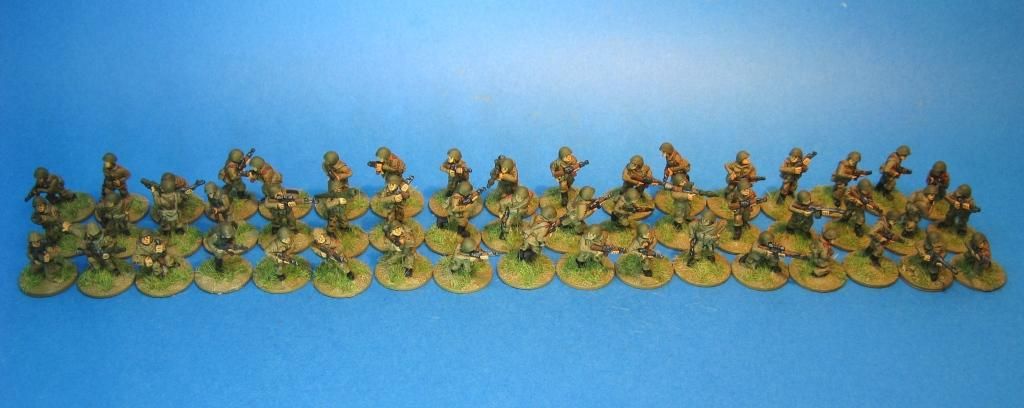
Attackers - Soviet Naval Infantry
1 x SNI Platoon mounted in BTR-80s. They have a SA-7 Team and a Sagger Team attached.
1 x T-55A platoon
1 x T-55AM platoon (with added brow armour)
1 x BRDM
1 x PT-76
1 x Sniper
1 x ZSU-23-4 Shilka
1 x Mortar Fire Controller
2 x Medium Mortars off table.
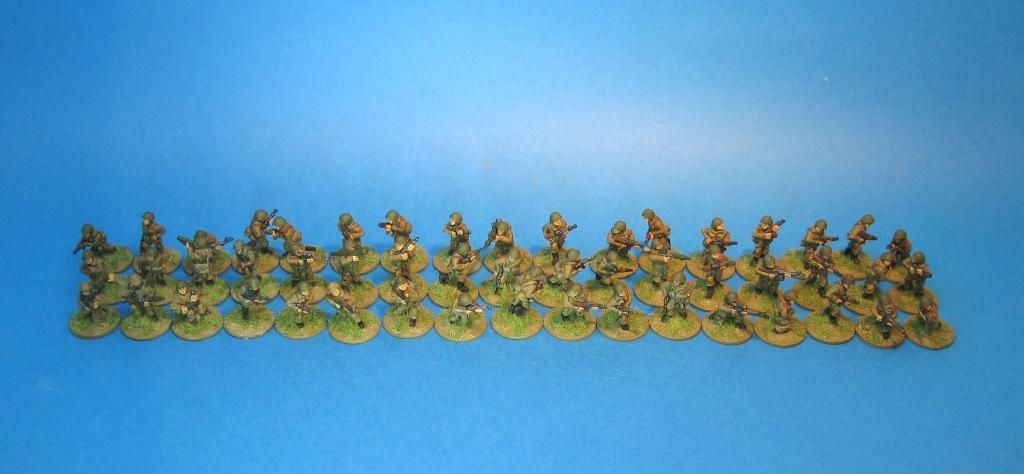
Defenders - Royal Marines
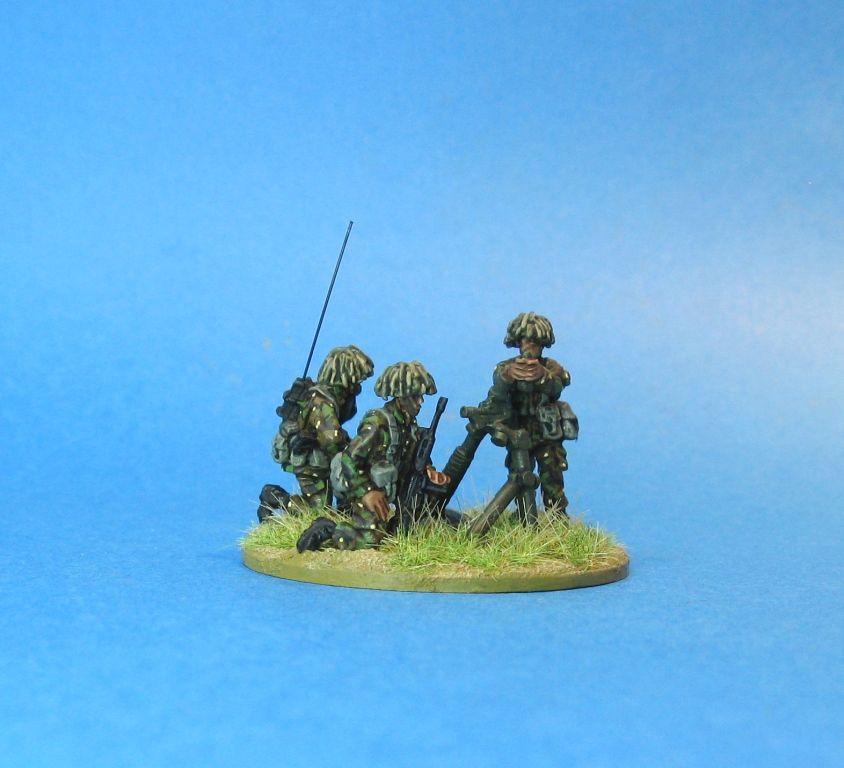
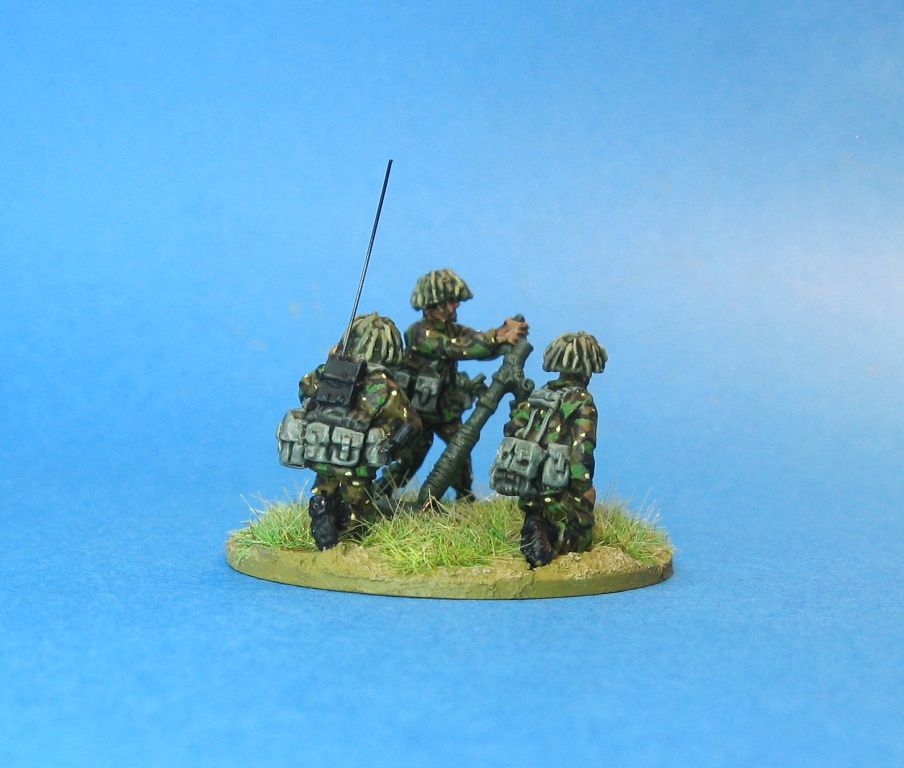
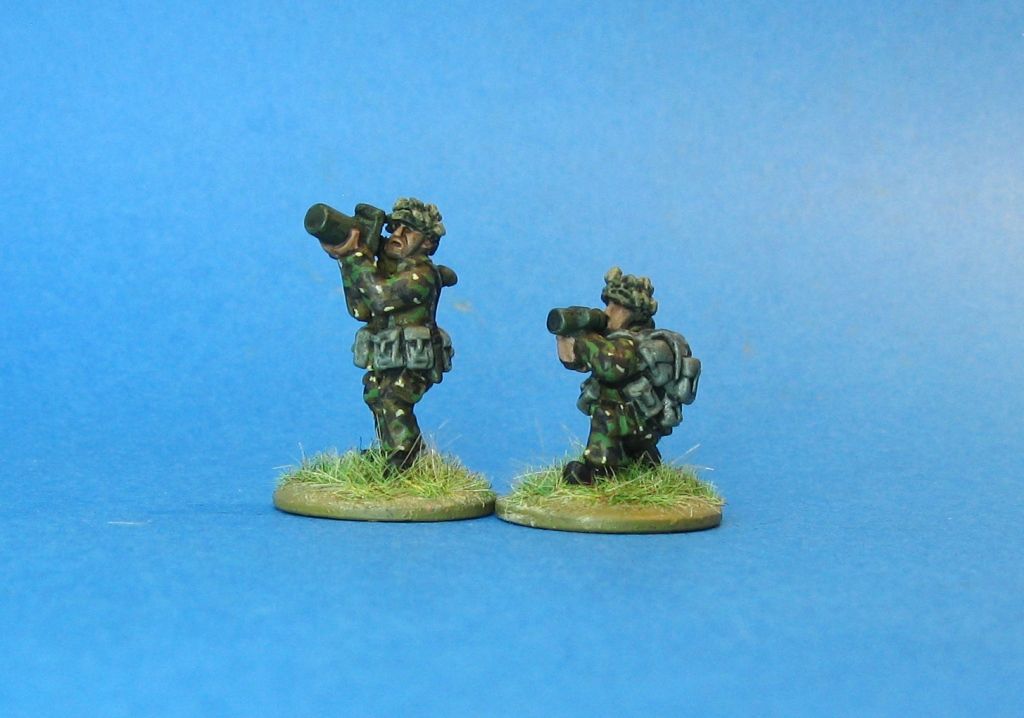
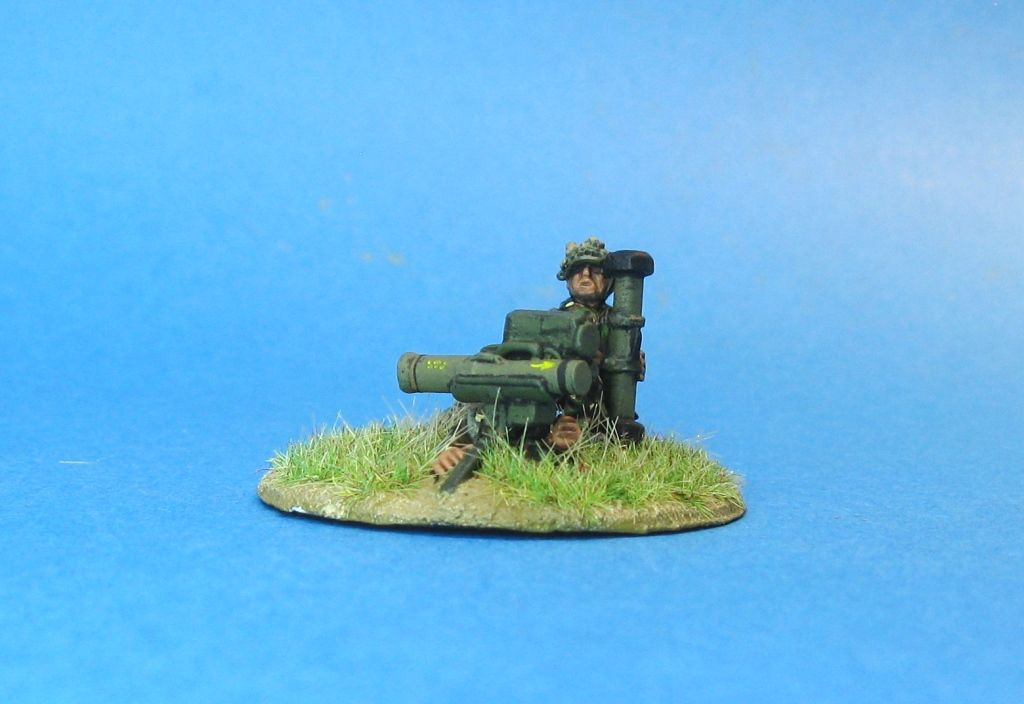
1 x RM platoon with 2 x attached Milan Teams and 1 x Medium Mortar Team
1 x additional Milan Team
1 x Javelin SAM Team
1 x Sniper Team
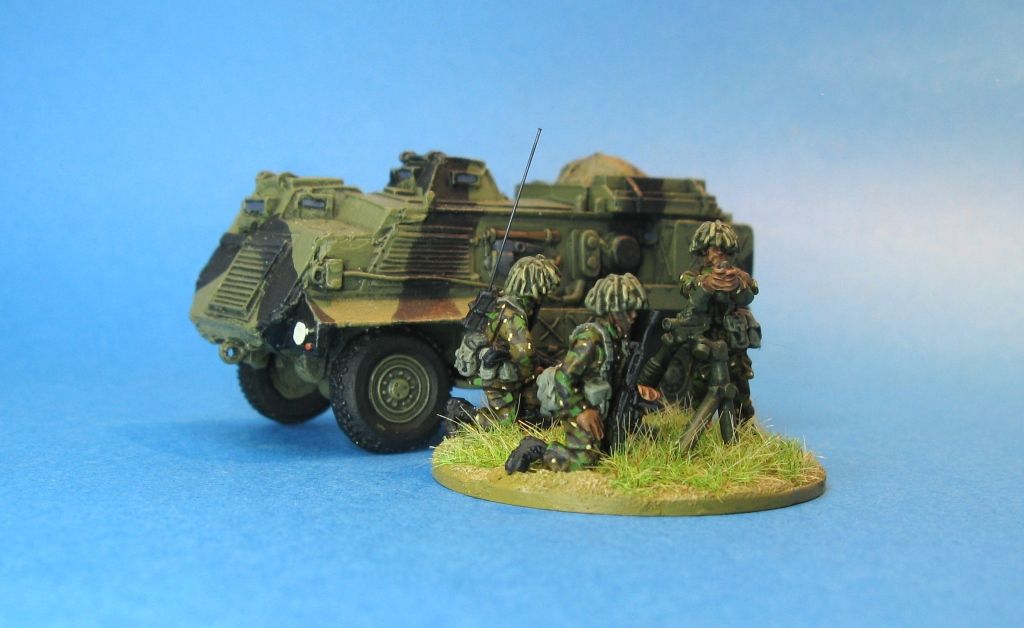
1 x Up-gunned Recce Land Rover Team
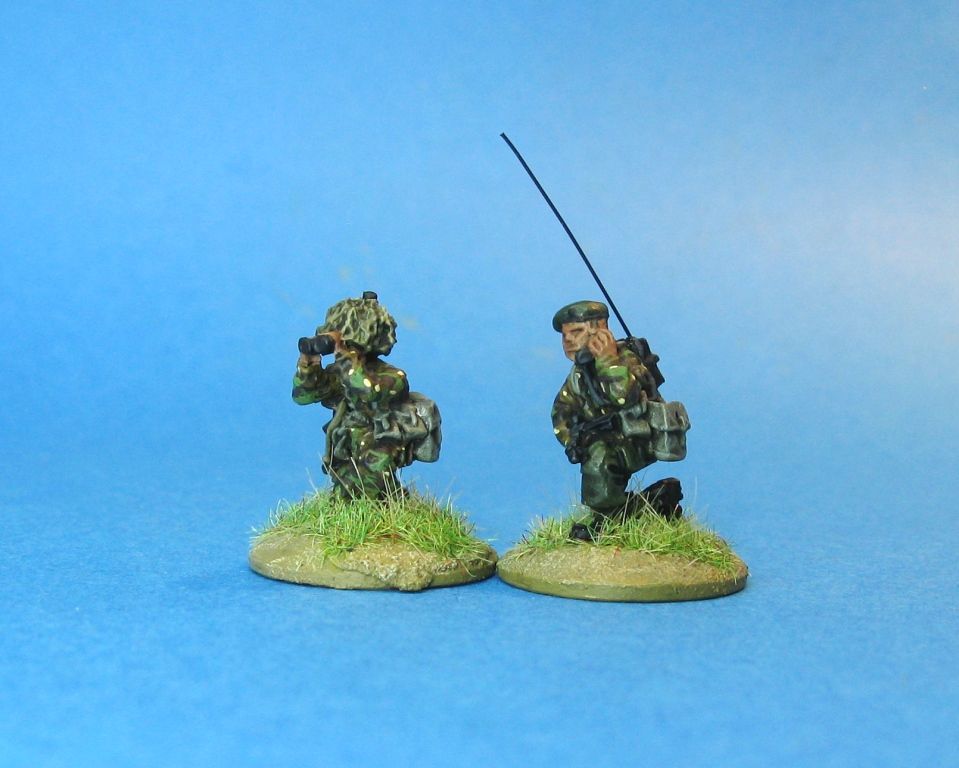
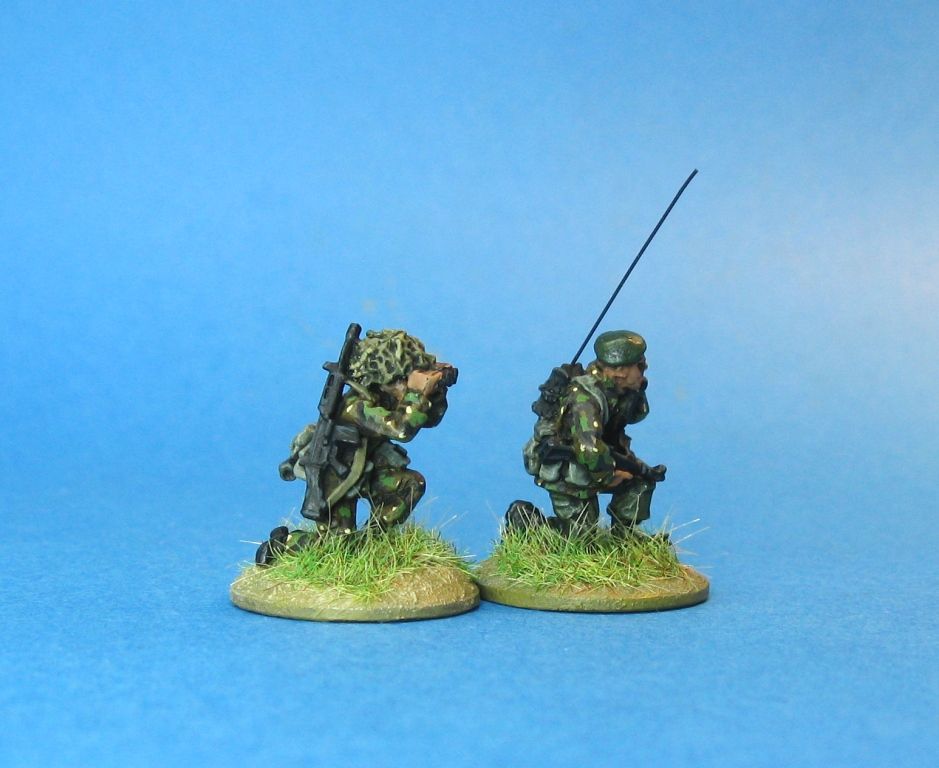
1 x FO Team
1 x Light Artillery Battery
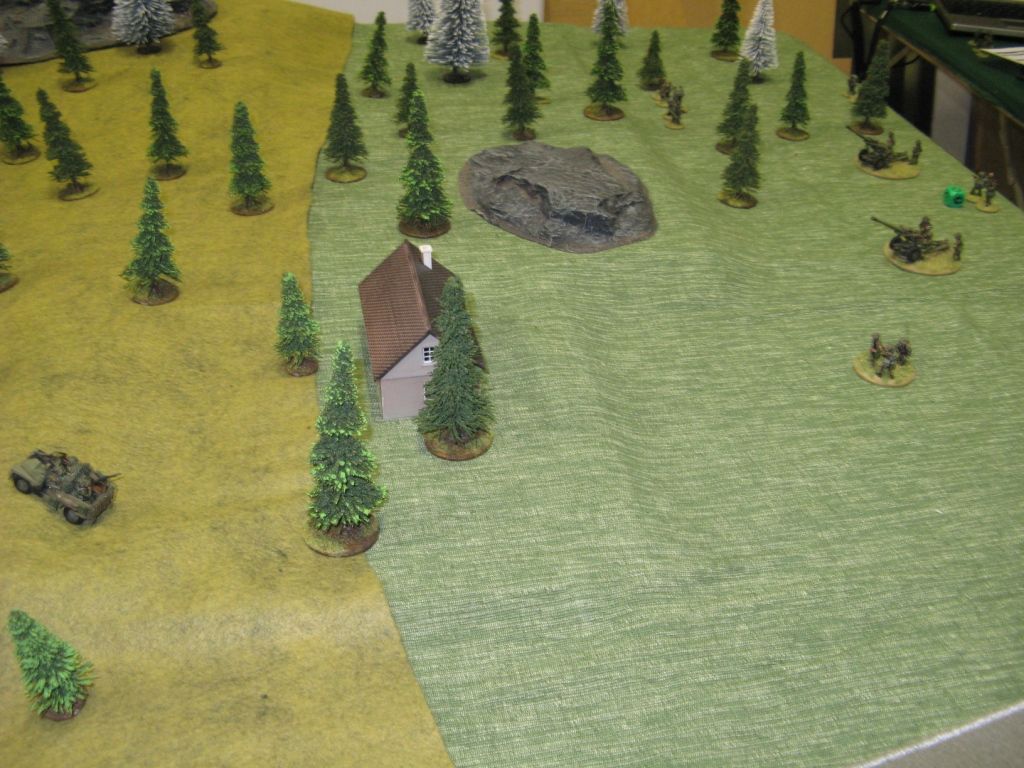
Here's a look at table from the Royal Marine point-of-view:
From the Soviet end:
And a close-up of the intersection:
The hills are not that well defined in the photos, but there are some serious hills on either side of the intersection, whilst on the other side of the road it is mostly swampy land leading to the water's edge.
All my reading on Northern Norway talks of limited space for manoeuvre, a single road running south, swampy off road flat lands, and mountainous fjord sides. So that is what the table is attempting to represent.
Several of my defenders were able to set up first, in defences. I deployed one Milan Team into the swampy land:
I decided before the game began (after the photo) to give them some protection by adding a sniper team to the position. The sniper didn't fire a shot the whole game...
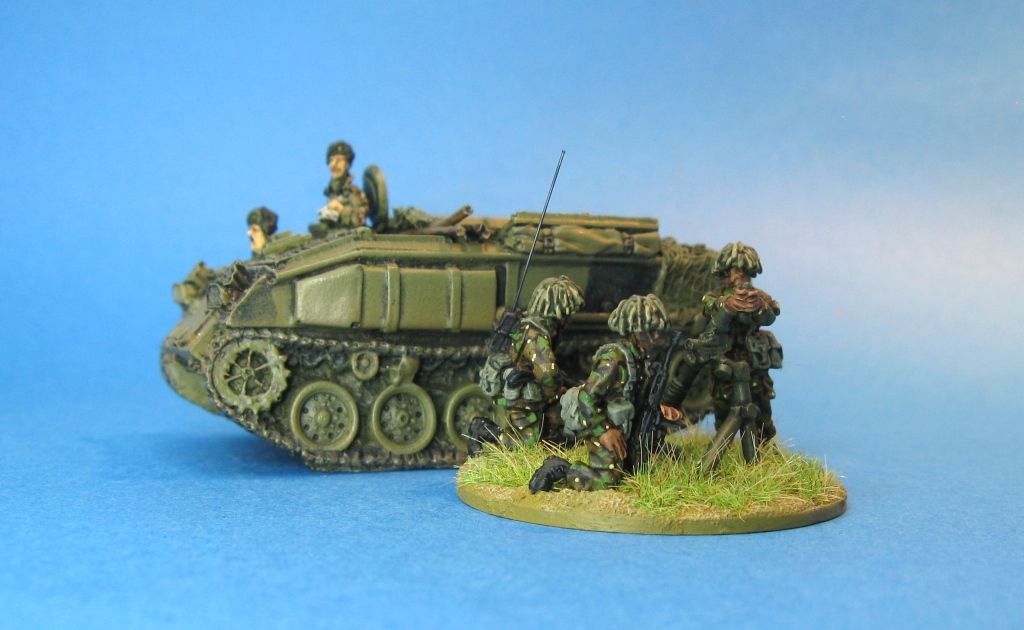
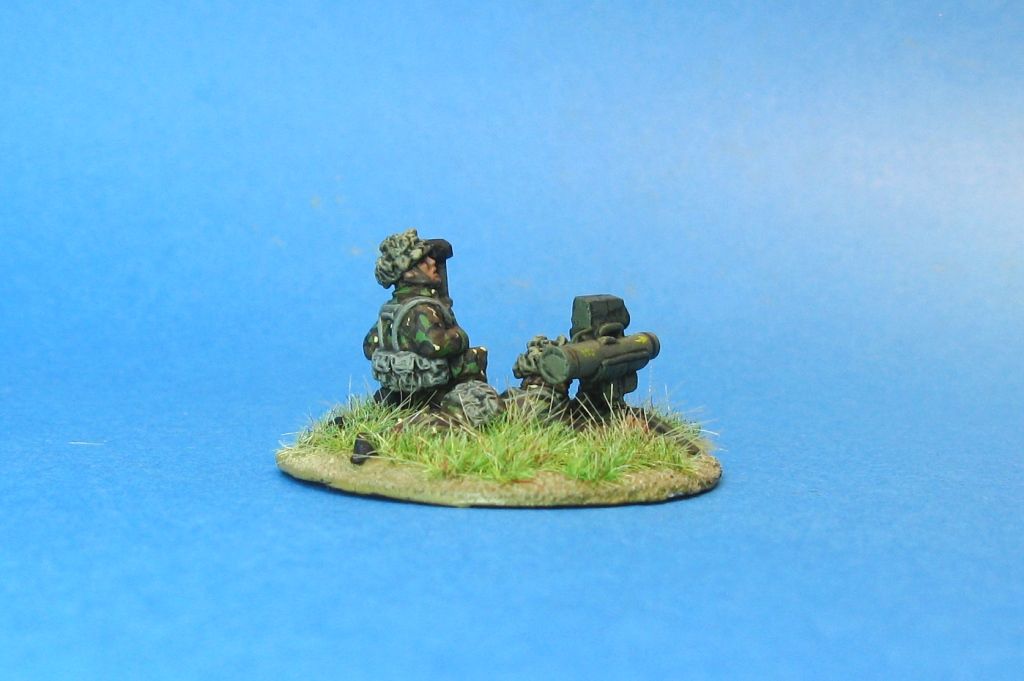
Overlooking the improvised roadblock at the intersection I placed my next defensive position. Another Milan team, a full RM infantry section (a rifle group with a MAW and a GPMG group) and my Forward observer:
Covering the side road, but able to fire to support the unit covering the intersection I added another infantry section and my final Milan:
This would flank would be identified by the Soviets as my weak point (it was) and would become the schwerepunkt for the attack. I'm lucky that this happened a couple of turns into the game rather than from the start.
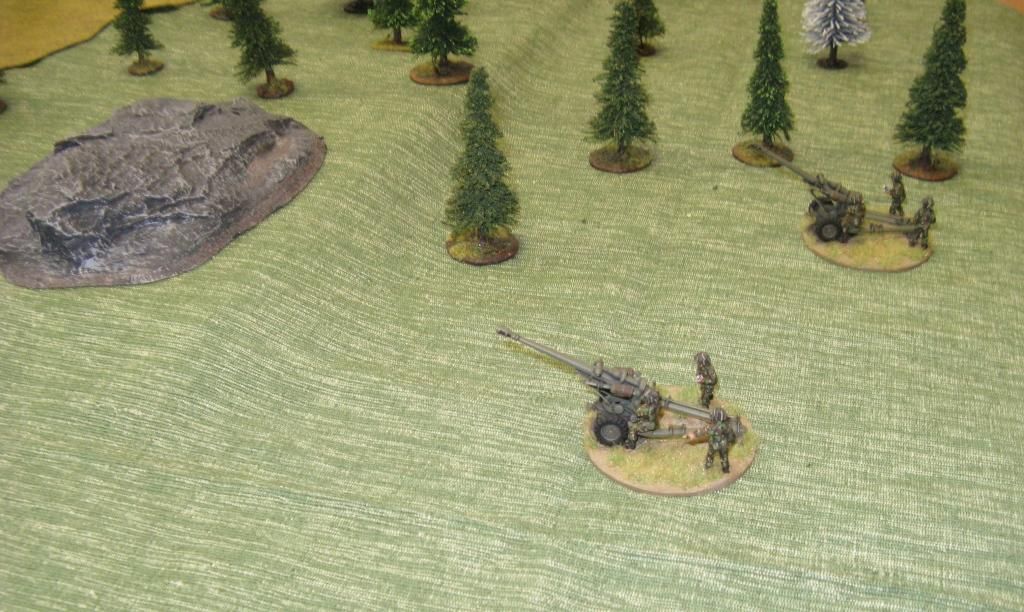
My final unit that started on the table was my 105mm light artillery battery. A fairly heavy point investment in a small game - that would prove to be really not worth it!
The Soviets came charging on to the table:
Here's a view from the fox-holes overlooking the roadblock:
The Soviets continued advancing down the road and some other units slowly worked their way through the forested area over the hill.
On turn 2 (I think) a Flogger turned up and bombed the crap out of that small hill... The only real (and quite useful) effect was to pin my FO Team. Not arty for me in the next round (again)
In a target rich environment the BRDM take the first killing hit. Any closer and my Milan teams would not have been able to engage it. That doesn't mean I hadn't taken some shots at other vehicles here - I just rolled a staggering amount of 1's in the first few turns (4 or 5 in a row at one point). Anything the Milan's did manage to hit were immediate kills.
Tagging along behind - the PT-76 called mortar fire for some of the game and took 1 shot at a Milan team towards the end.
Milan hit! The team in the swamp takes out a BTR, kill some of the infantry and wiping out a Sagger team being carried. Each time I killed a BTR it caused 2 chits to be taken.
After numerous turns slowly moving through the woods the Soviets take their first objective, obviously the Soviet commander really wanted that abandoned combi-van!
The Soviet's mortar fire controller (his mate is hidden) works his way through the woods. Directly into line of sight of an overwatch GPMG team. The MFC didn't last too long after that!
My armed recce made it onto the table. Against a bunch of T-55s it's usefulness was limited, so the driver decided to spend the rest of the game practising 4 wheel driving in difficult terrain.
Turn 5 and the Soviet flanking force arrives - making 3 T-55s, a BTR (with troops) and a Shilka versus a section and a Milan.
More SNI and a VDV? Sniper make it to the edge of the woods.
Meanwhile of the main road the whittling down of the Soviet original attack continues...
In 1 really good turn of dice throwing I was able to knockout 3 significant threats.
The Soviet assault started to run out of steam...
...although you can see here how close it had gotten. The Rifle team has been wiped out and the Milan team was down to one man. Only the GPMG team was fully manned and they were in an ideal place to take on the Soviet infantry. Fortunately there was another GPMG team on the other side of the rocky outcrop that could also lend some support.
Here you can see the limited progress of my reinforcements. the Landie has barely made it past the edge of the woods and off in the distance you can see some more infantry moving up and my Javelin team on overwatch - after the Flogger had left the table of course!
Last photo shows the results of my only successful fire mission of the game - carried out by my mortar! It took out the Soviet's mortar controller's ride.
So the Soviets were pushed over their BR limit, while I was 8 off my own - so relatively close. The game reinforced my feelings on how hard it is to be the attacker is an Attack/Defence mission - having essentially all my on-table infantry and ATGMs in reinforced cover made all the difference - as well as the limited manoeuvre space the Soviets had due to the terrain.
QUESTION
Now - here's a question for you - but first some background.
Currently there are no "ammo" rules for dismounted ATGM teams. There are ammo restriction rules for tanks and other vehicles firing ATGMs but no ammo restrictions for man-packed ATGM.
In most of my games thus far, for a variety of reasons (terrain, movement etc) ATGMs have typically only gotten off a couple of shots - so ammo restrictions have not come into it. In this game, due to the open nature of one half of the board and the number of tanks the OPFOR had, between 3 Milan teams - over 7 turns, I probably took around 16 ATGM shots. These killed 4 T-55s, 2 BTRs and a BRDM - so around a 50% kill ratio (all hitting shots killed). One team took about 7 shots (essentially 1 per turn).
As the teams are only 3 men, they remained pretty hard to observe, and as they were in reinforced cover, they survived a fair amount of rounds (including HE tank rounds) coming their way. No team was 100% knocked out in the game.
So - here's the question(s).
1. Do you think it's reasonable that a single ATGM team can basically shoot as if it has an inexhaustible missile supply?
2. Should there be a limit? If so, what would you make it?
I have some ideas that would make the teams more vulnerable once they had shot - this would definitely work, but might push the pendulum to far back the other way. I'll have to play test that...
Anyway - please let me know what you think?
Thanks
Richard