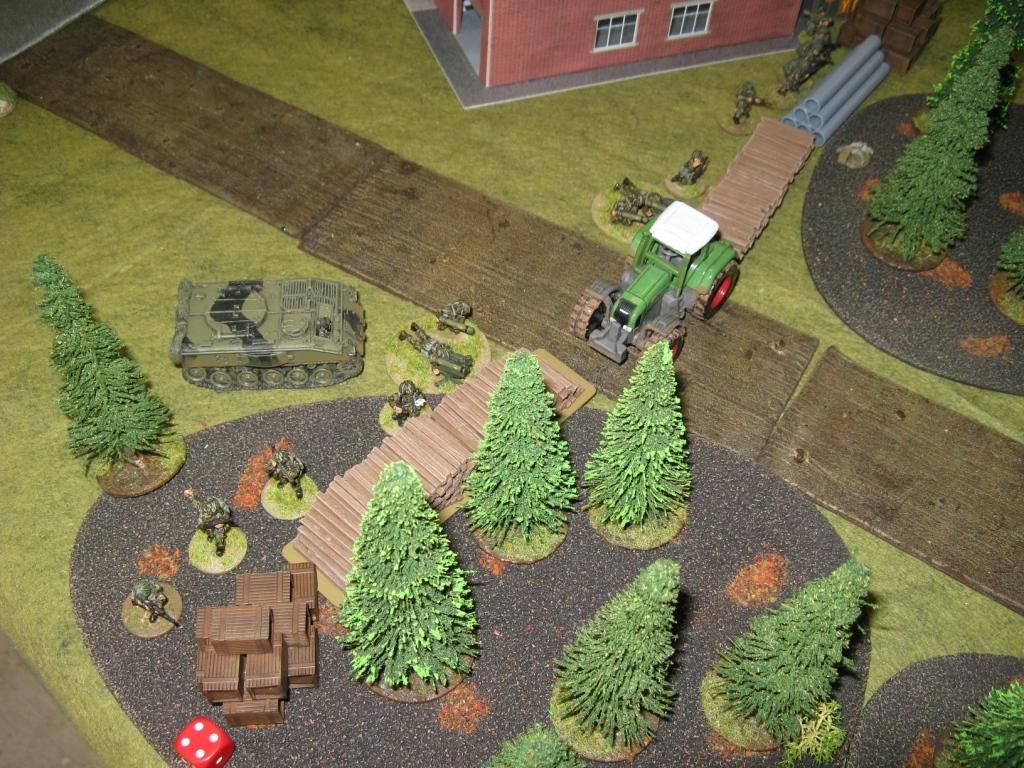
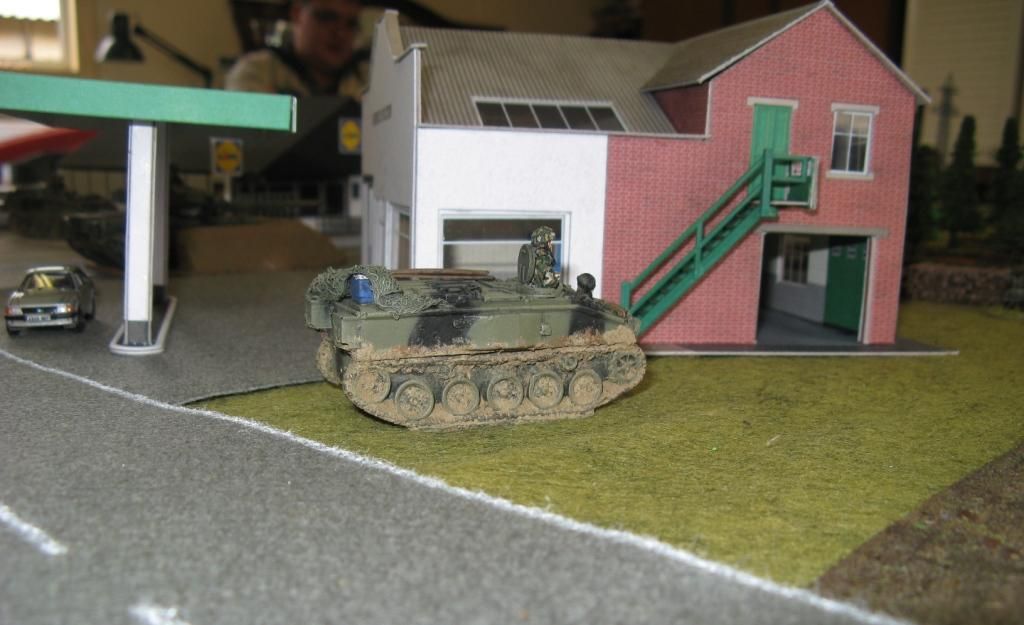
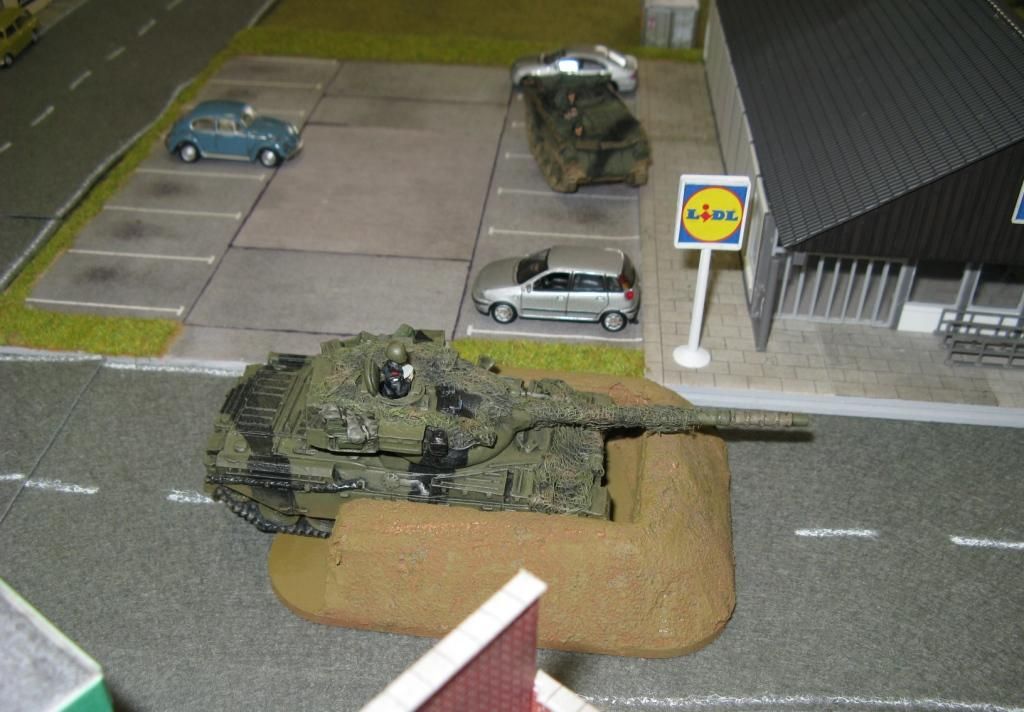
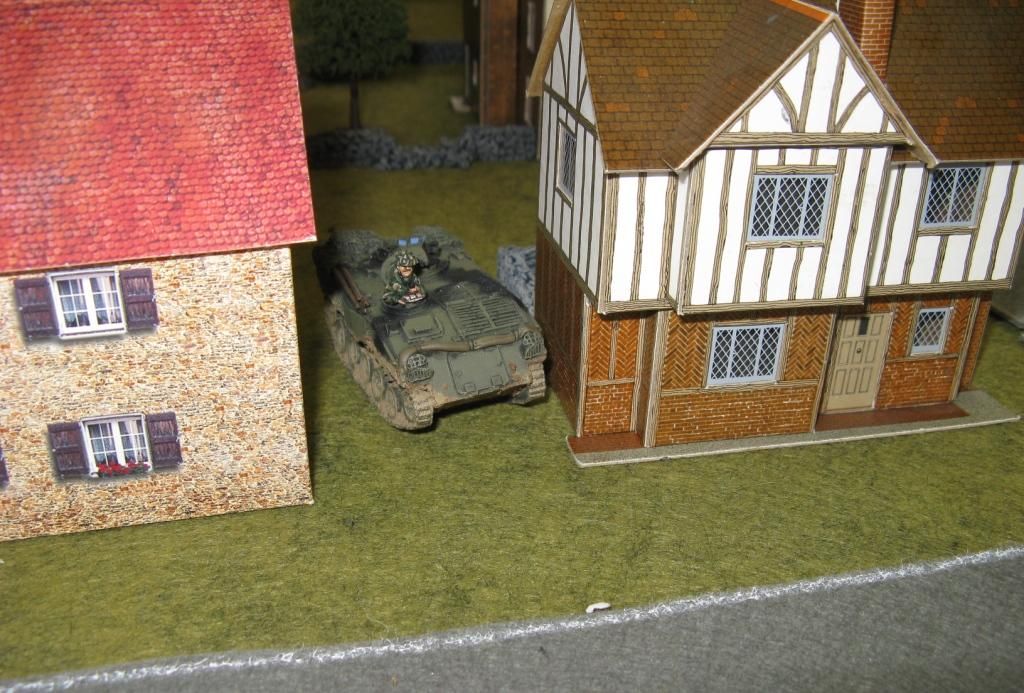
OK - so onto the next mission...
A few days later I was able to referee a much larger game (still not a huge game - about 575 pts a side) with Greg and Andrew taking control of a British Army Covering Force made up of elements of the 9th/12th Royal Lancers and C Company, 2nd Battalion Royal Green Howards. The two Michaels would be running the Soviets, with a reinforced Combat Reconnaissance Patrol from one of the battalions of the 248th Guards Motor Rifle Regiment.
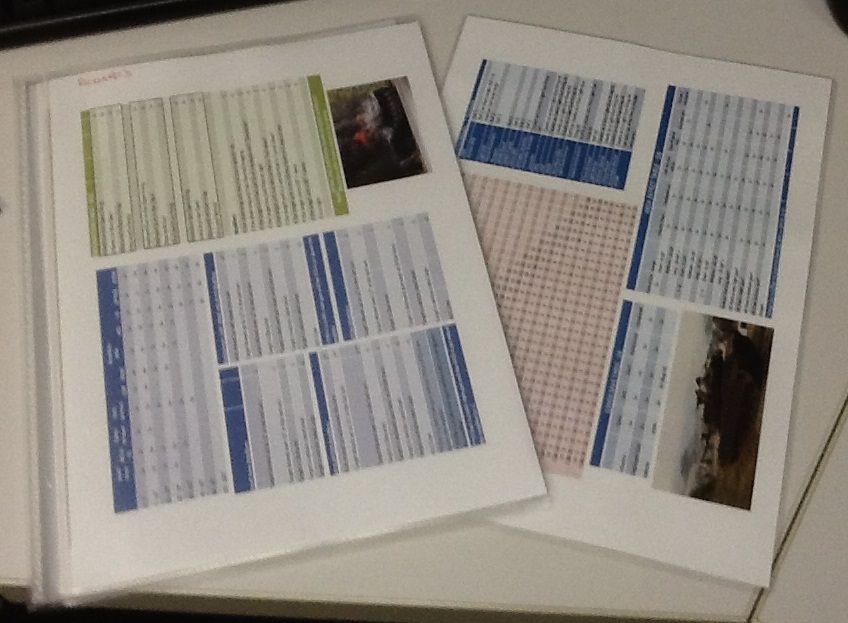
The players were provided with a Mission Pack. It included 2 Quick Reference Sheets, their army list, Battle Ratings and Momentum Points charts, vehicle cards for all the AFVs in their list, other stats for their list as required, a Mission brief and then all the statistics for their opponents vehicles and their own vehicles (a fairly complete listing of for example, all the tanks, MICVs, APCs, Artillery systems, recce etc). The pack and the QRS looked a little like this:
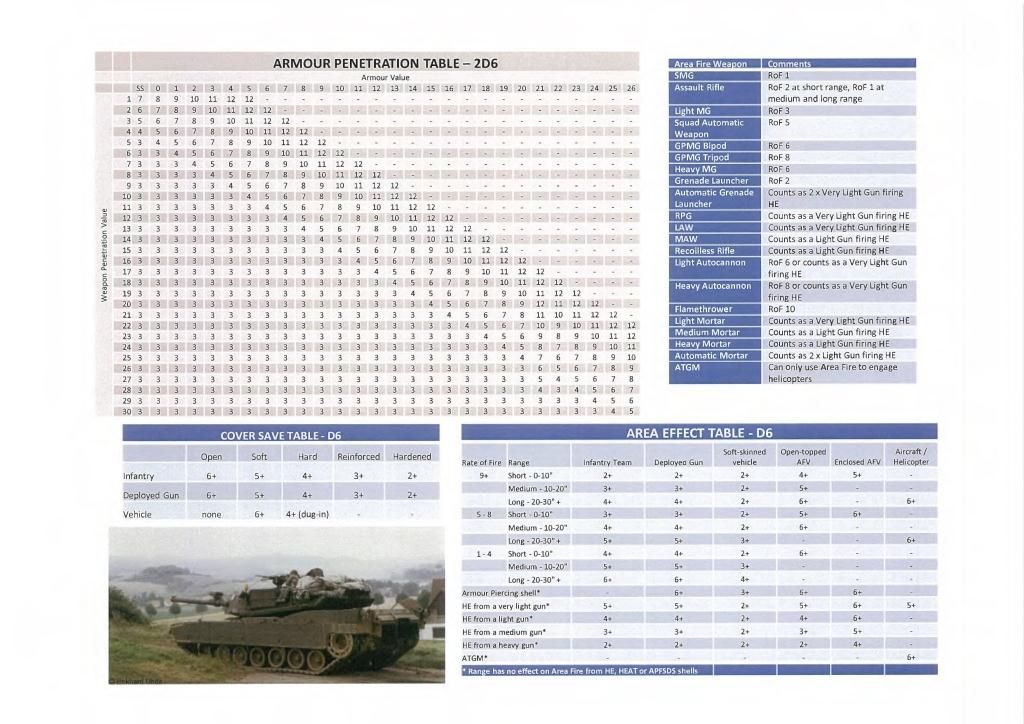
Here's a few random shots of selections from the packs, starting with one side of the QRS
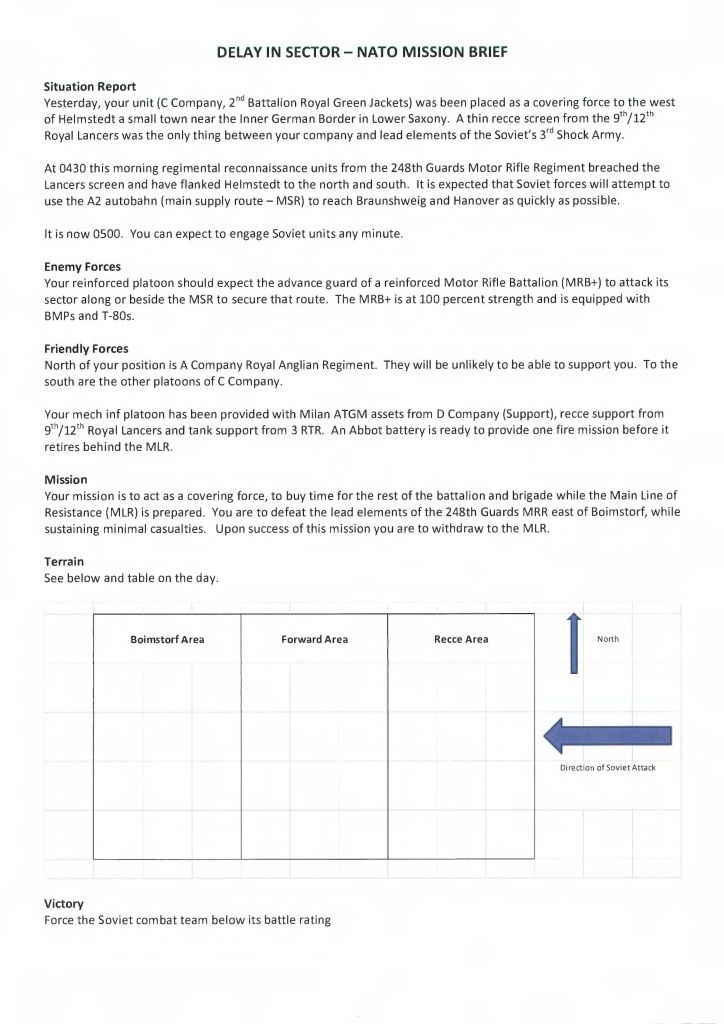
the front page of the NATO brief
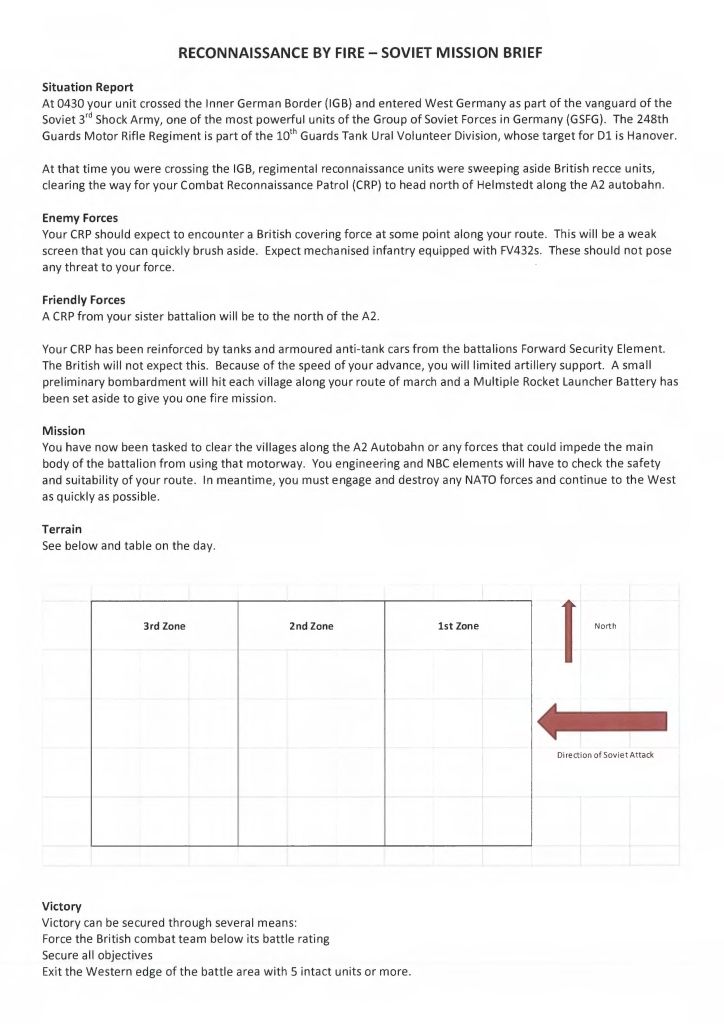
the front page of the Soviet brief
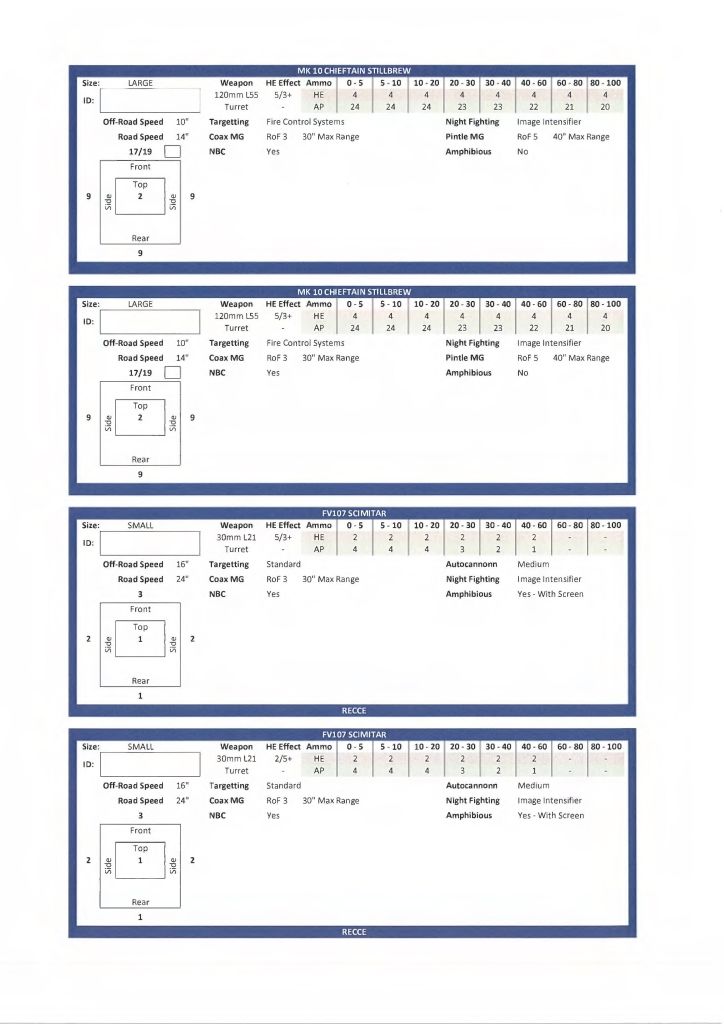
samples of some NATO vehicle cards
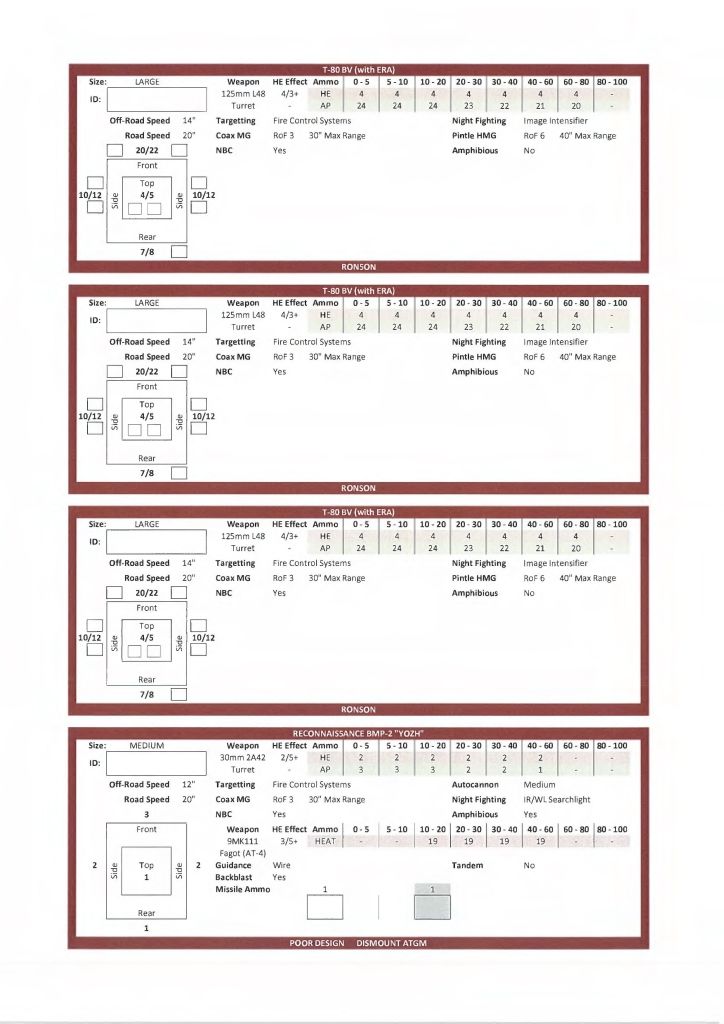
samples of some WARPAC vehicle cards
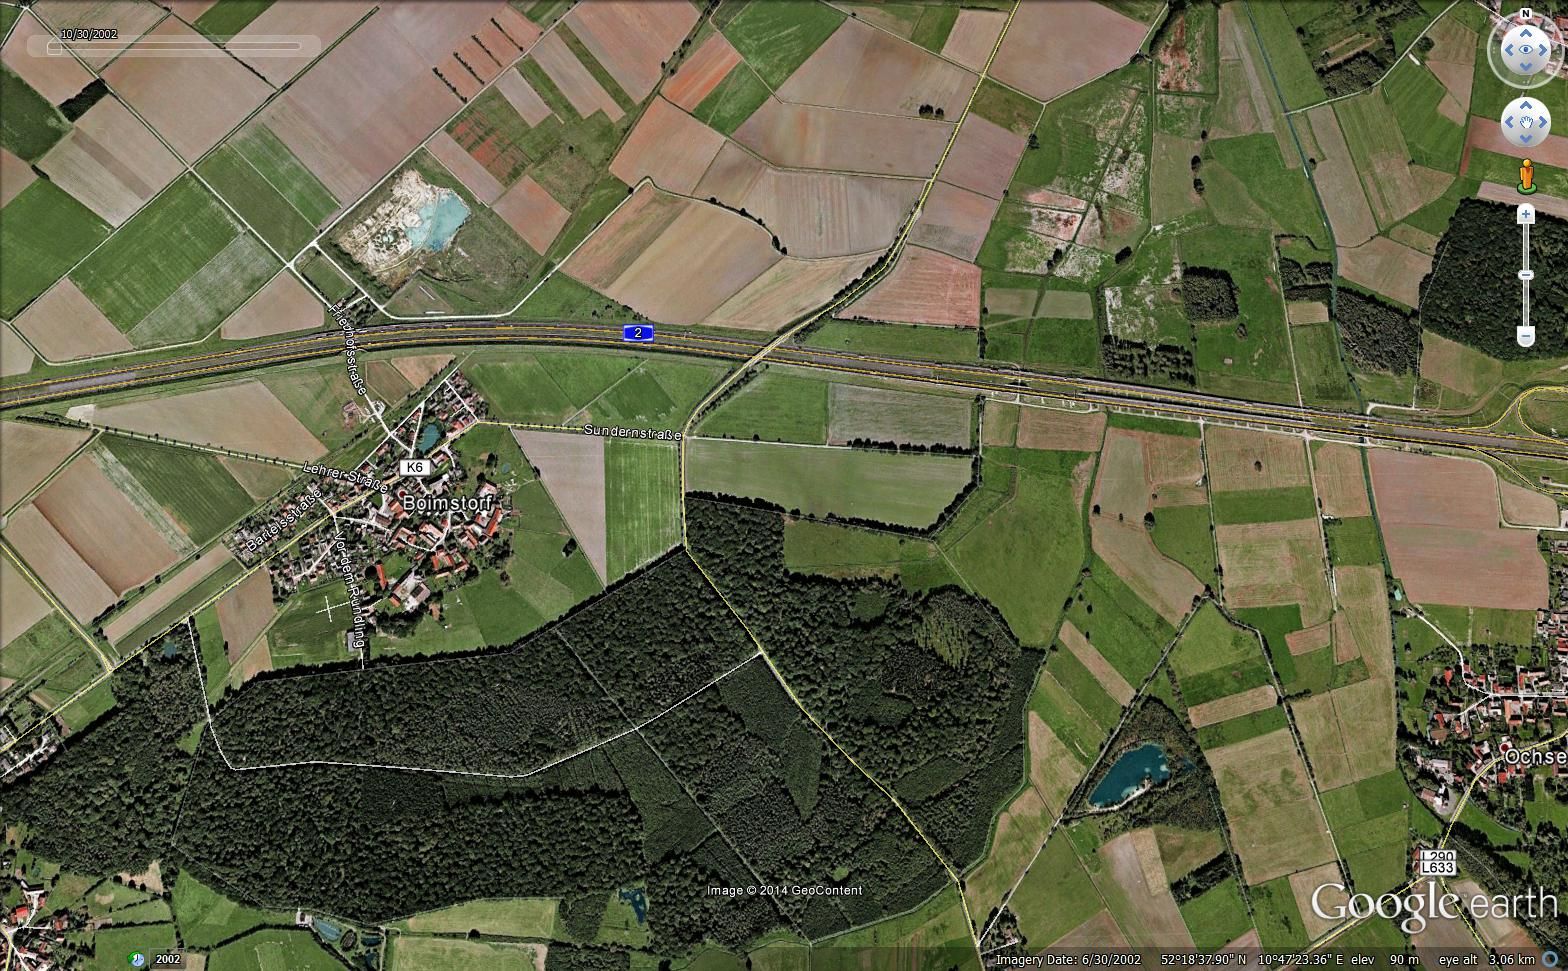
Originally I wanted the table to cover a portion of this map from Google Earth with the Soviets attacking from right to left and the NATO forces defence tied into the small town/village of Boimstorf. The idea being that from Boimstorf they could interdict anything coming along the A2, which leads to Braunsheig (Brunswick) and onto Hanover.
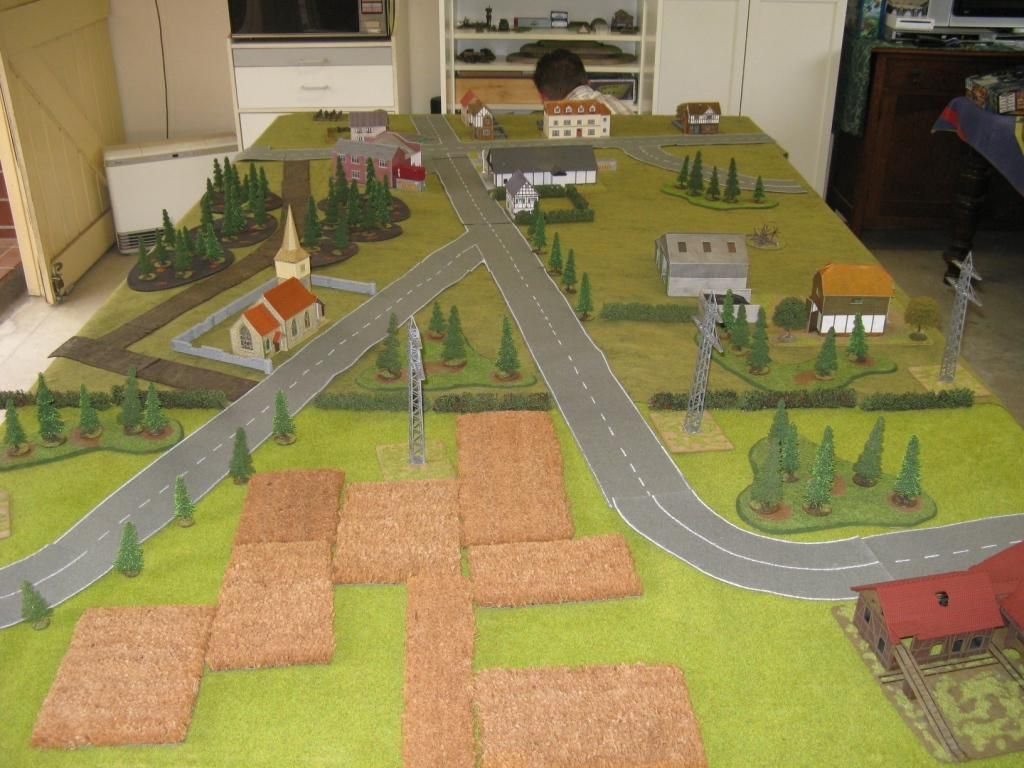
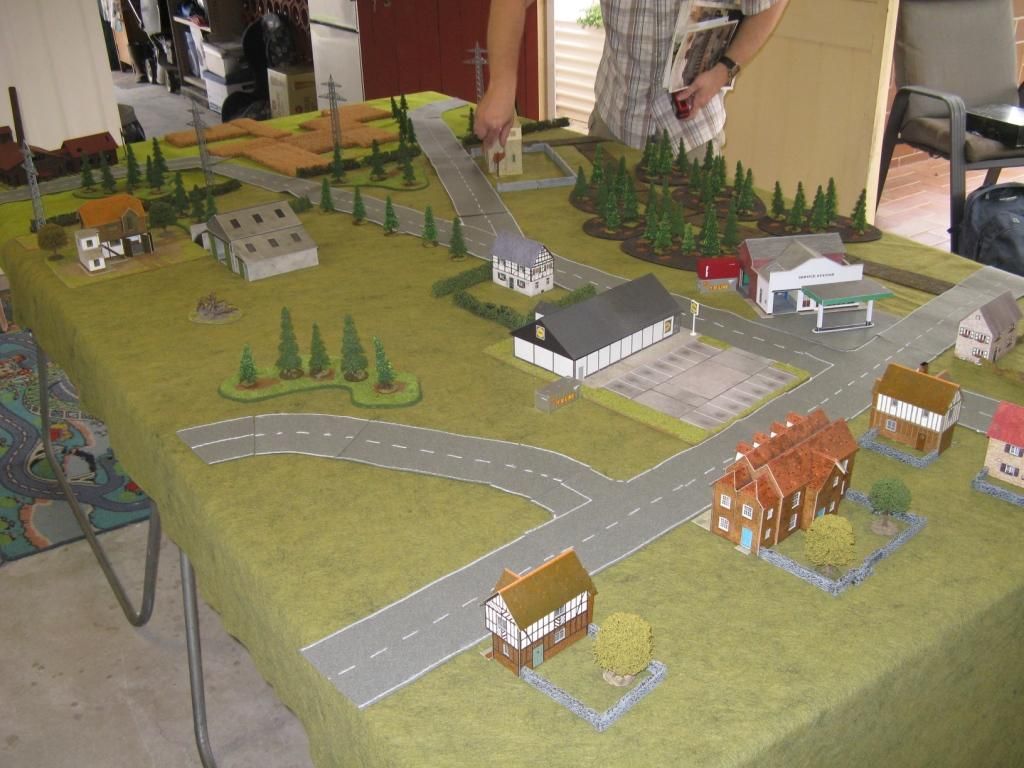
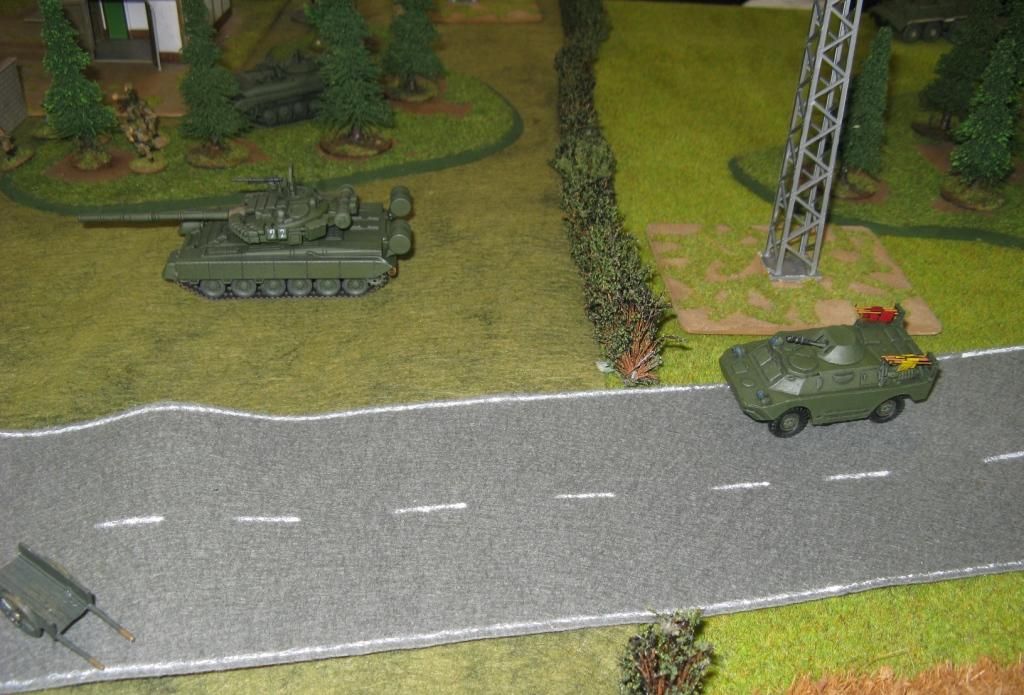
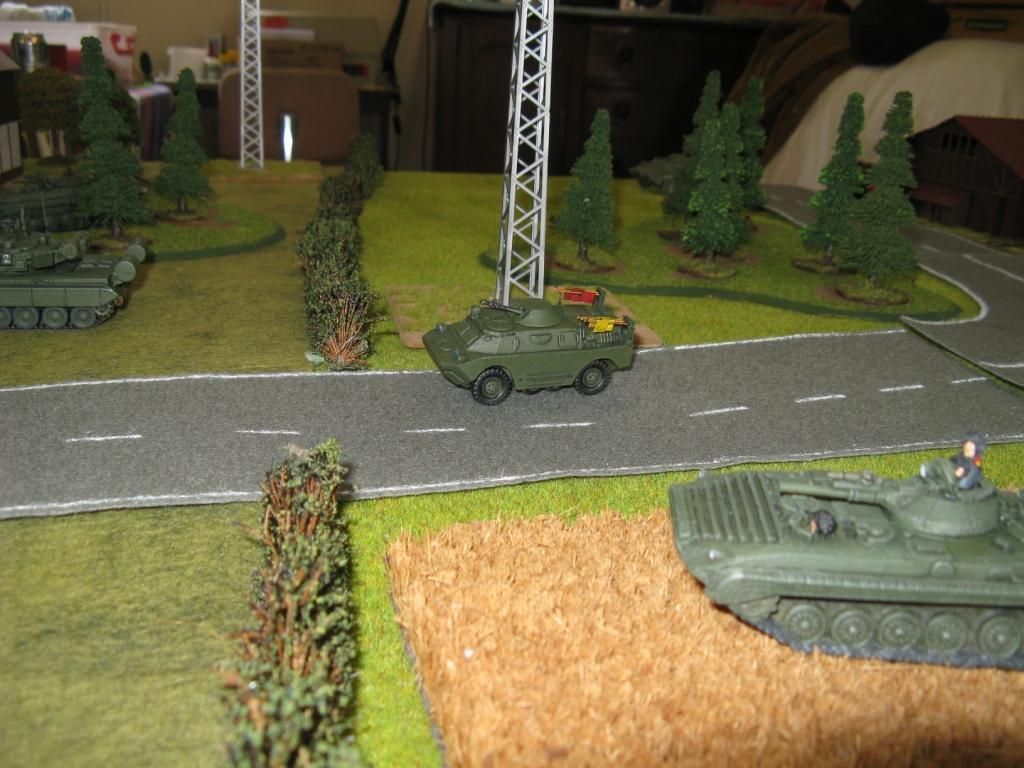
Of course the resulting table did not end up particularly lokking like that - but I was pretty happy with it anyway.
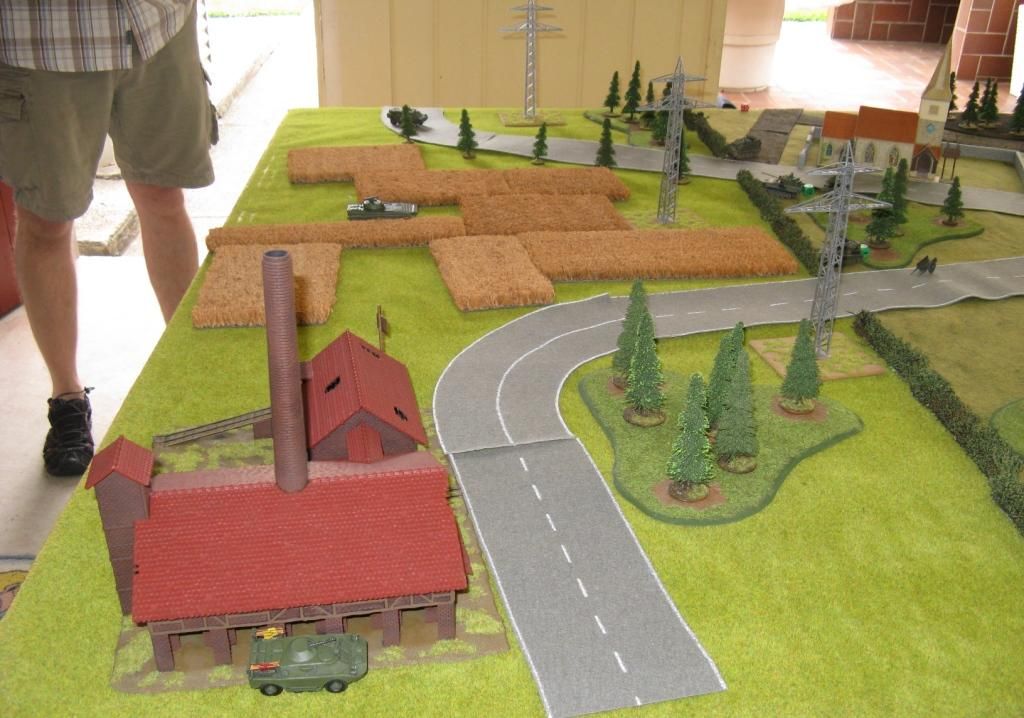
This photo is from the Soviet end of the table. The next is from the NATO end.
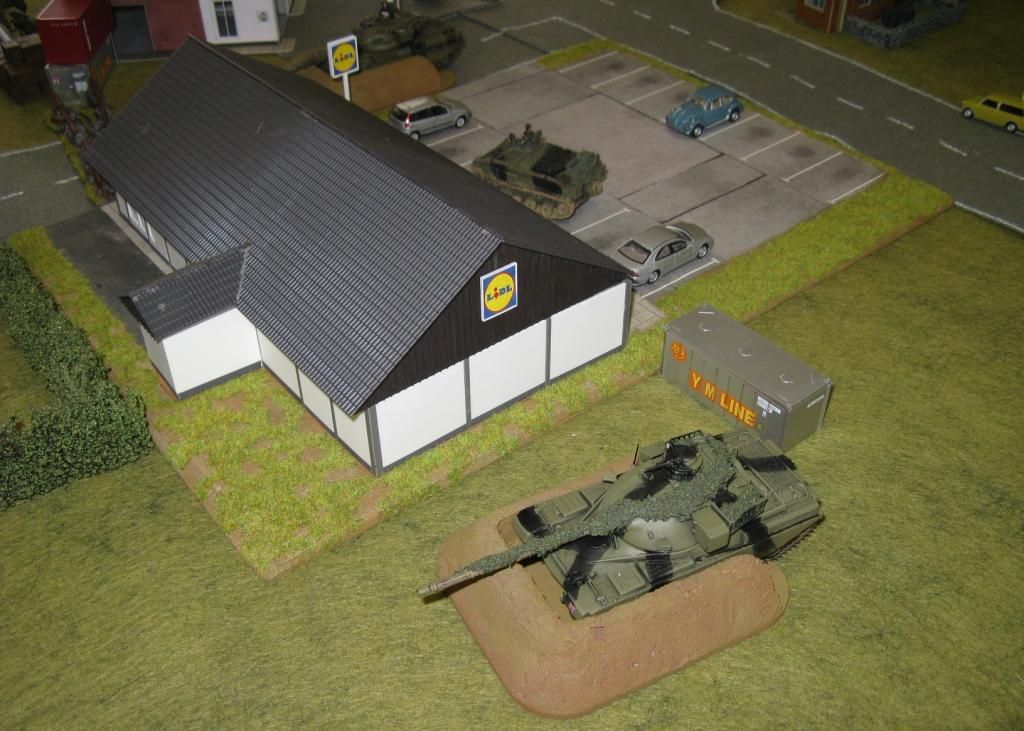
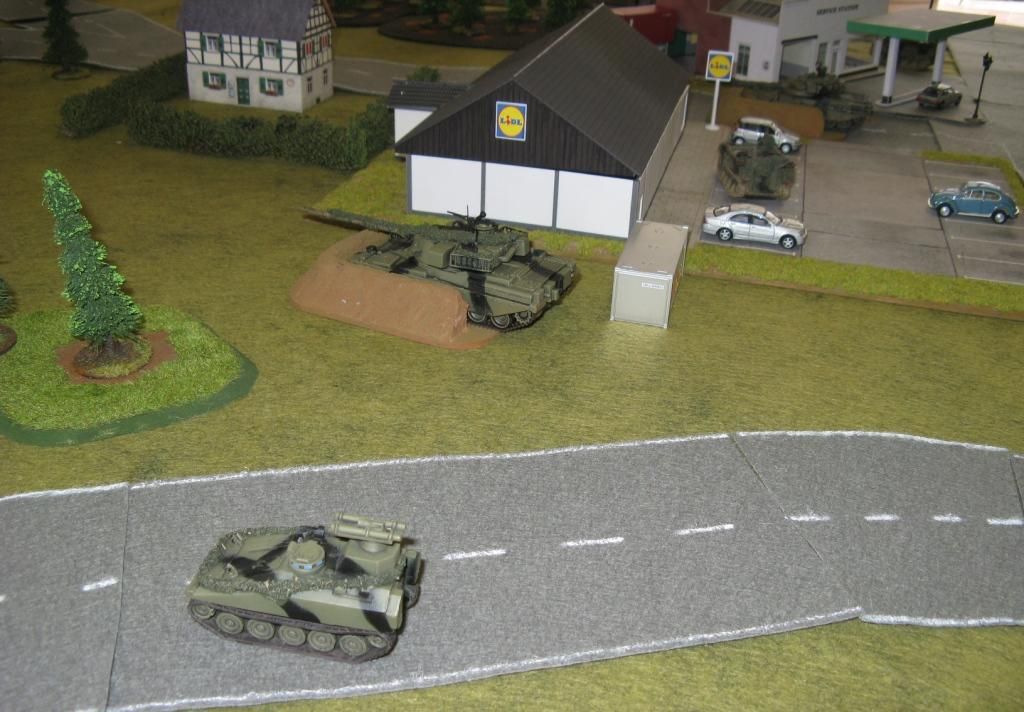
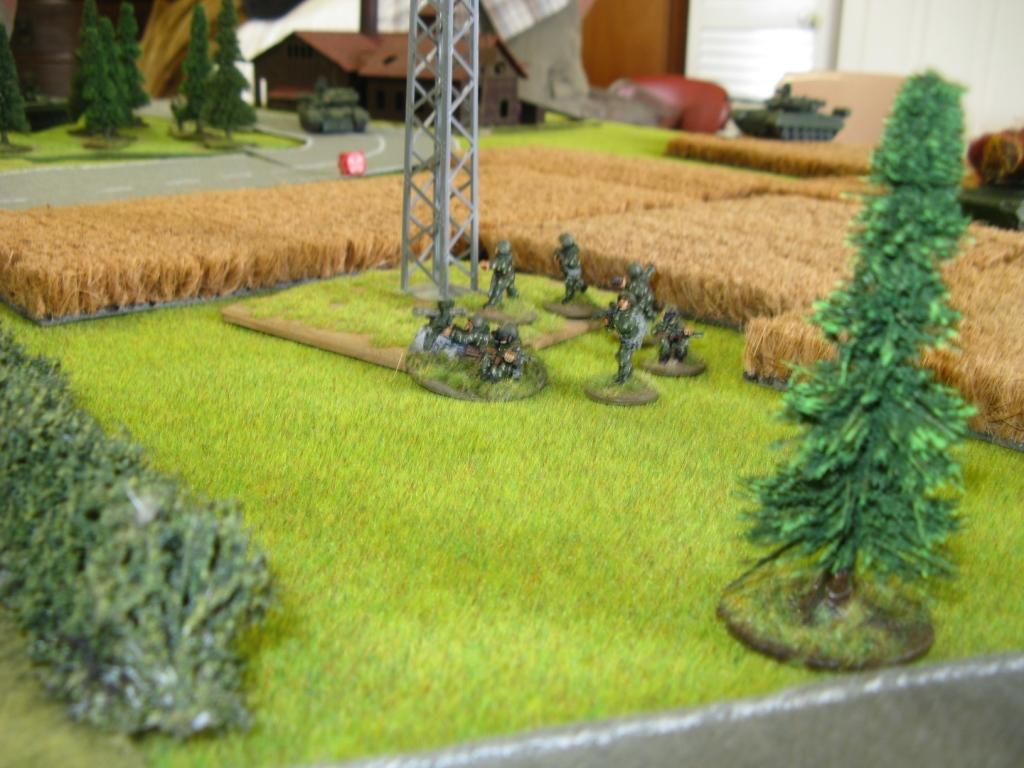
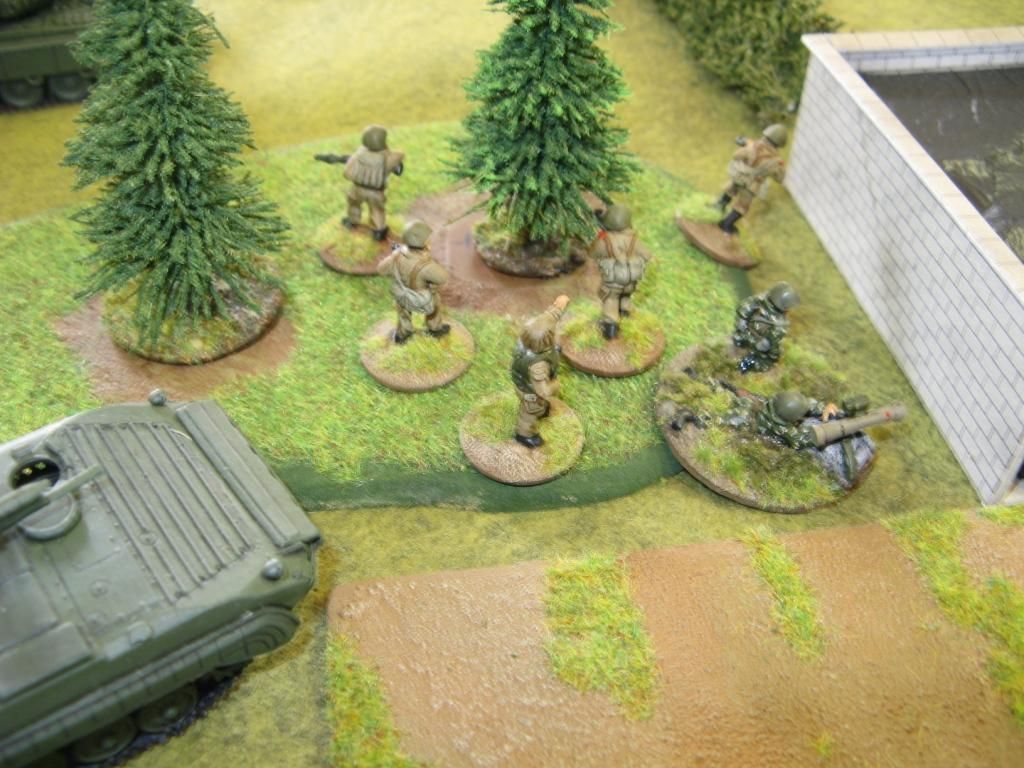
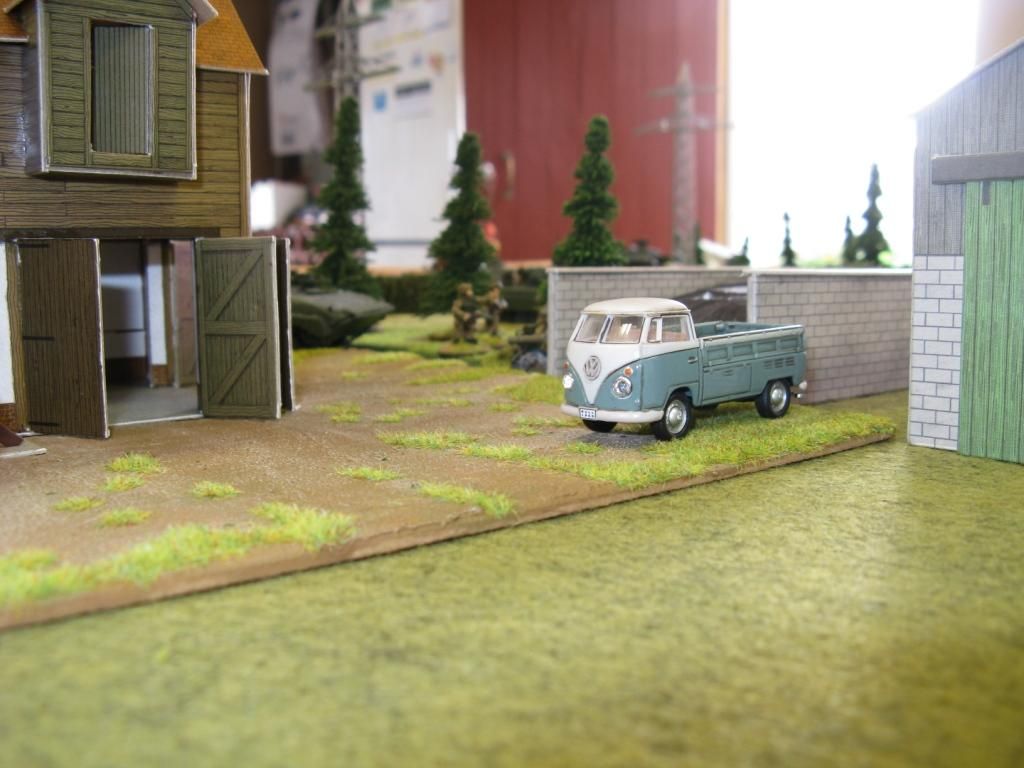
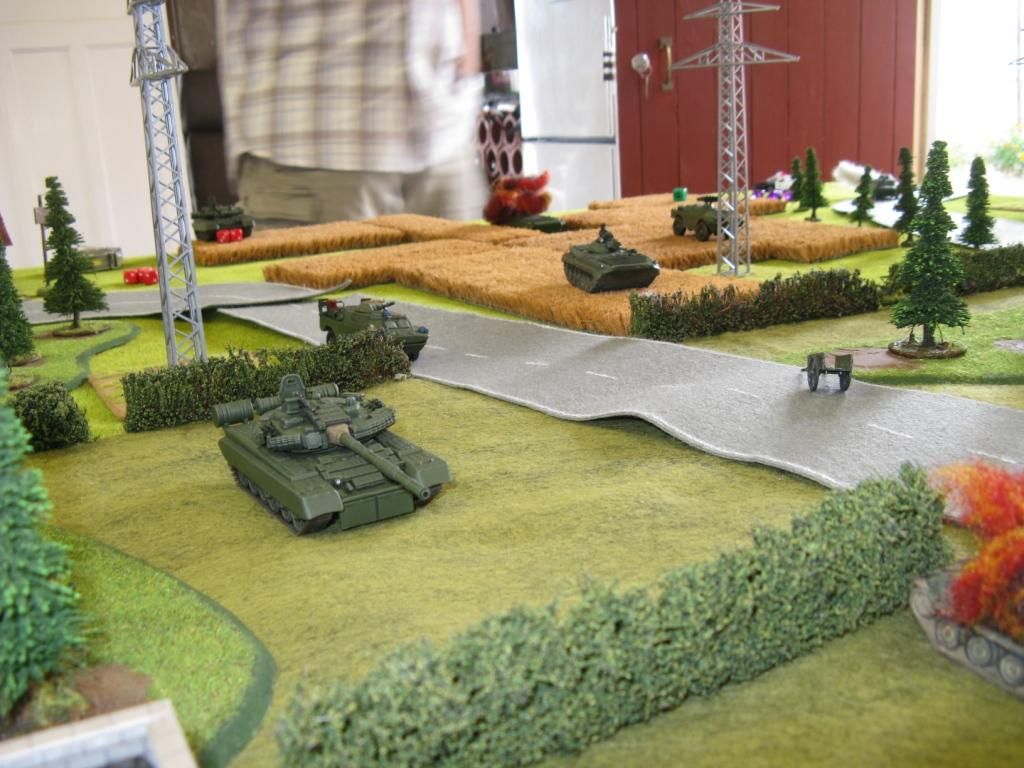
Now a couple of random table shots:
The roads, church and service station plus a few other bits and bobs were completed by me especially for the game. It forced me to complete things - which I actually appreciated!
The forces were as follows:
BAOR - 1 Officer, 3 Scouts, Battle Rating 38
2 x Mk 10 Chieftain Stillbrew
1 x Mechanised Infantry platoon w/FV432 (2 with MG turrets) and 4 x M72A2
2 x Milan ATGM teams w/FV432
1 x Spartan MCT
2 x Scimitars
1 x Striker
1 x Timed 105mm HE Barrage
The Brits also had some defences - 2 tank fighting positions, 2 improvised barricades, an improvised road block, a minefield and a cellar shelter.
WARPAC - 2 Officers, 3 Scouts, Battel Rating 31
1 x T-80BV Platoon (3 tanks)
1 x BMP Motor Rifle Platoon w/BMP-1P
1 x Recon BMP Motor Rifle Squad in a BMP-2
1 x NBC Recon Patrol
1 x BRDM-2 (free as the Soviets won the first mission)
1 x Combat Engineer Squad in a BTR-70
1 x 9P148 Konkurs BRDM-2
1 x Timed MRL HE Barrage
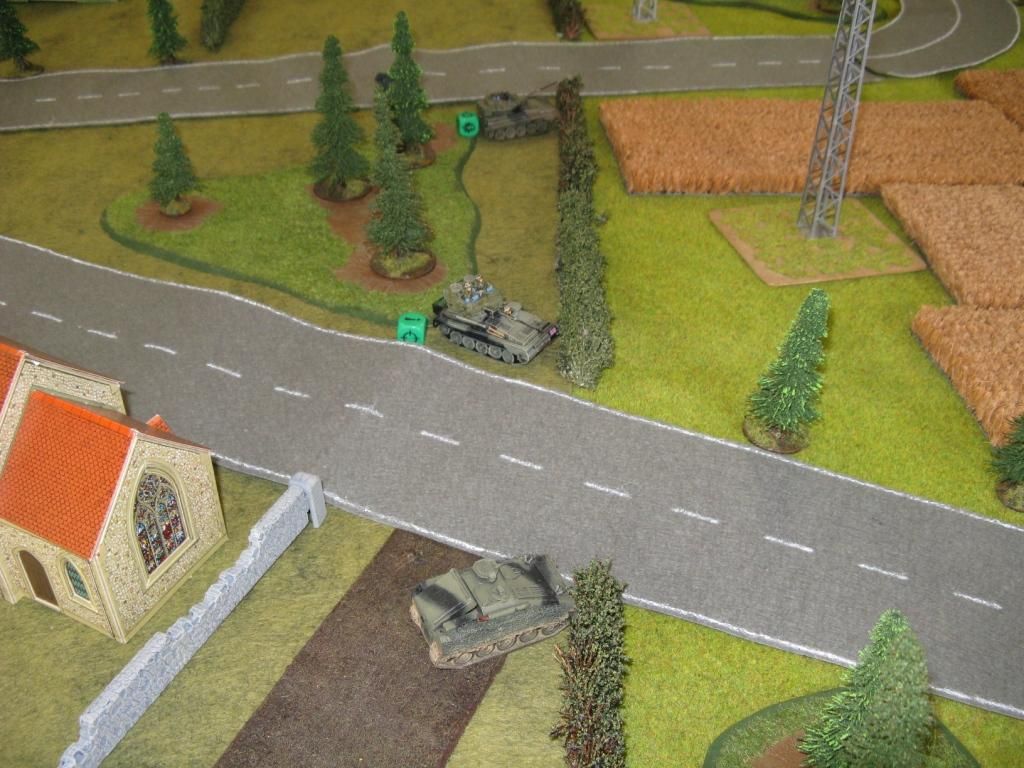
First the recce units deployed - here I made a mistake in the design of the mission and allowed the Brits to deploy on Ambush Fire fairly close to where the Soviets would enter the table. In retrospect I should not have done that. Oh well...
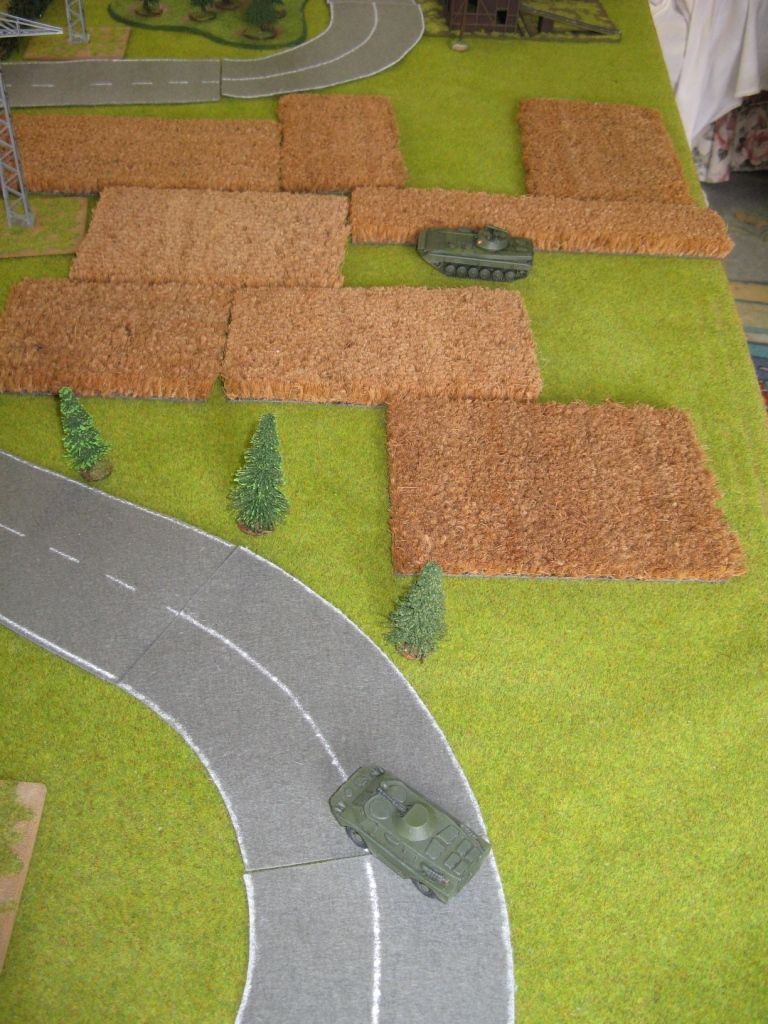
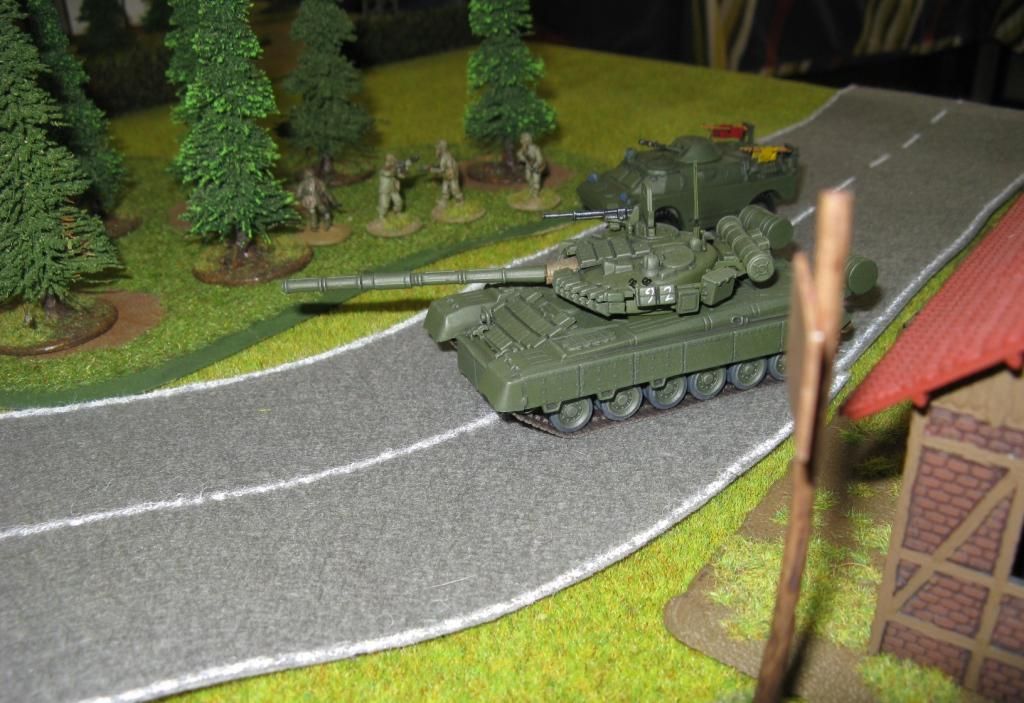
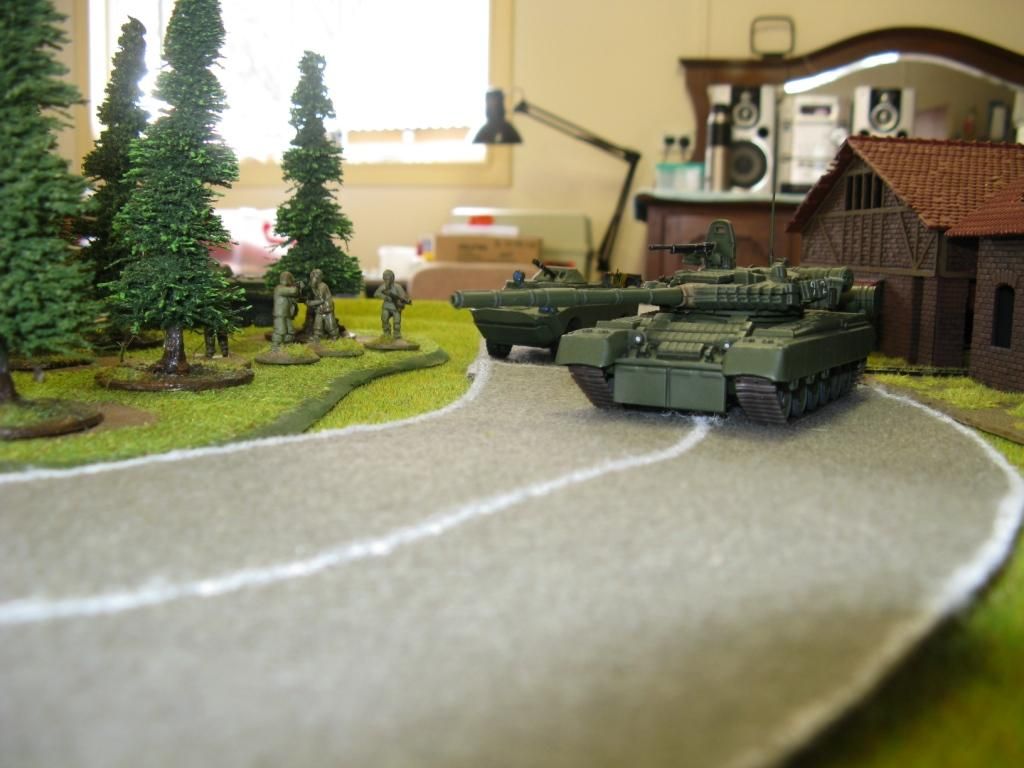
Then the Soviets started to come on
Then the British main force deployed
Note the Spartan MCT in the last photo - finished in time for the game.
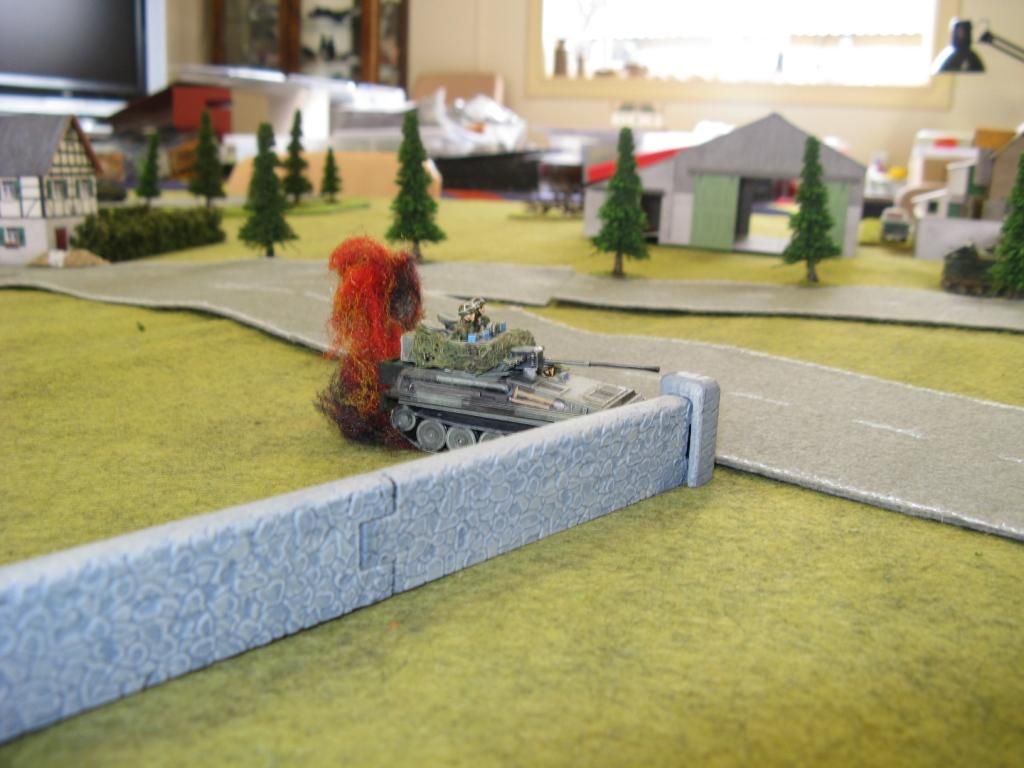
As the Soviets attempted to advance they were immediately taken under fire from the NATO recce
But more Soviet forces began to arrive
In the rear of these 2 photos you can see the NBC Recon Patrol conducting an NBC test. The soviets started to slowly advance
And finally took out one of the Scimitars
and eventually the Striker
Meanwhile at the other end of the table, the British main force patiently waited
Eventually the recce scree was either knocked out or withdrawn and the Soviets started to get closer to Boimstorf - not without loosing more kit though
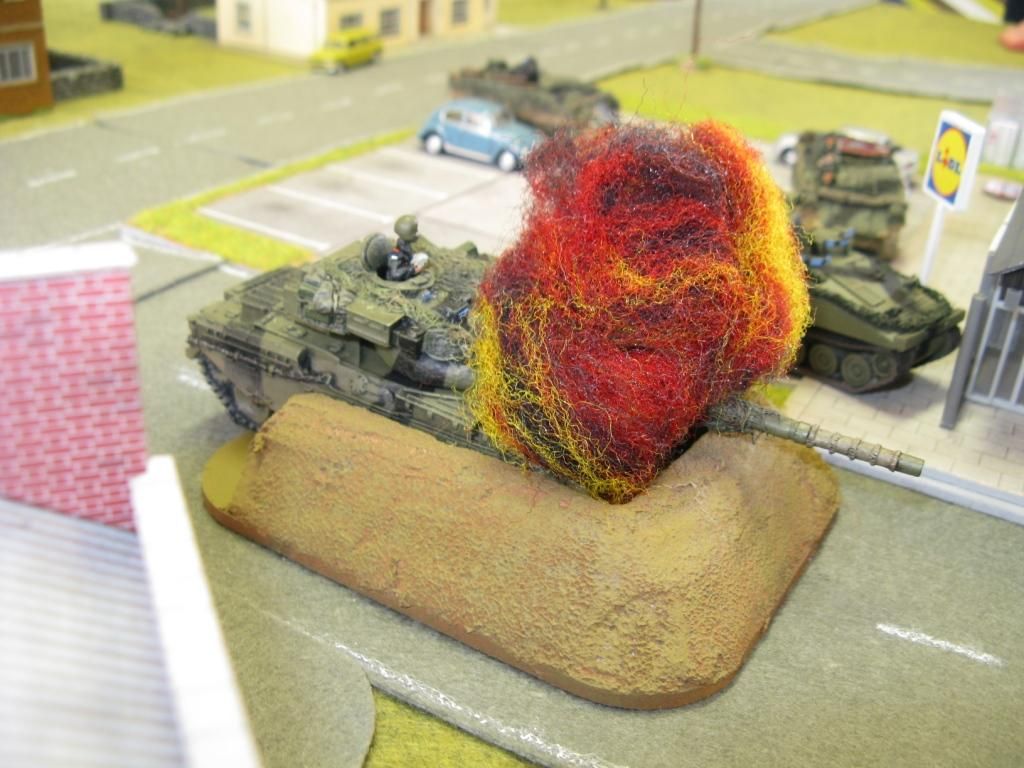
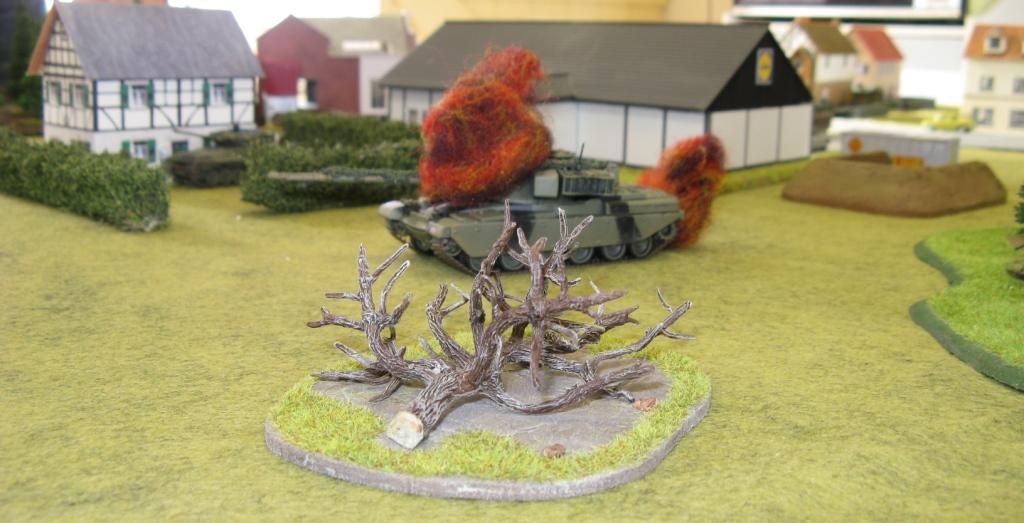
And in an impressive (some would say very lucky) display of shooting, the Soviets managed to kill one of the Chieftains
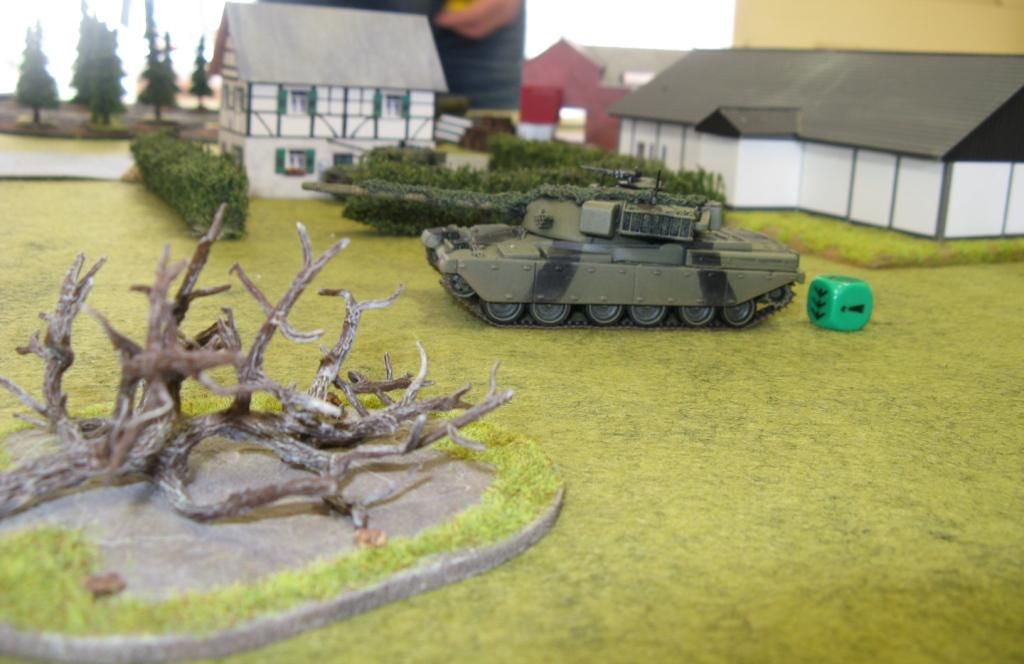
Thinking that the fighting position wasn't quite as invulnerable as he had first believed, the other Chieftain advances to take the fight to the Soviets
Killing another BMP
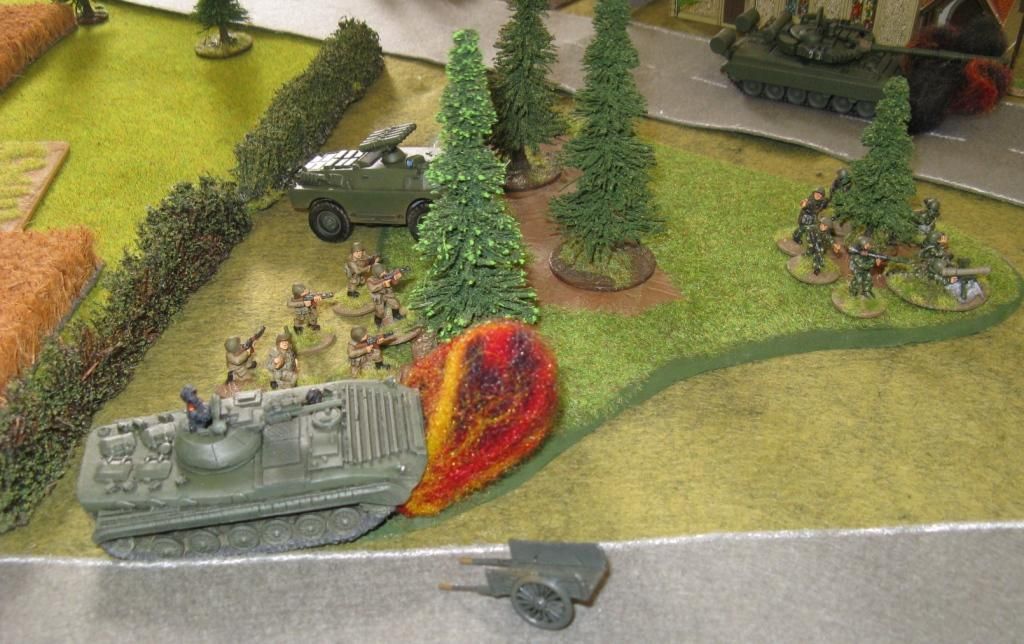
Soviet retribution swiftly followed
and the Soviets continued to advance, knowing the Brits had now lost both their tanks.
However, despite the advance and destruction caused, they had taken too long and the NATO force had achieved it's aim of slowing the advance to buy more time for the main line of resistance to be strengthened - so it was a NATO victory.
When the dust had settled, the NATO force had won by 7 BR, while they had also gained 16 momentum points to the Soviets 8.
That was it for the game - it seems everyone enjoyed themselves and a few have now rushed off to start their own 20mm Cold war force.
Thanks - I know it was a long one...
Richard
29 April 2014
28 April 2014
Recce Screen AAR
Obviosly its been a while since my last post - mainly because I've been preparing stuff for these next two posts. Here we go...
Last week I got in two more test games - this time with actual opponents! No more Billy No-mates for me!
First was played at my friend Simon's. We were attempted to play 2 small recce games in a few hours, a 1986 clash and a WW2 clash, so the forces were suitably small.
The aim of this game was for the Soviets to bypass the British and get off the back of the table. The Brits simply had to stop them.
I played the Soviets (I always seem to end up playing the Soviets...) and this is what I had:
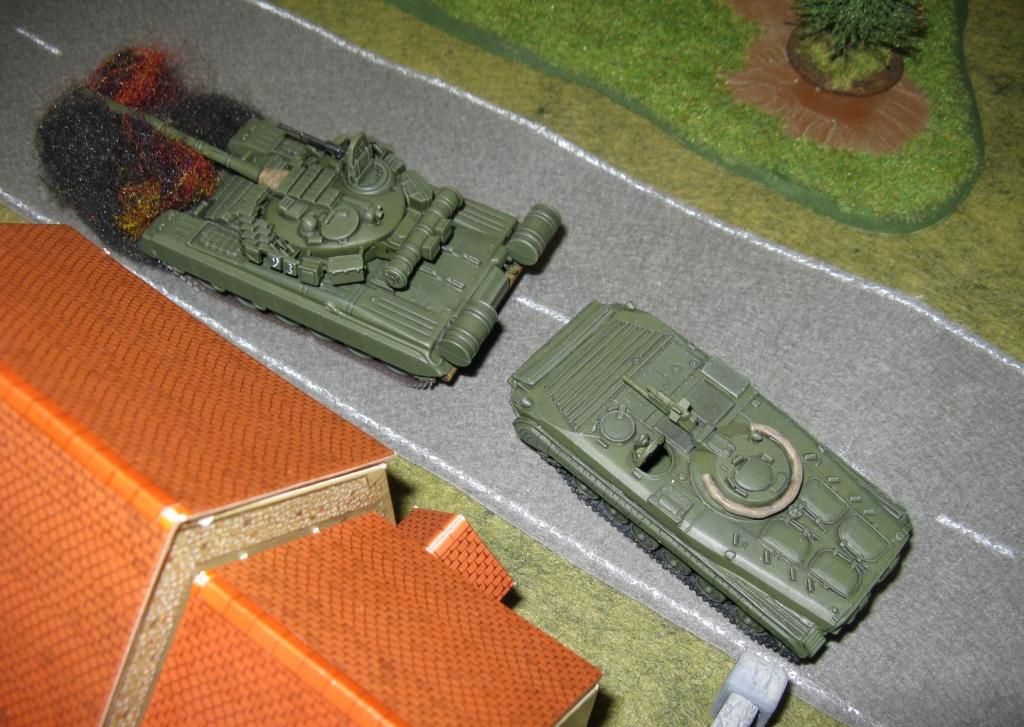
2 x Recon BMP-2s (with dismounts) and a BRDM-2.
NATO force was as follows:
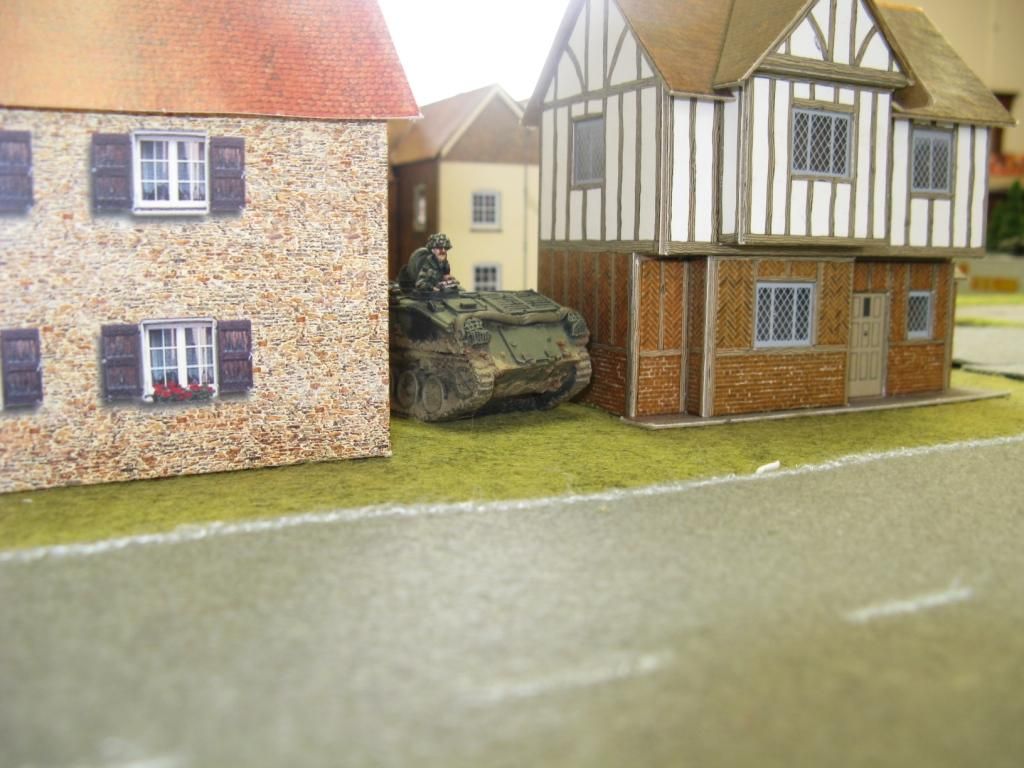
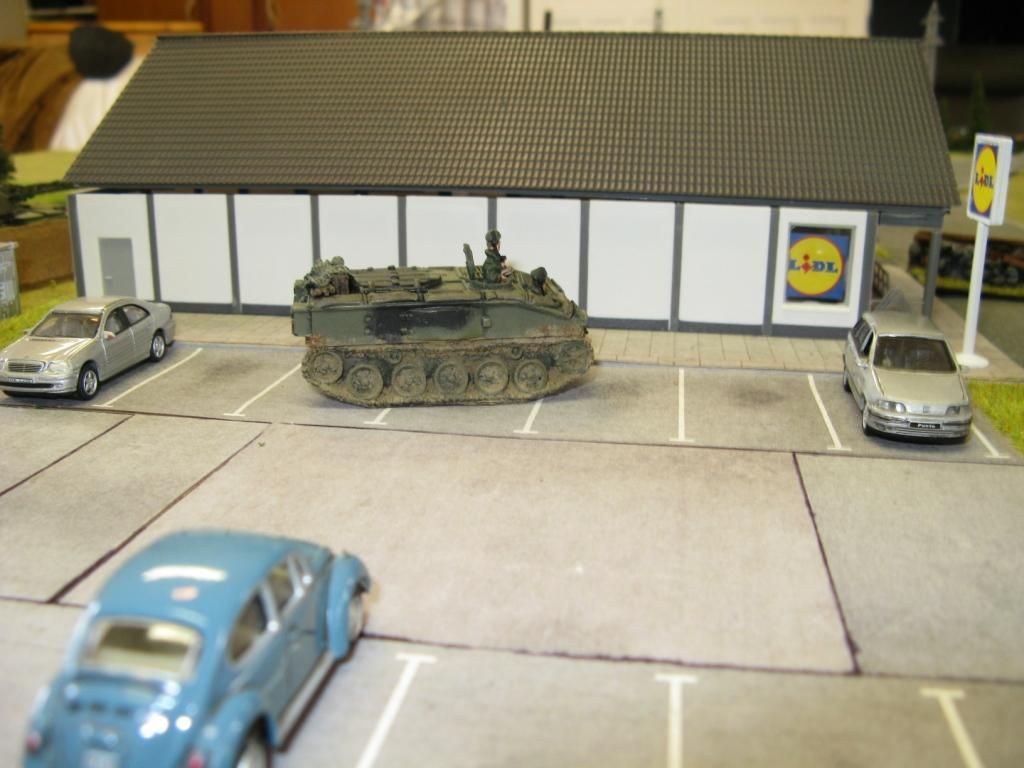
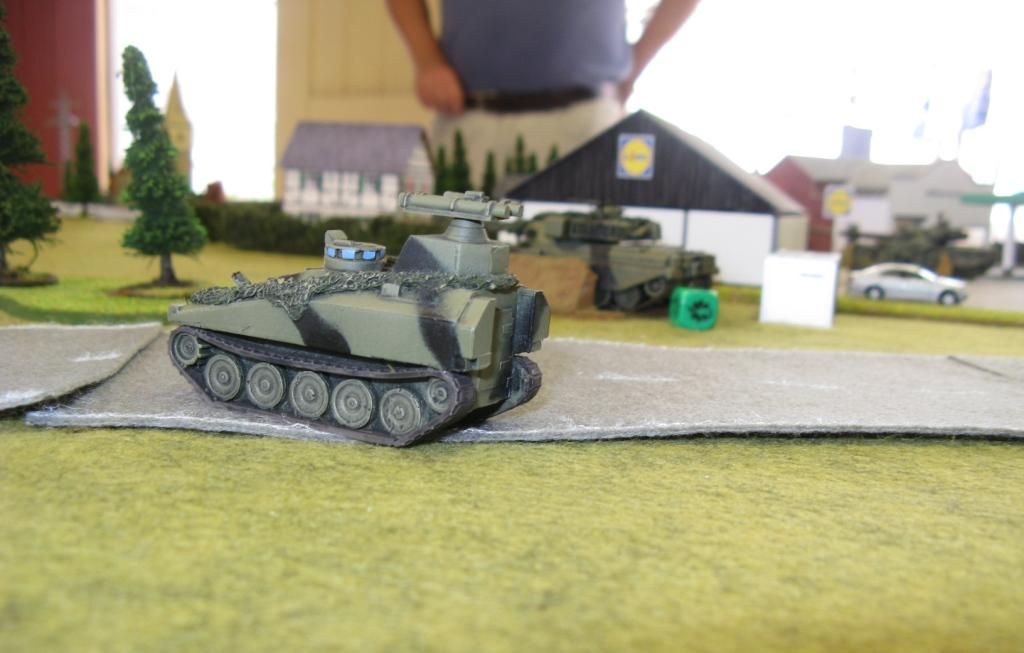
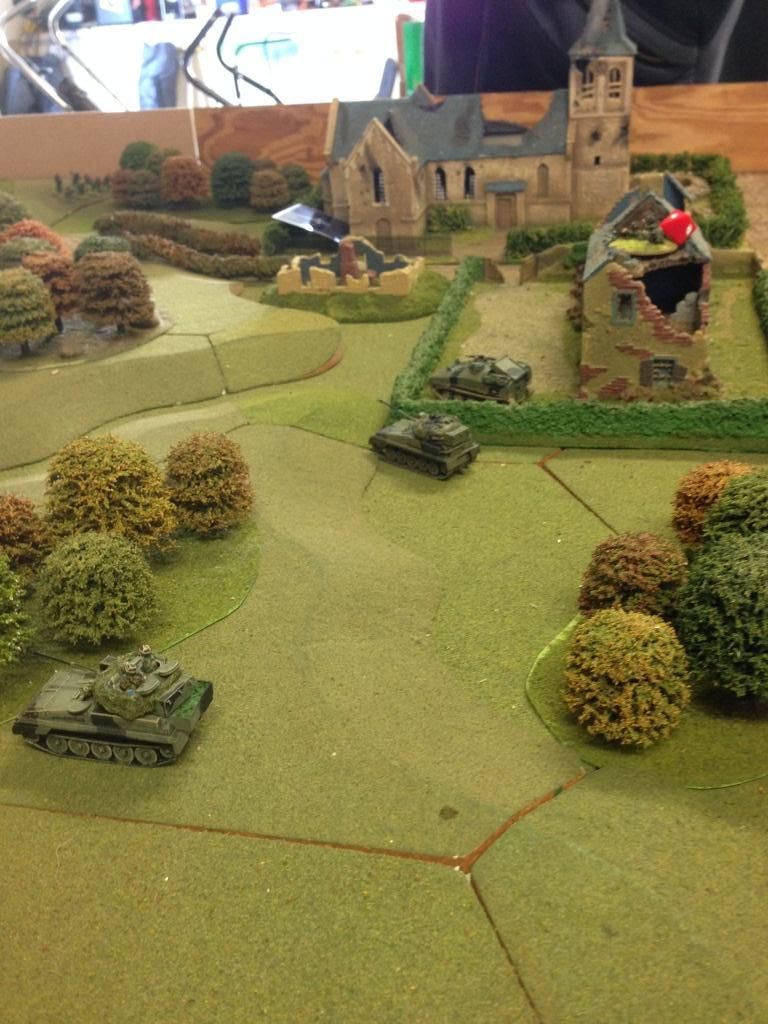
Sorry - a range of crappy and OK photos on the day... So NATO force was British Recce, with 2 Scimitars, a Striker with a Remote Team and a Spartan with dismounts.
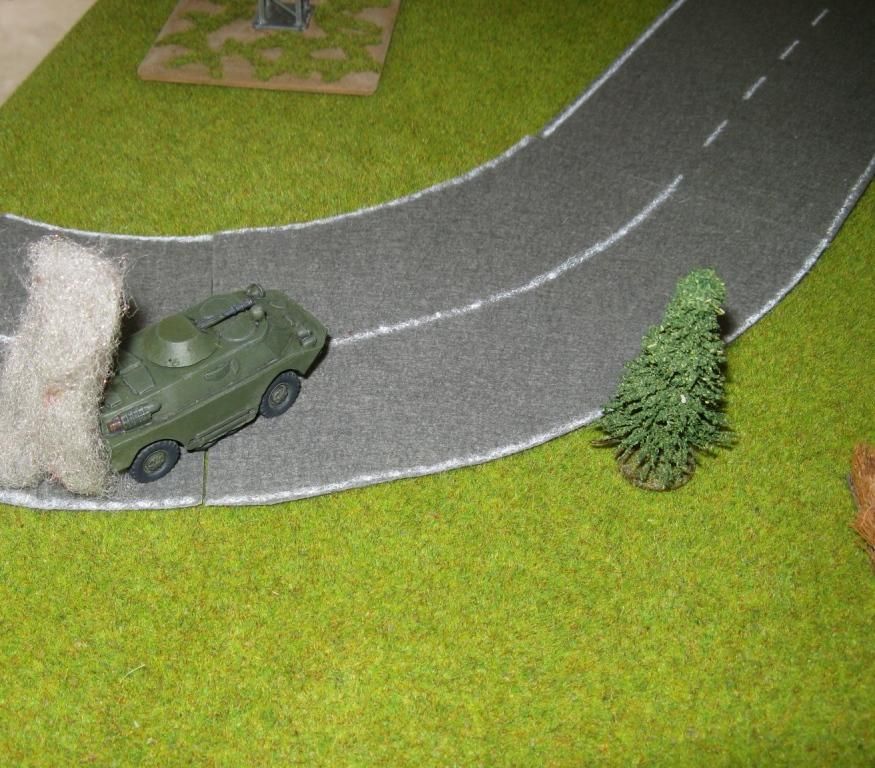
The Soviet's had a randomised board entry, while the Brits had hidden markers for each vehicle and some dummy markers. Simon spread these fairly evenly across the table. 2 of my elements came in on a road, while the other BMP-2 came in anywhere on my table edge.
Here's a pretty poor pic of the placement of one of the hidden markers, which was later ID'd by some dismounts as a dummy:
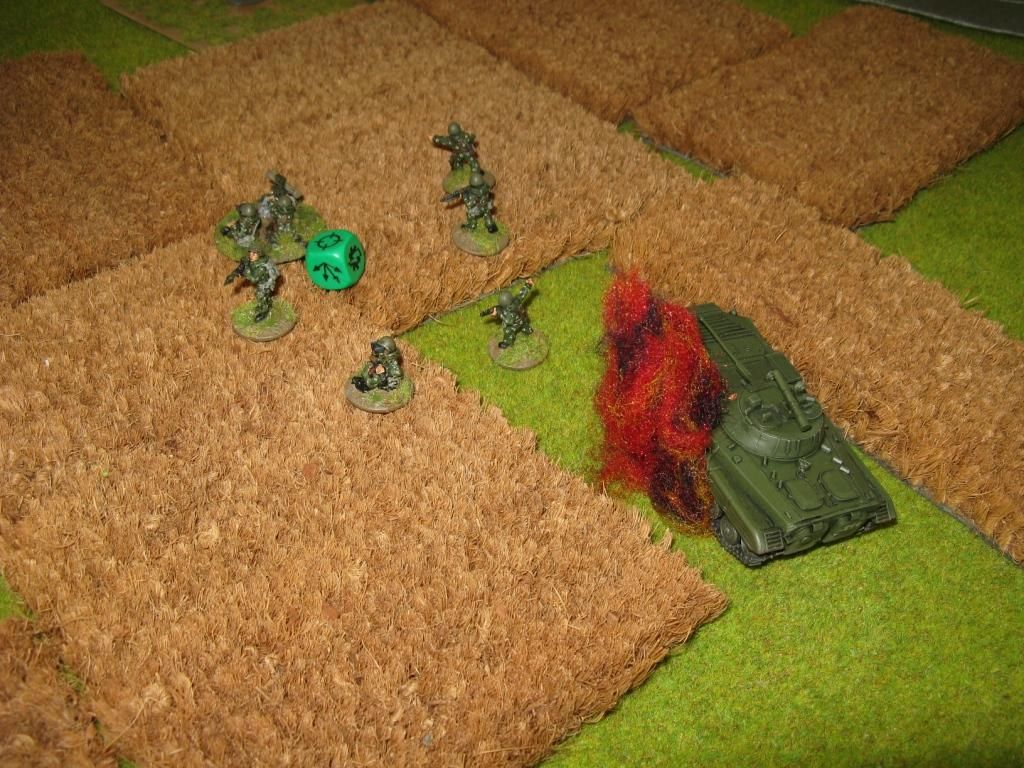
The Soviets were fairly cautious (not knowing what was where) but managed to spot the Remote Team hidden in a building. Some reasonably poor shooting from a 30mm cannon, managed to kill one of them. (We used a Star Wars dice to remind us)
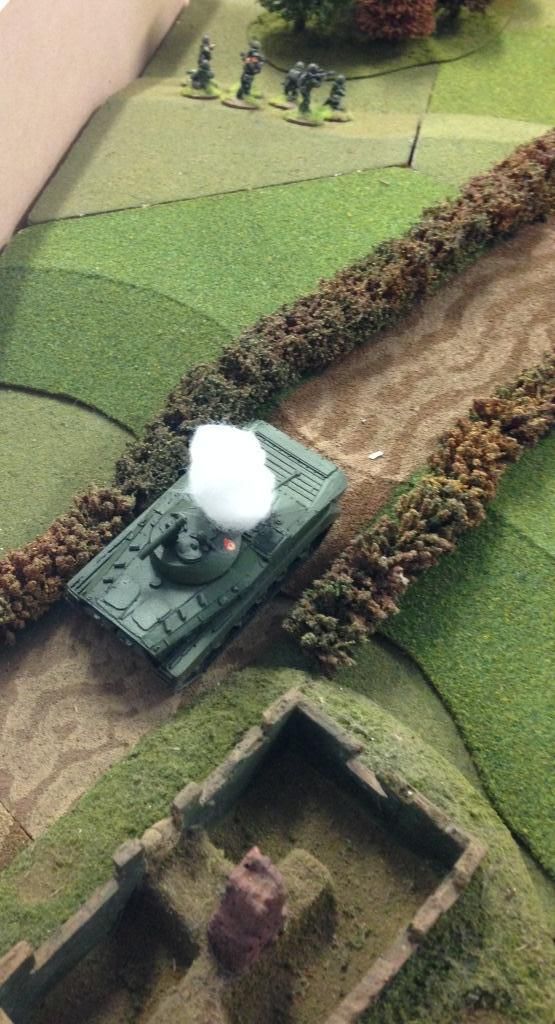
However the Remote Team could still function (passed it's morale test) and it directed a Swingfire missile at the BMP-2.
Which struck home...
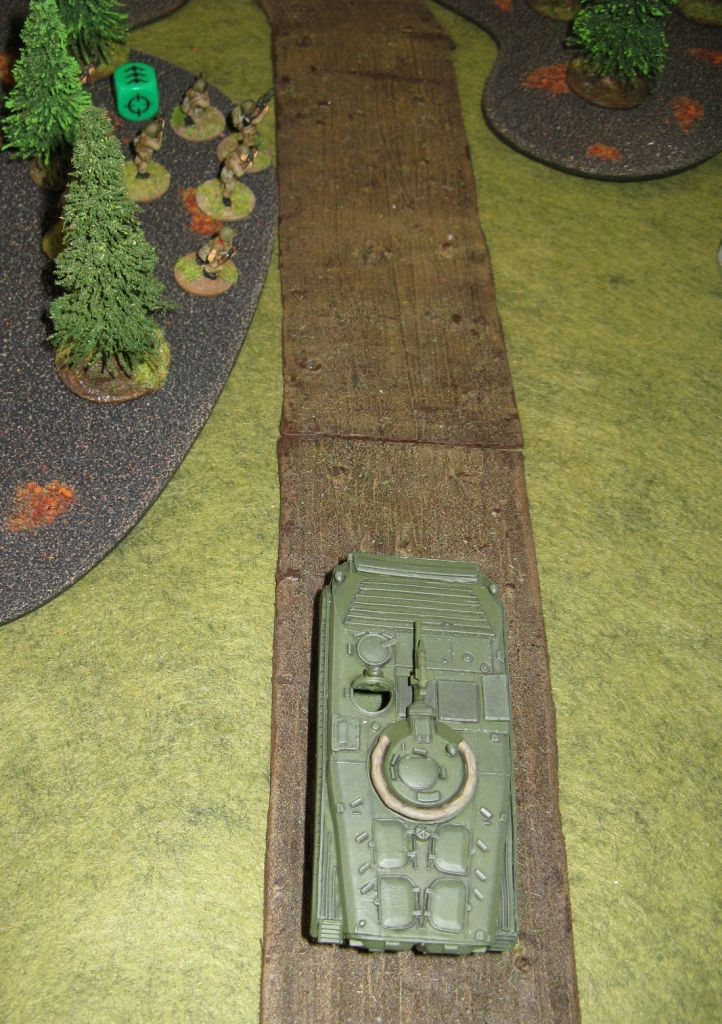
Fortunately - as you can see above, I had already dismounted my motor rifle chaps who were working their way up the flank. Here another shot of the British end of the table with my lads way off in the background.
Same point in the battle from another angle
You can see another 2 hidden markers in the background.
For whatever reason - I probably thought the road was too heavily defended - I moved my BRDM-2 into the centre of the table with the surviving BMP.
Again the infantry dismounted, taking with them the BMP's AT-5 ATGM.
This was able to take out one of the Scimitars, while the BMP killed the final member of the Remote Team, forcing the Striker to withdraw.
Things were starting to swing the way of the Soviets.
The BRDM-2 made a mad dash through the deserted town to reach the bridge (which marked the end of this part of the table.
The Brits decided to take a bit of revenge on a poor innocent BMP squad hiding in a building.
Two turns of firing a 30mm Rarden cannon into the building turned my squad into red mist... However, it did give the remaing BMP-2 the chance to disengage in the centre of the table and move towards the town.
And the next turn both the BRDM-2 and BMP-2 had made it to the bridge (which looks remarkably like Pegasus Bridge?).
I'm not sure how the dismounts felt, but imagined that at this point the British had been outflanked and so withdrew to the Northwest.
So the first real test was over. Things had all worked smoothly and I was now ready for the next, bigger game a couple of days later.
Stay tuned...
Richard
Subscribe to:
Posts (Atom)
