23 September 2010

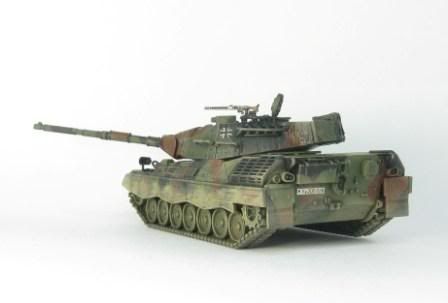
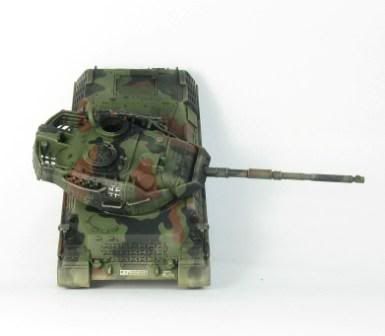
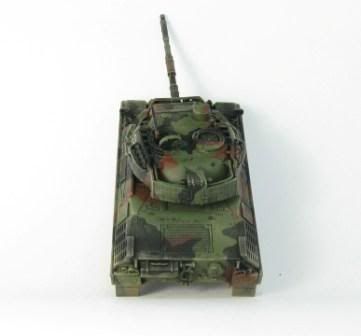
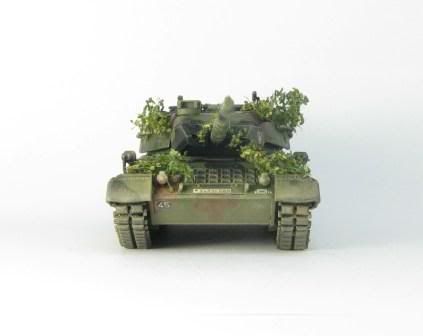
Leopard 1A5

If August was Soviet Month then September appears to be Random Month! So to keep it up, today's episode is based around the Revell Leopard 1A5.

You can find out more about the Leopard 1 series here

REVIEW

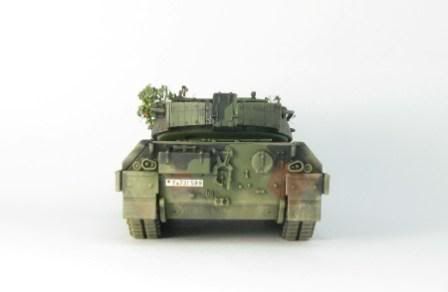
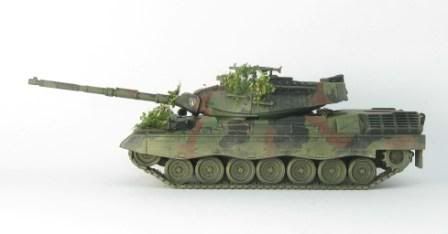
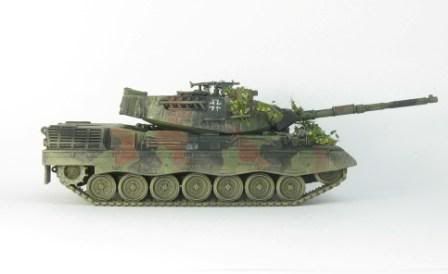
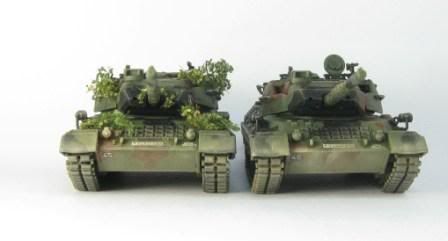
I really like Revell kits and this one is once again simply lovely. There are a couple of things that were a bit fiddly, like the applique armour and the stowage baskets around the turret, and I'm not sure I choose the right version - something to do with the engine grills on the rear sides, but basically the whole kit went together very well. So well that I went and got another one!

PAINTING

I used exactly the same techniques and colours on the Leopard 1A5 as I used on the Leopard 2A4 and the Marder 1A3.

So here are some of pics of the completed vehicles:

Photobucket
Leo 1 front

Photobucket
Leo 1 Rear

Photobucket
Front Above

Photobucket
Rear Above

Photobucket
2nd Leo 1 Front

Photobucket
2nd Leo 1 Rear

Photobucket
2nd Leo 1 Side

Photobucket
The Other Side

Photobucket
Together.

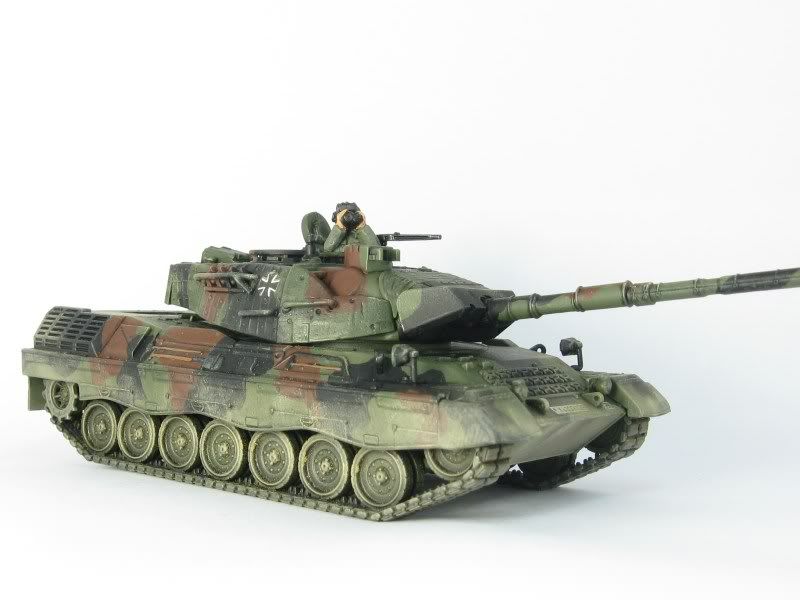
A bit later I managed to get hold of some Liberation Soviet tank crews. West German tankers wore very similar helmets so I was able to add these figures into my West German tanks like so.:
Photobucket

So that's my 2 finished Leopard 1A5's.

Here's some youtube clips on Leopard 1's.


A general clip about the Leopard 1 - but it does have good shots of the 1A5 in it.


I had to include a clip with a Leopard charging off a jump and firing at the same time. I think its the law, when talking about Leopards!


Now this isn't a Leopard 1A5 - but a tank race! How could I say no (again - I'm sure this is a legal thing!)

So that's enough for now...

Have fun

Richard
17 September 2010

WARPAC Reinforcements W-I-P

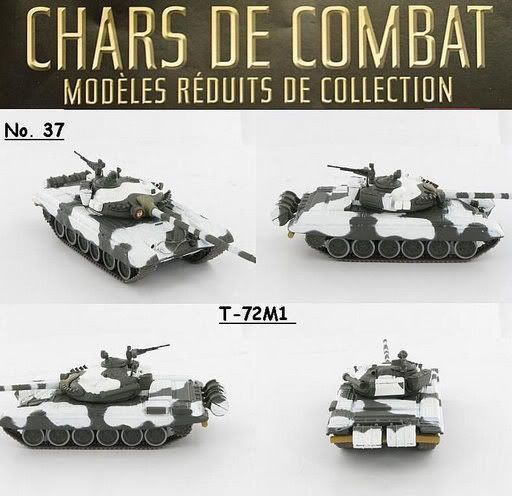
In the meantime I was recently able to buy 3 T-72's that came as part of the "Tank Collection Magazine" here in Oz. They come looking like this:

Photobucket

This image is from the excellent Diecast 72 website.

I wanted mine to look as similar to the rest of my kit as possible so I masked up the tracks and undercarriage.

Photobucket

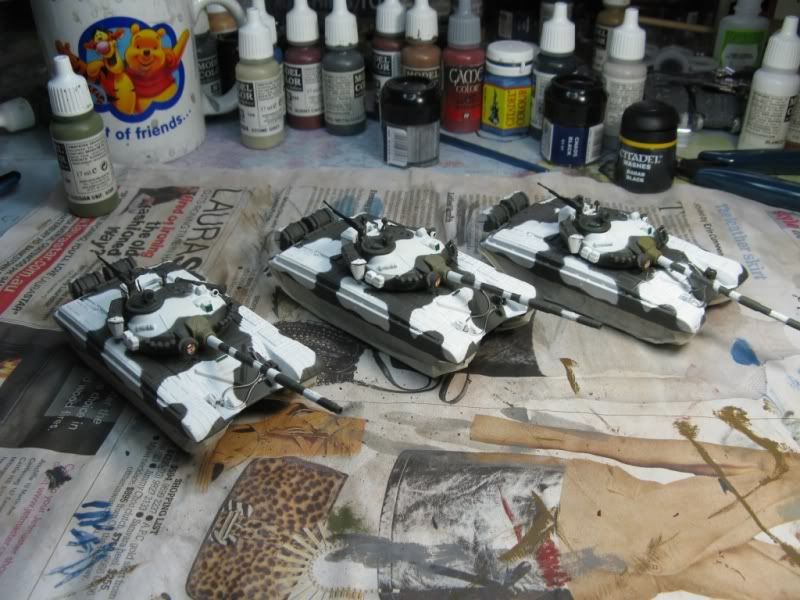
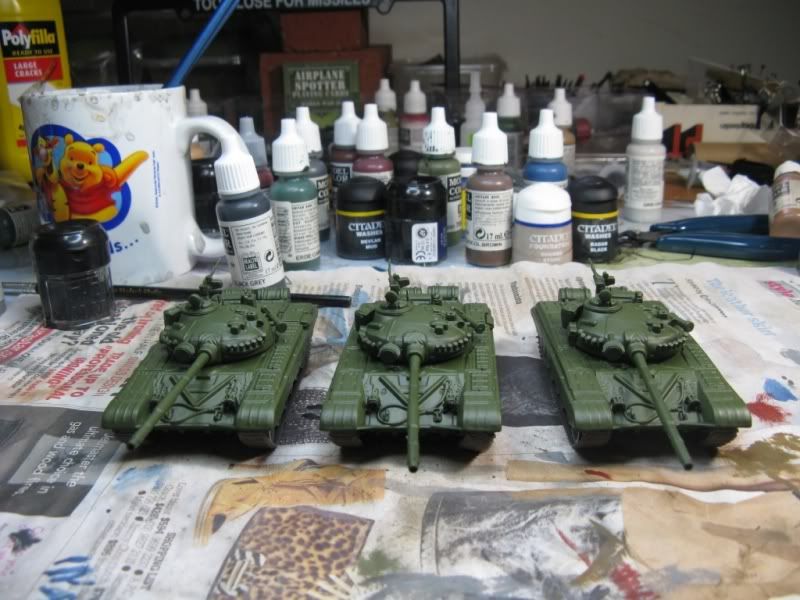
Today I undercoated them with Citadel Black Spray paint and then gave them a coat of FoW Russian Armour Spray

Photobucket

Photobucket

Next step will bring out all the detail and finish them off.

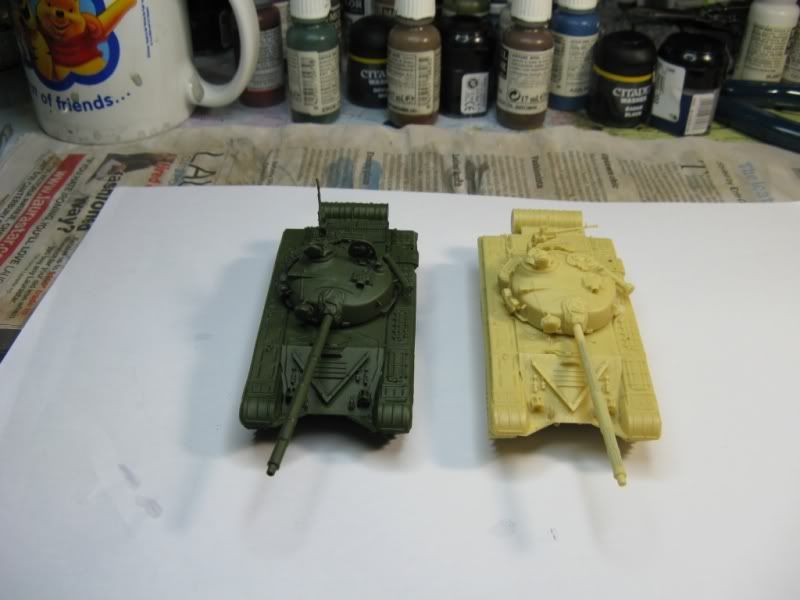
I also got a couple more T-72's from a mate. They are fairly rare Cromwell Models Resin Kits. Fantastic detail, but a bit of a bugger to get ready for painting. Here they are with one undercoated and the other just finished

Photobucket

I'll provide a proper review further down the track when these are finished, and will also compare these brands with my Forces of Valor and Revell T-72's.

I now have 10 of these little beasts which I think is approximately on a 1-to-1 basis the equivalent of a Soviet Tank Platoon, while in Modern Rapid Fire, I'm relatively sure 10 Tanks is the equivalent of a Tank Battalion.

Thanks all for now

Have fun

Richard

Terrain Week

As I stated in an earlier post, this week I've been working on some terrain for a tournament I am helping to organise in acouple of weeks. I helped run the Flames of War comp at MOAB last year - and we did a bucket load of work.

This year, with all that done, its supposed to be much easier. Lets hope it turns out that way.

I wanted to change a few things this year - add some additional terrain to some of the tables and take off bits of terrain from other tables. I've collected the odd bit & peice over the last year, and this week was the week to paint it all.

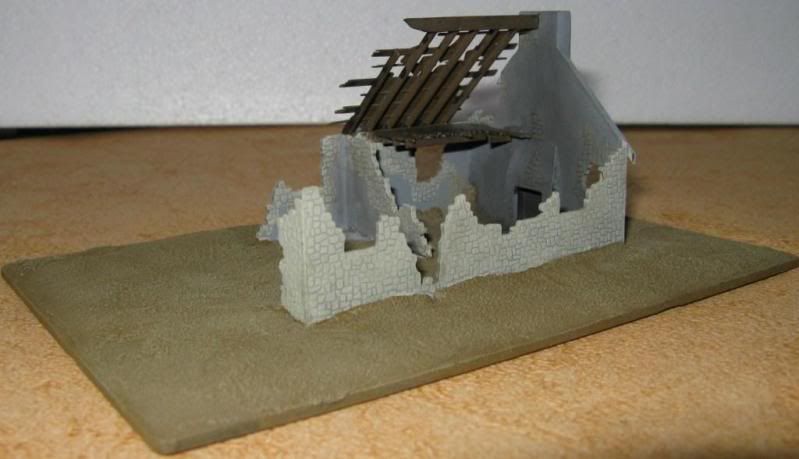
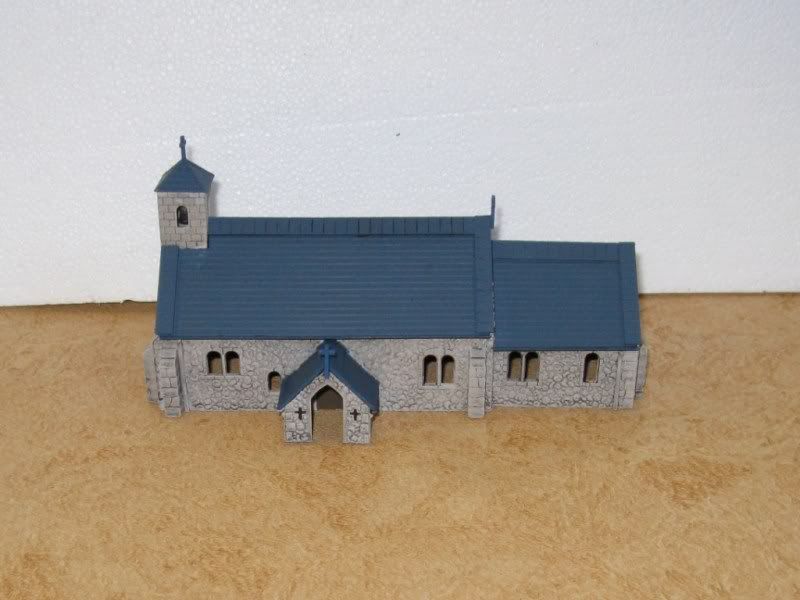
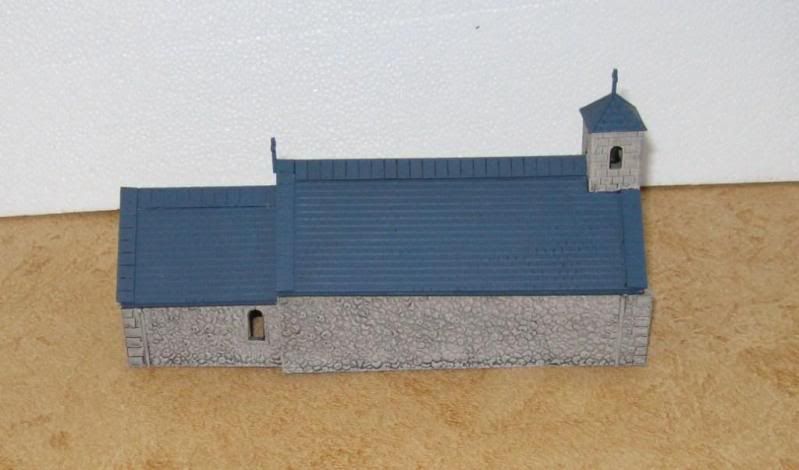
The good thing about much of this is that it is either 20mm terrain that can be used to fit in with 15mm, or it is 15mm terrain that seems to fit well with 20mm! So here it is:

Photobucket

Photobucket
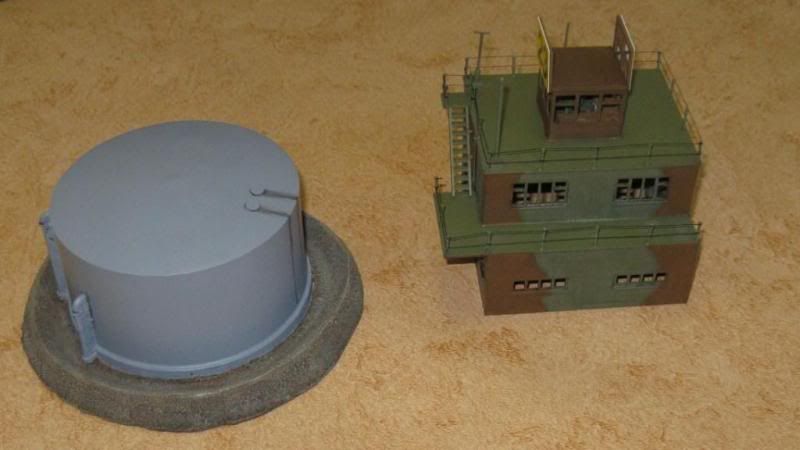
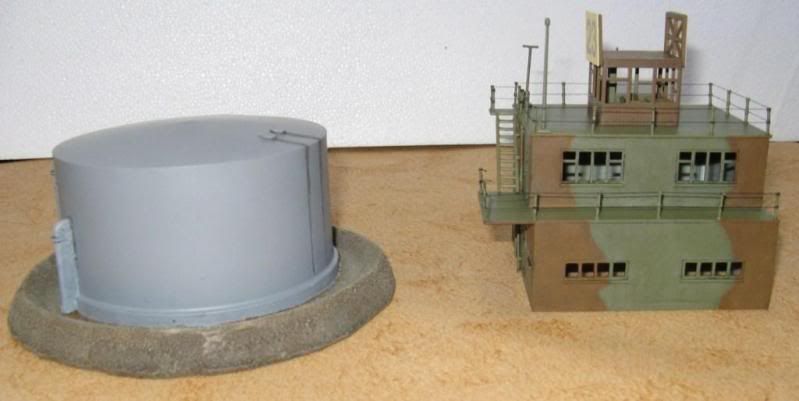
JR Miniatures Fuel tank and Airfix Control Tower - for an airfield table.

Photobucket

Photobucket
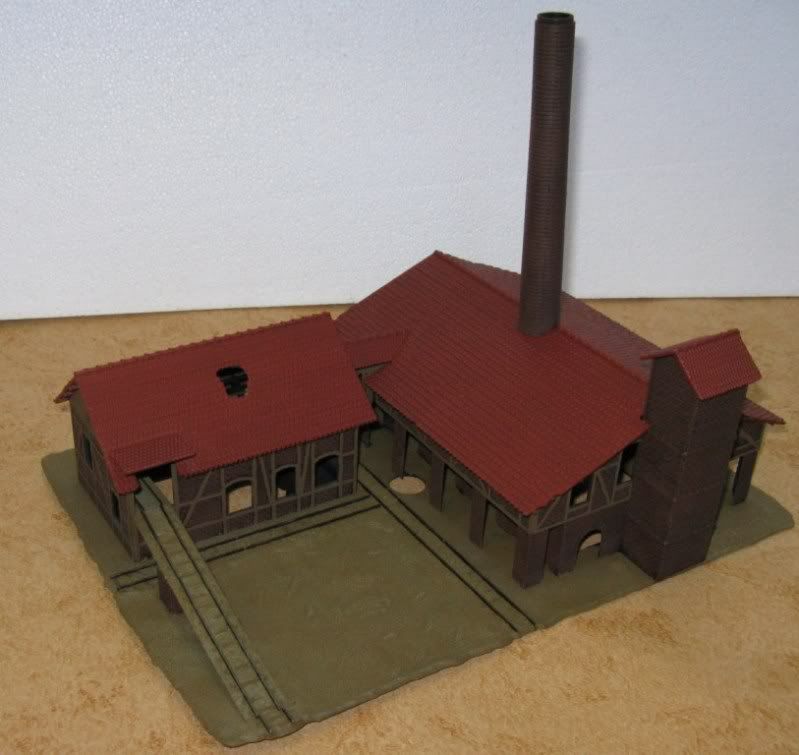
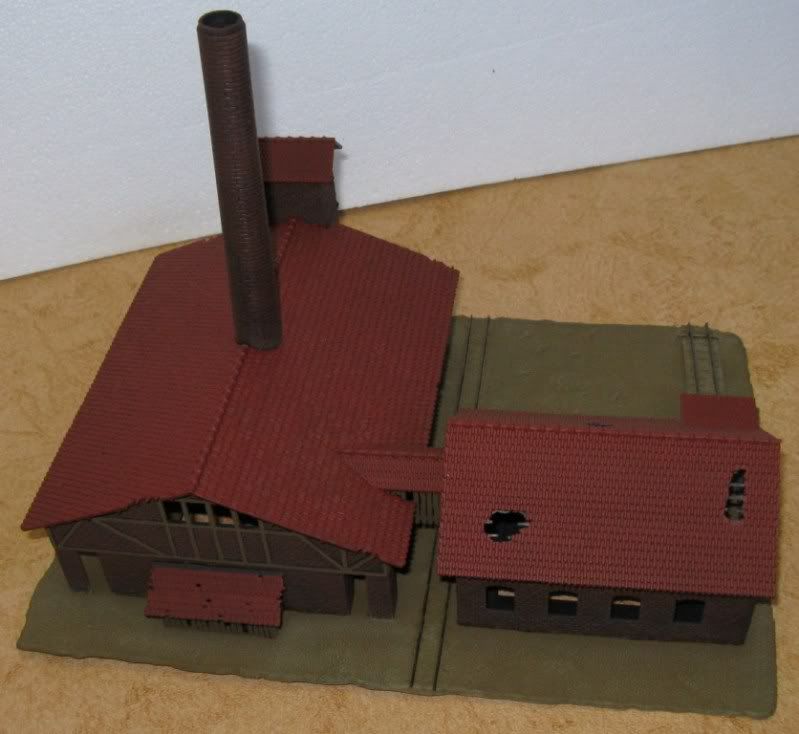
POLA Brickworks

Photobucket

Photobucket
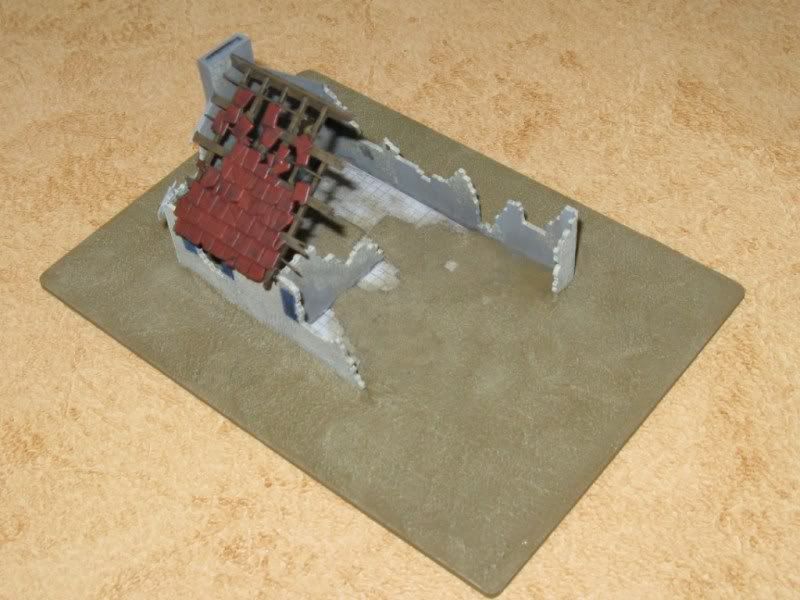
Airfix Forward Command Post

Photobucket

Photobucket
Dapol Village Church

Photobucket
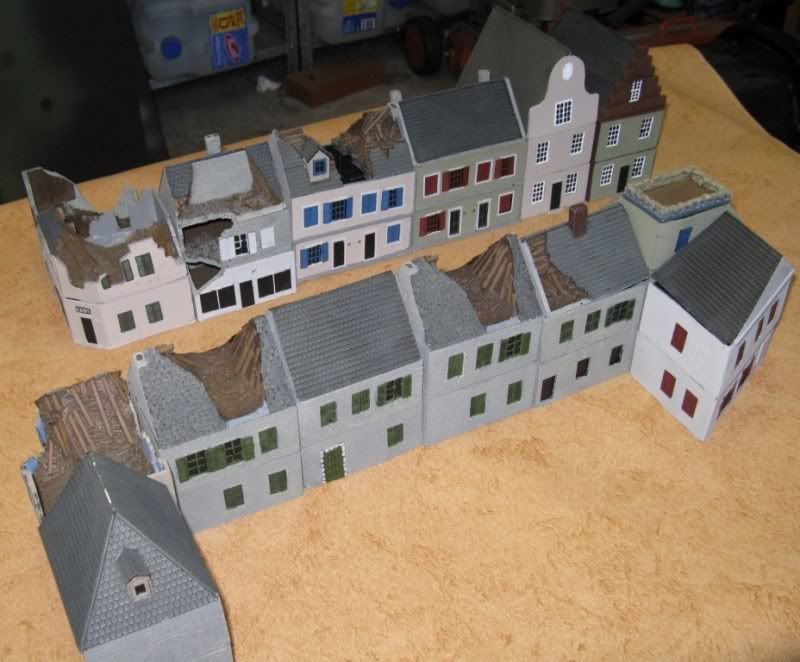
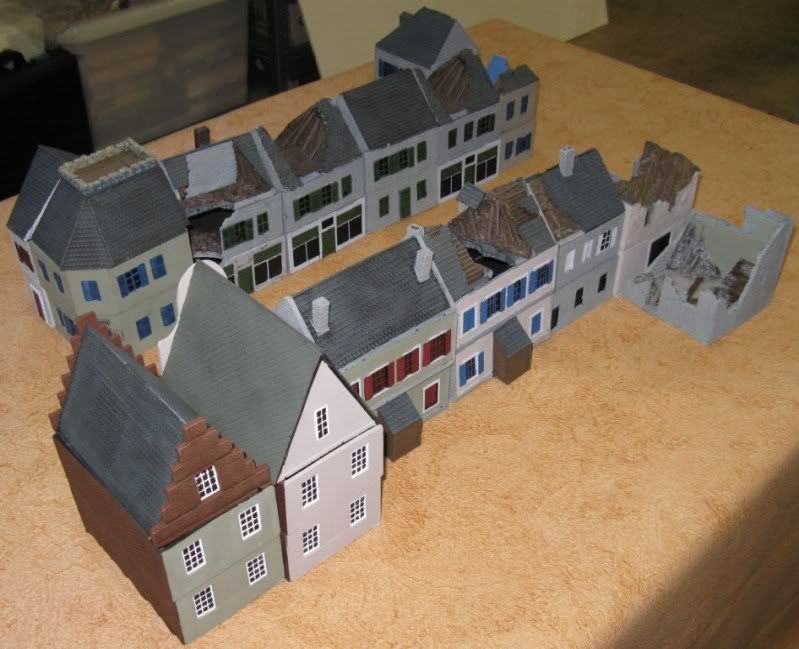
A row of houses from Battlefield Accessories

Add these together with a larger set of Battlefield Accessories houses and shops I completed last year and I can put together a set like this:

Photobucket

Photobucket

Personally I think these buildings could pass for for a small rural German village in the 1980s with just a little bit of imagination.

More to follow shortly...

Have fun

Richard
13 September 2010

Soldiers - A History of Men in Battle - ENGINEERS

Over lunch today I watched this episode of Soldiers, focused on Engineers. Like all episodes of the show it is full of good stuff, and as a bonus for this blog, has some great shots of the contemporary British Army in action. The episode shows British sappers in action looking for mines, bridging a small river in Germany and then having Chieftains cross the river.

It also shows a variety of 1980's British engineering vehicles in action.

Obviously its full of other great stuff so please - sit back and enjoy this next episode of Soldiers.


Painting plenty - but all for a WWII tournament I'm helping to run in Sydney at MOAB - so not so much 1980's kit at the moment. Hence these last couple of filler updates - but I always wanted to have these up on the blog, so there you go.

Have fun

Richard
09 September 2010

Soldiers - A History of Men in Battle - INFANTRY

I should be painting - but I'm too tired - so I thought I'd have a quick look at a documentary on Youtube. This episode of Soldiers - A History of Men in Battle as some great shots of British Infantry at work and in training so I thought it might be the right time to put it up on the blog.

So here it is


Worth watching just to see the bayonet training!

Have fun

Richard
07 September 2010

British 1980's Infantry

Well, now for something non-Soviet for a bit of a change.

I always like to have some infantry finished before I try and tackle the forces vehicles. It doesn't always work out like that - but it's too easy to end up with a stack of cool tanks and MICVs and have no squaddies to do the actual fighting.

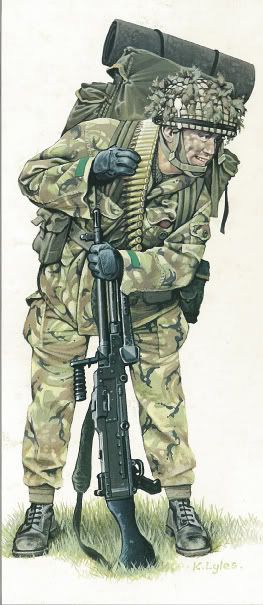
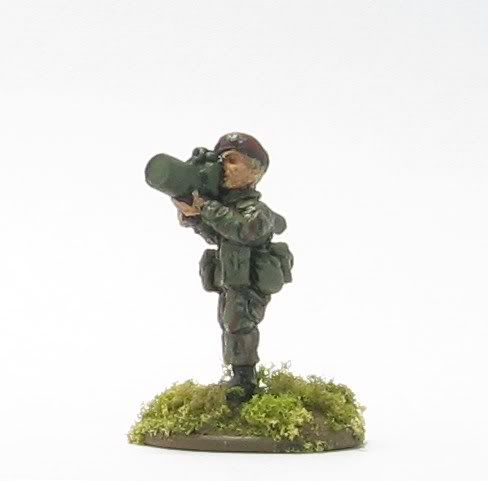
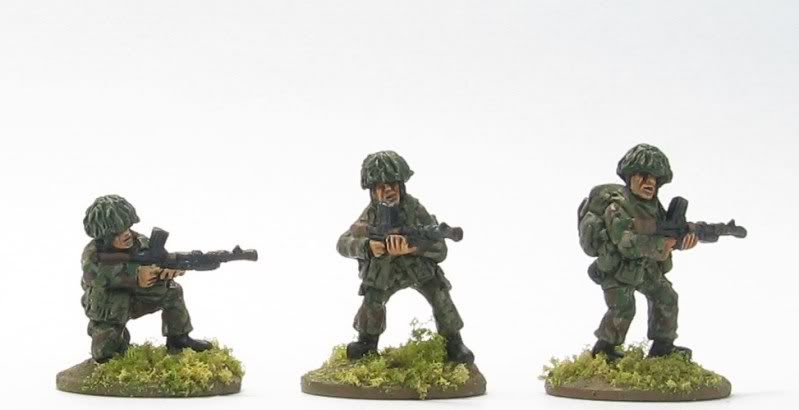
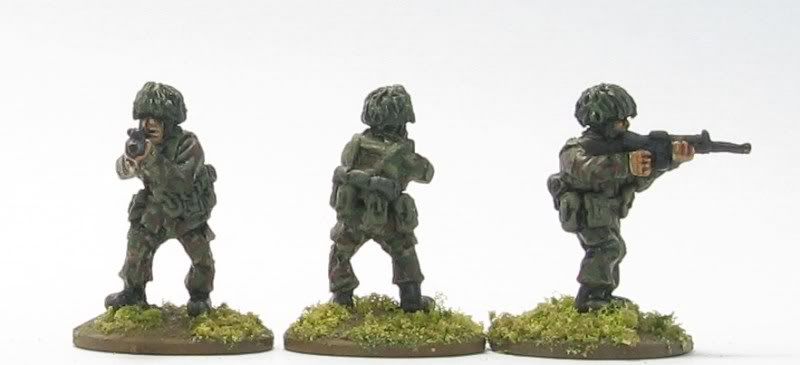
Hence I've been holding off on all my British kit, However, I recently came into the possession of some Liberation British figures and a single Platoon 20 chappie firing a Blowpipe missile. These rose very quickly to the top of my to-do list and hence here they are. The aim was to have them look something like this:

Photobucket

This image is taken from issue 2 of the Falklands War magazine and is of a British Paratrooper.

I also used the British DPM material as a guide (from my 28 April blog update) as well as this guide which I found on this excellent blog: Winter of '79

I didn't follow the tutorial word for word - but did find it very useful.

PAINTING

PAINTING

Once again my biggest concern the British DPM and I'm still not 100% sure of this lot, but at least it looks more like British DPM than US Woodlands. These were painted using my more traditional method.

If I had my tiem again I'd paint on the green cam swirls first and then the brown.


1. Black Undercoat – Citadel Spray
2. DPM Uniform – Base colour – Vallejo Khaki. Only the base colour was painted at this point.
3. Helmets – Vallejo Reflective Green (I think)
4. Flesh - Vallejo Flat Flesh
5. Webbing & Pouches - Vallejo Green Grey
6. Bren woodwork - Vallejo Beige Brown
7. SLR woodwork - Vallejo German Cam Black Brown
8. Weapon's metalwork - Vallejo Black Grey
9. The whole figure (excluding flesh) was washed with a Black magic wash
10. Highlight pretty much everything with original colours
11. Paint Citadel Ogyrn Flesh wash on all flesh and highlight with more Vallejo Flesh. )I then went back and added another wash over the top of this as well.
12. At this point I painted the DPM pattern over the highlighted DPM base uniform colour. The brown colour was done first – Vallejo Flat Brown is fairly large swirly like bits. Next was equally sized green swirls using Vallejo Luftwaffe Cam. Green. Finally thin lines of the black Colour using – Citadel Chaos Black. I followed the tutorial for this order - but if I had to do it again - or for the next lot - I'd do the green swirls first and then the brown
13. I highlighted the helmet scrim quickly using a Vallejo Khaki drybrush
12. Beret & Hair - I Vallejo Burnt Cad. Red for the beret and then on the one chap whose hair you could see I again used Vallejo Khaki - adding a bit of white for highlights.

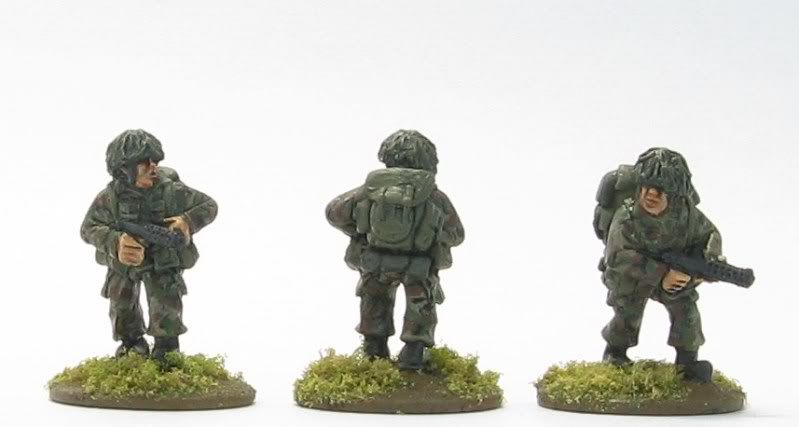
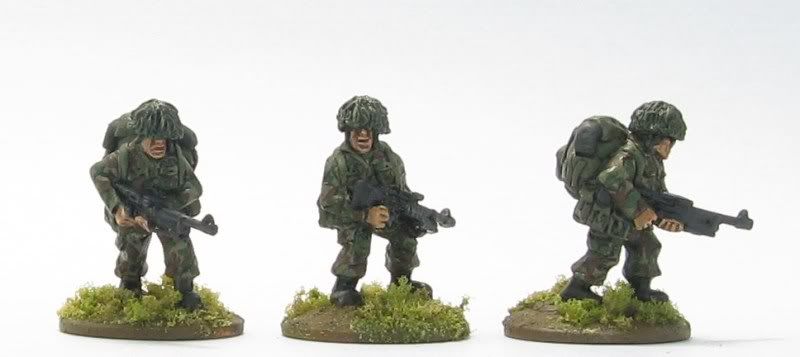
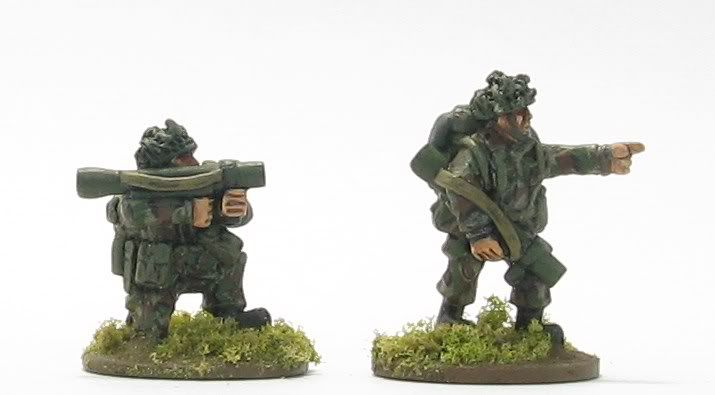
Here are some pictures of the completed figures:

Photobucket
Platoon 20 Blowpipe chap

Photobucket
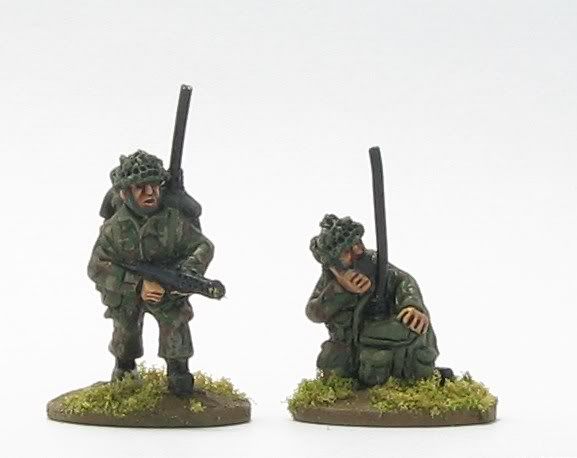
LibMin Signallers

Photobucket
LibMin chaps with Sterling SMGs

Photobucket
LibMin chaps with Bren guns

Photobucket
LibMin chaps with Gimpies

Photobucket
Libmin chaps with Carl Gustav MAWs

Photobucket

Photobucket

Photobucket

Photobucket

Pretty happy with these guys - not perfect by a long shot but good enough for me!

In honour of these guys being useable in either Cold War Hot games or Falkland Islands games I've decided to include the following youtube links:


Hope you enjoy this post

Have fun

Richard