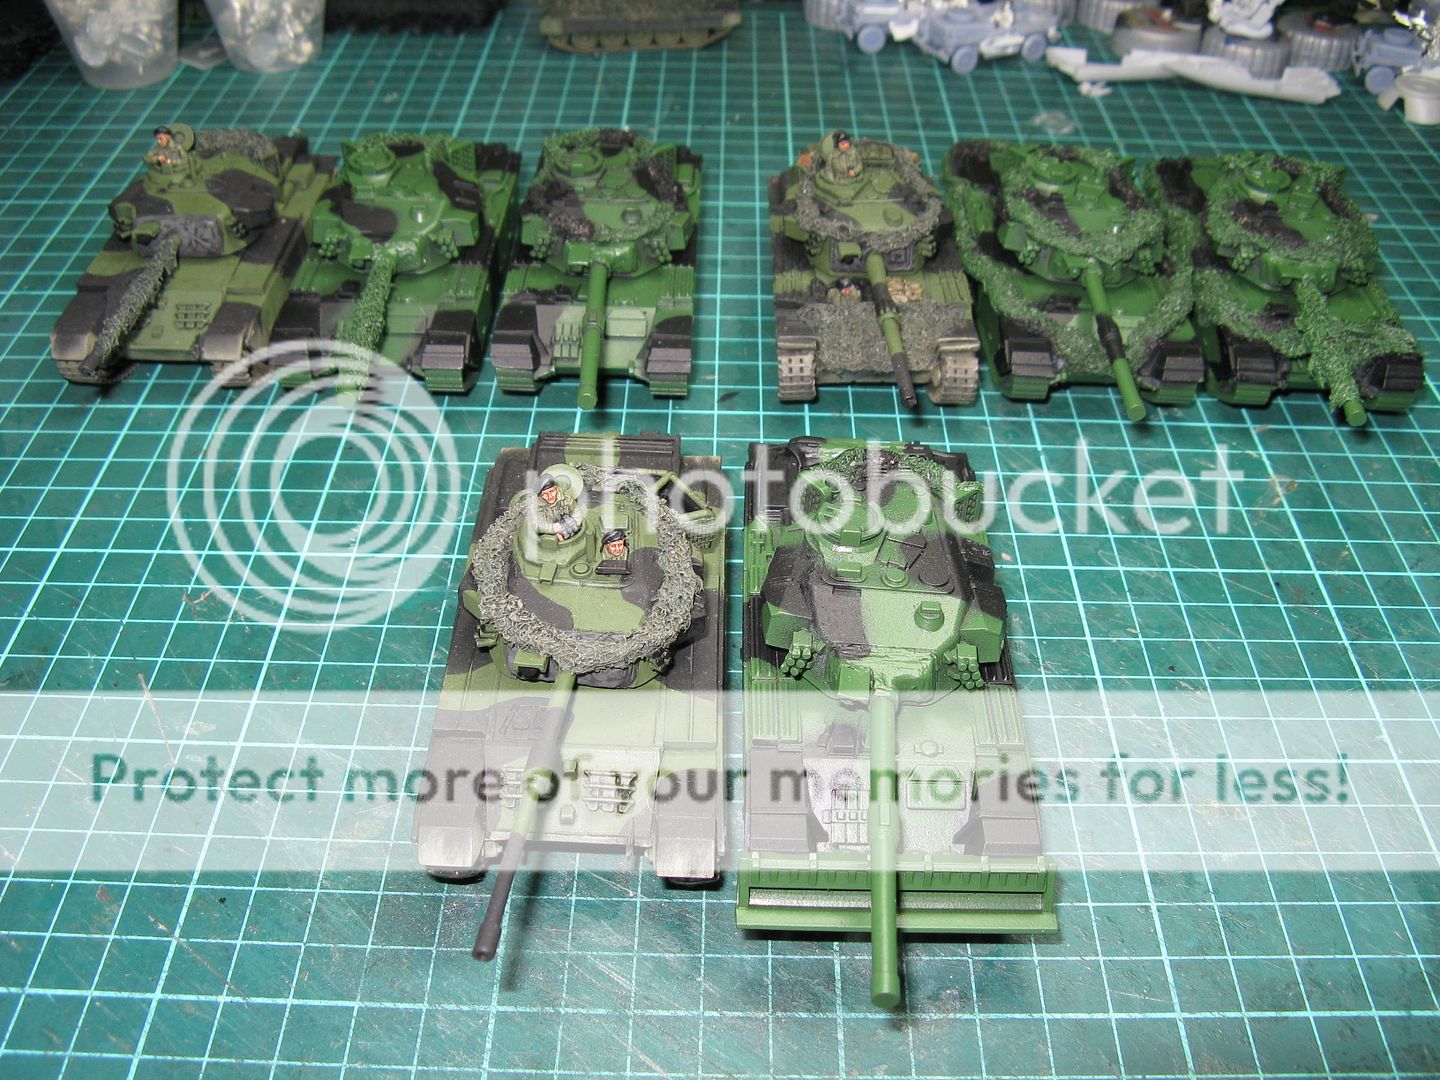
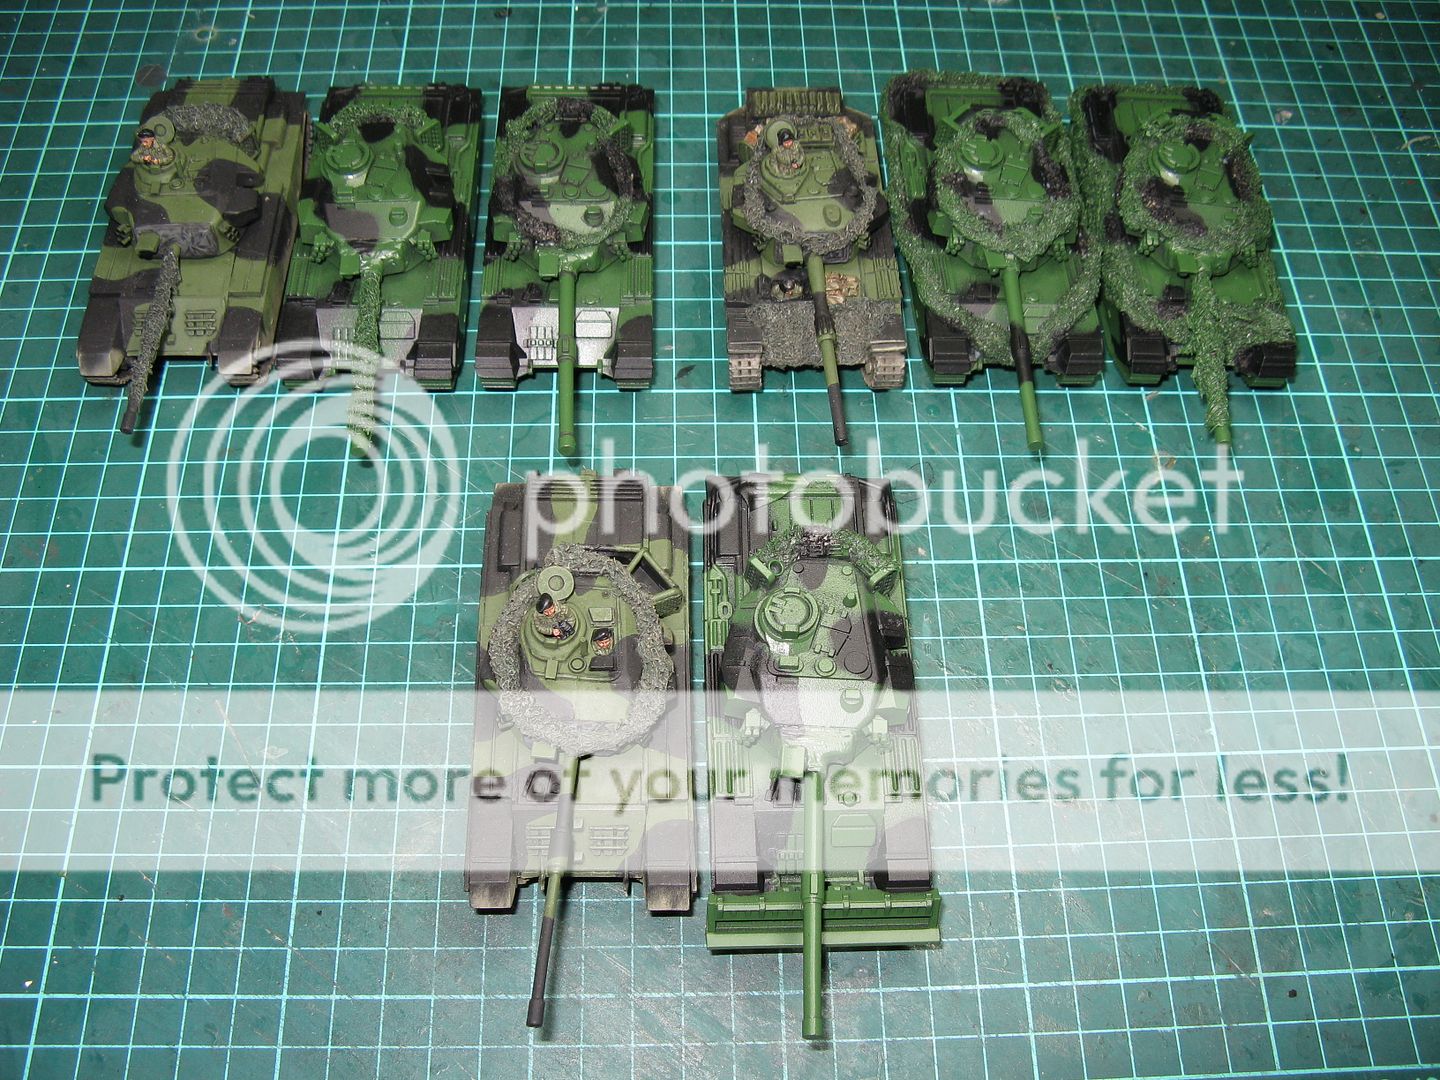
A few years back, I stumbled across some very cheap Airfix Centurions in a bargain bin at an excellent Hobby store in Newcastle (Australia - not the UK). At the time I already had 3 Centurions, and a pretty detailed list in my head of what I wanted to purchase at the store. Centurions did make an appearance on the list. I stood there for 5 minutes trying to decide on picking them up or not. Eventually I reasoned to myself - I'll never need more than 3 Centurions - and went and bought the stuff I had planned. I've regretted that decision ever since!
So when I started 3D printing, Centurions were high on the list of things that needed to get printed. Here's a little sample:
Very meaty models. The STL's can be found
here. I printed 4 standard Centurions, 3 with side skirts, 1 without. As you can see below:
I then printed a Centurion with a dozer blade. This was going to be my 2-I-C's vehicle. Unfortunately here I had some issues.
It took me a while to figure out what was going on (it turned out to be some resin had spilt onto my LCD screen) and eventually I was able to print the final Danish Centurion.
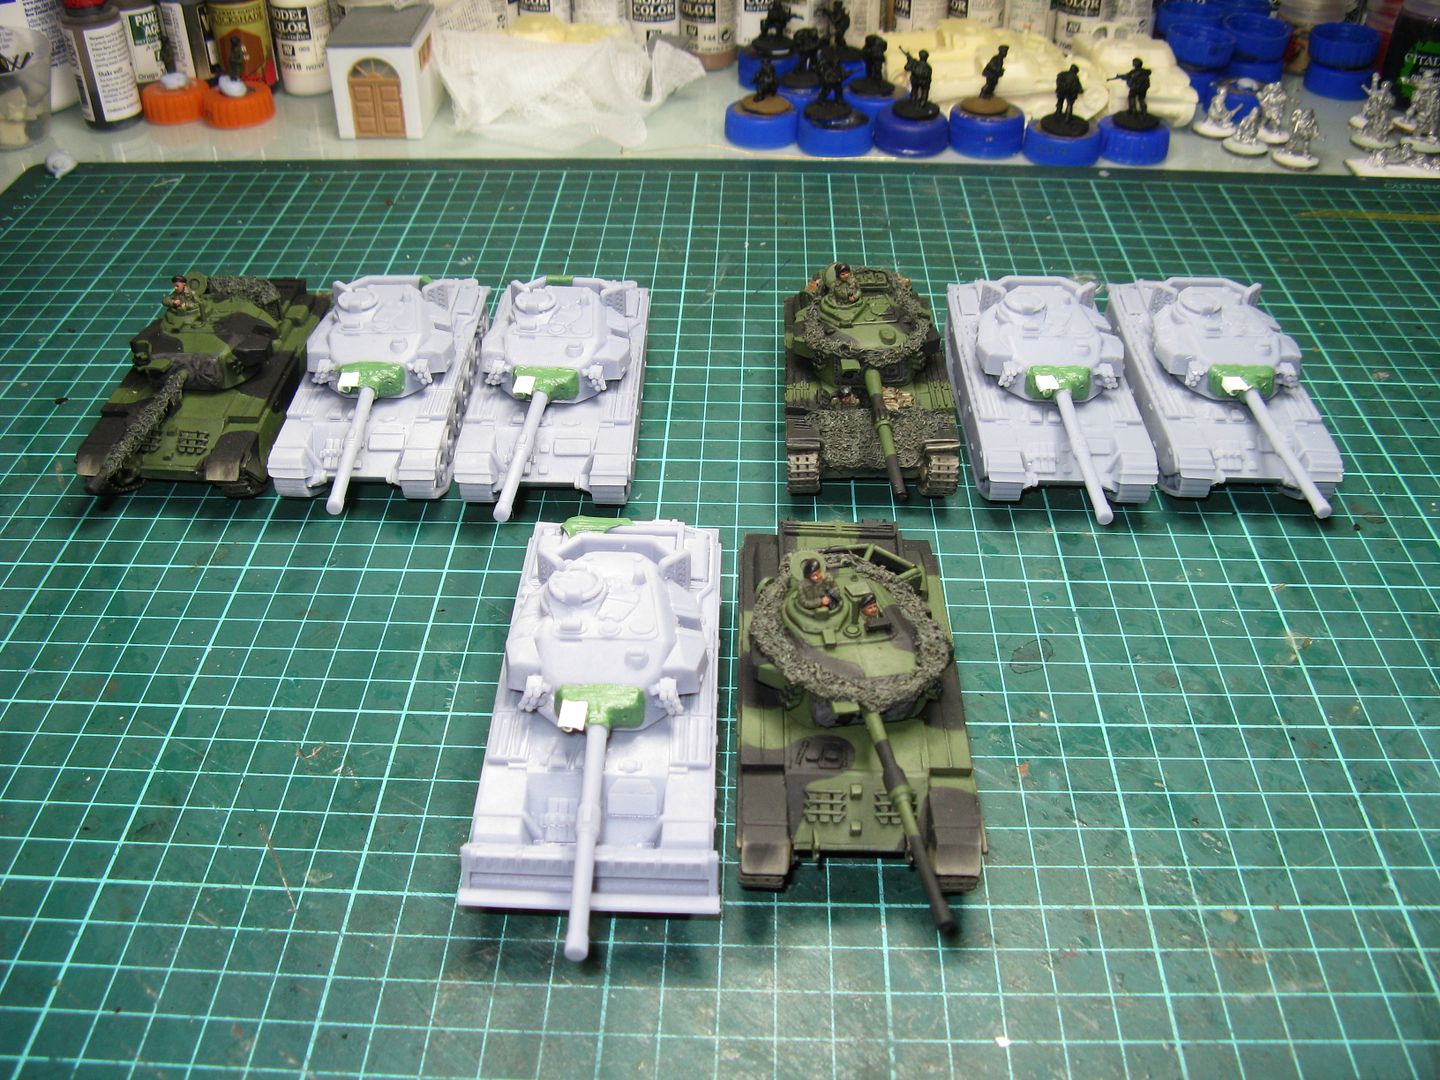
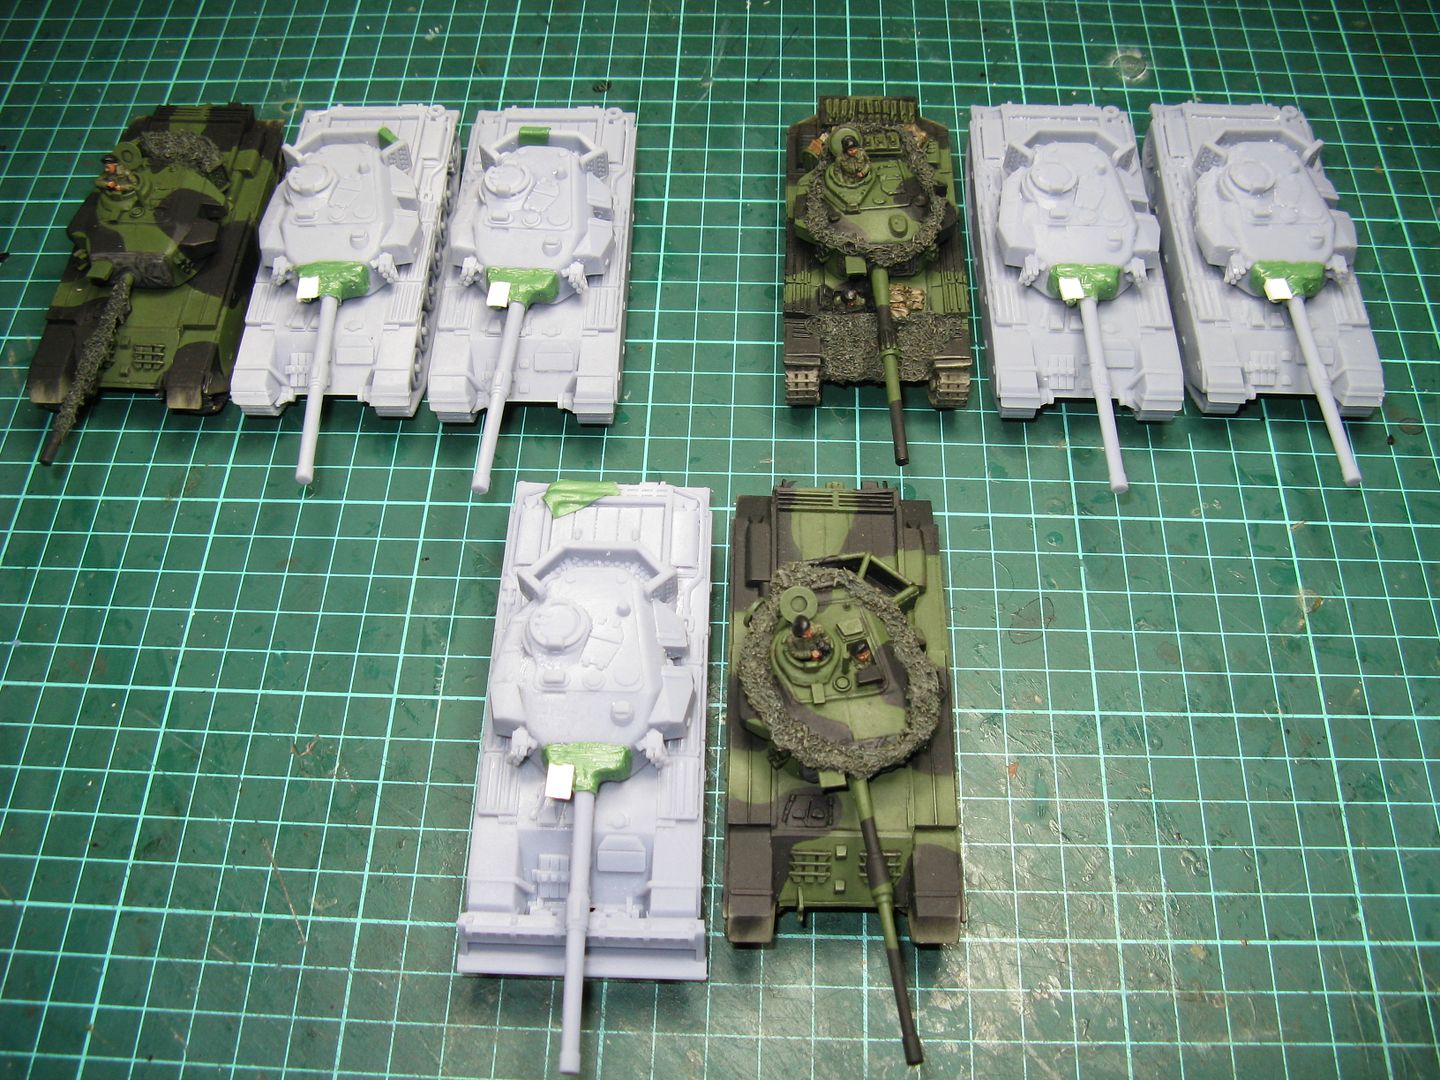
Next step was to add the Light Intensification sighting system the printed Centurions, adjust the mantlet to fit them, by scraping it down quite a lot, and then cover the mantlet in greenstuff to look like a canvas cover.
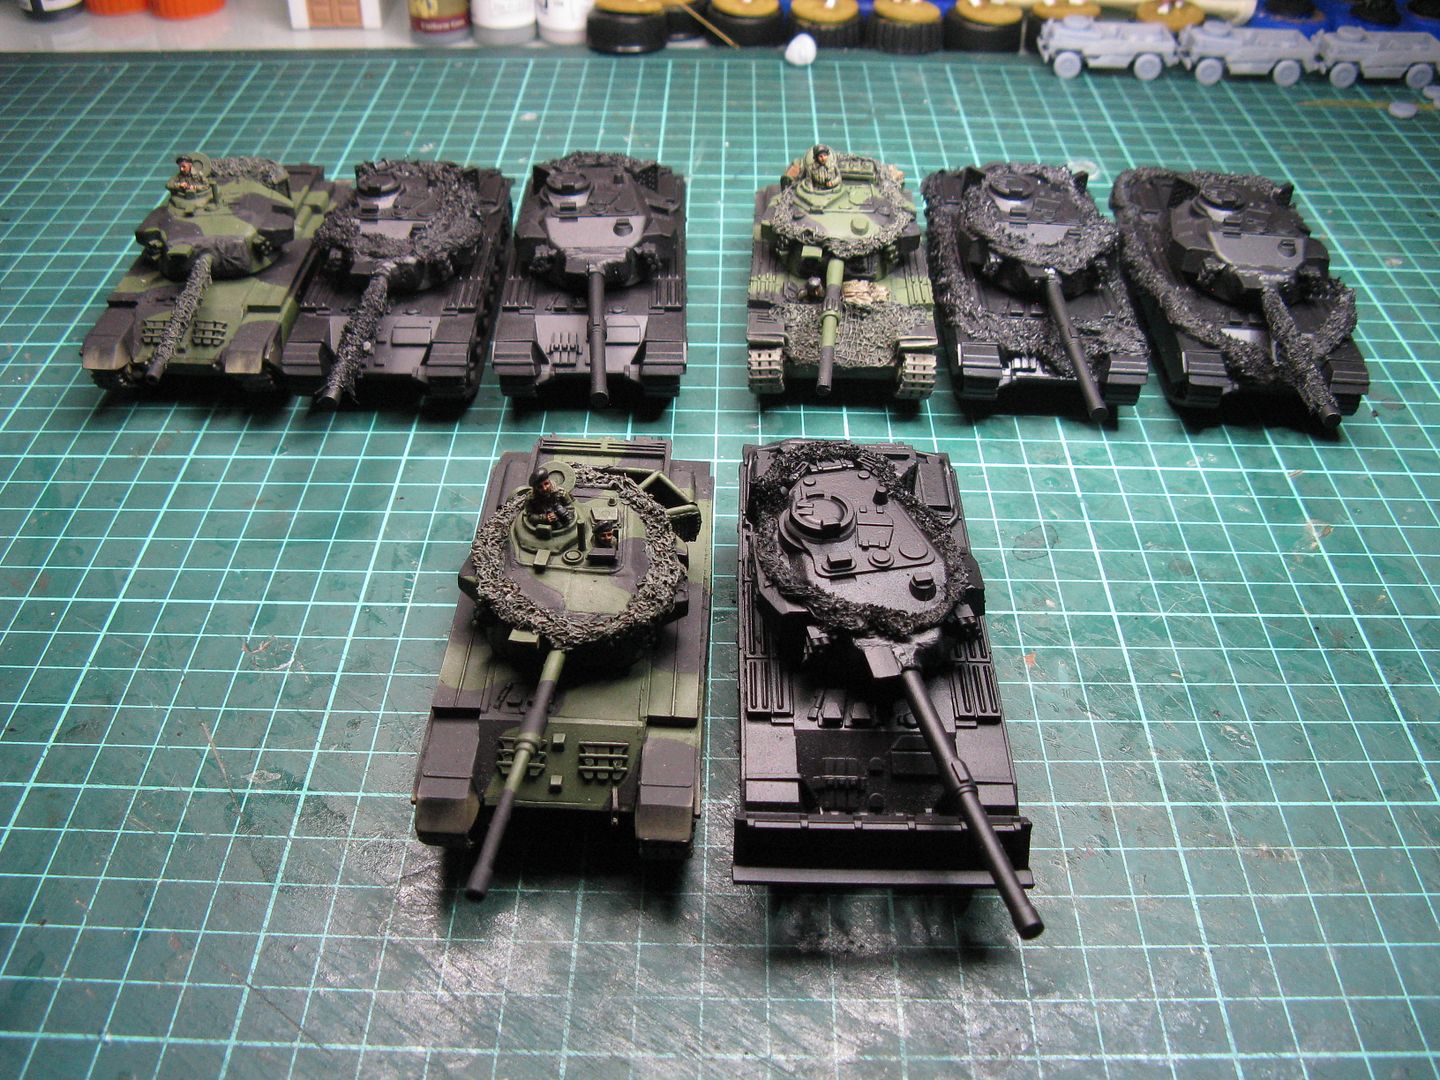
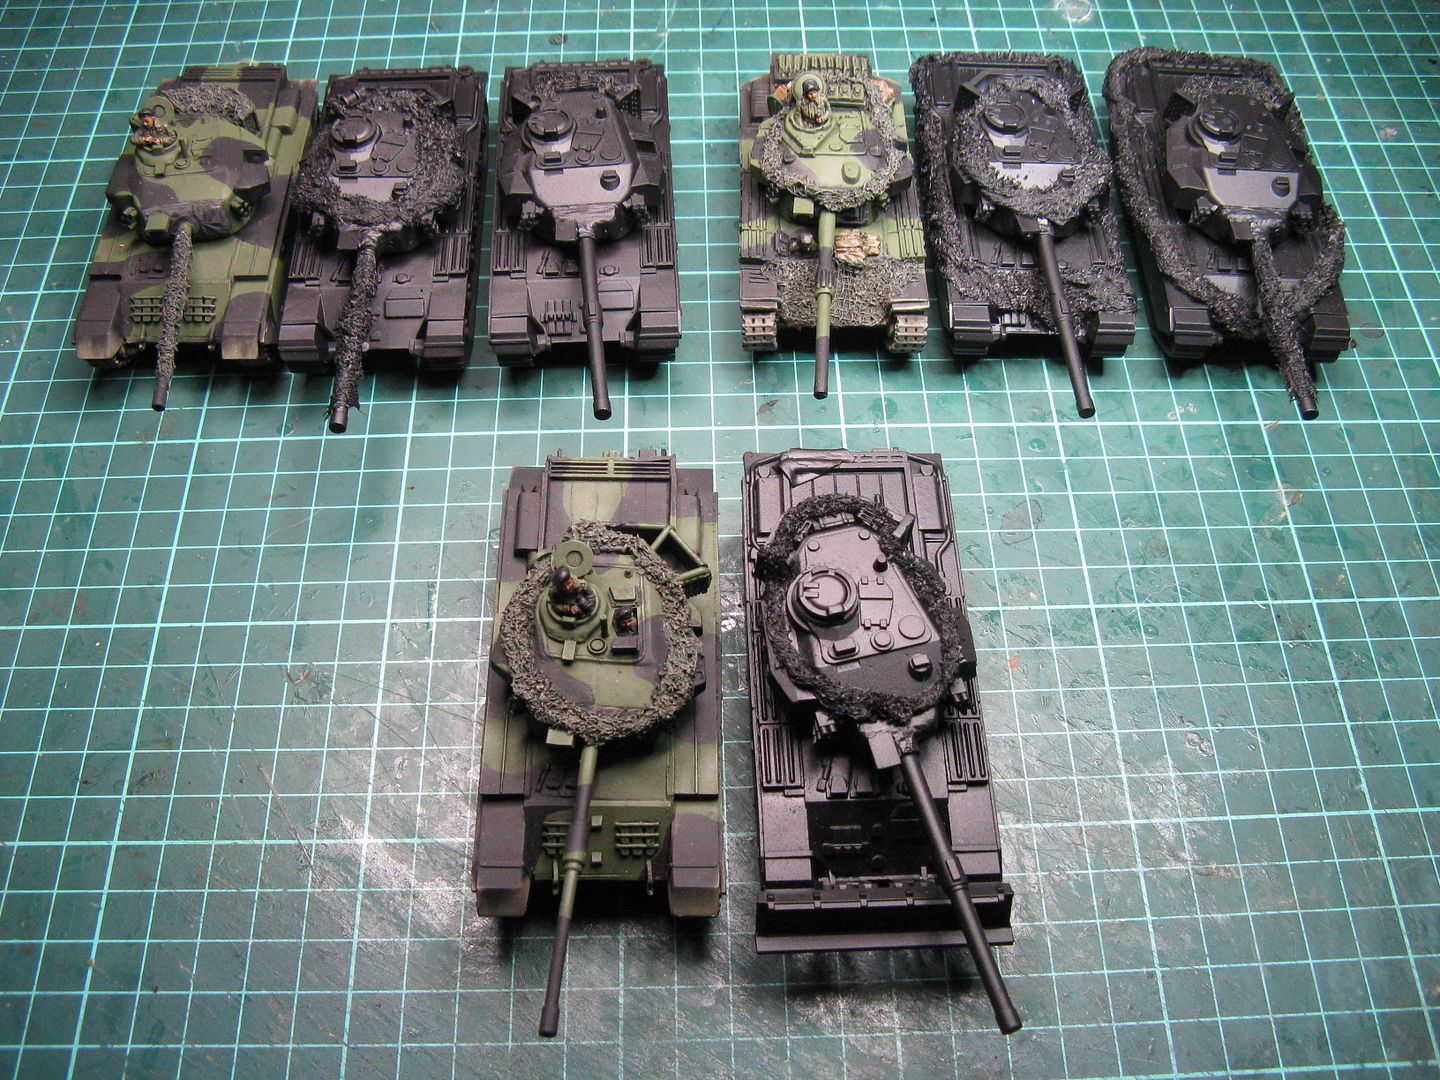
Here is the planned Squadron. It is a short Squadron, in that I plan to replace the missing troop with a Mechanised Infantry Platoon. Hopefully you can see the IL systems next to the barrels and the greenstuff covered mantlets.
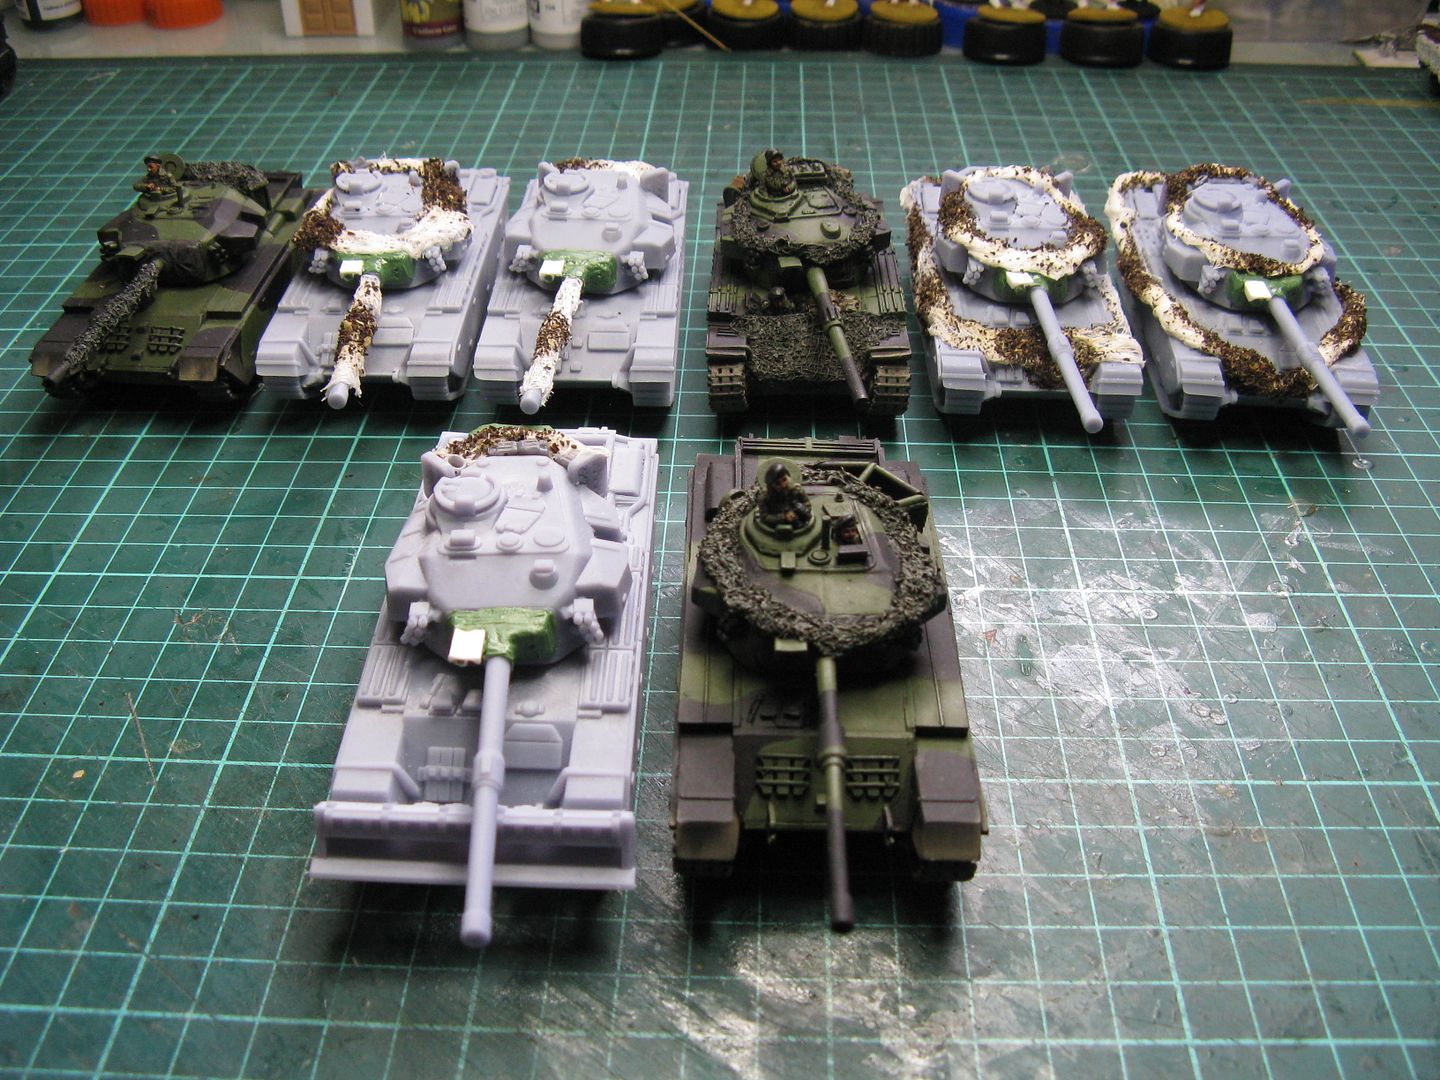
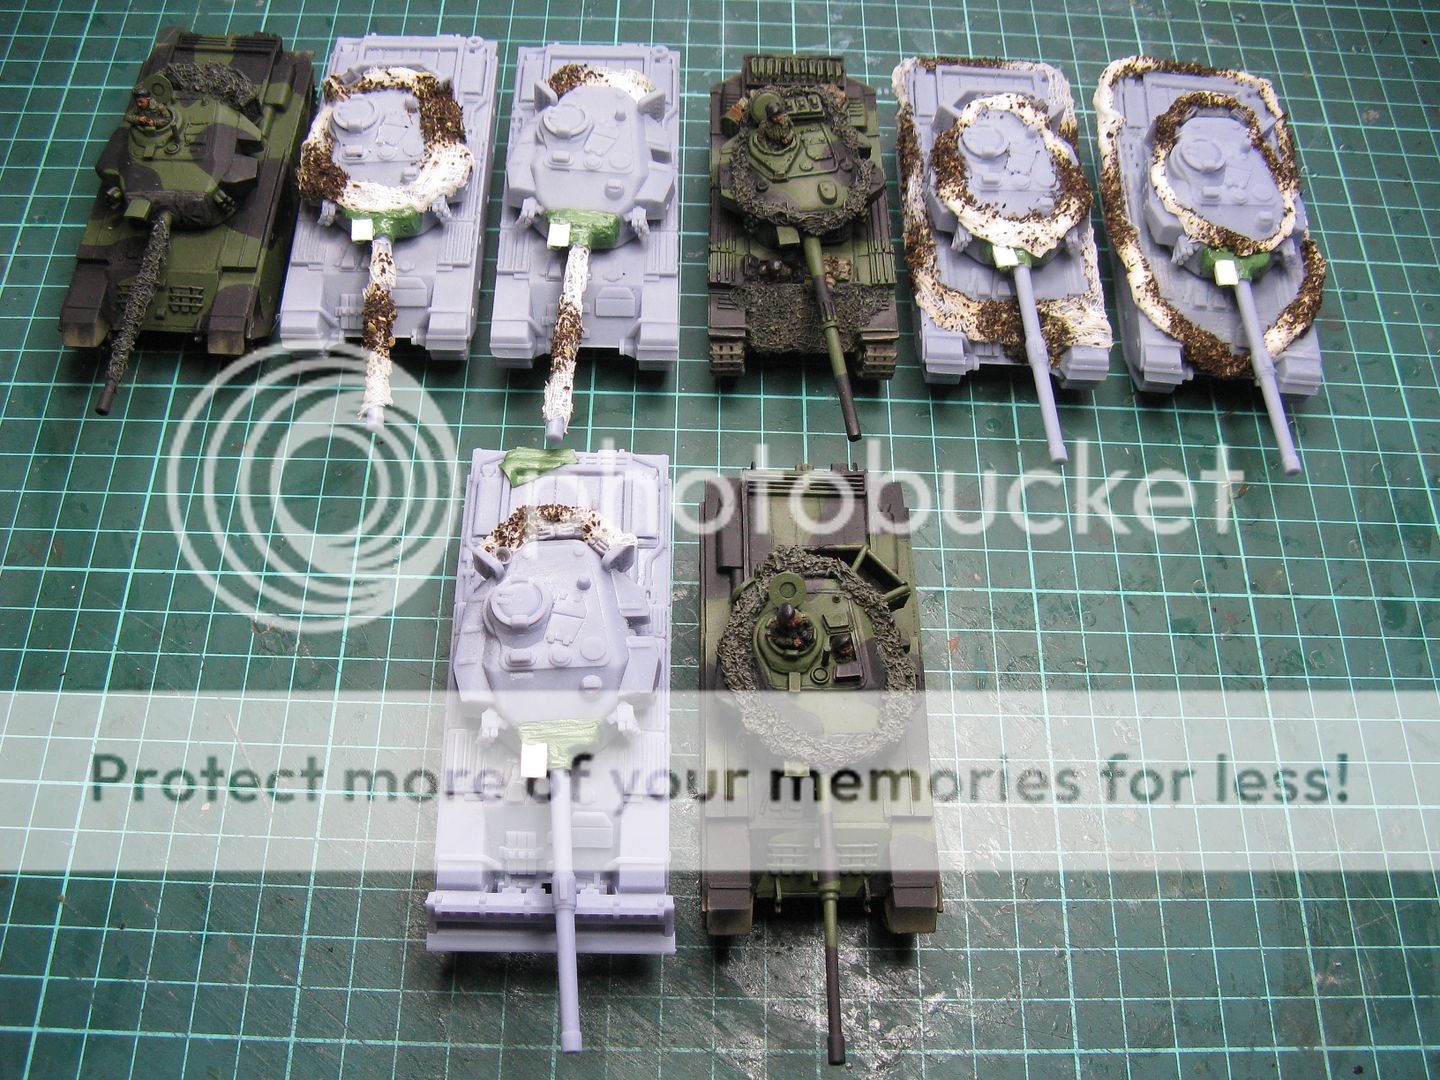
Next step was to deal with the cam netting and stowage
Then everything got a coat of black undercoat
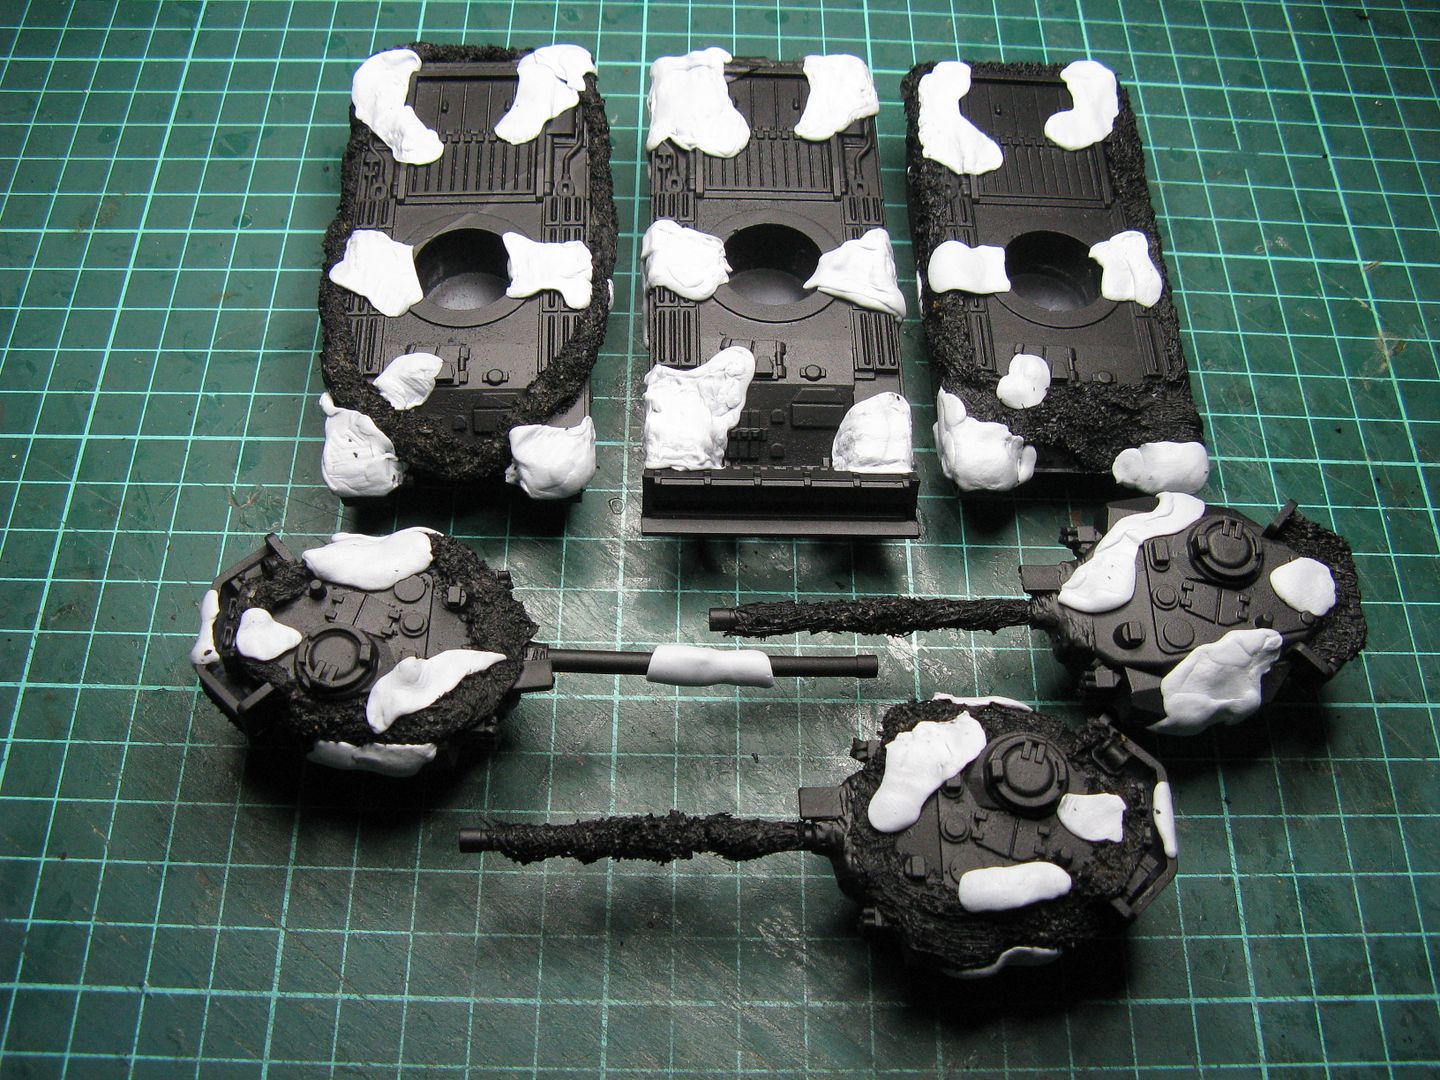
Then the blu-tack came out:
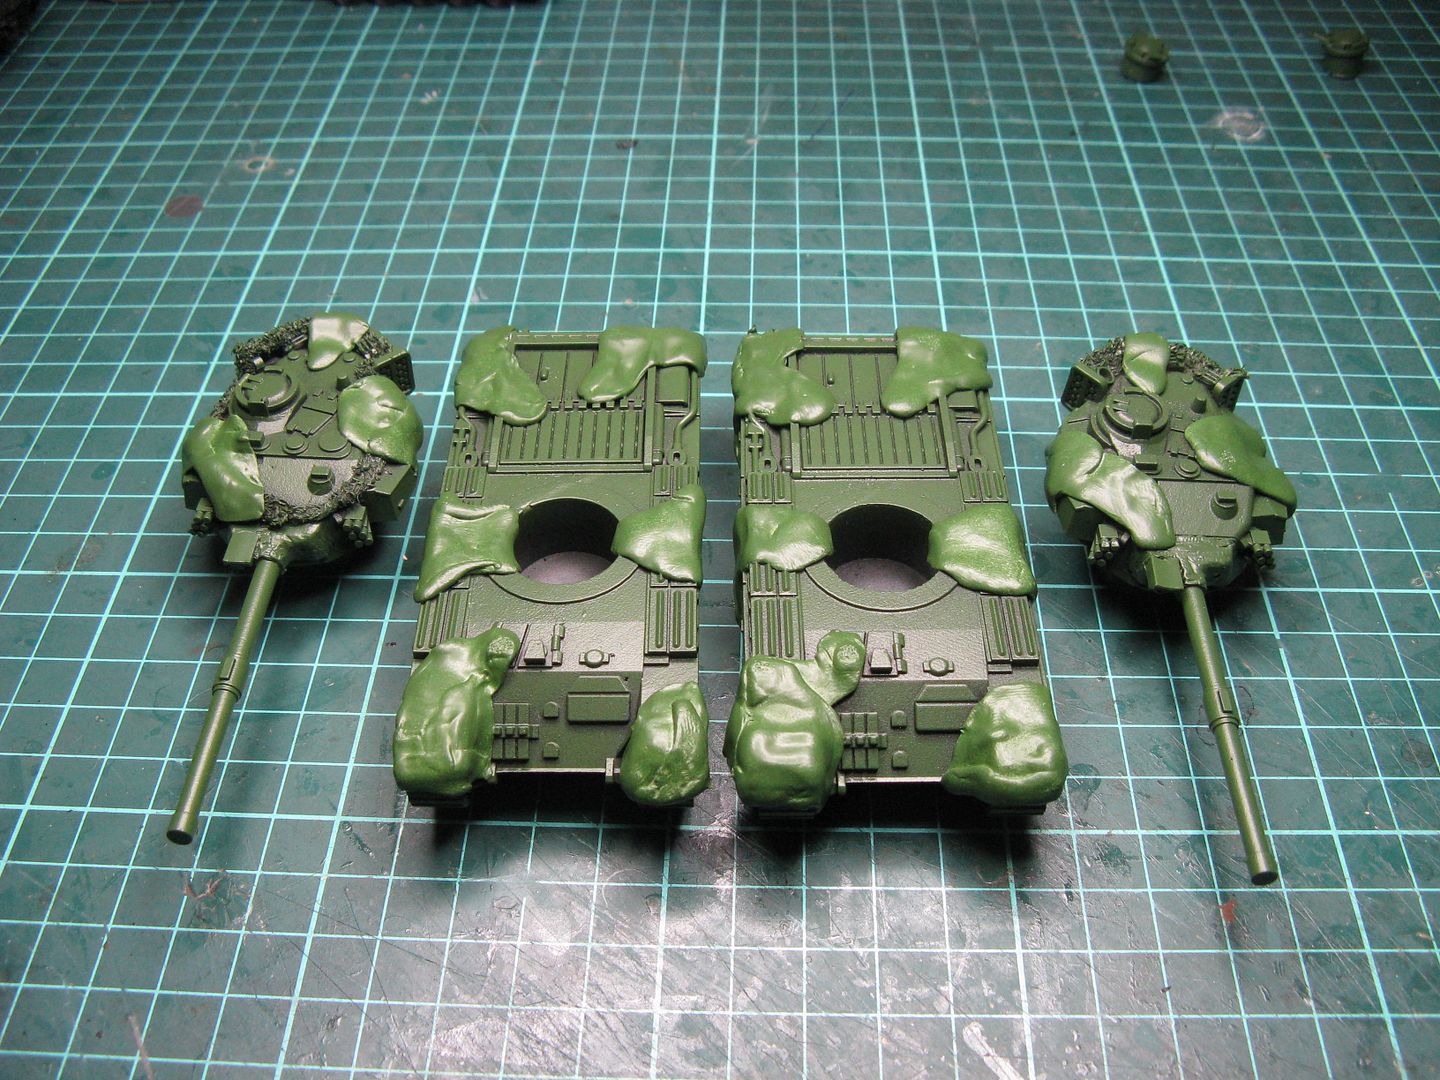
And the next coat of spray. This time I used a Tamiya aircraft spray AS-23 Bright Green (Luftwaffe).
Peeling off the blu-tack we are left with this:
As you can see, AS-23 is quite different green to my final colour - but I don't mind it as a base colour.
Part 2 will cover the painting... Coming soon.
Thanks and stay safe
.jpg)
.jpg)
.jpg)
