29 March 2017

Destroy the Bridge/Capture the Bridge Mission - Game 1 AAR

Let the Game begin…

Just a small disclaimer – I played the Soviets in both games so the ARRs will be largely from my point of view.  Sorry…

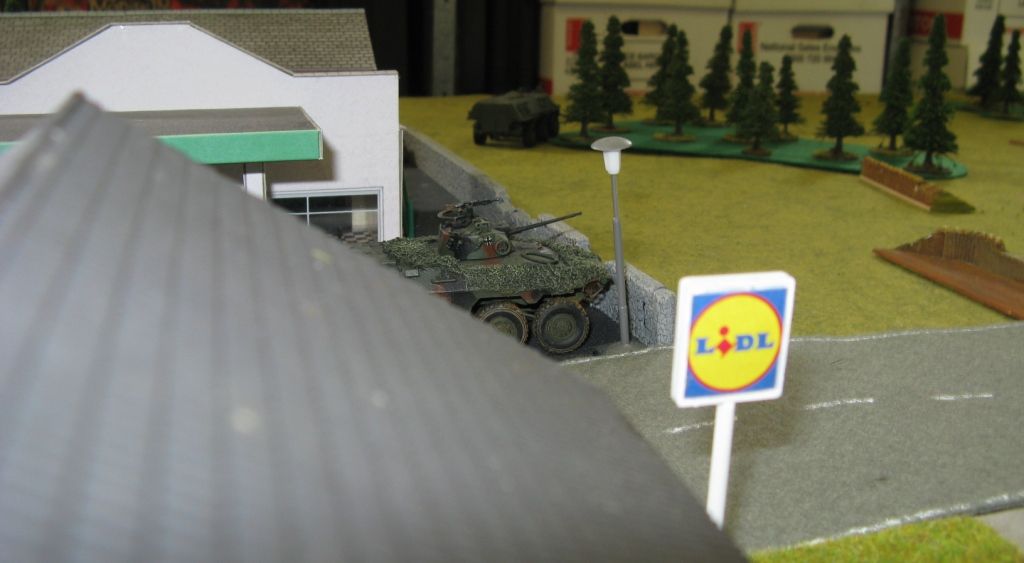
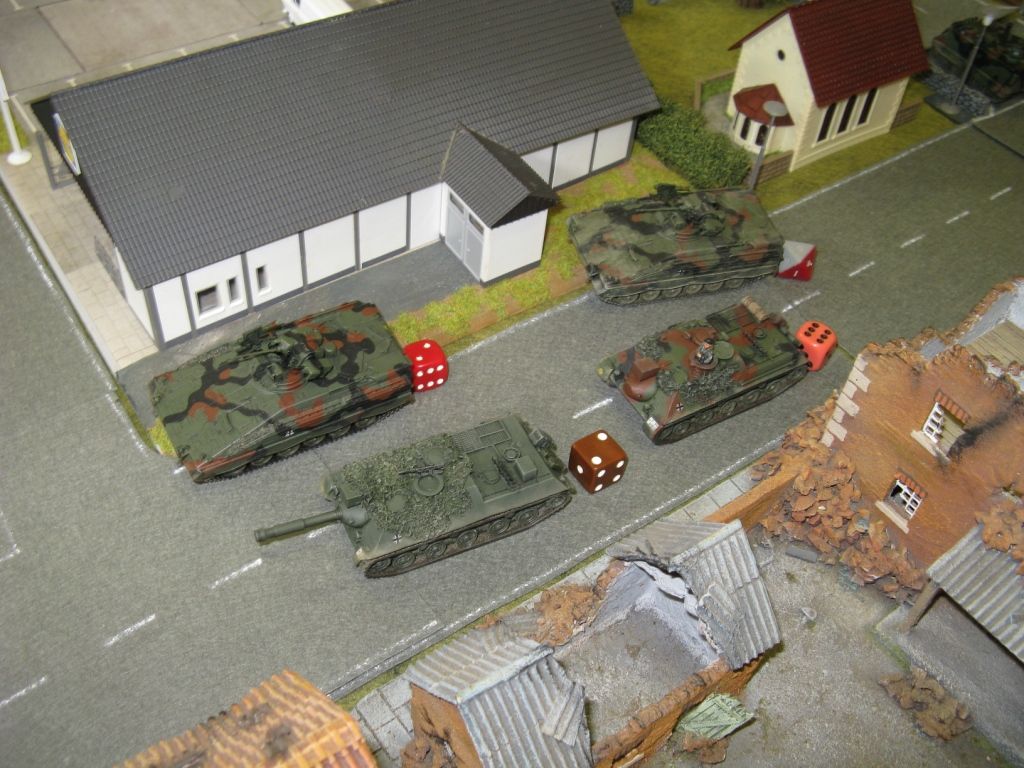
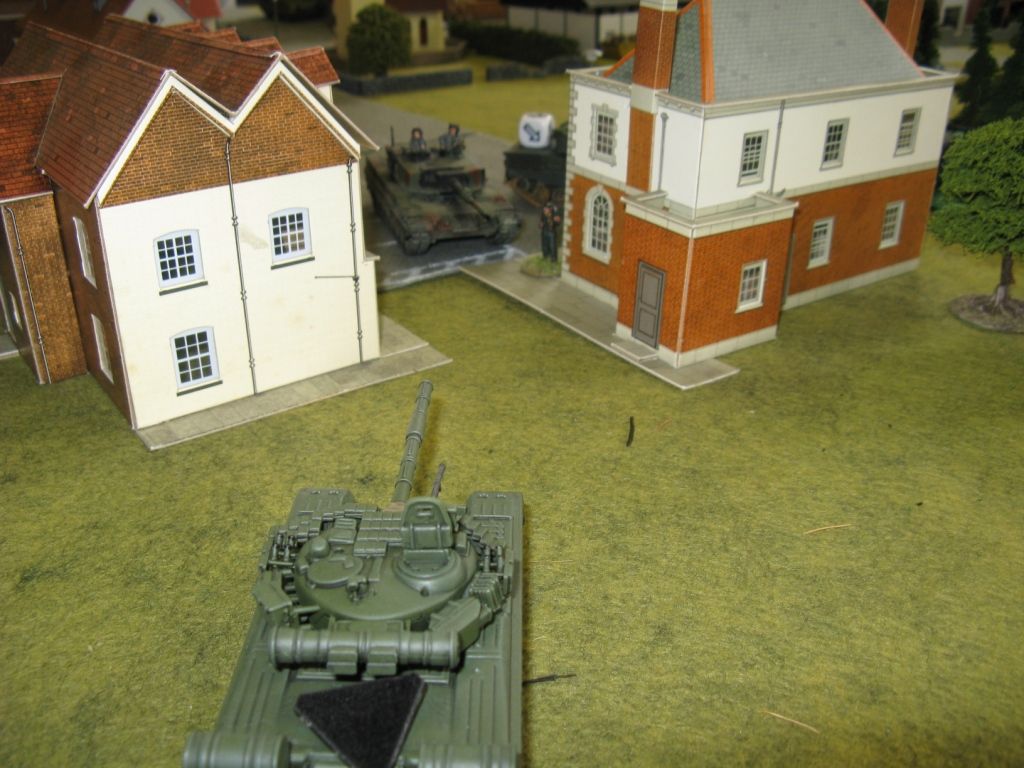
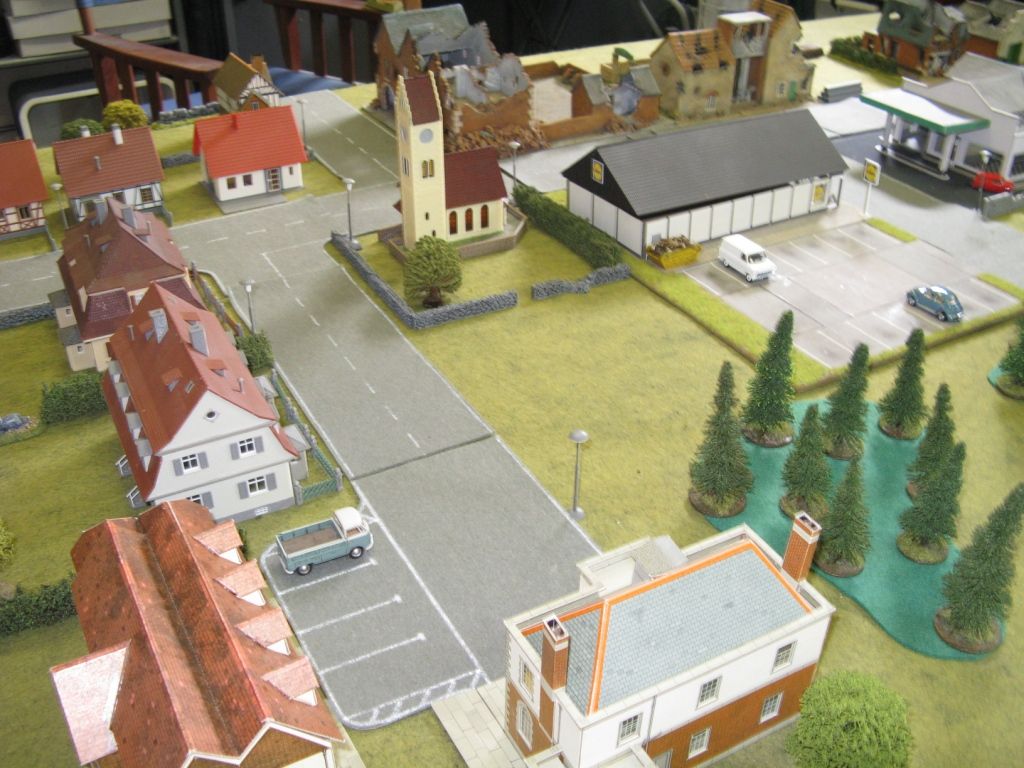
So the first units to set up in the Game were the West German recce units – of which the Leopard 1A4 set up in a defensive position on the Soviet left flank. 


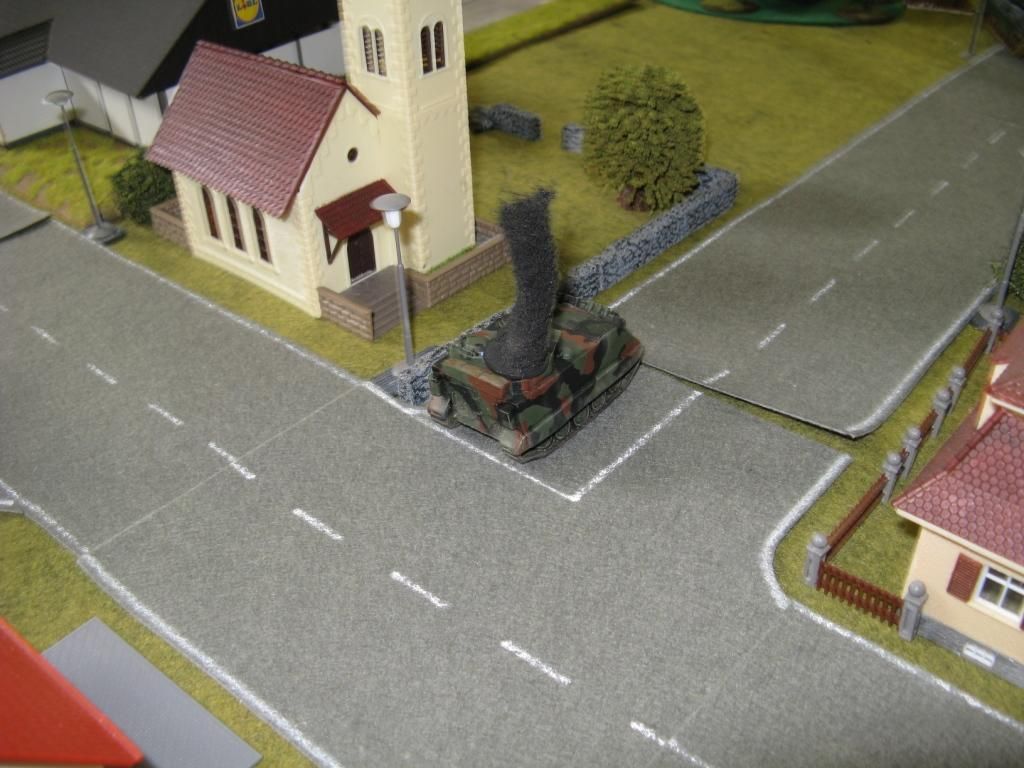
 The Luchs set up in the centre of the village…


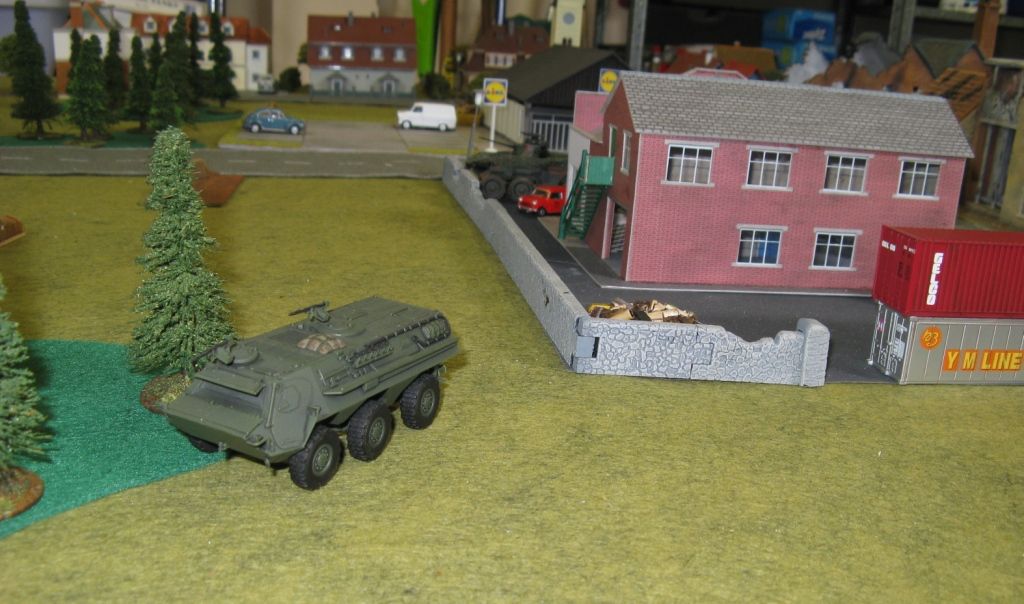
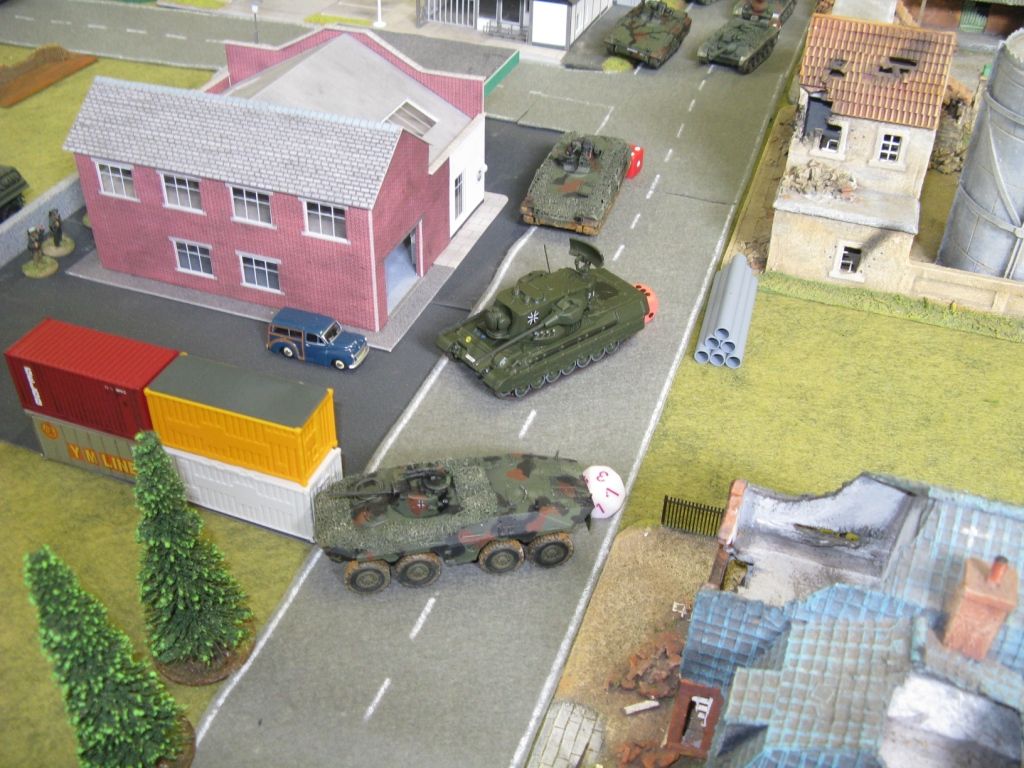
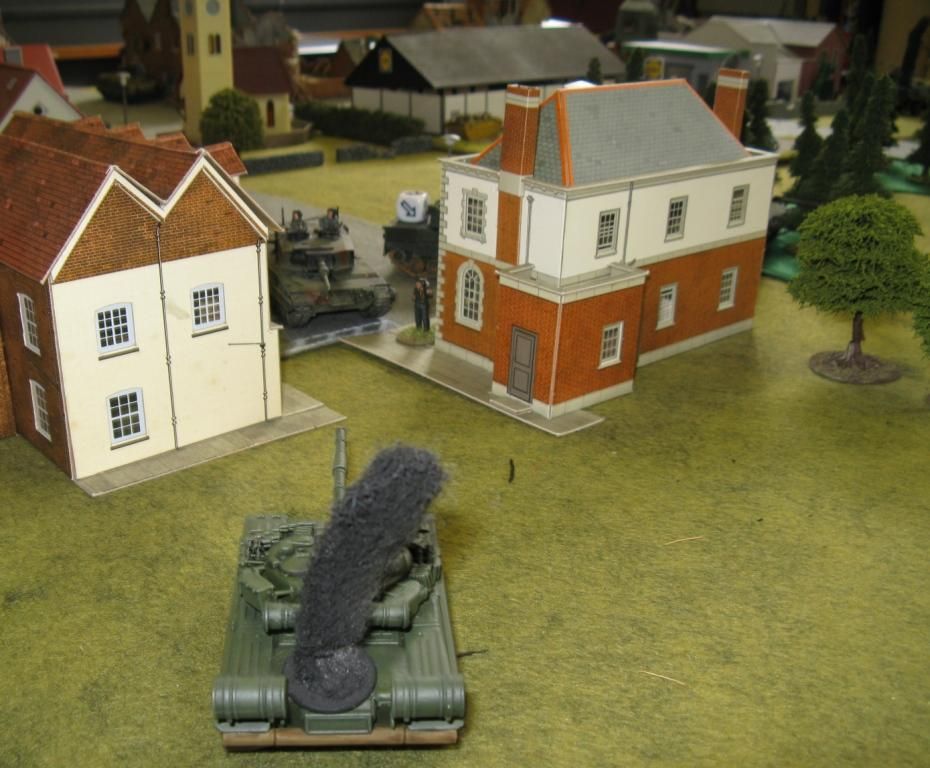
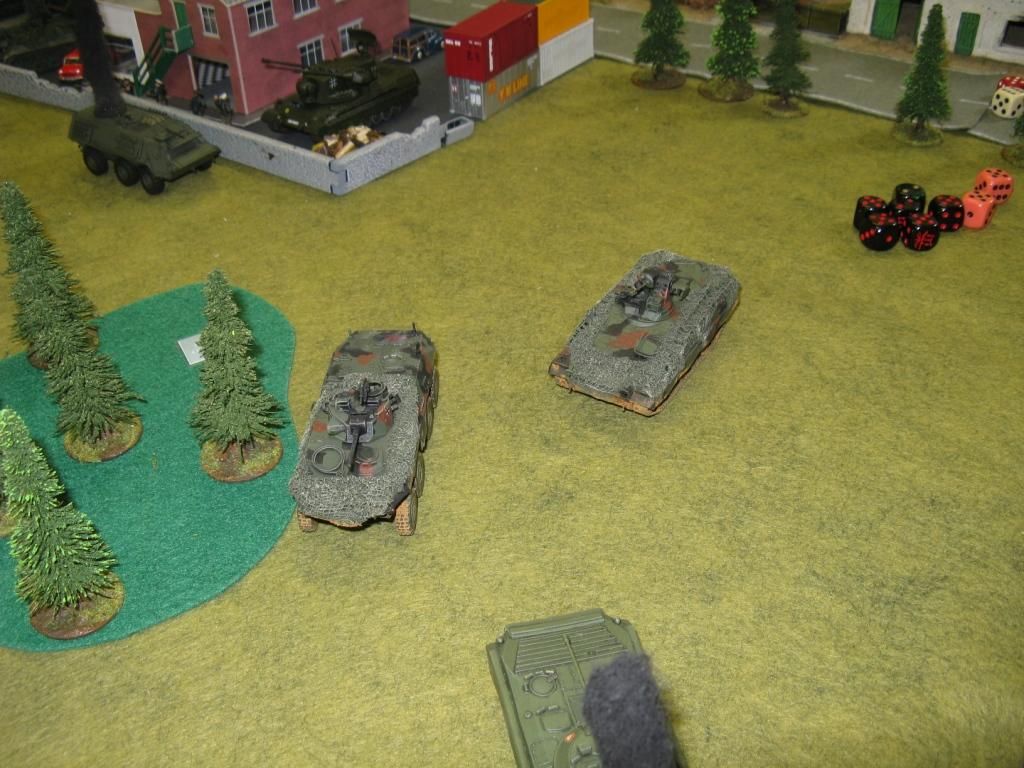
 … and the Fuchs set up nearer to my right.  (You can see the Fuchs in the background of the pic above and a Luchs in the background in the pic below)


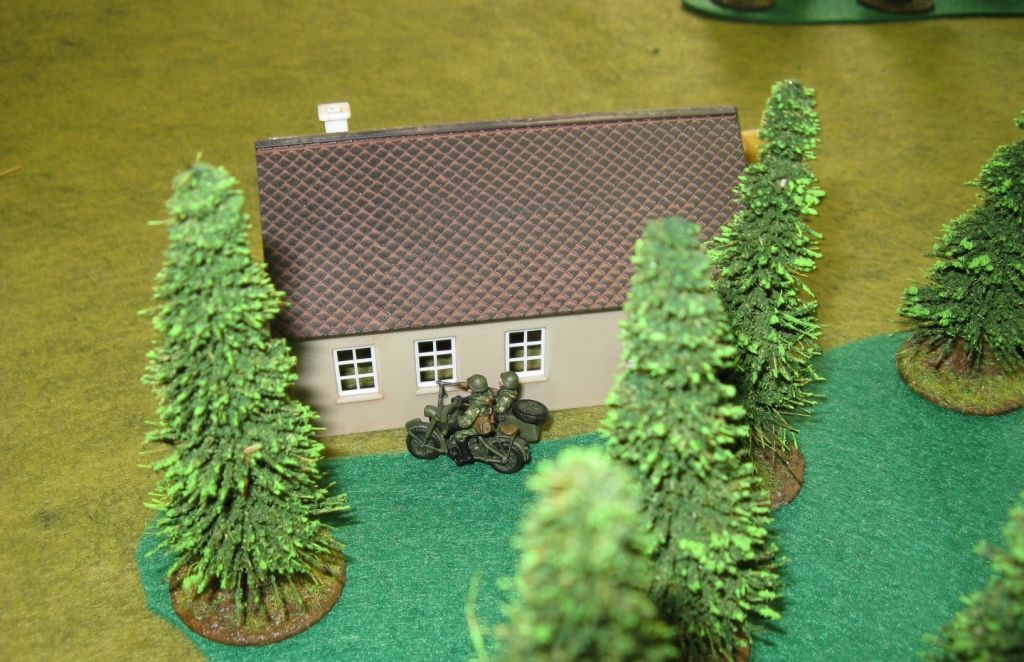
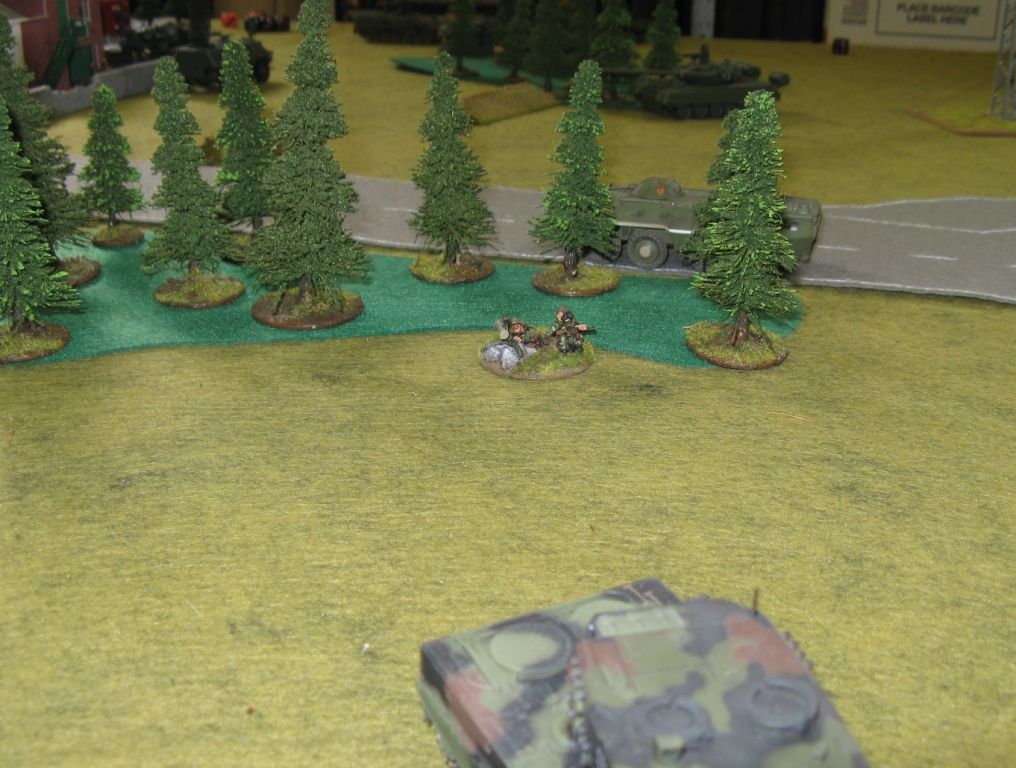
I in turn set up my recce elements.  I had no significant plans for the motorcycle combination or the BRDM beyond sit tight in a good position until the heavy mortar showed up, and then start calling in fire.  So the motorcycle combination set up behind a worker's hut on my left flank...


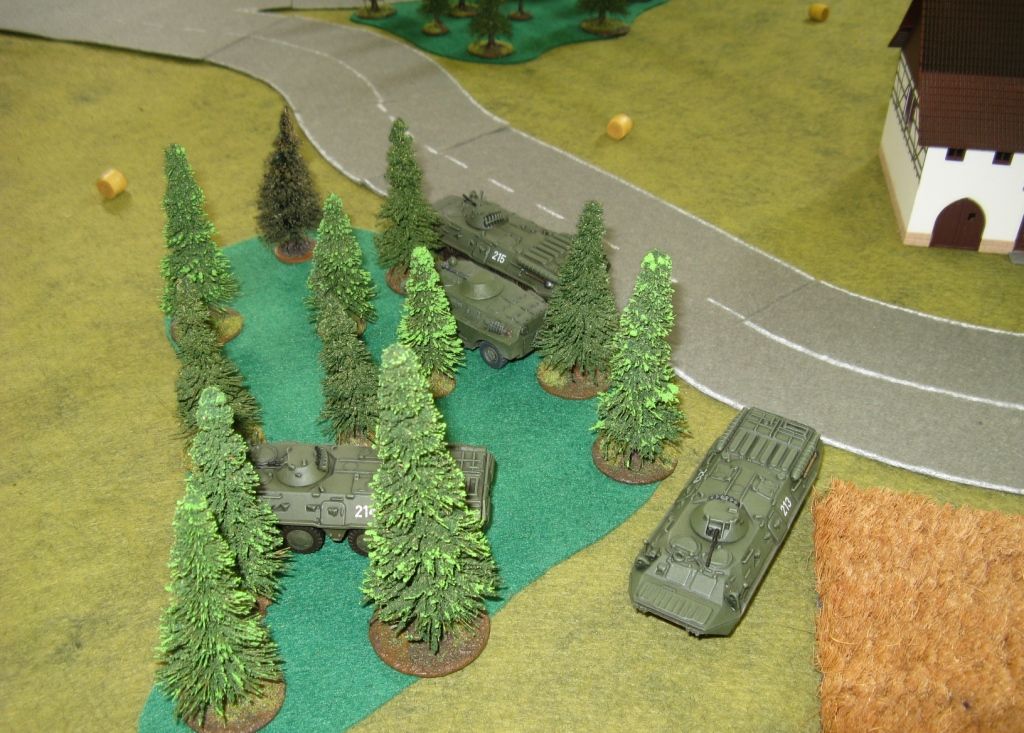
While the BRDM-2 set up in some woods in the centre of the table.  That had my left flank and centre covered by observers for  the mortar.


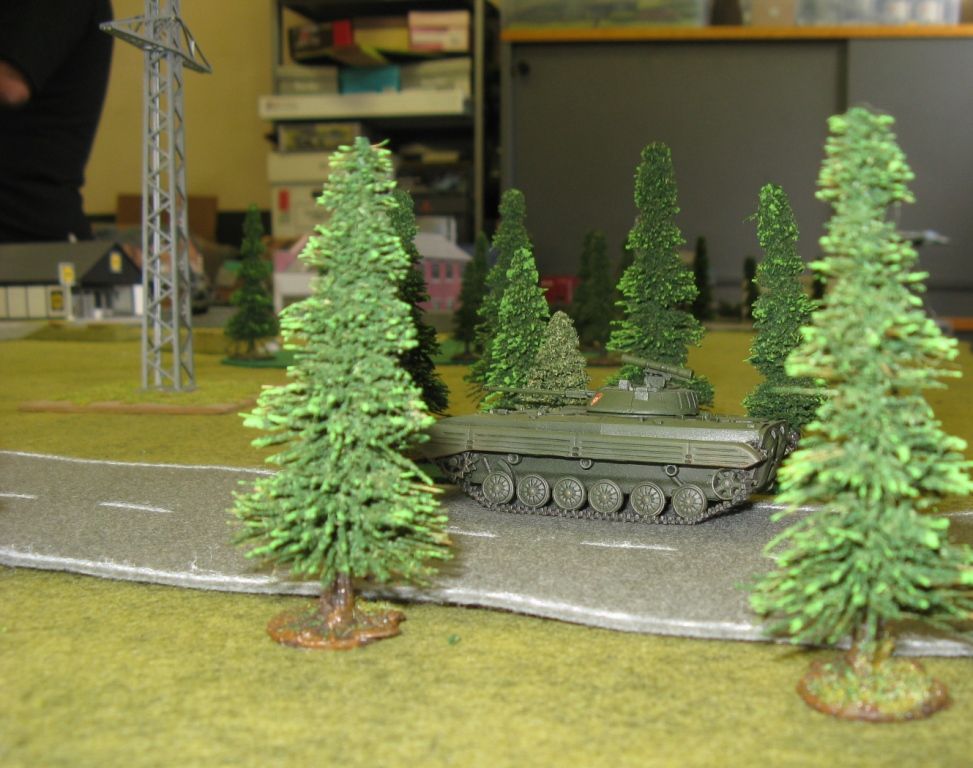
The BMP-2 set up on the side road on my right flank.


It turned out that our Scout Battle Phase would last 3 turns and I would go first.  I didn't have a solid plan of what to do with the BMP_2, apart from "Avoid being shot by the tank!" and I was reasonably happy for the motorcycle combo and the BRDM-2 to sit tight and wait for developments.  But I though I could have a crack at the Fuchs, and by knocking it out, rid the West Germans of one of their officers.

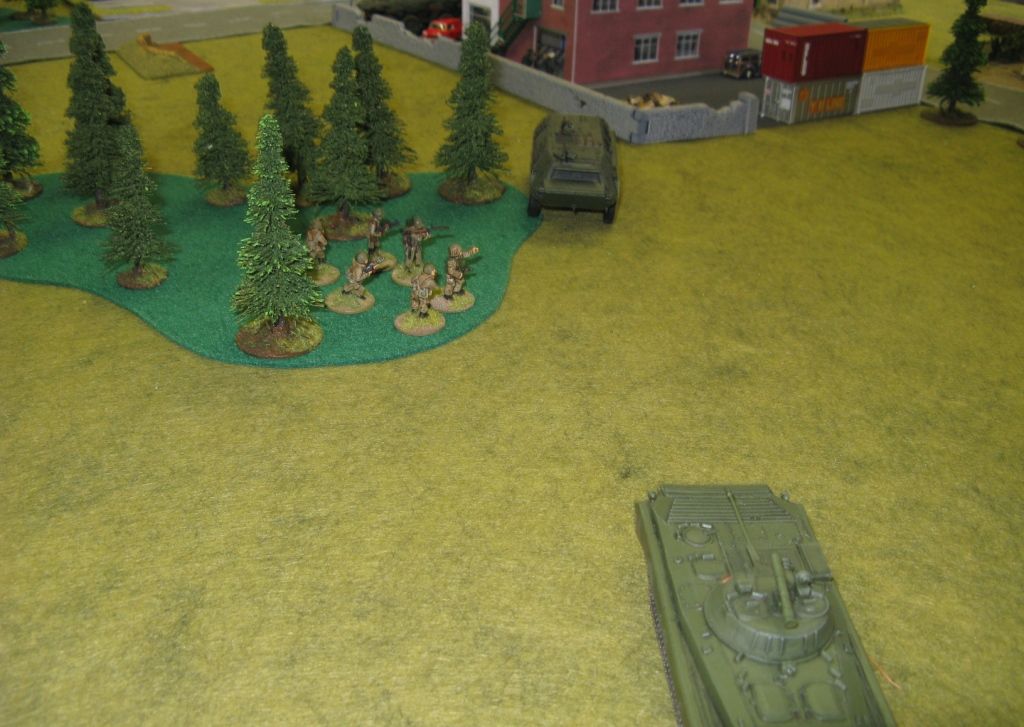
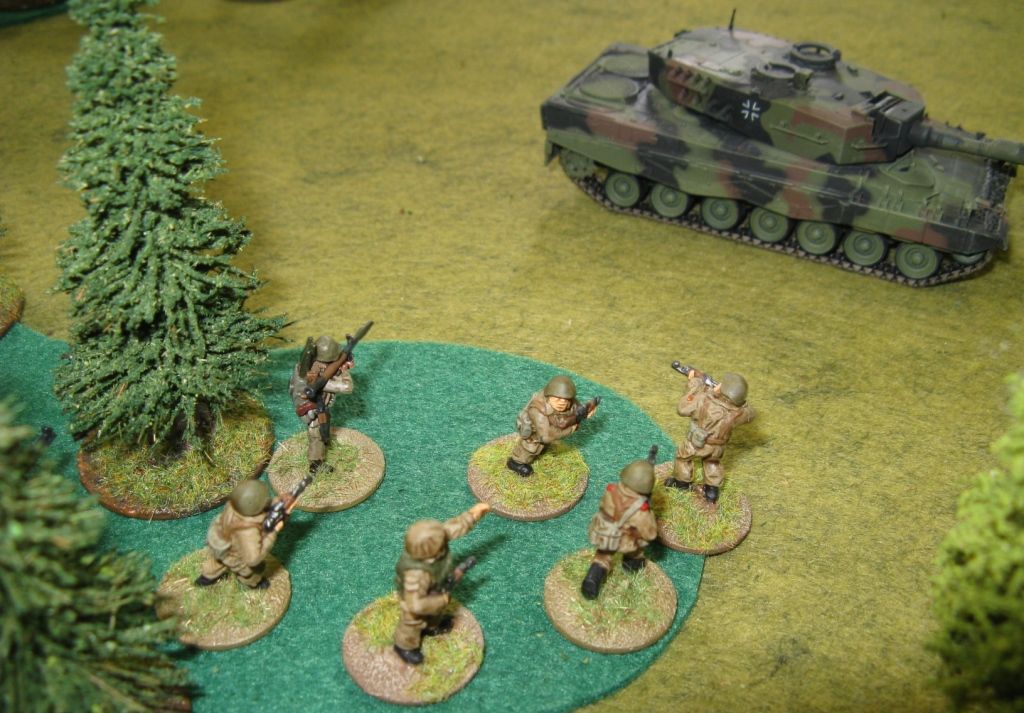
So the BMP-2 set off in search of the Fuchs.  Over the course of a couple of turns, I dumped the dismounts into the woods near the Fuchs and then swung around the woods to take a shot if the RPG chap missed.


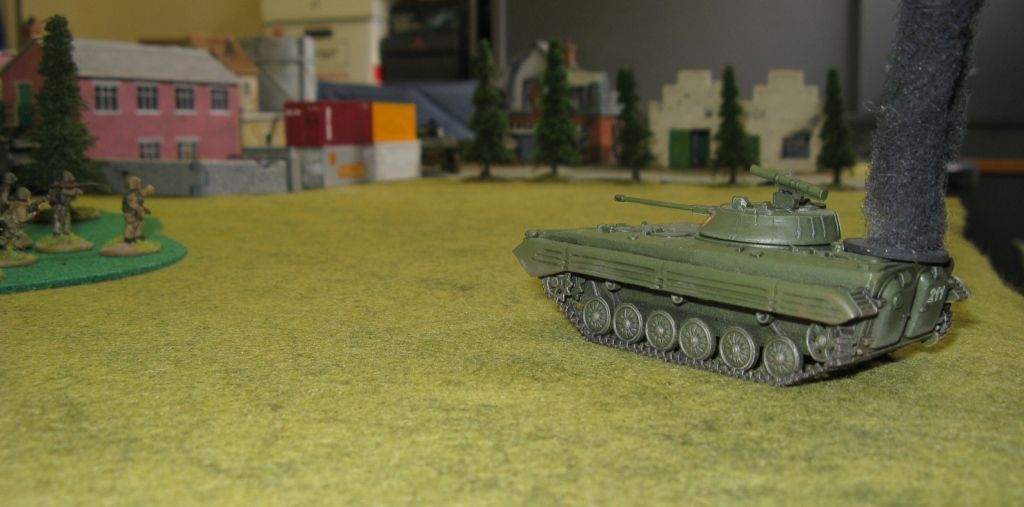
Well of course he missed and the BMP missed... (Story of my life).  The Fuchs moved back, out of line of sight of the BMP-2, and the Luchs swung around behind the garage, along the main drag and stopped in cover to take a shot at the BMP.


Yup!  Pretty much what I expected.  The dismounts did get a teeny tiny bit of semi-revenge on the next turn by pinning the Fuchs.


And so the Scout Battle phase came to an end and the main game began.  As we both had 900 point forces we decided to use 3D6 for orders and 2D6 for reserves.  Next game (using the same points) we decided 2D6 for orders and 1D6 for reserves.  It actually made for a much more interesting game - but more on that later.

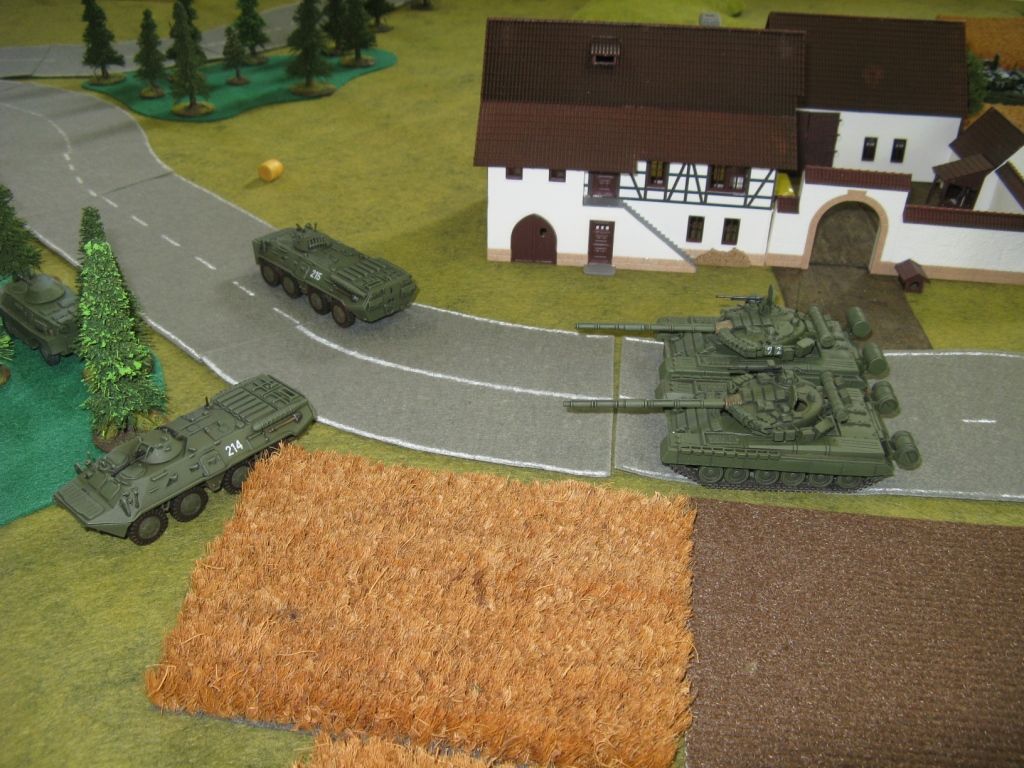
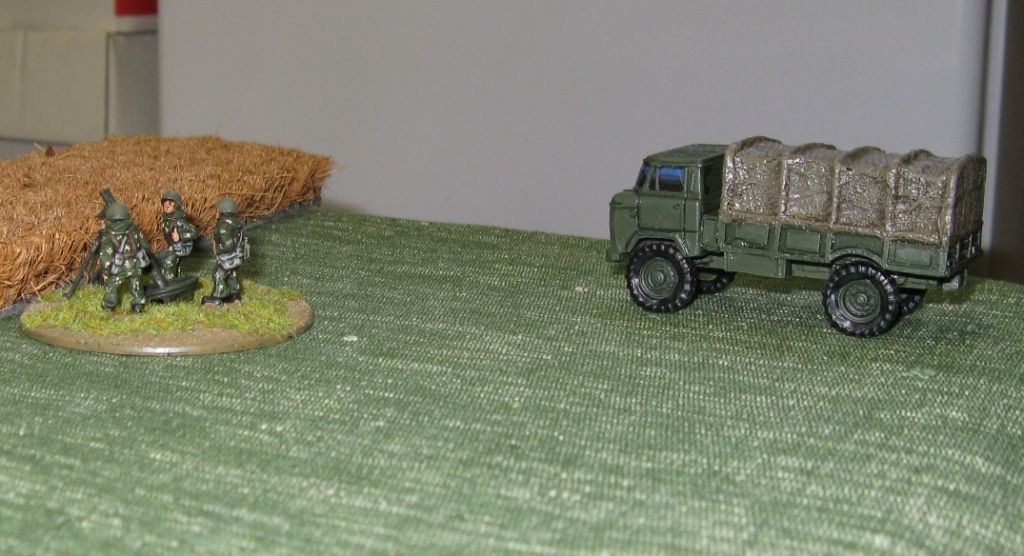
My reserves started to come on.  First up were the T-80BVs and a couple of BTR-80s and the mortar team. 


The Heavy Mortar Team got into action straight away, and barely missed a turn of firing for the rest of the game.  I can't remember it killing anything big, but it pinned and harrassed and took out the odd West German soldier.

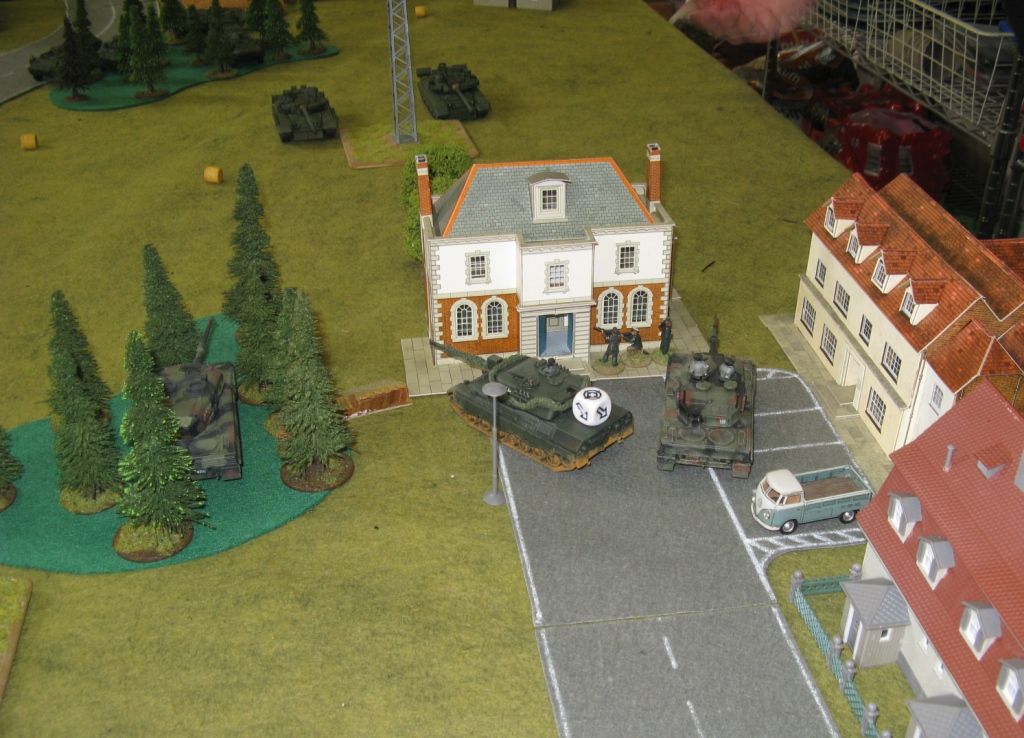
On the first NATO turn, their entire force flooded onto the table.  Taking up positions in town and both Leopard 2A4s driving out to support the lone 1A4.


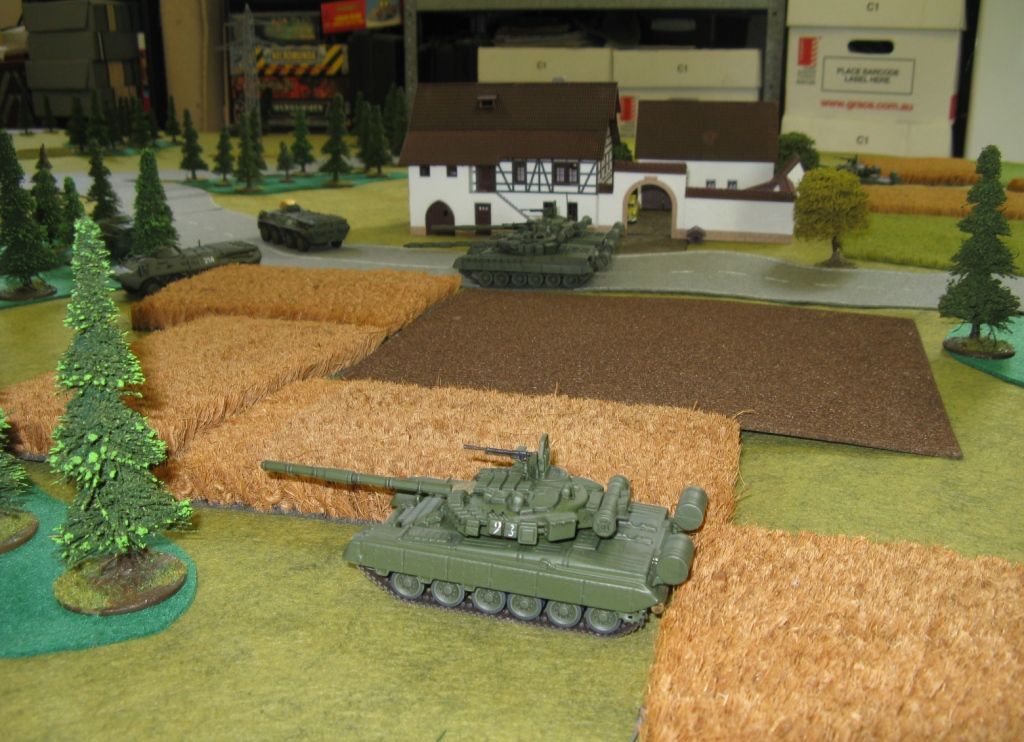
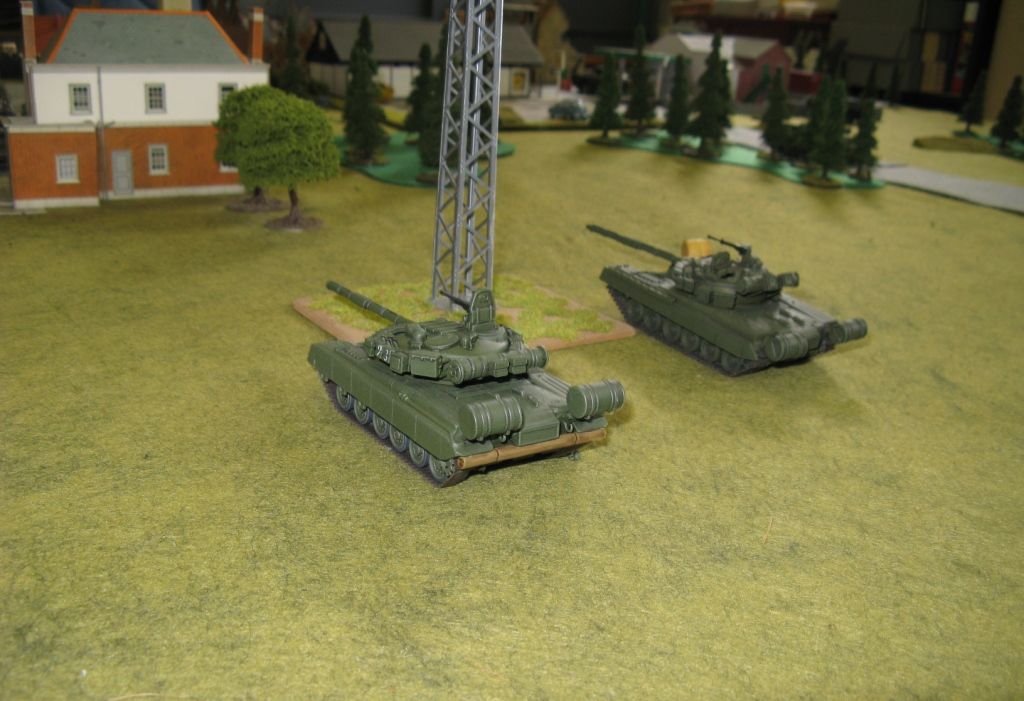
You can see from the photo above that I sent two brave T-80s out to catch the attention of the 3 Leopards.


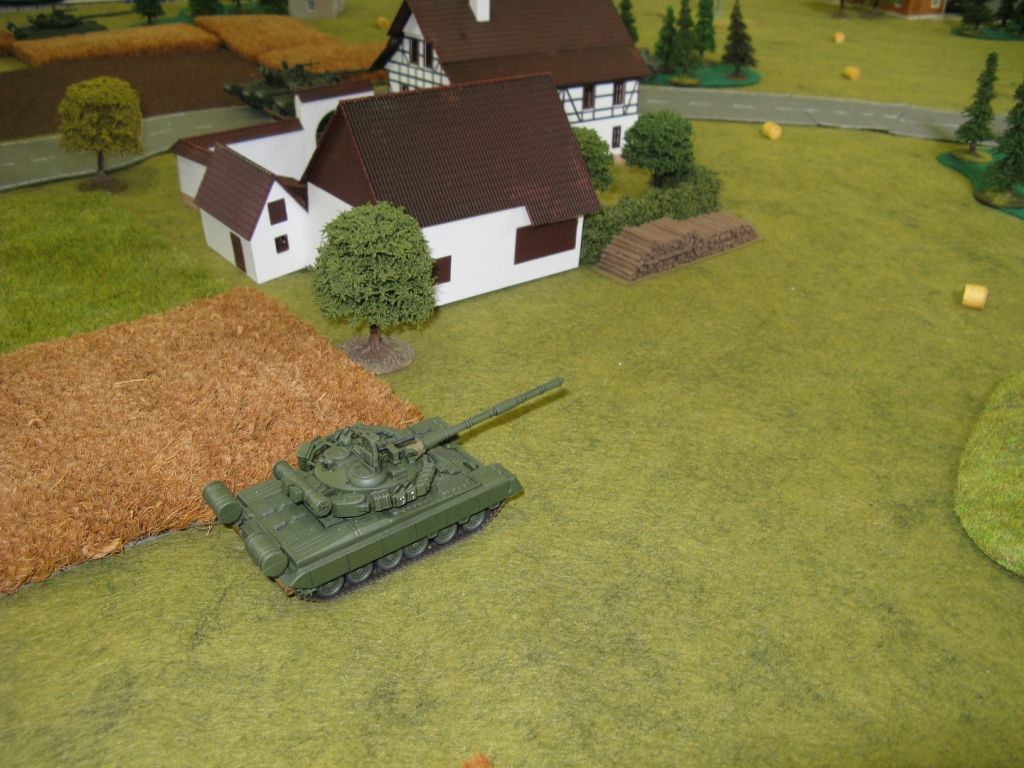
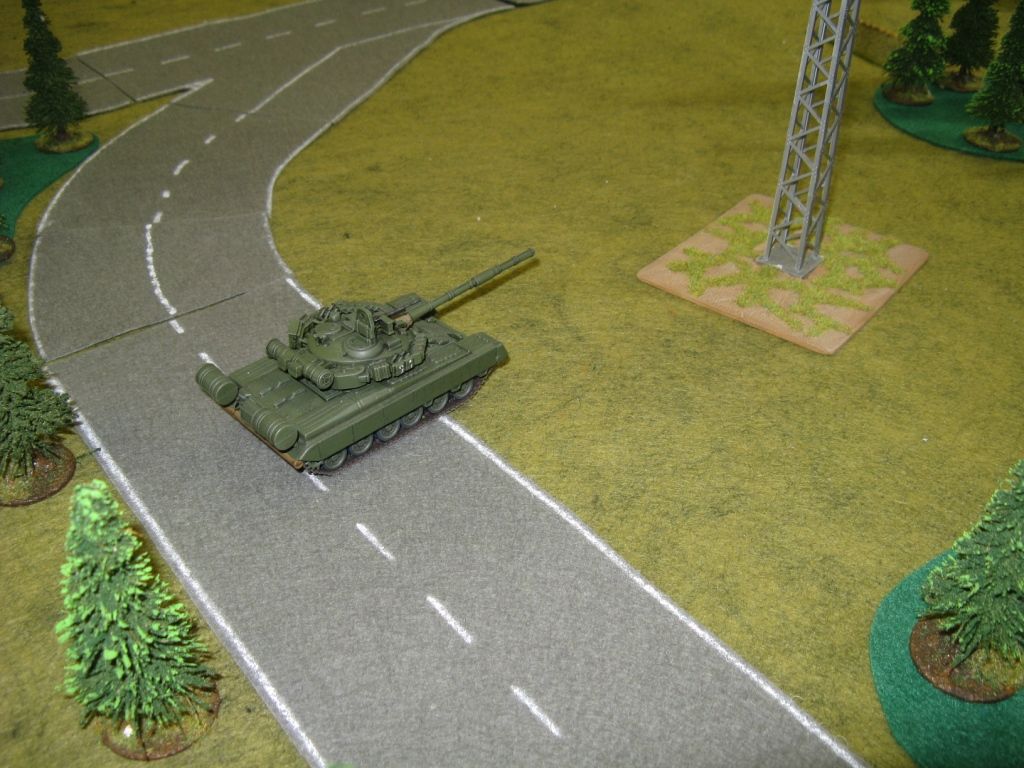
Hidden behind the trees, on the main road into the village in the distance is another T-80, which was about to be presented with a couple of gift targets.  Meanwhile the T-80 on my right flank had advanced as well.


He combined with the T-80 on the main road and did some of there best shooting in the game.


As you can see they took out the two stand-in Jaguar 1s, while the infantry dismounts from the destroyed BMP-2 knocked out the Fuchs.

In my centre my first BTR-80 platoon consolidated.


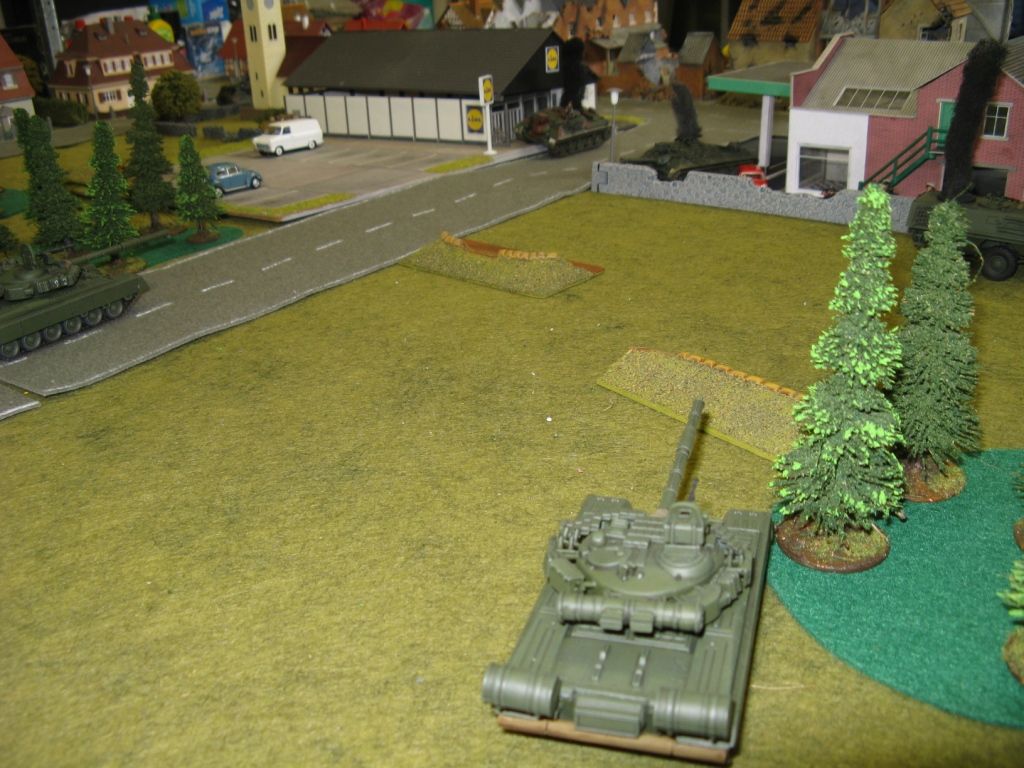
You can see the first vehicle from the second BTR-80 platoon coming up the road, with my AT-5 BRDM-2 takes a semi-overwatch position to cover the advance on the left flank.

My timed strikes came in and destroyed the M113 Artillery Observation vehicle and a Marder.  I love my timed strikes!  If only I could have killed a Leopard 2...


The BTR-80 platoon then charged out to start an attack on the police unit in the building to their front.


This Leopard 2 had something to say about that though:


And my T-80 Platoon commander bit the dust...

Wishing to avenge his untimely death, the other T-80 on this flank moved to take a point-blank shot between the two buildings.


He hit!  But with the Leopards Advanced Armour Trait the round bounced and disappeared into the distance.  Guess what happened on the next turn...


Yes - pretty obvious really...

But my infantry managed to assault and drive off the police unit in the building, so the Leopards behind the building backed down the road


My second platoon of BTRs continued to advance down the table


Meanwhile, the Gepard decided to test its twin canons on an innocent group of Soviet dismounts who had been hiding in the woods hurting no-one (after the Fuchs of course).


As you can see - not a figure left alive in those woods now!  Somewhat inexplicably, the West German also decided to start to advance up the table.


While the Leopard 2A4 who had established himself in the woods on the other side of the table, also drove forwards and knocked out an empty BTR-80.  I just had to get this guy so I attacked him from 3 different angles


RPG! into his side armour.  Result - Ha! I laugh in the face of your RPG!


AT-4 into your rear armour.  Miss...................................  No photo of the other attack.  An AT-5 Konkurs into his front armour. BOUNCE!  Nothing could touch this Leopard 2A4.

Anyway, while all this was going on I was charging some troops through the backyards of the houses on my left flank.


And down the road in front of those house, trying to take out the Leo 1A4


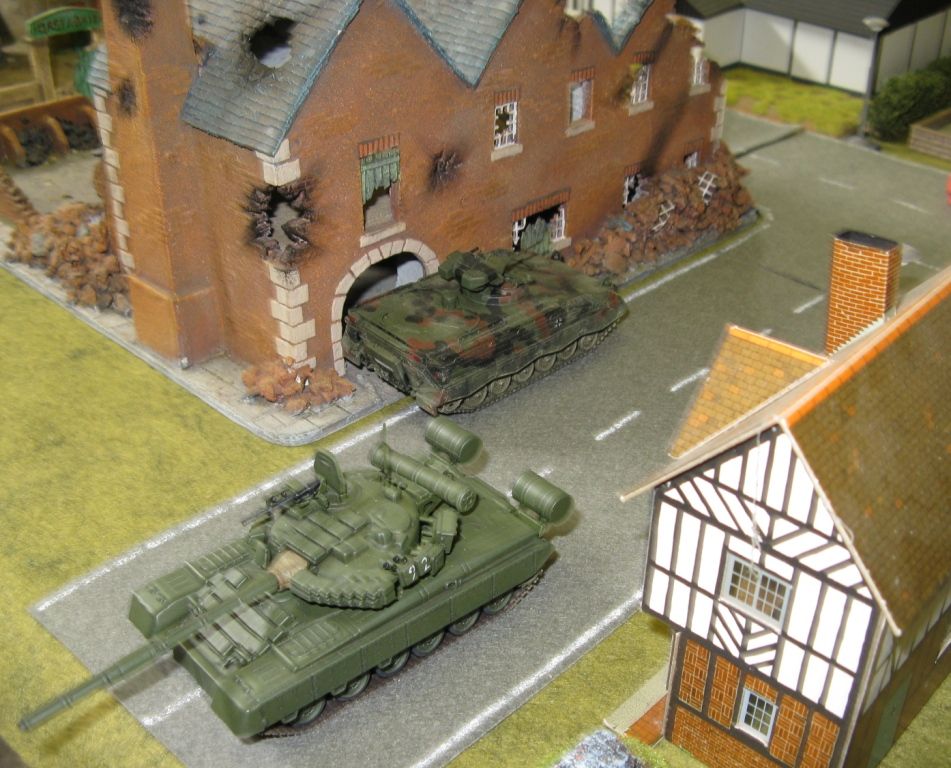
Note my use of the word trying...  But I was keeping them busy.  Busy enough for my T-80 on the main road to town, to drive into the centre of town and dispatch a Marder up close and personal.


It was followed by two BTRs...


... while the T-80 drove onto the bridge...


... and shot up the engineers rigging it for destruction.  On my turn 5.

So I took some loses, but inflicted much more and concentrating on the victory conditions, won the game.  The West Germans seemed to forget about the bridge to some extent and looked more interested in inflicting damage.

I didn't mention, because I failed to take photos, that the West Germans also had an Alpha Jet turn up, only to be hit twice by the ZSU-23-4 and have a SA-9 SAM fired at it.  It left the table without doing anything.

They also had a PAH-1 helicopter turn up, which fired a HOT missile, pinned one of my T-80s and then left to find more trade elsewhere.

So the game had plenty of action, a couple of incidents we hadn't tested before (like the Gepard making mincemeat of some of my dismounts) and was all round a fun game.

That's it for now.  The next AAR will be up on Monday

Thanks

Richard
28 March 2017

Destroy the Bridge/Capture the Bridge Mission - The Table and Forces - Game 1

So before I jump into the AARs I thought I'd quickly show some other photos of the table and the forces from Game 1.  Unfortunately I forgot to take my camera to Game 2 so all the photos are from my mate's phone and are a little dark - but I'll fiddle with them to try and lighten them up.

Anyway - here's some photos of the table prior to the game.

First up - The table from the Soviet point-of-view:


Now the NATO point-of-view where you can clearly see the road heading to the bridge at the bottom of the table:


The main street through the village:


Another view of the village:


And yet another view of the village:


A farm on the outskirts of town:


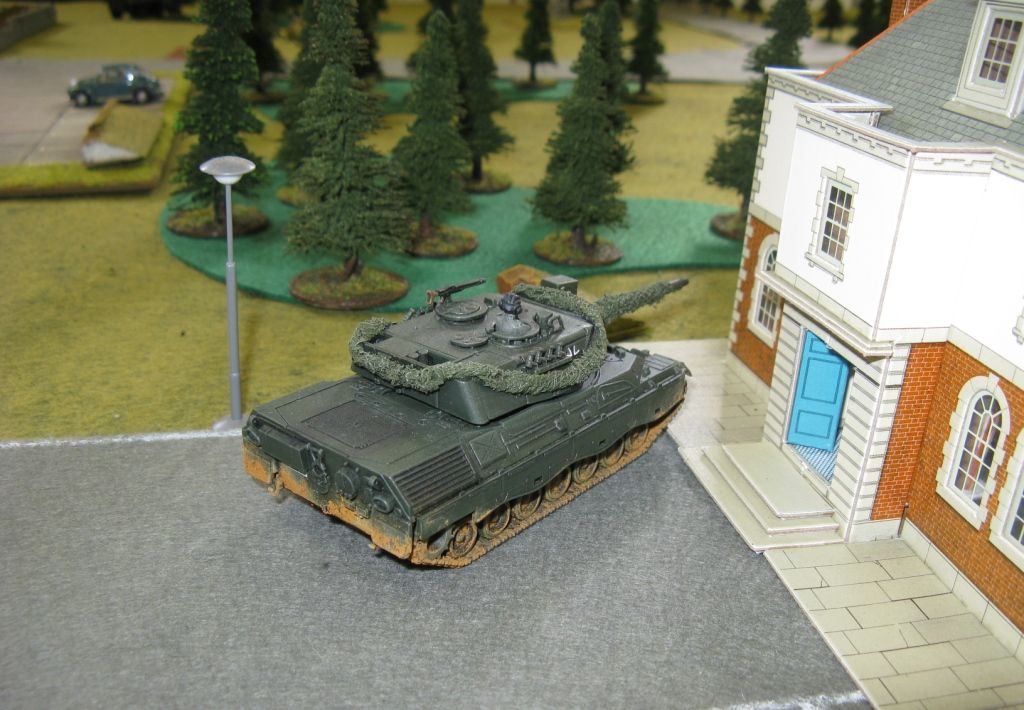
Now onto the forces.  This is the West German Force - just under 900 points (photo only shows vehicles):


Front row (left to right):  3 Marders making up the Panzergrenadier Platoon and a VW Iltis carrying a Stinger Team.

Second row (left to right): Recce Leopard 1A4, Recce Command in a Fuchs, Recce Luchs - and then two stand-ins for 2 Jaguar 1 (I haven't quite finished mine yet...)

Rear row (left to right):  a Leopard 2A4 section, a Gepard, a Beobachtungspanzer Artillerie M113A1G and a Panzermorser.

Missing from the pic is a Marder transported Forward HQ, the infantry (or course), a Bundesgrenschutz squad (police), a timed Alpha Jet strike, a counter battery fire mission, a set of foxholes and a fortified building.  The West Germans also had purchased the Home Turf special rule that gives them +1D6 to their Battle Rating for fighting on their home soil.

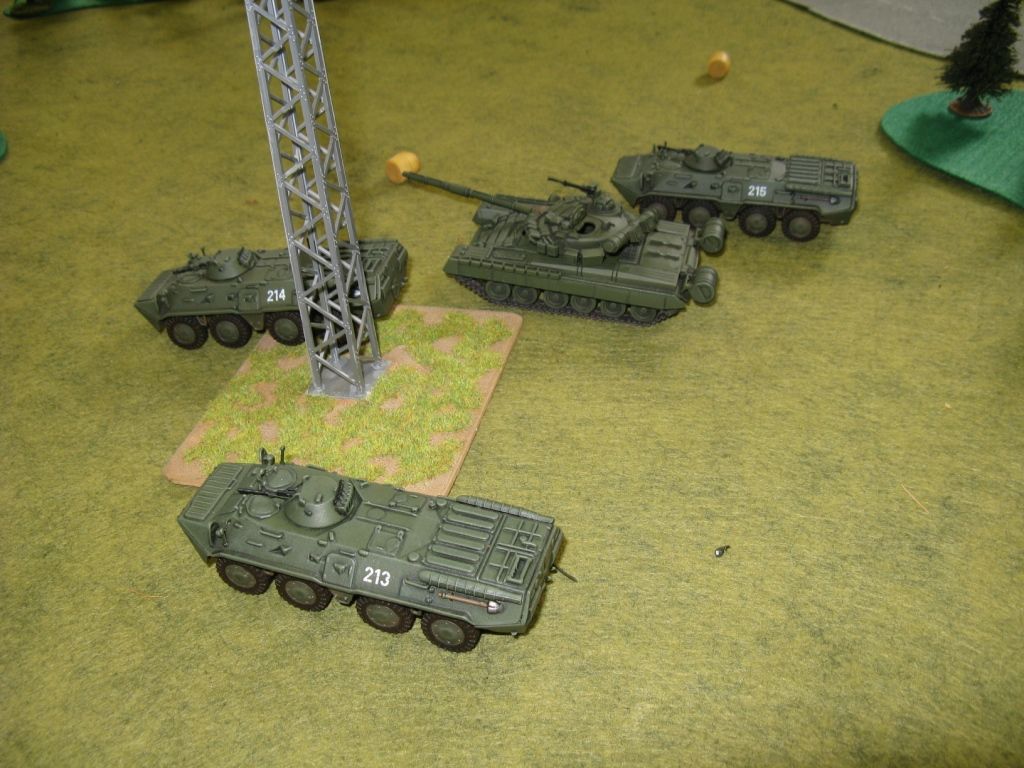
This is the Soviet force - exactly 900 points (again the photo only shows the vehicles)


Front area (left to right): BTR-80 Platoon (3 x BTR-80), a Gaz-66 heavy mortar tow and the second BTR-80 Platoon (3 x BTR-80)

Second row (left to right): ZSU-23-4 Shilka, SA-9 Gaskin, 9P148 AT-5 BRDM-2, Recce BMP-2, Recce BRDM-2 and Recce motorcycle combination

Rear row: T-80BV Platoon (4 x T-80BV)

Each BTR platoon also carried a AT-4 ATGM team, one of the T-80s had a Cobra ATGM load-out, the BMP-2 was equipped with AT-5 Konkurs and the Soviets also took a timed 152mm and timed 122mm artillery strikes.

I'll try have the AAR written up for tomorrow...

Thanks

Richard

27 March 2017

Destroy the Bridge/Capture the Bridge Mission

NATO Situation Report
The Soviets have launched across the Inner German Border into your divisional area.  Your battlegroup is part of a Covering Force that is pushing out to engage the Soviets and force them to slow down, to make time for the units to your rear to pull into their prepared defensive positions.  Ahead of you there is a small recce force, which has already been in combat with the Soviets.  You have been ordered forward to the front edge of a small village to the east of a significant canal (or river).  The village has three bridges over the canal, each of which is being protected by a small Combat Team from your parent Battalion.

You are to move over your assigned bridge and through the village and engage any enemy units to you front.  While you do so, be prepared for the Recce screen to collapse through your position and cross the bridge.  A unit of Combat Engineers will be preparing the bridge for destruction.  It will take 7 complete turns for them to be finished.  You must then successfully withdraw your force over the bridge before Soviet forces can cross.  You must stop all Soviet forces from crossing the canal.

Soviet Situation Report
After a period of increase tensions, and continuing provocation of the NATO Imperialists, the Politburo has wisely decided to pre-empt the inevitable NATO attack and go on the offensive first.  You division has crossed the Inner German Border and is leading the fight into the Capitalist heartland.

Your battlegroup is part of a Forward Detachment rushing to capture as many bridges as it can over the Canal.  Ahead of you lies the Northern edge of a small village, which lies to the east of the Canal.  The village is currently being surveilled by our recce elements.  Intel predicts that NATO is likely to defend this area only until it is able to destroy the bridges.  While this will not stop our advance, it may slow our forces down and create targetable bottle necks at the surviving bridges and force our combat engineers to conduct a deliberate river-crossing operation.  All this will slow the division down and all NATO to better dig in ahead of us.
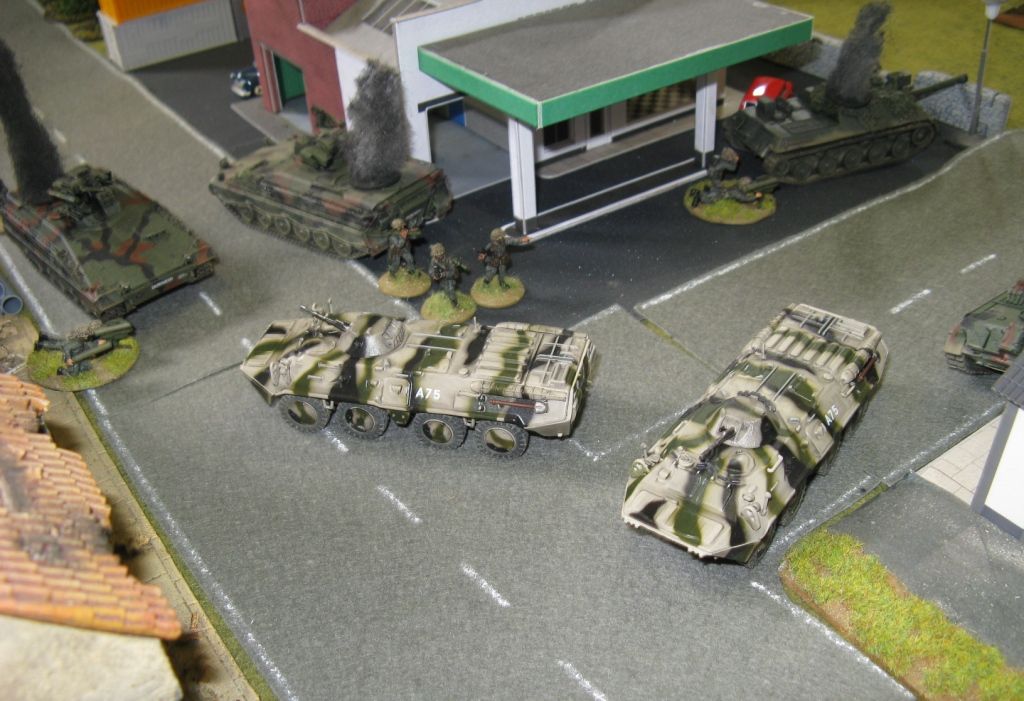
You must defeat the NATO covering force and capture the bridge as quickly as possible as it will take NATO engineers 7 turns to prepare the bridge for destruction.

Terrain
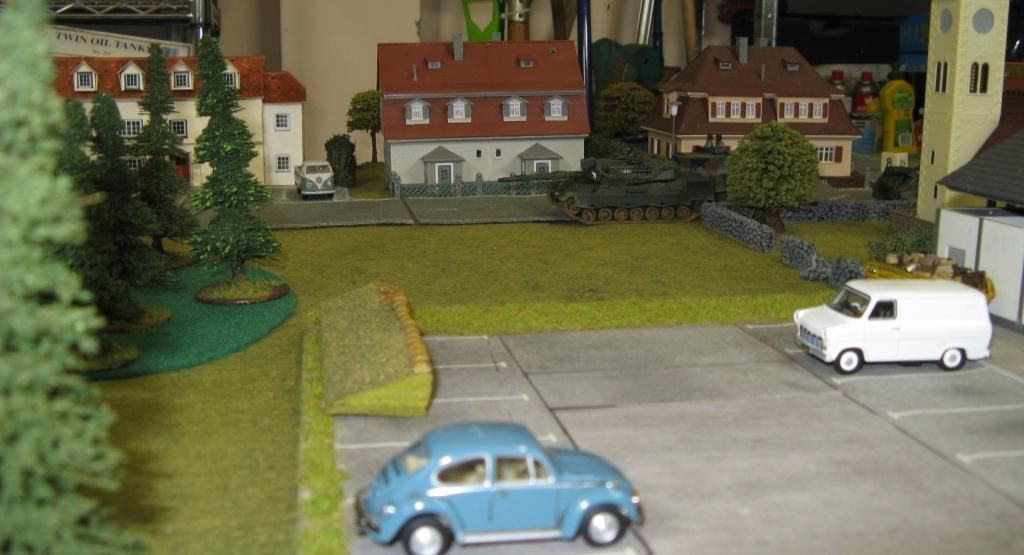
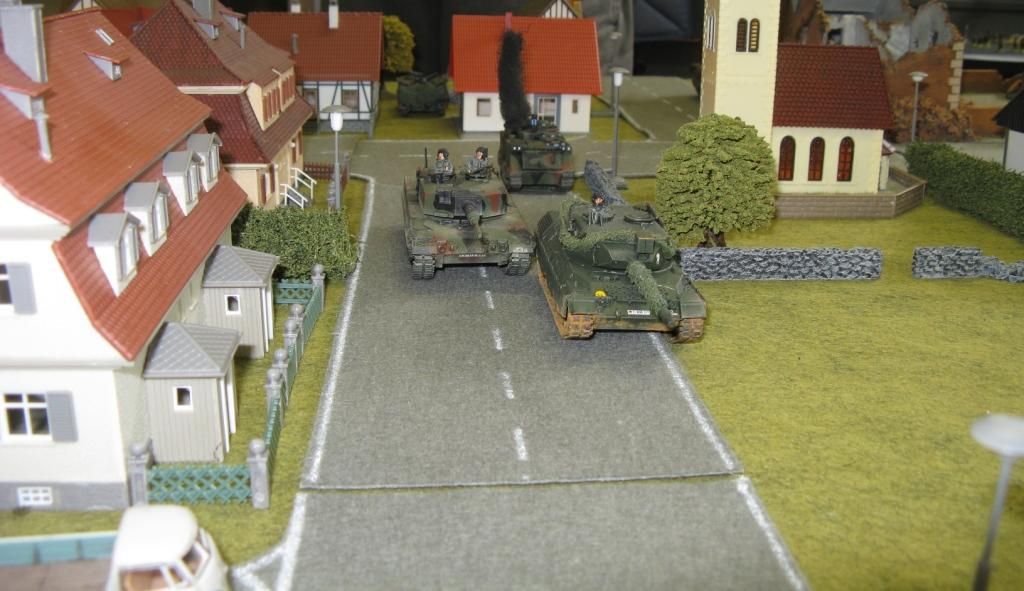
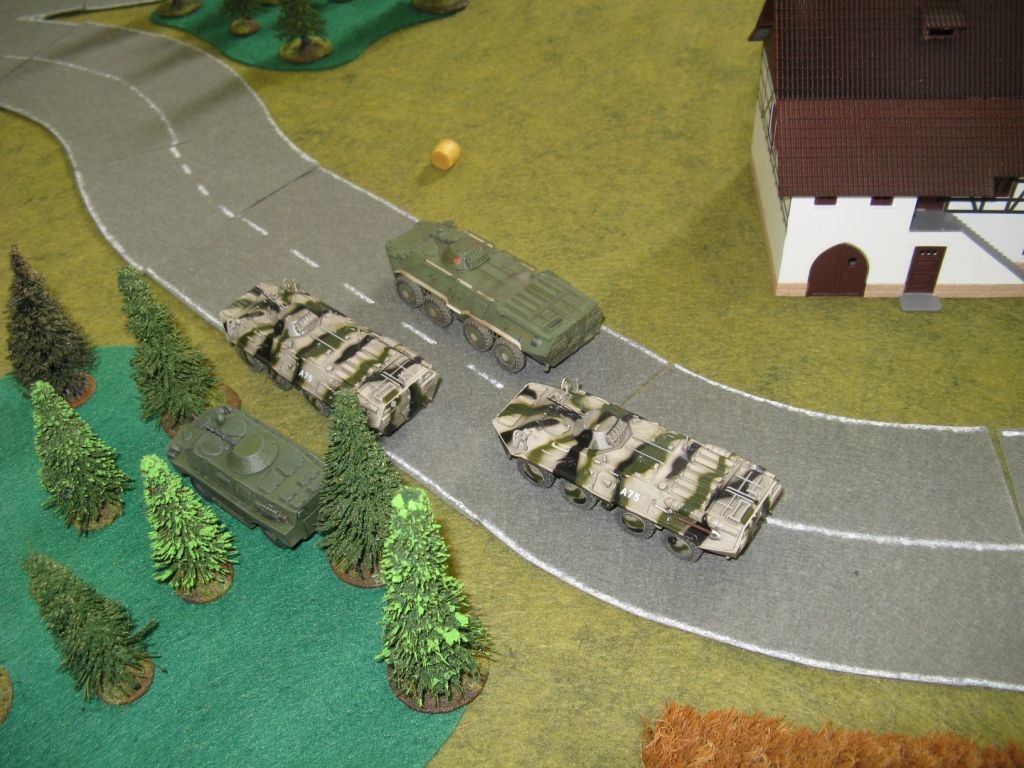
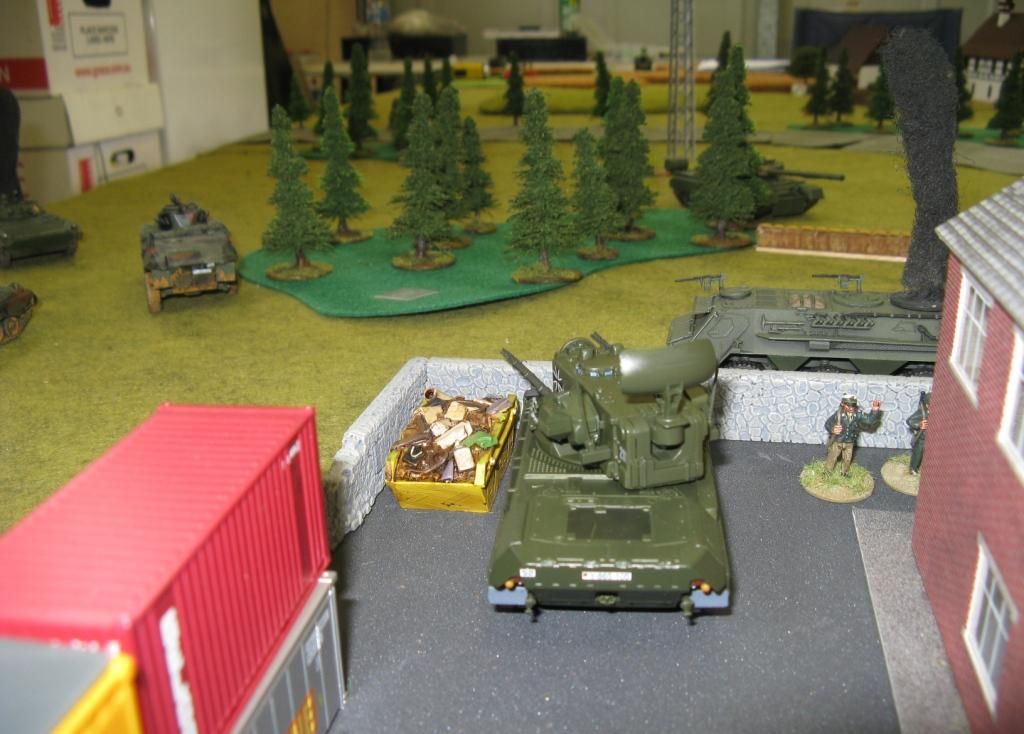
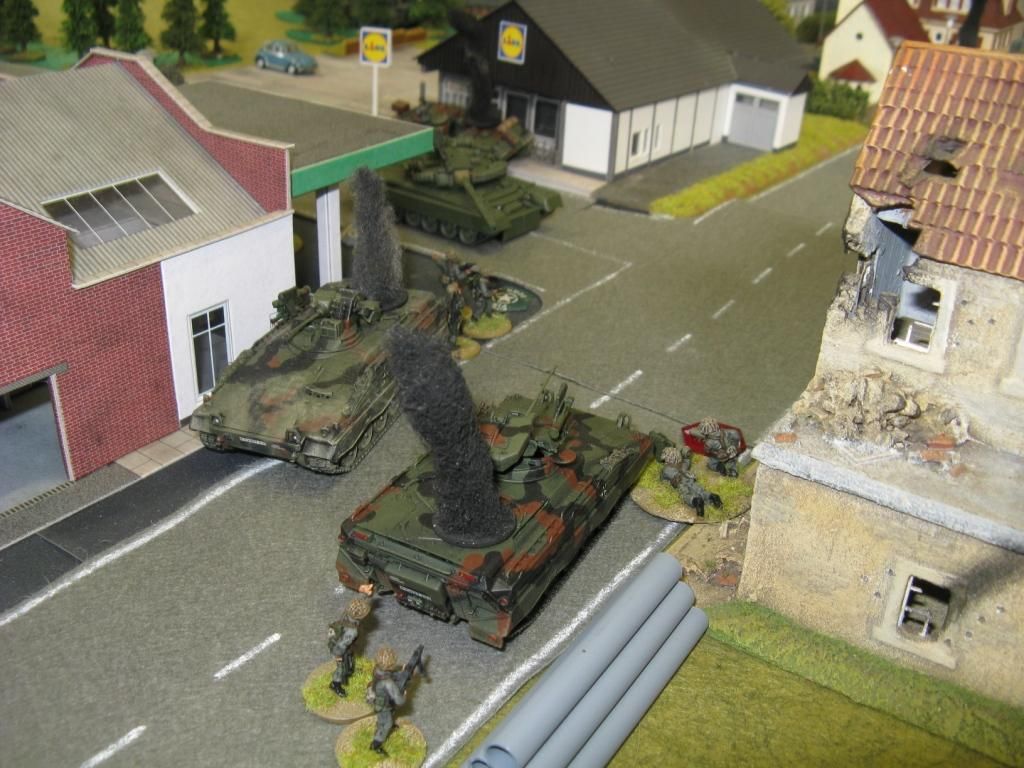
The photographs below show a sample view of the table showing the road network and the village.


All terrain should be set up in a similar mutually agreeable fashion.

Victory
  • If NATO forces the Soviets to exceed their Battle Rating, NATO wins
  • If all remaining NATO forces have withdrawn off the table via the road to the bridge, by the end of NATO turn 8 the bridge can be considered blown.  If there are no Soviet forces within 10” of the table edge of the road to the bridge, when the bridge is blown – NATO wins.
  • If any Soviet AFV exits the table on the road to the bridge before NATO turn 8 – the Soviets win.

Deployment
1.         Determine Table Edges
The canal table edge is the NATO table edge.  The Soviets enter the table from the opposite table edge.

2.         Additional Fire Support
Note the location and timing if required of any Pre-Registered Targets, Timed Strikes or Timed Air Strikes.

3.         Place Objectives
There is only 1 objective – the table edge where road leads to the bridge.

4.         Weather Conditions
Roll a D6.  On a 1, it is raining and miserable.  Only All-Weather air assets can fly in this weather.  Any other air assets do not arrive. 

5.          Place Defending Forces
The NATO player places all his Reconnaissance units anywhere in his half of the table, but not within 10” of the table centre line.  He may place the West German police unit anywhere within the boundaries of the small village.  The NATO player can also place up to 2 choices from his Defence choices from his list on the table.  All his other units are reinforcements.

6.         Place Attacking Forces
The Soviet player places all his Reconnaissance units anywhere in his half of the table, but not within 10” of the table centre line.  All his other units are reinforcements.

7.         Scout Battle Phase
Roll a D6.  For this number of turns only the Reconnaissance units (and the Police unit) will be on the table.  At the end of the scout battle phase, both sides reinforcements will start to arrive.  Note – the scout battle phase does not count towards the turns needed to prepare the explosives on the bridge.

8.         First Turn
The Soviet player has the first turn.

9.         Reinforcements
After the Scout Battle Phase is complete, D6 units, freely chosen by the commander from his battlegroup arrive as reinforcements.  The Soviet player may place these on the Soviet table edge and they can then be given orders from there as normal.

The NATO player must place them on the table on the road from the bridge and they can be given orders from there as normal.

Players continue to roll for reinforcements at the start of each of their subsequent turns until their entire battlegroup is on the table.

NATO Player Special Rules
The NATO player may choose to deploy up to 2 Defences from his army list in the game.

The NATO player must have the following unit as part of his list.

Bundesgrenschutz Squad . . . . . . . . . . . . . . . . . . . . . . . . . . . . . . . . . . . . . . . . . . . . .  35 pts   3-i BR
Unit Composition:          

1 Bundesgrenschutz Rifle Squad – 5 men with G3 assault rifles and 1 Pzf44
1 Bundesgrenschutz GPMG Team – 3 men with a MG3 GPMG

Soviet Player Special Rules
The Soviet player may not place a Pre-Registered Target, Timed Strikes or Timed Air Strikes within 15” of the bridge exit off the table.  Soviet High Command want the bridge captured, not destroyed!


The Soviet player may take a 122mm Timed Strike at no points cost, in addition to his standard army list.