NATO Deployment
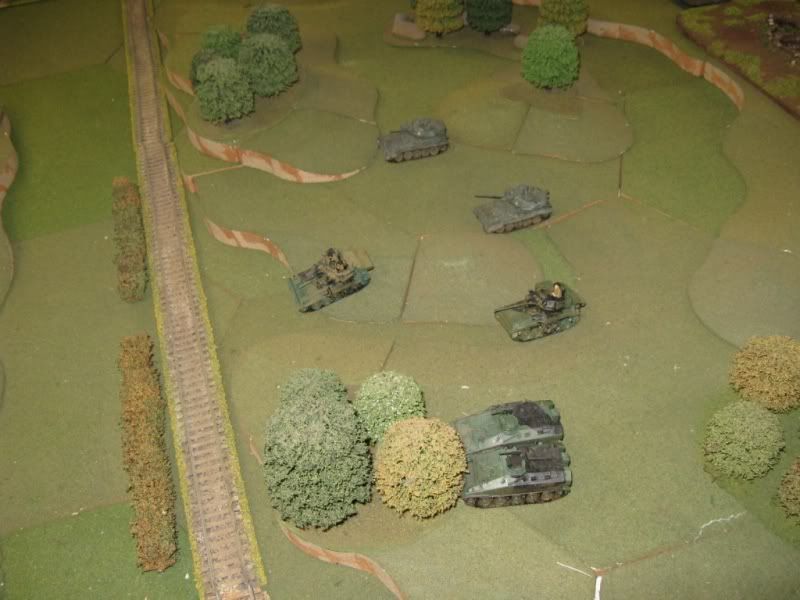
A troop of Scimitars (those Scorpions you see are actually Scimitars - OK?) deploy forward of the FEBA supported by a couple of Spartans. On the other flank,well out of picture, a small unit of Panzer-Grenadiers take residence on a couple of buildings, which hide their Marders.
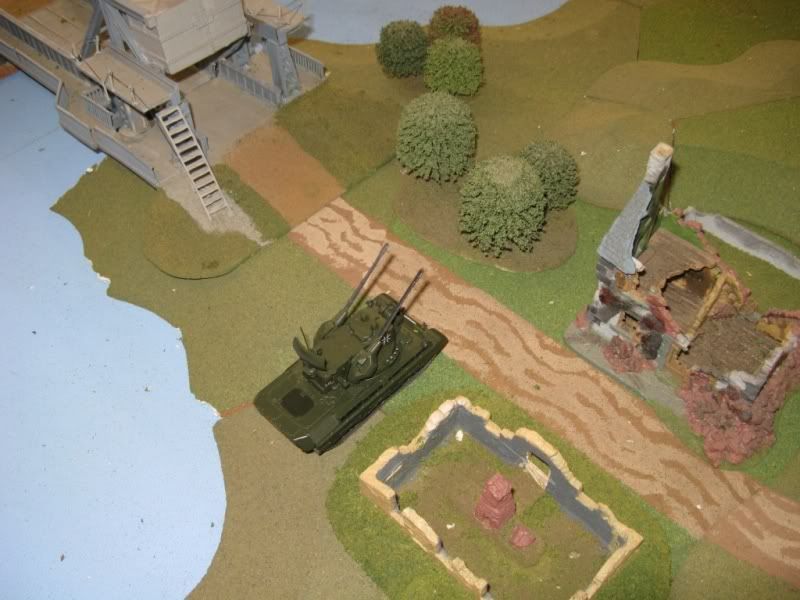
A lone Gepard guards the bridge - which despite the German locations, looks remarkedly like Pegasus Bridge!
Deployment of the Soviets
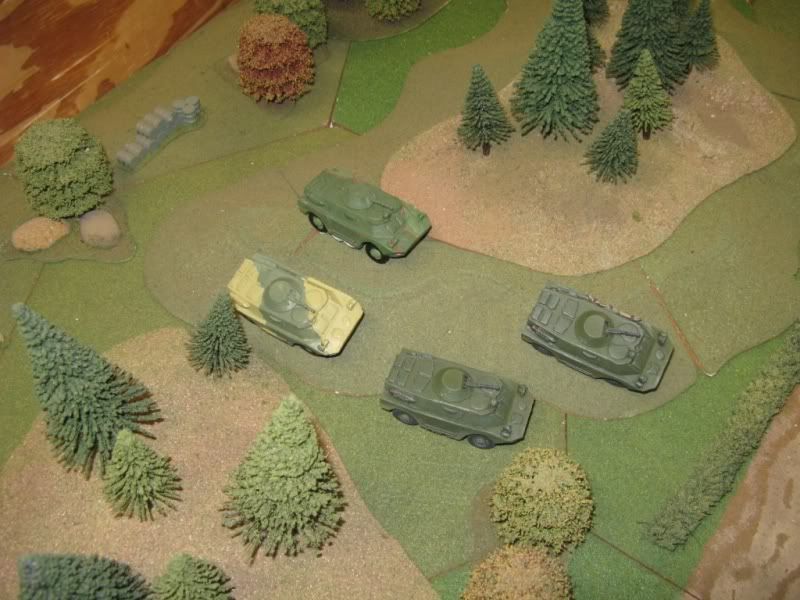
On NATO's left flank and platoon of BRDMs from the Recon Company scout ahead.
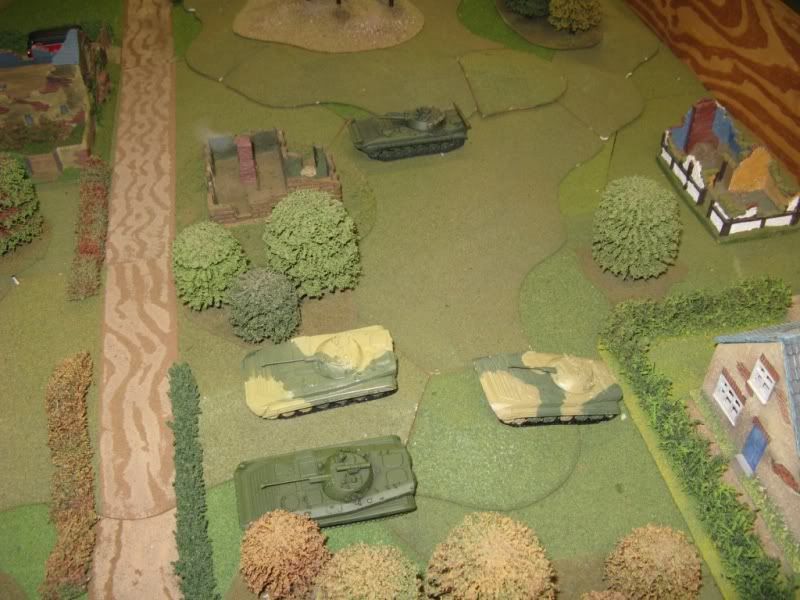
In the centre is the Recon Company's CO in a BRM, which a support platoon in BMP-2s.
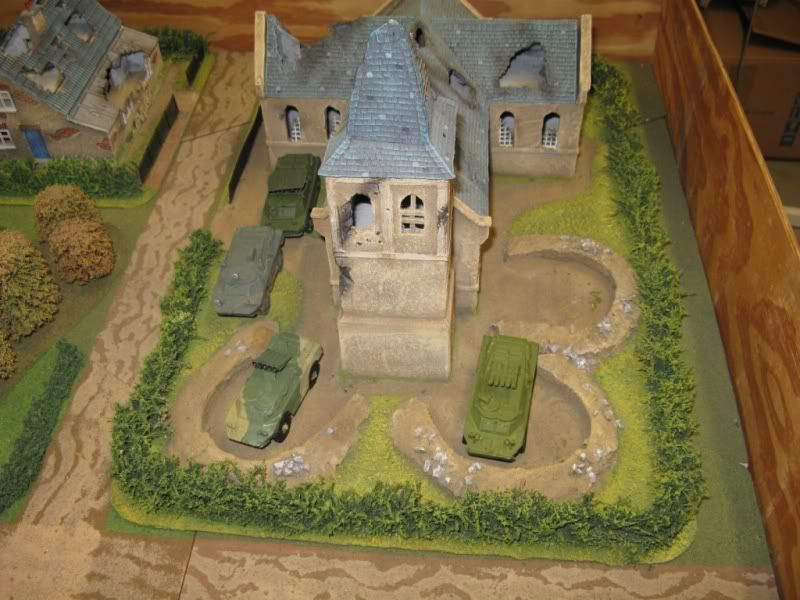
On NATO's right flank is the BRDM mounted AT Company.
A massive Soviet Preliminary bombardment comes down on the NATO forward positions, destroying both the Spartans (and the chaps inside) and also taking out both the Marders. The Panzer-Grenadiers have lost their transport, but grimly dig in to hold up the Soviet advance.
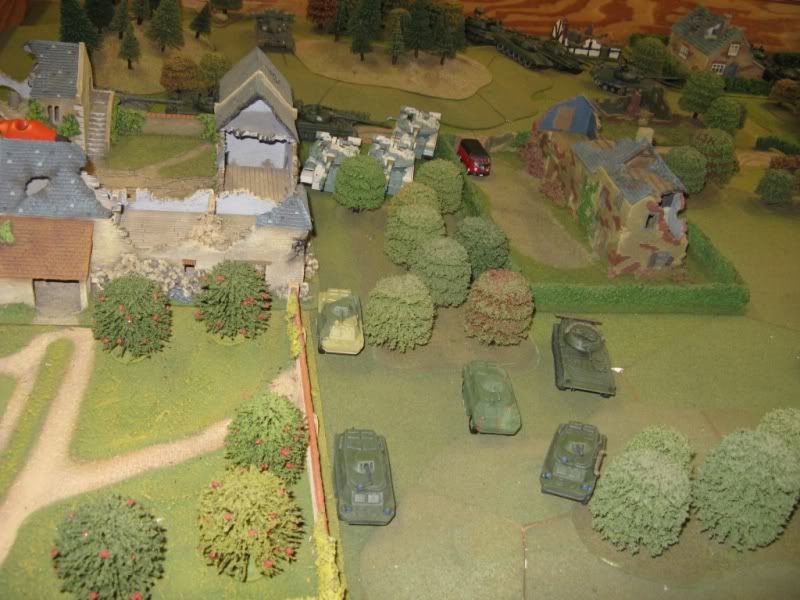
On the left, BRDMs lead the T-80 company forward.
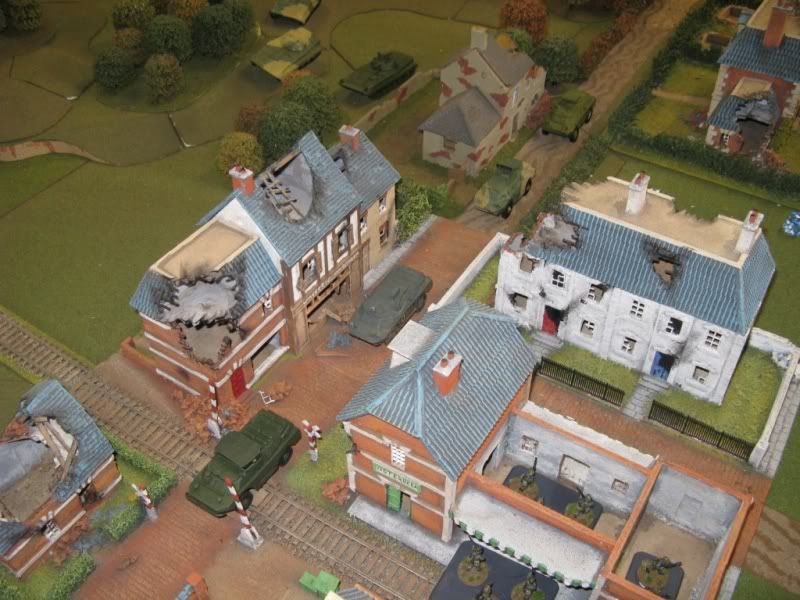
Meanwhile, on the right the AT company advances down the road towards a small village as if on a Victory parade through Red Square.
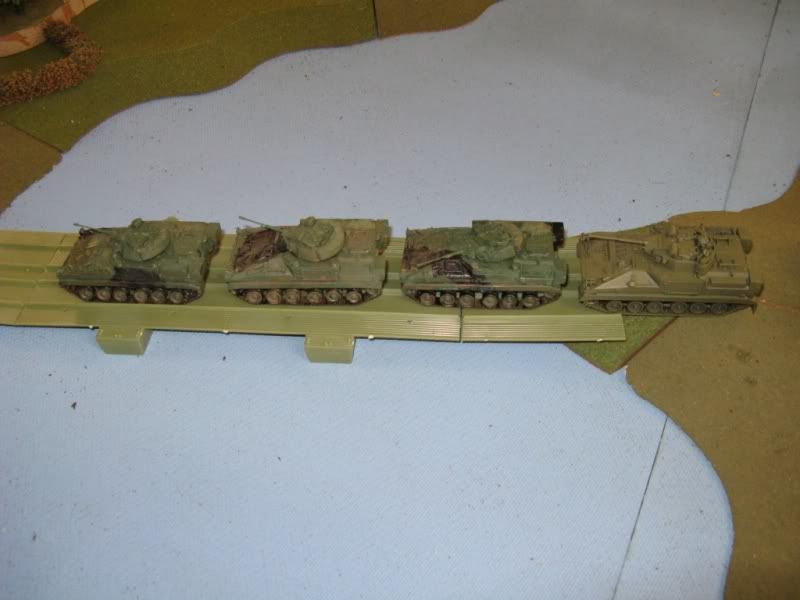
The British troops on the other side of the river mount up and start to cross the pontoon bridge in their Warriors.
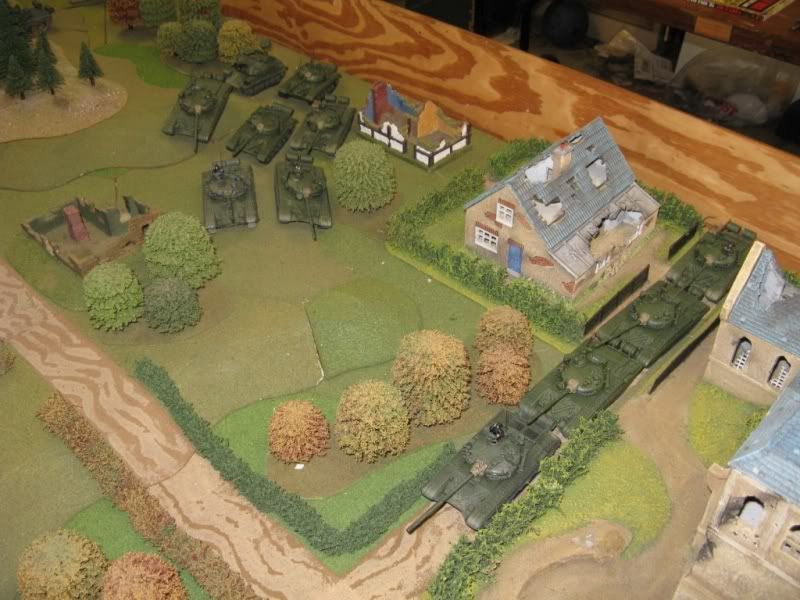
The T-72 company enters the table and start to advance through the dense terrain.

The happy-go-lucky AT Company continues into the village, obviously trusting that Milans and Pzf-44s cannot dent their armour protection.
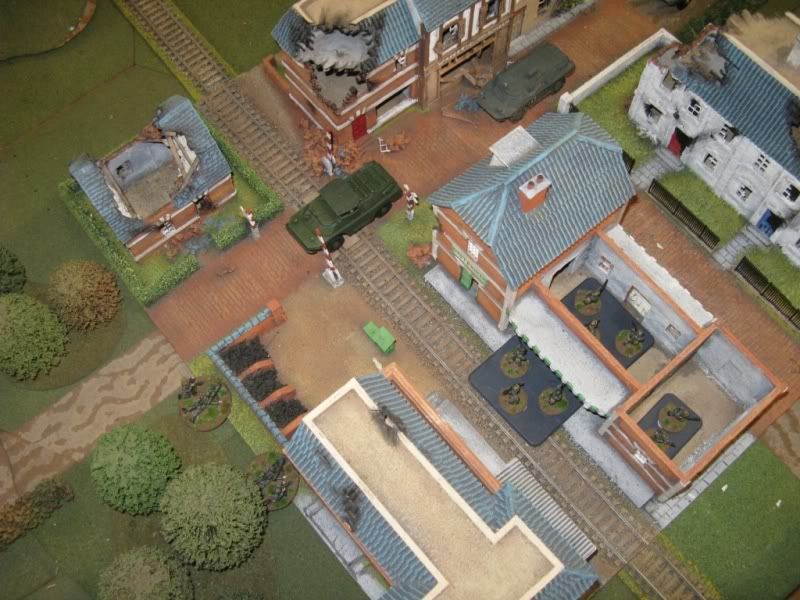
A close up of the tragedy that is about to unfold on the AT Company.
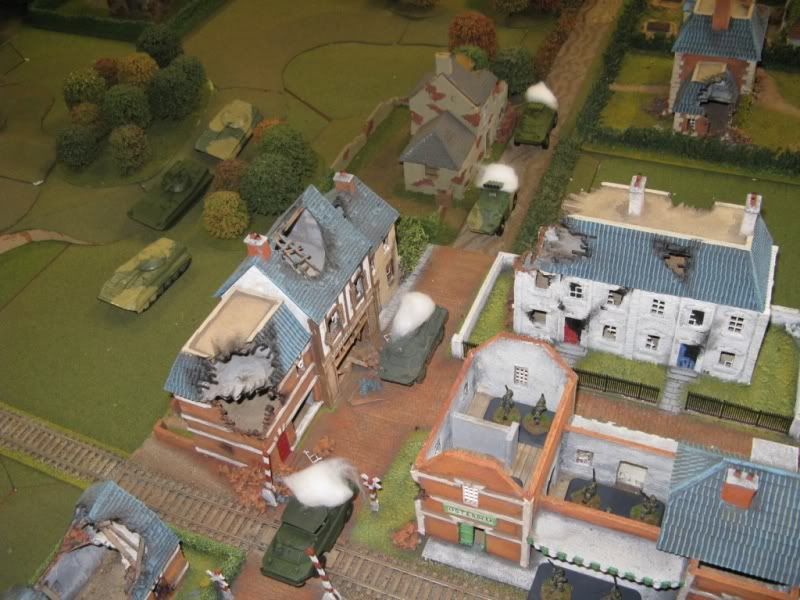
A successful round of shooting from the West German Pzr-Gren takes care of the Victory parade!
Across the other side of the table from the exploding AT Company - the Scimitars tried to see how their Rarden cannon went up against BRDM armour.
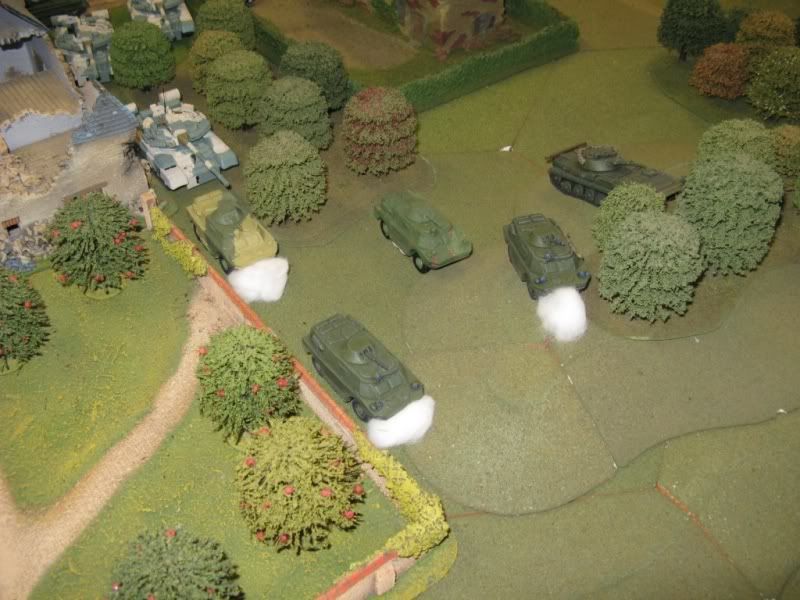
Not to badly actually!
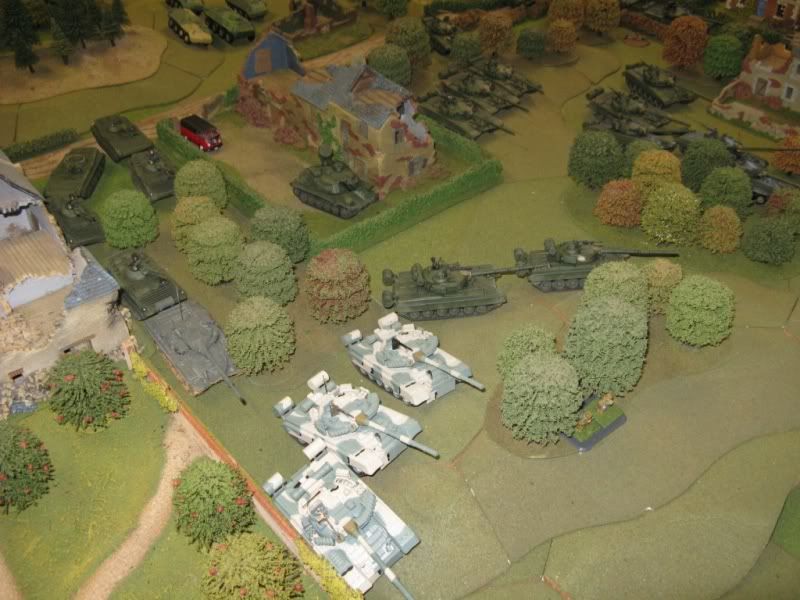
So the T-80s take over
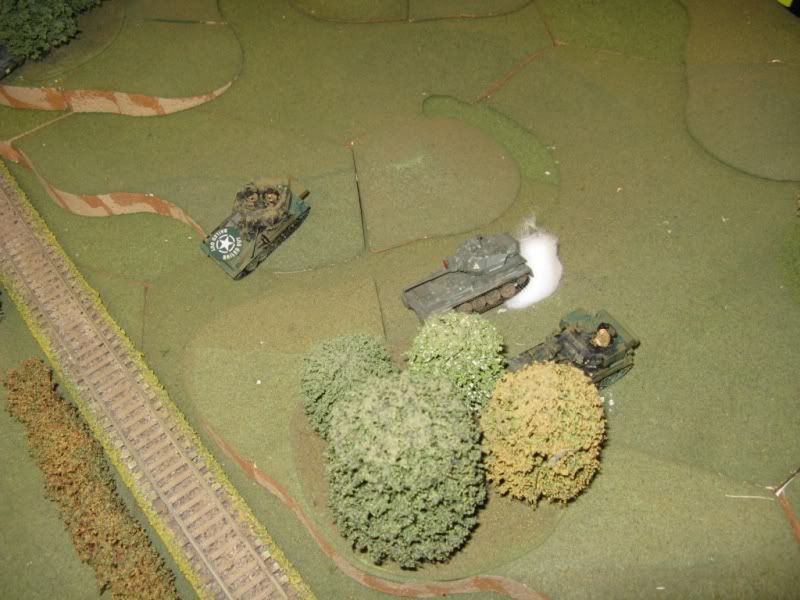
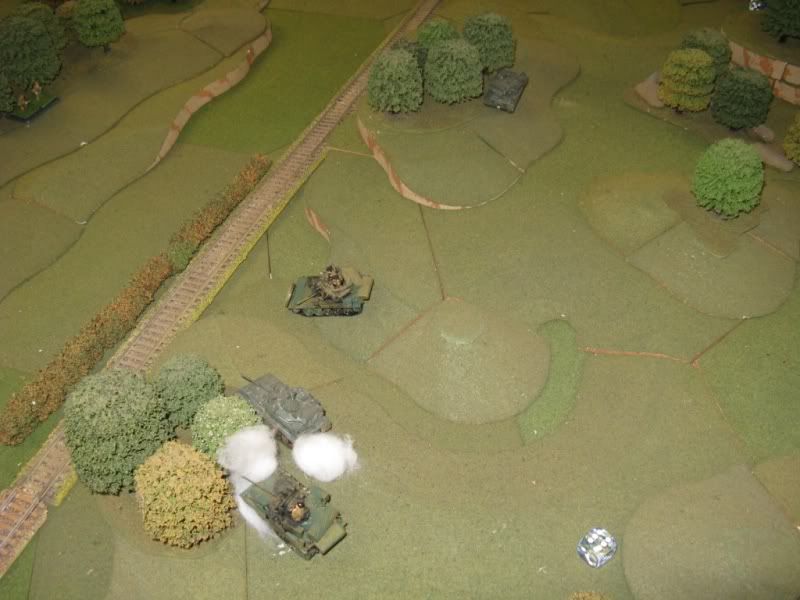
And in a couple of rounds of shooting take care of the majority of the Scimitars
Tomorrow night in Part 3 is the conclusion of the game...
Have fun
Richard
No comments:
Post a Comment