OK - so onto the lists and table. First up - the Army Lists bearing in mind these were the remnants of both forces from Game 1.
Soviets
1 x Soviet Naval Infantry Platoon (SNI), with 3 BTR-60PBs, a Metis Team and a SVD Marksman
1 x Depleted SNI Platoon with no BTRs, only 2 squads and an attached SA-7 team
1 x Anti-tank Section with no BTR, 1 x SPG-9 and 1 x Metis Team
1 x Mortar Team with a 120mm Mortar and a BTR-60PB
T-55AMV Platoon with 3 Tanks
T-55M Platoon with 3 Tanks
2 x PT-76 Light Recon Tanks
1 x ZSU-23-4
1 x SA-9
1 x BRDM-2
1 x Mortar Fire Controller with a UAZ-469
1 x Shore Fire Control Party with a UAZ-469
2 x 1st Target Priority Fire Missions
Total Points: 627 Total BR:35 No Officers but 4 Platoon Commanders
Danes
1 x Mechanised Infantry Platoon in 3 M113A1, with 3 M72 LAWs
1 x Self-Propelled Anti-tank Team in a M150
1 x Medium Mortar Team
1 x Depleted Hjemevaernet (HJV) Platoon with 1 M72 LAW & "Behind Enemy Lines"
1 x HJV Medium Anti-tank Team with "Behind Enemy Lines"
2 Centurion Mk 5/2 DK Tanks (one of with is an Officer)
1 x M41 Light Recon Tank
1 x SAM Team with Stinger
1 x Forward Observer
Off-Table 120mm Mortar Battery
2 x 1st Target Priority Fire Missions
Remote Control Demolition of Bridge
Off Table TOW Shot
Total Points: 488 Total BR:25+1D6 Officers: 4
So the Soviets had a pretty decent point and BR advantage in game terms, but had to do all the attacking over difficult terrain.
Now the Table:
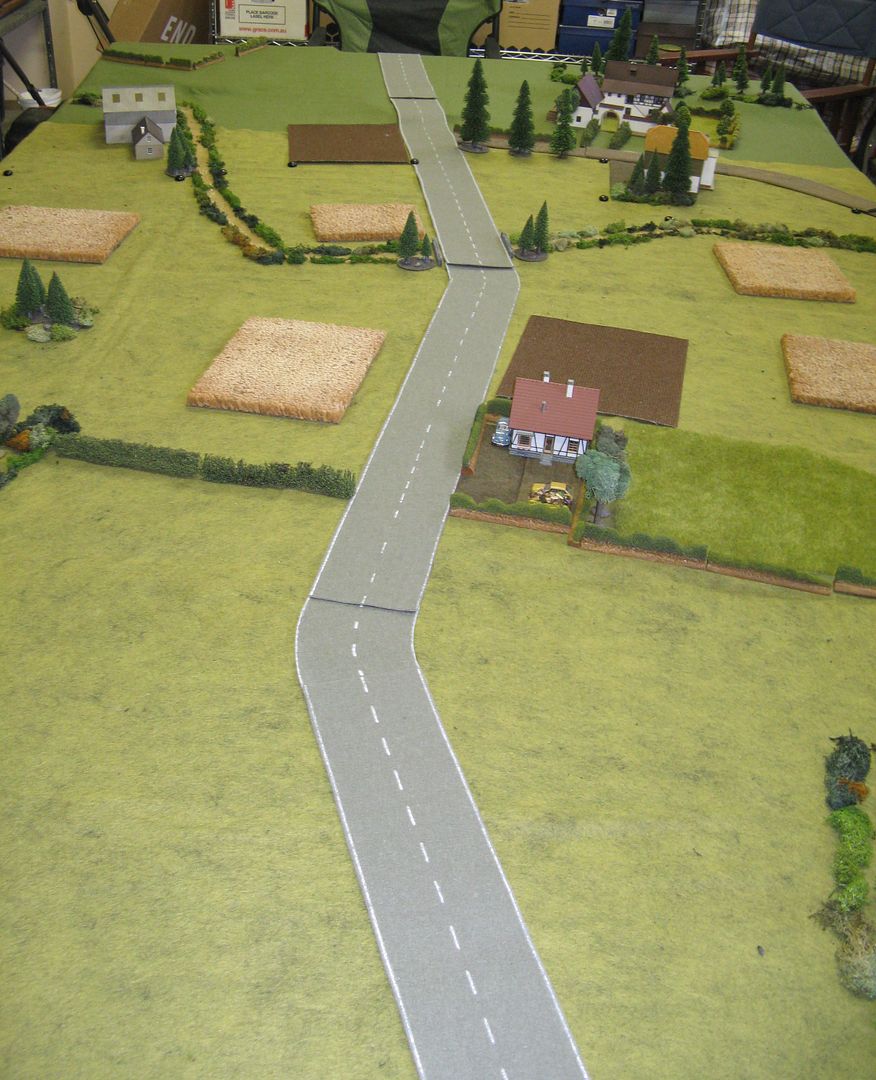
This is the view from the SNI end of the table. There is a slight rise at the Danish end of the table and also a small creek running across the table, which at most points was similar to the Danish Deployment zone. The building in the top left hand corner is part of the aerodrome, while that one the right top corner is Lystrup & Jomfruens Egede Godser.
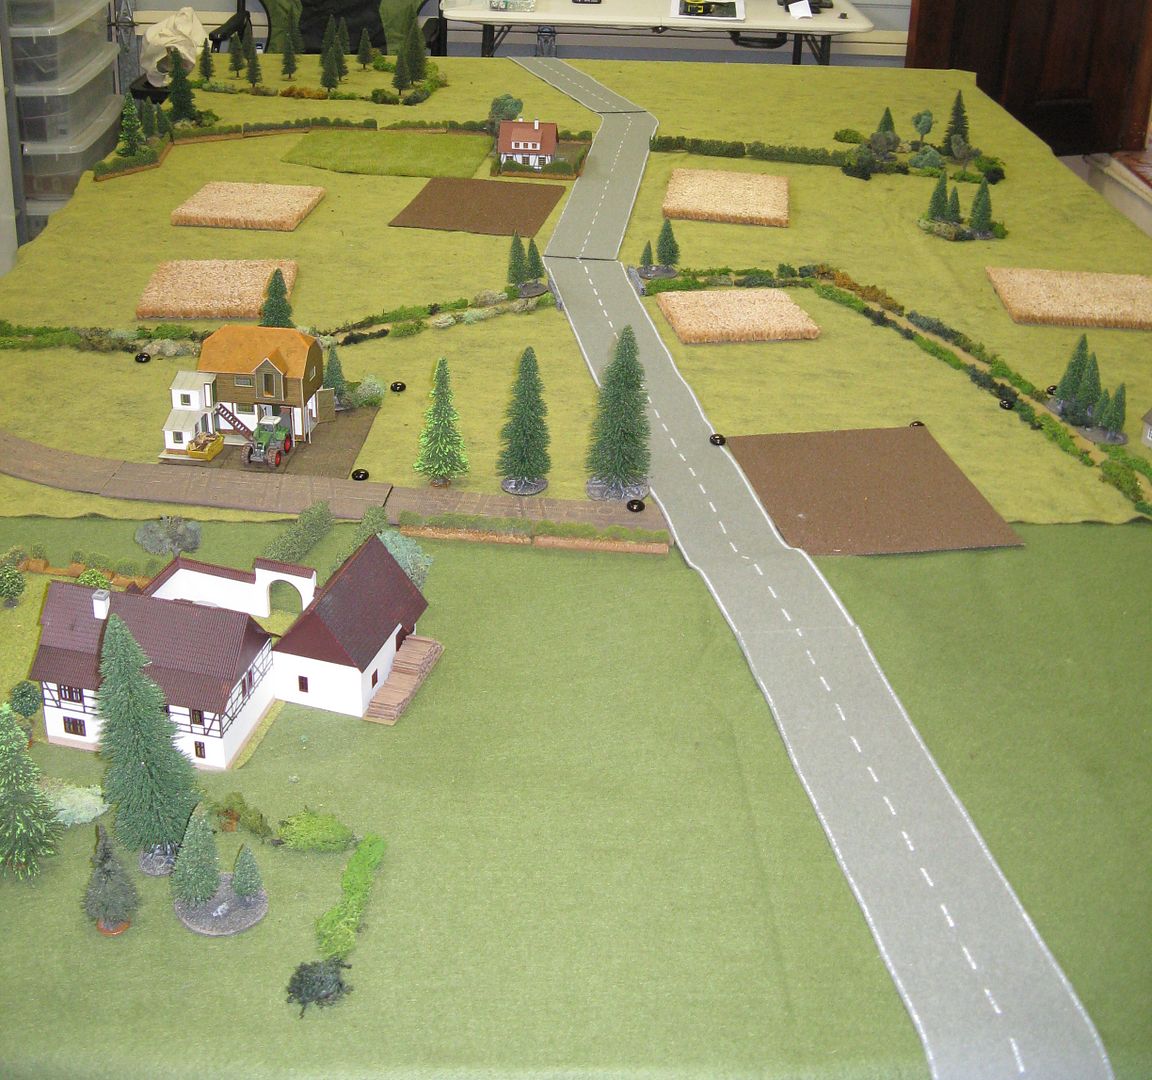
This is the table from the Danish point of view with Lystrup & Jomfruens Egede Godser in the close left hand corner. Again you can see the creek in the middle distance. The black dots you can see are the deployment zone markers I used.
A closer shot of the creek, full of dirty water. To cross it, a vehicle had to move up to the edge of the creek and stop, then move is off-road movement value minus 1D6. Again you can see deployment zone markers.
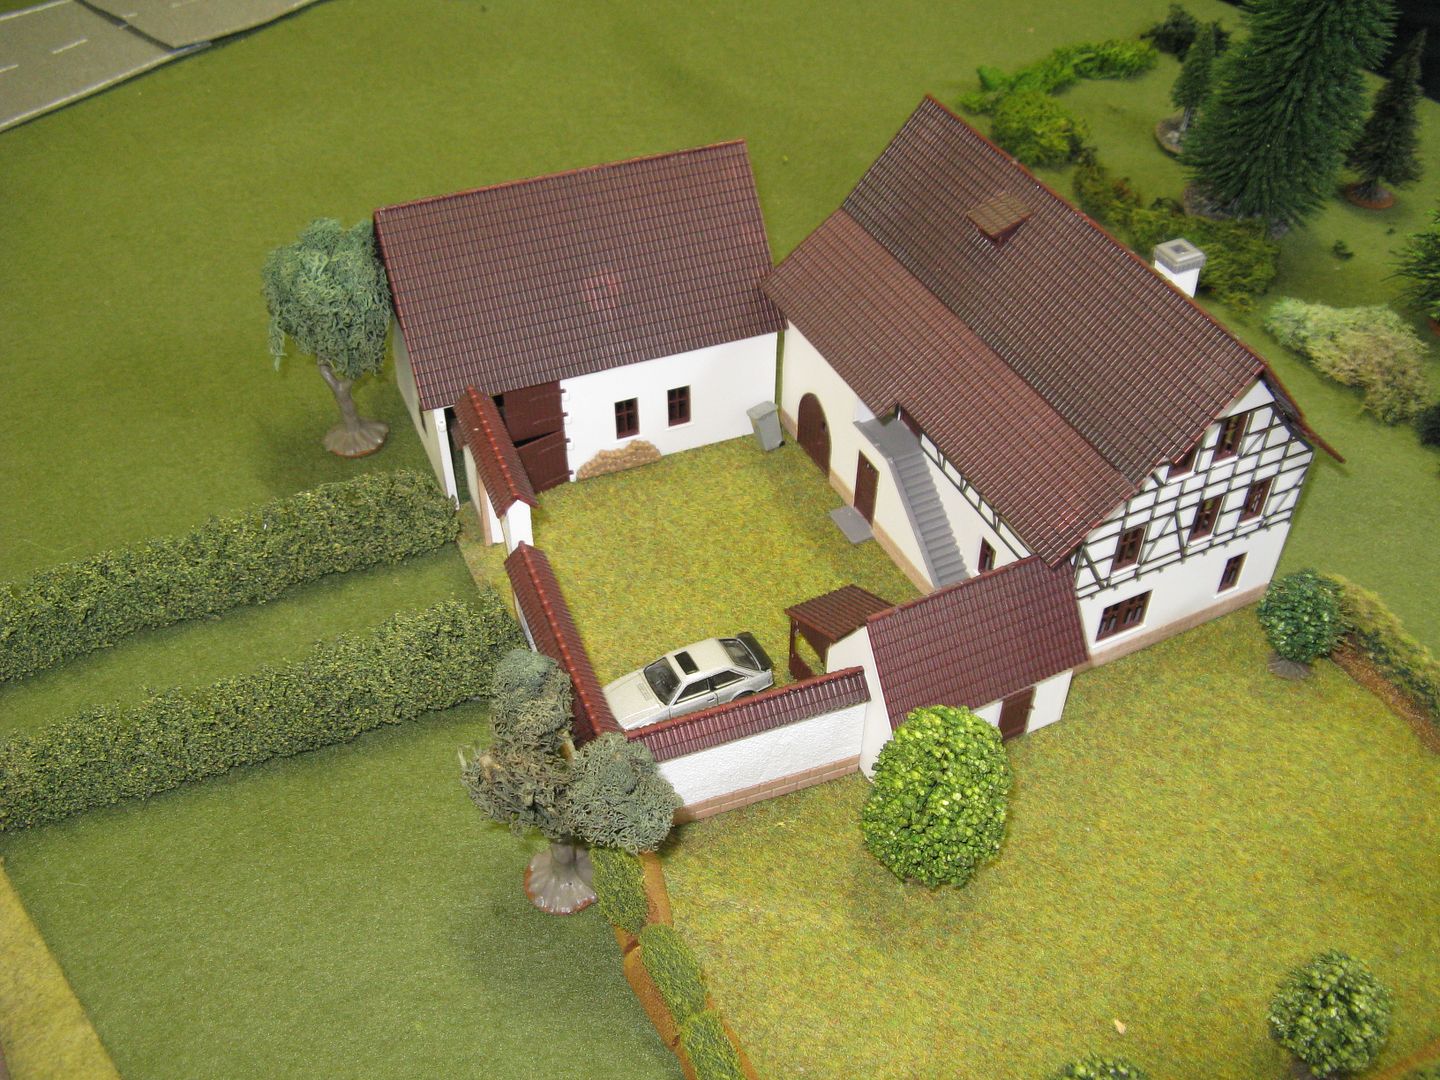
This is my slightly dodgy version "Lystrup & Jomfruens Egede Godser" which I think basically means Lystrup and Jomfruens Estate. It's much grander in real life, but this will do.
Part of the estate is some structures across the road from the main buildings. I have represented that with this barn structure.
Much closer to the Soviet is this small cottage, surrounded by hedges and some trees. Unbeknownst by the Soviet players one HJV squad and the HJV MAW Team were hidden in this house ready to spring an ambush.
Although this is an in-game photo, I'm using it here to show part of the table set-up so the photo may get used again in the next post. This is meant to represent buildings that are part of Ost-Sjaellands Flyveklub or East Zealand Flying Club. It also shows on the map as Kongsted Svaeveflyveplads which I have no translation for but I understand this area is a flat, grassed glider and light plane aerodrome. Comprehensive readers might also remember this aerodrome was one of the Soviets objectives as the are planning on basing all their helicopters here, at least temporarily.
So that's the Army Lists & the table set-up. I was planning on having the AAR as part of this post as well, but it's already long enough so I'll deal with that tomorrow.
Thanks
Richard


No comments:
Post a Comment