First up - the table from the NATO point-of-view:
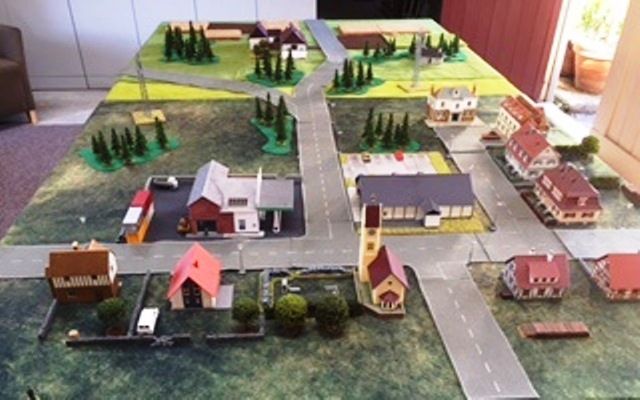
Again at the bottom of the table you can see the road leading off the table to the bridge.
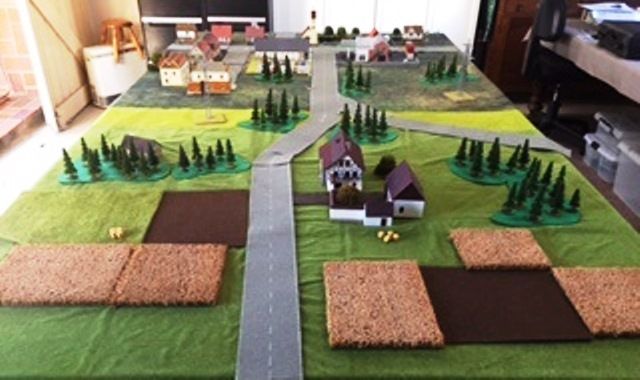
Now the Soviet point-of-view:
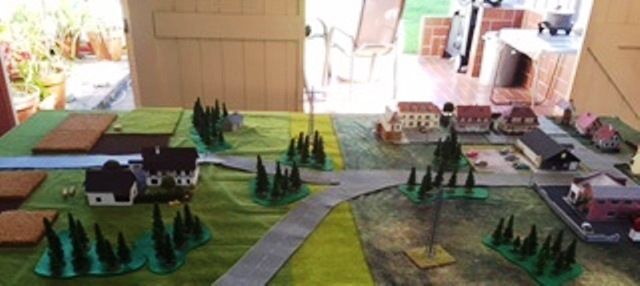
Now the table length-ways:
And again - but from the opposite side of the table:
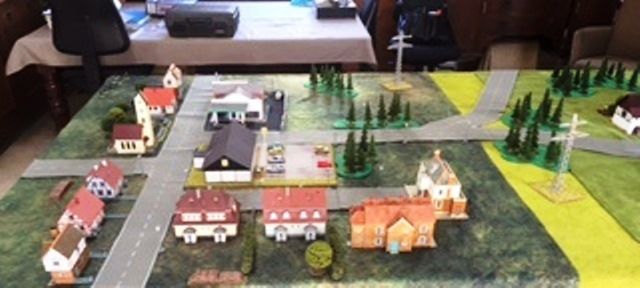
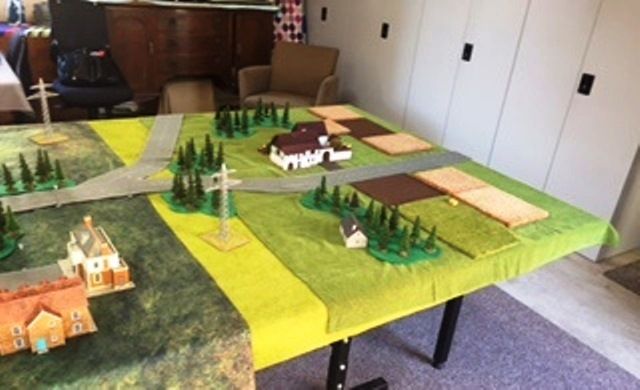
So that's the table for Game 2.
My force - the Soviets - were exactly the same as the last game:
2 x Motor Rifle Platoons in BTR-80s and 2 x attached AT-4 teams
1 x 120mm mortar towed by a Gaz-66
1 x T-80BV platoon (with 4 tanks) - 1 with Cobra ATGM load-out
1 x Recce BMP-2 (with squad)
1 x Recce BRDM-2
1 x Recce Motorcycle combination
1 x ZSU-23-4
1 x SA-9 Gaskin
1 x AT-5 BRDM-2
1 x Timed 152mm strike
1 x Timed 122mm strike
Now I'm going on memory hear - so this may change - but the US force facing me was made up of:
1 x Battlegroup HQ in a M1A1
1 x Mech Infantry Platoon in 4 M113s
1 x M1A1 Section (2 tanks)
2 x Recce M3 Bradley CFVs
1 x FO Team
1 x Off Table 82mm Battery
2 x Timed 105mm strikes
1 x minefield
1 x barbed wire obstacle
1 x Bundesgrenschutz squad (police)
Sorry - no pics of the two forces for this game.
So - next up - the AAR.
Thanks
Richard
No comments:
Post a Comment