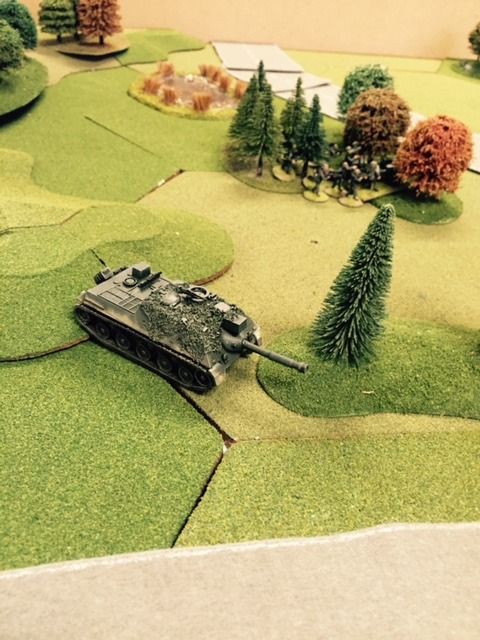
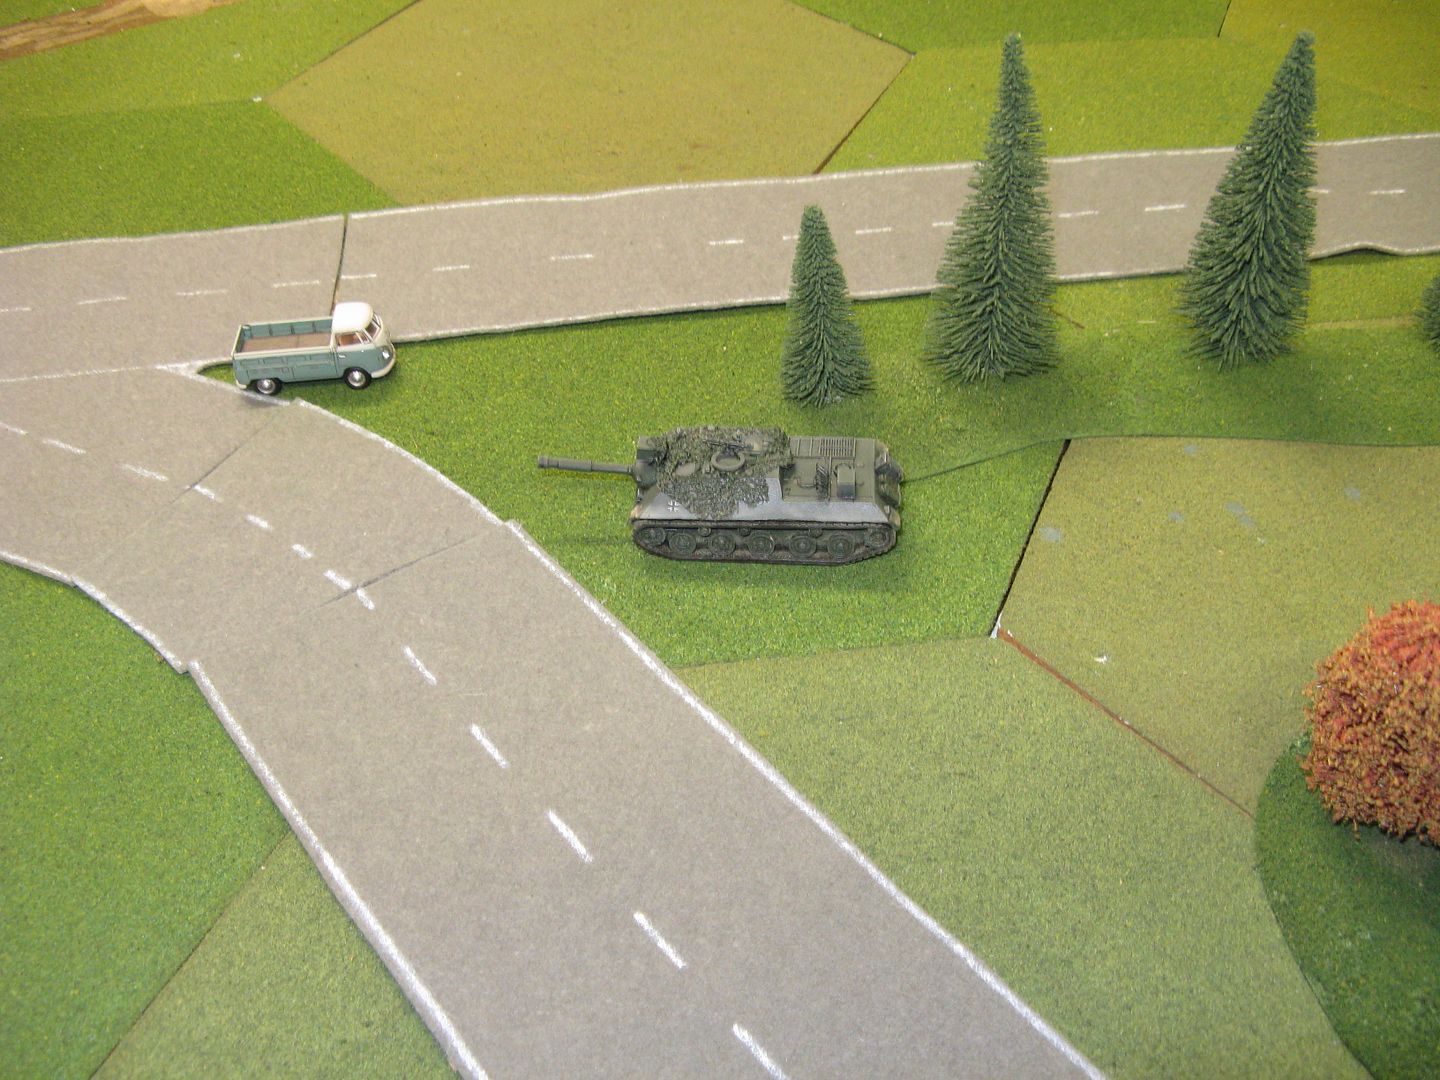
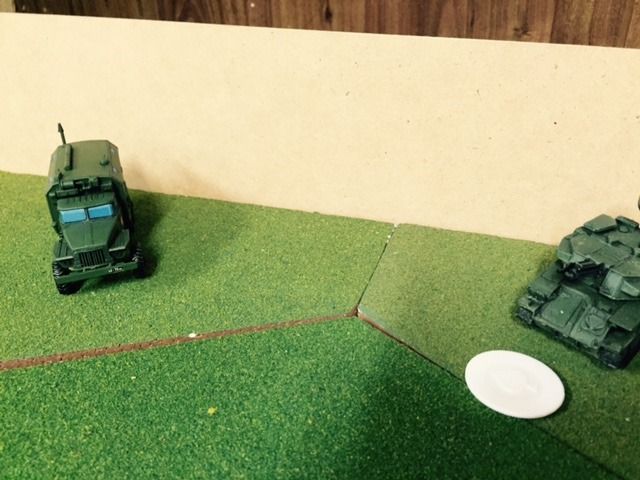
First onto the table for the Soviets were the recce survivors of Game 1 & 2 - the motorcycle combination and a BRDM-2
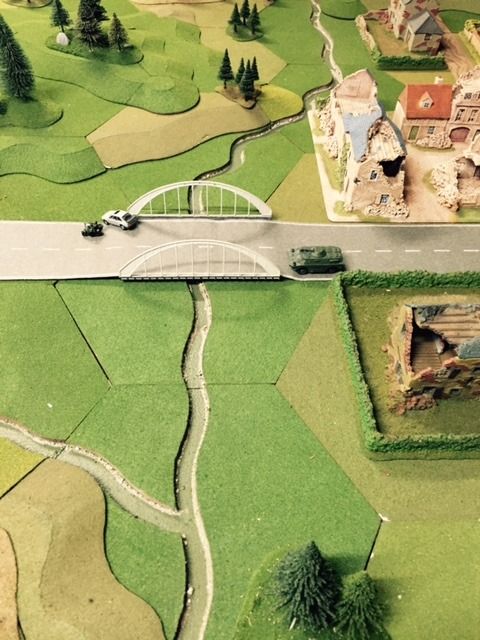
Fittingly it was the motorcycle combination that took the first objective (as shown in the photos above). But their luck - which had stuck with them for 2 games - was about to run out. The motorcycle combination was swept away by the fire from a German Fallshirmjager section while the BRDM-2 had a TOW missile visited upon it from an FJ KraKa.
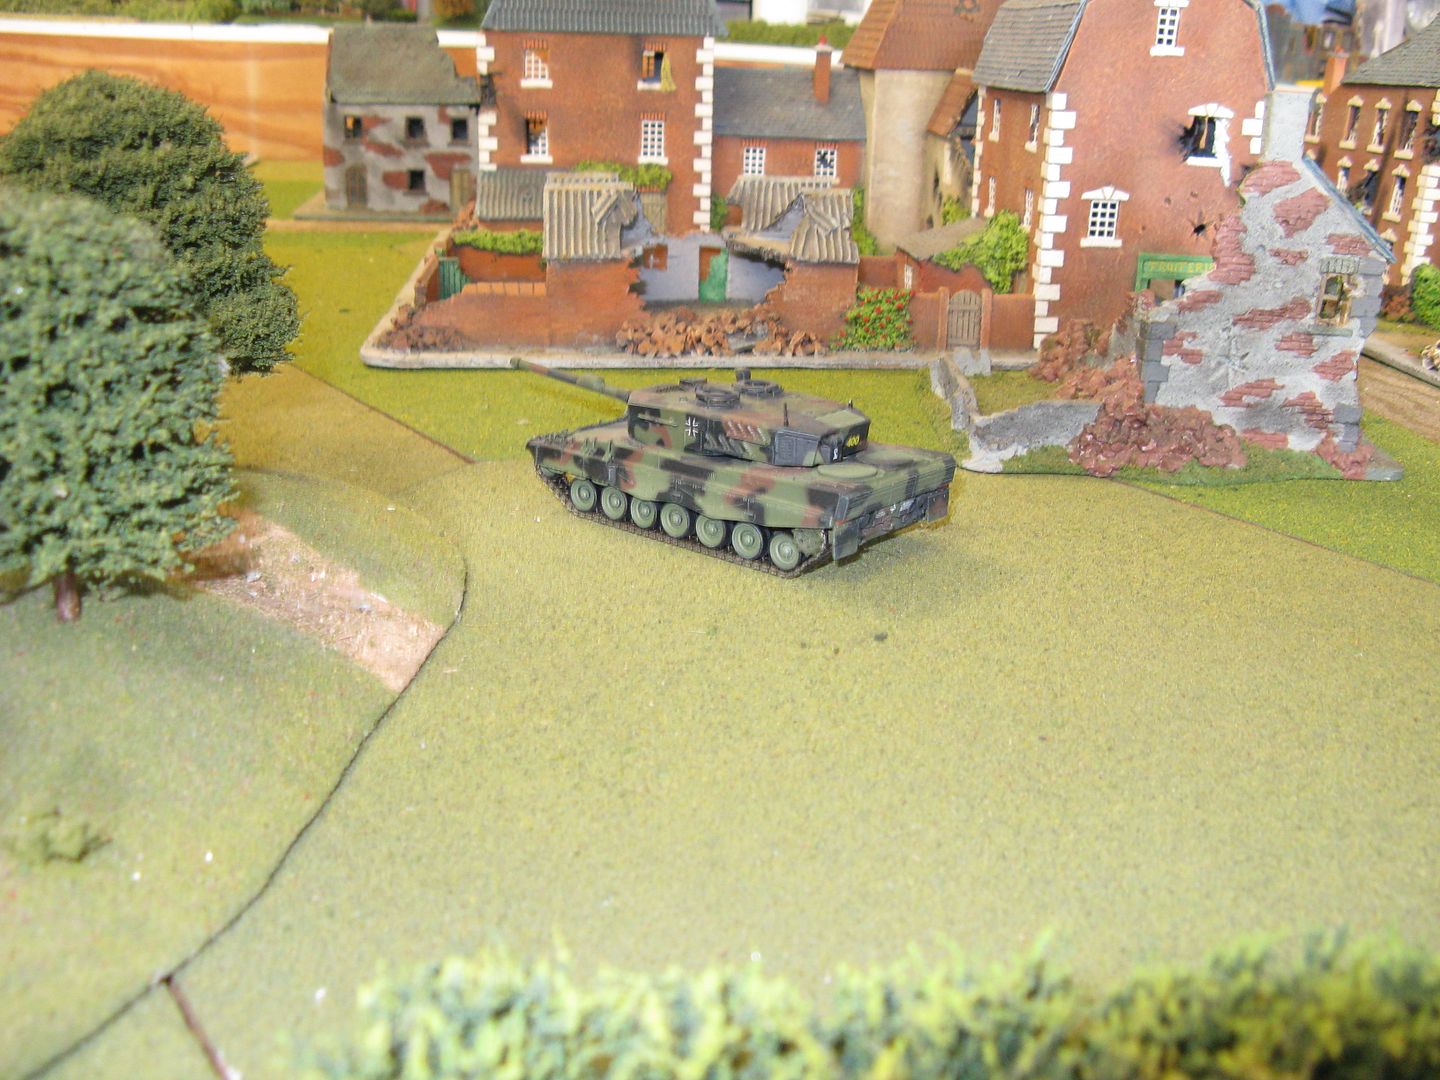
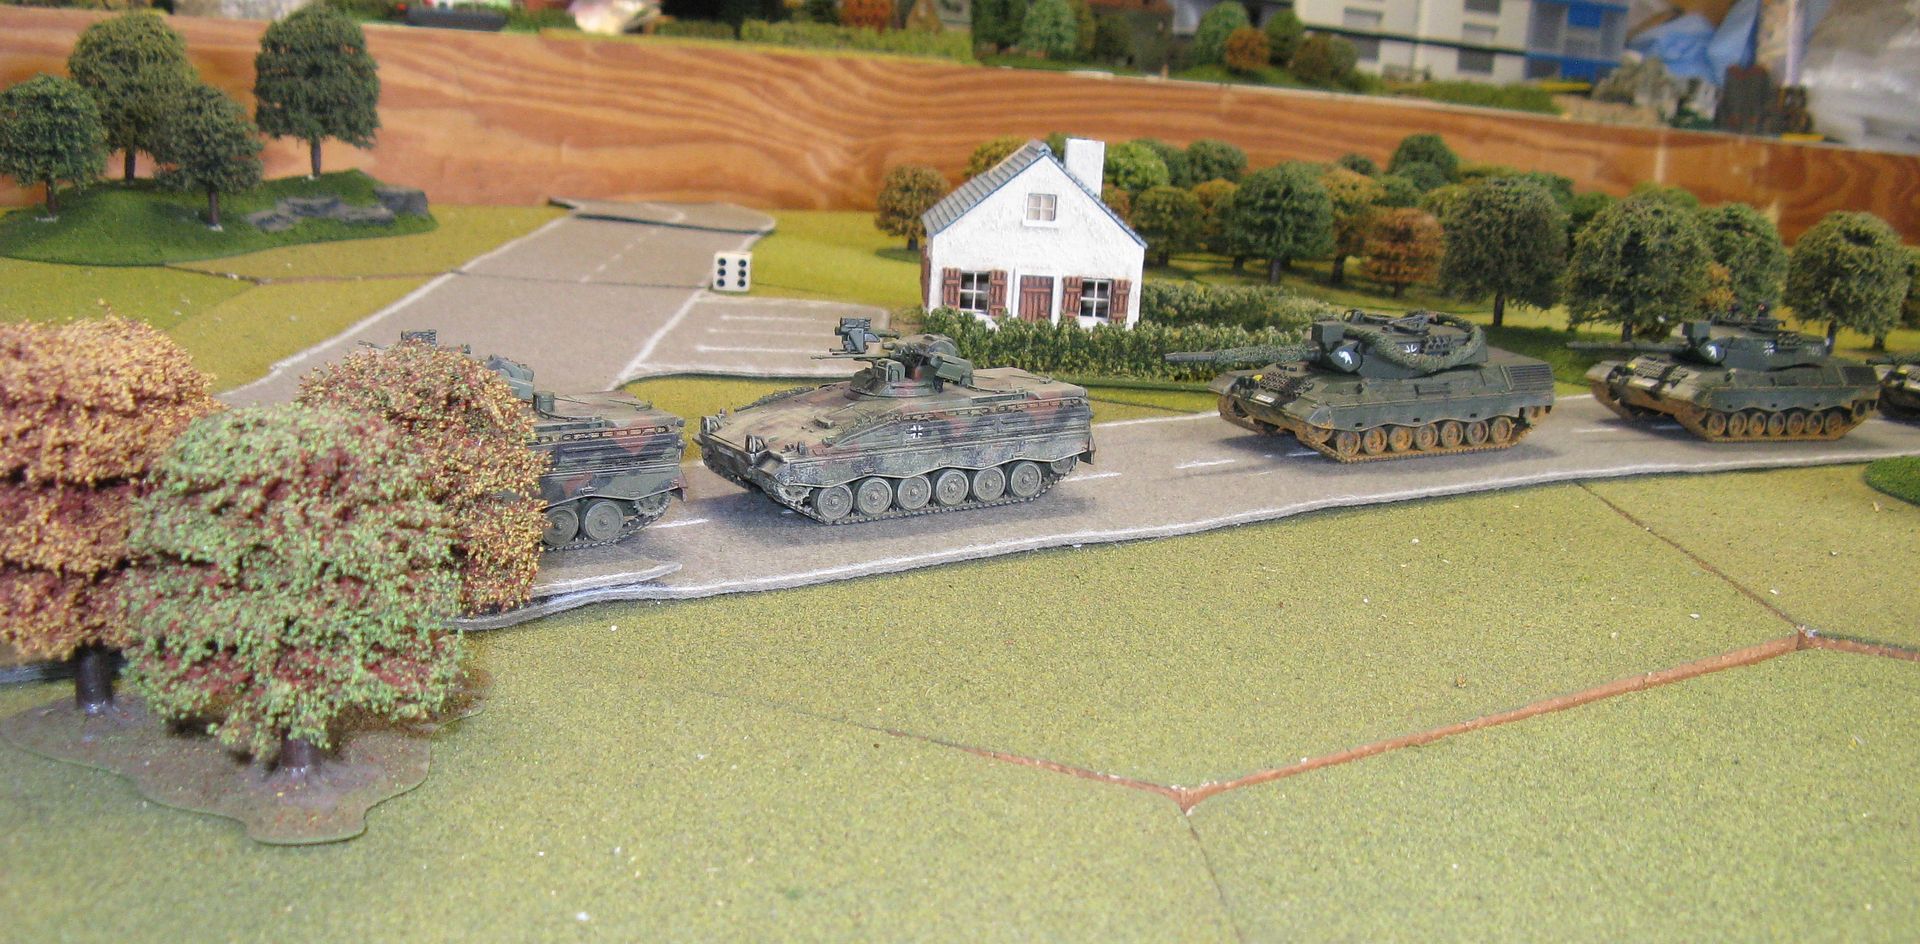
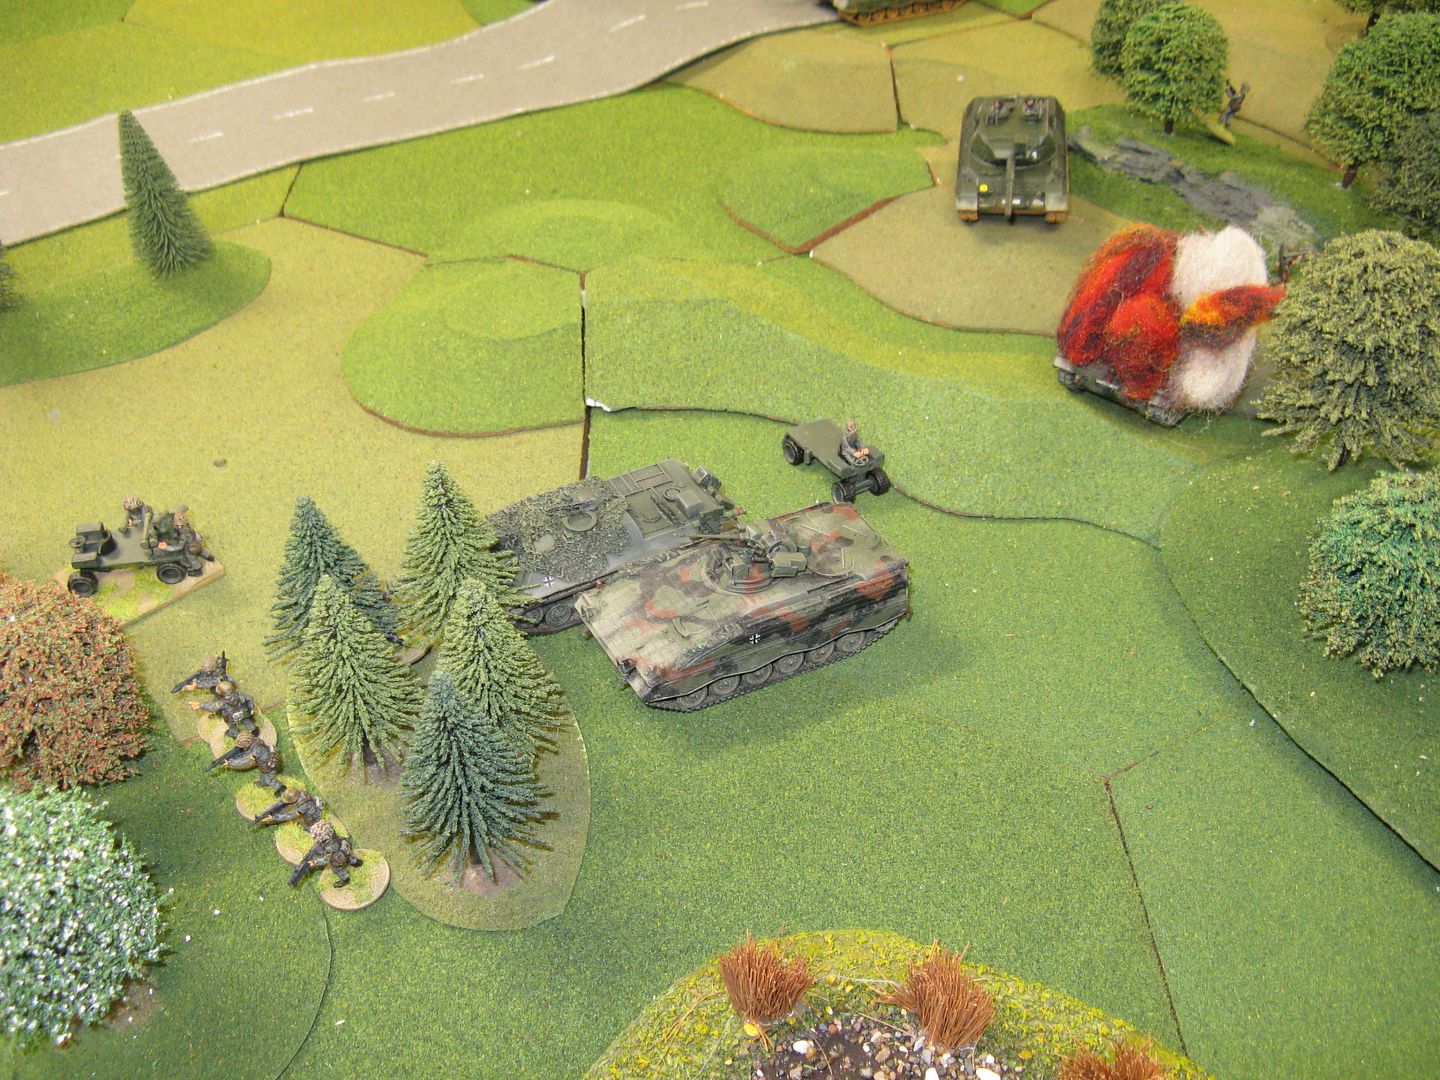
The West Germans continued to jockey to get into the best positions...
... while the recently repaired Leopard 2 raced towards the battle

Soon the NATO force was in position to dominate the open ground between the two bridges
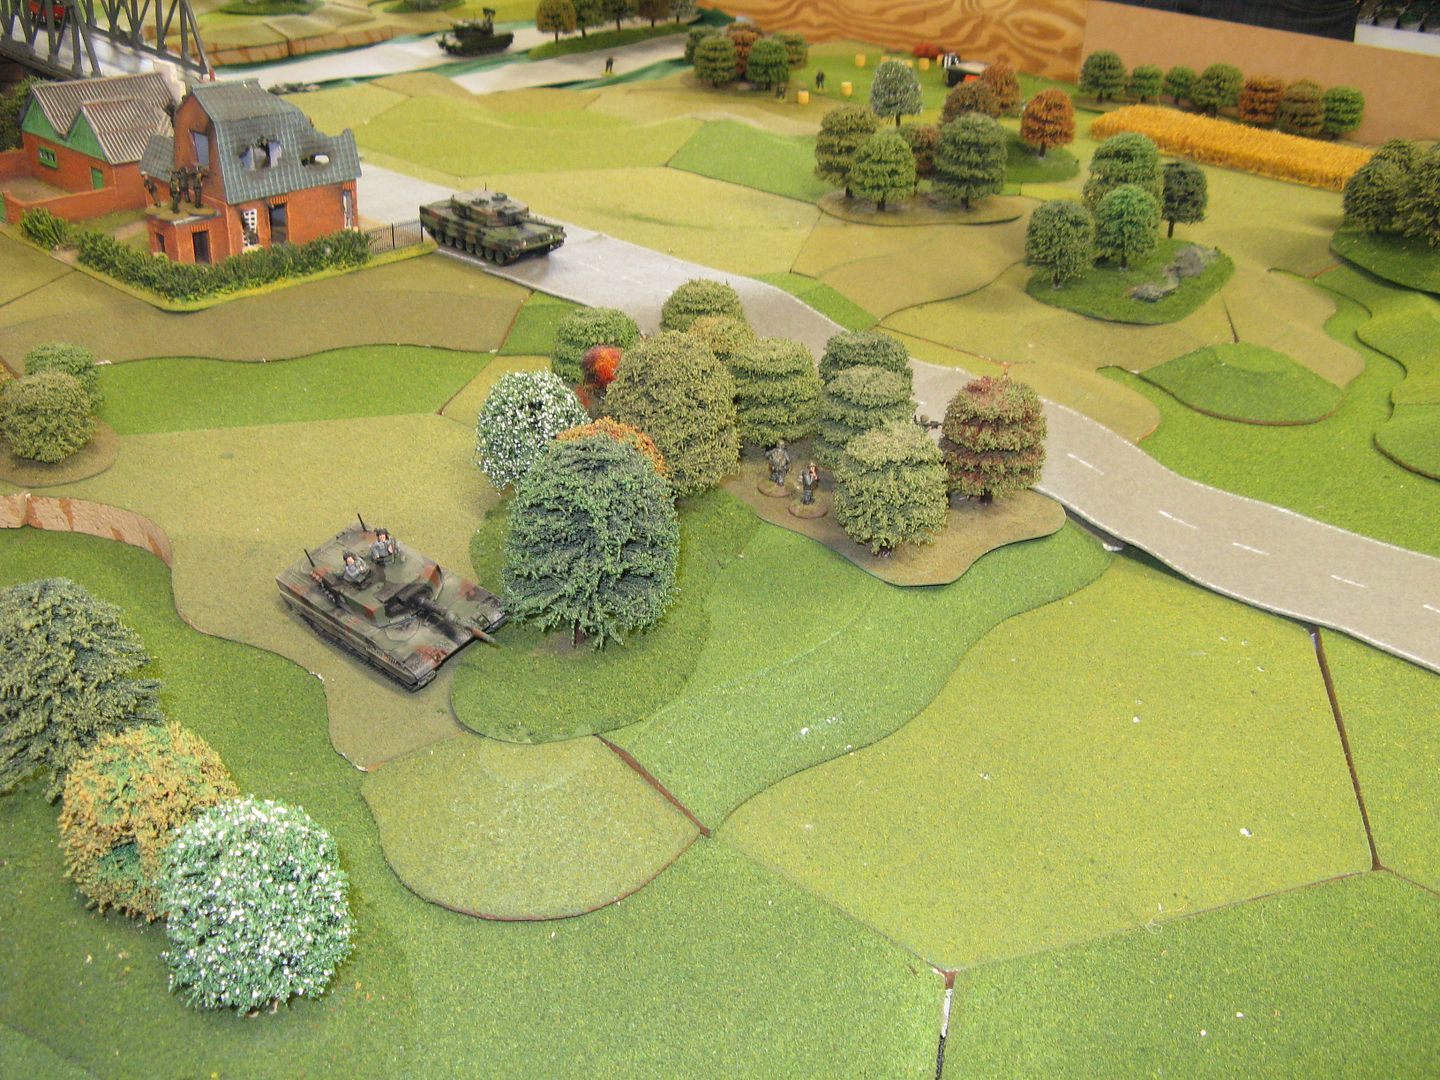
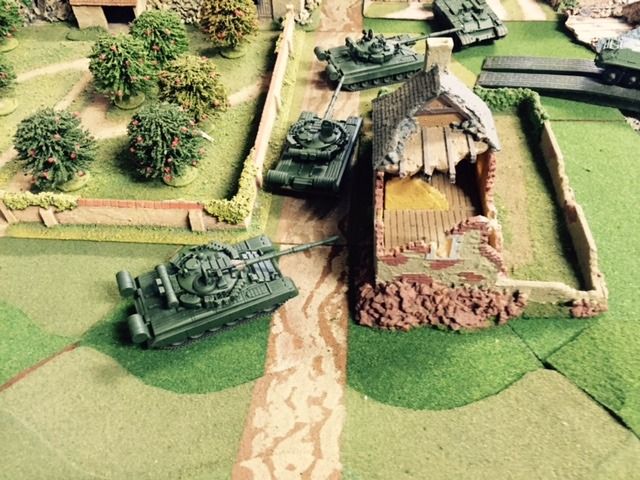
And the area around the small bridge became a NATO kill zone as BTRs tried to rush over the small stream.
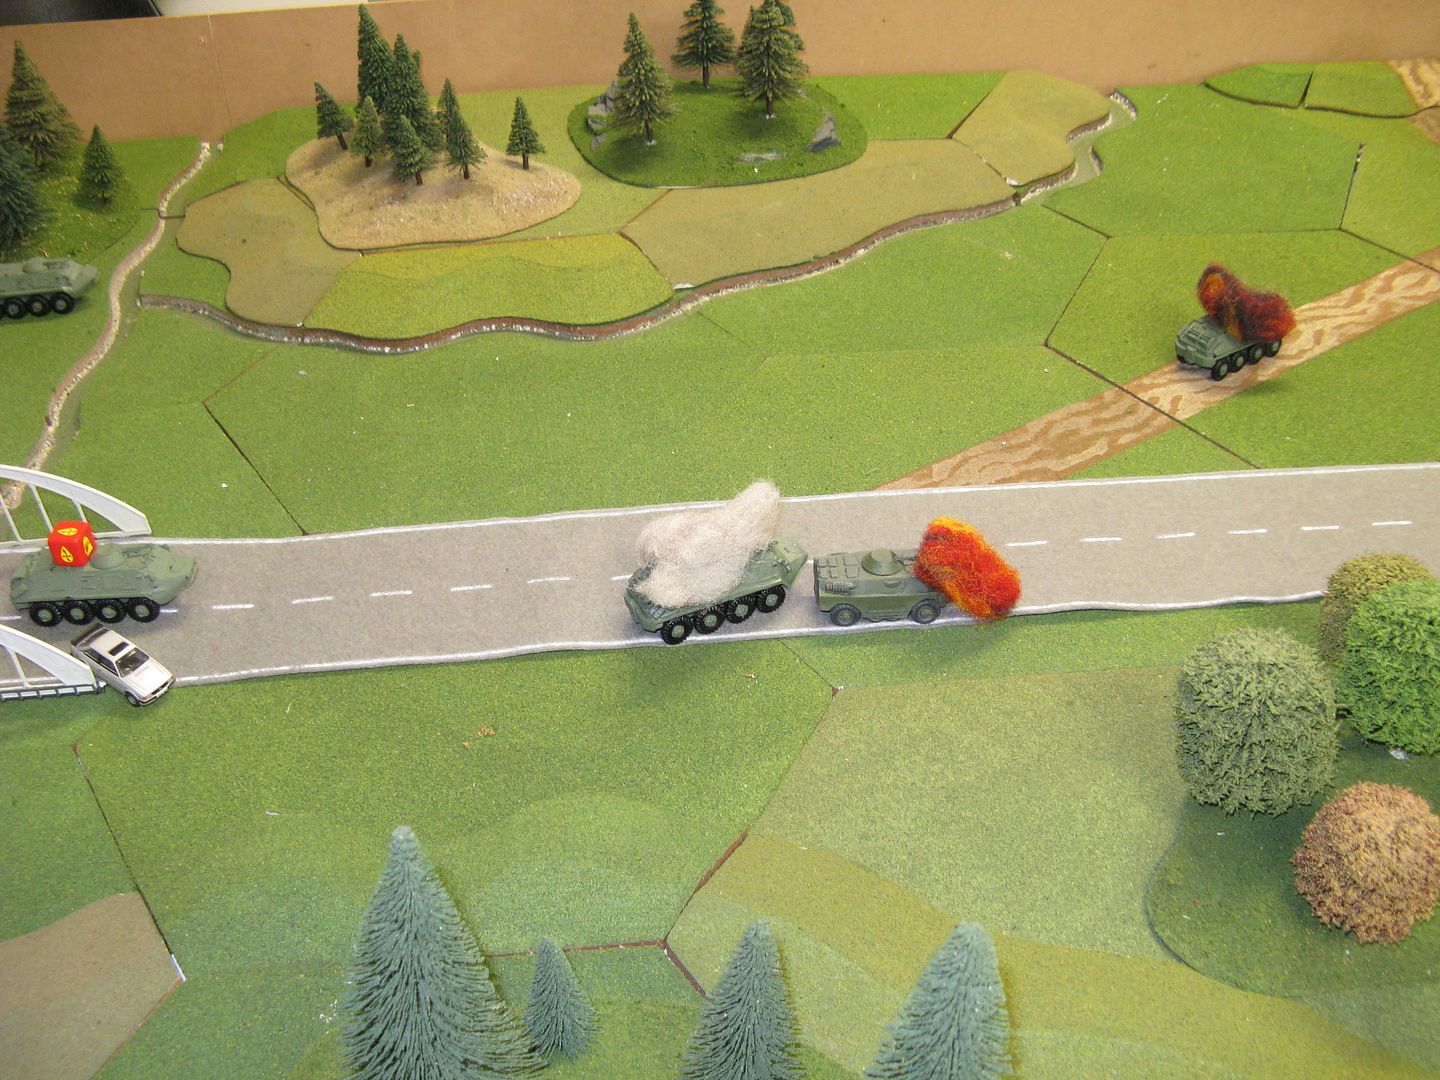
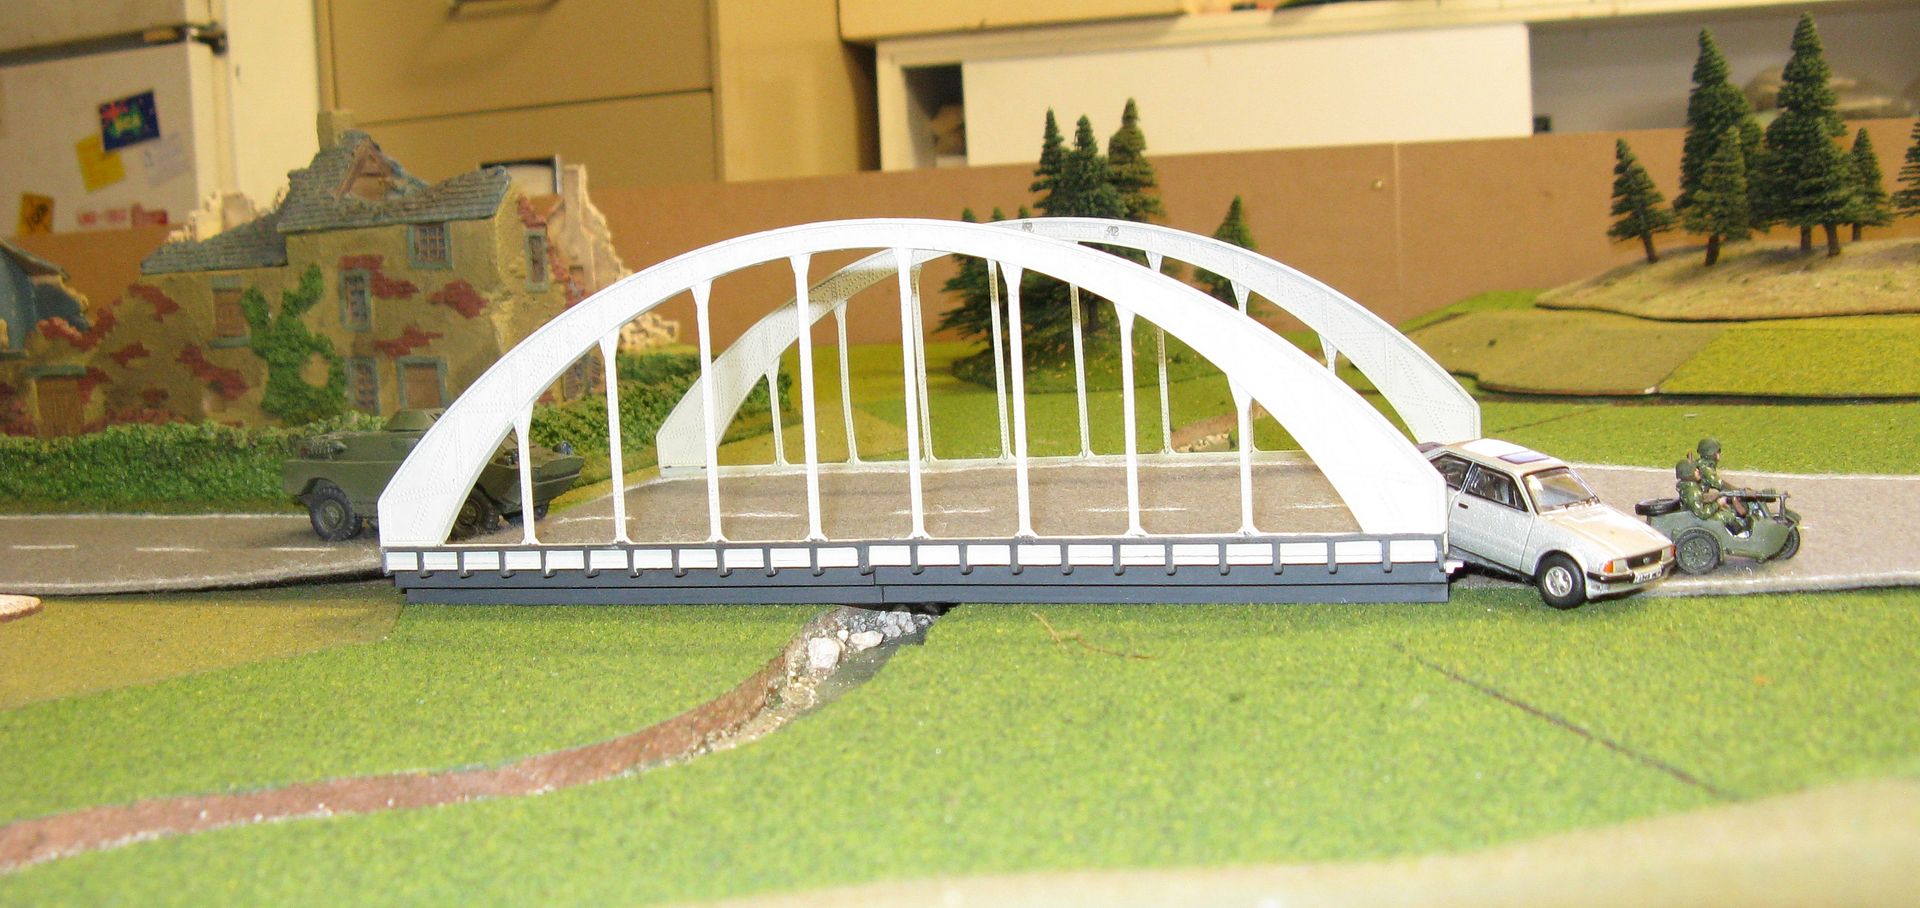
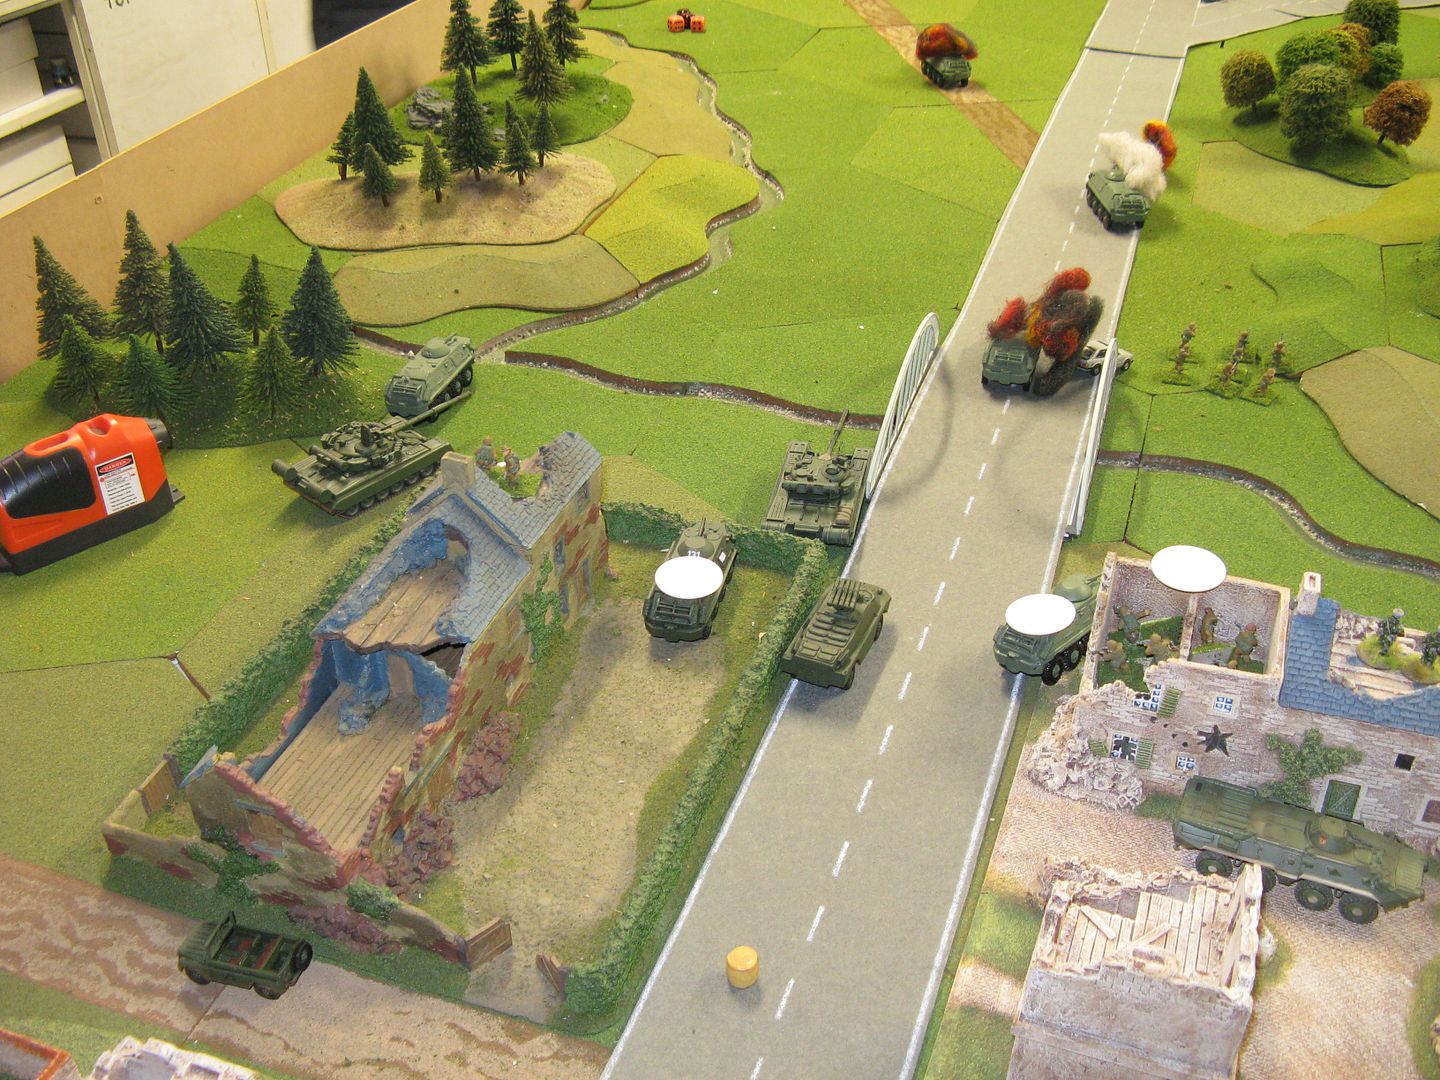
One particular engagement was worth noting. You'll recall a TOW KraKa knocked out a BRDM-2 earlier in the game. In it's next turn it decided to use its remaining missile to engage a BTR that had just gone over the bridge. It hit the BTR and despite being able to kill it with a 3 on 2D6, it rolled two "1's" and immobilised the BTR. You can see a BTR in the centre of the bridge marked with a SAGA dice to remind us it was immobilised. The hit caused a morale check which the BTR passed by rolling a "6". This gave the BTR crew a chance to pass a "Beyond the Call of Duty" check - which it again passed. The BTR then turned it's 14.5mm HMG on the KraKa and wiped it out. We thought the whole engagement was pretty accurate.
You may see the BTR marked with the SAGA dice in later pictures. Despite sitting out in the open, in the middle of the road, it survived numerous shots at it for the next few turns. At least one of the NATO players (the one whose KraKa had been taken out by it) got "Target Fixated" with the poor little BTR and fired his whole force at it for much of the rest of the game.
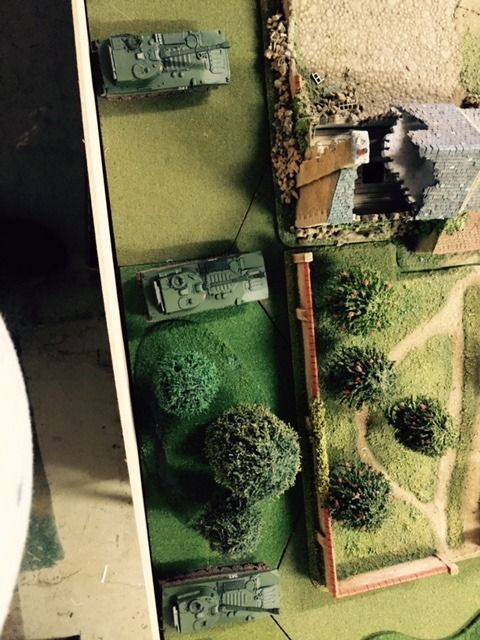
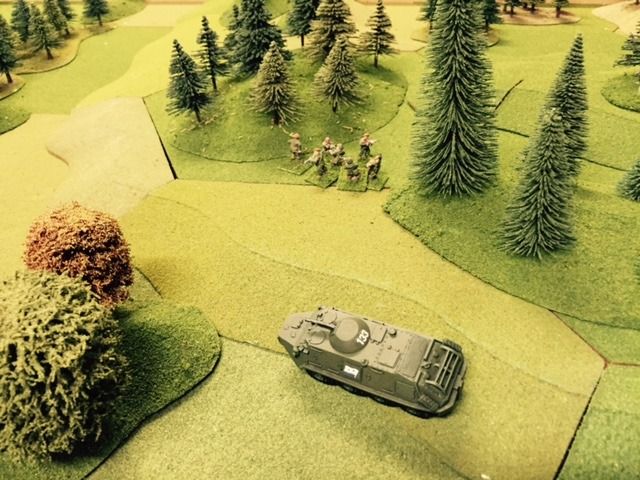
Soviet units began to come on in strength
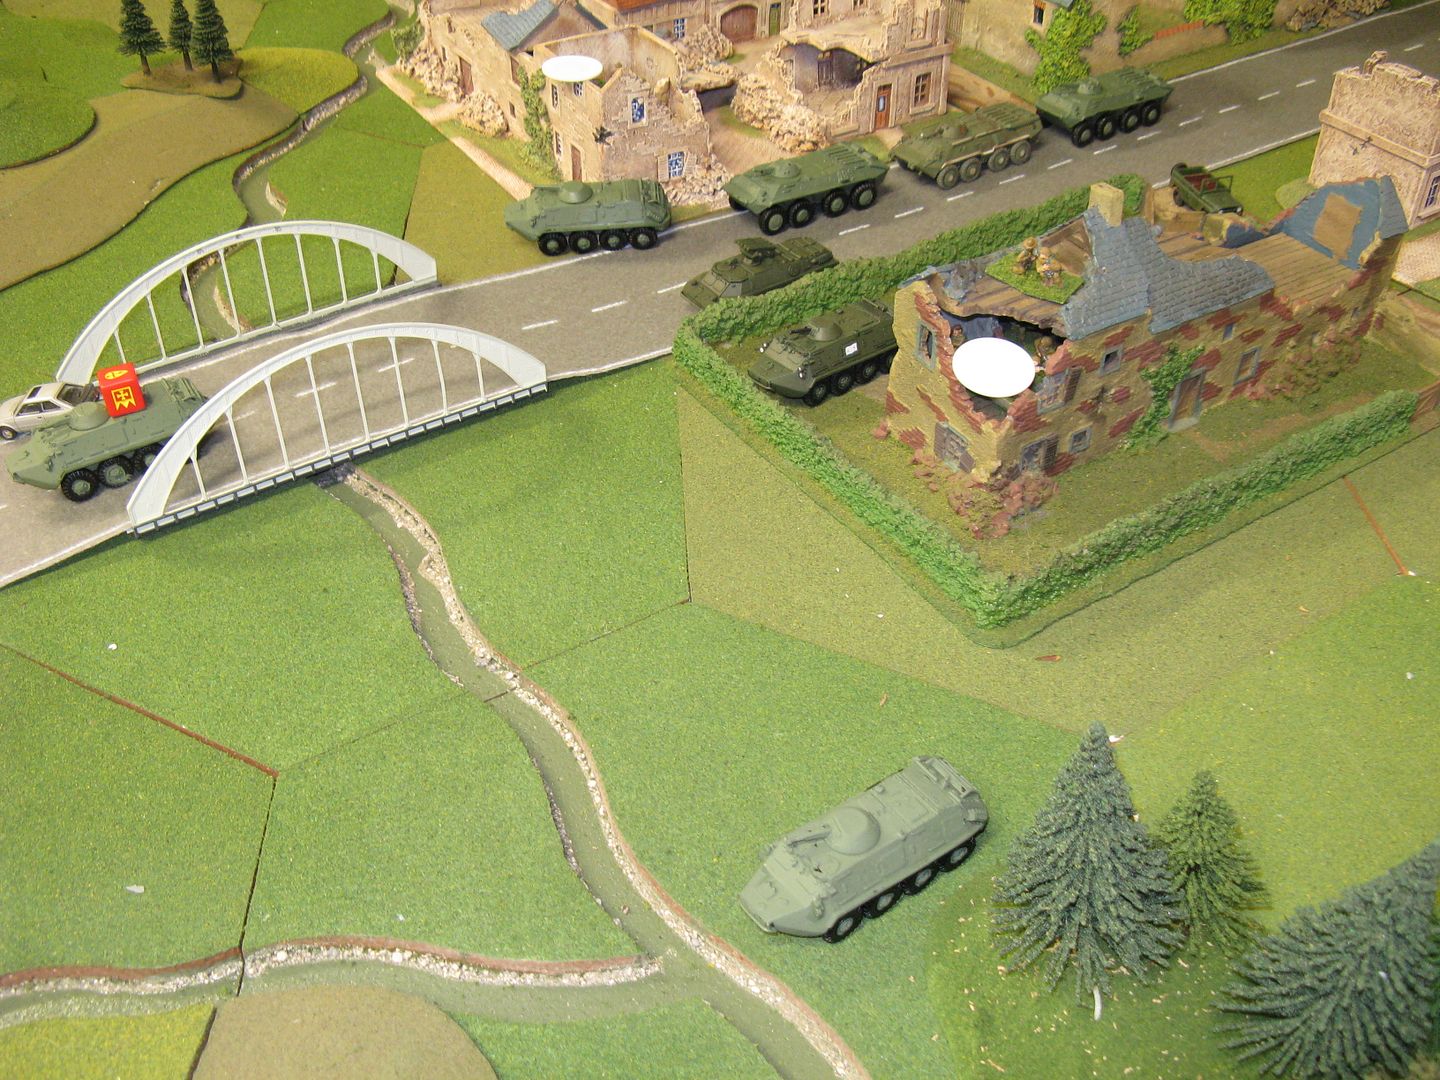
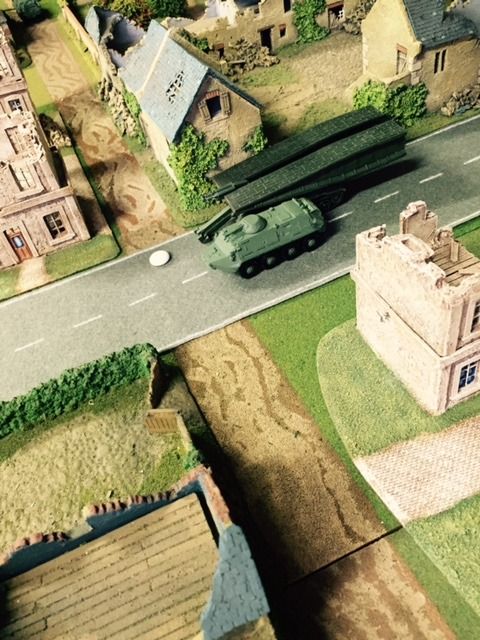
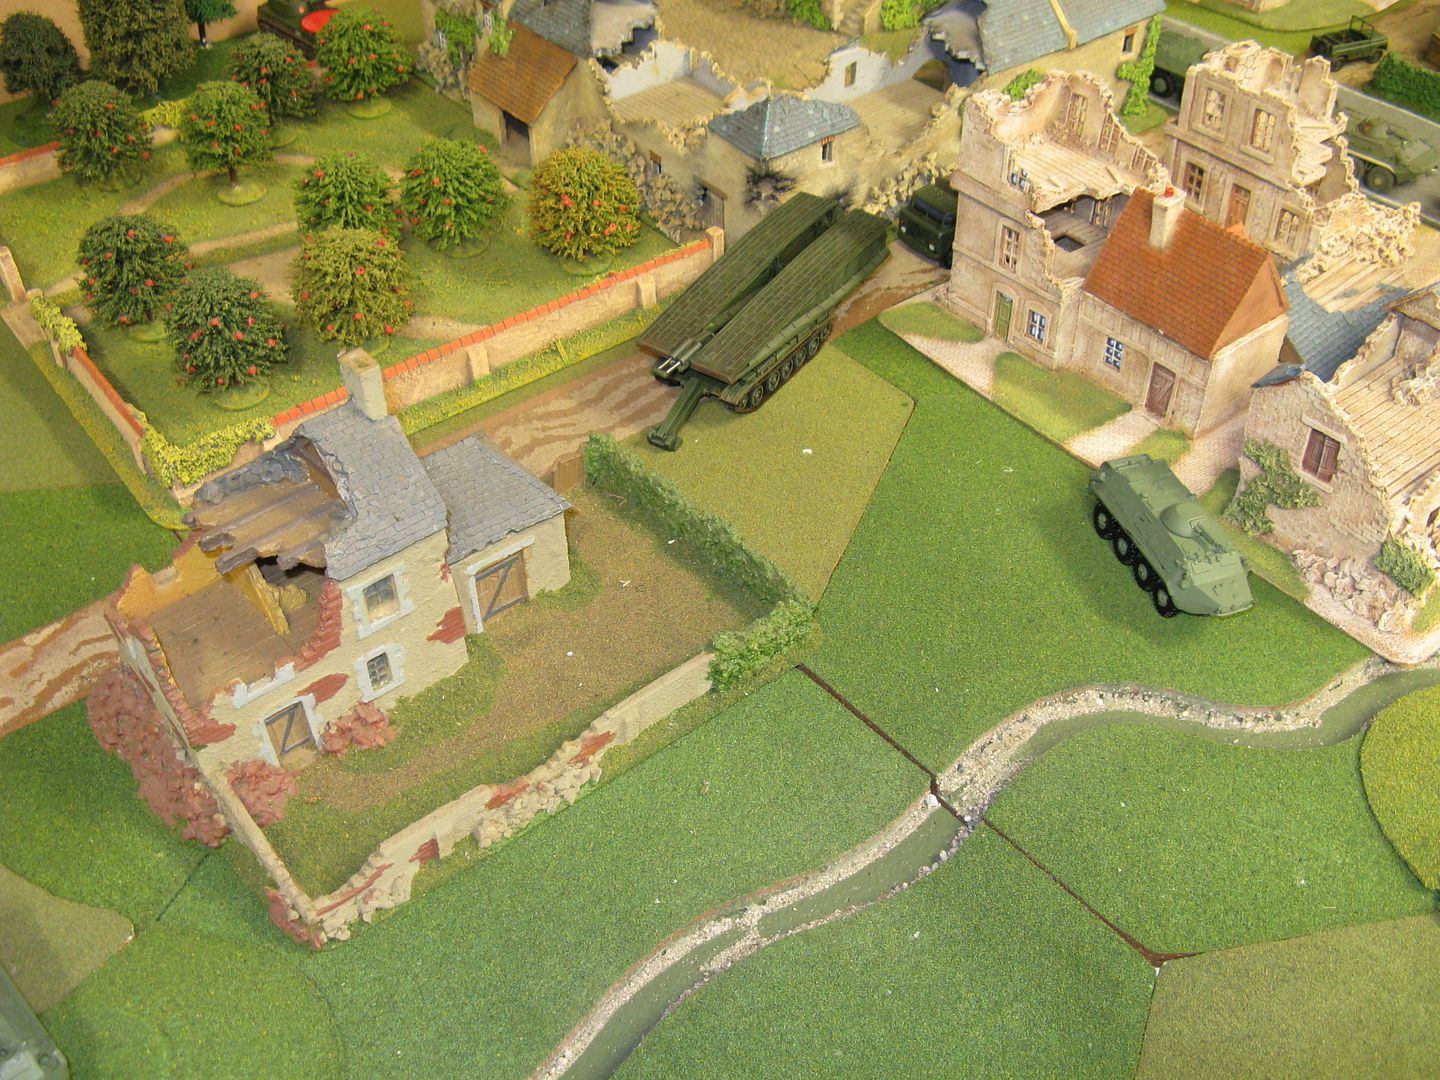
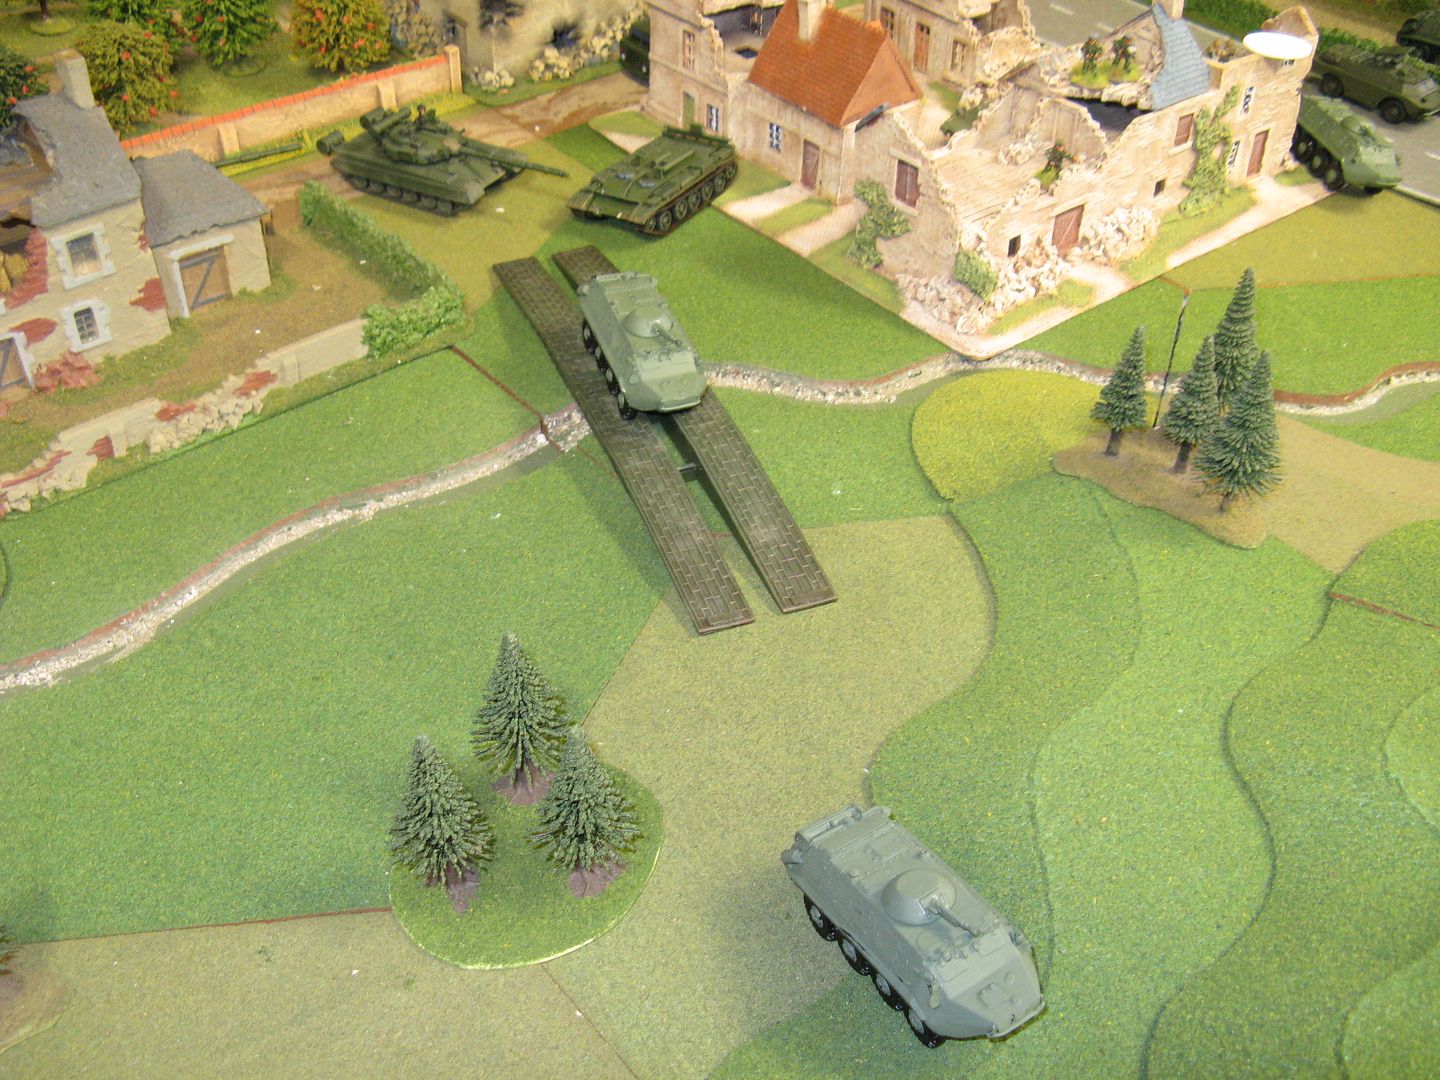
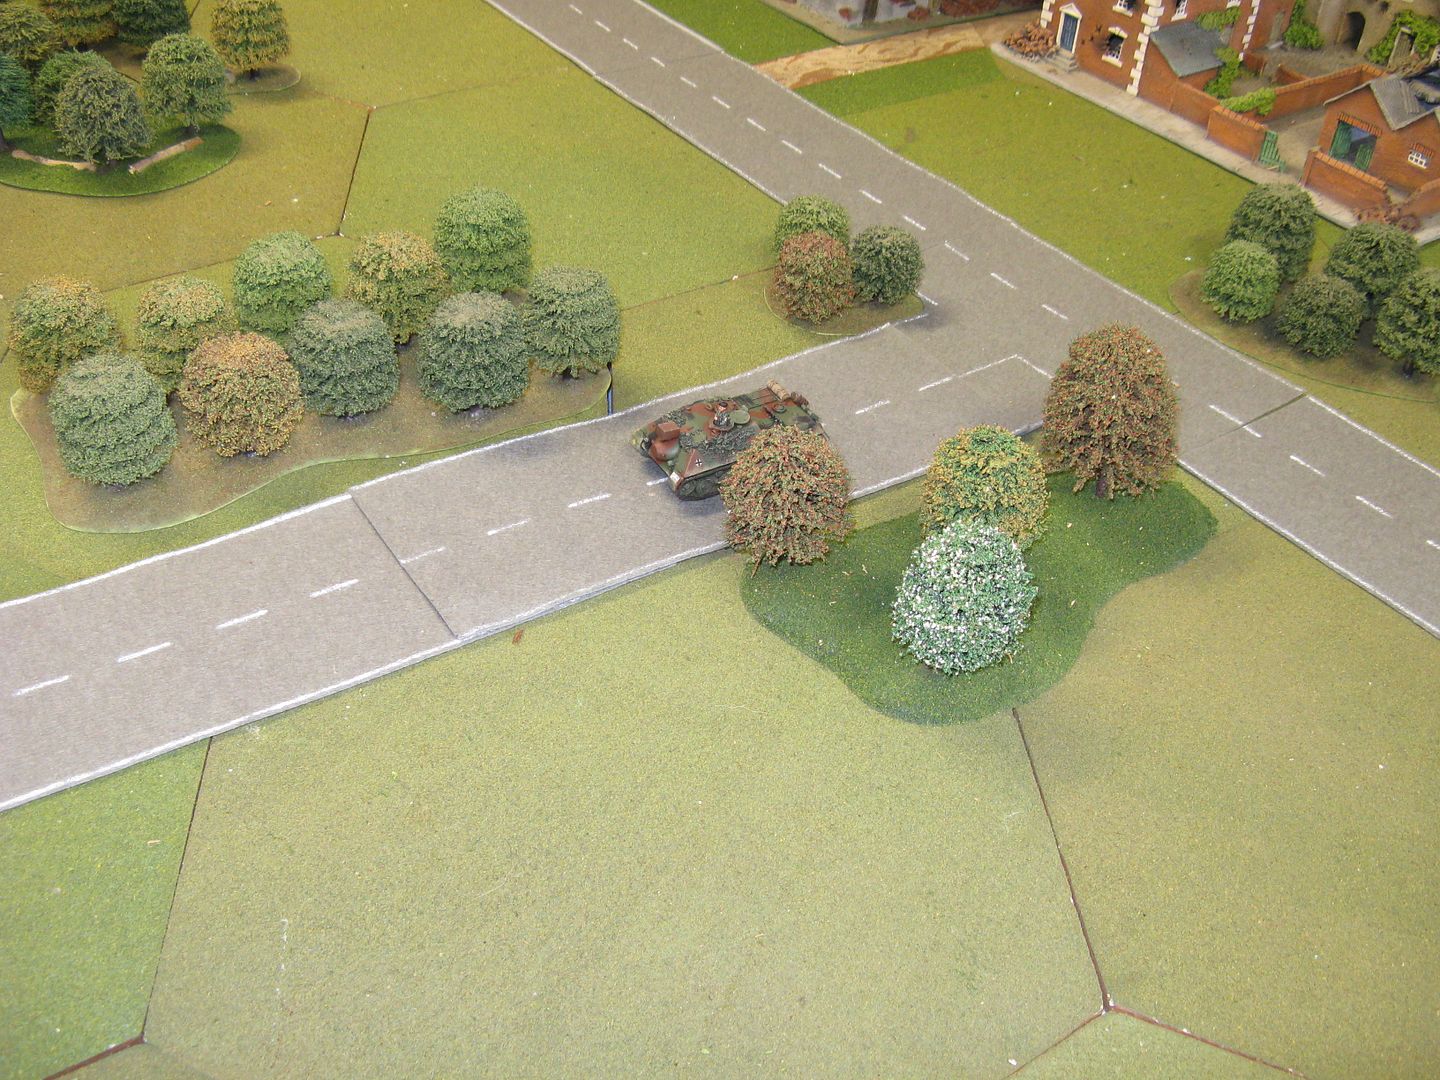
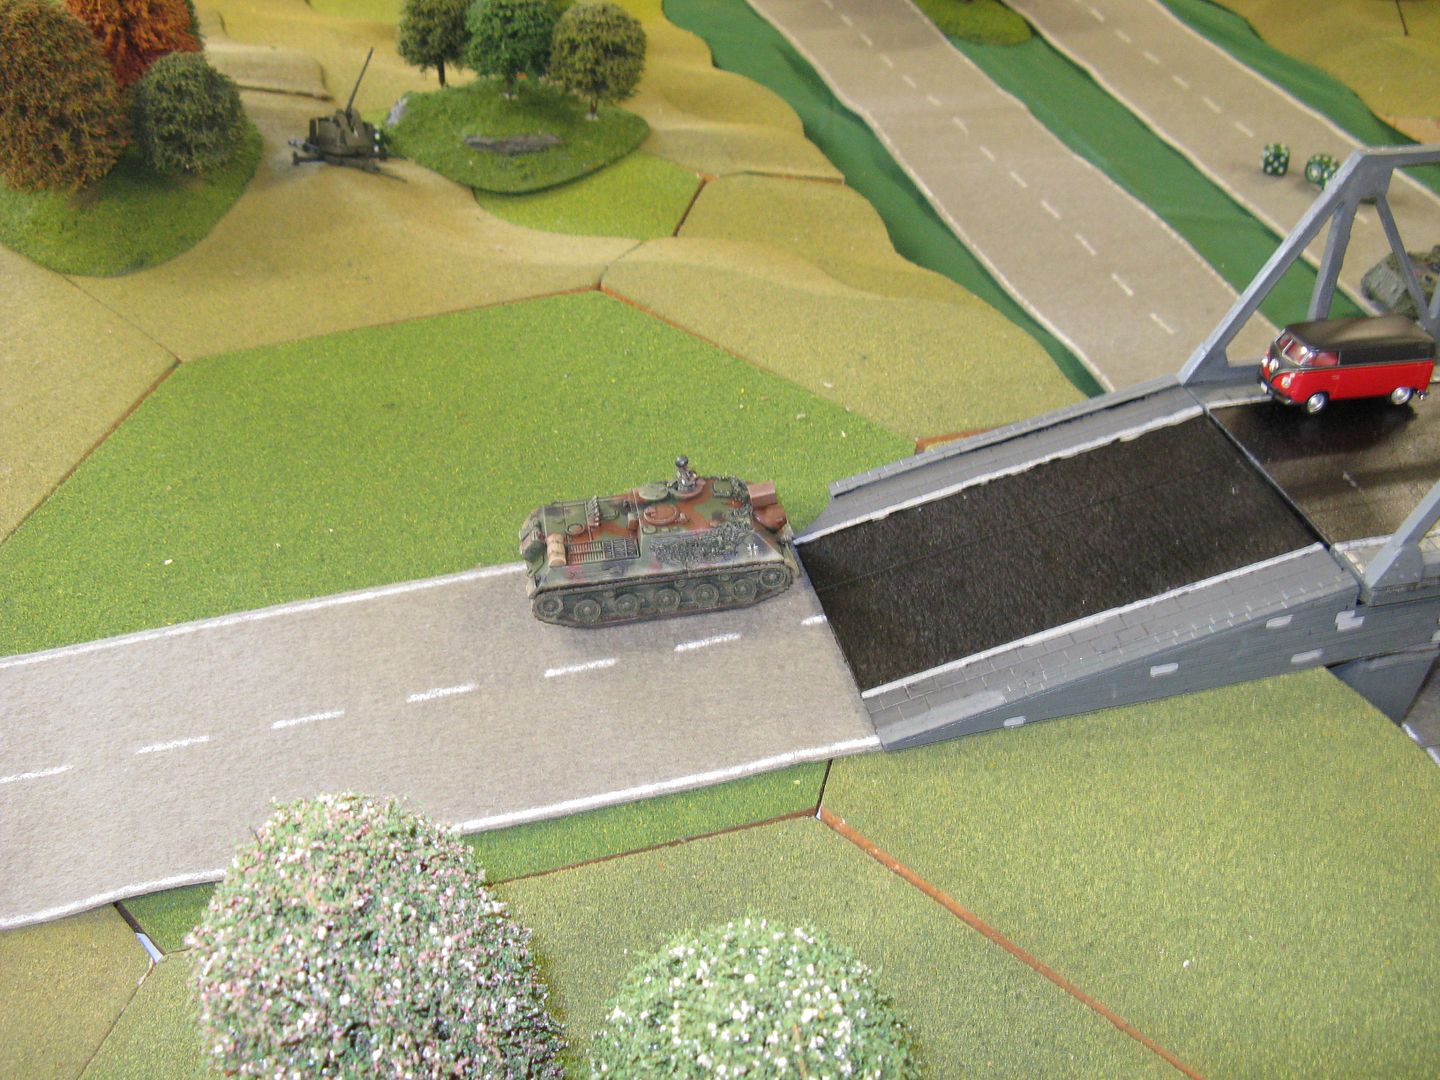
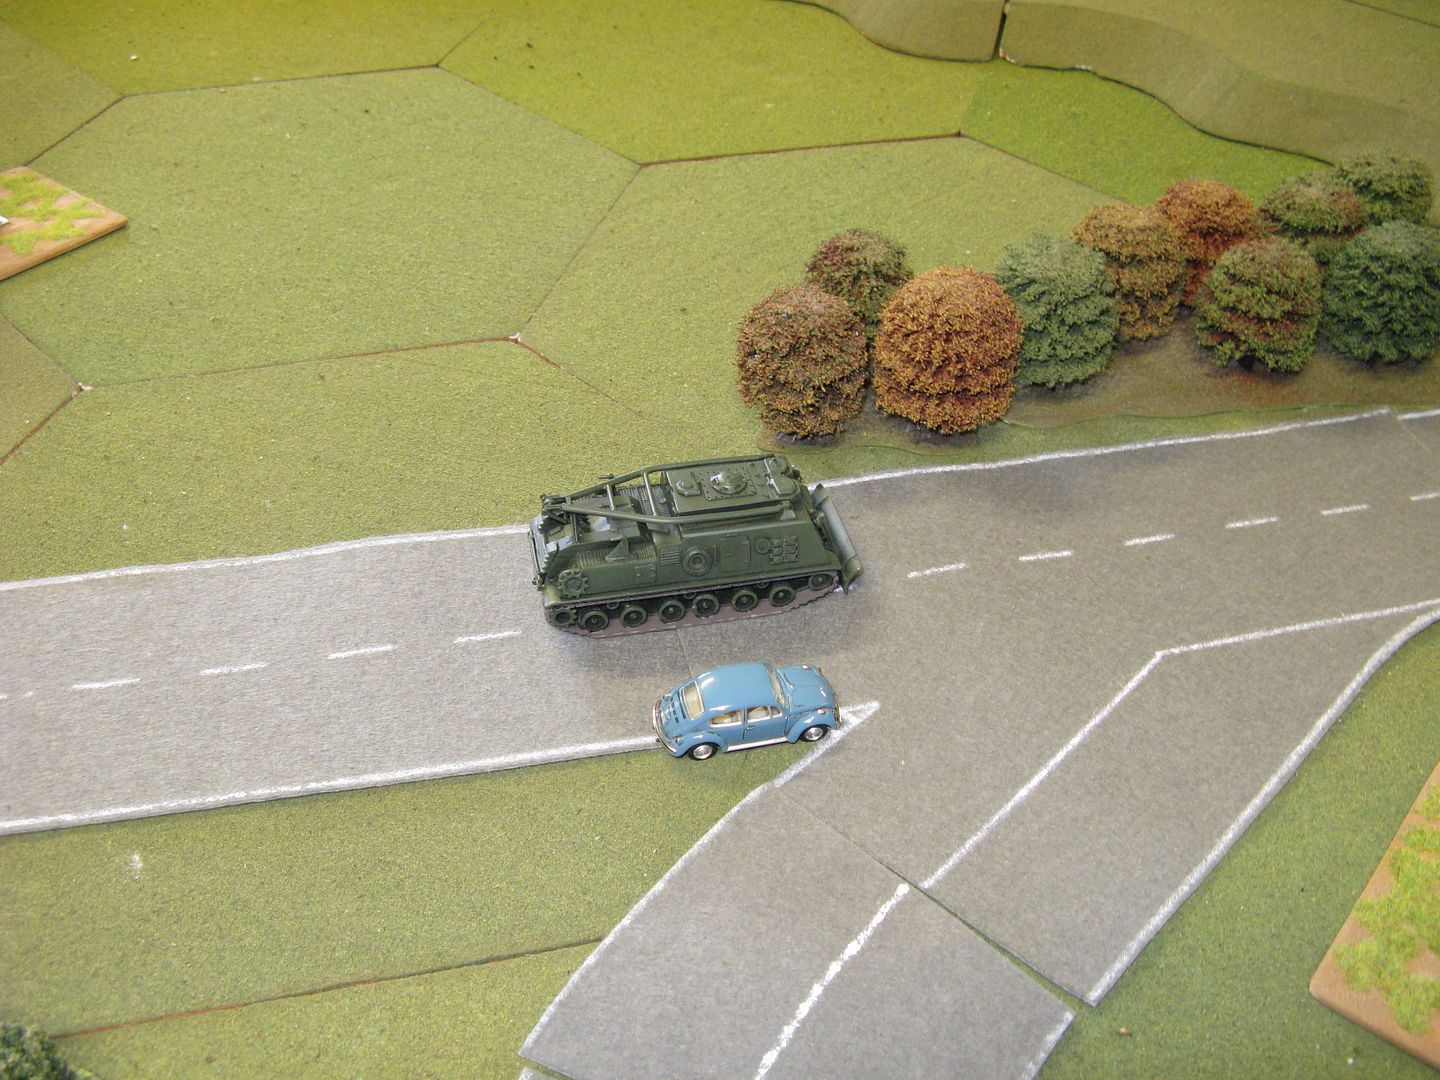
And they Soviet players decided the best way to deal with the bottle neck of the small bridge was to avoid it altogether
Finally the Soviet tanks start to come forward.

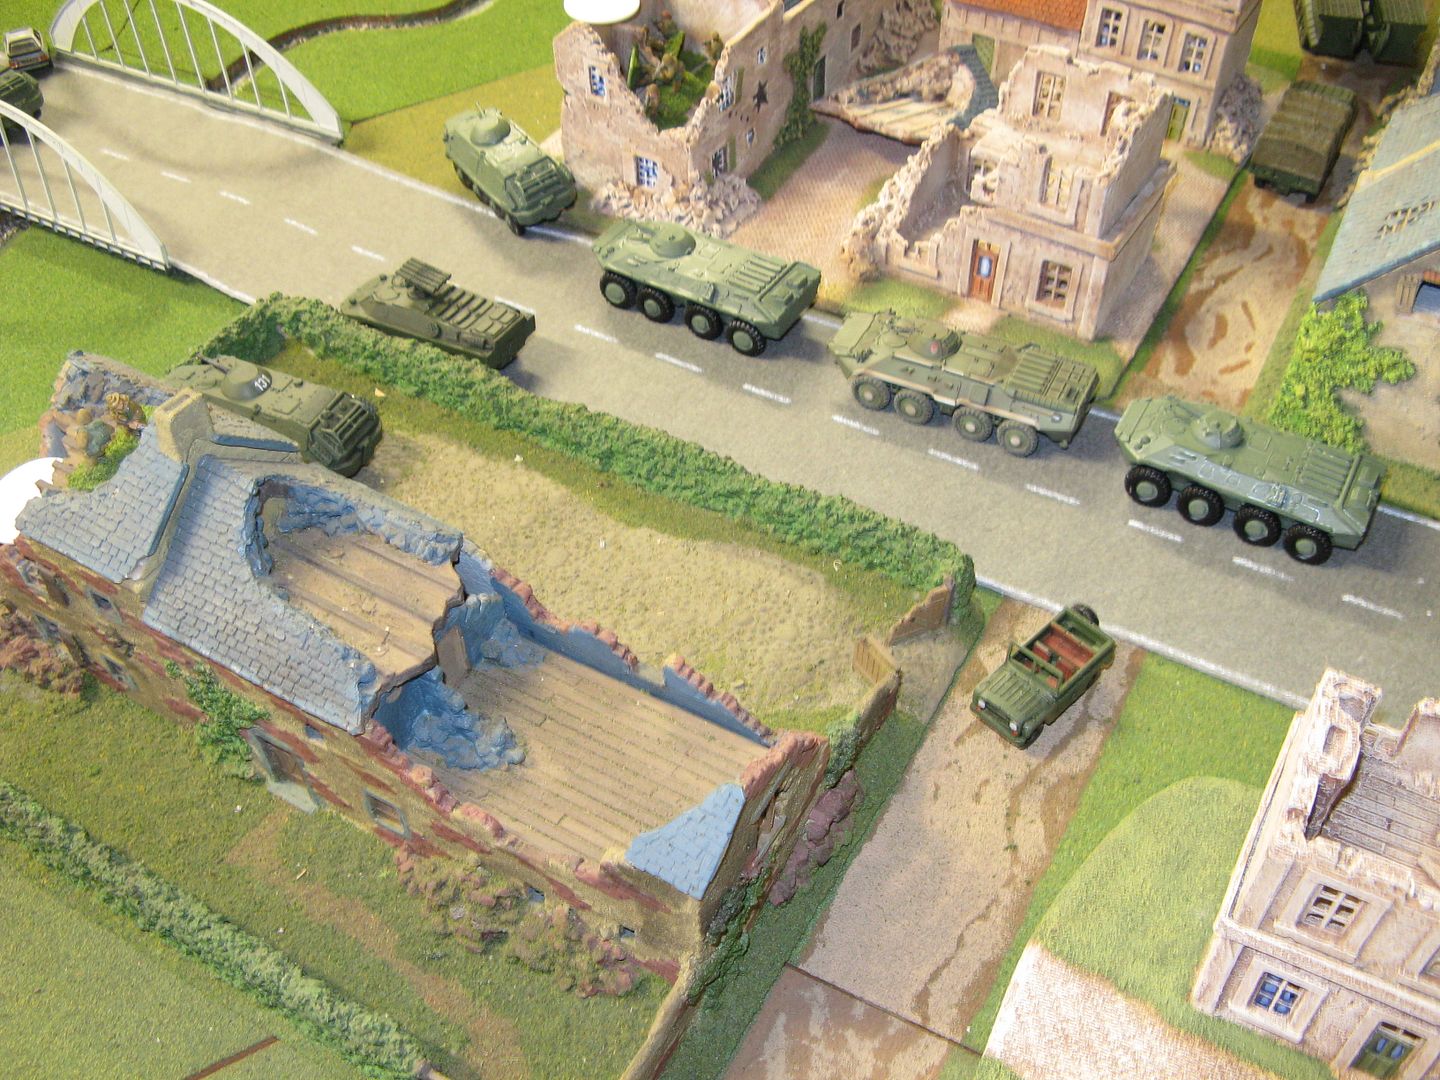
But the Soviets weren't the only ones being reinforced
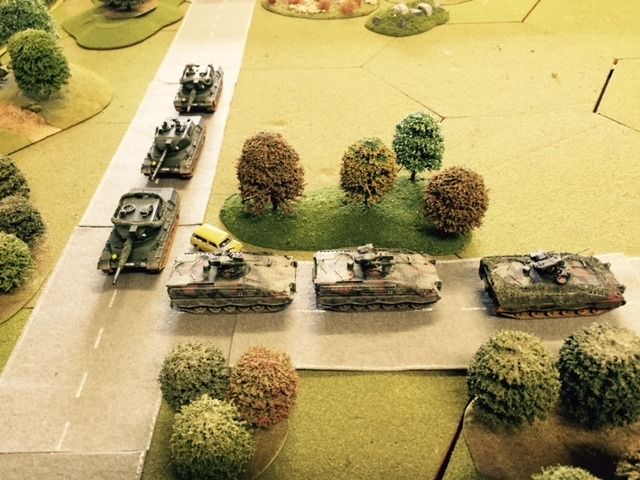

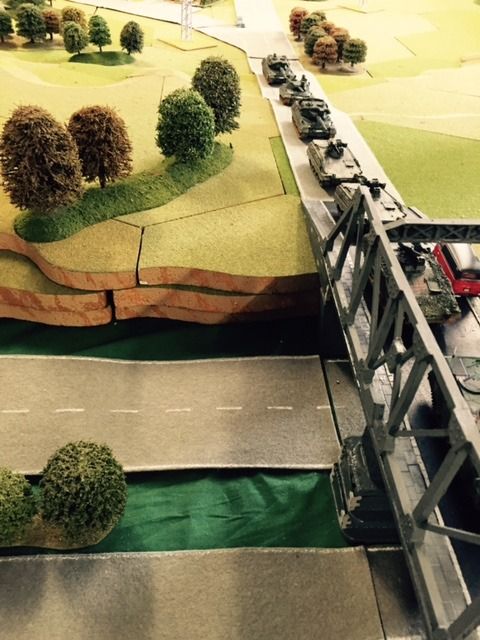
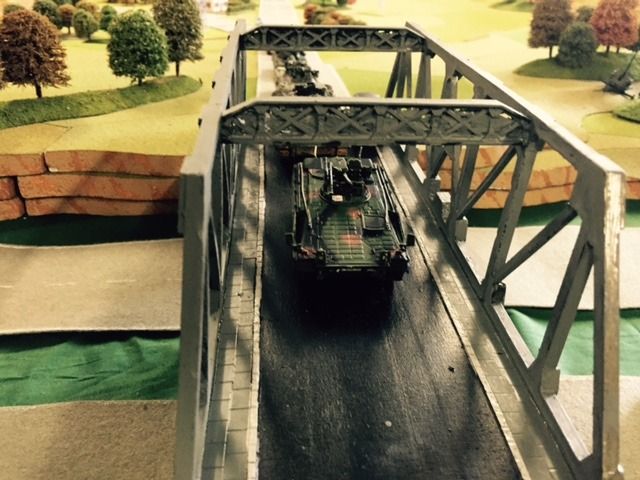

In fact the West German parade drove like this straight into the combat zone!
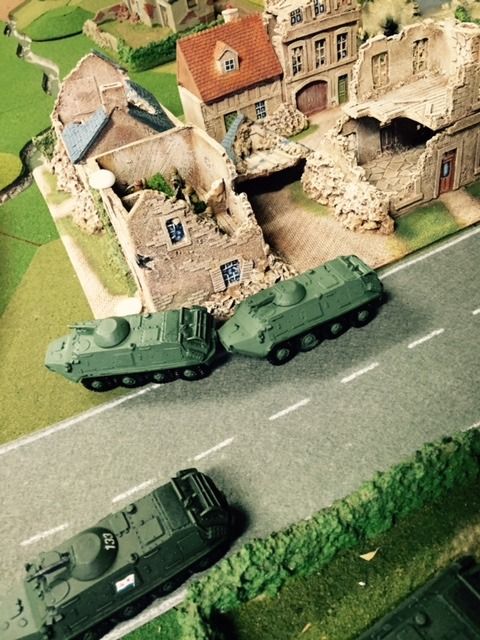
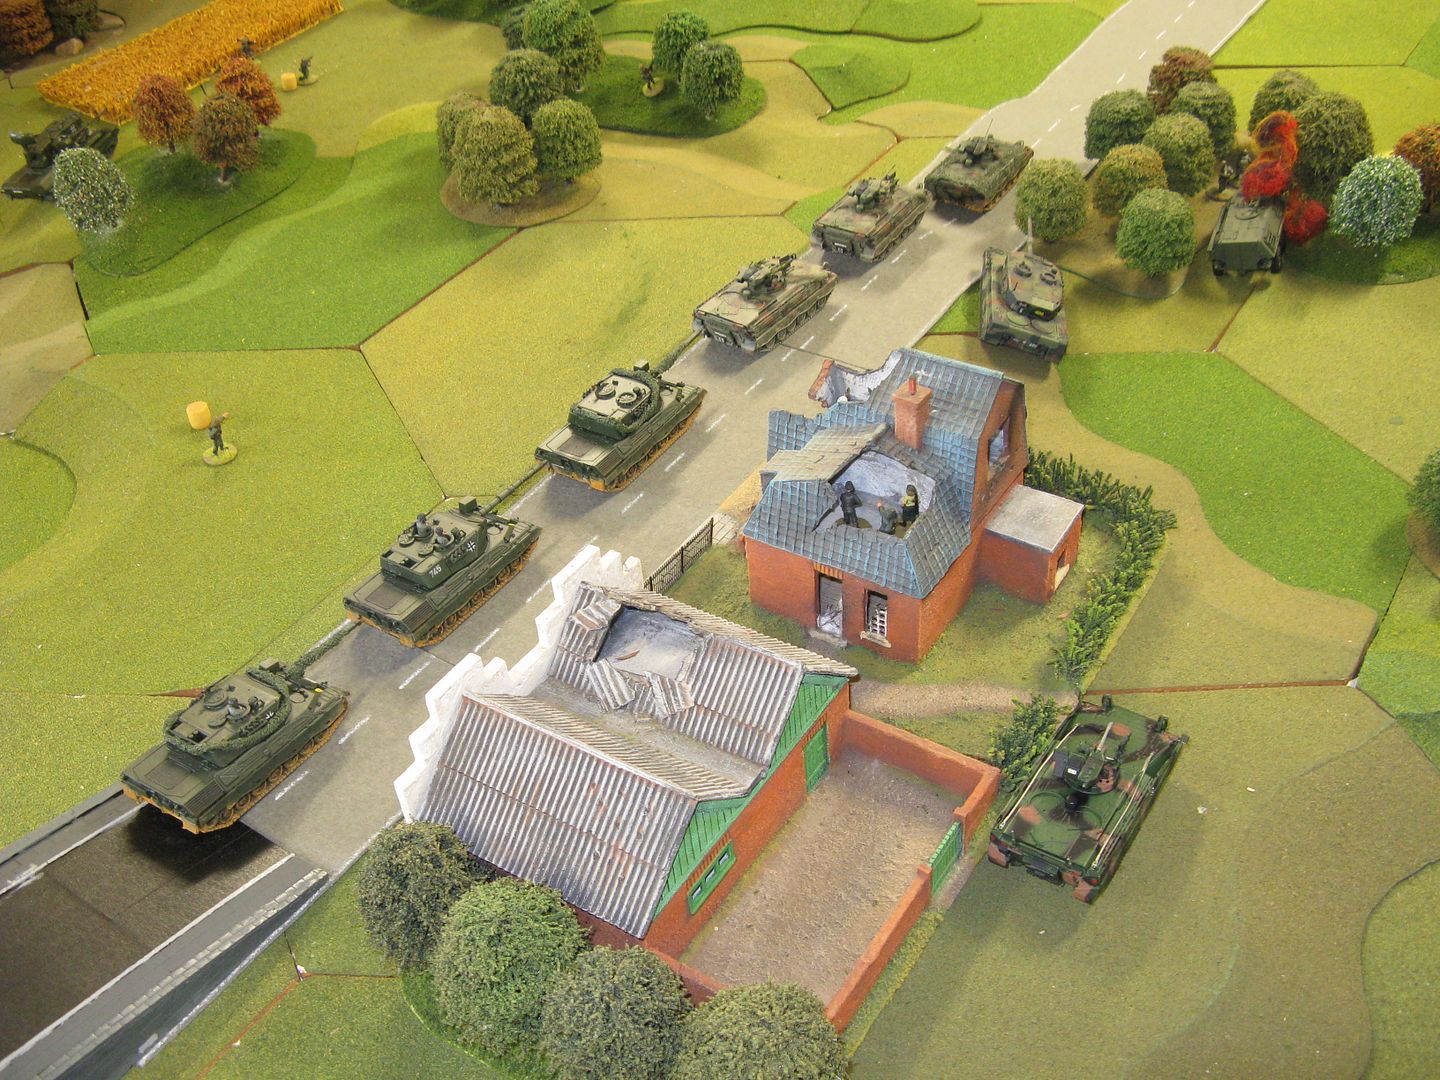
The Soviets continued to drive forwards

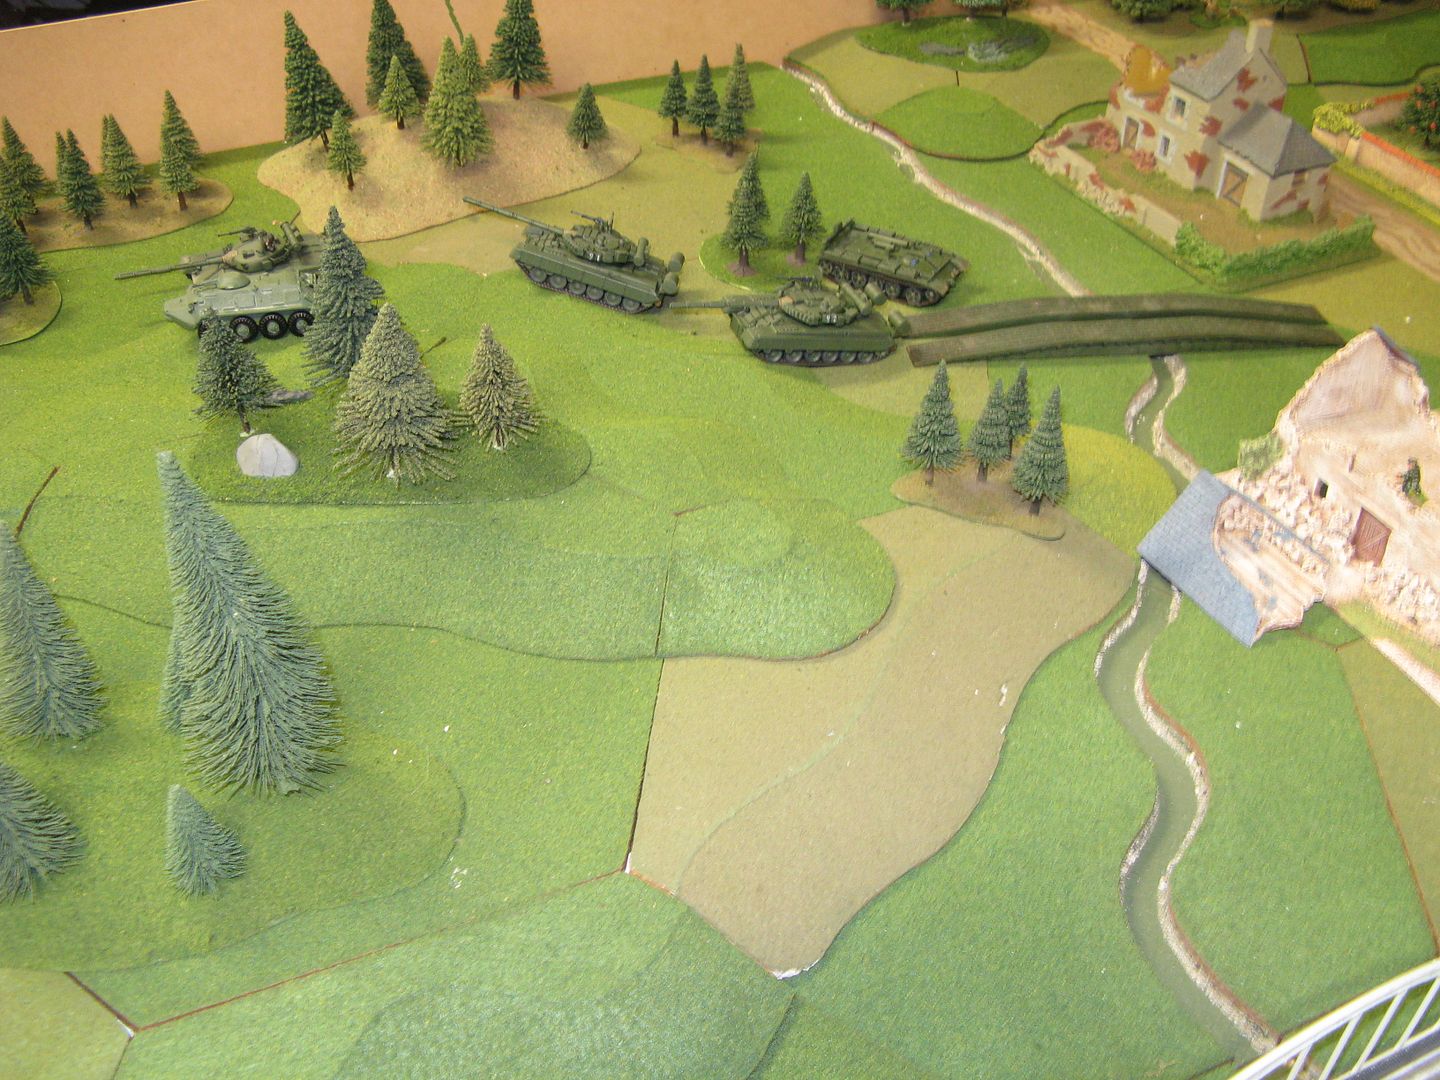
with tanks now on boths sides of the small bridge. And they were well set up in the village
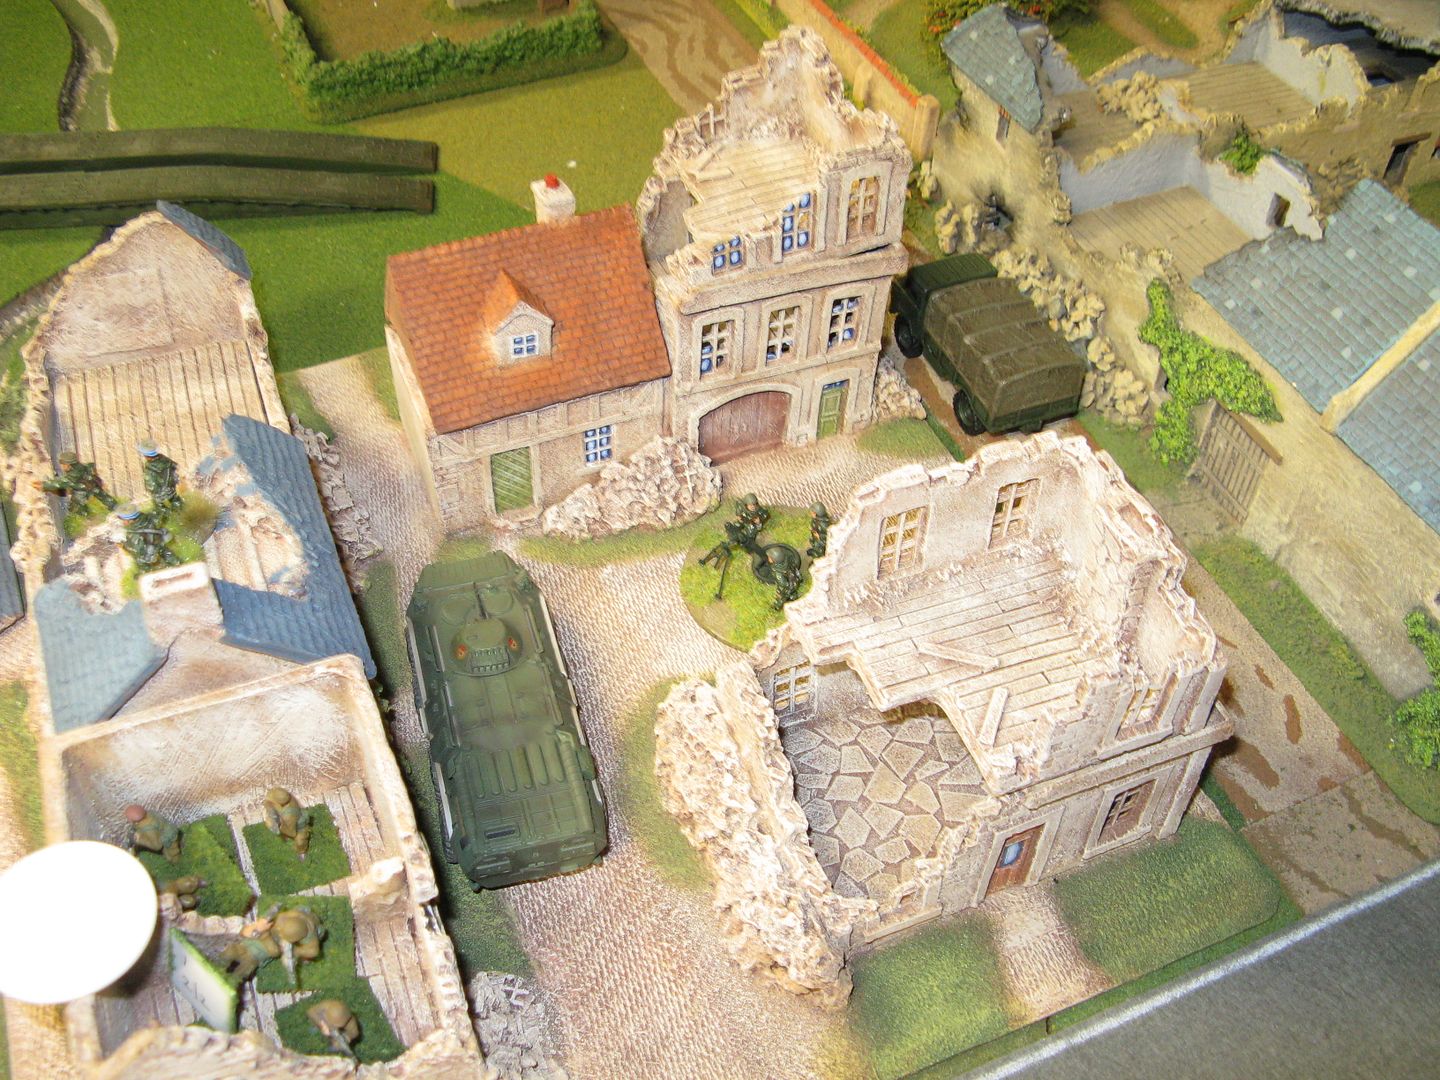
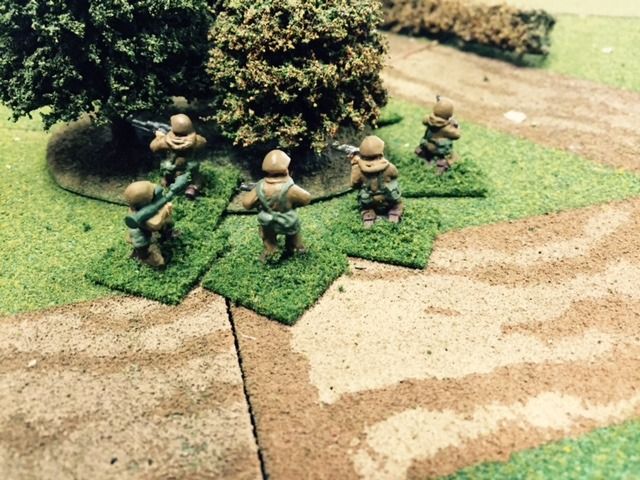
and had troops out on both flanks
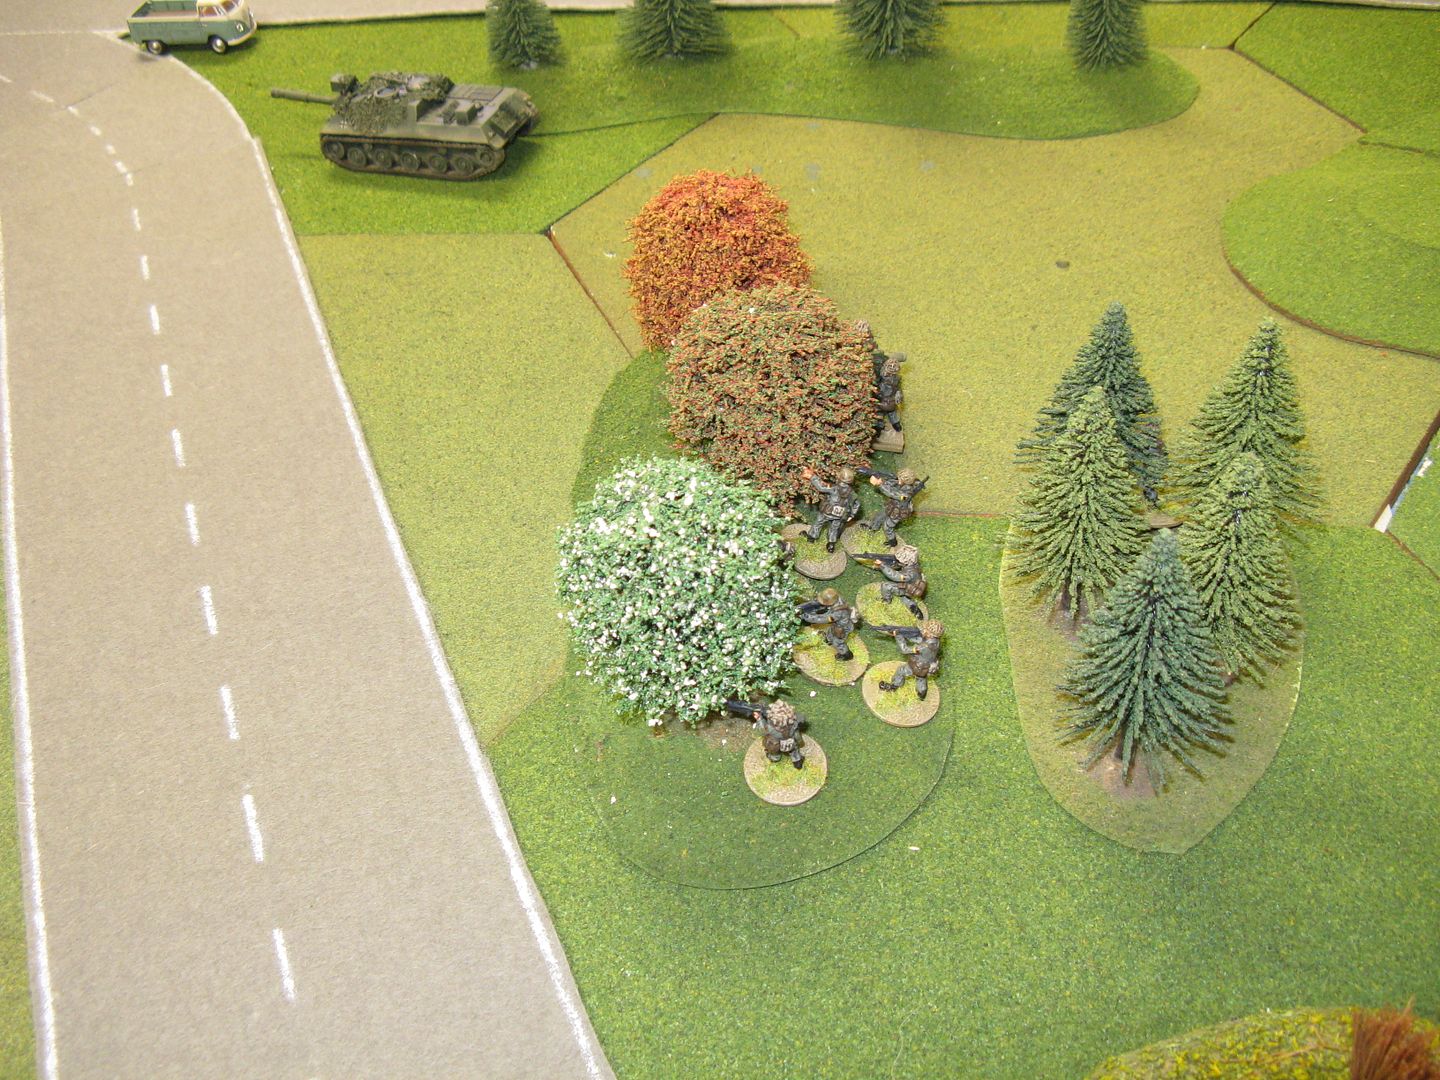
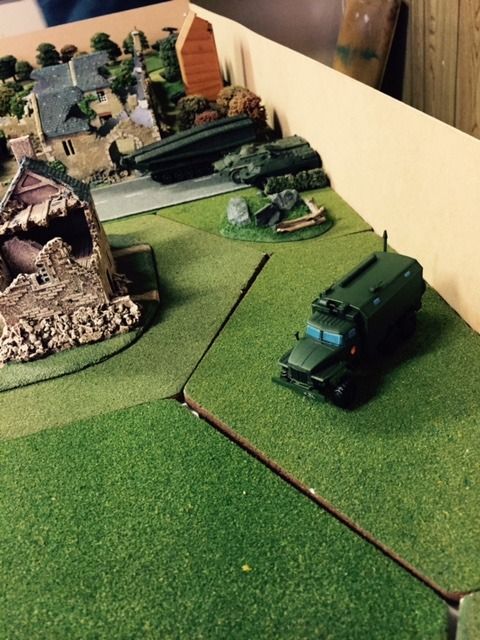
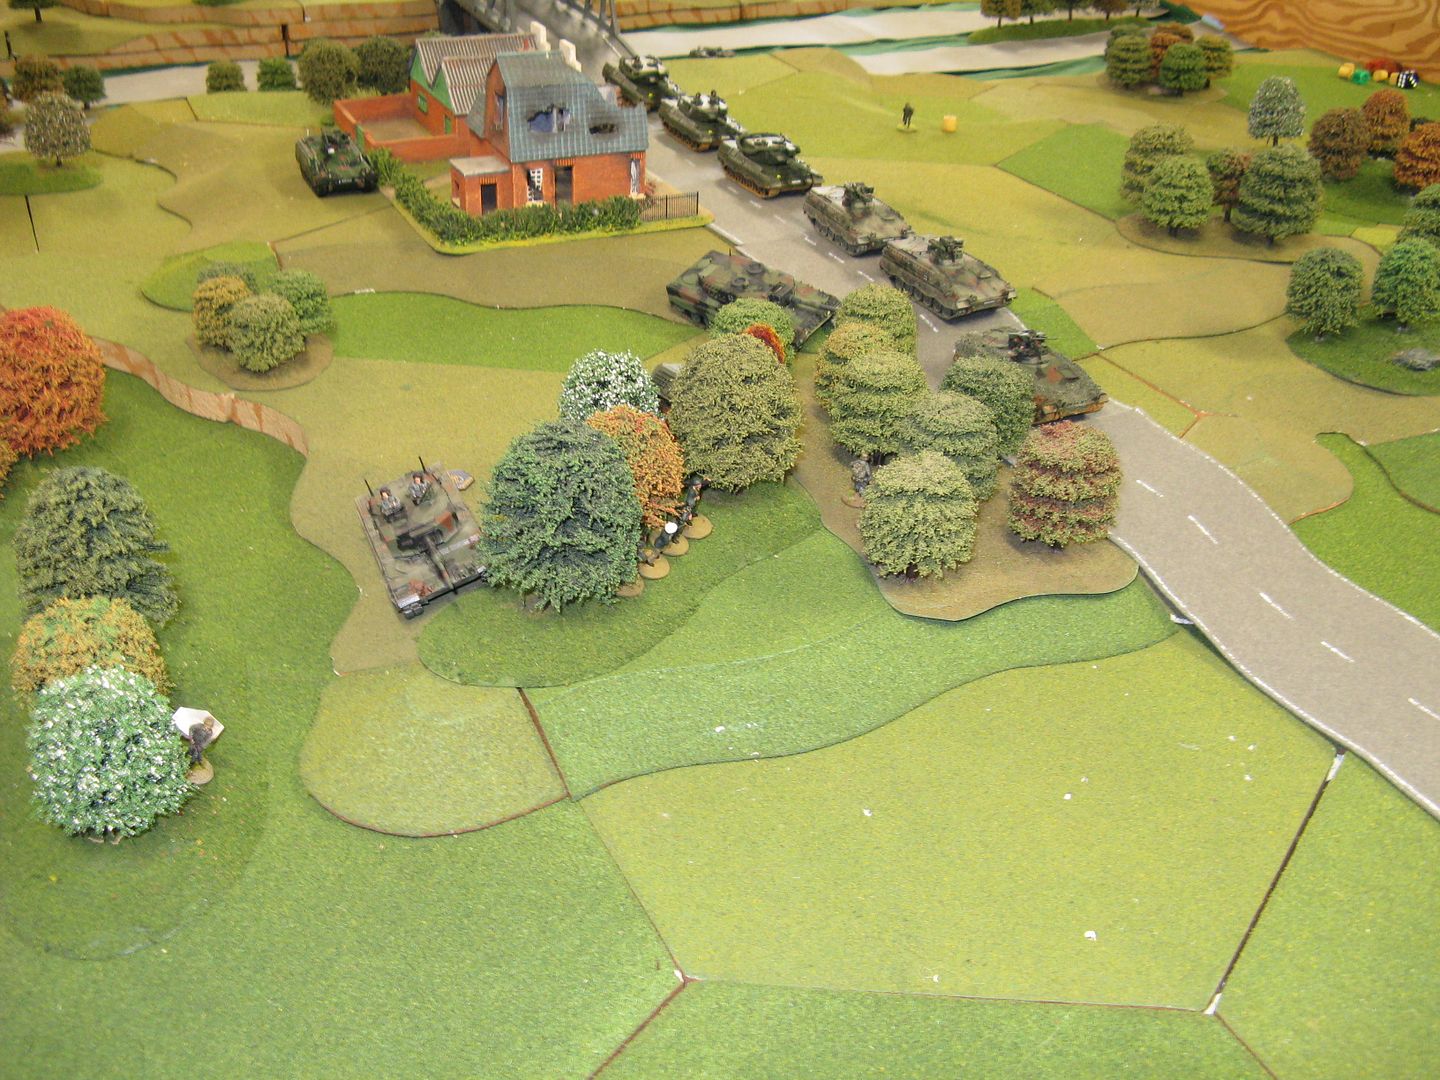
Later coming NATO units rushed towards the front - you can see a Bofors L40 AA gun in the background of the first photo
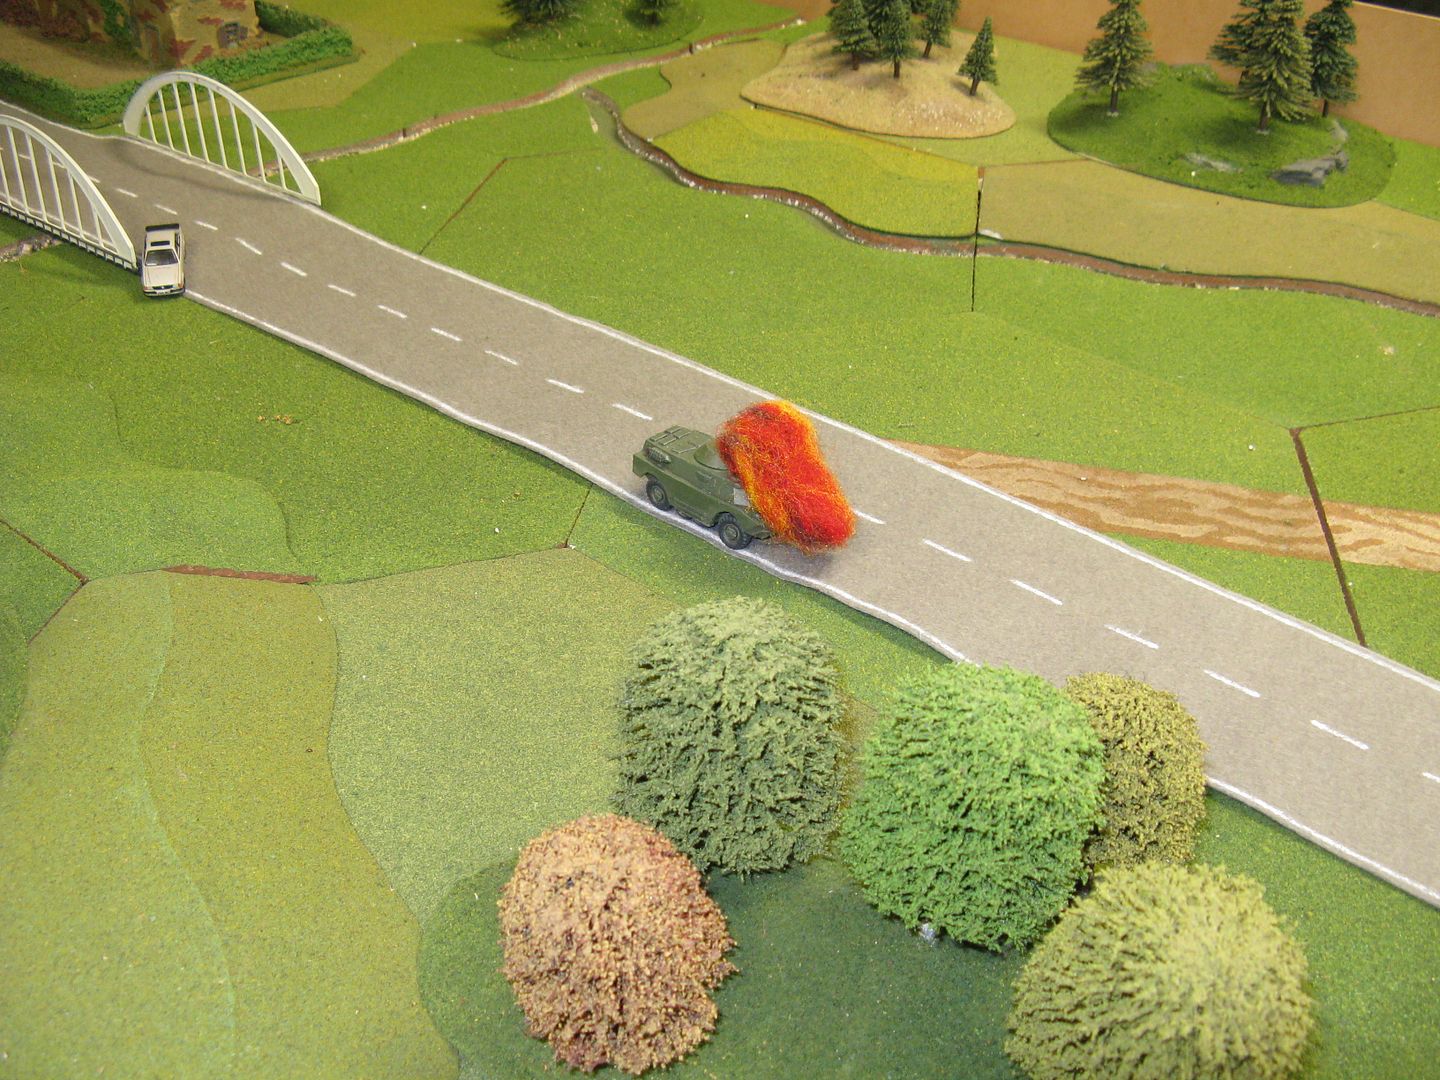
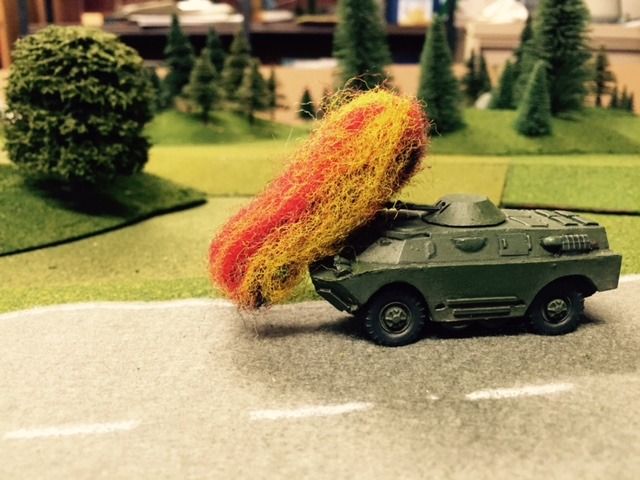
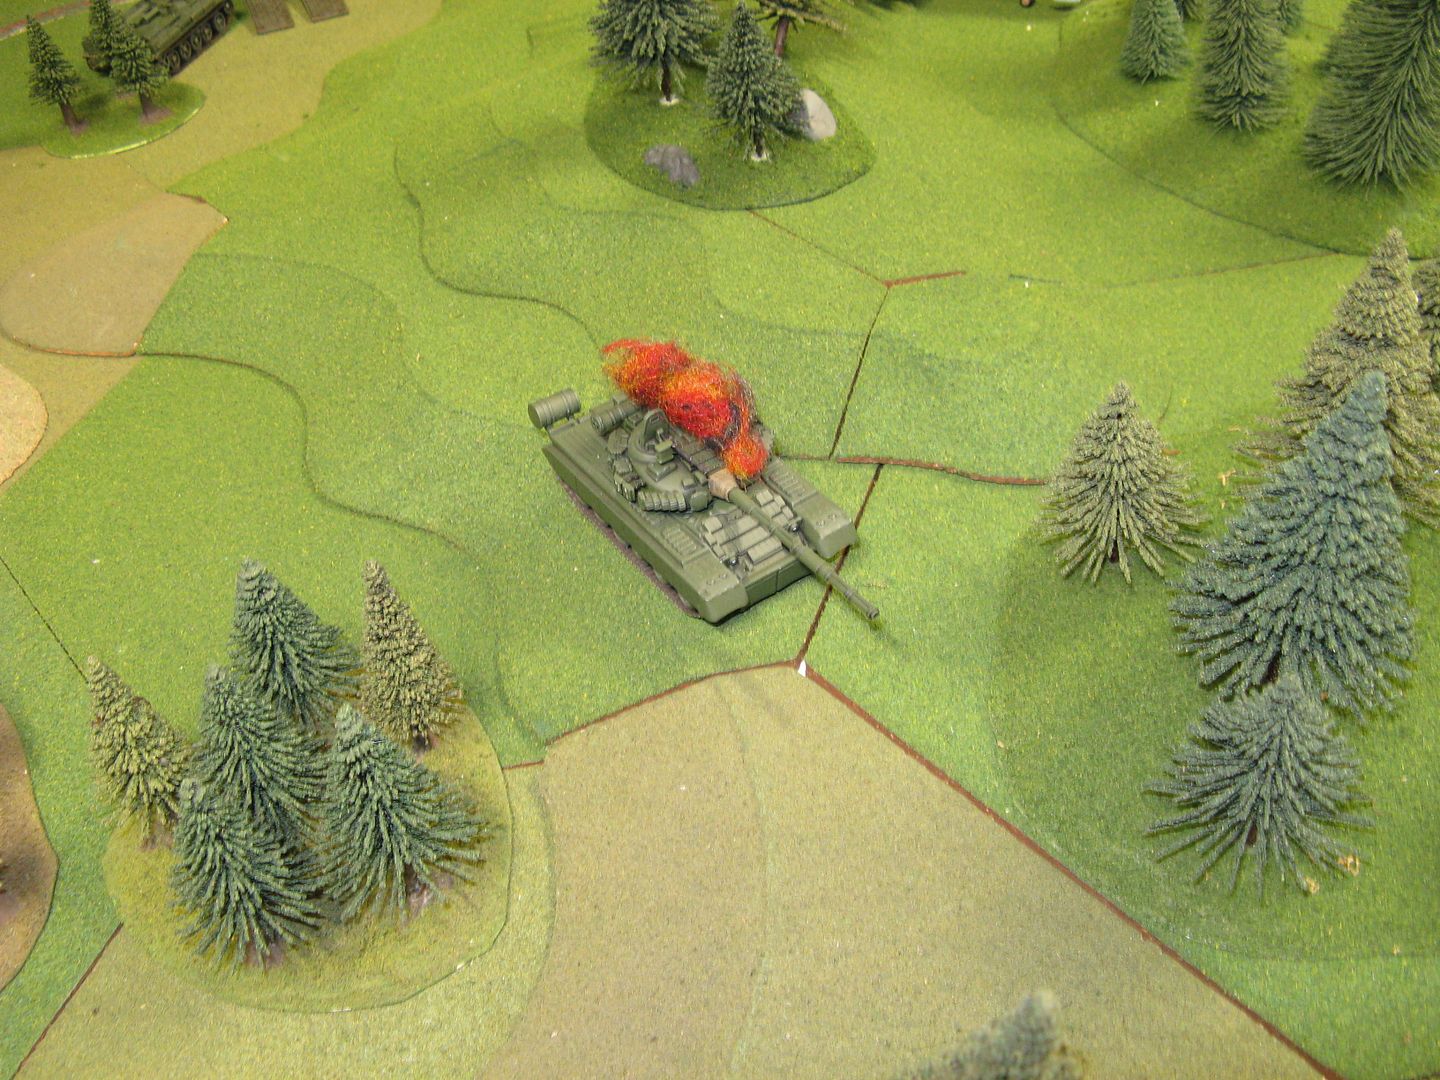
Meanwhile the Soviets had struck some bad luck, with one of their tanks driving over what must have been an artillery delivered mine
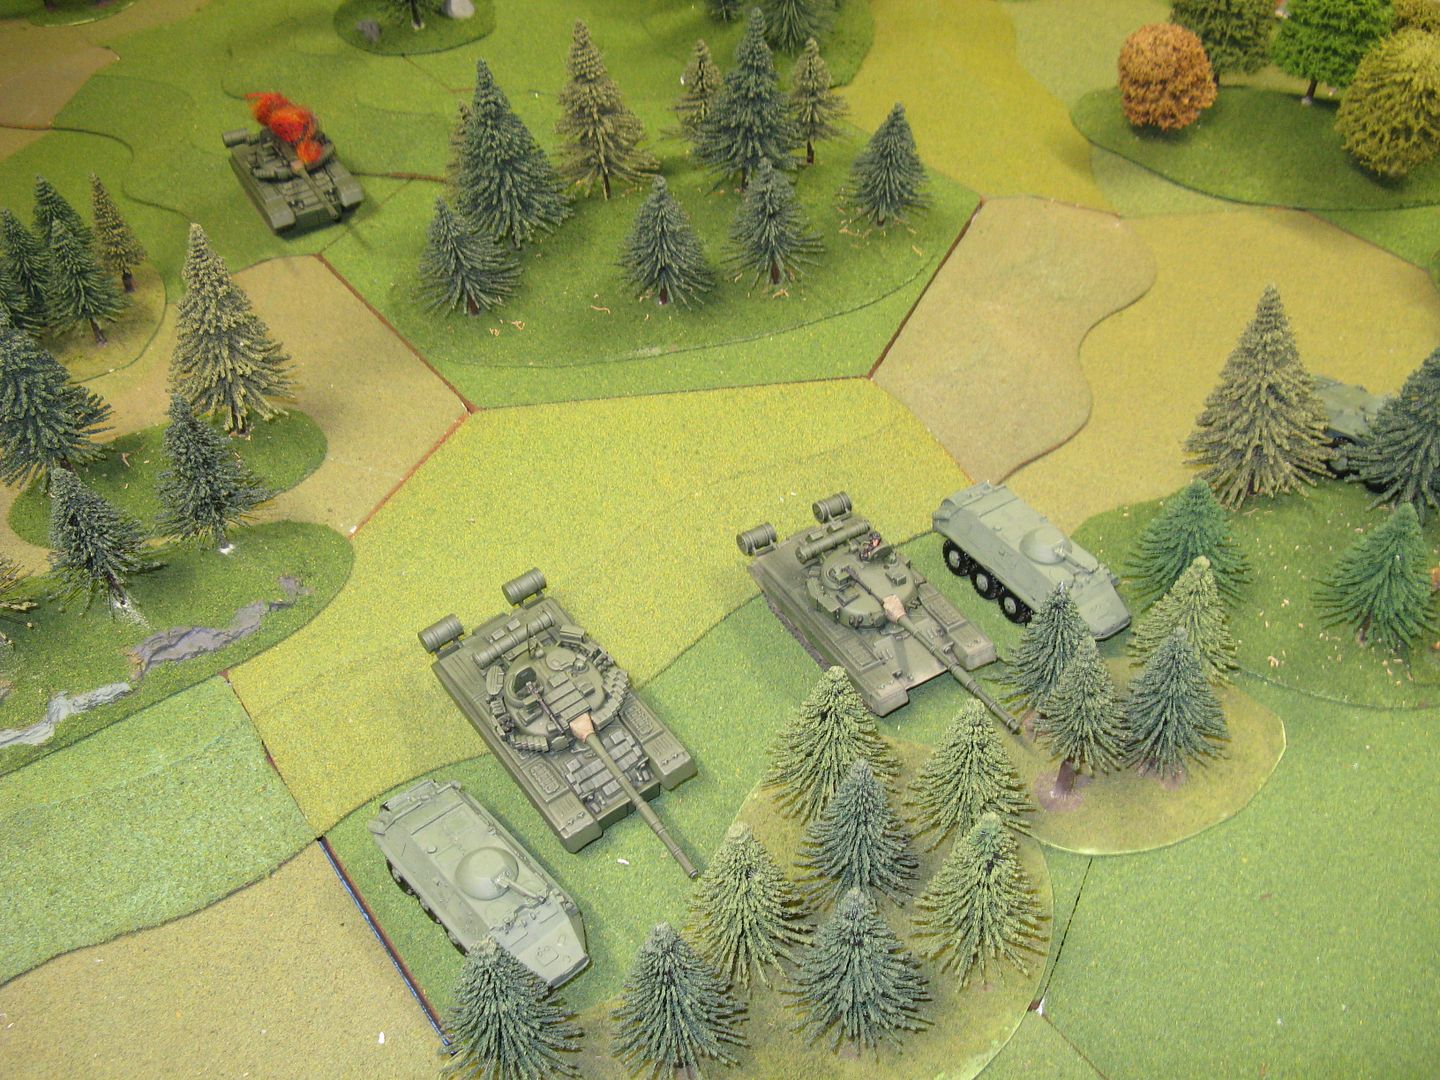
While the remaining tanks continued to drive forwards
A MiL-24 E arrived to assist (I left the flight stand at home... idiot...)
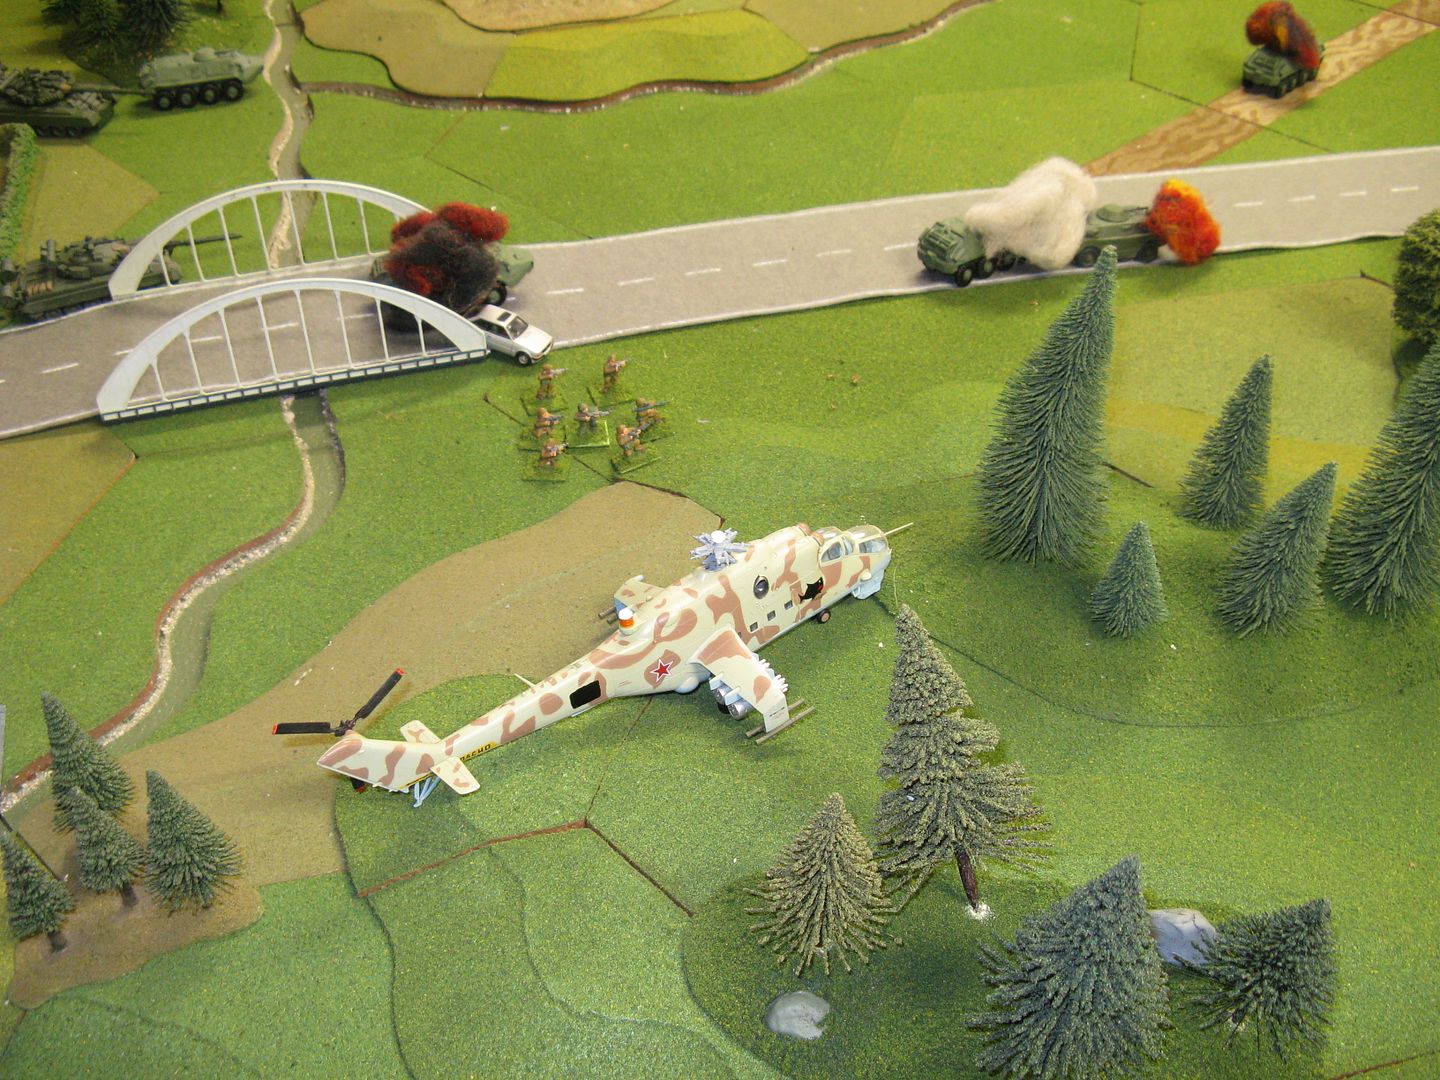
and started to pound the West German front lines
In the final shot I have of the game you can see a number of dead Soviet AFVs and a bunch ov vehicles on "Covering Fire" (the white marker).
Unfortunately we had to call the game there for time reasons. The Soviets had lost about 40 BR while the West Germans had lost about 20. It would have been quite interesting to see how the next few turns panned out, as the Soviets had only really just got to the point where they could really launch their attack.
It would also have been interesting if I had read my Russian doctrine a little better - and allowed the Soviets to lead with their tanks...
It would also have been interesting to have a Soviet air assault land late in the game. NATO had rushed all its force forward, and basicall left the rear of the table completely blank. A Soviet force landing back there could really have messed with NATO's response.
I think if I had to do this again, rather than play on one long table, I'd prefer to run it on 3 seperate tables with two up and one back. I'd try to run two Soviet motor rifle companies, each supported by a tank platoon attacking up the two front tables. The rear table would be the scene of either an air assault or a NATO attack on a previously air landed Soviet force, behind NATO lines. All the games would be run simultaneously, with support having to be shifted across tables.
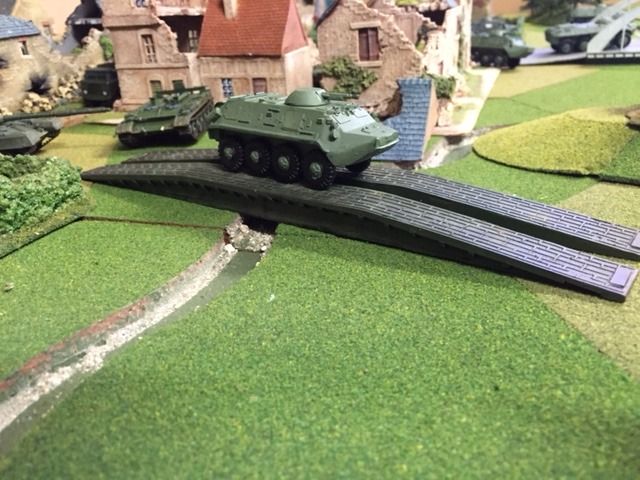
Anyway - so the final game didn't quite get to the point I wanted it to, and I think I kind of stuffed up the layout by having an impassable stream with just the one crossing point (until the AVLB was able to lay the bridge). I had envisioned most of the combat taking place near the centre of the bridge - but it didn't work out.
Bottom line - we had enjoyed ourselves and gotten a bit of kit out onto a very nice table - so it was all worthwhile.
Have fun
Richard
Great series of reports...great table and figs, well done.
ReplyDeleteGreat report- really liked it.
ReplyDeleteCheers,
Pete.
Masterfully done, shame it couldn't all have played out. Thanks for sharing with us.
ReplyDeleteNice looking game despite haveing to call it early, and the 3 table idea sounds pretty cool.
ReplyDeleteI would like to see the mods you guys have added to the battle group rules, can they be found on the guild Web site?
Top effort!
ReplyDeleteThanks guys - appreciate all the feedback. Will be sure to post AARs that get to the end as often as I can! Rules are just my lash up. A formal Battlegroup set of rules have started to be worked on and will be discussed on the Guild.
ReplyDeleteRichard
Nice
ReplyDeleteA fantastic looking game. Thanks for sharing it with us.
ReplyDelete