
As you can see I put a great deal of time and effort into designing the layout of this particular test!
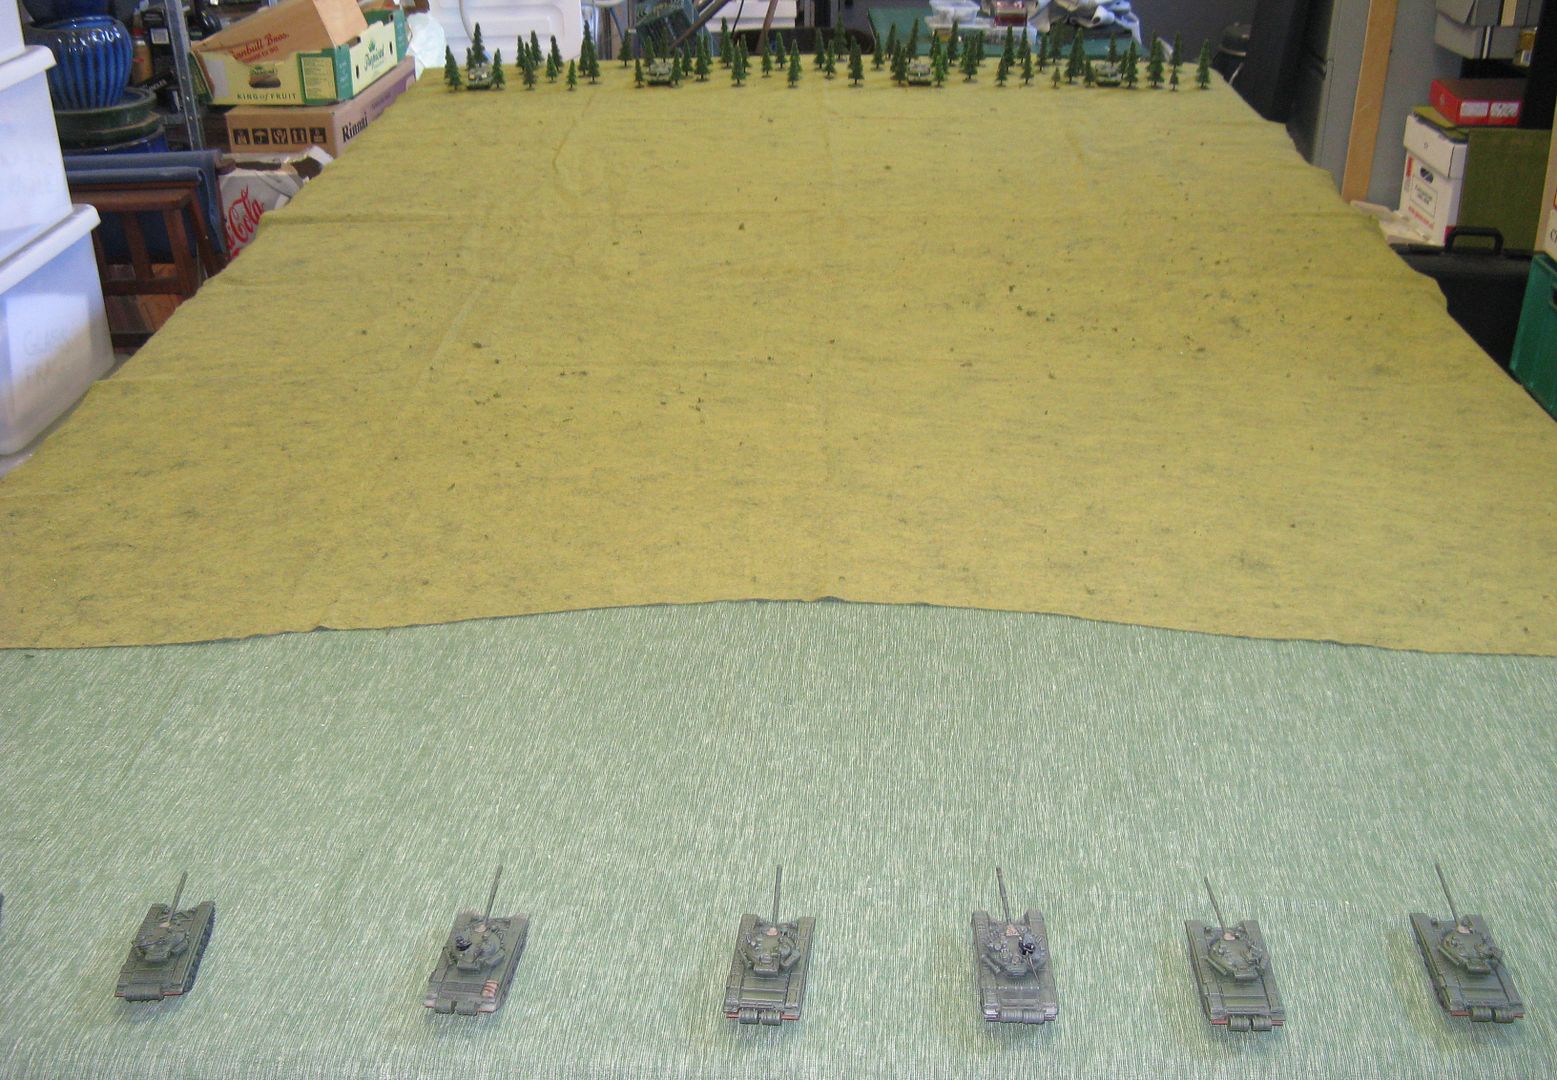
The basic premis was this. There is a platoon of NATO tanks (M1's in this case), in a wooded peice of ground.

They are up against a company of Soviet tanks.

In this case, a company of T-72s. These tanks would be used to represent T-64Bs, T-72B1s and T-80BVs.
Due to a range of reasons, better optics, better fire controls etc, the Soviets would be in range of the NATO guns almost as soon as they moved. However, they would have to move quite a bit to get into range to start engaging the NATO tanks. The closer they got, the easier it becomes to hit the obscured NATO tanks hiding in the woods. Of course, they closer they got, the easier it became for the NATO tanks to hit them.
Because it was just me - playing against me - I tended to move the Soviets as platoons - of which they had 3, plus a Company Commander.
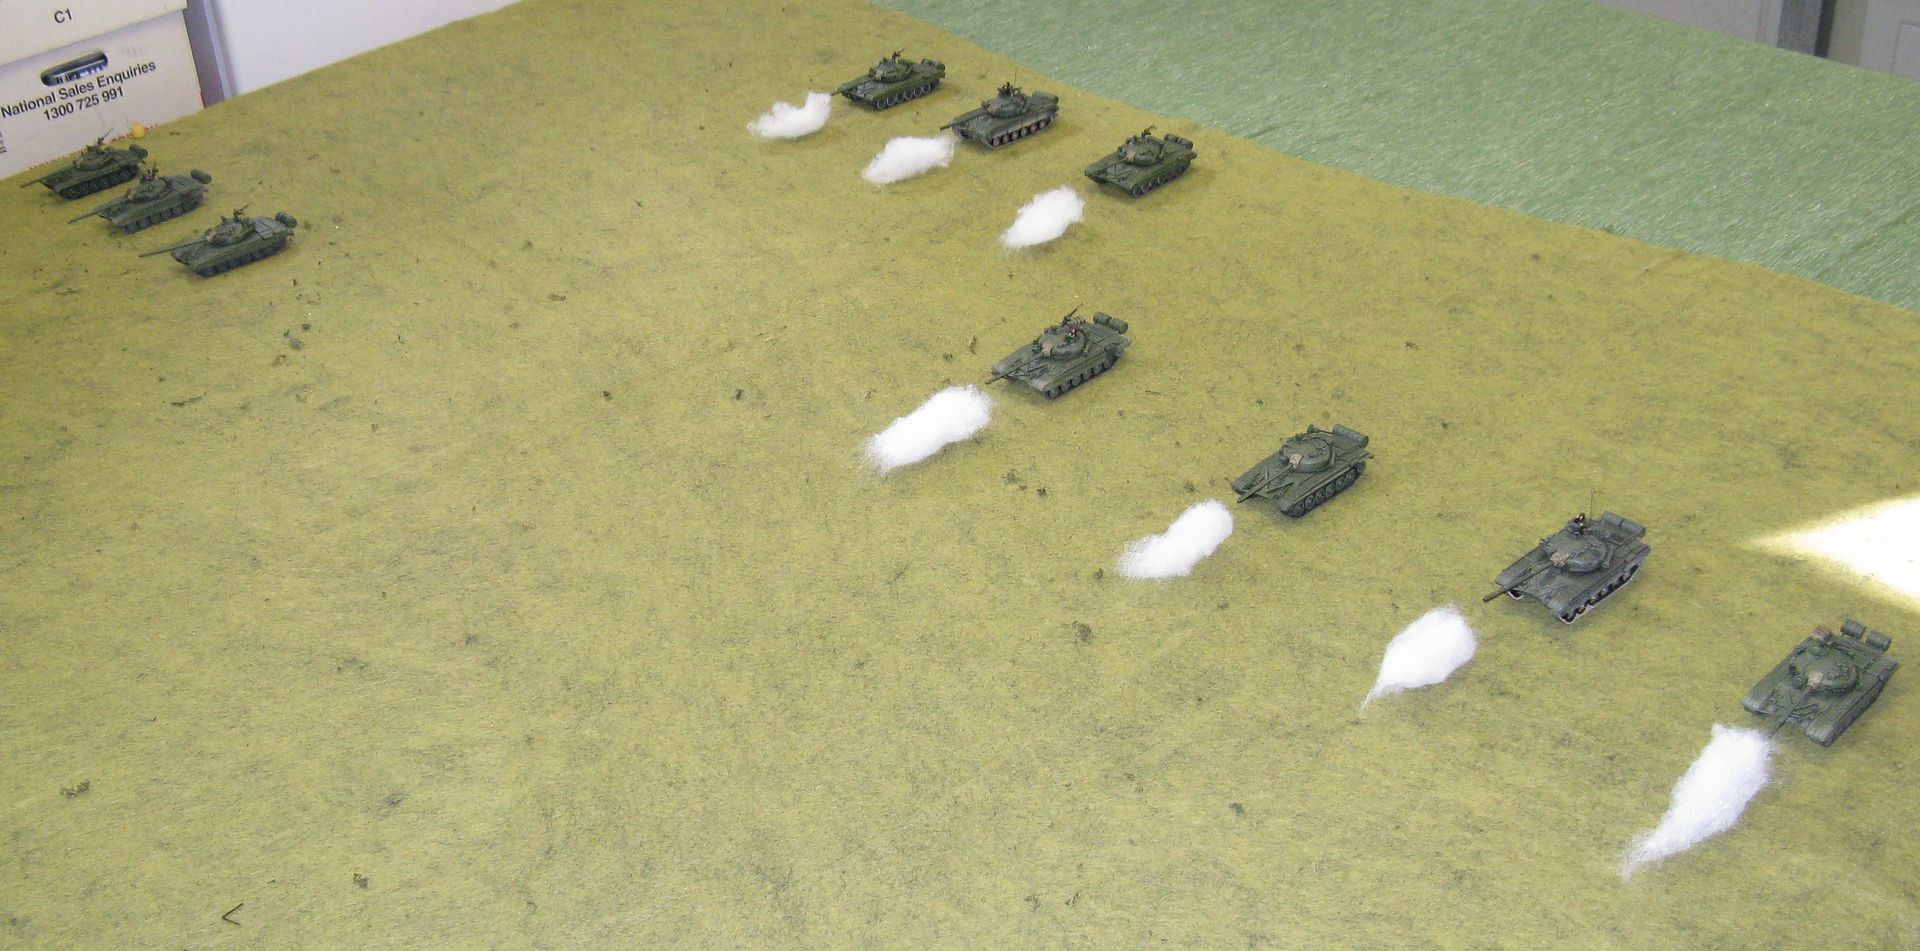
Here you can see 1 platoon (the one on the left) has made a double move and so has not fired. The next platoon to the right has remained stationery and is able to fire twice. The platoon on the far right, plus the Company Commander have done a single move and shoot.
First thing I found was I had been a bit unfair to the NATO chaps by putting early M1s with 105mm guns up against T-72B1s and T-80BVs which, at least in the case of the B1 was only coming into service in 1985. Maybe I should have used IPM1's instead...
So in the first two tests, even when I gave all the M1's +1 to hit, they all died. Oddly enough (pretty basic when you think about it) 10 tanks needing 6's to hit will roll more hits than 4 tanks needing 6's to hit... Doh! And a hit from a 125mm cannon is generally enough to create this:

Yes I know it's an M1A1...!
I have read that tests conducted by the Americans (after the end of the Cold War) proved that the M68 105mm gun was incapable of penetrating the T-72B1 Super Dolly Parton at range. I'm not sure how true that is - but I had blithely arranged my stats to match that andin the two games ran through, the M1's managed no kills, and at best several pins on the T-72s.
Things turned out rather different in the next two tests. Check out the difference. T-72 B1s:


Even with my bad rolling, the old 105mm gun was killing stuff! Right up the back of the board! This was a bit more like it. Mind you, it wasn't all one way traffic.

I randomly selected a T-64B platoon to be equipped with Kobra ATGM. Each time they went to fire there was only 2 tanks left in the platoon. Kobra's scored 4 hits over two games, with Chobham protecting the M1's 3 times out of 4. Turns out it's slightly easier to hit at long range with a Kobra, but not such a great chance of a kill. (This is as my rules currently stand...)
So the M1's managed to win one game versus the T-64 company... and lose one...
Next up were a couple of games where NATO took 4 Leopard 2A1's instead. With a much better gun, 4 Leopard 2's were able to defeat the T-64 company with just one Leopard having a little scratch in his paint work. It took them 4 turns to knock out 10 tanks.
The T-72 B1s were a little tougher taking one more turn to eradicate, with 1 Leopard being pinned for a turn during the game.
Mind you the dice were running hot for the Soviets in the first few games and switched to NATO as soon as the Leopards turned up!
As it was, these were interesting tests - but not real games. It would be pretty dull for both sides to play on a table like this and in a game like this - but still, I think it was worth doing for me to get a sense of things.
Anyway - that's it for now. More testing to come...
Richard
This comment has been removed by the author.
ReplyDeleteNice to see play testing in progress.
ReplyDeletetnx the first time I've read a post on this
ReplyDeleteالناظور الناس للإعلام
Nice to see your process in action.
ReplyDeleteCheers,
Pete.