We played a variant of the Bridgehead Breakout in the BGK rulebook. My version of it was that the main Soviet attack was taking place further to the North (or South) to gain a bridgehead. Meanwhile a small Soviet Recon Patrol, with engineers attached, have put a mobile bridge across the river and crossed, leaving a small guard while the next unit comes up. The crossing is near an autobahn, possession of which will greatly help the Soviet folow-on-forces. West German forces have thrown together a response force to try and smash the bridgehead (and the bridge).
The Soviet end of the table looked like this:
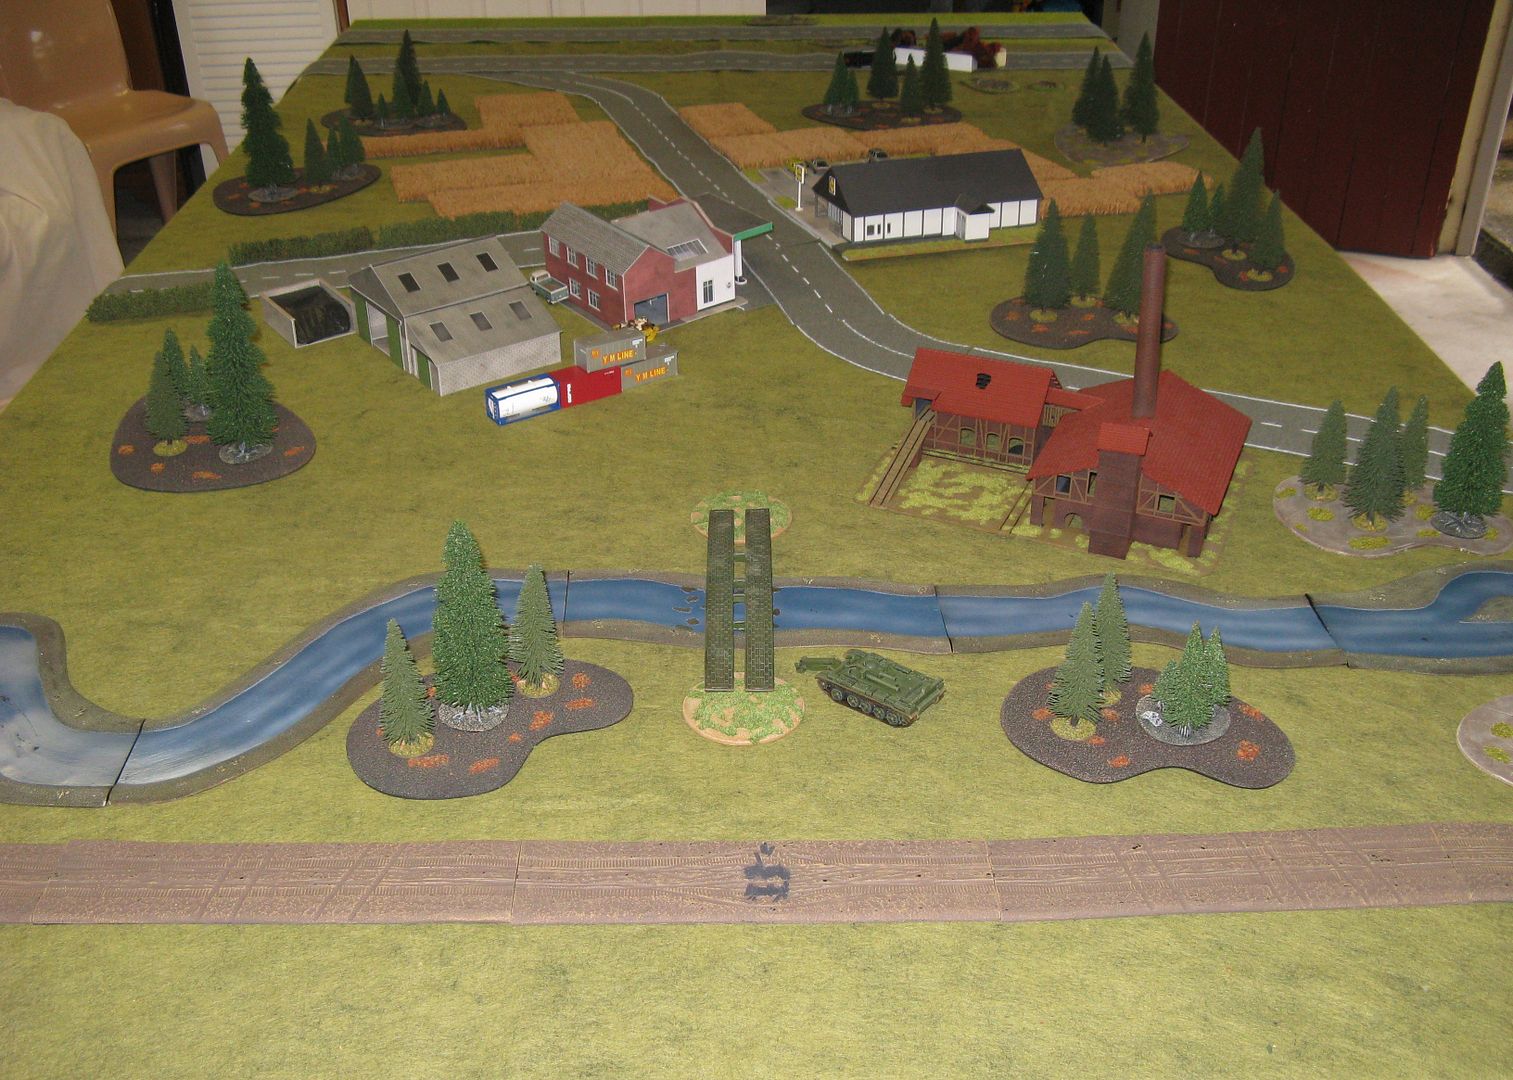
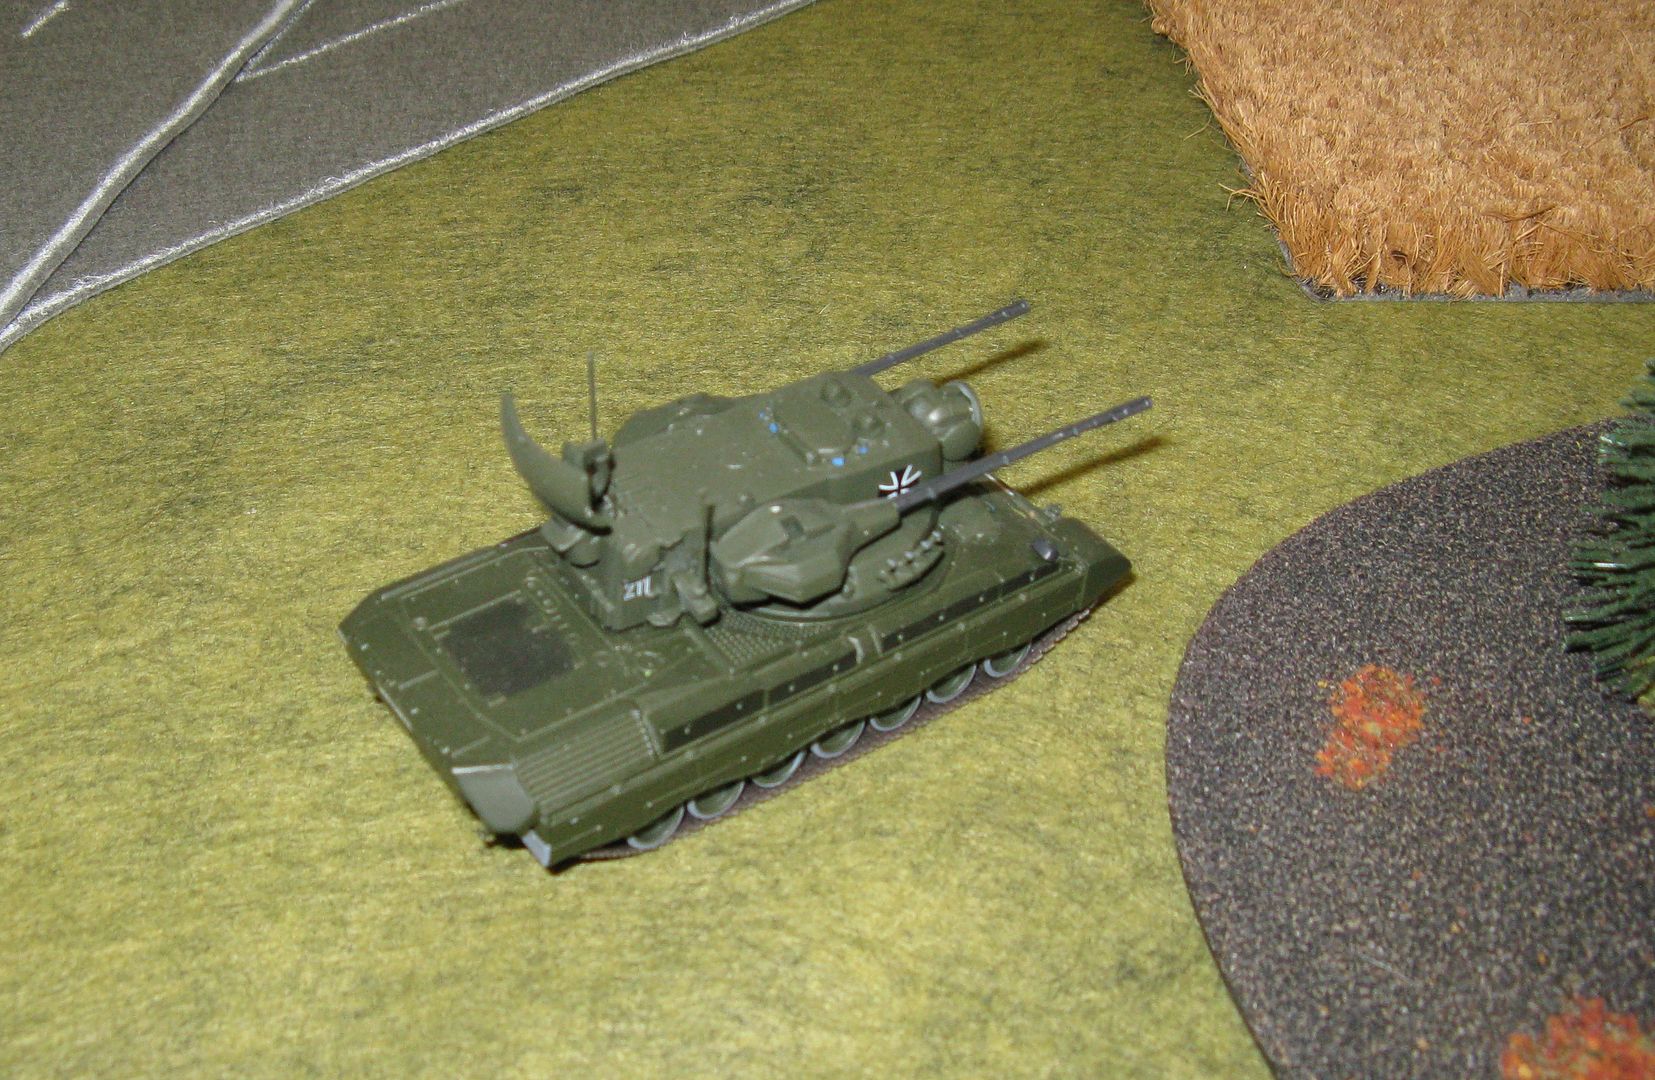
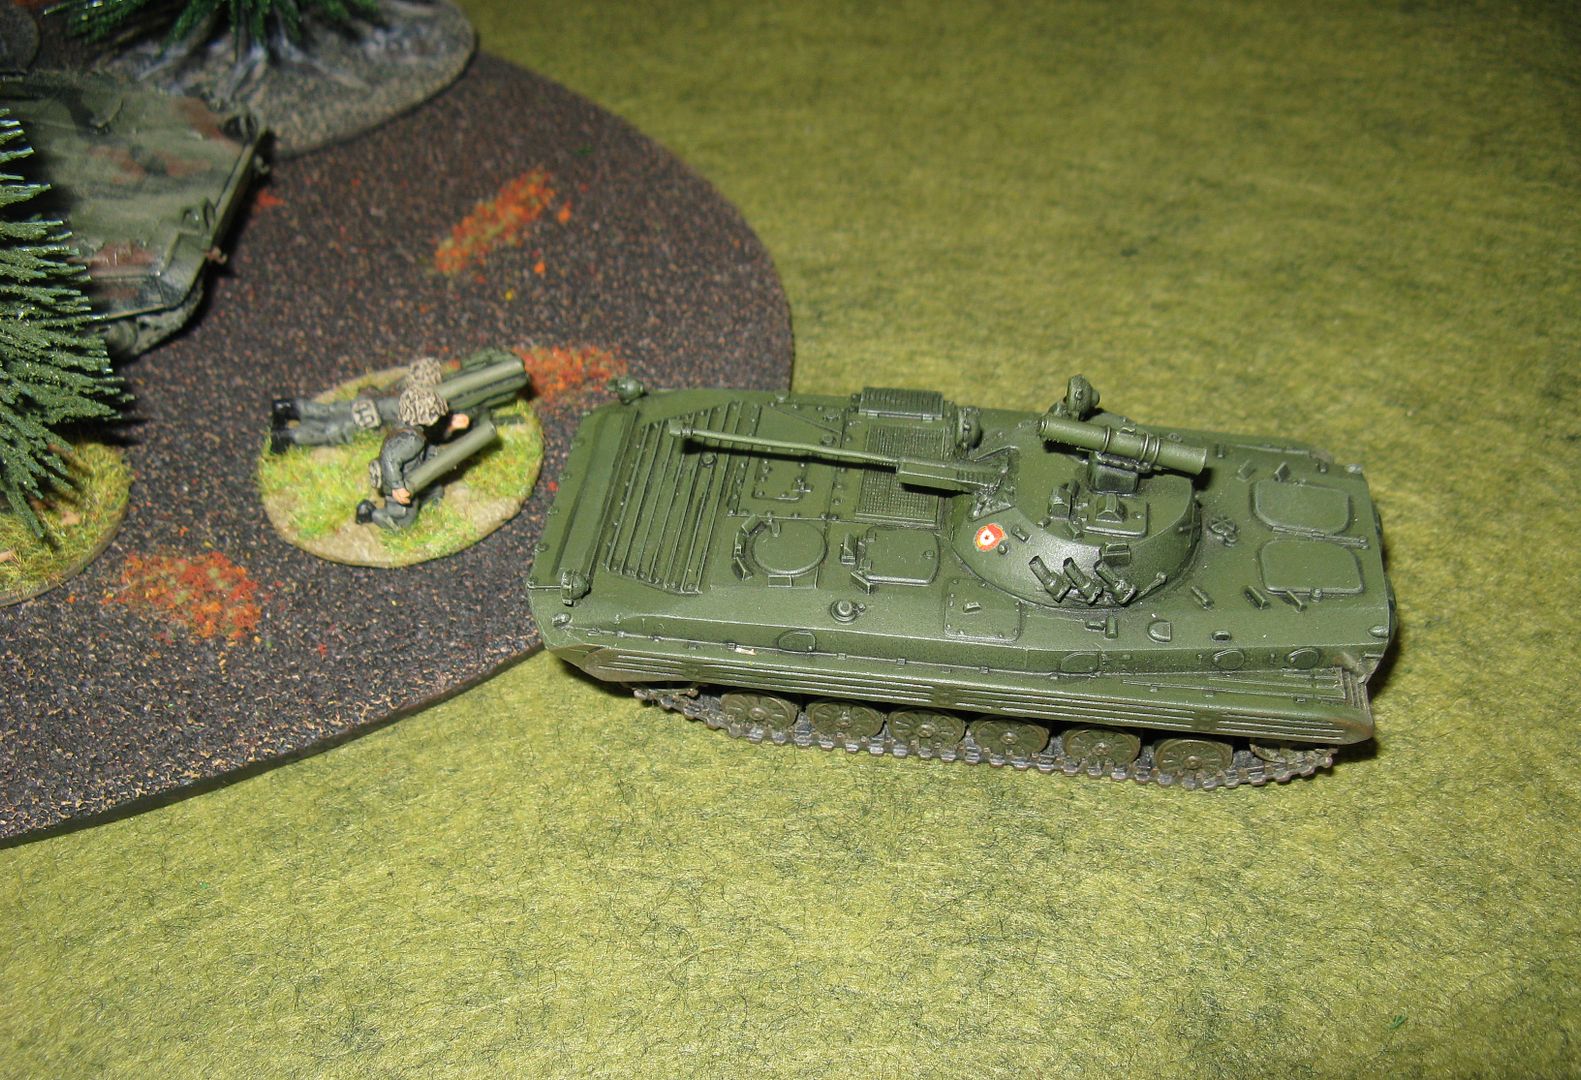
You can see the MTU-55 bridging the small river in the foreground. Here's a close-up:

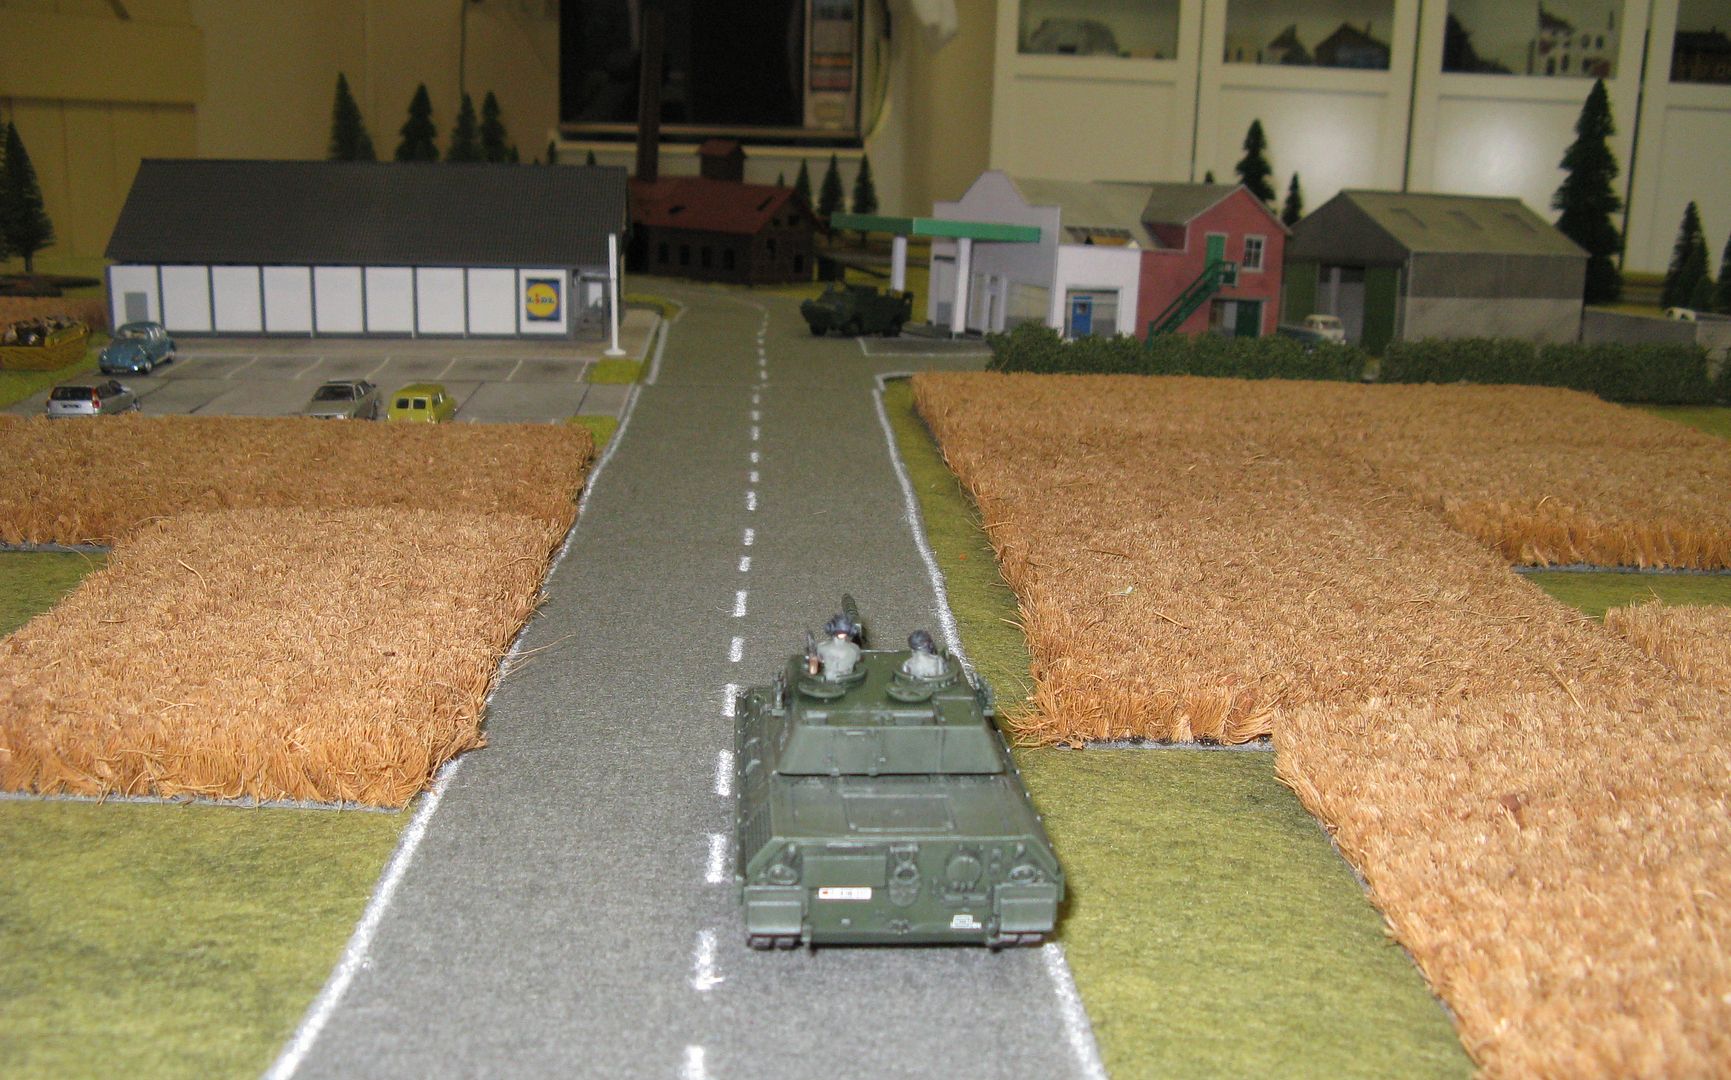
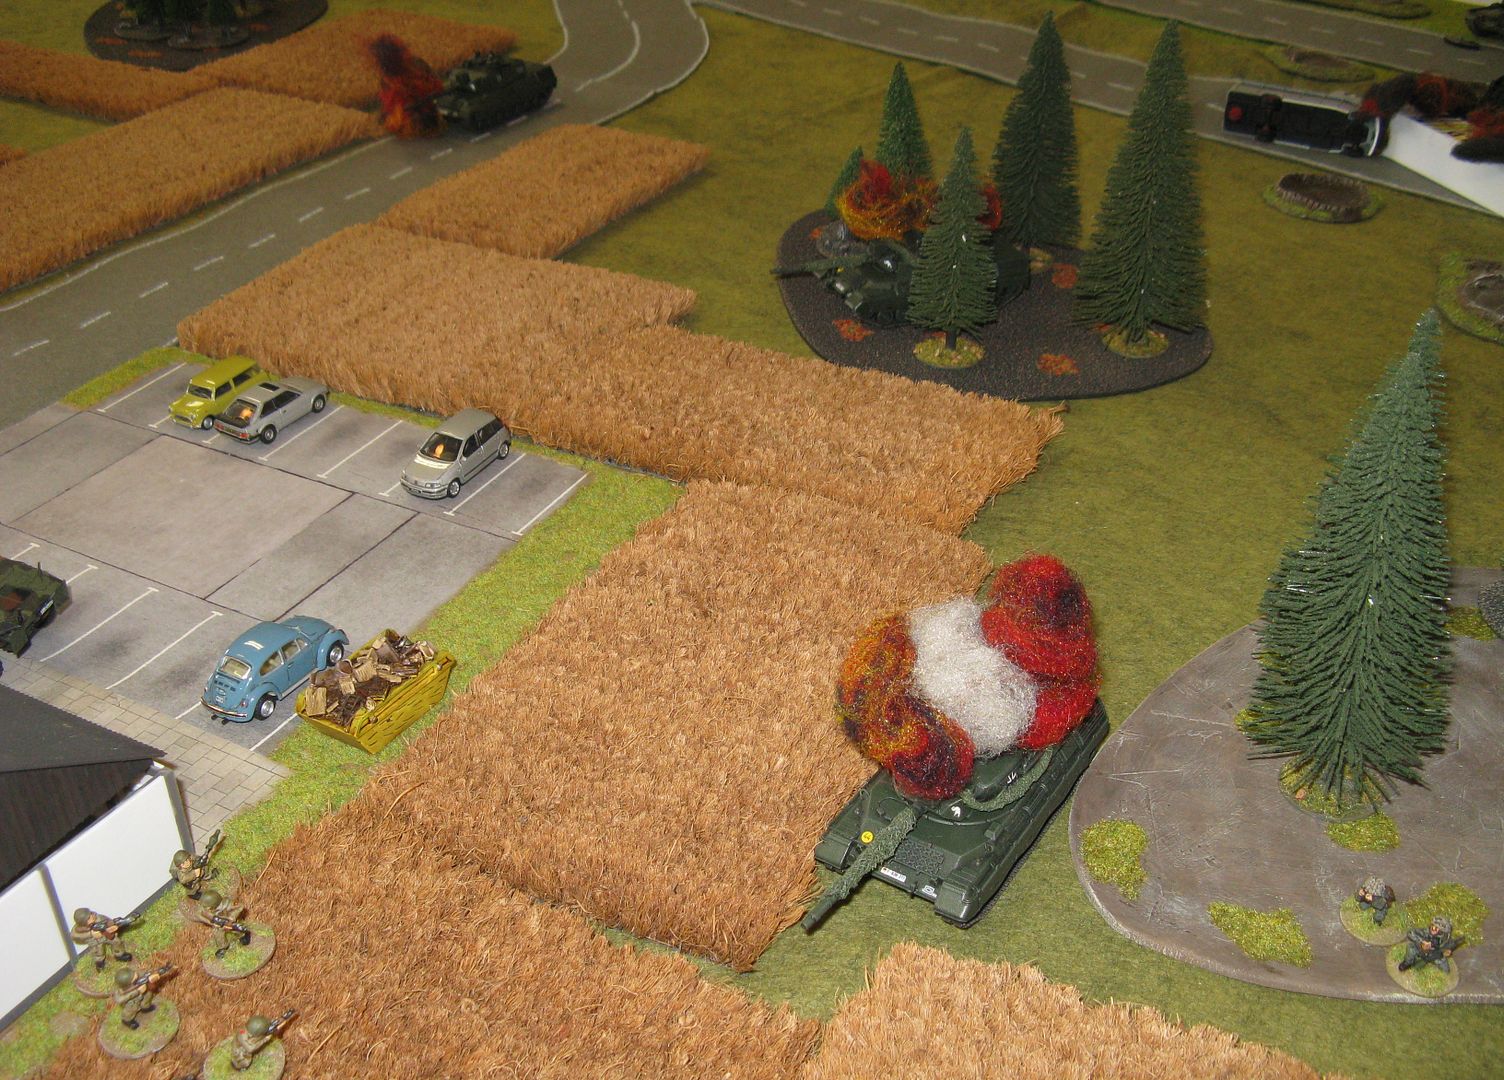
The table looked like this from the West German table end:

The autobahn is in the foreground, with some smashed up traffic and a small service centre is in the middle of the table.

There were six objectives on the table. The bridge (obviously), the intersection in the centre of the table and each of the four road exits on the table.
The Soviet force was like this:
Artillery Command Post - in a BRDM-2U (like an FO team)
A 4 tank T-72B1 platoon
A BMP-2 mounted motor-rifle platoon
A 3 gun 2S1 battery
A BTR-70 mounted combat engineer squad
A NBC Recon Patrol - BRDM-2Rkh
A standard BRDM-2
A ZSU-23-4
The West German force was like this:
A 3 tank (reduced) Leopard 1A4 troop
A single Leopard 2A4
A Marder mounted Panzergrenadier platoon
A 120mm Panzermorser
A FO team mounted in a Beobachtungspanzer with an off table 2 gun 155mm battery, with 1 DPICM barrage
A Spz-2 Luchs
A Gepard
An Alpha Jet timed air-strike
The Soviet recon troops defending the bridgehead deployed first:

Followed by the West German recon and a Leo 1A4


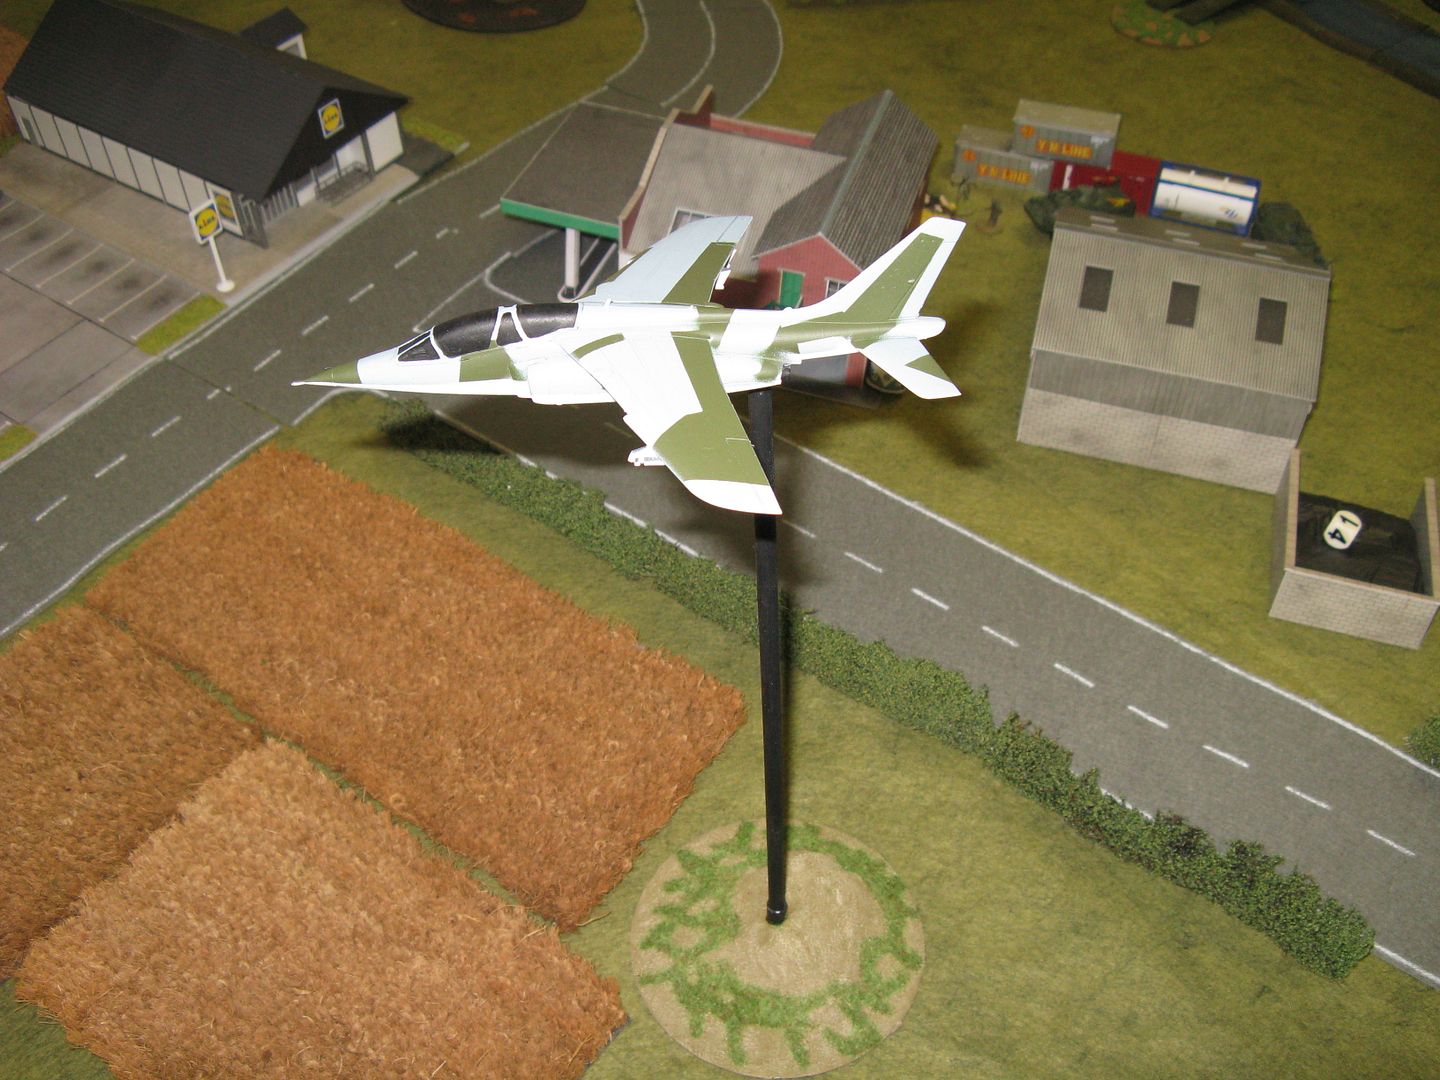
Having spent a few days preparing for the game and trying to progress the Alpha Jet and flying stand, I was a little disappointed when we rolled up some inclement weather, which meant no air strikes! So the Alpha Jet made a very brief journey to and from the table - just for an over-exposed photo!
The West Germans were quickly into action, driving down the autobahn exit to engage the BRDM-2Rkh near the centre intersection.
Which they knocked out, but then suffered a set back and the Leo 1A4 rolled oved a FASCAM minelet.

Soviet reinforcements quickly began to arrive:


And drive further up the table


So did the West German reinforcments


The Soviets started to consolidate their position prior to engaging the West German main body


And after some aggressive manouvering they inflicted some significant damage on the West Germans

The Leo 1A4 platoon was sadly plagued by the fact that it was the most newly painted unit on the board and therefore died first and quite spectaularly! The 1A4 in the foreground was killed by the RPG from the motor-rifle squad while a T-72 knocked out the 1A4 hiding in the woods.
In revenge a Marder drove forward and the panzergrenadiers spilled out, annihilating the motor-rifle squad behind the supermarket

On the other flank the Soviets continued to grind forward

And another panzergrenadier squad attempts to engage them

But they have misjudged and the BMP-2 is within the minimum targeting distance for the Milan, so it cannot fire. Taking advantage of this and some poor shooting from the other Pzrgren fireteam, the motor-rifle squad wipe out the fireteam and the BMP-2 attempts to overrun the Milan team
Luckily the ATGM team dodge to one side and escape the BMP.
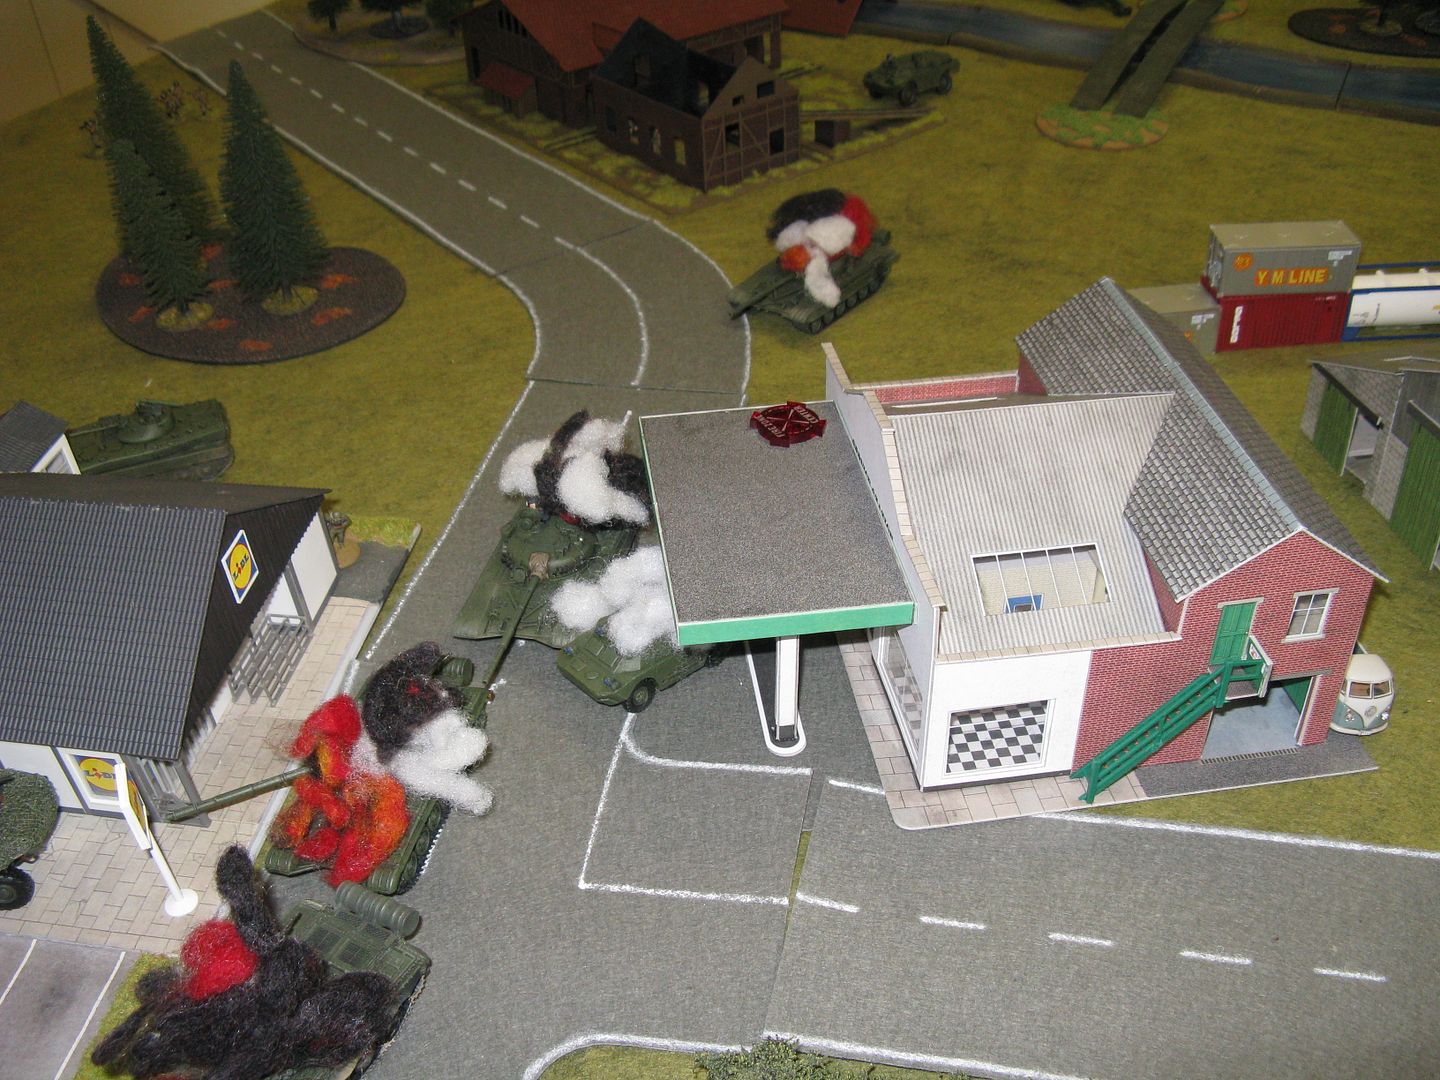
Back in the centre of the table the Leopard 2A4 successfully knocks ot the lead T-72B1, whilst it's own engine sputters out, stranding it on the rear table edge. The second T-72B1 knocks out the Luchs, but in a desperate move is repeatedly engaged and pinned by the Gepard, hosing it down with its twin 35mm autocannons.

Things are not looking good for the West Germans. Their one remaining tank is right down the back of the table unable to move and all 3 Leopard 1A4s have been knocked out. They have one final Ace up their sleeve though. The Soviets have fallen into NATO's cunning trap and have grouped their remain 3 T-72B1s near the centre of the table, within the line of sight of the still surviving FO. He calls in his one DPICM strike on top of the T-72s with stunning results.

Sadly for NATO, it's not enough to stave off a Soviet victory, and the West Germans use the confusion of the DPICM strike to withdraw.
The end result was much closer than we had expected, partially due to the DPICM, but it was a good fun game - and most importantly - it pointed out a few things that will need to be changed.
That's all for now
Richard
I throughly enjoyed that play-by-play. Too bad about the weather, I reckon an airstrike might have turned the tables!
ReplyDeleteThis comment has been removed by the author.
ReplyDeleteNice report. Reading these Cold War 'what if's' always reminds me of the possibilities of 'what could have happened'. Particularly if you grew up in this period!
ReplyDeleteNifty! Gotta finish painting my own Soviets!
ReplyDeleteEntertaining AAR. Thanks!
ReplyDelete