The table was set up as similar to the map as I could get, but perhaps not as many trees as I would have liked.
The lighting is, well, pub like at best at EMIRS, considering we are in the basement of a pub - so please consider that when you look at the photos!
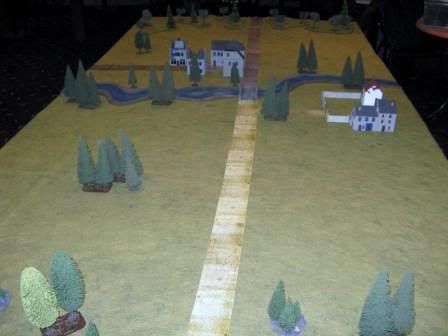
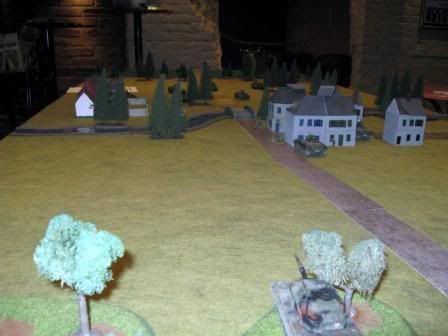
This is the view of the table from the WARPAC edge, looking towards the village in the centre and farm off to the right.
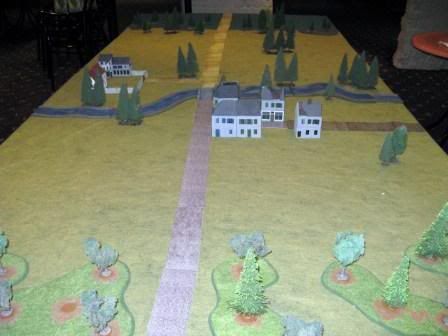
This is the view of the table from the NATO edge looking back up towards the village.
Rather than simply deploy their forces on the table I made up some cards for the Marders (which start on the table). 1 card for each Marder, plus a dummy.

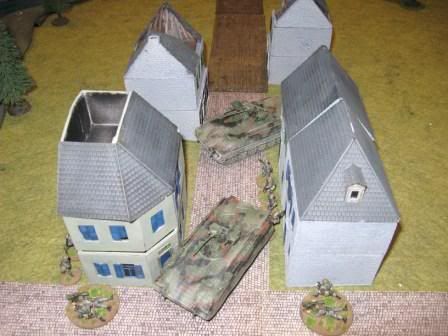
Possible Heer positions near the farm
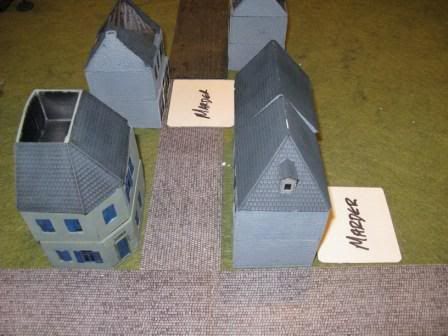
More possible Heer positions in the village.
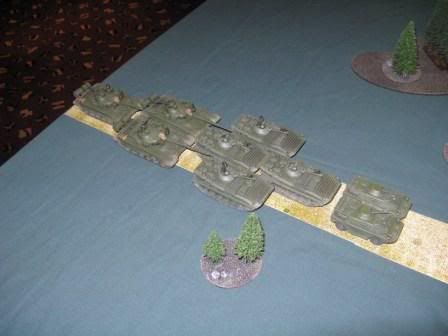
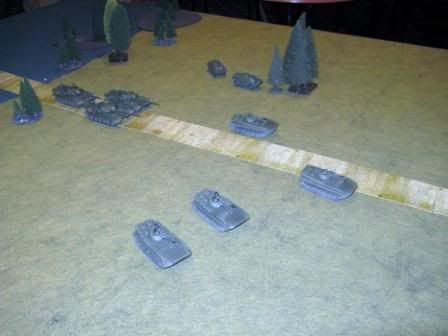
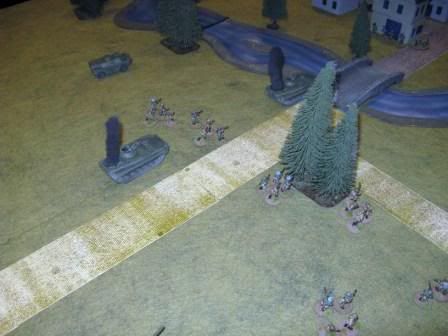
How the WARPAC forces started. You'll just have to imaging the rest of the trees!
Turn 1 and 2 saw the WARPAC forces advance down the road and start to spread out, hoping to catch some of the NATO forces near the farm
But they weren't near the farm - both Marders and their dismounts were across the other side of the river in the village.
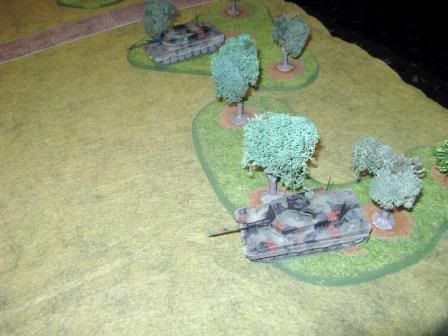
Turn 3 saw the Leopard 2s deploy in the woods at the opposite end of the table
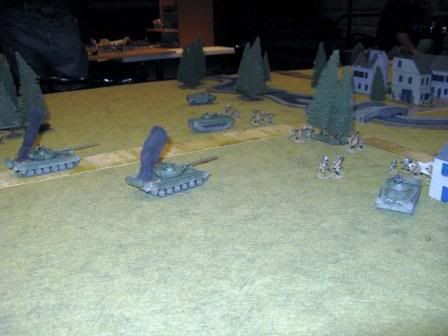
This is the result of the first round of NATO shooting. 1 Leo capped the first T-72, while the other bailed out the second T-72. This was swiftly dispatched by a Milan shot from the infantry. Reative armour failed miserably...
The WARPAC forces continued to advance and even managed to take out a Marder. Advancing, however, merely brought them closer to the Leopards.
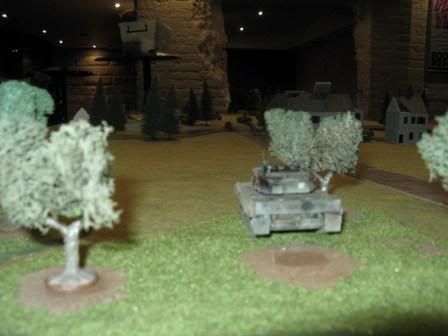
Different angle
The result was a couple more Soviet vehicles knocked out - fortunately the infantry had already dismounted.
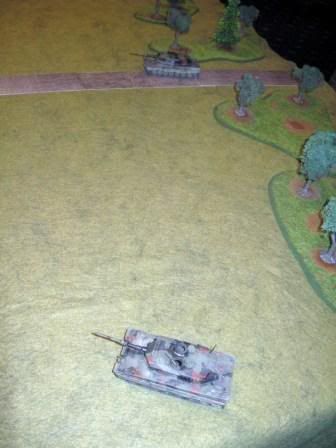
The Leopard 2s left their hides and went a-huntin'.
The last T-72 manouvered to get a shot on the now exposed Leopard and dispite needed a six to hit, rolled a '6'. Finally! The shot merely bounced off!
This T-72 was now dispatched, while a BDRM that had just crossed the river to advance on the town was also taken out.
We called the game there, with a solid NATO win.
To play again, I think the Soviets need to have their force increased. I just have to work out by how much. Using the FoW Modern lists, I see now that the NATO force had approximately 600 points, while the Soviets had about 440. So I definitely need to straighten it out a little.
HAve fun
Richard
No comments:
Post a Comment