Obviosly its been a while since my last post - mainly because I've been preparing stuff for these next two posts. Here we go...
Last week I got in two more test games - this time with actual opponents! No more Billy No-mates for me!
First was played at my friend Simon's. We were attempted to play 2 small recce games in a few hours, a 1986 clash and a WW2 clash, so the forces were suitably small.
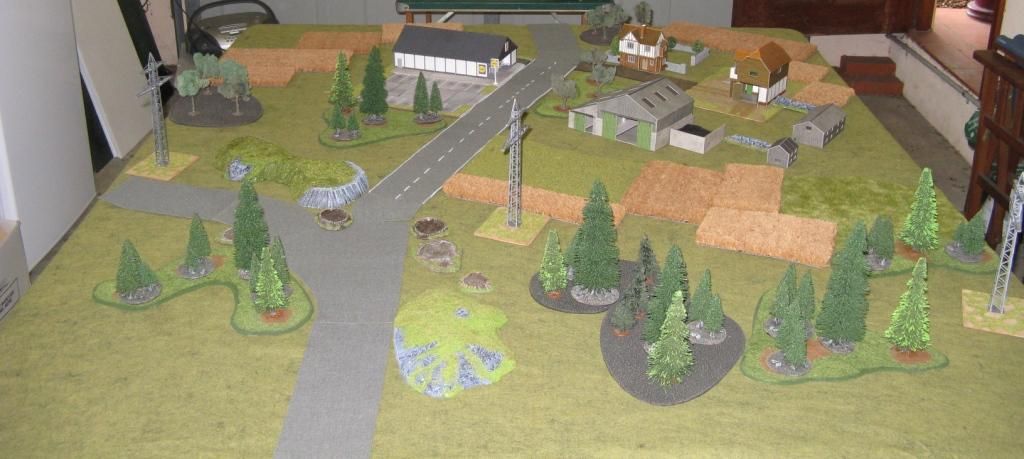
The aim of this game was for the Soviets to bypass the British and get off the back of the table. The Brits simply had to stop them.
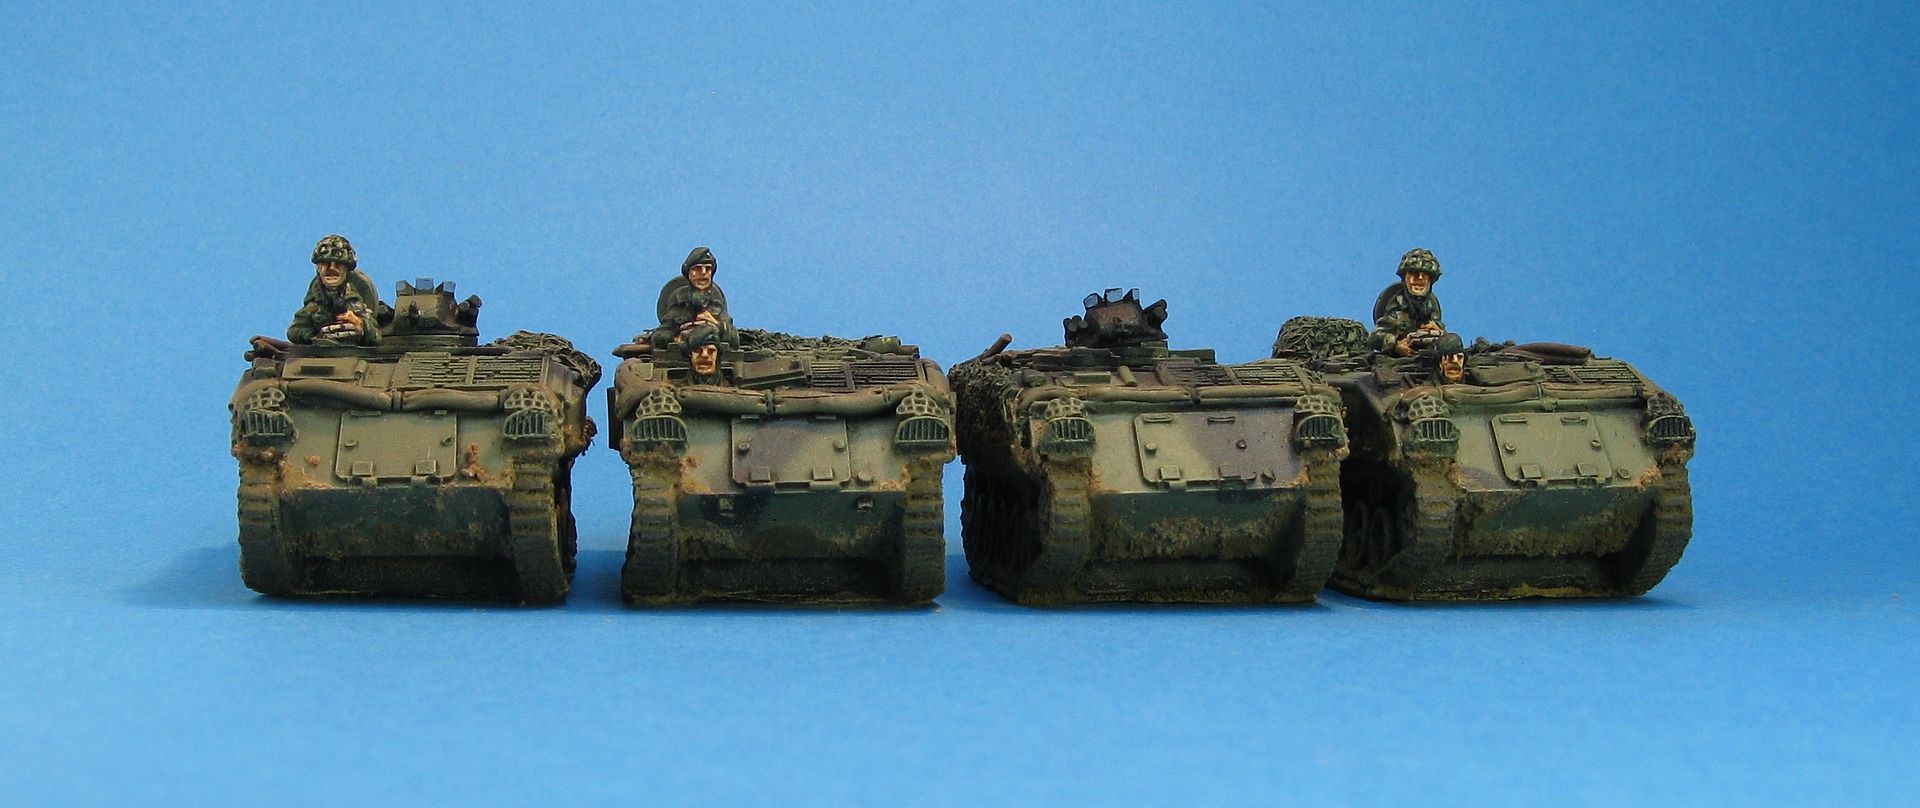
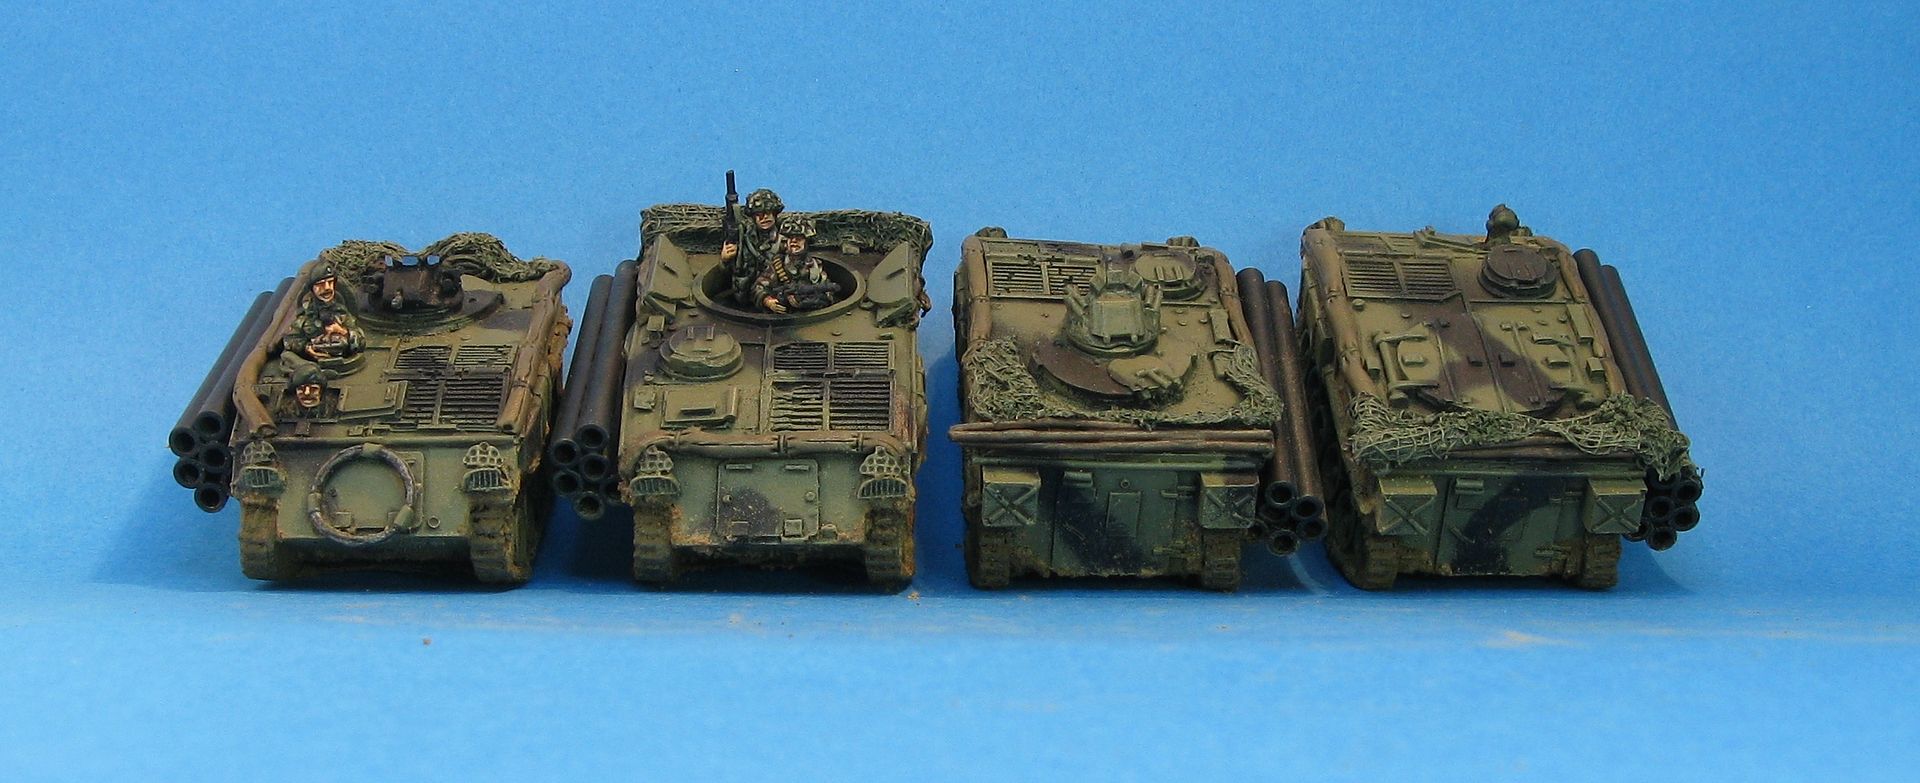
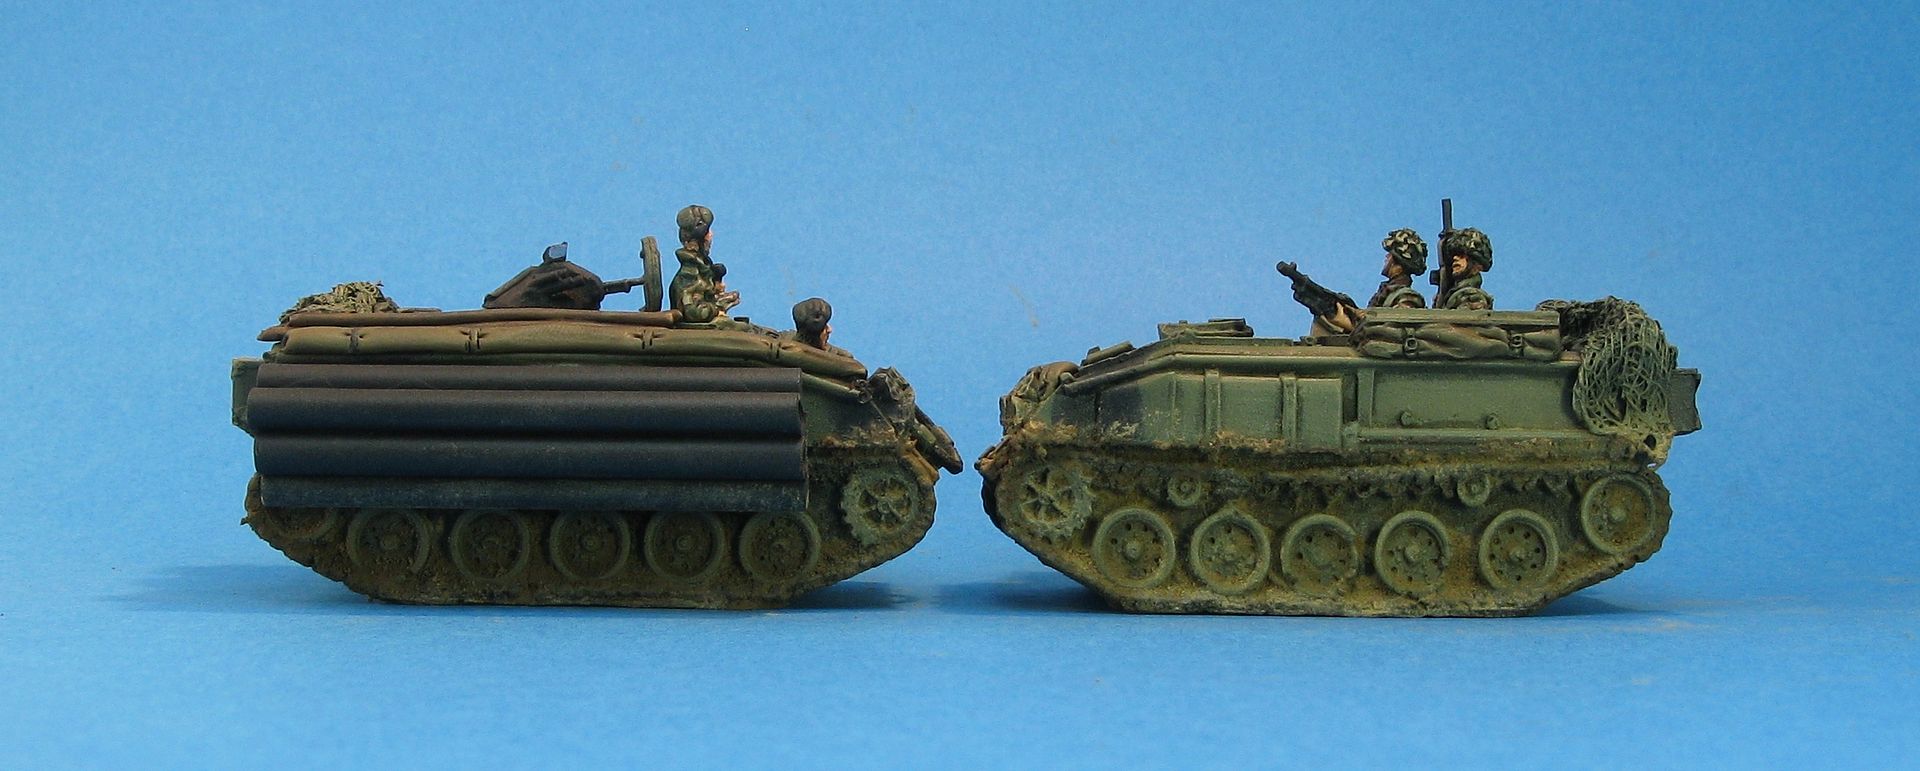
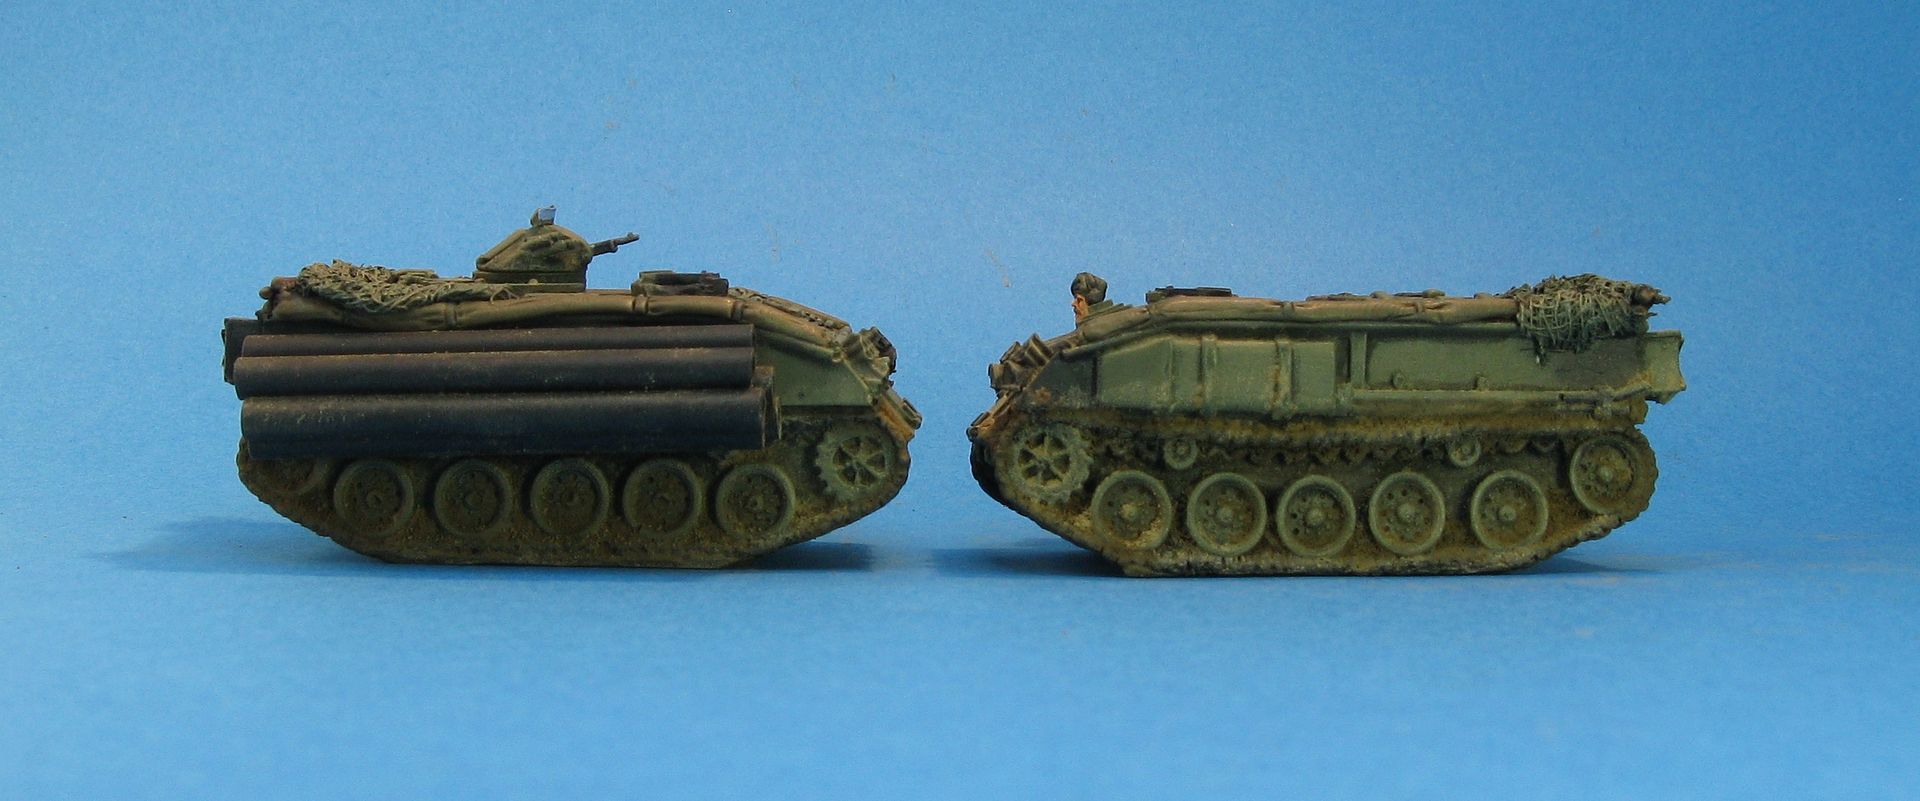
I played the Soviets (I always seem to end up playing the Soviets...) and this is what I had:
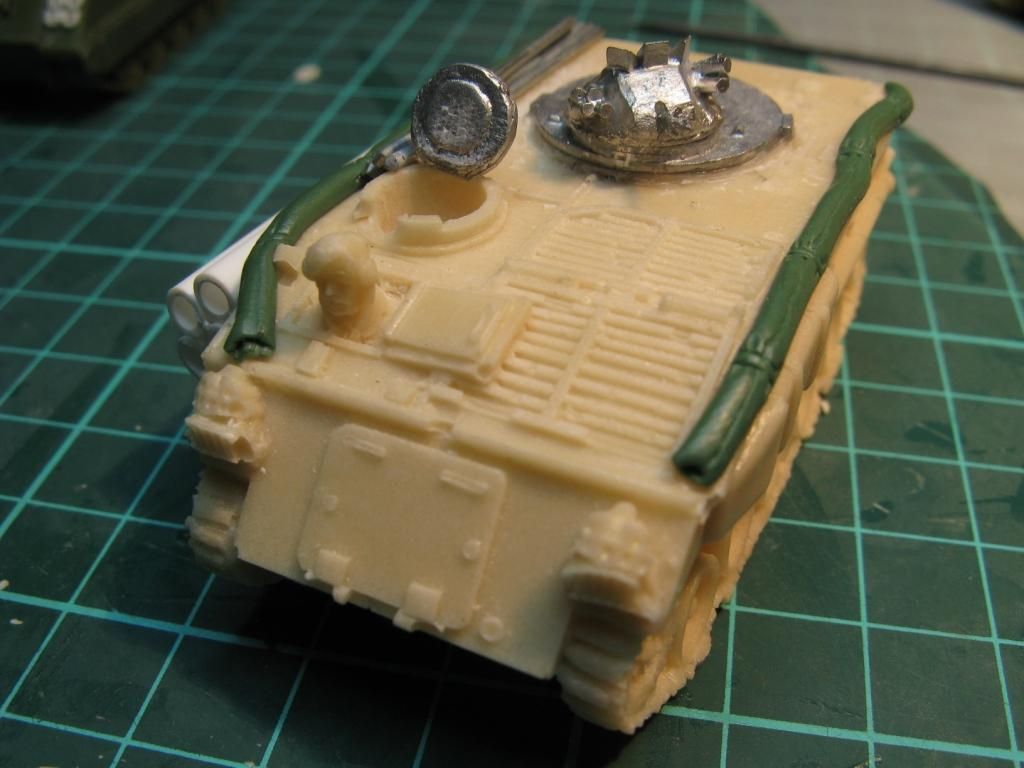
2 x Recon BMP-2s (with dismounts) and a BRDM-2.
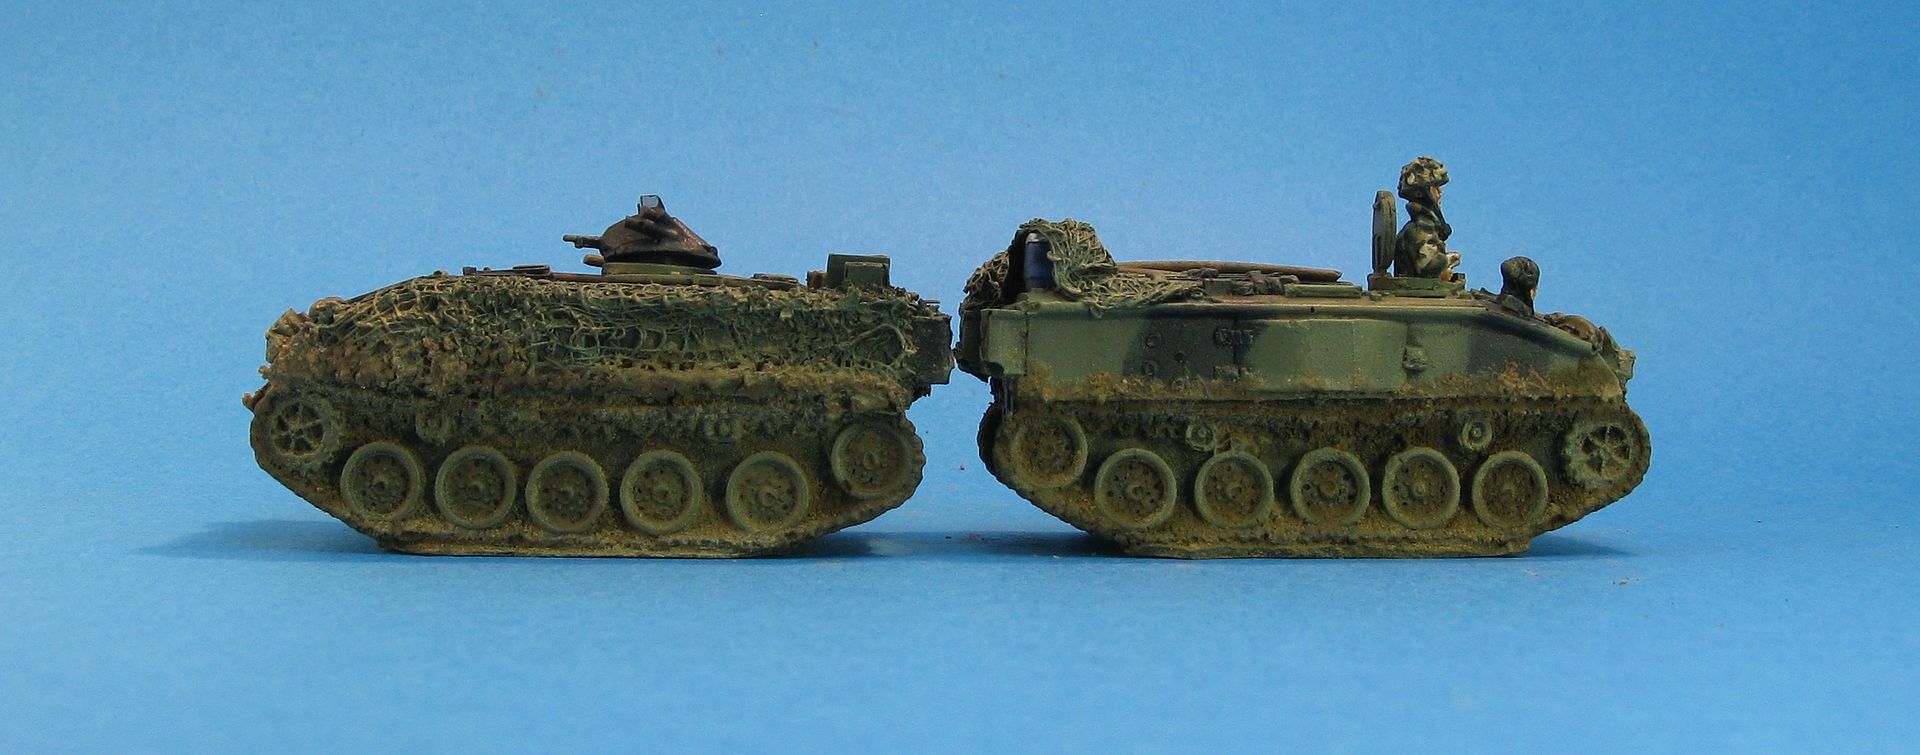
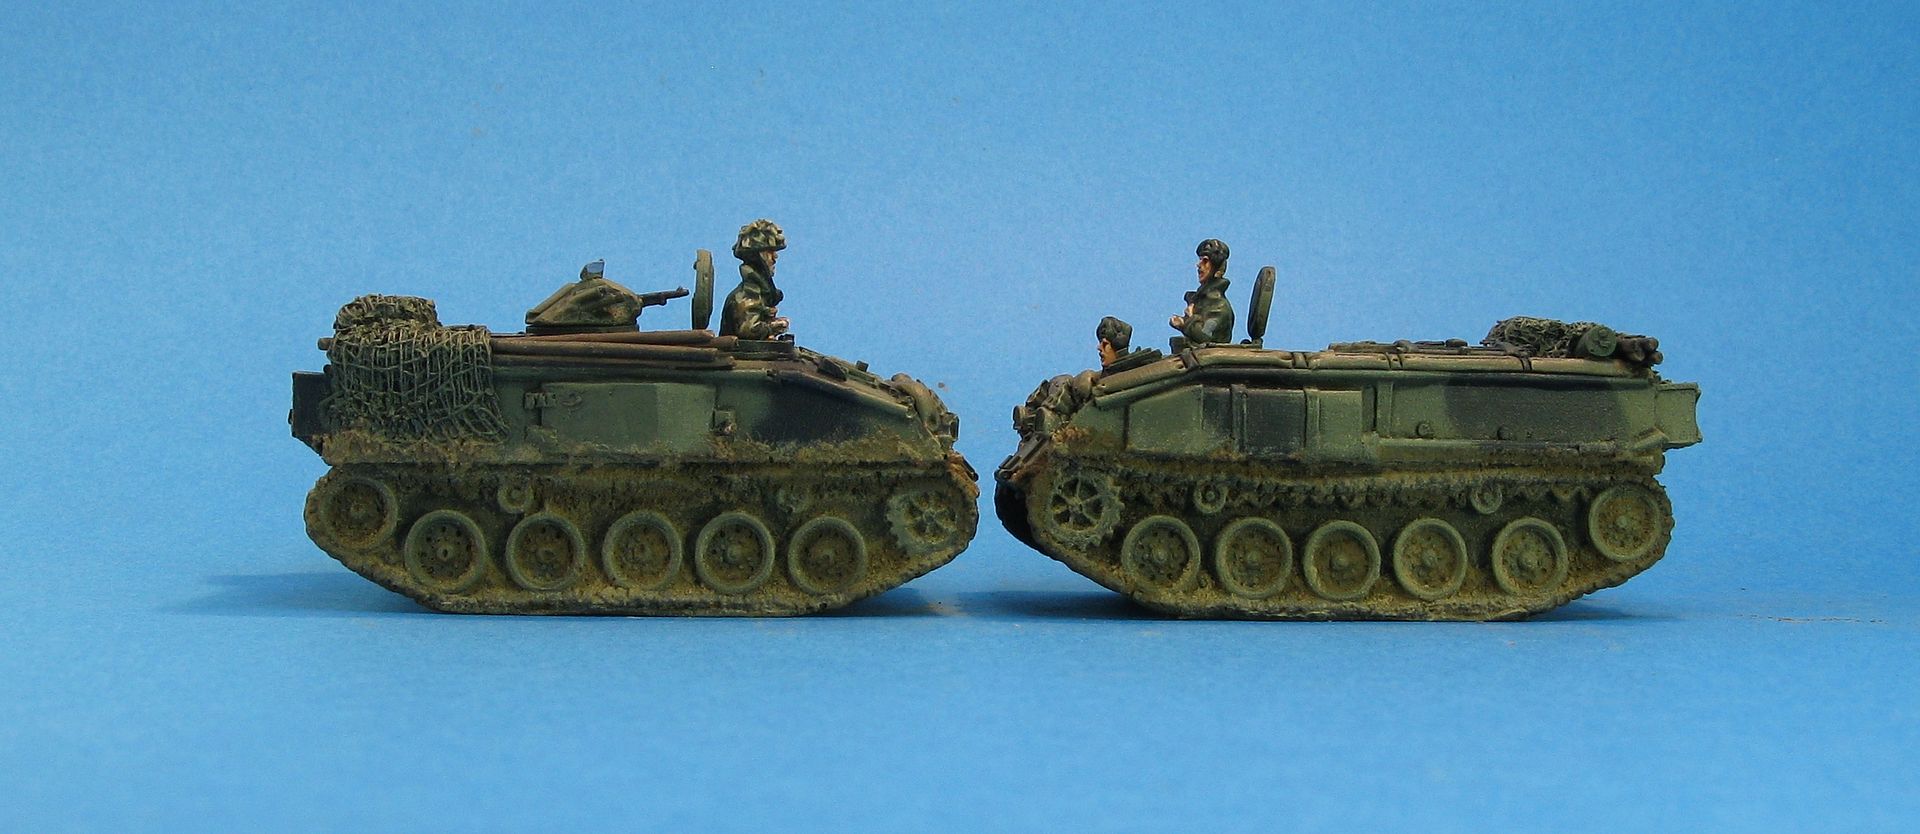
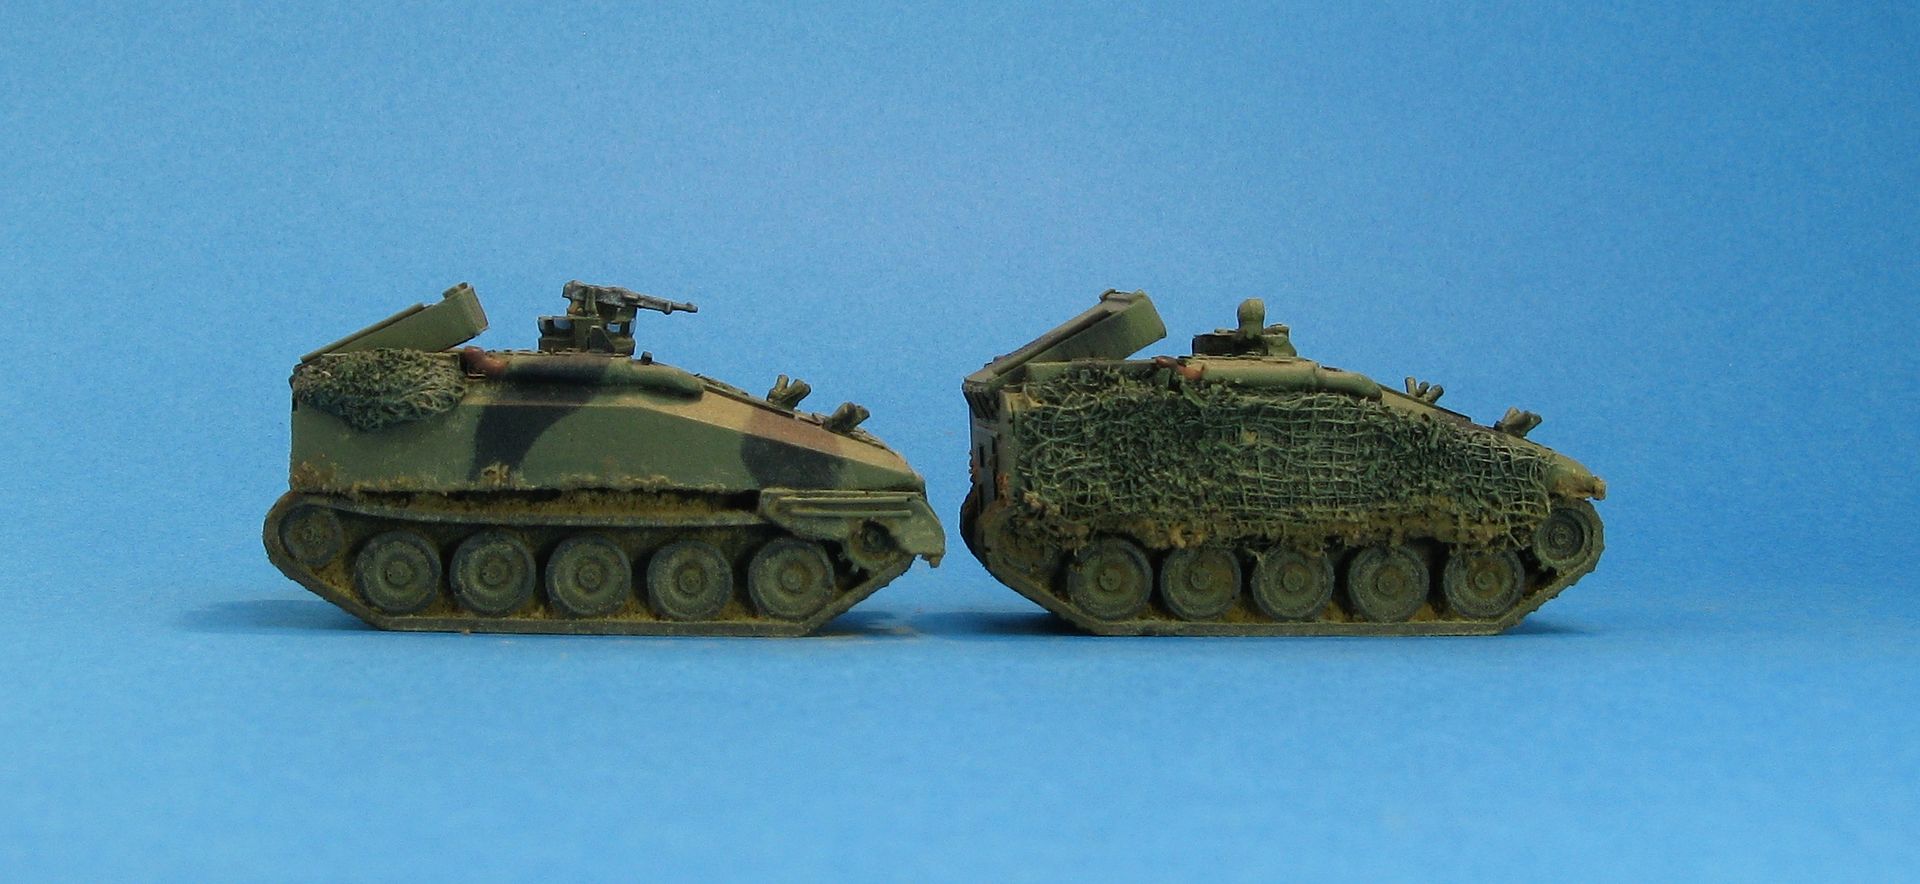
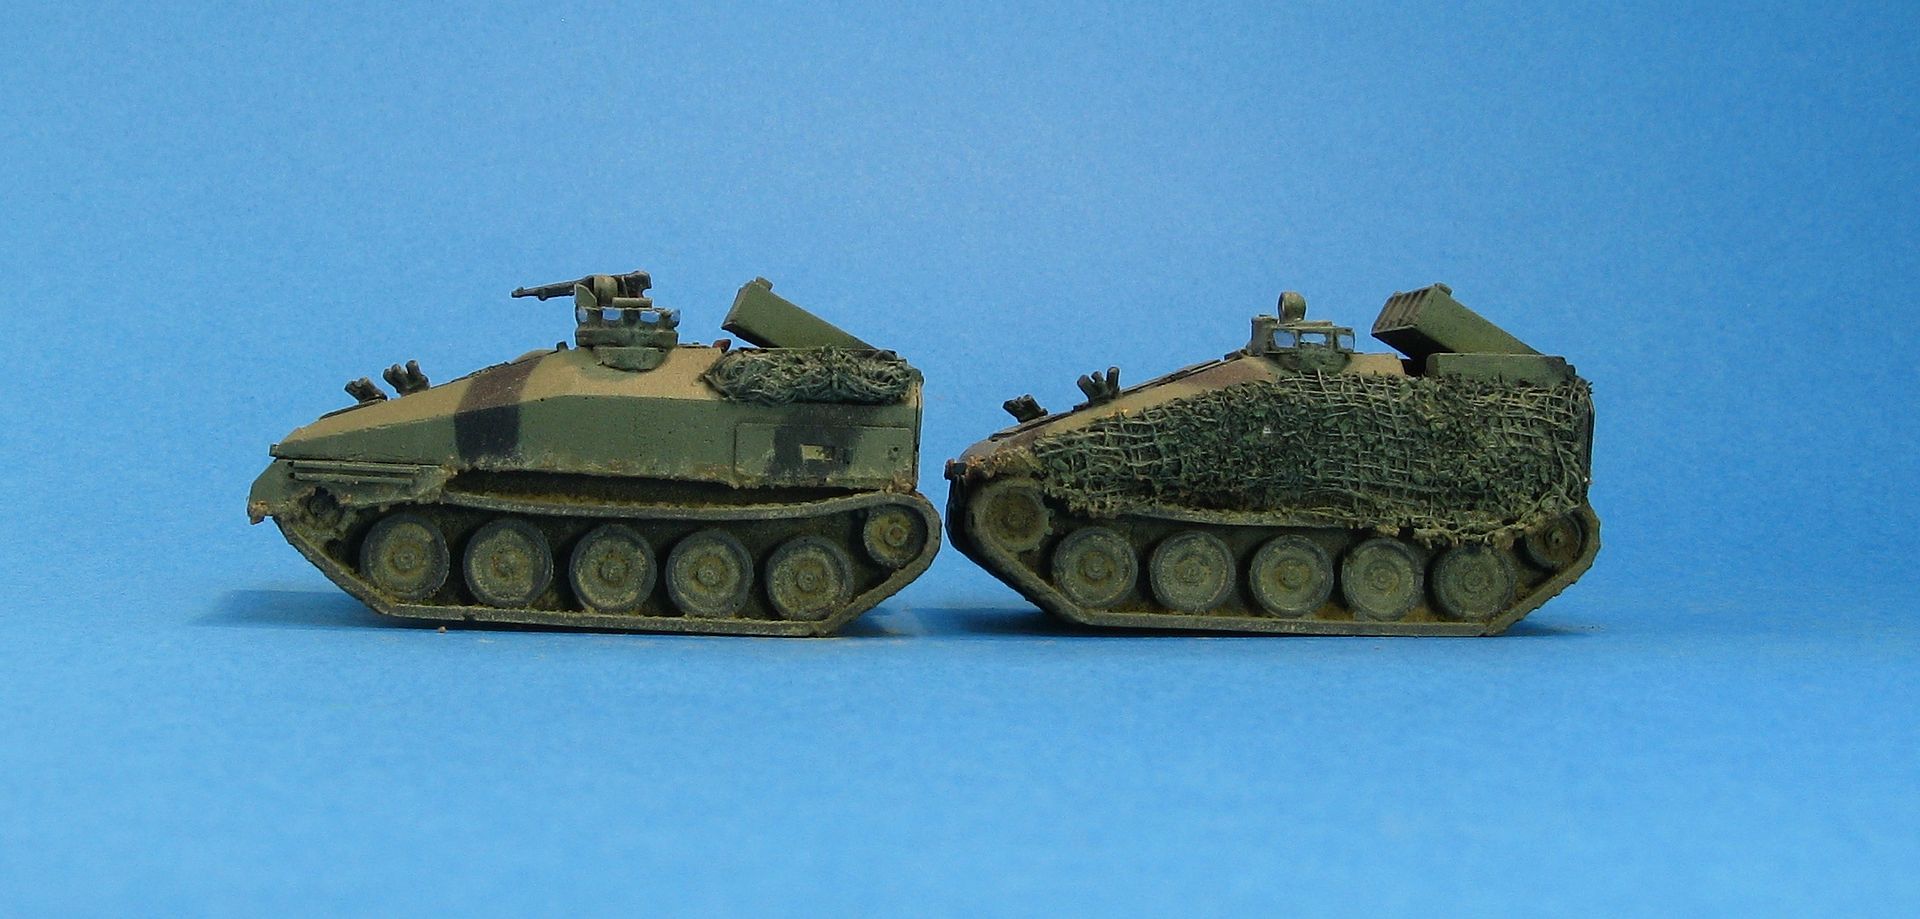
NATO force was as follows:
Sorry - a range of crappy and OK photos on the day... So NATO force was British Recce, with 2 Scimitars, a Striker with a Remote Team and a Spartan with dismounts.
The Soviet's had a randomised board entry, while the Brits had hidden markers for each vehicle and some dummy markers. Simon spread these fairly evenly across the table. 2 of my elements came in on a road, while the other BMP-2 came in anywhere on my table edge.
Here's a pretty poor pic of the placement of one of the hidden markers, which was later ID'd by some dismounts as a dummy:
The Soviets were fairly cautious (not knowing what was where) but managed to spot the Remote Team hidden in a building. Some reasonably poor shooting from a 30mm cannon, managed to kill one of them. (We used a Star Wars dice to remind us)
However the Remote Team could still function (passed it's morale test) and it directed a Swingfire missile at the BMP-2.
Which struck home...
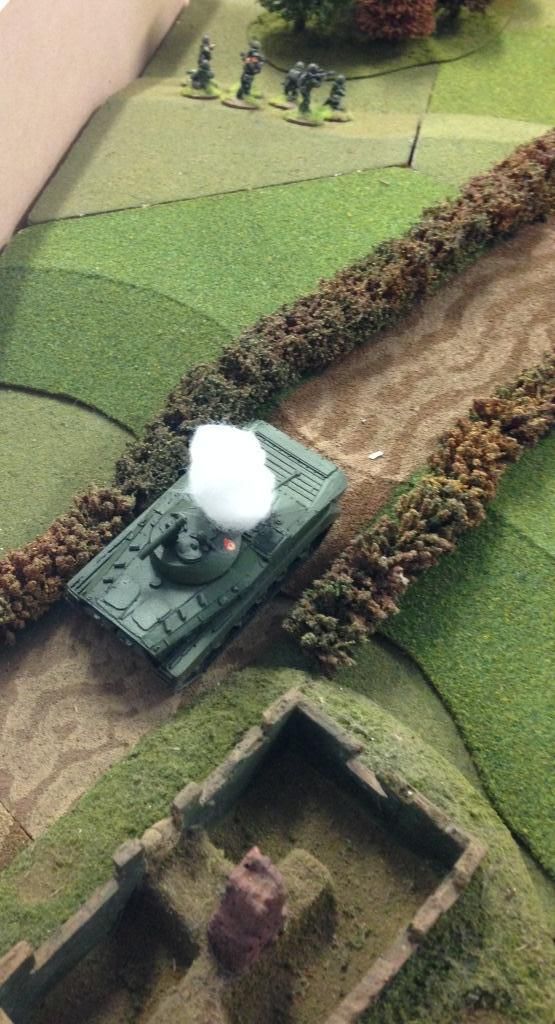
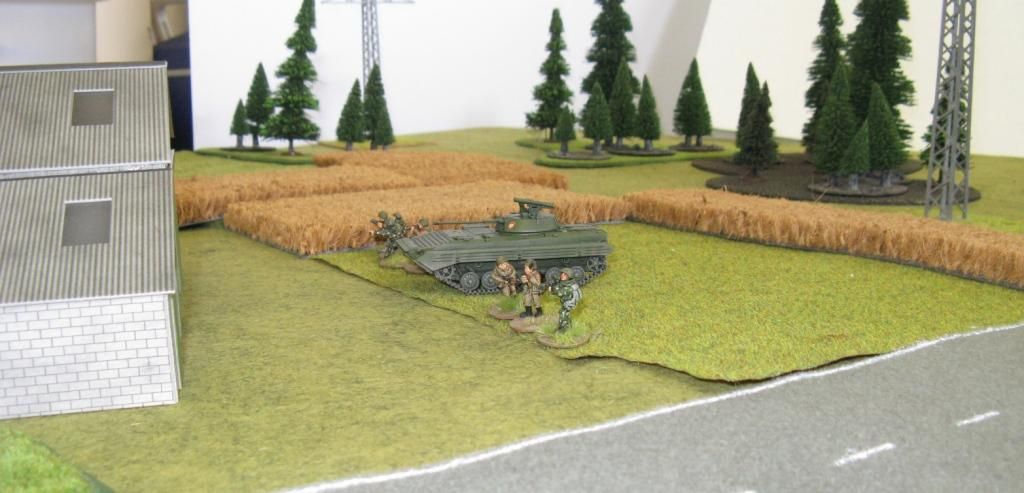
Fortunately - as you can see above, I had already dismounted my motor rifle chaps who were working their way up the flank. Here another shot of the British end of the table with my lads way off in the background.
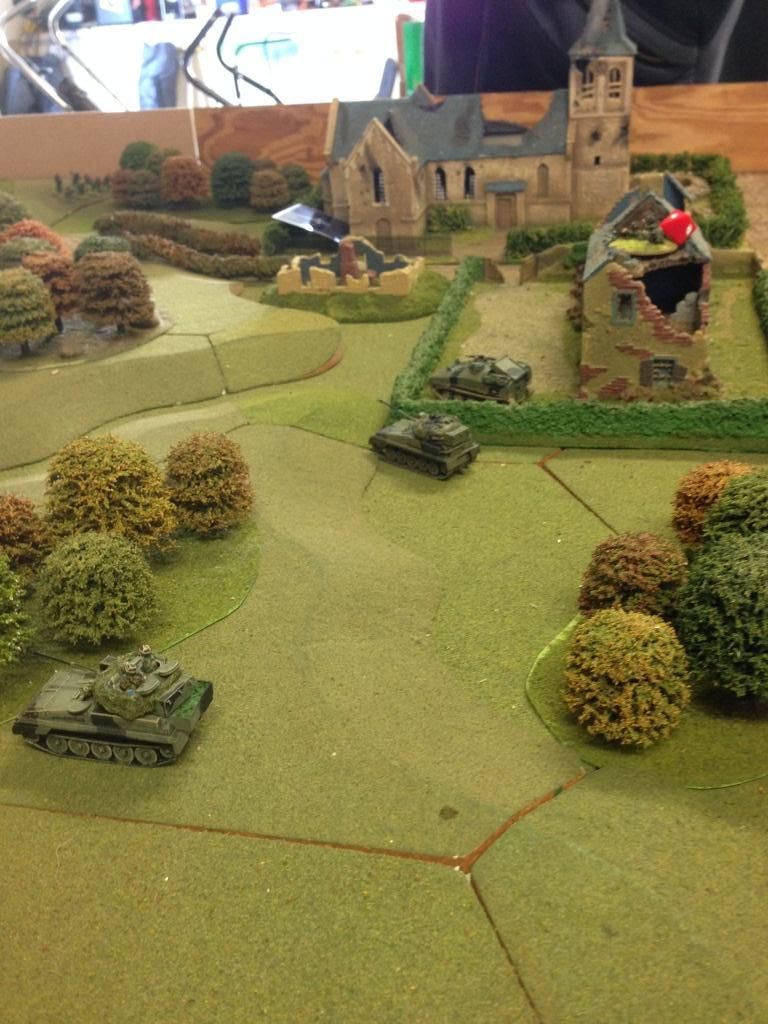
Same point in the battle from another angle
You can see another 2 hidden markers in the background.
For whatever reason - I probably thought the road was too heavily defended - I moved my BRDM-2 into the centre of the table with the surviving BMP.
Again the infantry dismounted, taking with them the BMP's AT-5 ATGM.
This was able to take out one of the Scimitars, while the BMP killed the final member of the Remote Team, forcing the Striker to withdraw.
Things were starting to swing the way of the Soviets.
The BRDM-2 made a mad dash through the deserted town to reach the bridge (which marked the end of this part of the table.
The Brits decided to take a bit of revenge on a poor innocent BMP squad hiding in a building.
Two turns of firing a 30mm Rarden cannon into the building turned my squad into red mist... However, it did give the remaing BMP-2 the chance to disengage in the centre of the table and move towards the town.
And the next turn both the BRDM-2 and BMP-2 had made it to the bridge (which looks remarkably like Pegasus Bridge?).
I'm not sure how the dismounts felt, but imagined that at this point the British had been outflanked and so withdrew to the Northwest.
So the first real test was over. Things had all worked smoothly and I was now ready for the next, bigger game a couple of days later.
Stay tuned...
Richard
28 April 2014
29 March 2014
FV432s (and more) finished...
So the latest Guild group build (part 1 of a year long build) finishes tomorrow and I managed to finish my entry today.
Basically I have completed 2 FV432 platoons and 2 CVR(T) Strikers. These have been painted in my standard way - as explained in the previous Work-in-Progress posts here. The only real difference with my previous British cold war kit is that I used the PSC British Armour spray as a base coat - and I used Vallejo Pigments and Binder to complete the vehicles today.
If you want to be picky, you could say they are still kind-of unfinished as I've yet to put decals on - but that may never happen so I think they are pretty much done.
Less chat - on with the pics!
"A" Platoon
"B" Platoon
These are all Britannia FV432s, fairly extensively stowed and 4 of them have had S&S Models Peak Engineering Turrets added. All the figures are also Britannia and come with the vehicles.
As I said I also finished 2 S&S Models Strikers:
Put everything together and this is what you get:
That's it for now...
Thanks
Richard
23 March 2014
1st crack at a Solo game
I've been fiddling around with some Cold War rules for a while now and thought it was time to put up a table and have a little crack to see how they go. No details here yet, just thought you might appreciate some pics:
This is the table layout - pretty simple really.
A close-up of the supermarket and the farm
NATO deployment - 2 were dummies, 1 real unit. I randomised it so I didn't know which was which.
A recce BMP-2 enters the table. I also randomised the Soviet entry point for both the BMPs that made up the small Soviet force. The 1st came on to start the game, the second would arrive at a randome turn - a 6 on a D6 for turn 2 - 5 or 6 on Turn 3 etc.
The M3 Bradley CFV reveals itself - thus also revealling that the other 2 markers were dummies
Soviet infantry dismount behind the farm....
... and the infantry rapidly moves through the empty barn.
Meanwhile the Bradly has moved behind the supermarket to engage the second BMP-2, which of course arrived on Turn 2. Looks like it's all over for that BMP.
But alas - it has taken the Bradly too long to destroy the second BMP-2 and meanwhile the first BMP and it's dismounts have manoeuvred onto the CFV's flank.
The RPG gunner takes aim and shoots...
... and the result was never in doubt...
I played the game through again - and proved to myself that in close country, 1 unsupported Bradley CFV cannot match 2 BMP-2s with infantry - especially the way I roll dice!
So - very first test complete - not exactly 100% sure what I learnt - but it was kind of fun and I'll be much better set up in the next 2 tests which will be coming soon.
Next - Back to FV432s...
Thanks
Richard
22 March 2014
Sad day at the workbench
After 15+ years of great service my lamp died - partly the reason for a lack of progress recently - and I've been finishing off some other things...
It's not quite meant to hang droppy headed like that. In desperation I took it to an elderly friend who likes a mechanical challenge and after a week he returned it to me - almost as good as new. I'm very chuffed and was straigt back into painting some little things I can't see without the magnifying glass in the lamp.
Happy days are here again!
Proper post on Monday - see you then
Richard
25 February 2014
FV432 Progress Part 3
Thanks for all the kind words thus far - the end is almost in sight for at least some of these FV432s.
Things did not happen quite as "shortly" as I expected in my last post, largely as I had anticipated doing the spray coats over the weekend. I seemed to have forgotten you actually need spray paint for that to occur. A teeny hole in my cunning plan.
So on Monday I popped down to my LGS and picked up a can of Army Painter Black Primer and a can of Plastic Soldier Company British Armour spray.
Not terribly exciting pics - but there they are anyway...
24 hrs later - on went the blu-tac stripes:
And then the base colour spray coat:
This is what they look like now - with the blu-tac peeled off. You may have also noticed a couple of S & S Strikers also made it into the photo.
I had hoped to get all my FV432s done in February, but time is against me so I decided to limit the work to these 8 plus the Strikers.
Next up - blacklining...
Thanks again
Richard
21 February 2014
FV432 Progress part 2
Progress continues - and all the Britannia FV432s are now ready for painting.
Here what they look like right now - prior to undercoating...
Another update shortly.
Thanks
Richard
Here what they look like right now - prior to undercoating...
Another update shortly.
Thanks
Richard
16 February 2014
FV432 progress
Today I thought I quickly post up some photos of the progress I've been making with my FV432s. Best news is that my Peak Engineering Turrets arrived on Friday (6 days from the UK!) so I was very chuffed and decided to crack on with the FV432s over the weekend.
First up I had to finish off the driver's hatches that I was working on in the last WIP post. Probably not the best example, as it needs a little green stuff work - but here is the finished conversion:
I also had to grind down the main roof hatch to form a space for the Peak turret to fit. I ended up using a mouse sander to carefully take of most of the hatch and after some more sanding and filing was left with this:
As you can see - a bit of the detail on the roof side and rear was lost but most of that will be covered up with stowage. Poles here for example.
Of course the S & S models Peak turret base was much smaller than the resin circle I had left over from the sanding (forgot to take a pic here). So after some creful work it looked like this:
And this
Next step was to work on some green stuff tarps. I'm pretty hopeless with greenstuff - but this is how they turned out:
As you can see I've added fascines to some of them. In the future it will help identify oneof the platoons.
Here's another example with the Peak turret:
And another one:
I'm very happy with the Peak Engineering turret. Sure it took a bit of work - but it is lovely and really makes the model.
Next up I have to carefully go over each model and start filing in all of the air holes - and there are plenty of those.
Have fun
Richard
Subscribe to:
Posts (Atom)


