Yes - I know - what an idiot - can't concentrate on one thing and get that done properly - always after the next shiney thing... yes, that pretty much sums up my approach to Cold War model making and army collecting. One day I'll have to create a list...
Anyway - I've been wanting to do a range of small projects - similar in size to my slowly progressing Berlin Brigade project - a couple of tanks (max 1 troop), a platoon of infantry (or 2), couple of recce vehicles and a tiny bit of support - enough for some small Cold War game.
When I stumbled across a couple of (very) old Airfix Centurion kits hidden in a mate's rather extensive stash, I knew exactly what I wanted to make with them. Danish Centurion Mk 5/2 DK's. They look like this:
In this photo you can see a few differences to a standard Centurion. Prominent next to the barrel is the laser ranger finder and passive night fighting equipment. There is an armoured cover to the gunners sight up on the turret and beside that is a mount for a machine gun. Hidden under a cover is a set of smoke dischargers (on either side of the turret). The mantlet has a canvas cover and the turret has a large stowage basket, like this:
on the back...
This photo of a beautiful 1/35 scale model I found on-line shows the smoke dischargers in detail:
If only I could make models that look like that!
Anyway... this is my slightly dodgy attempt - with crappy ipad photos...
Not 100% crap but not 100% good either. I think once it is covered in Cam nets and painted it will look a bit better. I think the turret basket and smoke dischargers are a bit big and I got my sensors around the wrong way on the front (that's what happens when you do things upside down). But right now - until something better comes along - I can live with it.
My next Danish vehicle is a WarMaster M41 that I'll add a searchlight and smoke dischargers too. Then I'll need to get some more M113's... and some infantry... and some small Land Rovers... and....
Small project indeed!
Thanks
Richard
19 May 2015
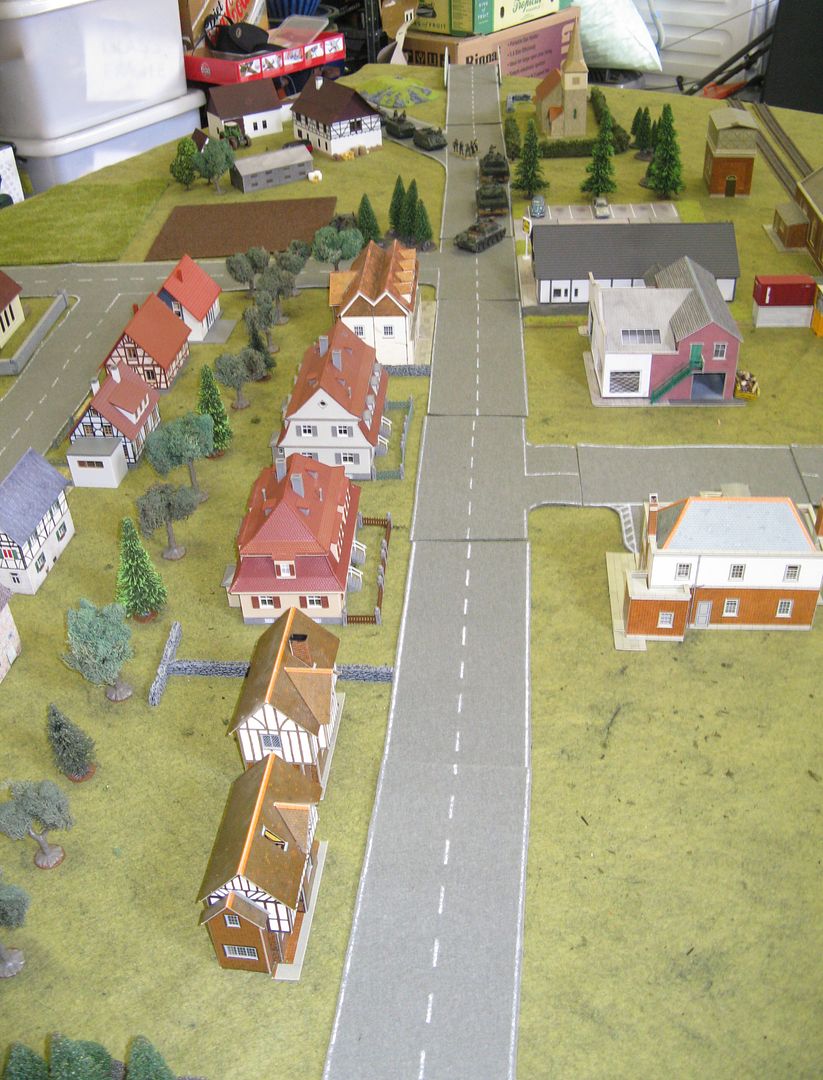
Scenes from the Cold War - The Village
A while back I completed a fair amount of terrain peices for our campaign weekend. Unfortunately, in the long run not all of it was really needed on the day - so only a few bits and peices made it onto the second table.
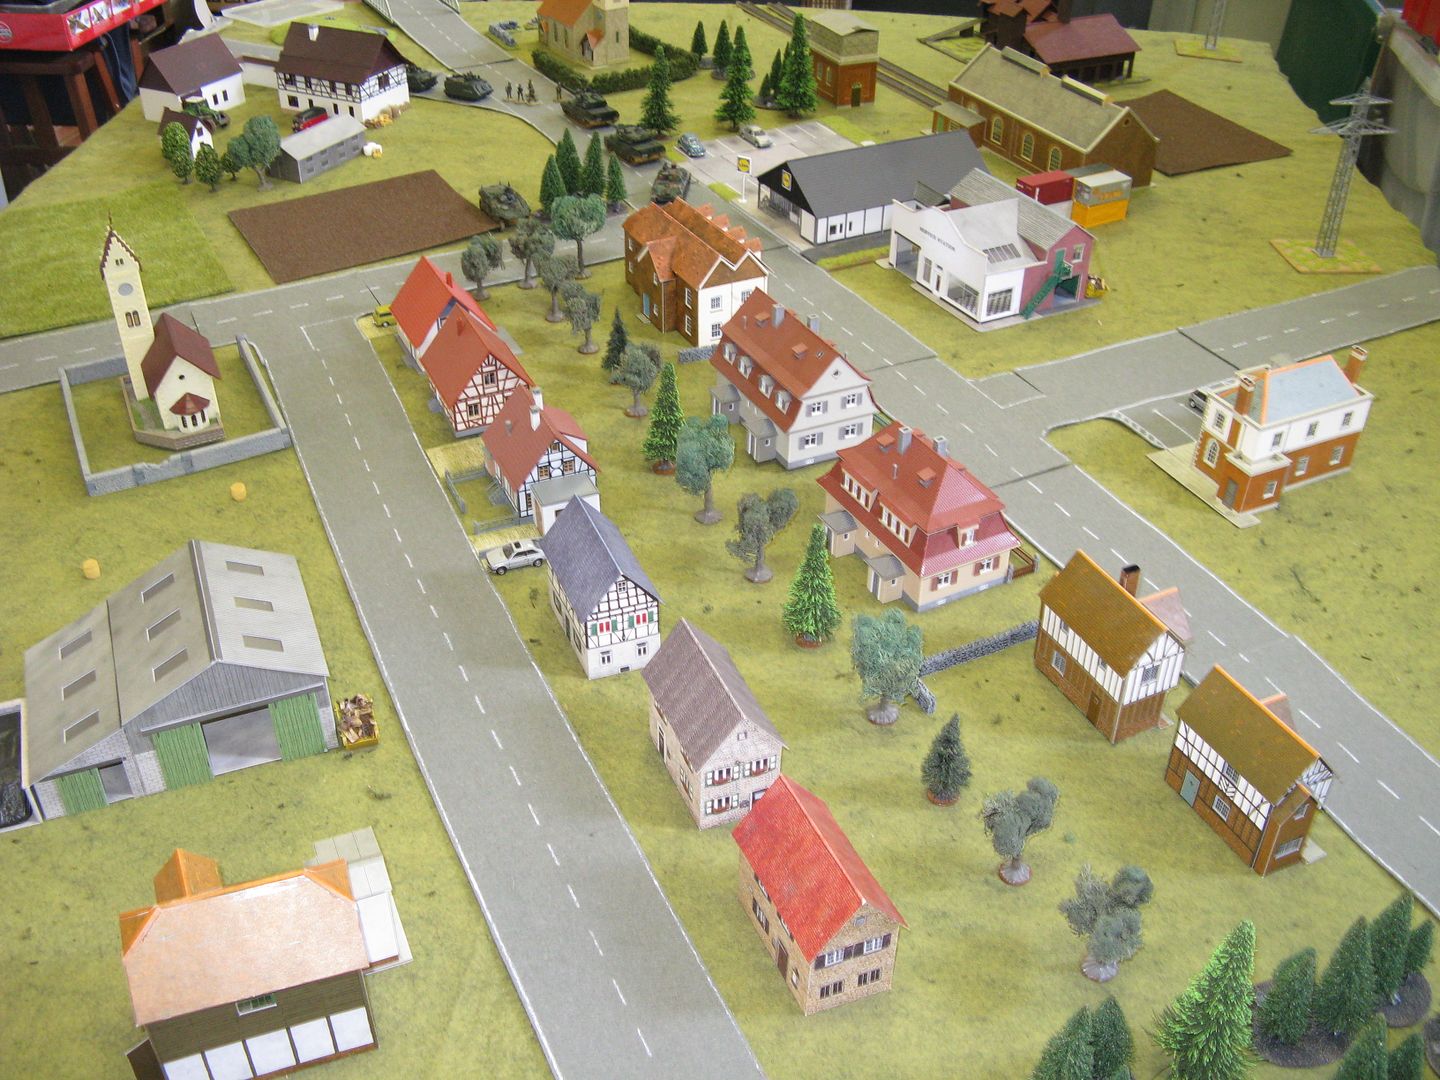
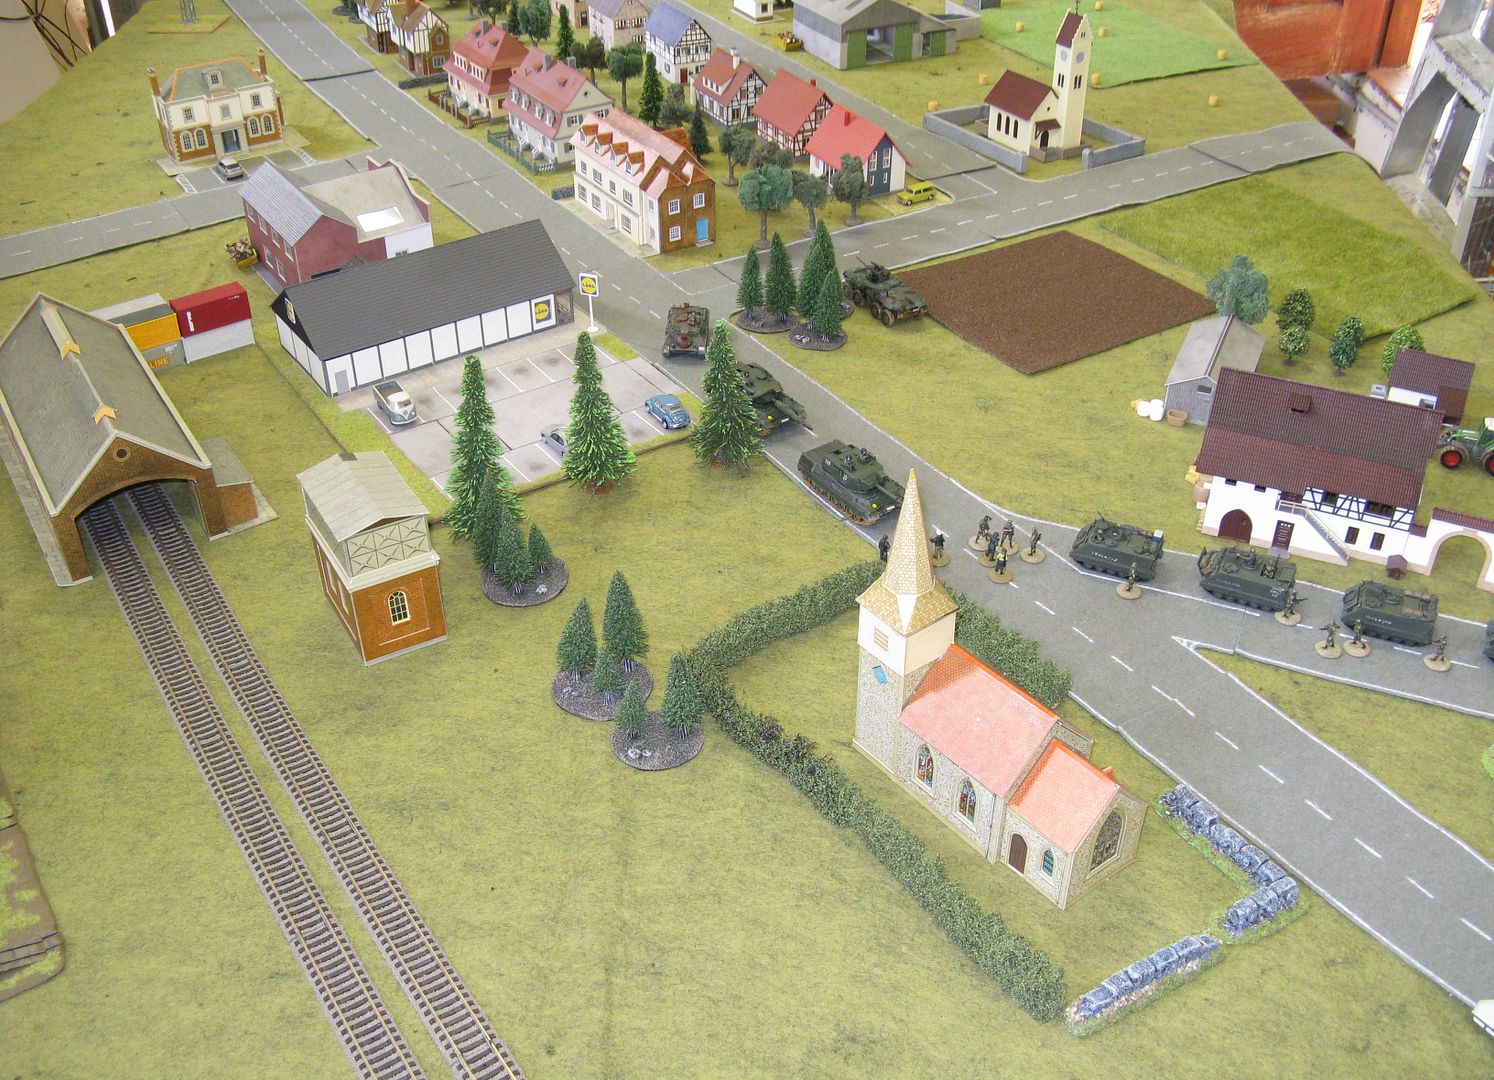
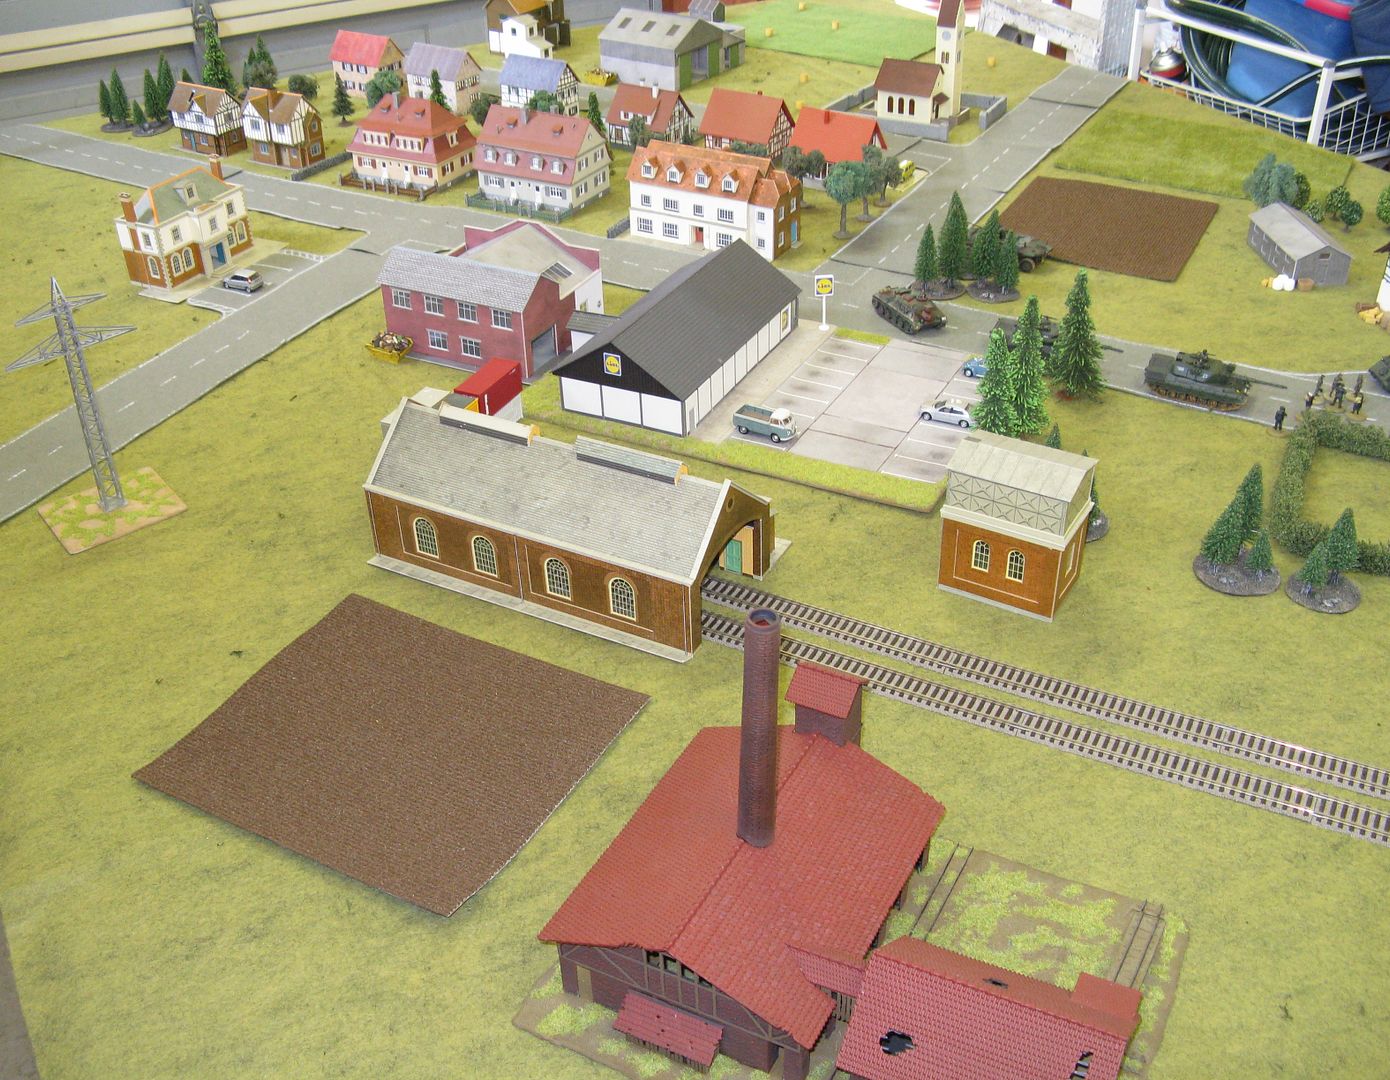
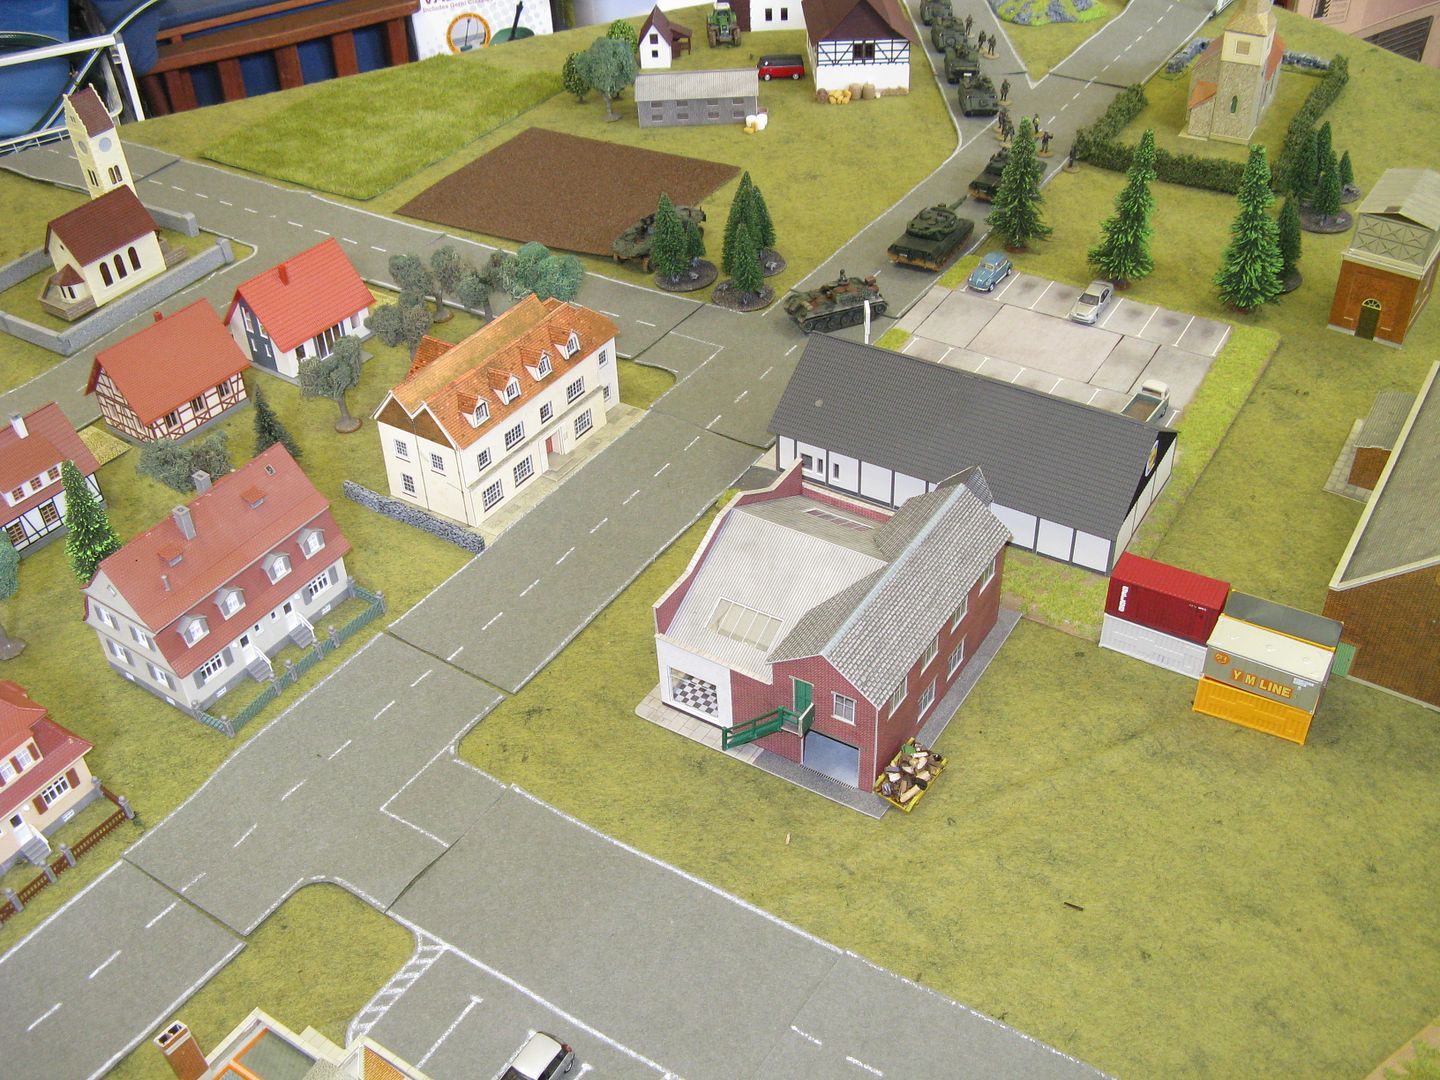
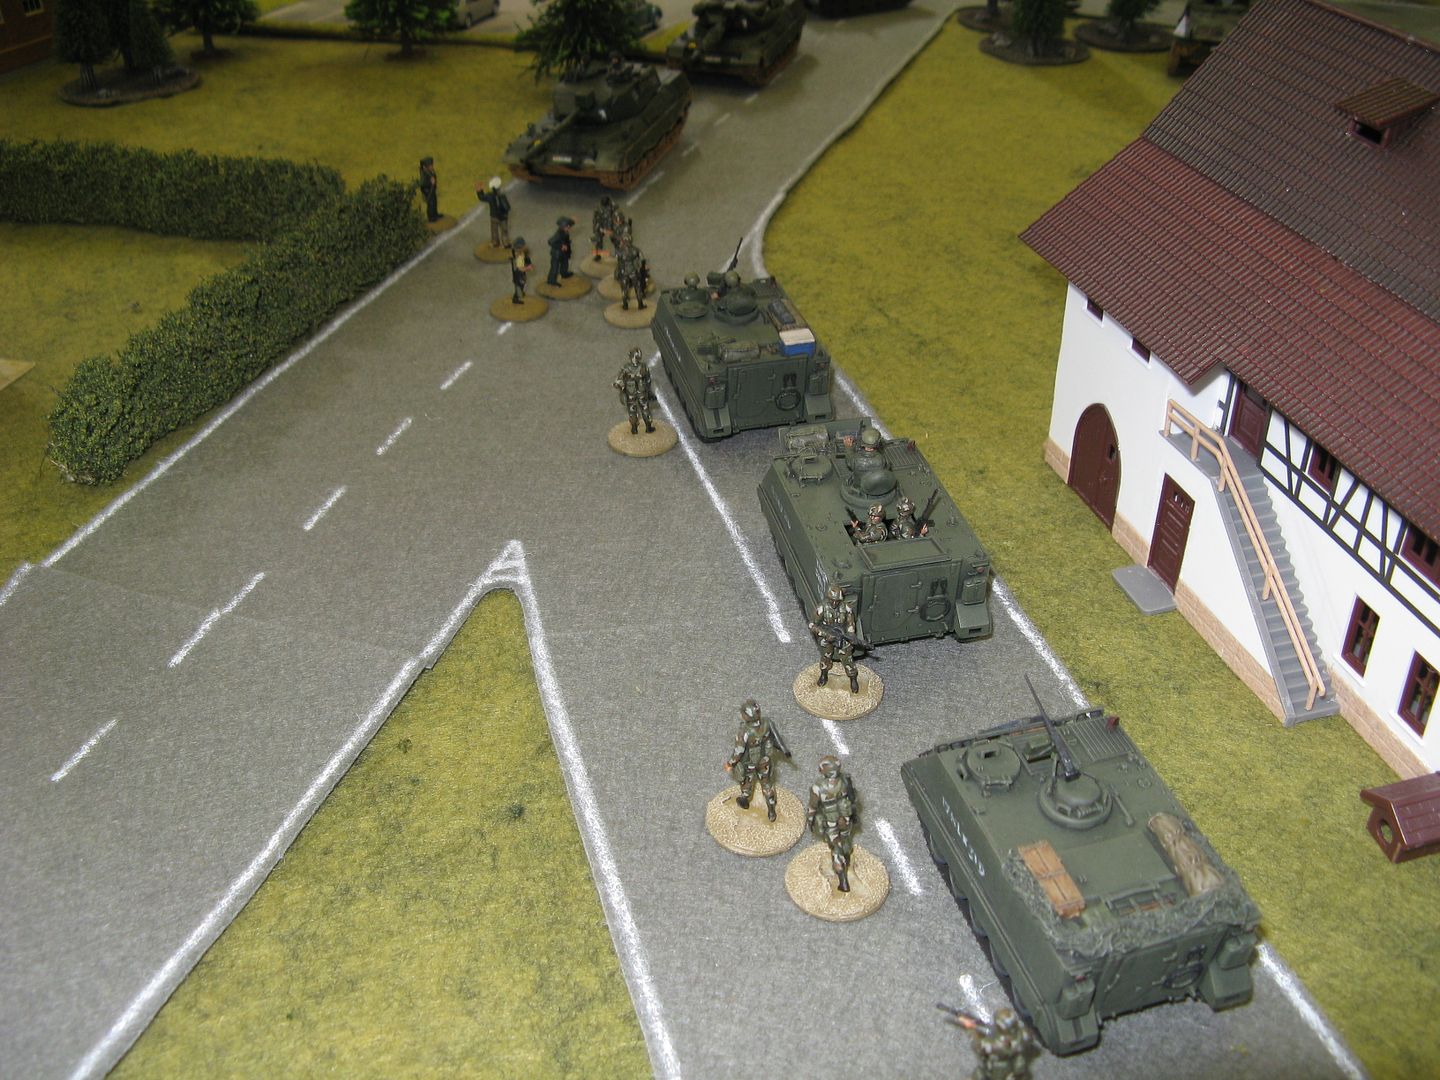
So I decided to spend a bit of time laying out a sample village table to get an idea of what I still needed to do to fill a decent sized table, and more importantly, to make it look realistic. Here's what I came up with starting with a table walk-around...
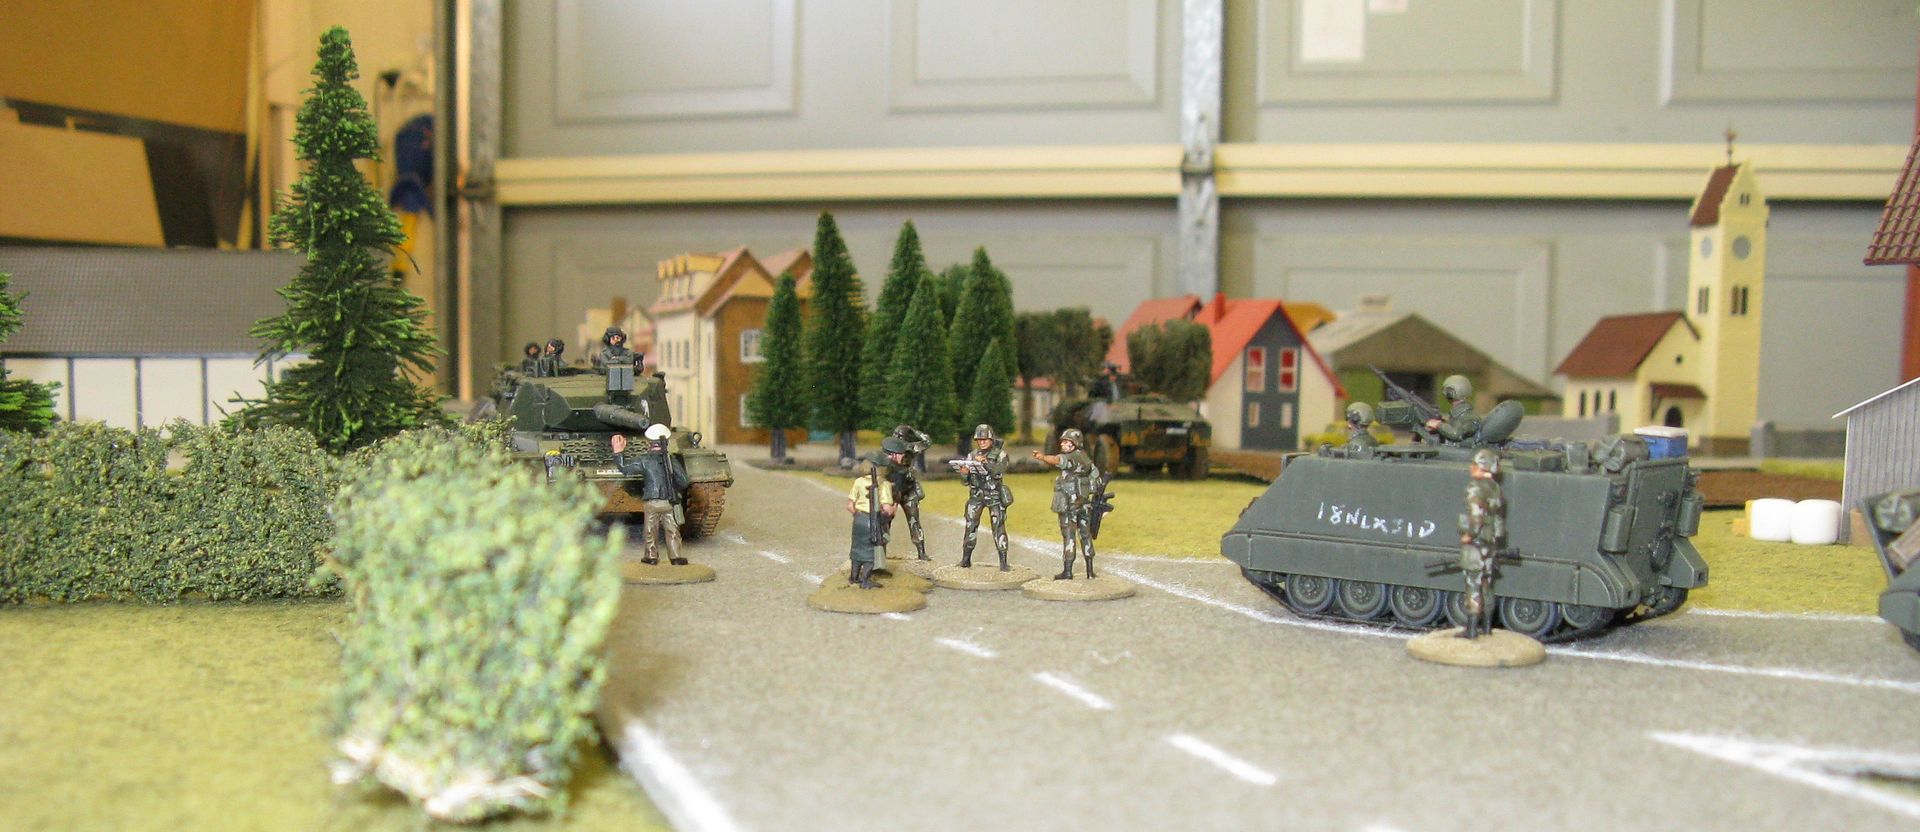
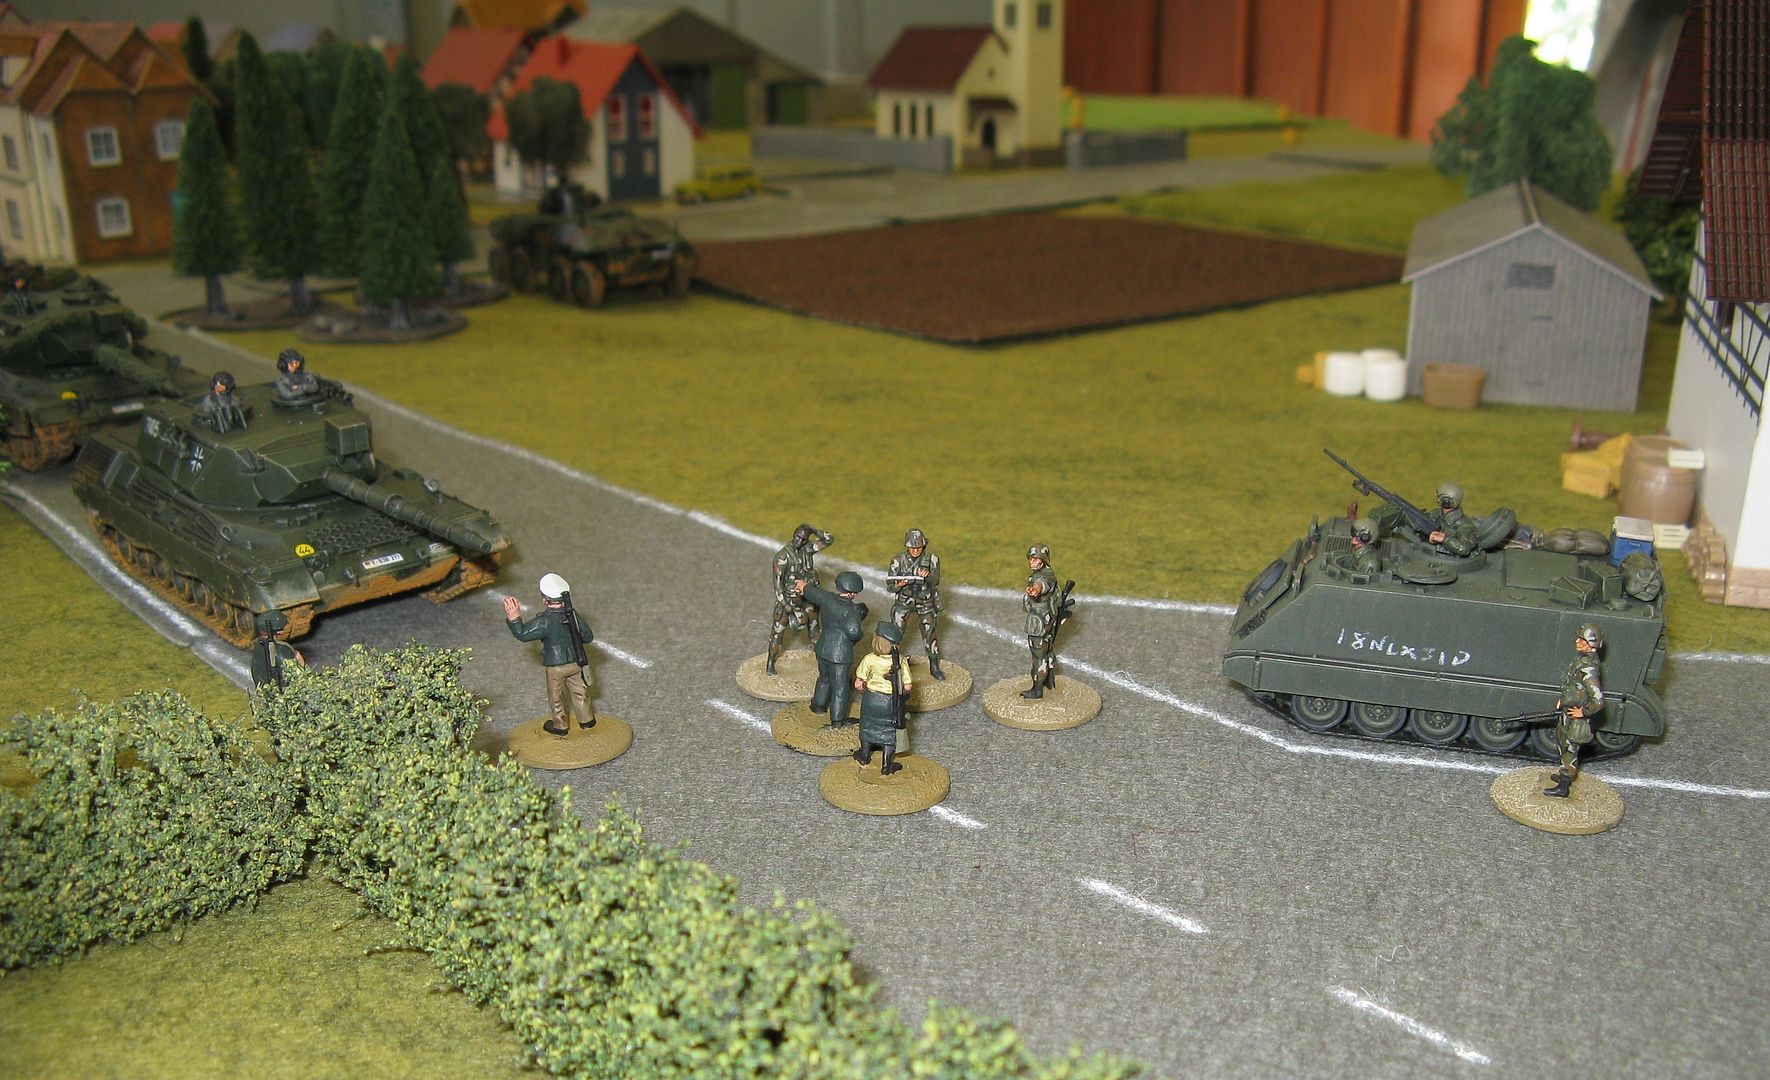
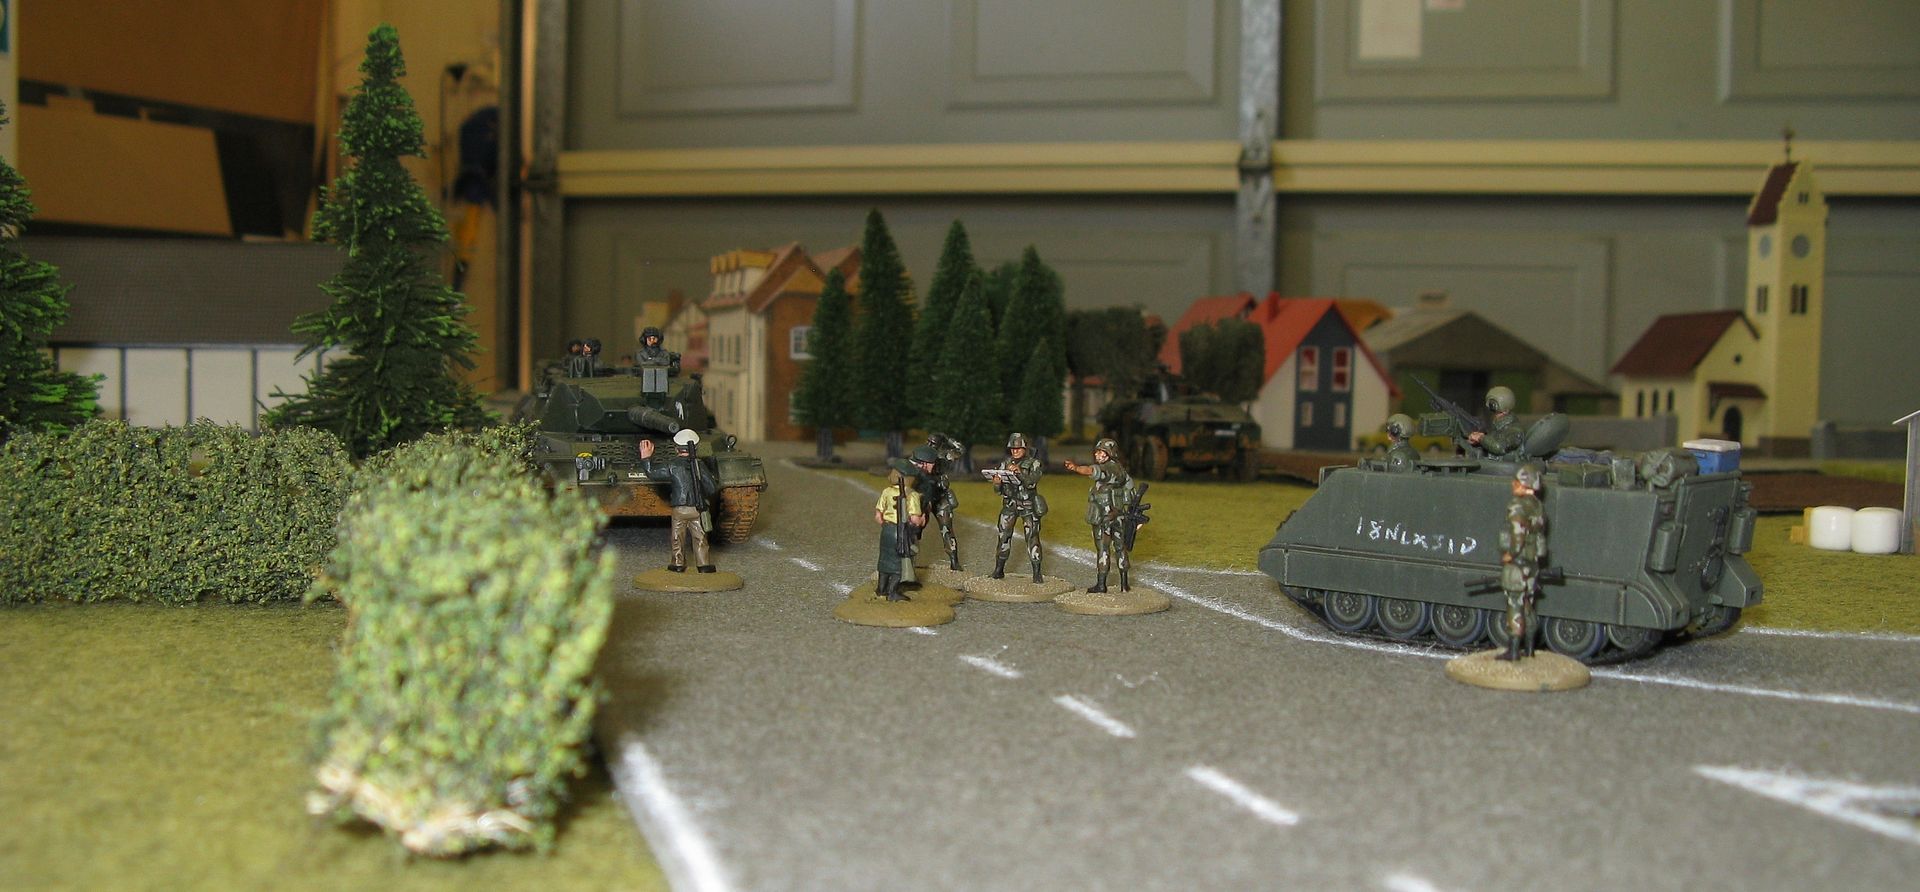
Obviously if you start throwing terrain down on a table top you also have to throw down a few figures and vehicles for a bit of perspective! So I decided to add some West German and US vehicles, plus for West German police and US infantry to the scene.
Just a bit of fooling around to be honest - but now I know I need to do some front & backyards, driveways, garages etc - all to help with getting the right look.
As always - loads to do.
Richard
17 May 2015
A Series of Quick Playtest Games
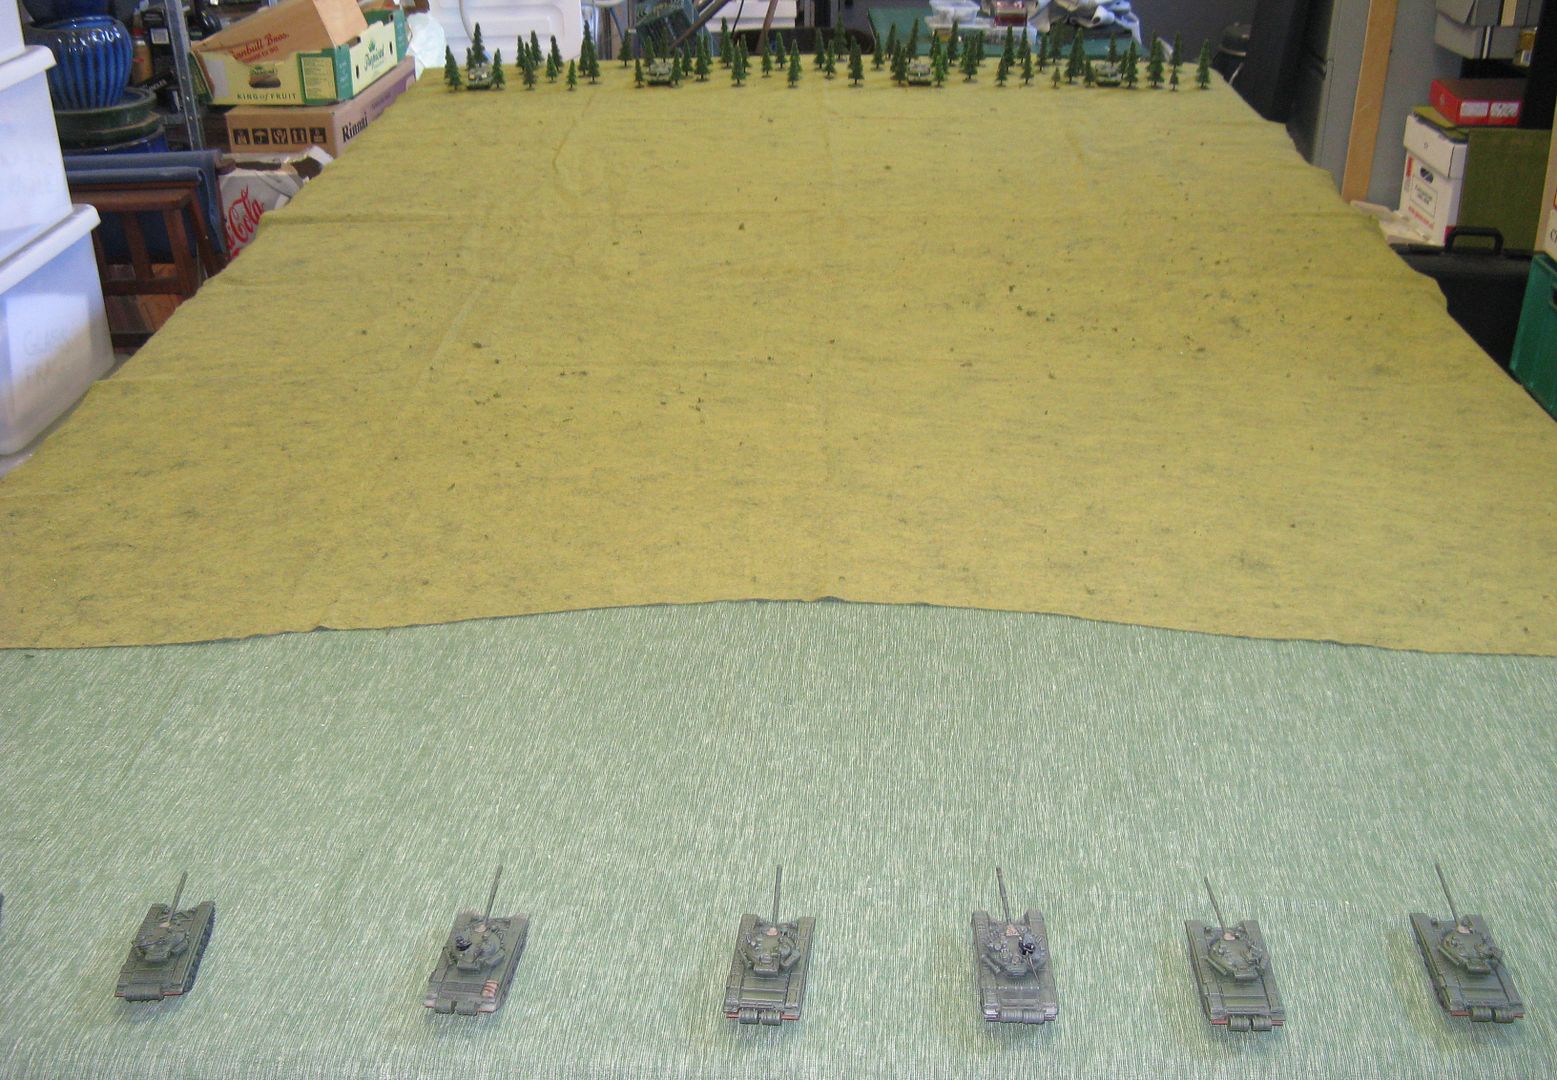
Over the weekend I ran a series of rather simplistic, solo, playtest games on a 10' x 6' table in my garage.
As you can see I put a great deal of time and effort into designing the layout of this particular test!
The basic premis was this. There is a platoon of NATO tanks (M1's in this case), in a wooded peice of ground.
They are up against a company of Soviet tanks.
In this case, a company of T-72s. These tanks would be used to represent T-64Bs, T-72B1s and T-80BVs.
Due to a range of reasons, better optics, better fire controls etc, the Soviets would be in range of the NATO guns almost as soon as they moved. However, they would have to move quite a bit to get into range to start engaging the NATO tanks. The closer they got, the easier it becomes to hit the obscured NATO tanks hiding in the woods. Of course, they closer they got, the easier it became for the NATO tanks to hit them.
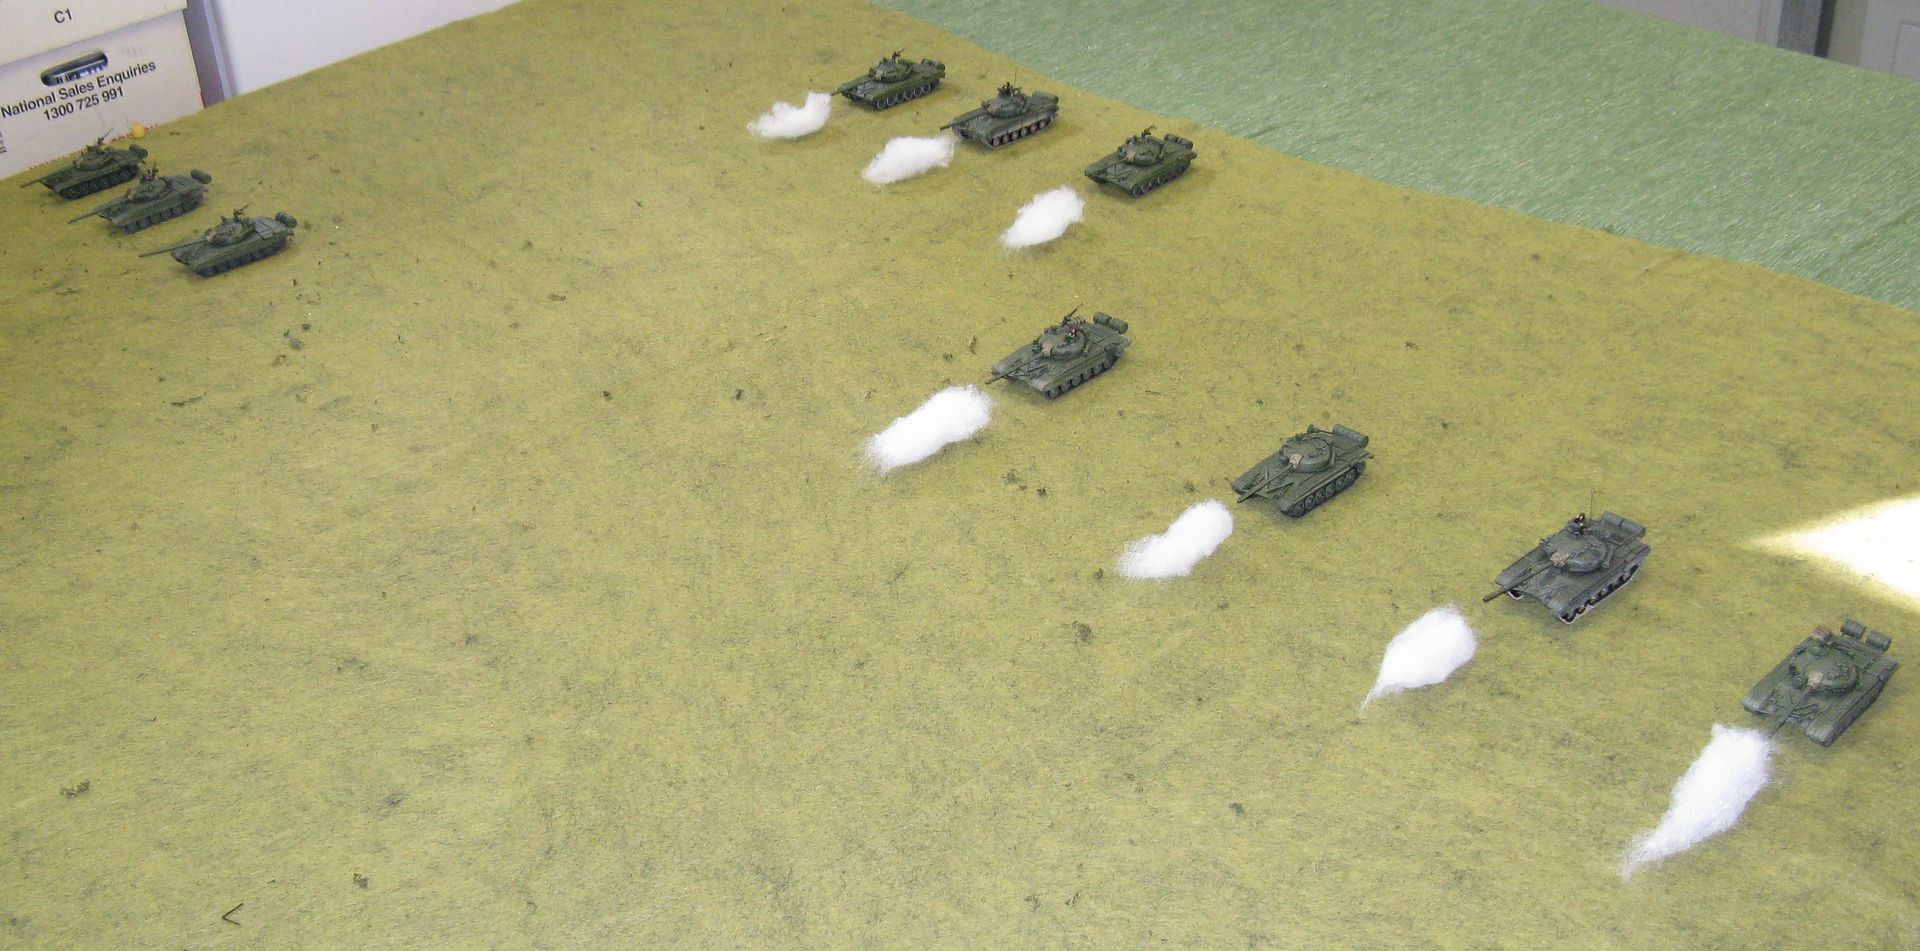
Because it was just me - playing against me - I tended to move the Soviets as platoons - of which they had 3, plus a Company Commander.
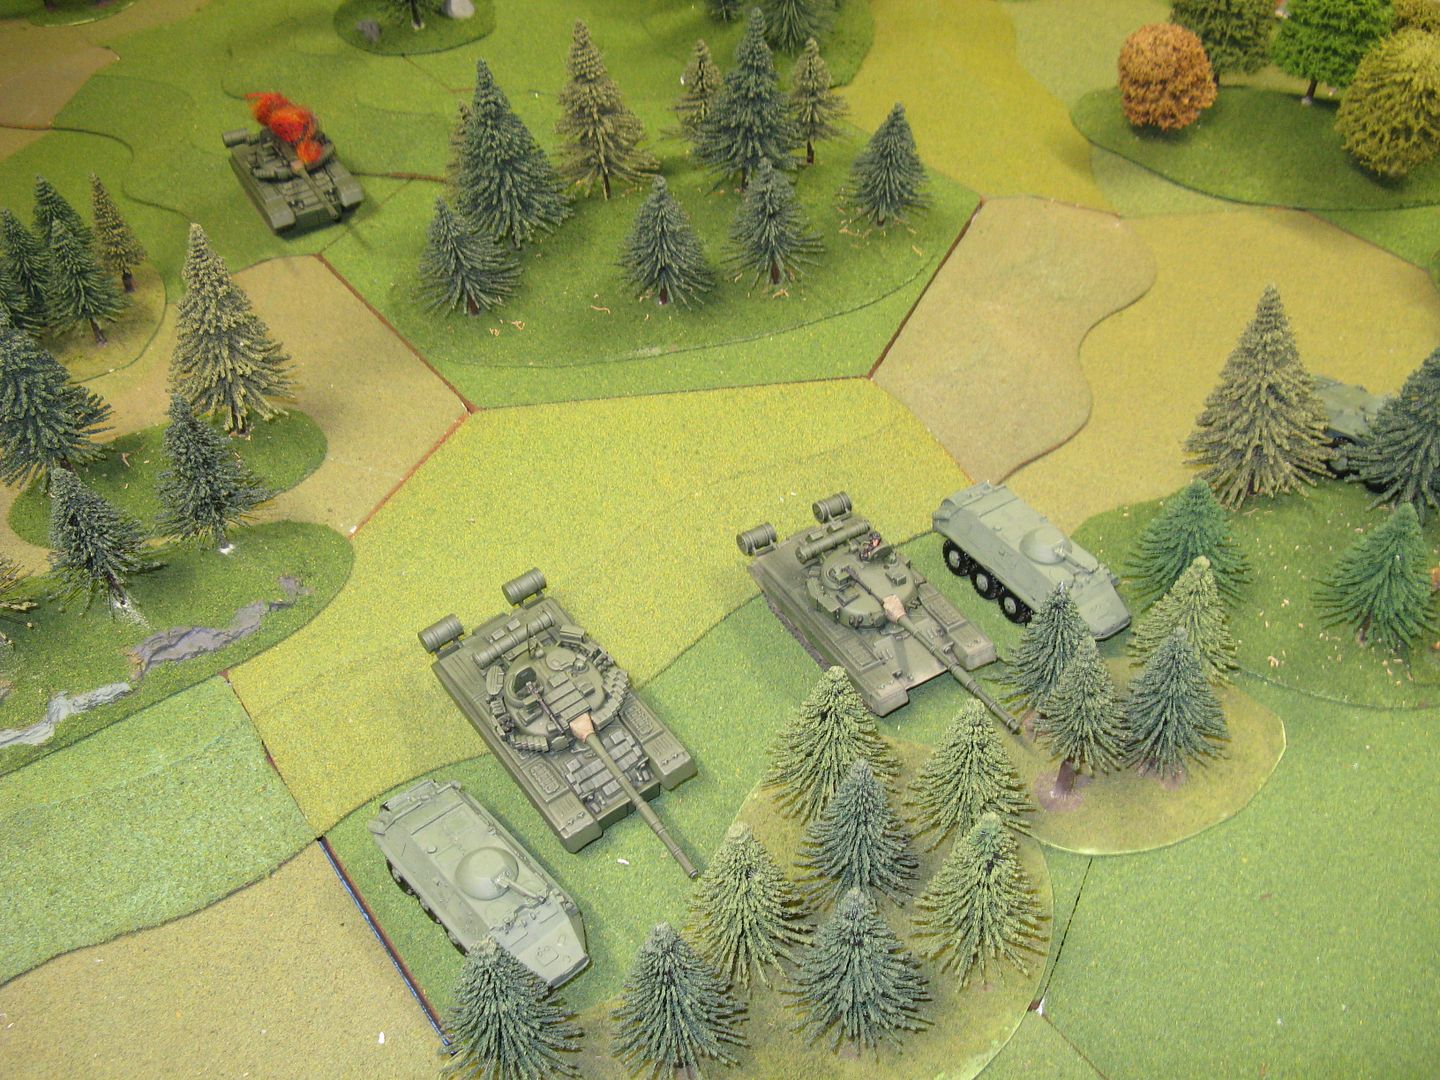
Here you can see 1 platoon (the one on the left) has made a double move and so has not fired. The next platoon to the right has remained stationery and is able to fire twice. The platoon on the far right, plus the Company Commander have done a single move and shoot.
First thing I found was I had been a bit unfair to the NATO chaps by putting early M1s with 105mm guns up against T-72B1s and T-80BVs which, at least in the case of the B1 was only coming into service in 1985. Maybe I should have used IPM1's instead...
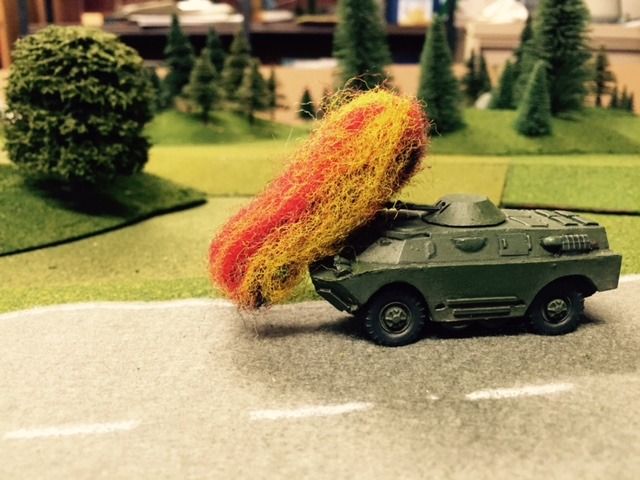
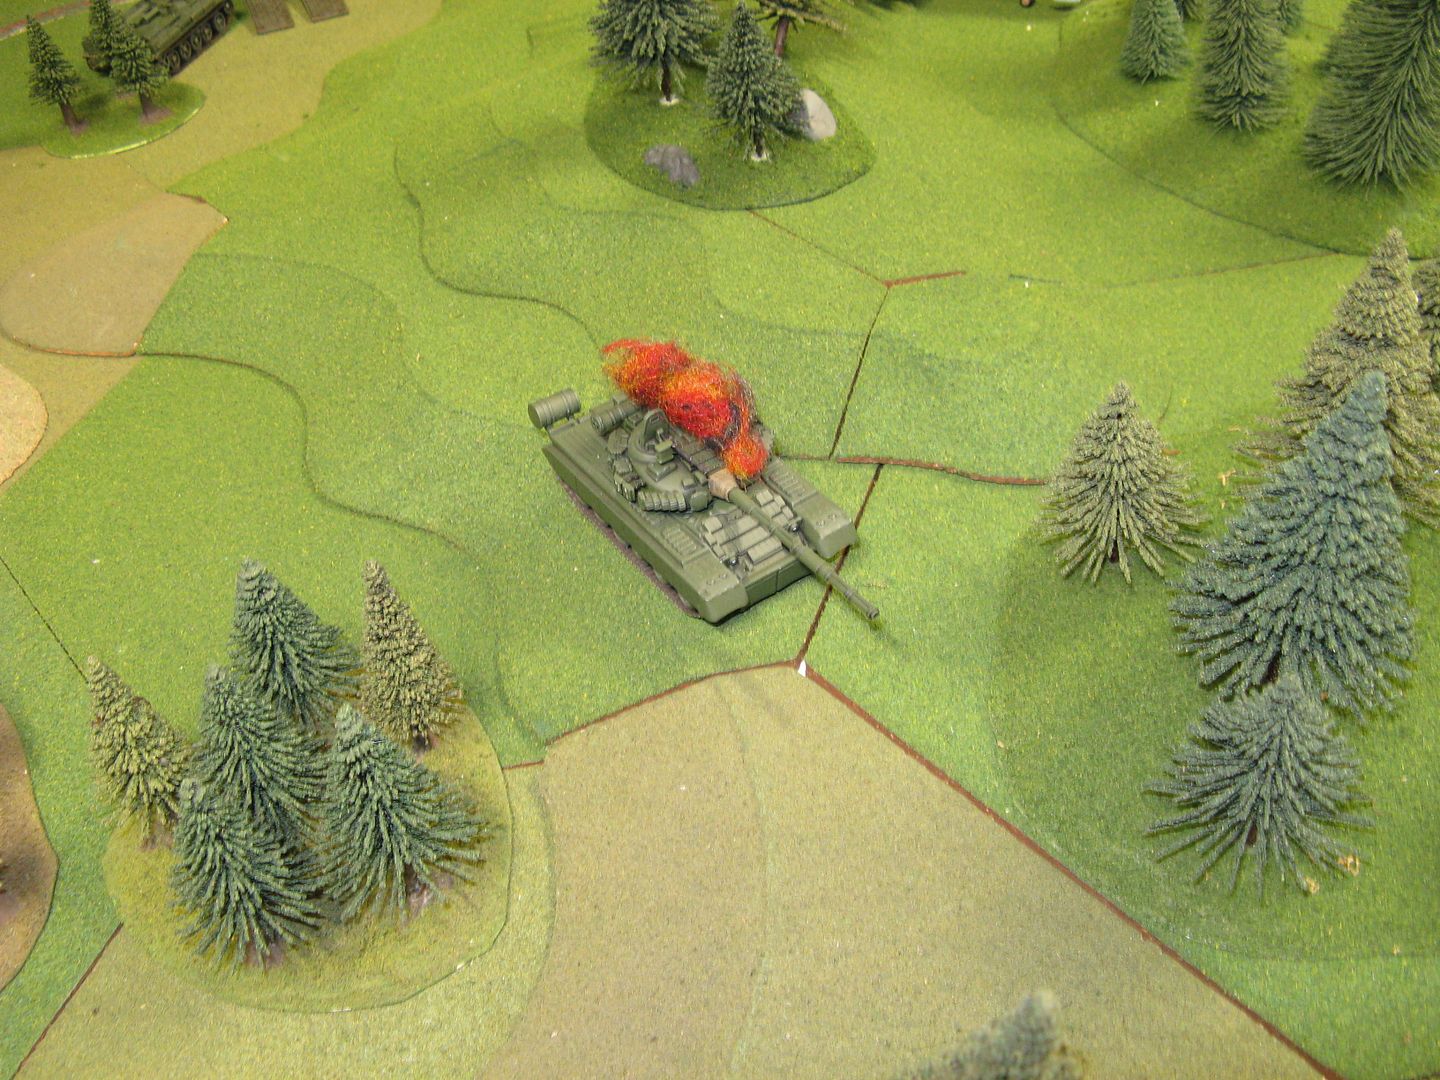
So in the first two tests, even when I gave all the M1's +1 to hit, they all died. Oddly enough (pretty basic when you think about it) 10 tanks needing 6's to hit will roll more hits than 4 tanks needing 6's to hit... Doh! And a hit from a 125mm cannon is generally enough to create this:
Yes I know it's an M1A1...!
I have read that tests conducted by the Americans (after the end of the Cold War) proved that the M68 105mm gun was incapable of penetrating the T-72B1 Super Dolly Parton at range. I'm not sure how true that is - but I had blithely arranged my stats to match that andin the two games ran through, the M1's managed no kills, and at best several pins on the T-72s.
Things turned out rather different in the next two tests. Check out the difference. T-72 B1s:
versus T-64Bs
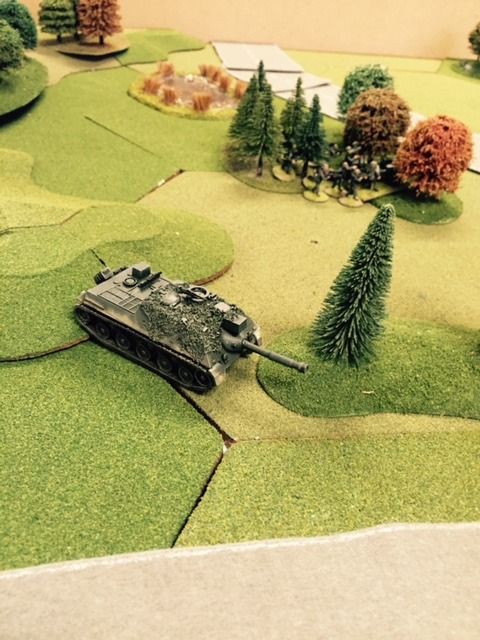
Even with my bad rolling, the old 105mm gun was killing stuff! Right up the back of the board! This was a bit more like it. Mind you, it wasn't all one way traffic.
I randomly selected a T-64B platoon to be equipped with Kobra ATGM. Each time they went to fire there was only 2 tanks left in the platoon. Kobra's scored 4 hits over two games, with Chobham protecting the M1's 3 times out of 4. Turns out it's slightly easier to hit at long range with a Kobra, but not such a great chance of a kill. (This is as my rules currently stand...)
So the M1's managed to win one game versus the T-64 company... and lose one...
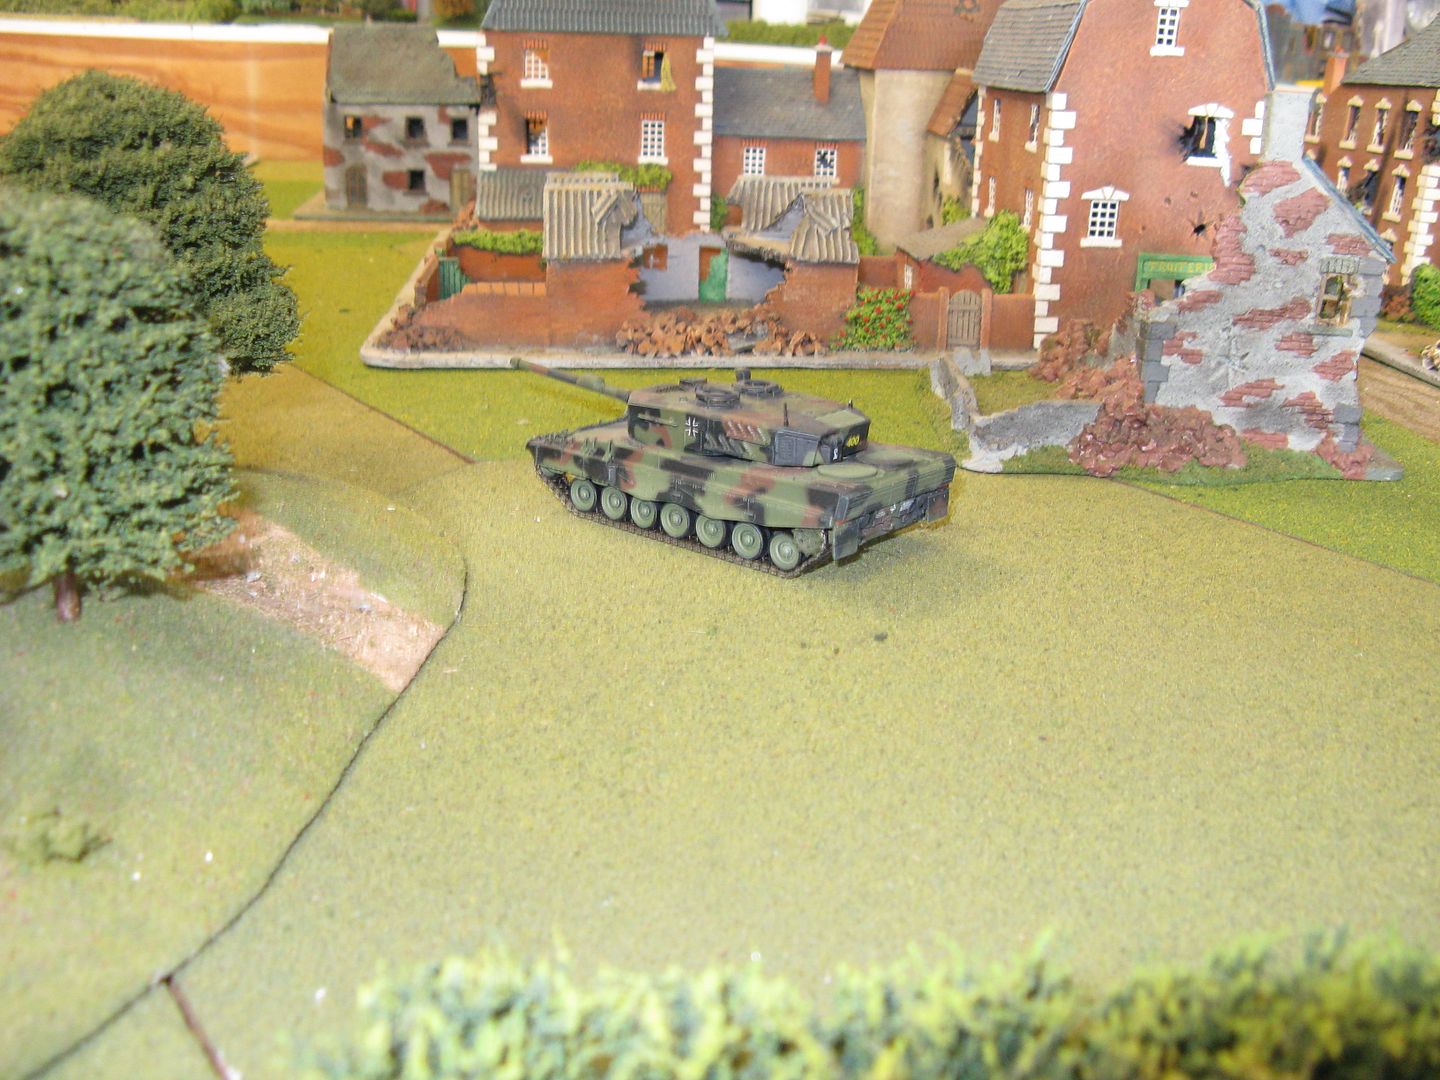
Next up were a couple of games where NATO took 4 Leopard 2A1's instead. With a much better gun, 4 Leopard 2's were able to defeat the T-64 company with just one Leopard having a little scratch in his paint work. It took them 4 turns to knock out 10 tanks.
The T-72 B1s were a little tougher taking one more turn to eradicate, with 1 Leopard being pinned for a turn during the game.
Mind you the dice were running hot for the Soviets in the first few games and switched to NATO as soon as the Leopards turned up!
As it was, these were interesting tests - but not real games. It would be pretty dull for both sides to play on a table like this and in a game like this - but still, I think it was worth doing for me to get a sense of things.
Anyway - that's it for now. More testing to come...
Richard
11 May 2015
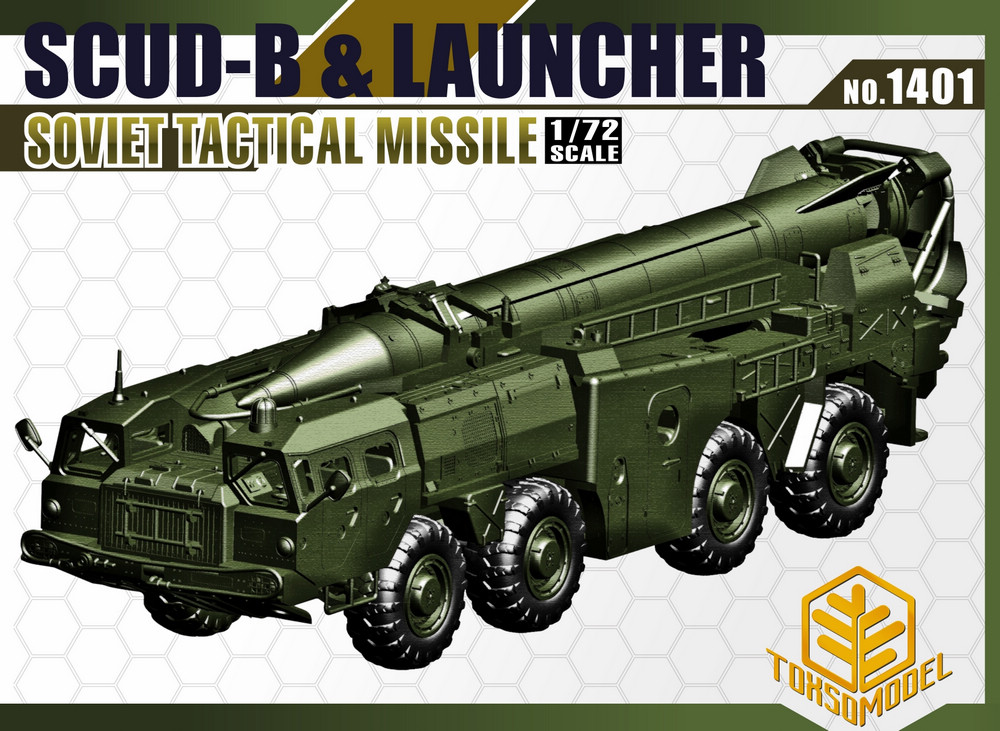
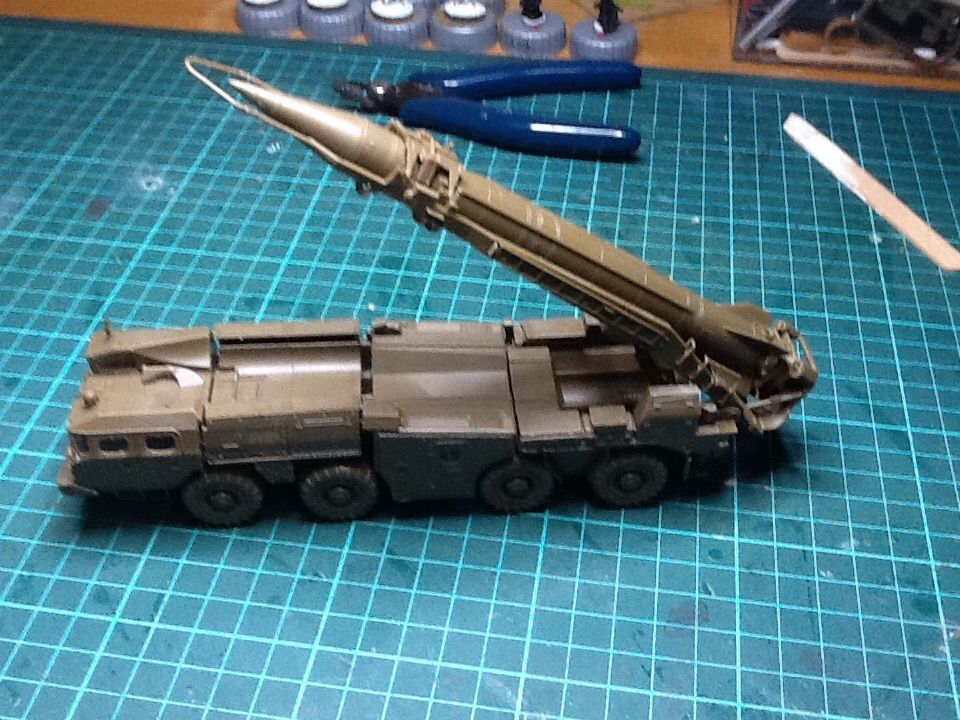
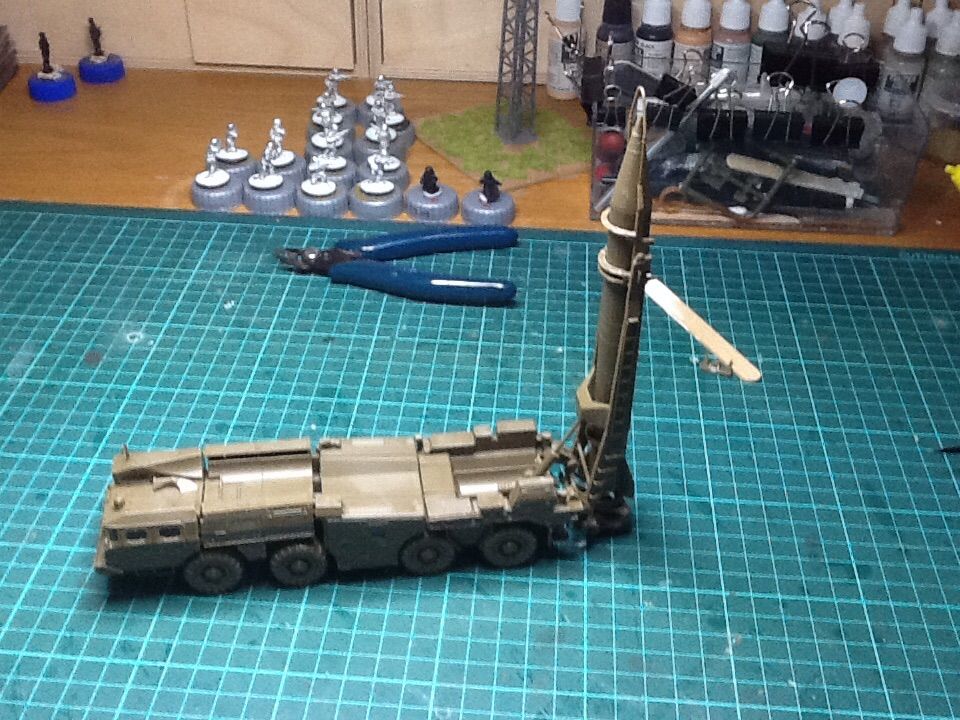
Review - Toxso Model - Scud B and Launcher
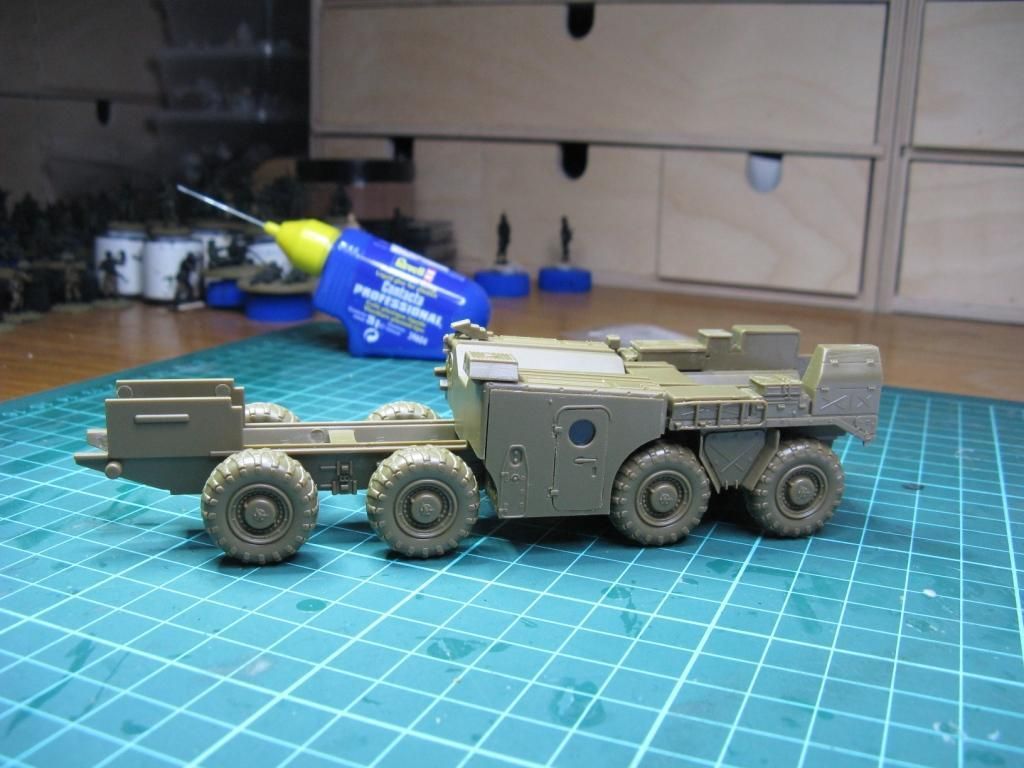
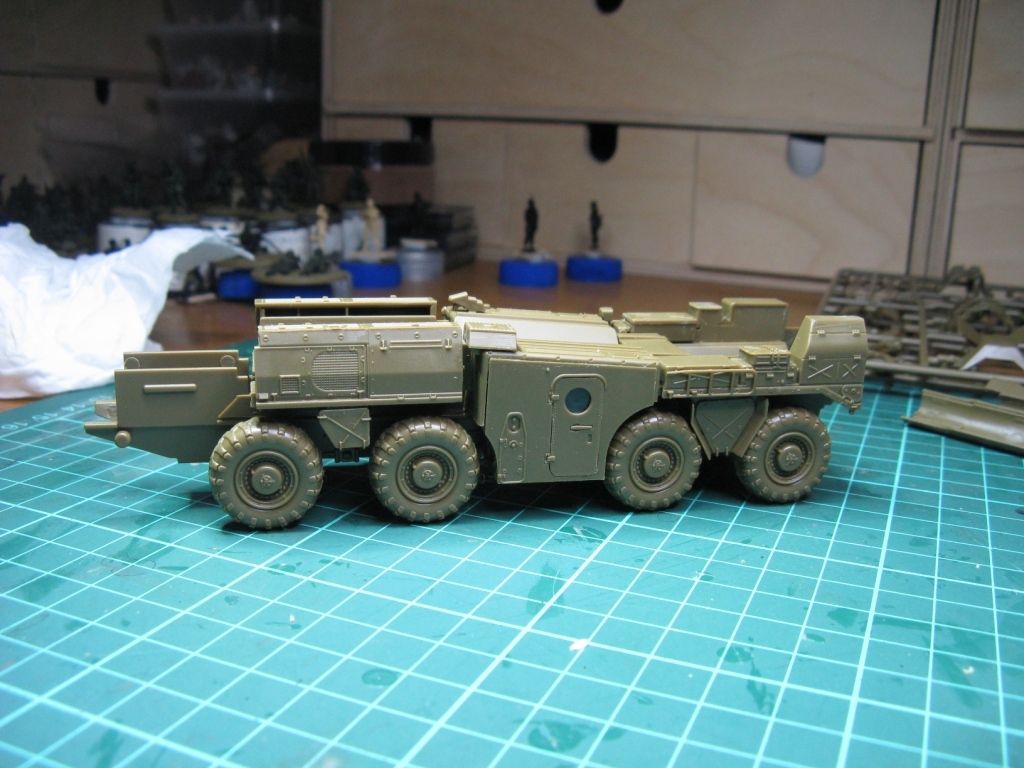
Time for a quick review. Recently I was asked by a friend to build and paint a Toxso Model Scud B missile and launcher for him. I'd heard of Toxso and seen some photos of the finished model - so was keen to give it a go.
Opening the box and it all looked a bit daunting but I slowly started to work at it and put it together and surprise, surprise - it was a joy to build. It's an incredibly well designed kit, very clever and full of details.
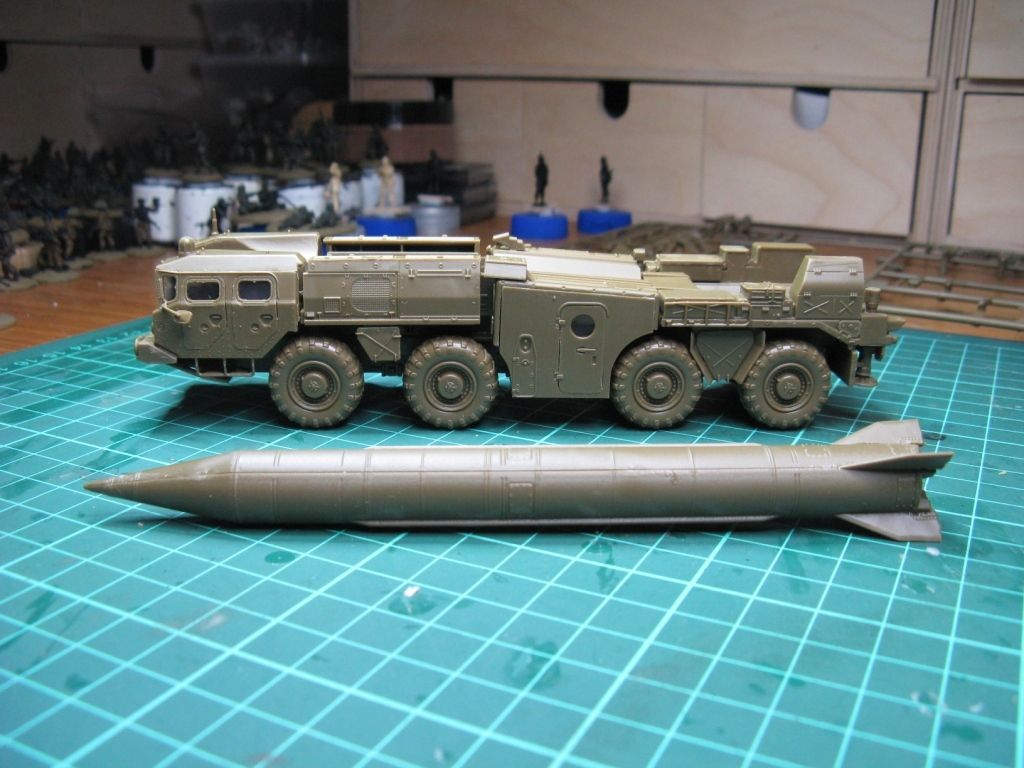
Once you've made the chassis and added the wheels, the rest of the launcher or TEL, goes together in neat little sections.
The missile is also nice and simple. It was so easy to build I would almost classify it as a "fast build" kit.
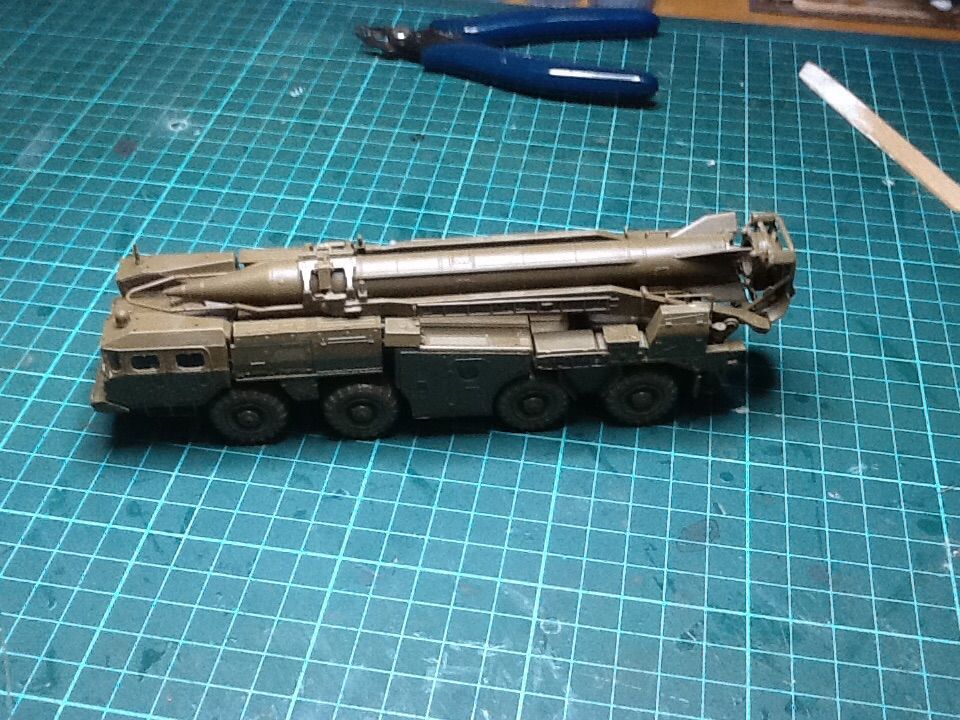
What's really clever is the launch platform. I think this is super cool.
Sorry for the dodgy ipad pics. As you can see it can be modeled in a variety of positions.
I can't get over what a great kit this is - I must now get one for myself! I've also got to create a little Scud hunting game as well!
That's all for now
Thanks
Richard
03 May 2015
Road to Hünfeld - Game 3 - Part 2 - The actual game...
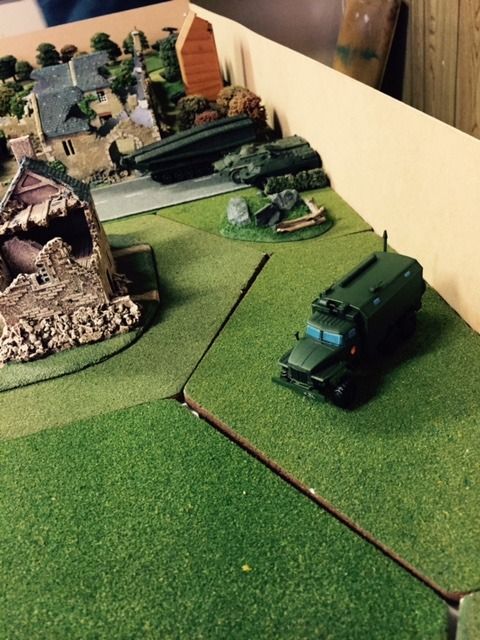
And so the game began...
First onto the table for the Soviets were the recce survivors of Game 1 & 2 - the motorcycle combination and a BRDM-2
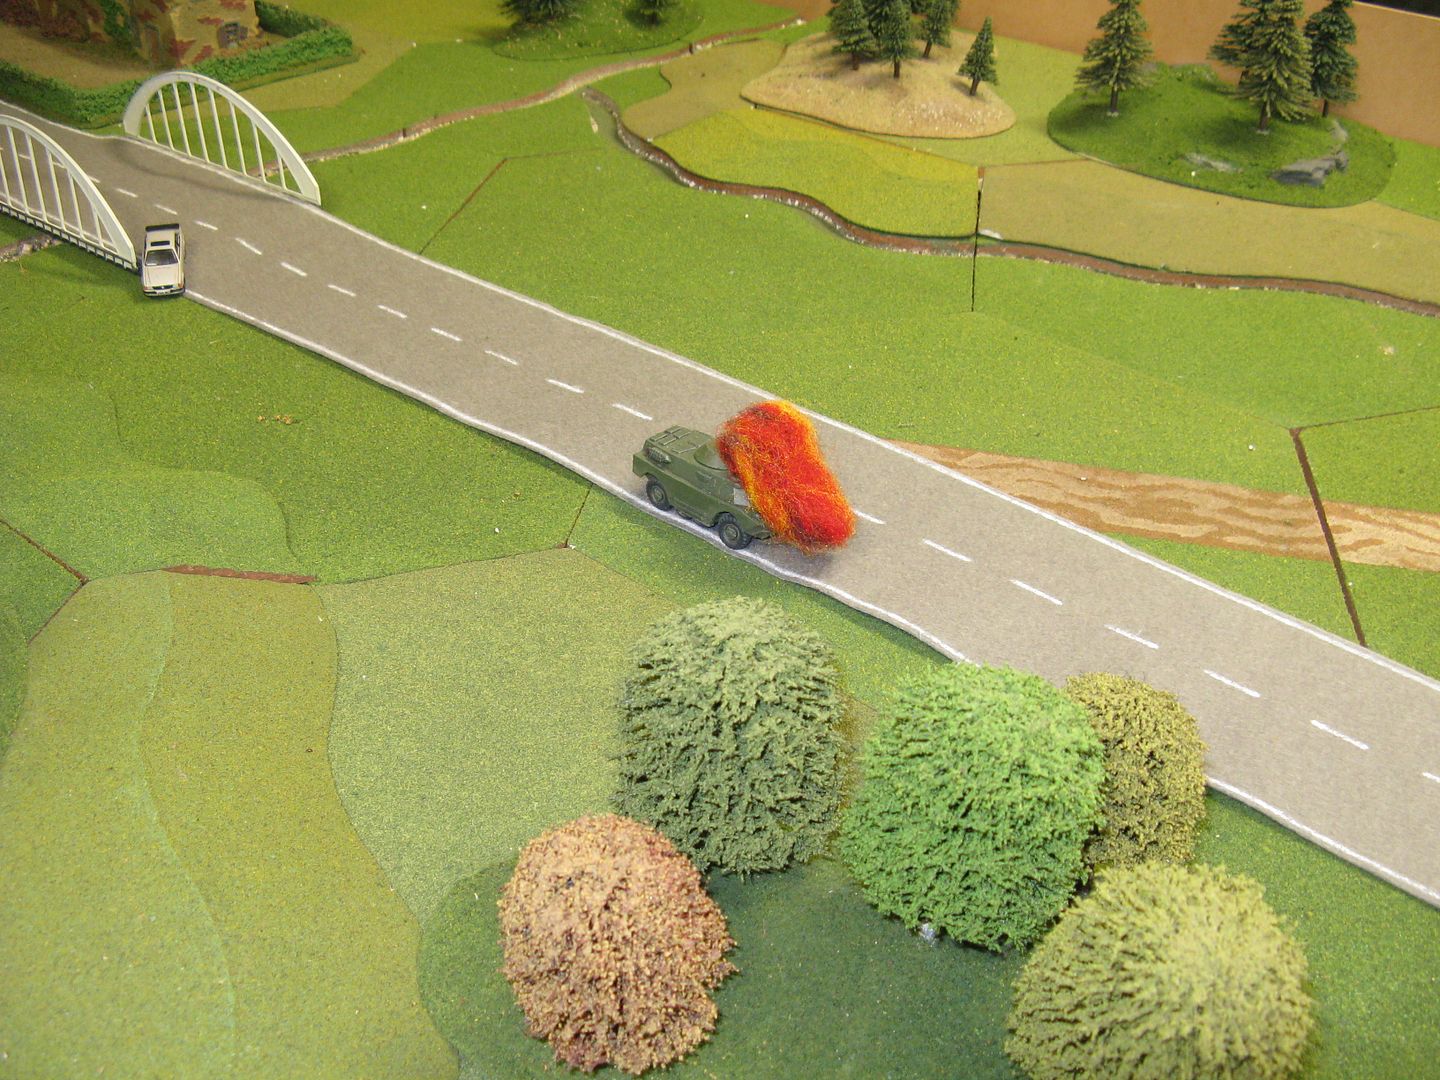
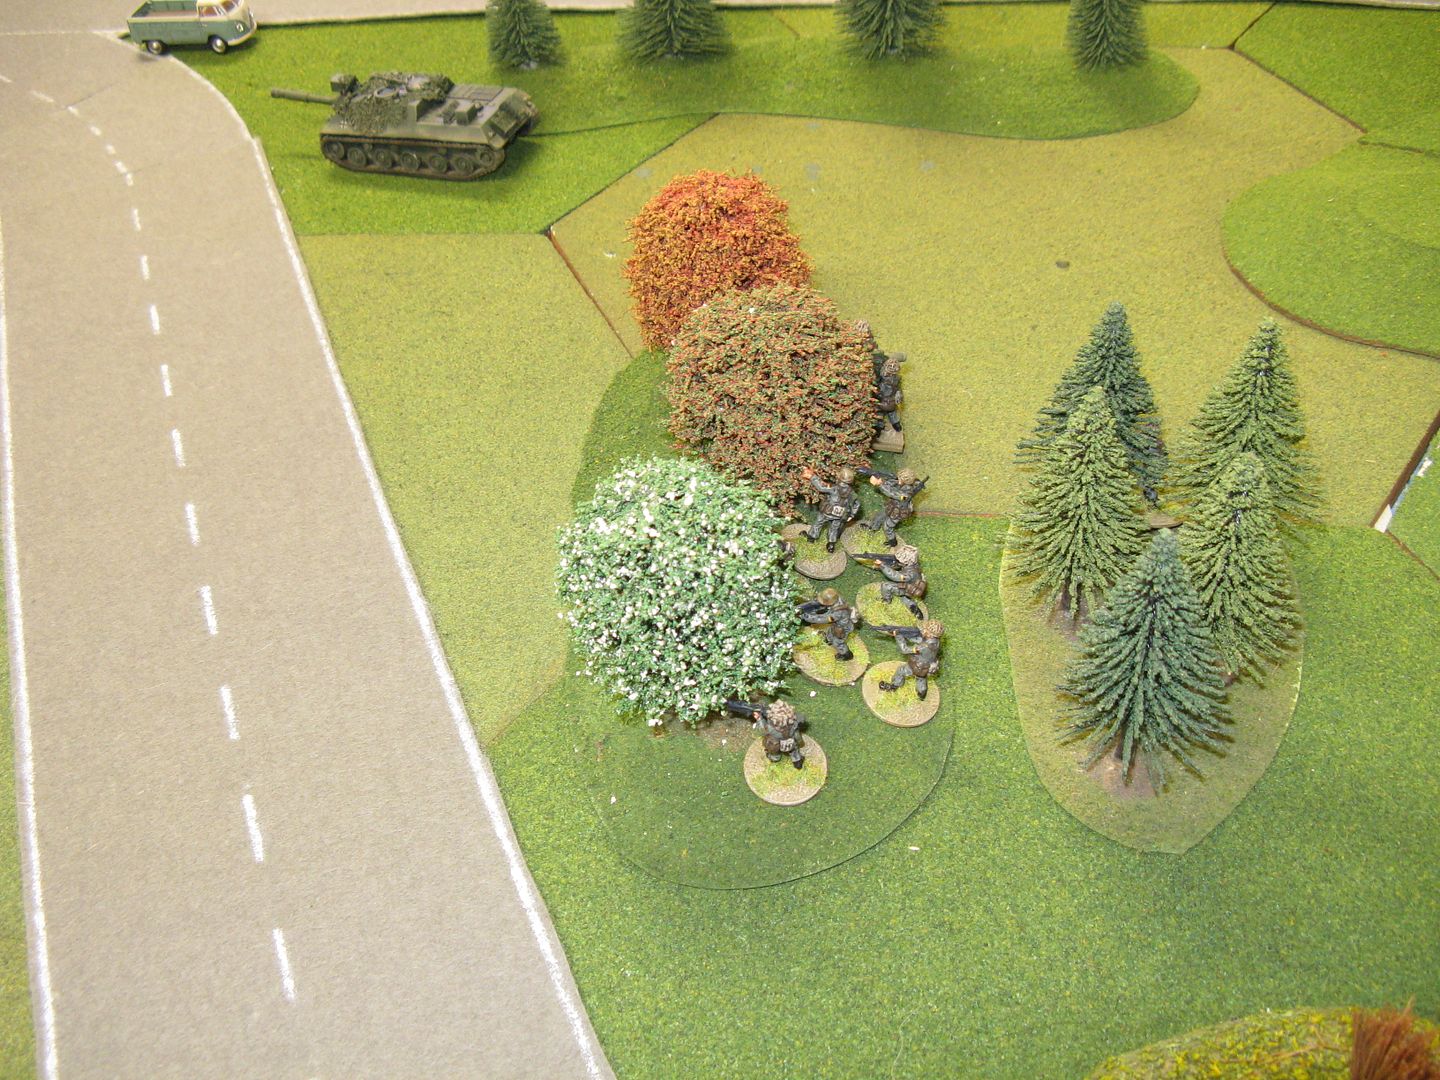
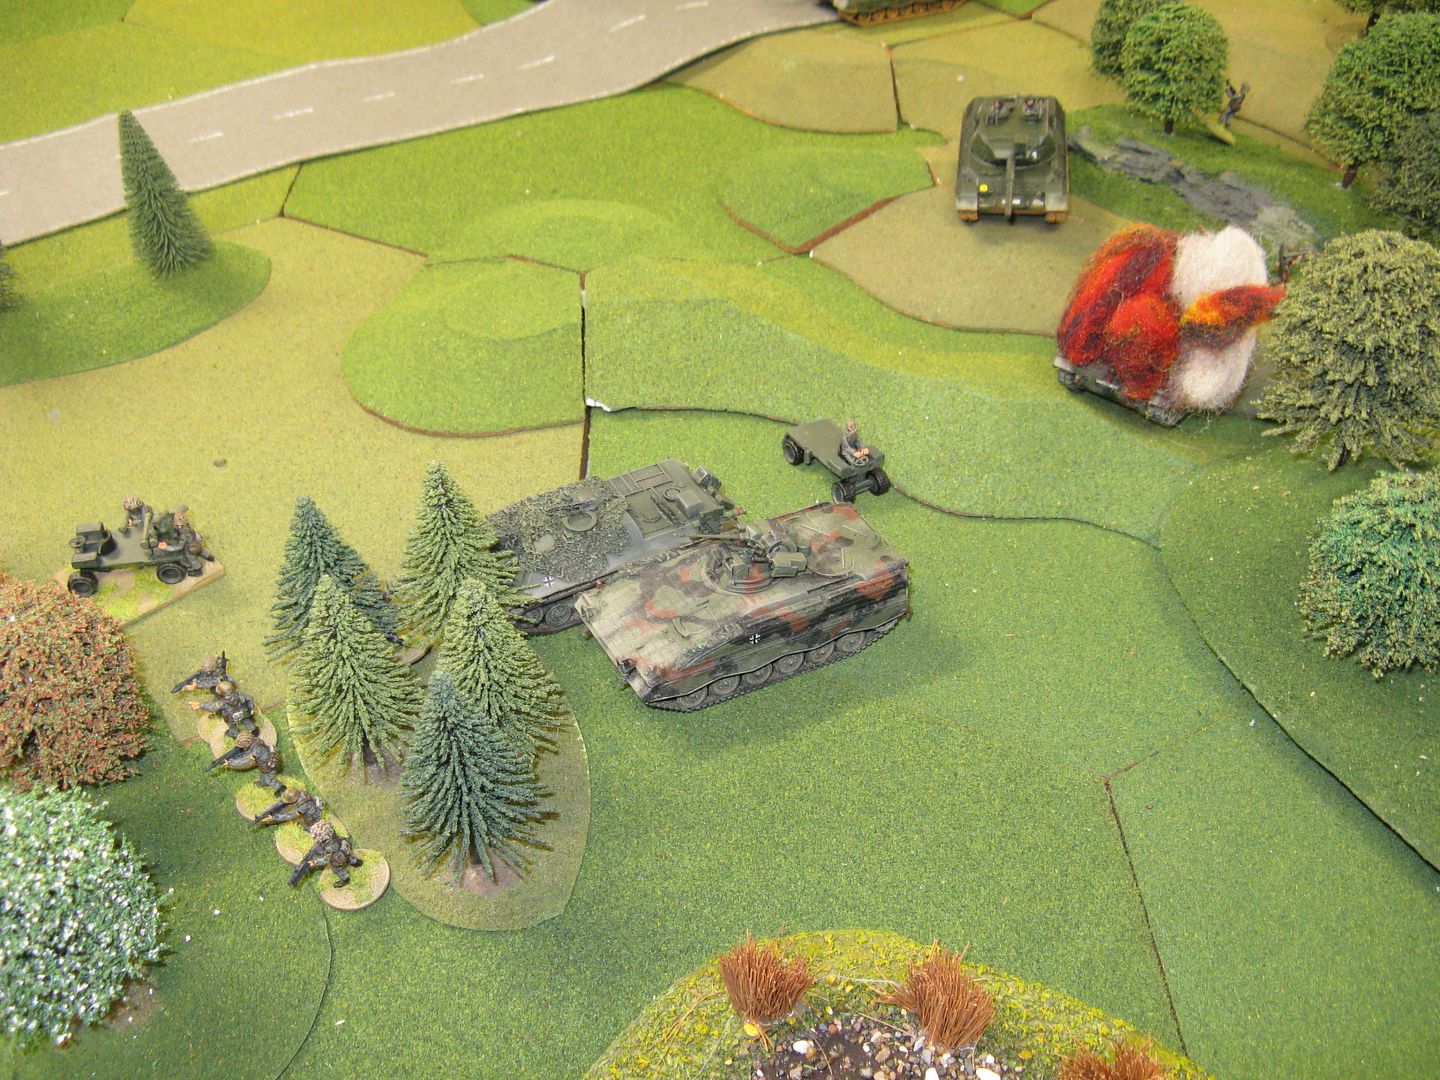
Fittingly it was the motorcycle combination that took the first objective (as shown in the photos above). But their luck - which had stuck with them for 2 games - was about to run out. The motorcycle combination was swept away by the fire from a German Fallshirmjager section while the BRDM-2 had a TOW missile visited upon it from an FJ KraKa.
The West Germans continued to jockey to get into the best positions...
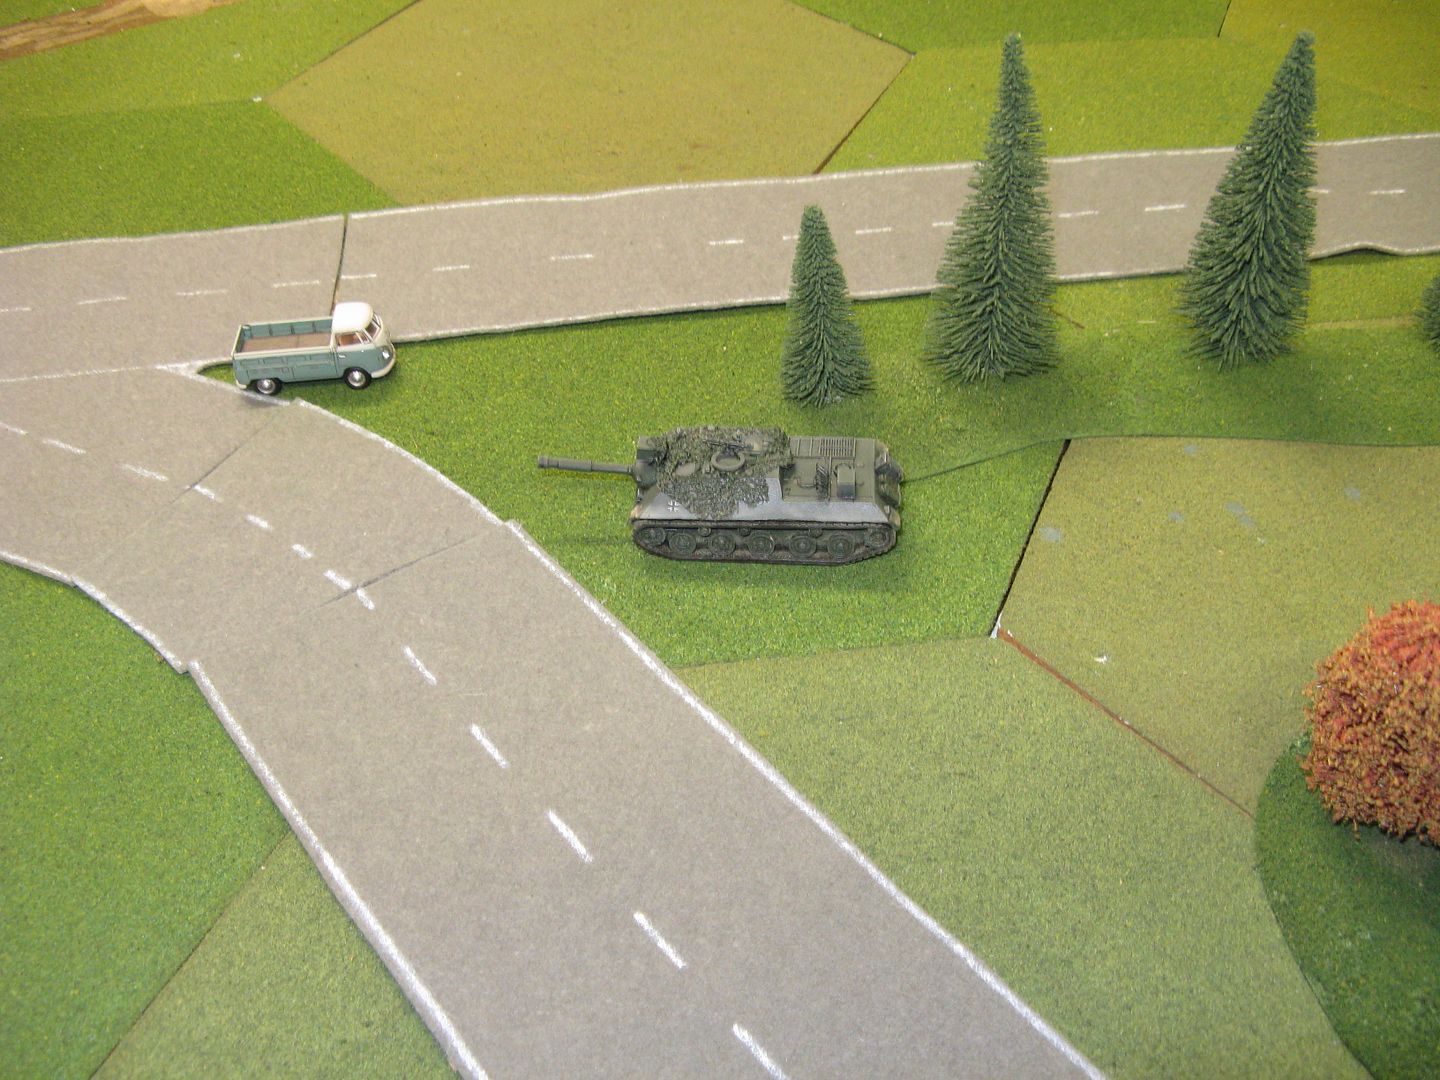
... while the recently repaired Leopard 2 raced towards the battle
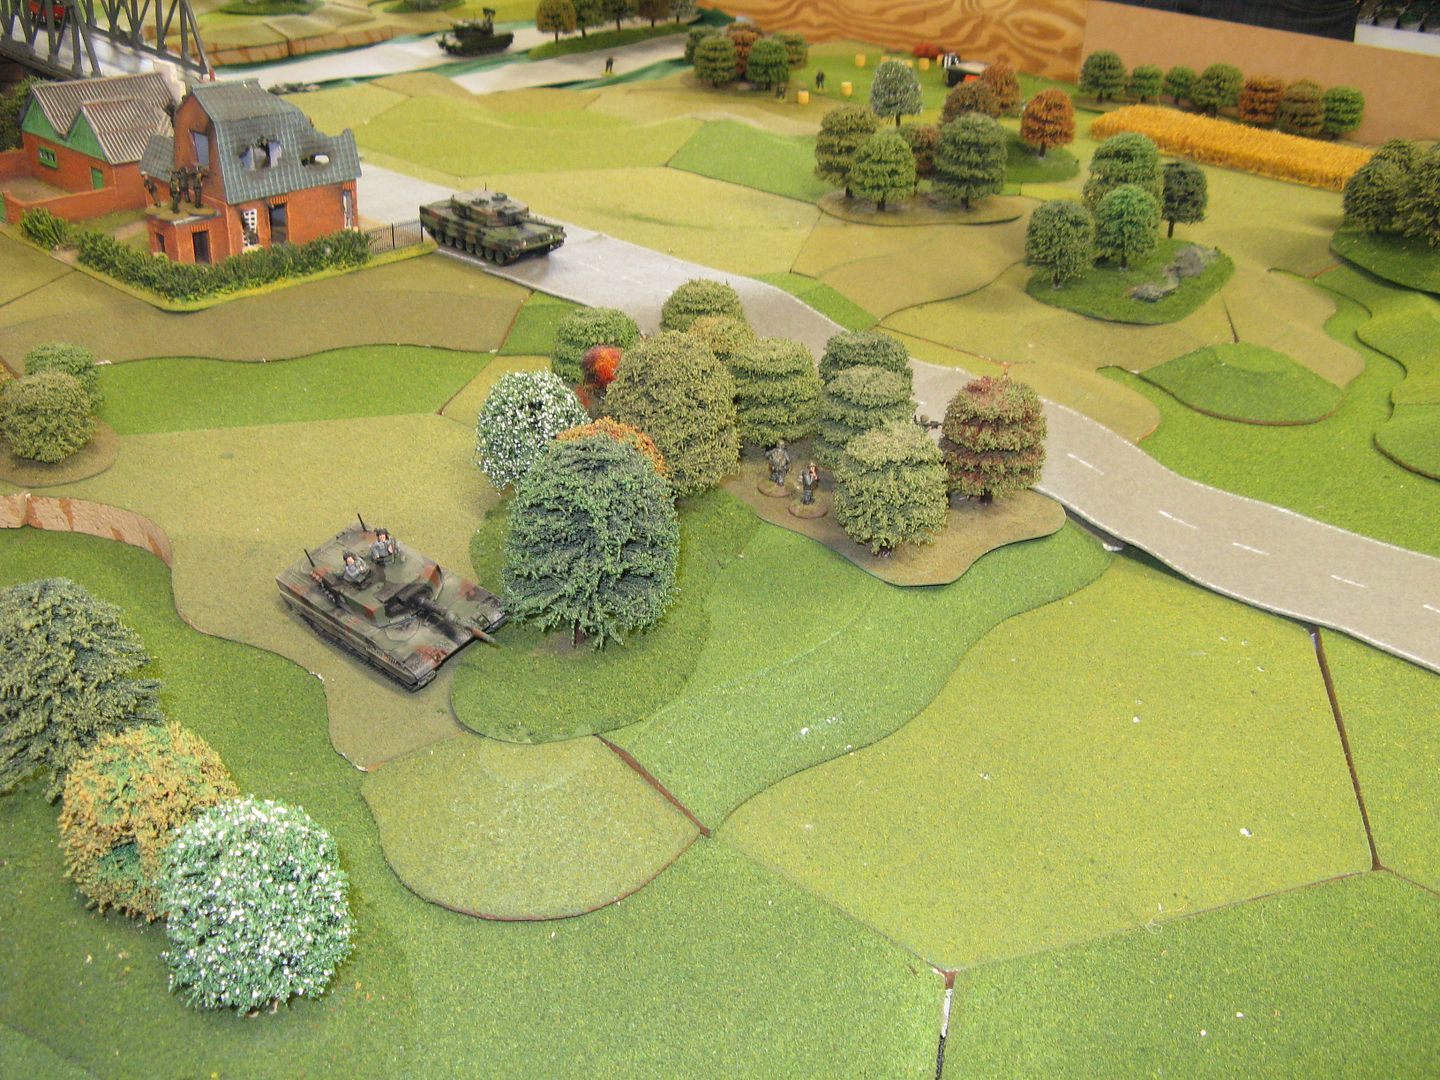
Soon the NATO force was in position to dominate the open ground between the two bridges
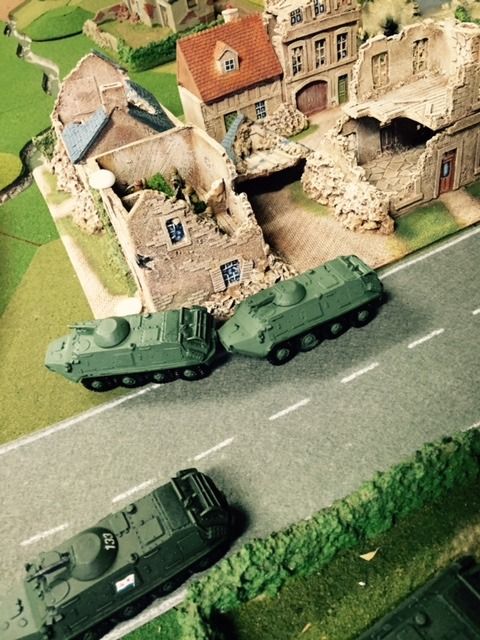
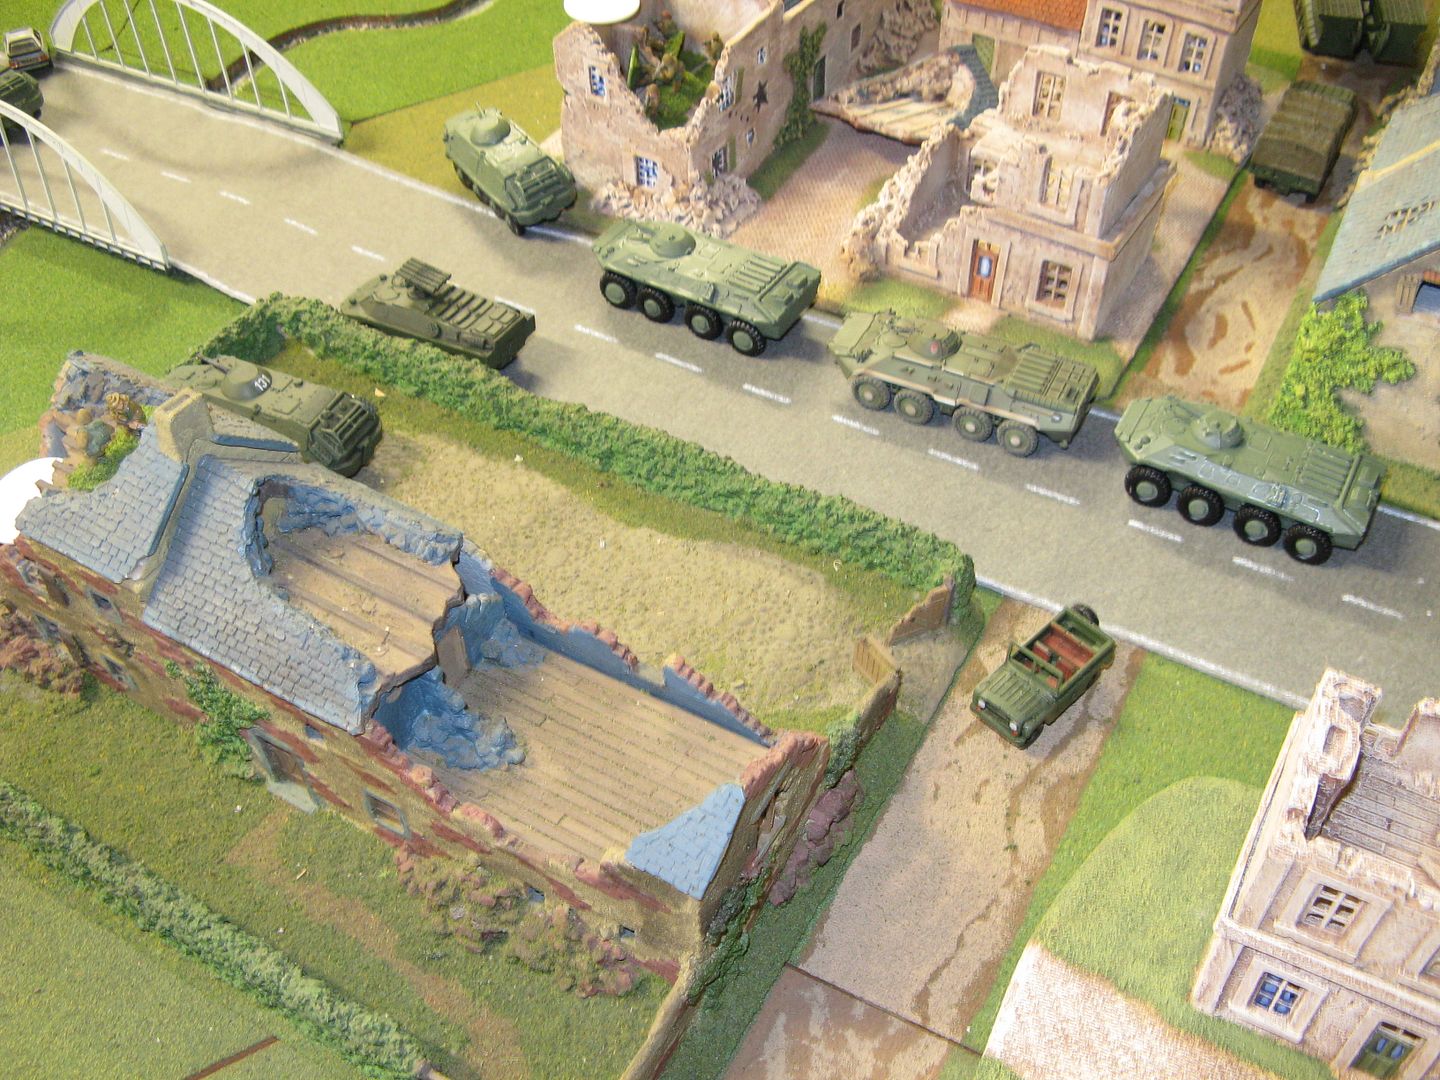
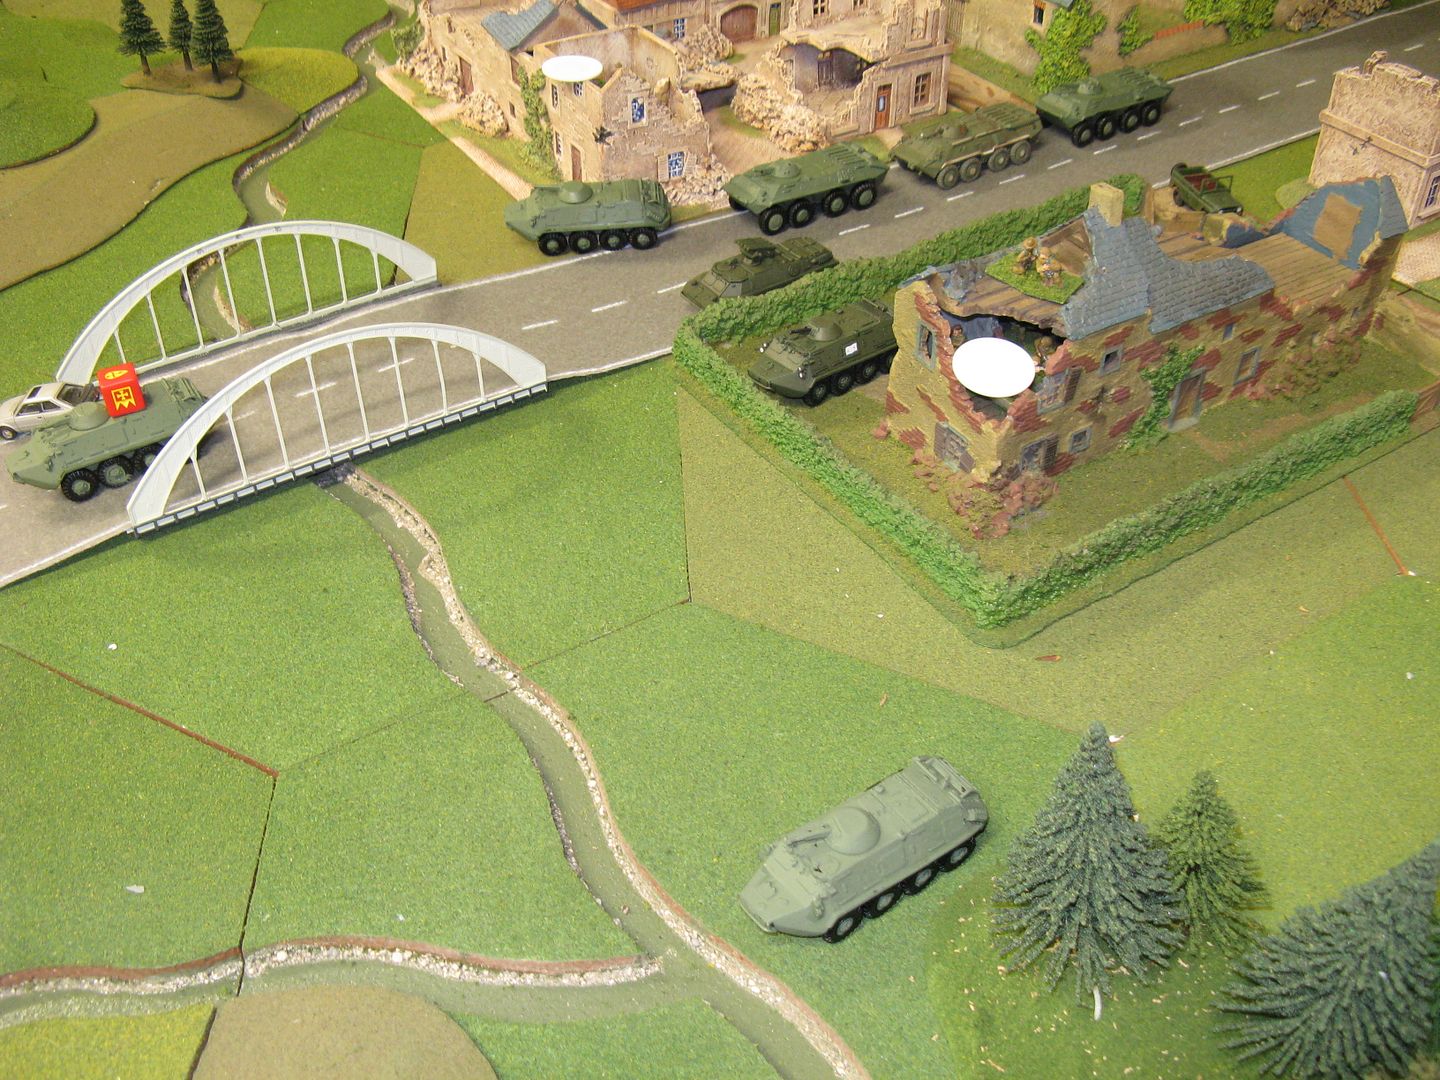
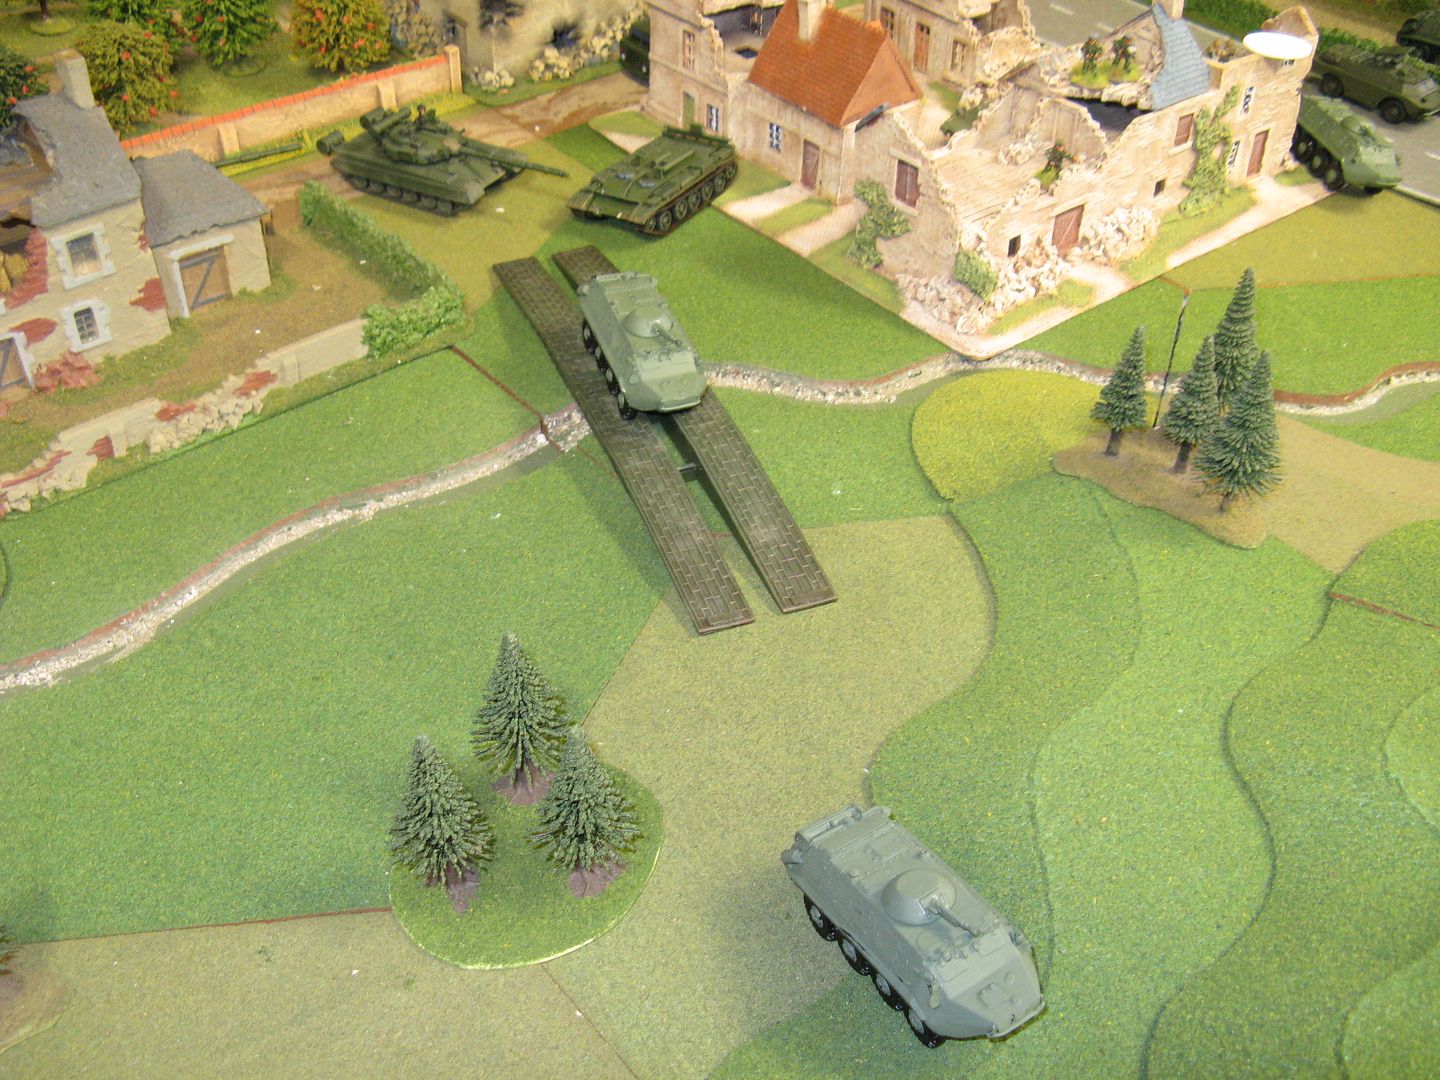
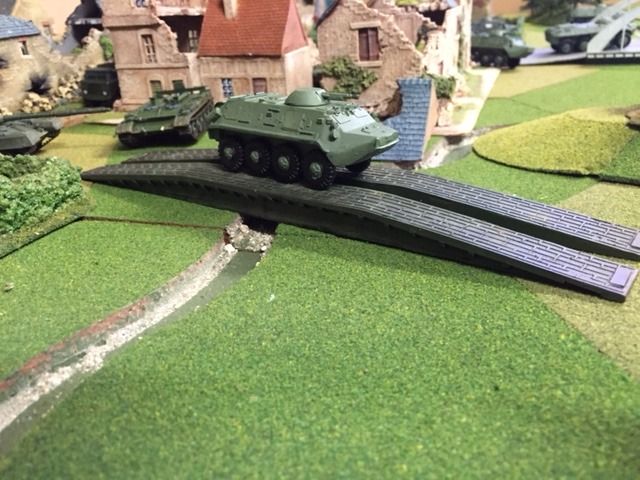
And the area around the small bridge became a NATO kill zone as BTRs tried to rush over the small stream.
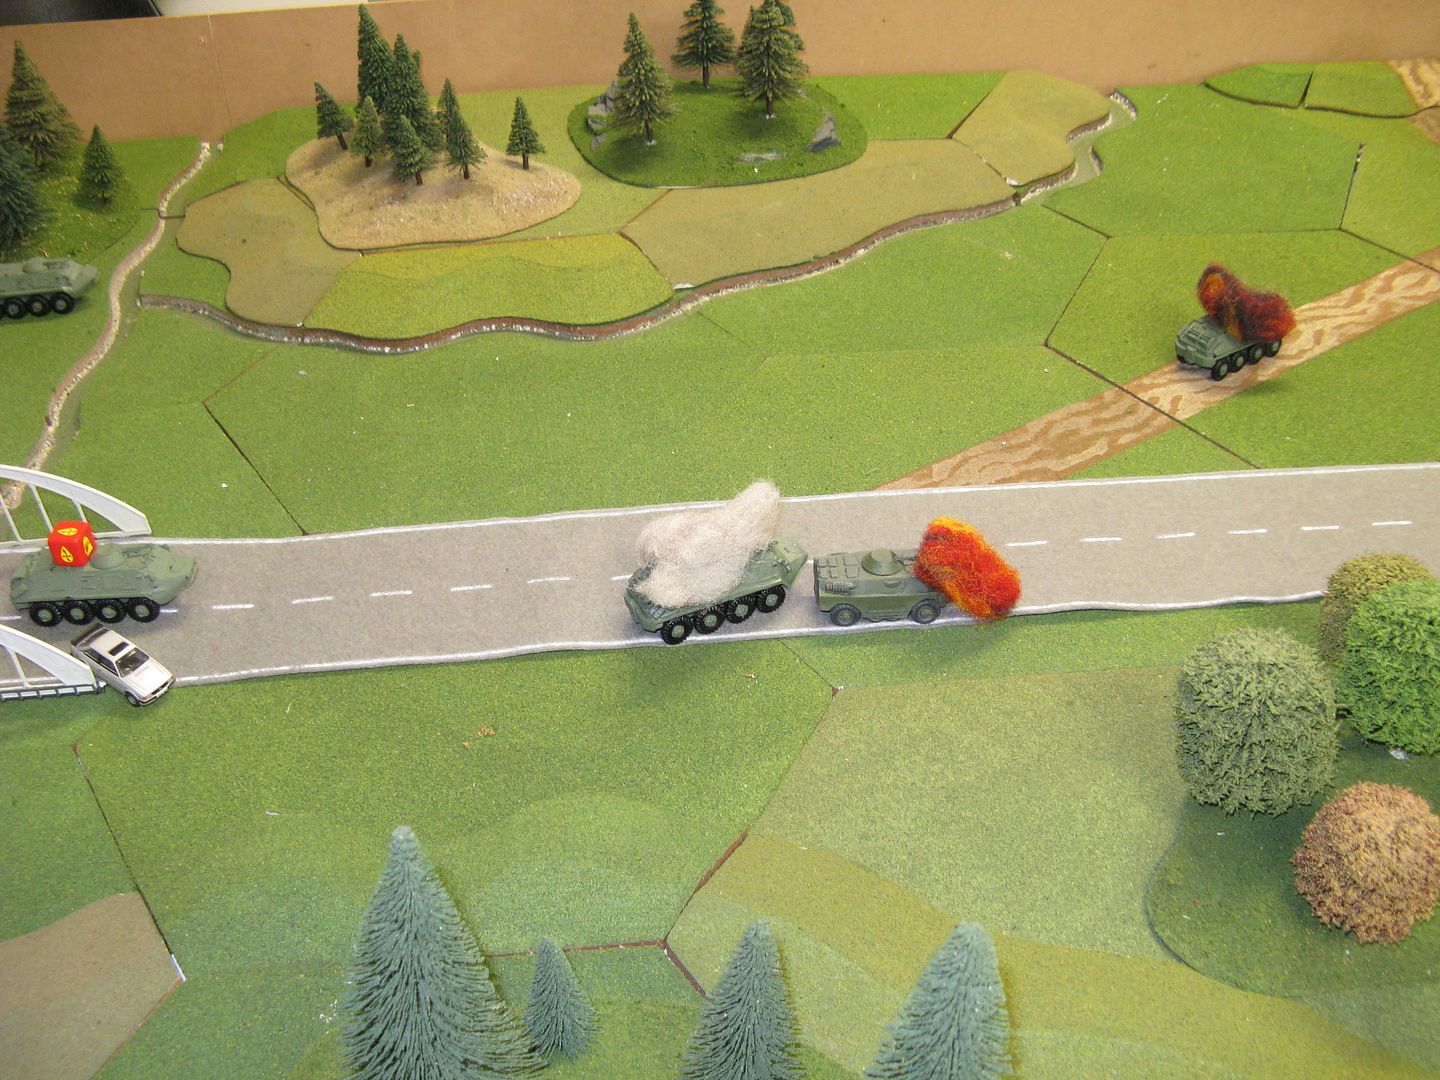
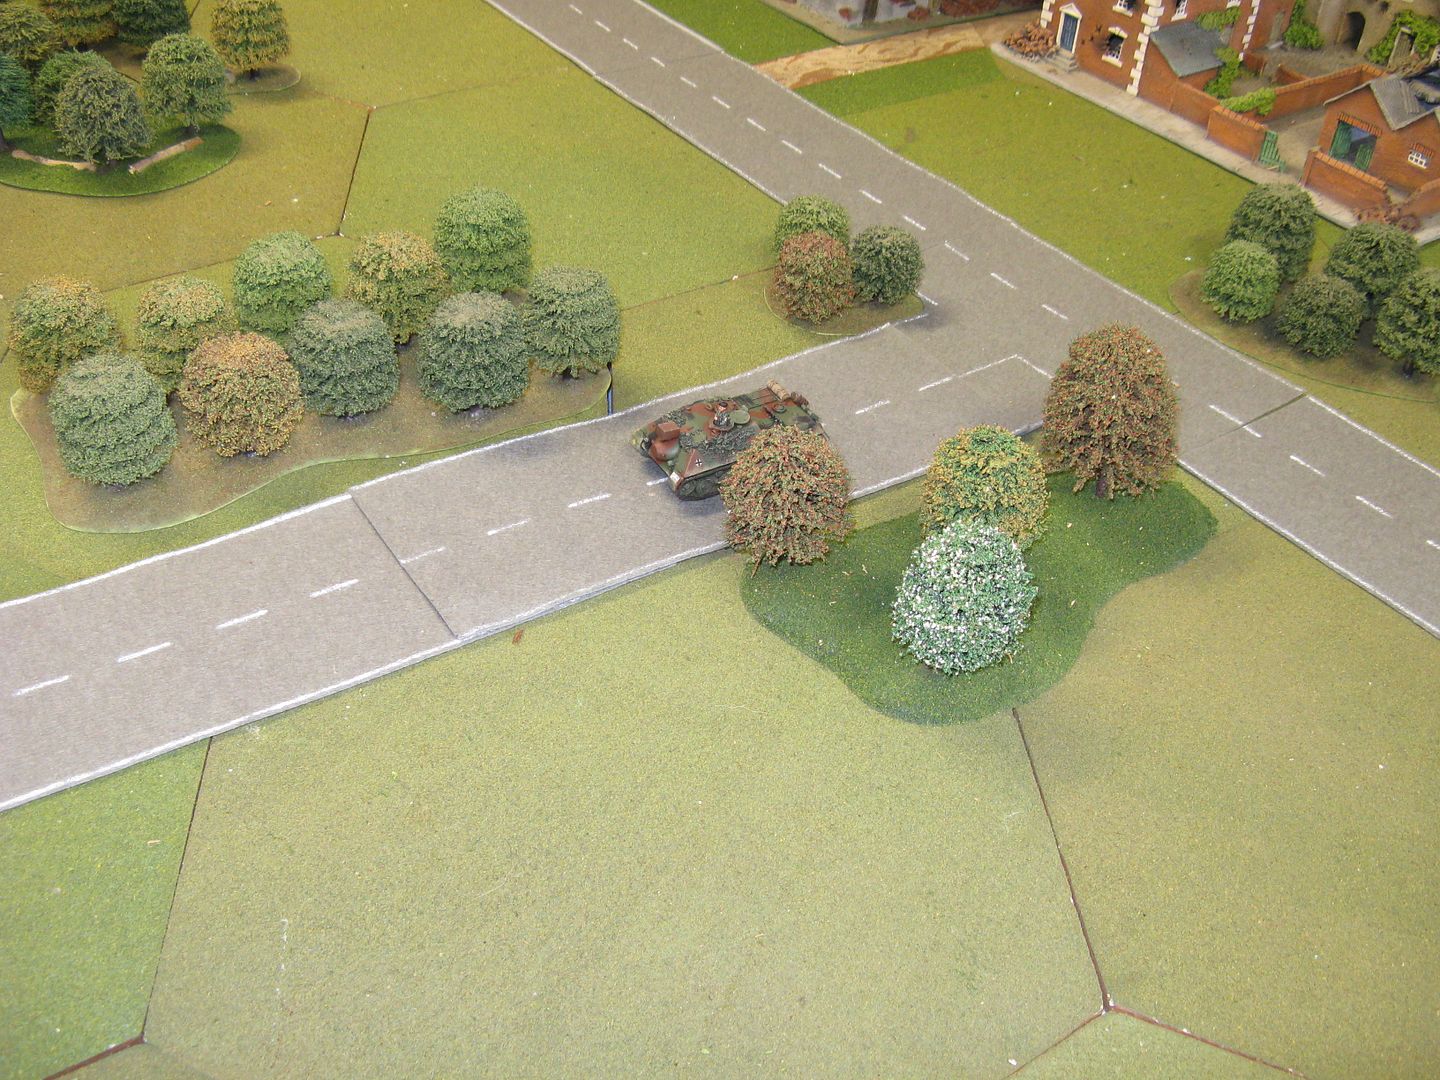
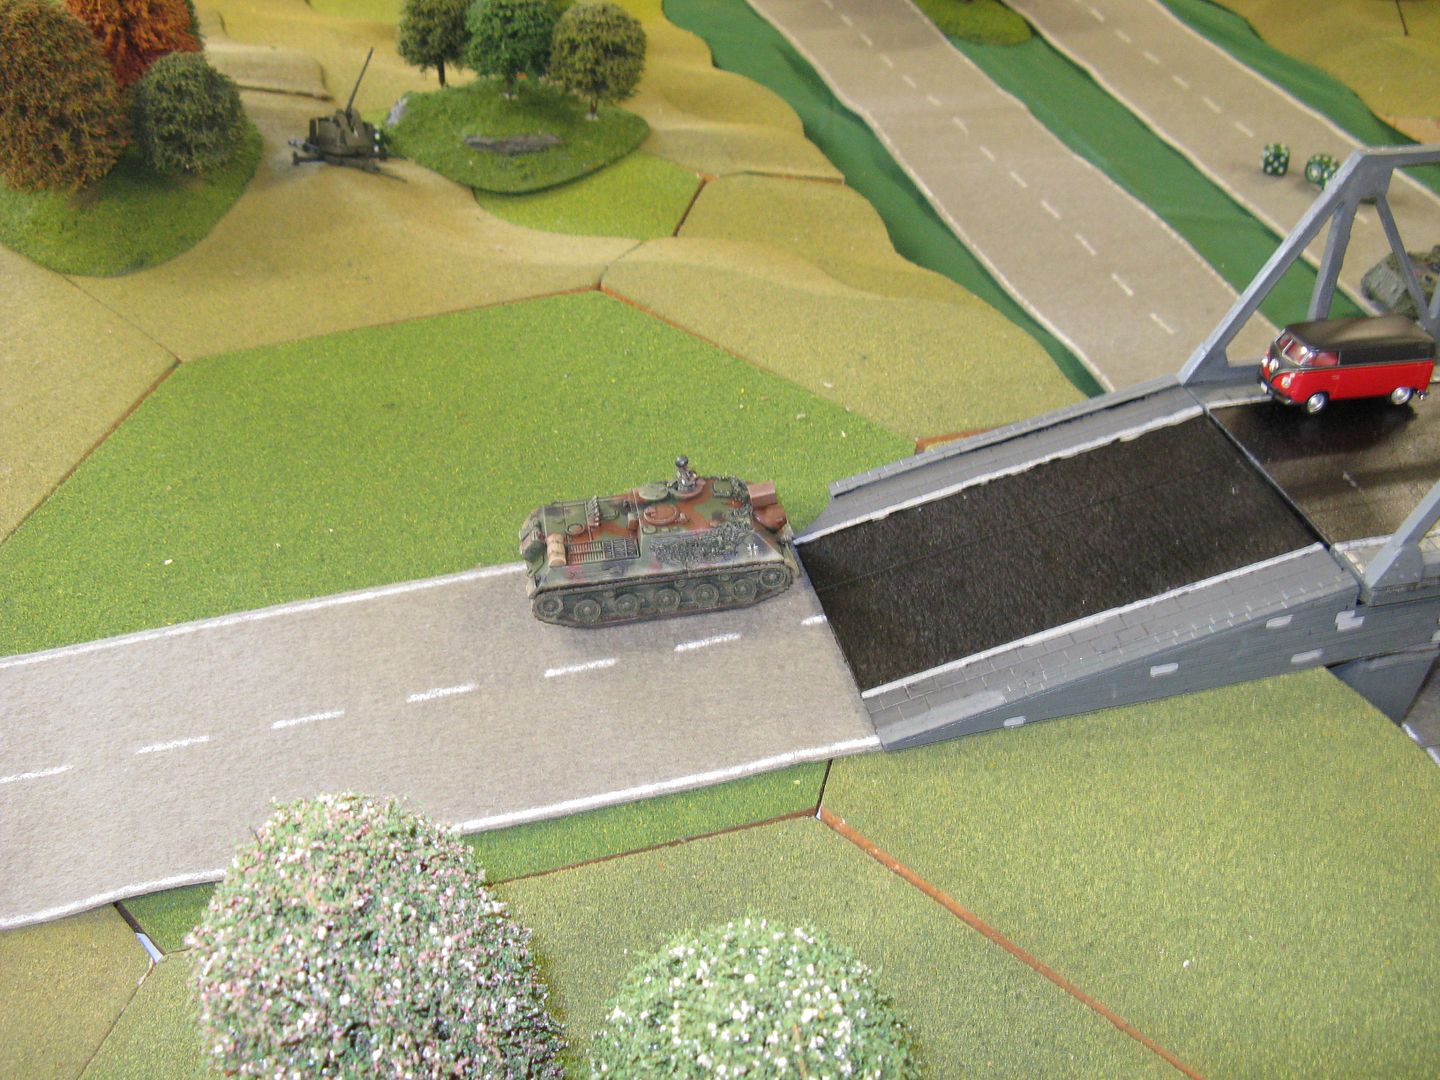
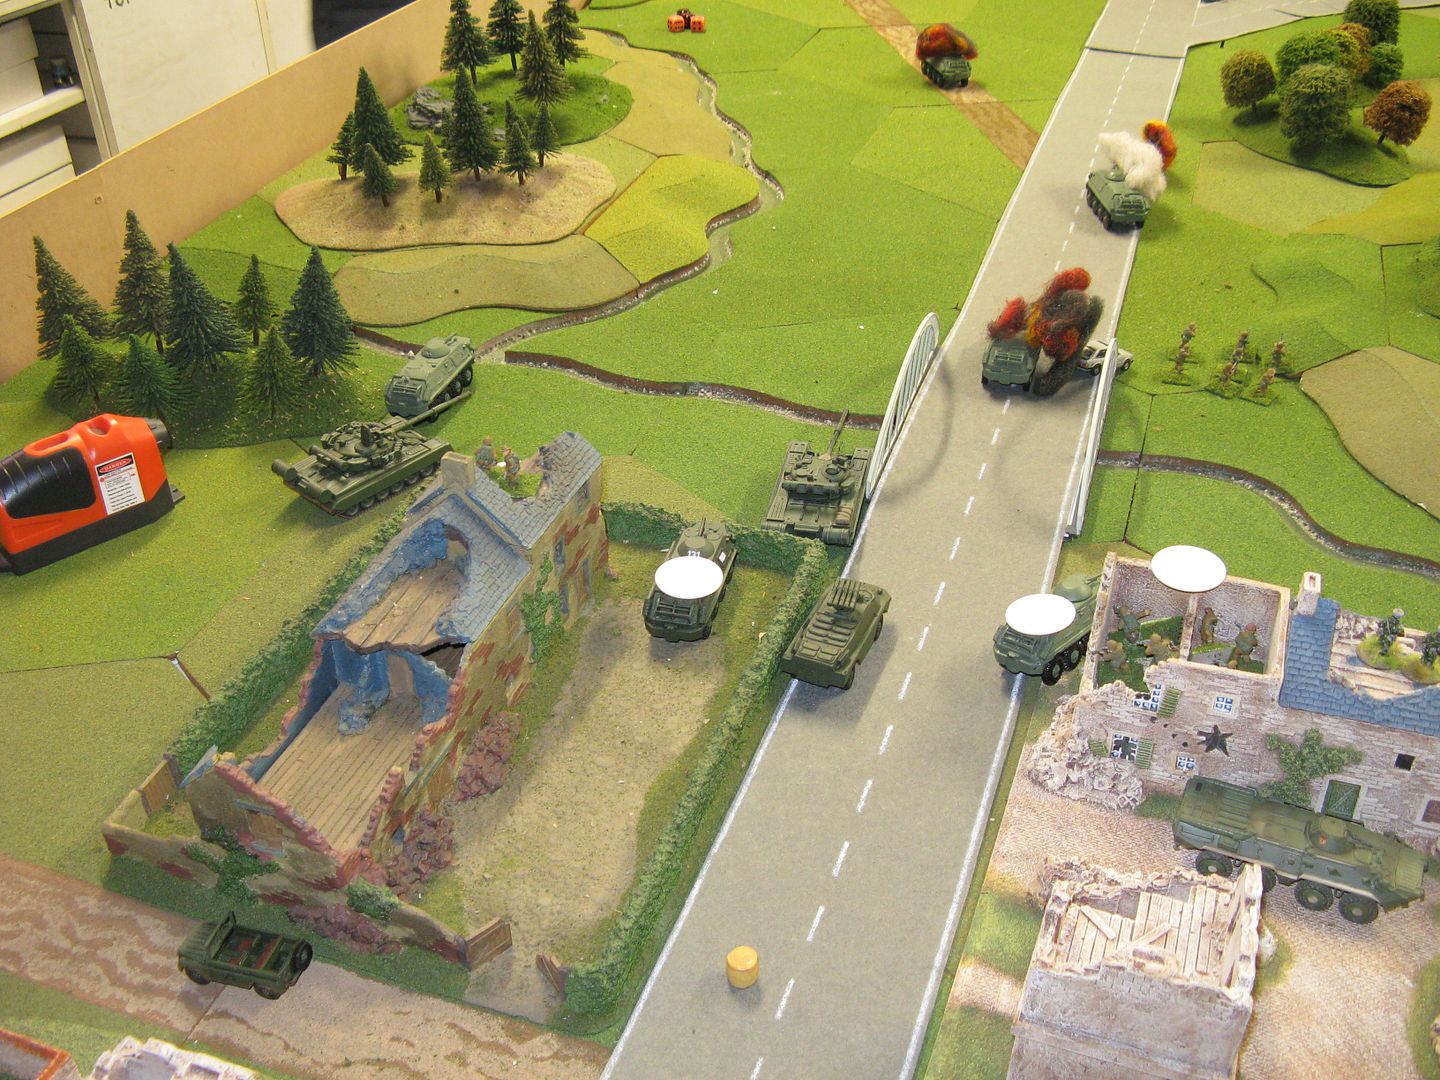
One particular engagement was worth noting. You'll recall a TOW KraKa knocked out a BRDM-2 earlier in the game. In it's next turn it decided to use its remaining missile to engage a BTR that had just gone over the bridge. It hit the BTR and despite being able to kill it with a 3 on 2D6, it rolled two "1's" and immobilised the BTR. You can see a BTR in the centre of the bridge marked with a SAGA dice to remind us it was immobilised. The hit caused a morale check which the BTR passed by rolling a "6". This gave the BTR crew a chance to pass a "Beyond the Call of Duty" check - which it again passed. The BTR then turned it's 14.5mm HMG on the KraKa and wiped it out. We thought the whole engagement was pretty accurate.
You may see the BTR marked with the SAGA dice in later pictures. Despite sitting out in the open, in the middle of the road, it survived numerous shots at it for the next few turns. At least one of the NATO players (the one whose KraKa had been taken out by it) got "Target Fixated" with the poor little BTR and fired his whole force at it for much of the rest of the game.
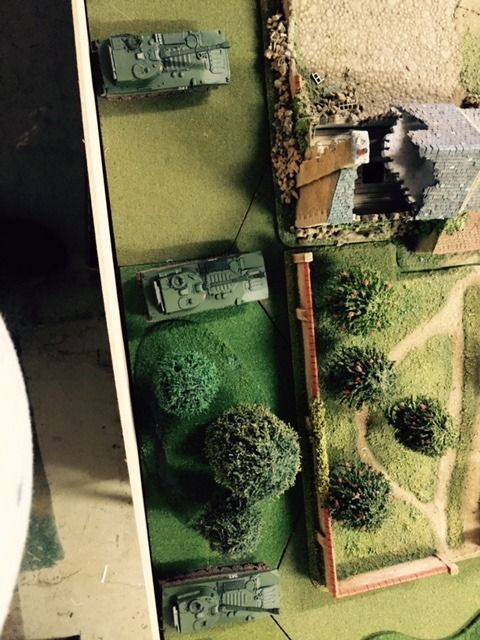
Soviet units began to come on in strength
And they Soviet players decided the best way to deal with the bottle neck of the small bridge was to avoid it altogether
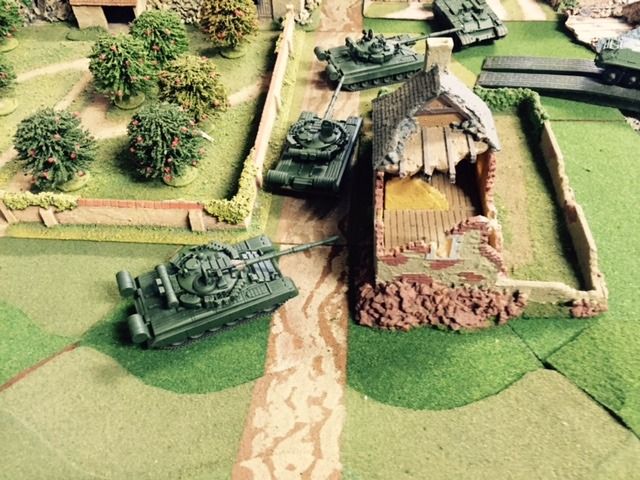
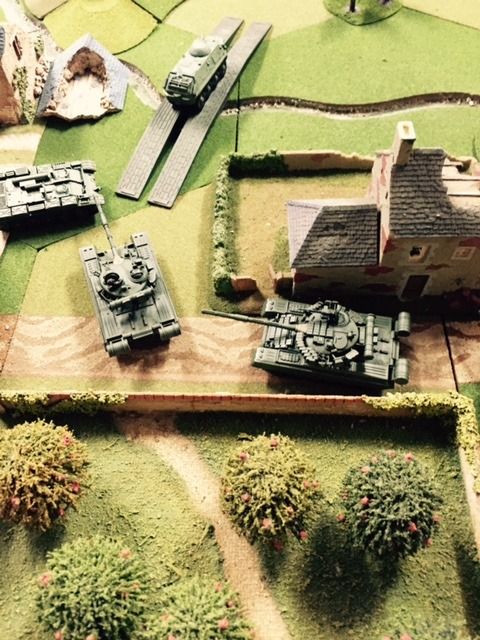
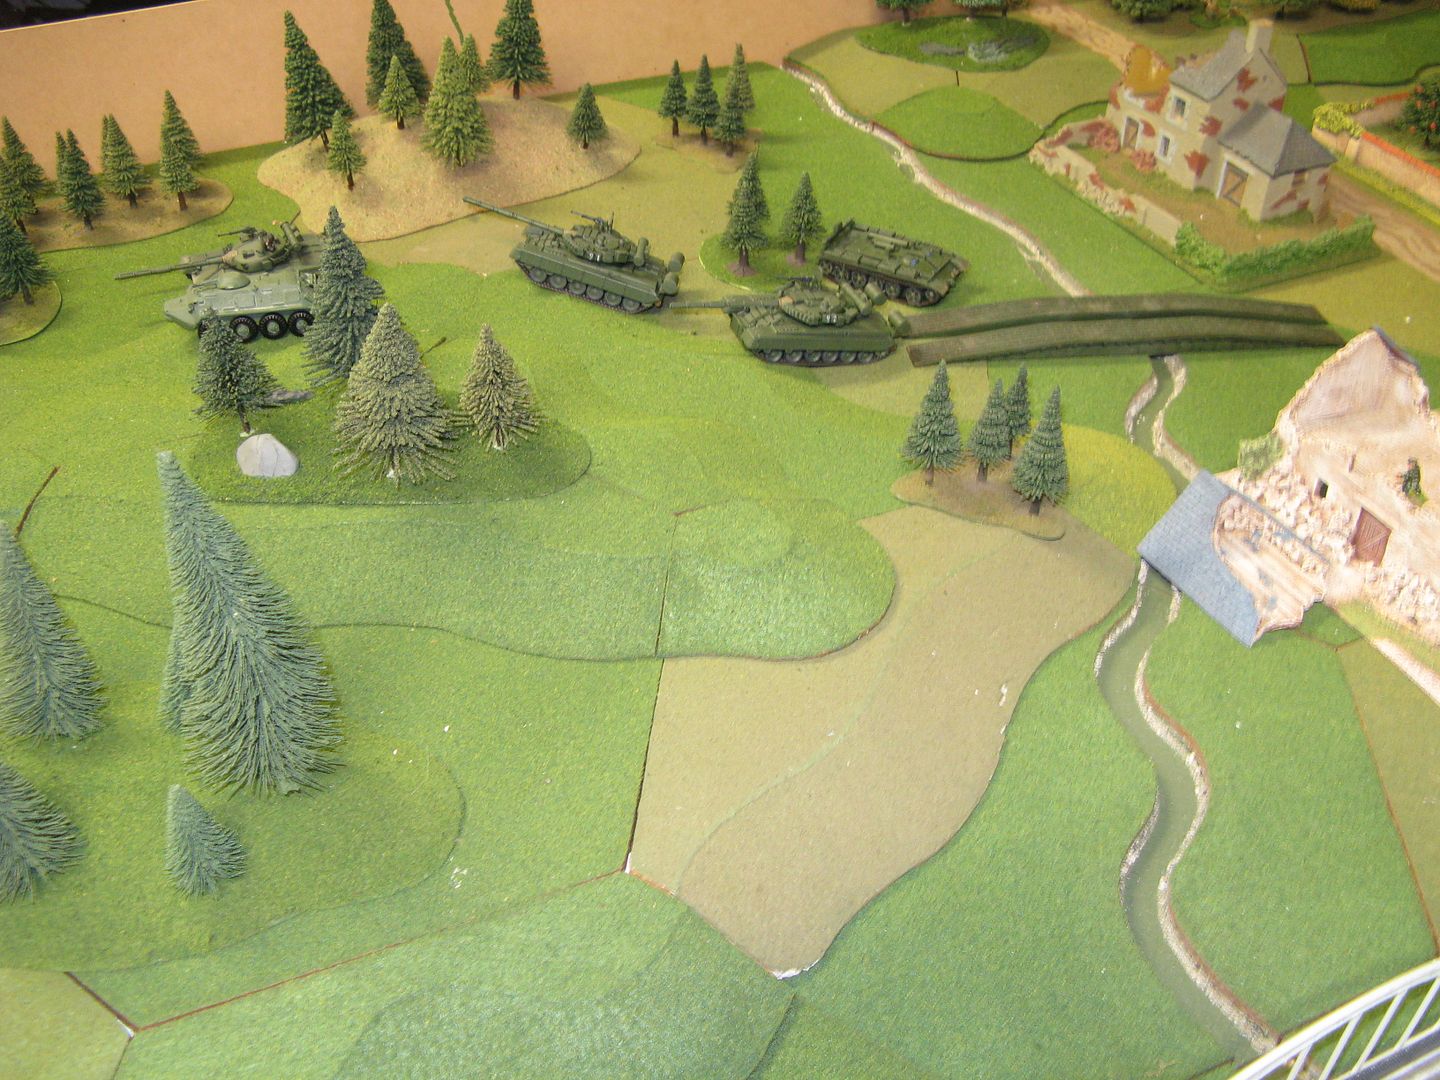
Finally the Soviet tanks start to come forward.
But the Soviets weren't the only ones being reinforced
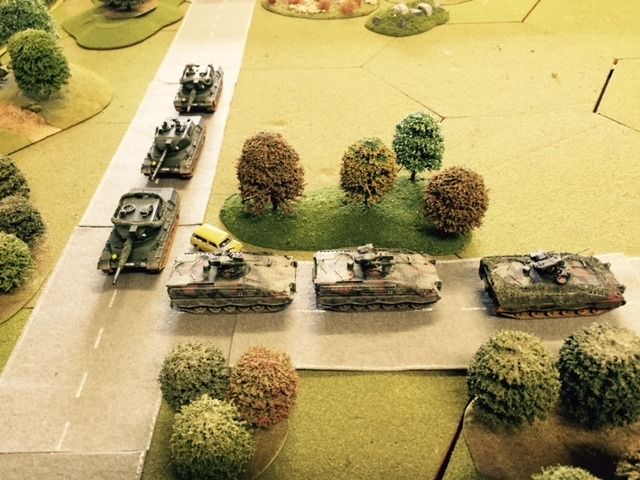
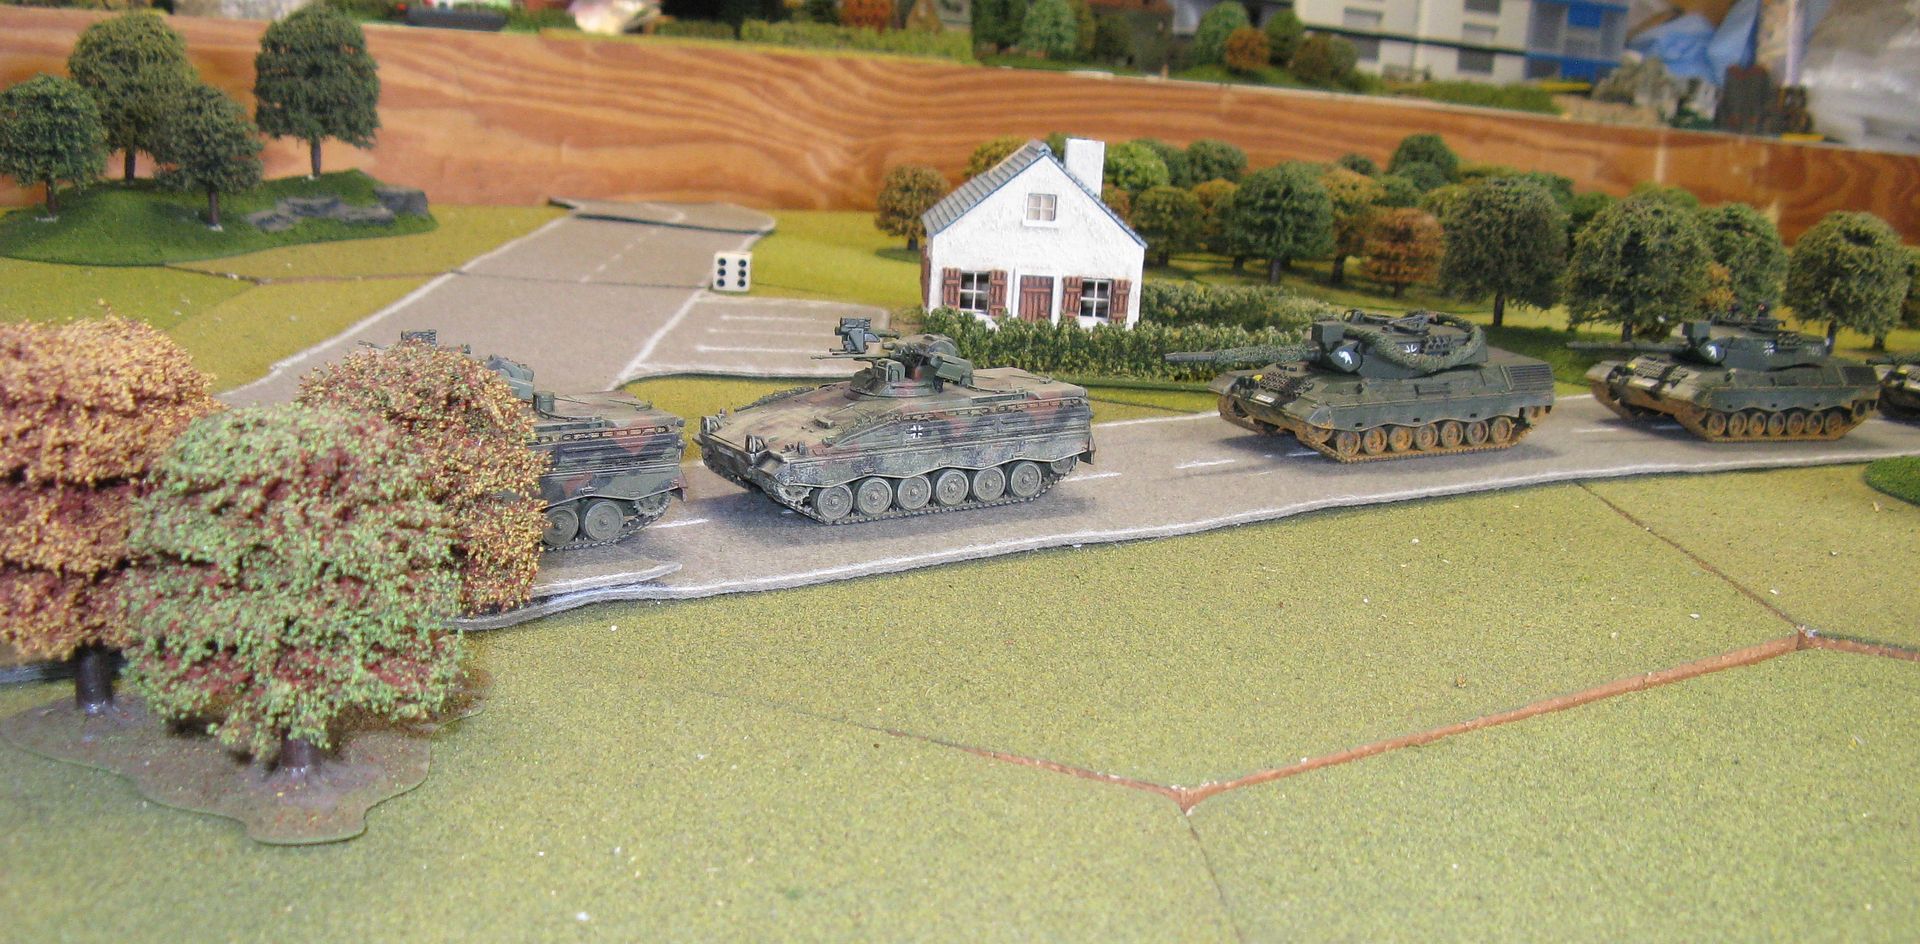
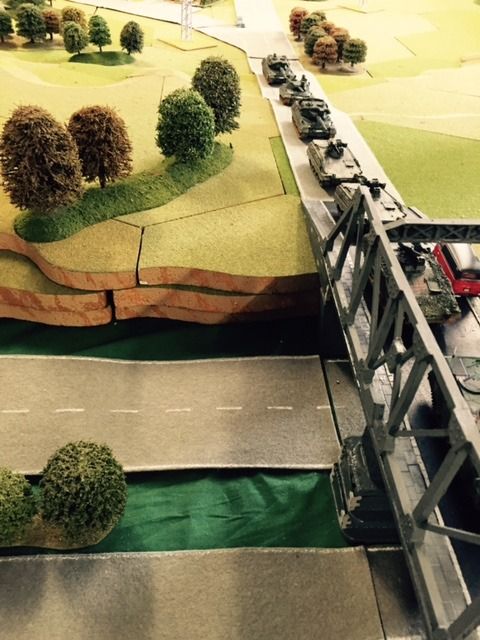
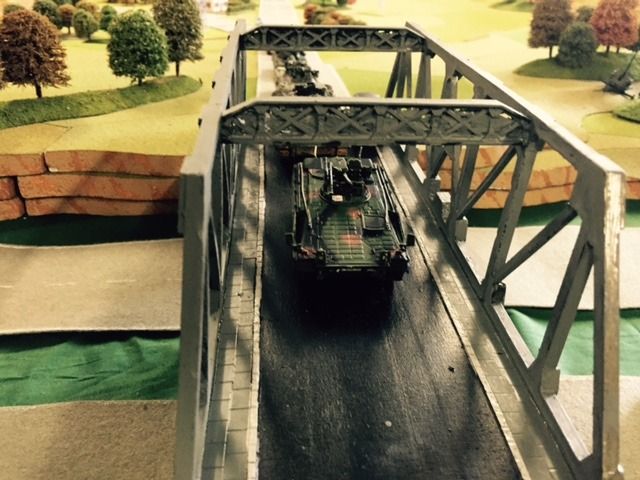
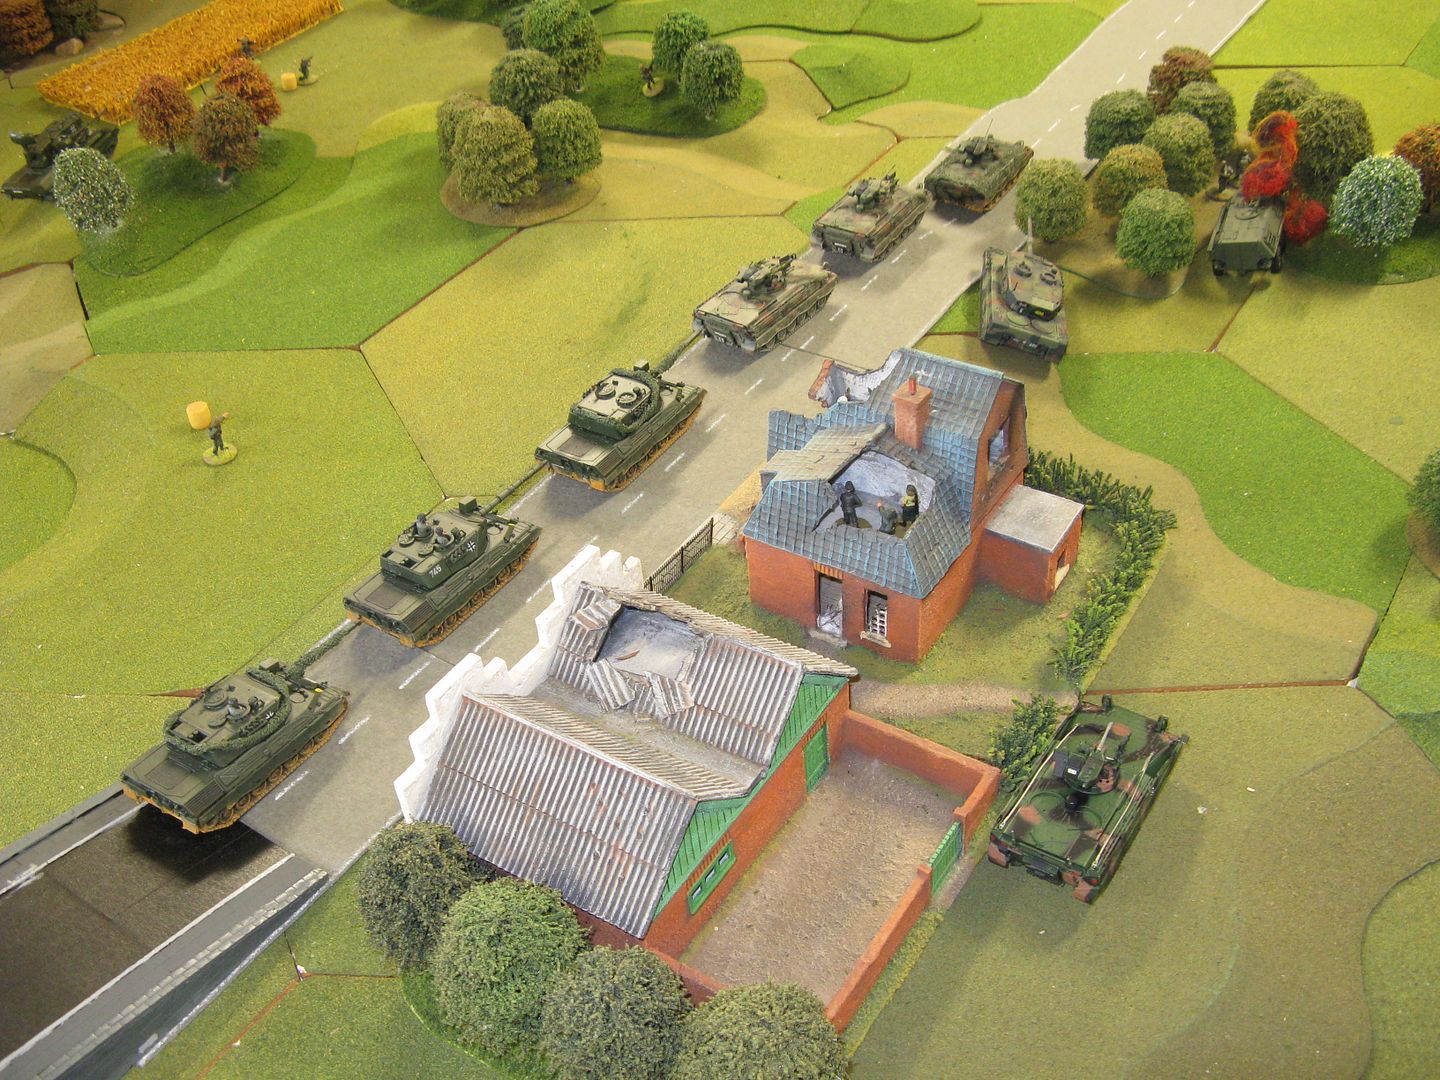
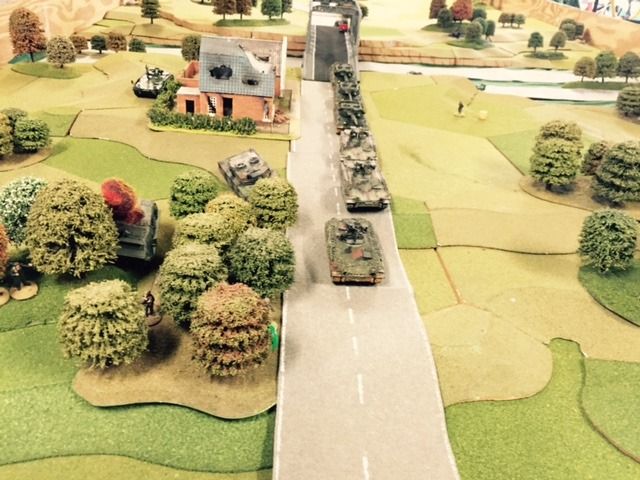
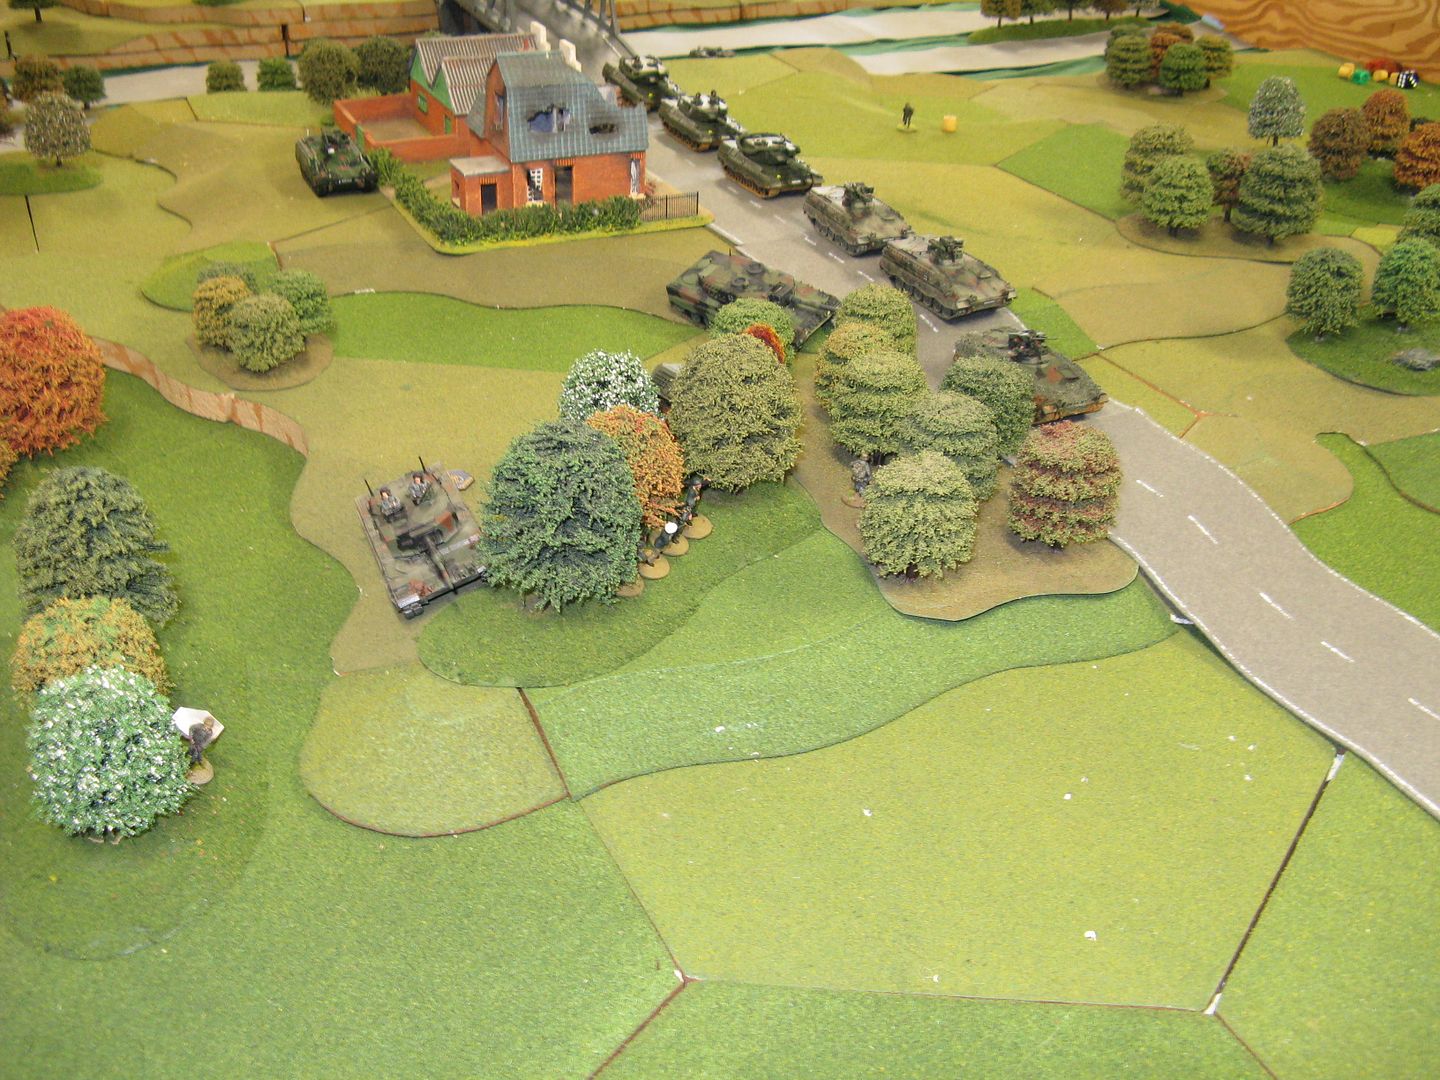
In fact the West German parade drove like this straight into the combat zone!
The Soviets continued to drive forwards
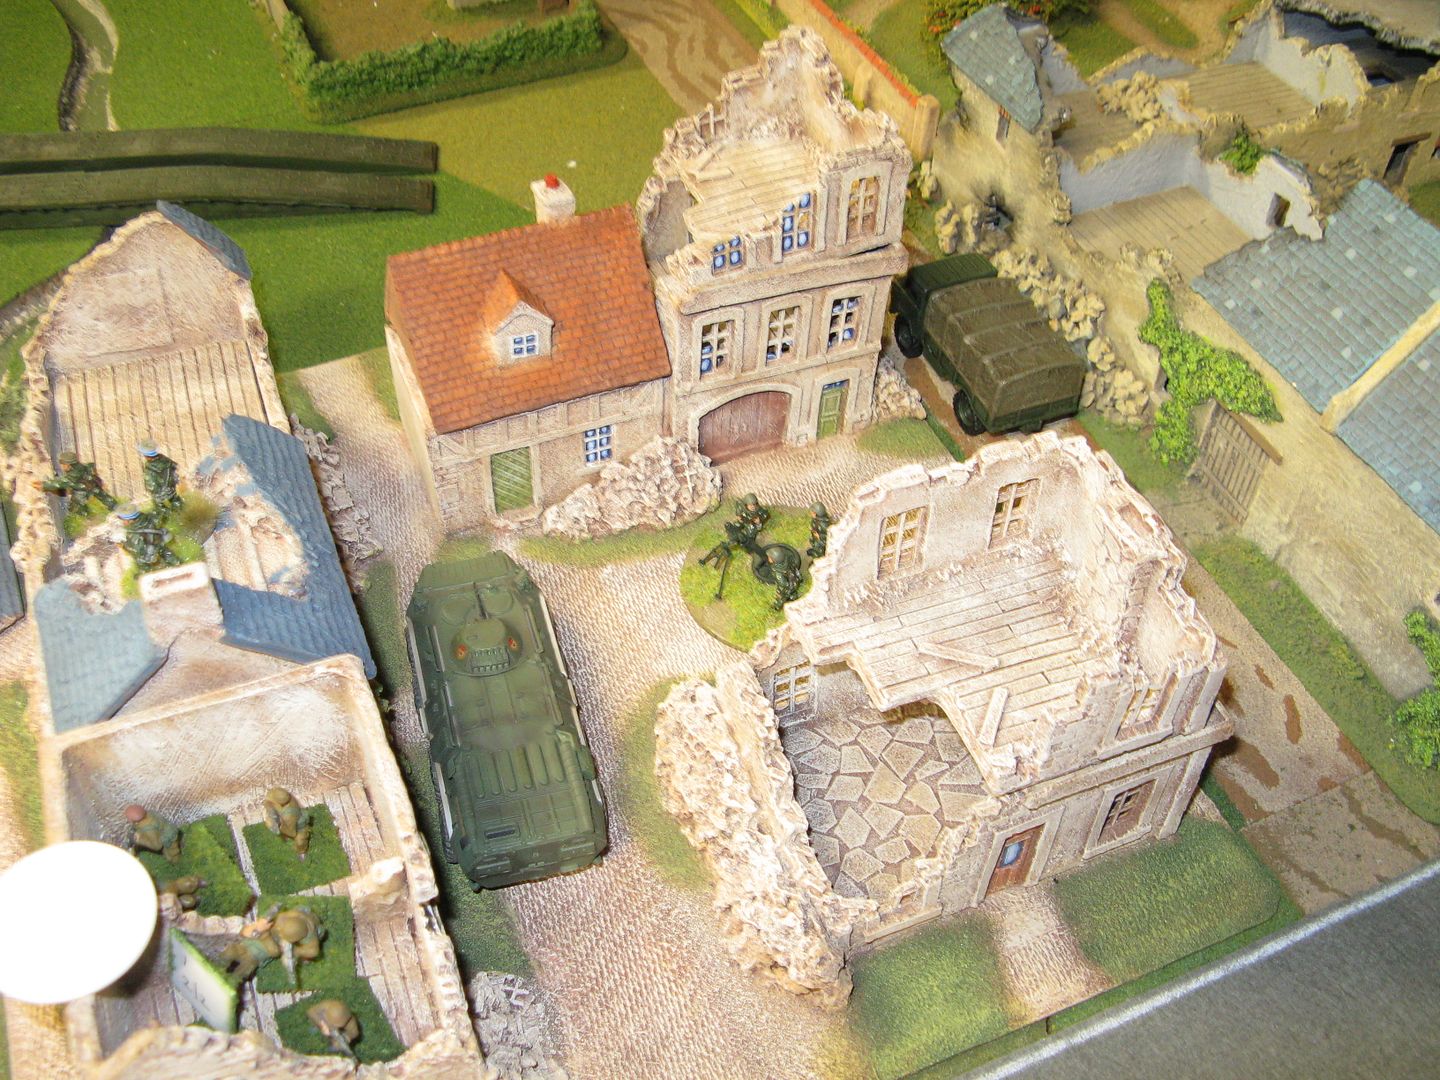
with tanks now on boths sides of the small bridge. And they were well set up in the village
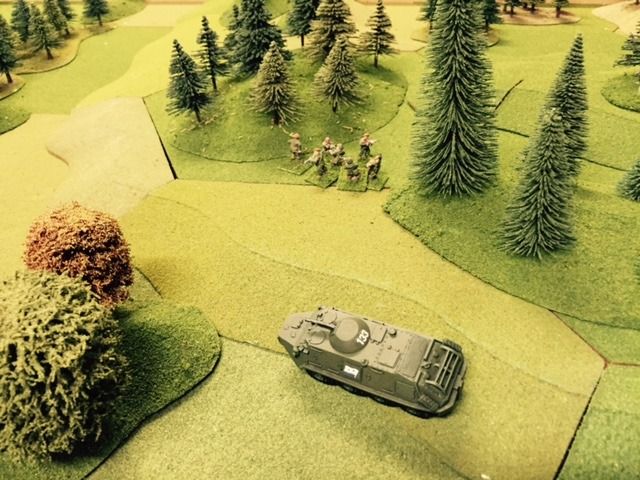
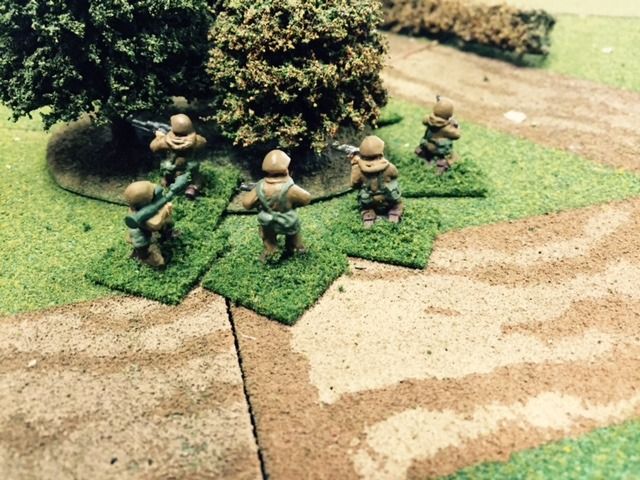
and had troops out on both flanks
Later coming NATO units rushed towards the front - you can see a Bofors L40 AA gun in the background of the first photo
Meanwhile the Soviets had struck some bad luck, with one of their tanks driving over what must have been an artillery delivered mine
While the remaining tanks continued to drive forwards
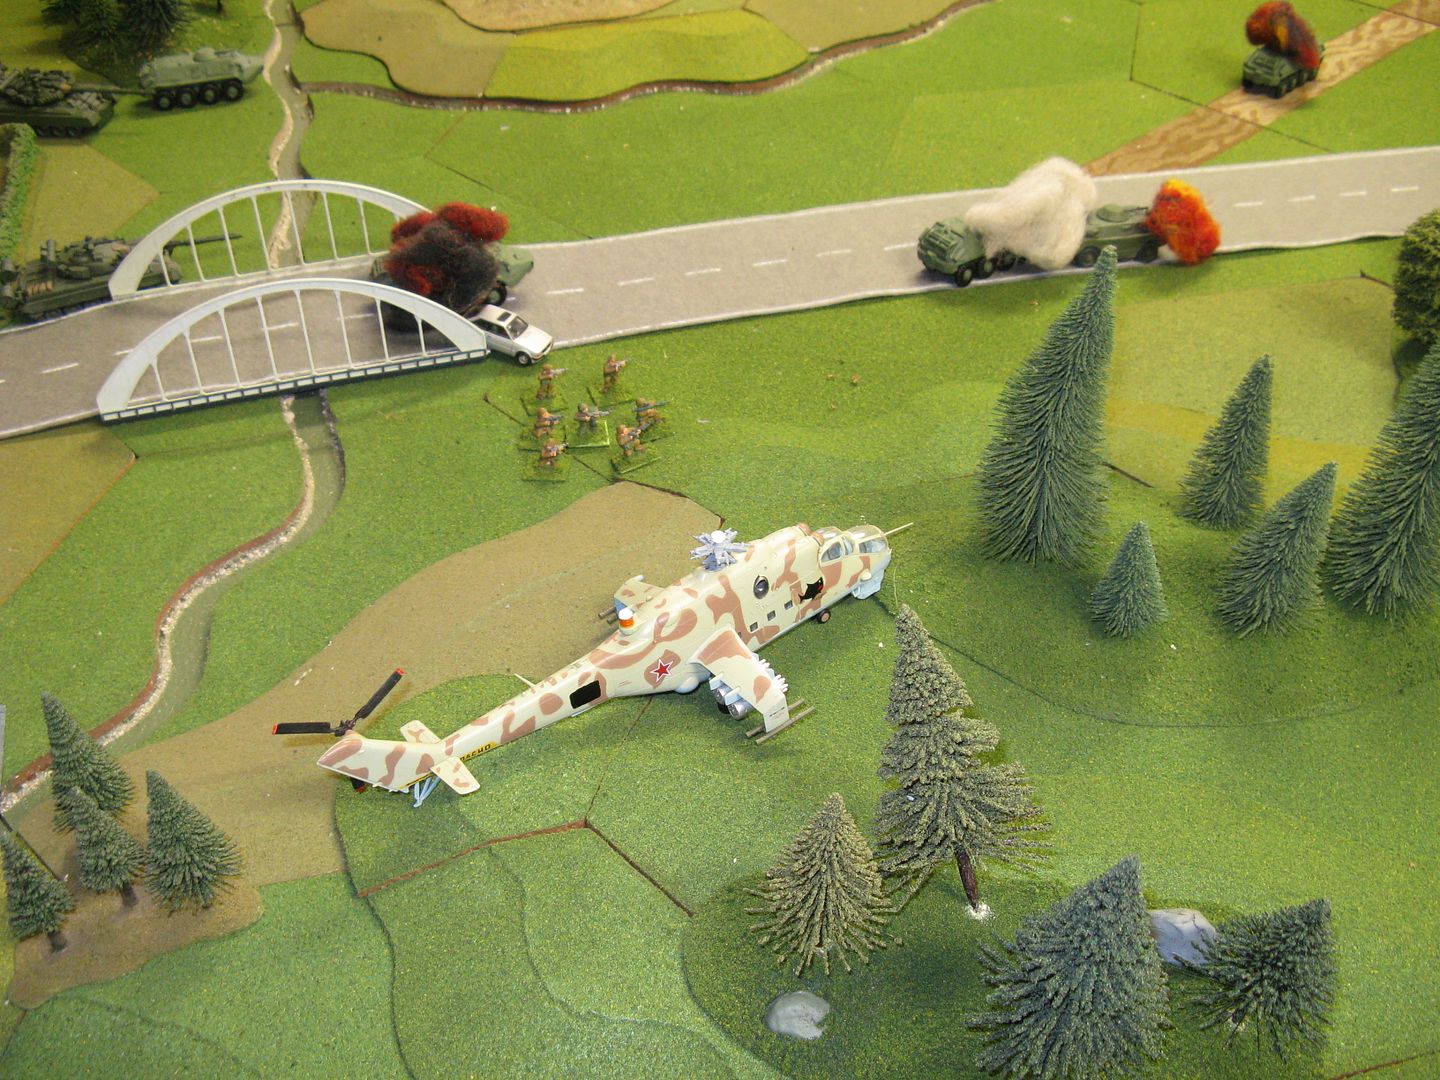
A MiL-24 E arrived to assist (I left the flight stand at home... idiot...)
and started to pound the West German front lines
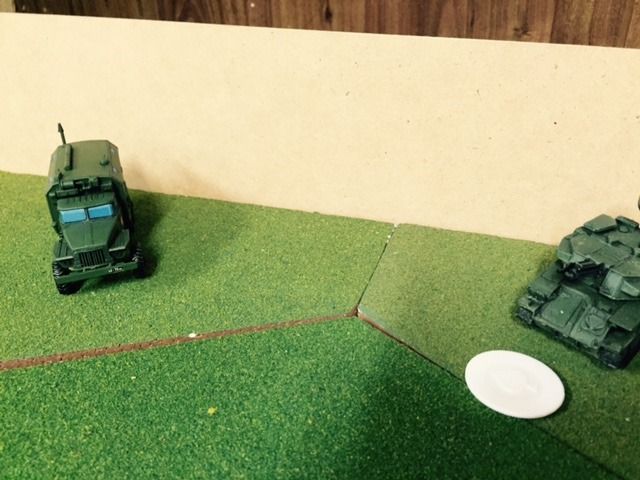
In the final shot I have of the game you can see a number of dead Soviet AFVs and a bunch ov vehicles on "Covering Fire" (the white marker).
Unfortunately we had to call the game there for time reasons. The Soviets had lost about 40 BR while the West Germans had lost about 20. It would have been quite interesting to see how the next few turns panned out, as the Soviets had only really just got to the point where they could really launch their attack.
It would also have been interesting if I had read my Russian doctrine a little better - and allowed the Soviets to lead with their tanks...
It would also have been interesting to have a Soviet air assault land late in the game. NATO had rushed all its force forward, and basicall left the rear of the table completely blank. A Soviet force landing back there could really have messed with NATO's response.
I think if I had to do this again, rather than play on one long table, I'd prefer to run it on 3 seperate tables with two up and one back. I'd try to run two Soviet motor rifle companies, each supported by a tank platoon attacking up the two front tables. The rear table would be the scene of either an air assault or a NATO attack on a previously air landed Soviet force, behind NATO lines. All the games would be run simultaneously, with support having to be shifted across tables.
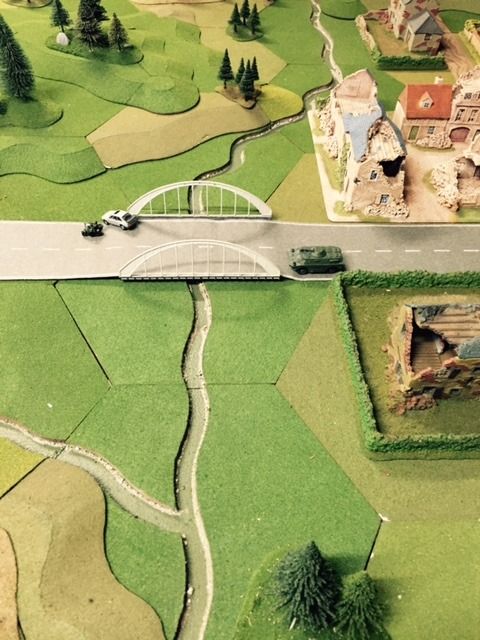
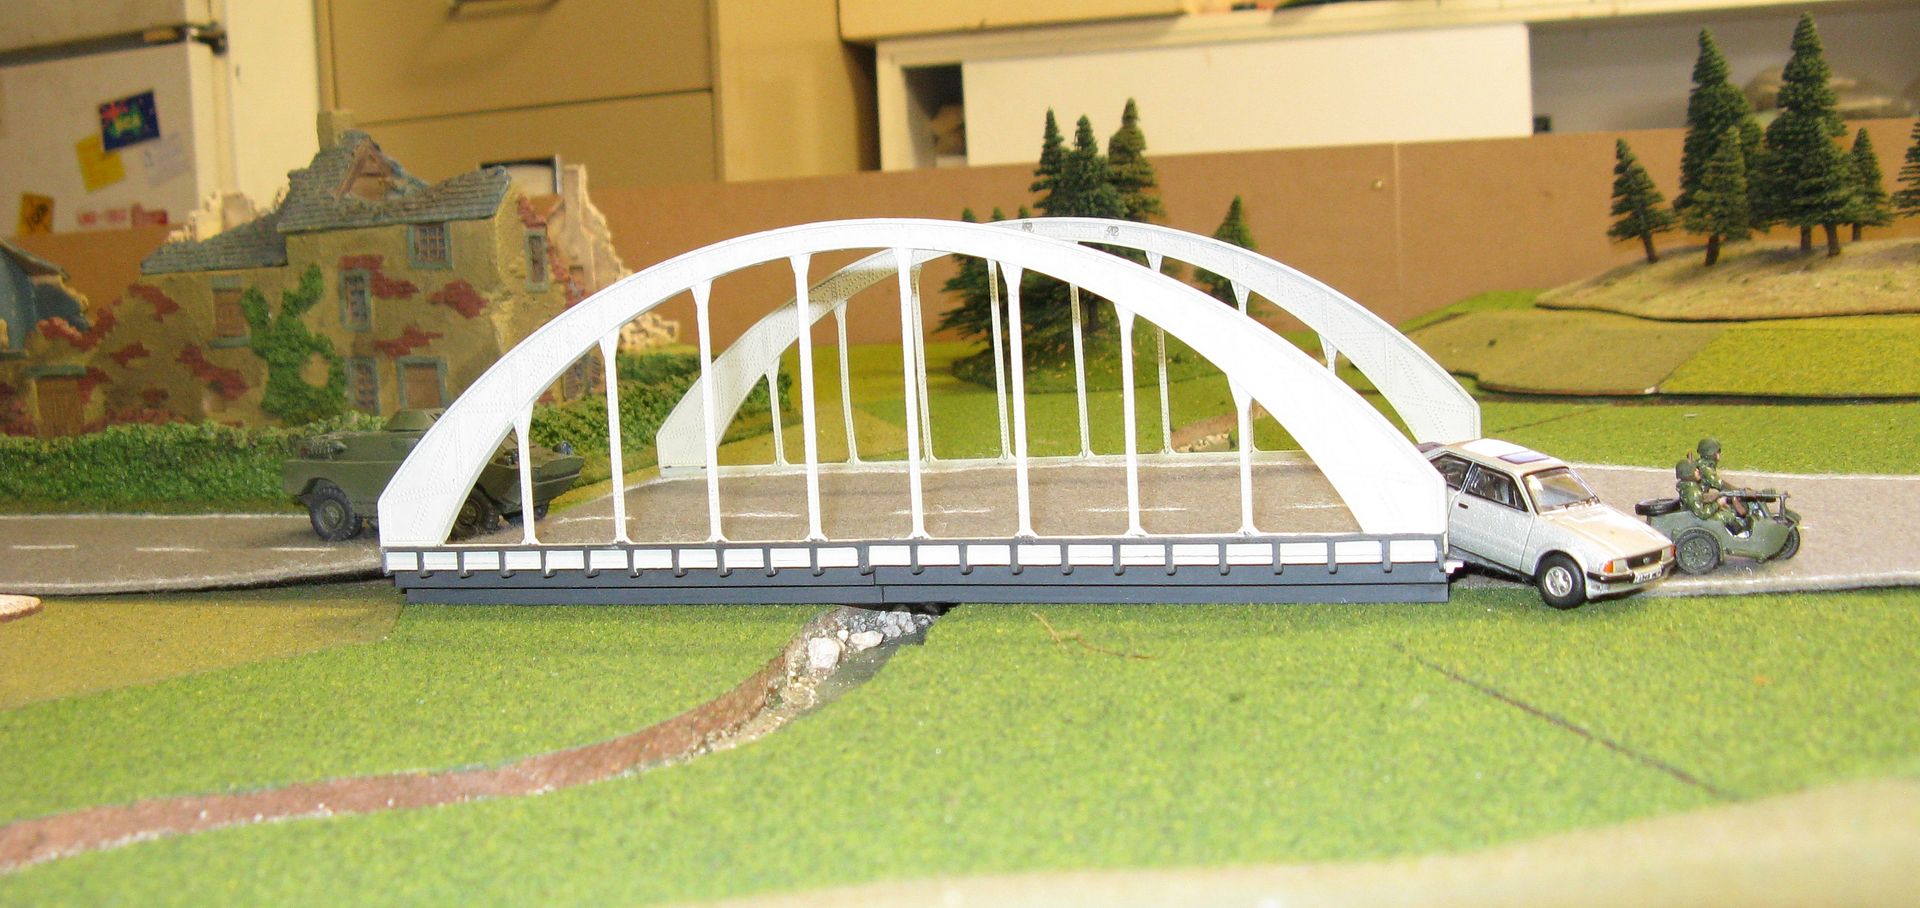
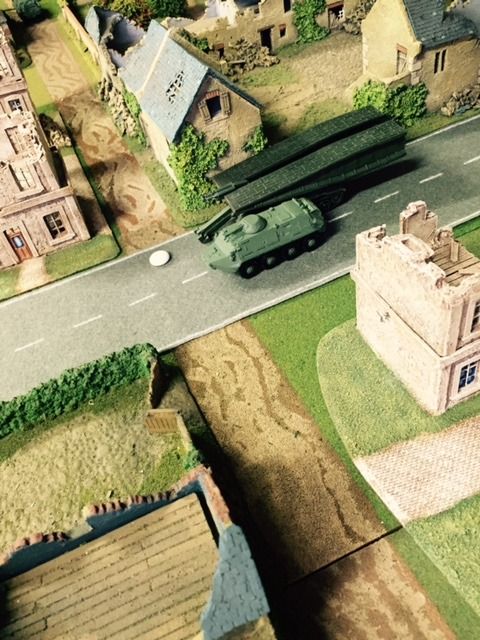
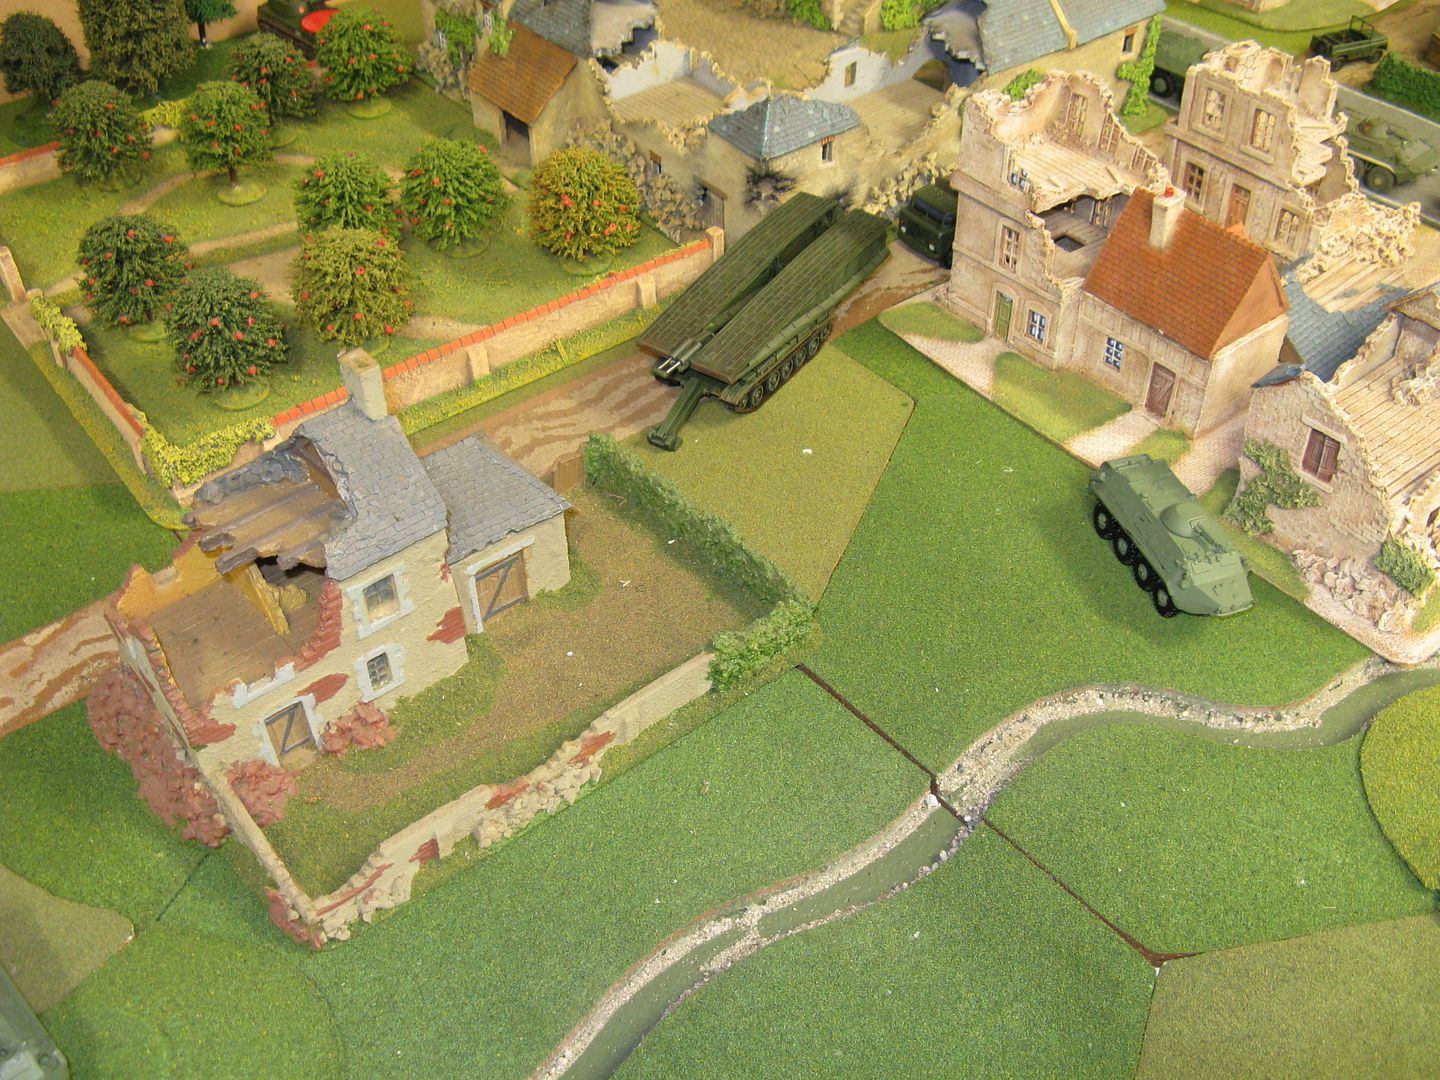
Anyway - so the final game didn't quite get to the point I wanted it to, and I think I kind of stuffed up the layout by having an impassable stream with just the one crossing point (until the AVLB was able to lay the bridge). I had envisioned most of the combat taking place near the centre of the bridge - but it didn't work out.
Bottom line - we had enjoyed ourselves and gotten a bit of kit out onto a very nice table - so it was all worthwhile.
Have fun
Richard
Subscribe to:
Comments (Atom)


