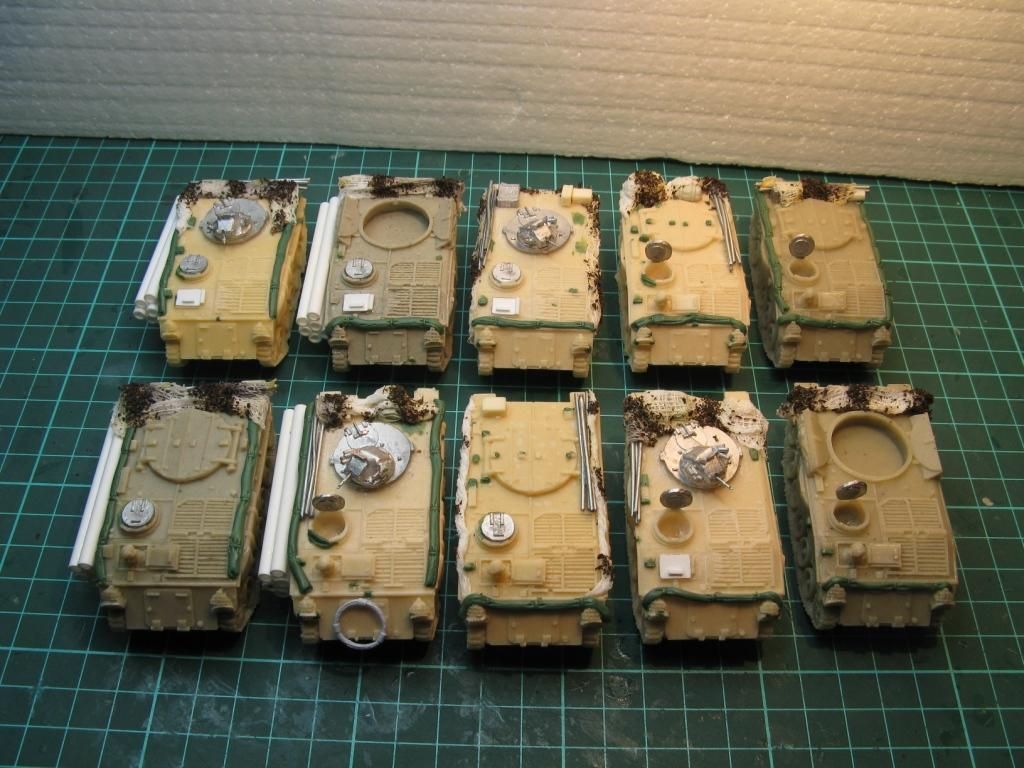
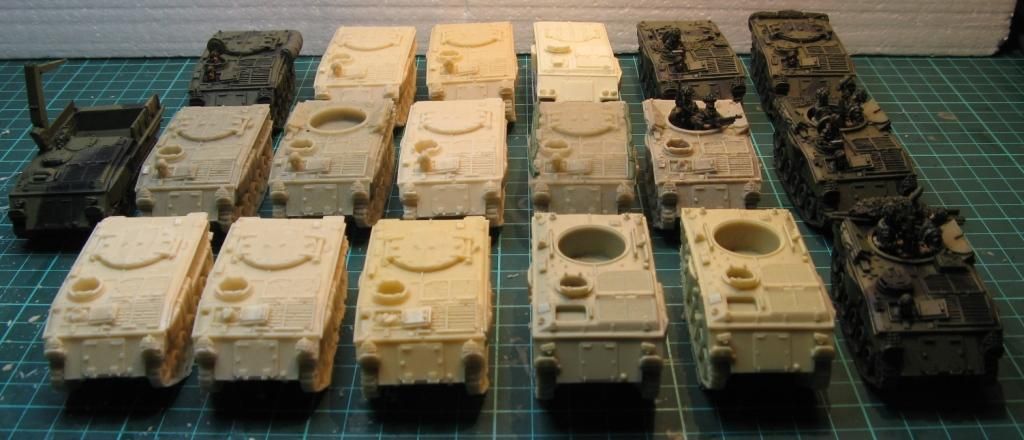
Thanks for all the kind words thus far - the end is almost in sight for at least some of these FV432s.
Things did not happen quite as "shortly" as I expected in my last post, largely as I had anticipated doing the spray coats over the weekend. I seemed to have forgotten you actually need spray paint for that to occur. A teeny hole in my cunning plan.
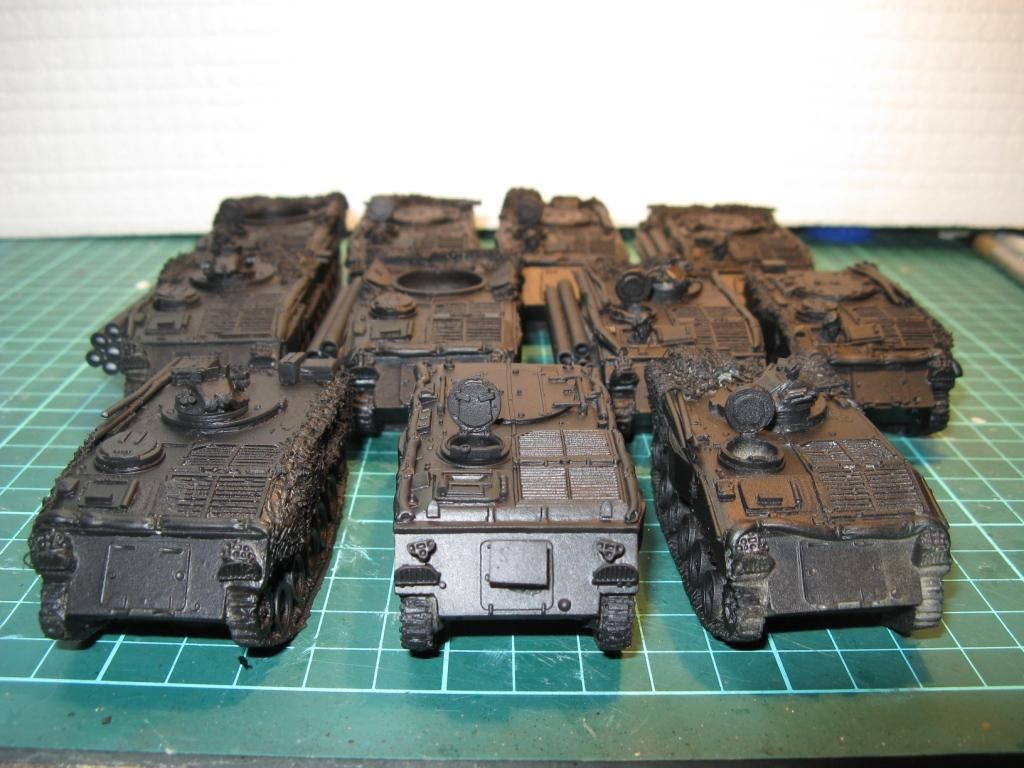
So on Monday I popped down to my LGS and picked up a can of Army Painter Black Primer and a can of Plastic Soldier Company British Armour spray.
Not terribly exciting pics - but there they are anyway...
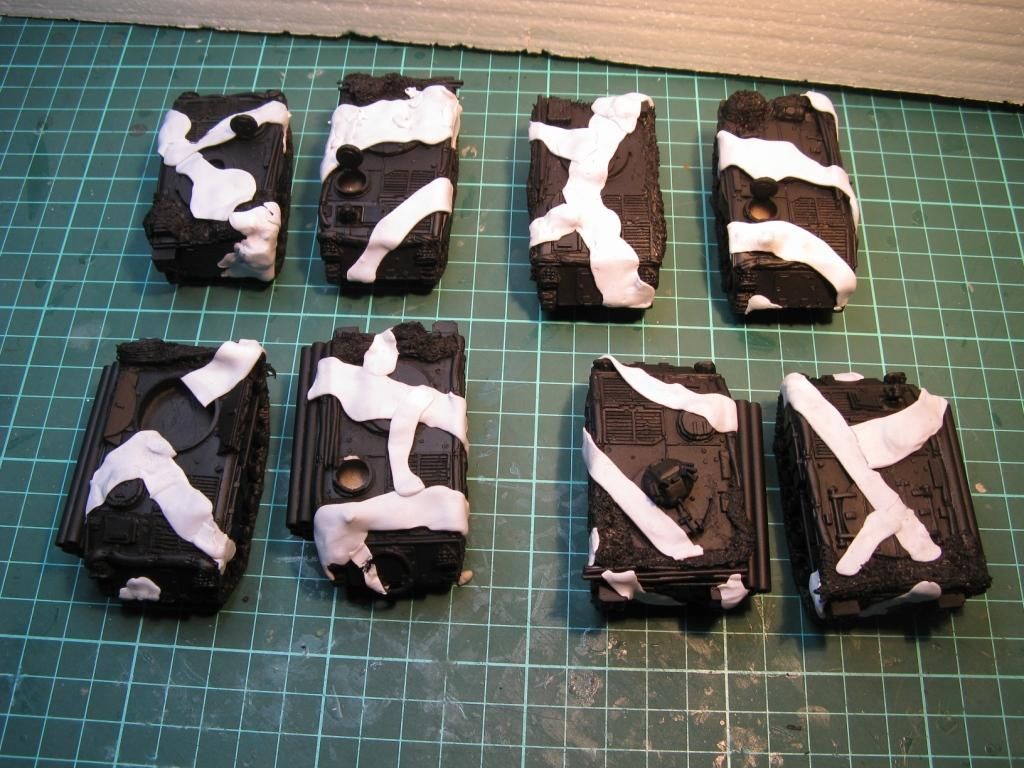
24 hrs later - on went the blu-tac stripes:
And then the base colour spray coat:
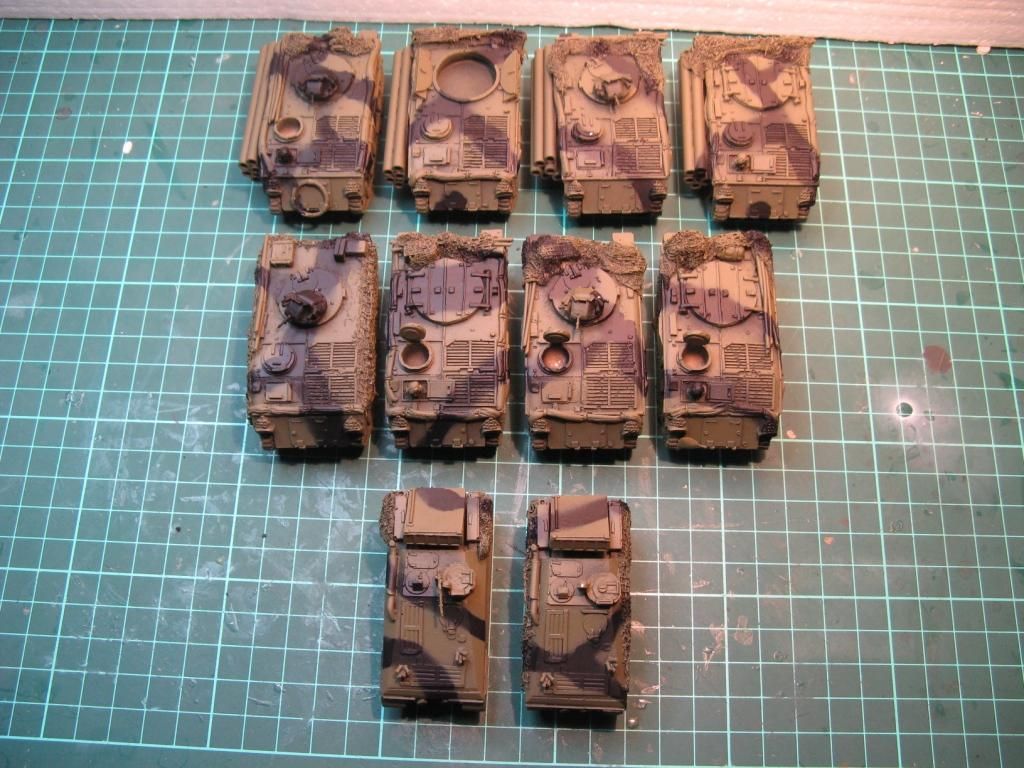
This is what they look like now - with the blu-tac peeled off. You may have also noticed a couple of S & S Strikers also made it into the photo.
I had hoped to get all my FV432s done in February, but time is against me so I decided to limit the work to these 8 plus the Strikers.
Next up - blacklining...
Thanks again
Richard
25 February 2014
21 February 2014
FV432 Progress part 2
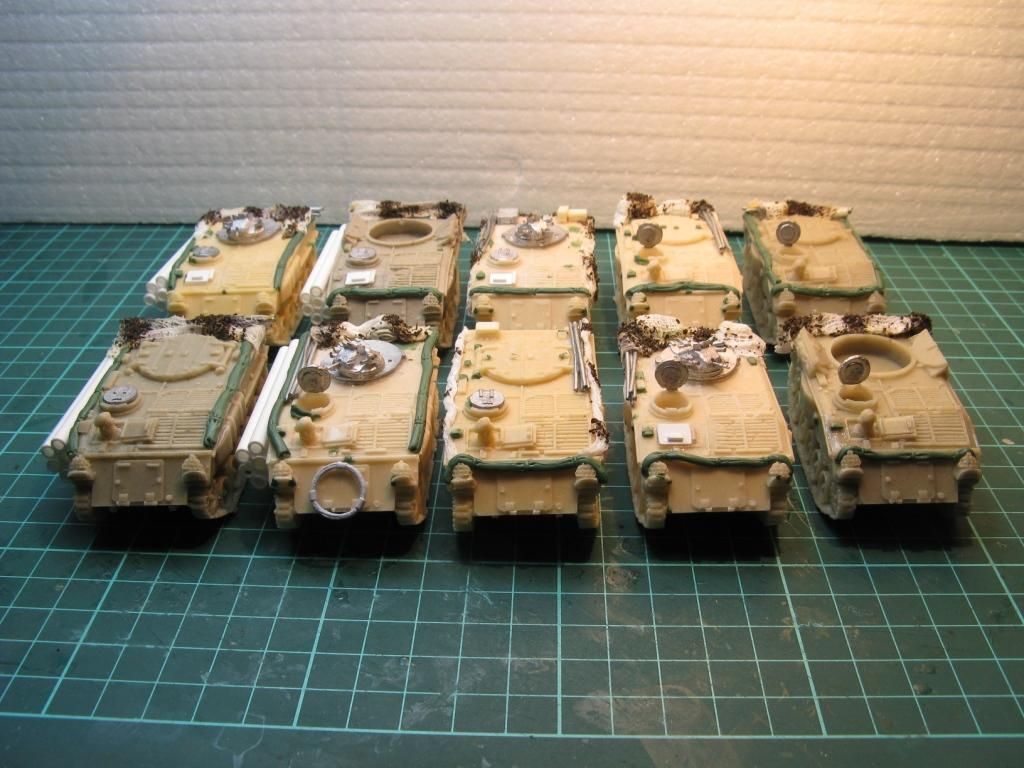
Progress continues - and all the Britannia FV432s are now ready for painting.
Here what they look like right now - prior to undercoating...
Another update shortly.
Thanks
Richard
Here what they look like right now - prior to undercoating...
Another update shortly.
Thanks
Richard
16 February 2014
FV432 progress
Today I thought I quickly post up some photos of the progress I've been making with my FV432s. Best news is that my Peak Engineering Turrets arrived on Friday (6 days from the UK!) so I was very chuffed and decided to crack on with the FV432s over the weekend.
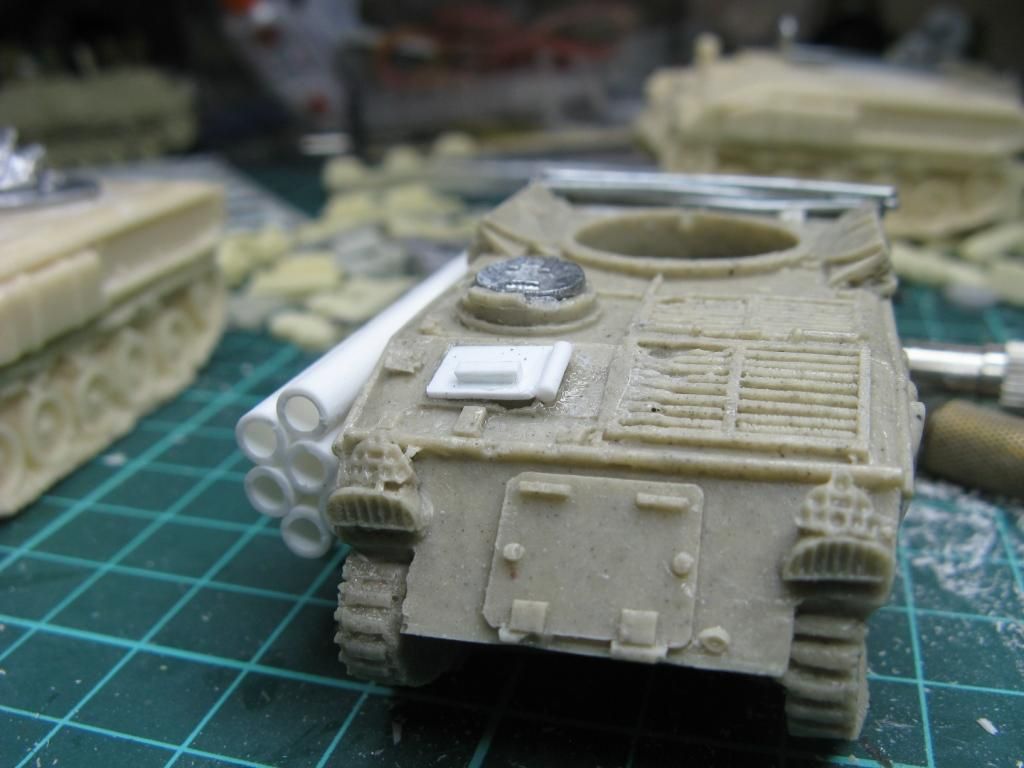
First up I had to finish off the driver's hatches that I was working on in the last WIP post. Probably not the best example, as it needs a little green stuff work - but here is the finished conversion:
I also had to grind down the main roof hatch to form a space for the Peak turret to fit. I ended up using a mouse sander to carefully take of most of the hatch and after some more sanding and filing was left with this:
As you can see - a bit of the detail on the roof side and rear was lost but most of that will be covered up with stowage. Poles here for example.
Of course the S & S models Peak turret base was much smaller than the resin circle I had left over from the sanding (forgot to take a pic here). So after some creful work it looked like this:
And this
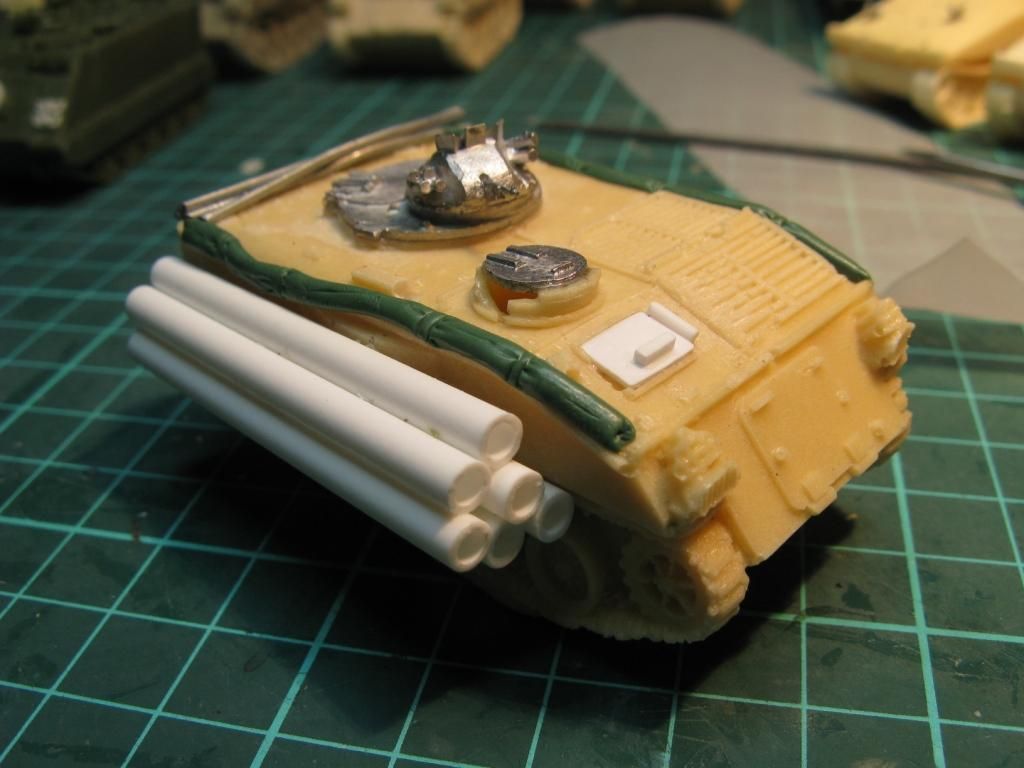
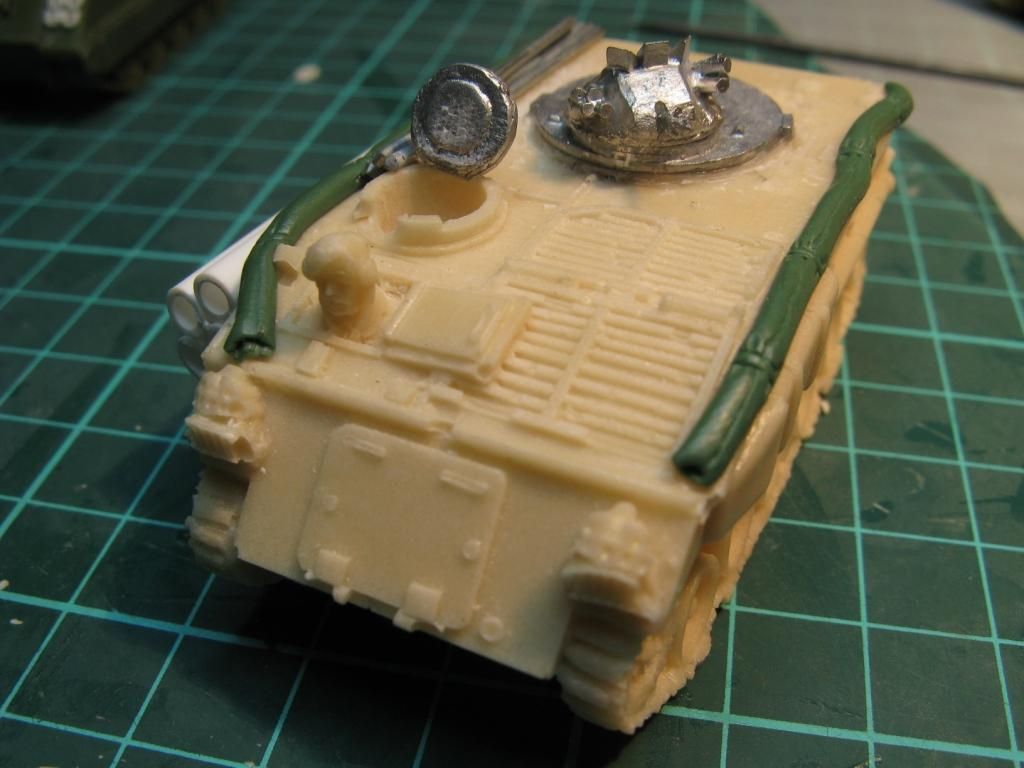
Next step was to work on some green stuff tarps. I'm pretty hopeless with greenstuff - but this is how they turned out:
As you can see I've added fascines to some of them. In the future it will help identify oneof the platoons.
Here's another example with the Peak turret:
And another one:
I'm very happy with the Peak Engineering turret. Sure it took a bit of work - but it is lovely and really makes the model.
Next up I have to carefully go over each model and start filing in all of the air holes - and there are plenty of those.
Have fun
Richard
13 February 2014
FV432 Reference and Inspiration Pictures
The FV432 month continues and the models are making some progress - the only things lacking are my Peak Engineering turrets (which will hopefully arrive next week) and me taking photos... That's enough said about that.
Anyway, as part of this project I trawled through a few websites etc to find some good reference and inspiration photos, so I thought I could share some of them here. None of this is done with the permission of those that own the photos - so I do beg their forgiveness/indulgence - however these are all on open or public forums or found elsewhere on the net and I will try to name those I know with their work.
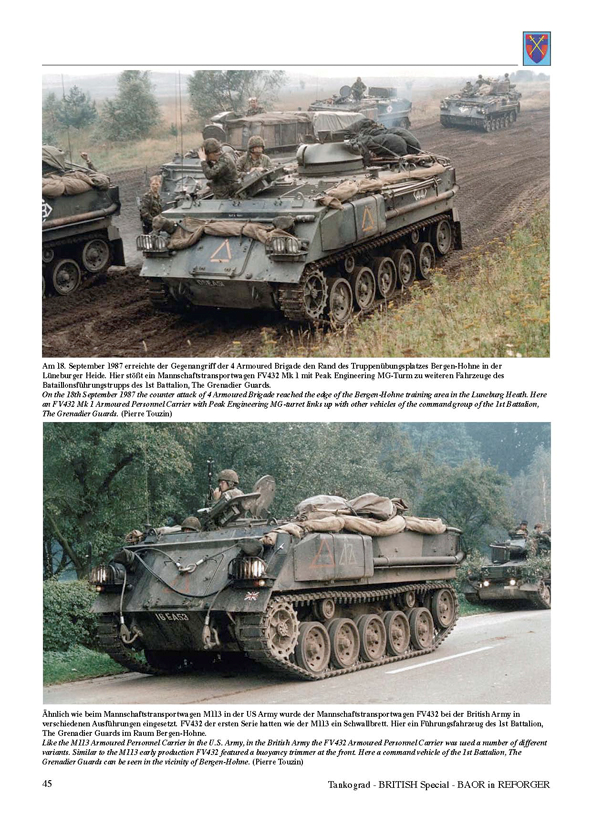
My first and best stop when looking for great reference and inspiration photos was Andy's superb blog Cold Wargamer. Andy has first hand knowledge in this area and is also a very skillful modeller. Using his models as a guide - you really can't go wrong. Here are some examples from his site:
Note the excellent scratch built Peak Engineering turret.
Andy's site gives you a detailed how-to to achieve this look and also some W-I-P photos like:
Another cool scratch built job here - a NOD for an artillery FO.
Finally Andy has some excellent "real-life" photos. Some I've seen elsewhere and some I've never seen before. Heres a selection I thought really useful:
I love that last photo - really shows the fascine well.
Elsewhere on The Guild I found some good photos of models. First up one done by the renowned painter Piers Brand:
Here's a couple more I found - sorry, I 'm not sure who the modeller is here:
Finally - here's a few photos I found wandering around the net:
Obviously there are tons of great models and great photos out there on the net - so I hope I can get a suitably lived in look happening for my FV432s.
Thanks - and thanks again to all those out there that have helped my project by showing their inspiring pics.
Richard
03 February 2014
February is FV432 month!
True madness has struck and I am now the proud owner of 16 FV432s and 1 FV434. Together they look a bit like this:
and this
Now the majority of them are Britannia Miniatures, quite a few of which I recently got through Wartime Miniatures here in Oz. Mathew very nicely ordered them in for me - at a very reasonable price. Two of the unpainted FV432's are simply quite beautiful Cromwell Models, as is the painted FV434. Finally 1 of the FV432s - the smaller 1 right up the back, comes from an unknown brand - I picked it up at the Cancon Bring 'n Buy.
So I have a few to fix, stow and paint. I also have 4 S&S Peak Engineering Turrets on order, and hopefully they will arrive before the end of February.
First task was to remove the massive chunk of resin from under the Cromwell 432's tracks. A tedious and boring job - hence no pics.
Next task was to deal with the second of two things I don't really like about the Britannia 432's. The first is the air bubbles, but I'll save those for later. All Britannia 432's are meant to have the driver and his hatch look like this:
A good looking chap with a nice 1980's moustache. I actually prefer metal hatches and half figures, that allow you to either have the hatch closed or open.
Some of my 432's came like this:
The chap's head has been broken off! In the past I've fixed this by simply pining on another head. But I wanted to try something different this time. A little work later and it looked like this:
A bit more (well a lot more) and it looks like this:
Not perfect I know, but good enough for someone with my limited skills. I jusy now need to add a new plastic card hatch and my refurbed driver's position will be complete.
That's all for now
Richard
Subscribe to:
Comments (Atom)

