Its ben a long time - but finally I can post up Part 2 of this work-in-progress.
Part of the reason this took so long is because I got kind-of stuffed around by the original supplier of the wash I wanted to use on the table top. When I finally gave up (after a few months waiting) I simply ordered it directly from the UK and it was in OZ like 4 days later. Unbeleivable.
Anyway, soit looks like I totally forgot to take a photo of the painted table top before I splashed on the wash. I got some Army Painter Uniform Grey spray paint and used that as the base colour. Then I used a Citadel Black (from a height as Jamie Oliver would say) in some odd spots and another really old Citadel Space Wolves Grey spray to lighten a few random spots.
Then I waited six months, as you do....
Then I got a gloss varnish and sprayed both the boards with that - so the wash wouldn't simply soak through the spray paint into the faux vinyl.
Then I got this product:
from Flory Models in the UK. To help it flow into the faux cobblestones I added a tiny amount of dish washing detergent.
Paint over the whole table top, it then looked like this:
Once it was completed dry, I got a kitchen paper towel and dampened it slightly. Then I started to rub off the wash - hopefully leaving only the dirt in between the faux cobblestones. This took a fair amount of effort and time. The end result looks like this:
I've added a Marder to this photo for some scale:
Pulling out a bit:
And a bit more:
One panel with some houses etc:
Both panels together (naked) create a 4' x 4' table (I think):
Now I need to start working on rubble!
Thanks
Richard
29 September 2013
19 September 2013
New West Germans - Group Shots
Quite update...
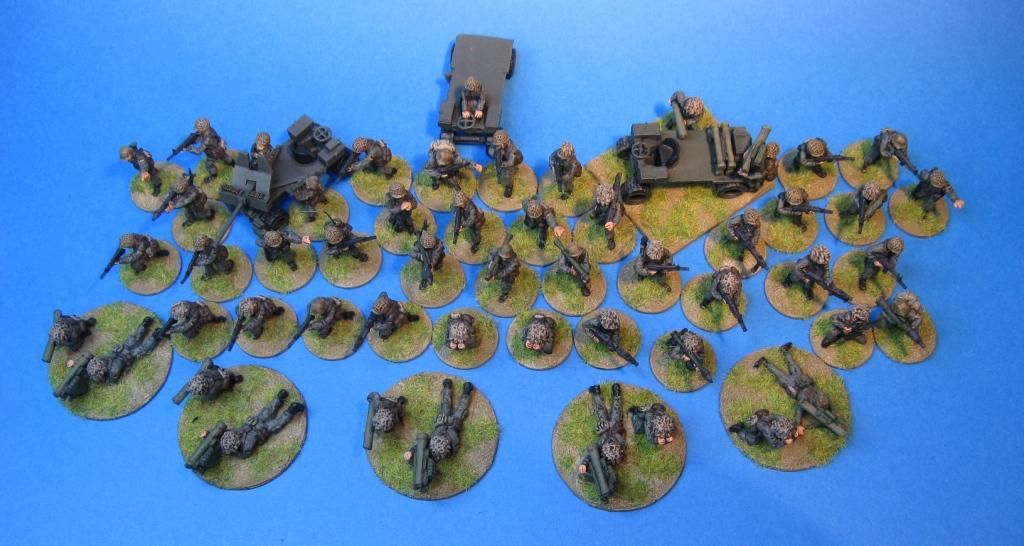
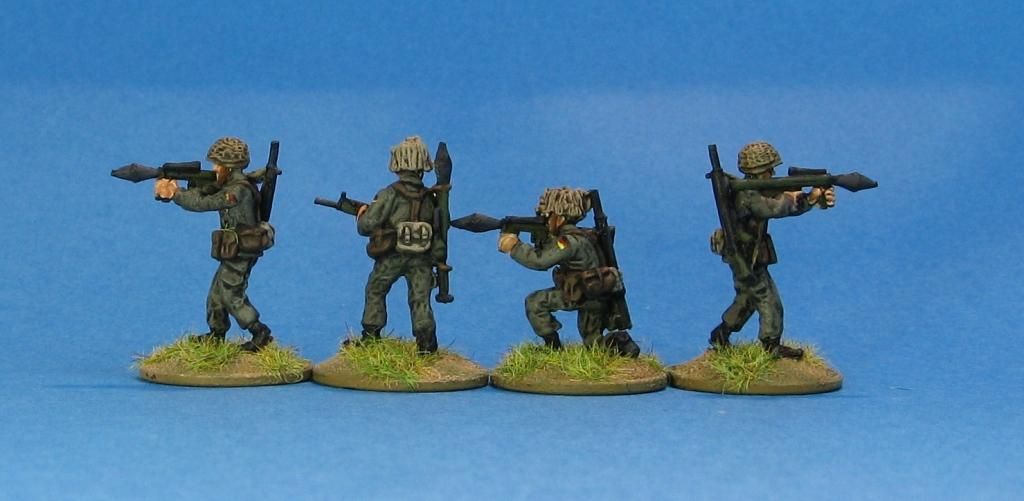
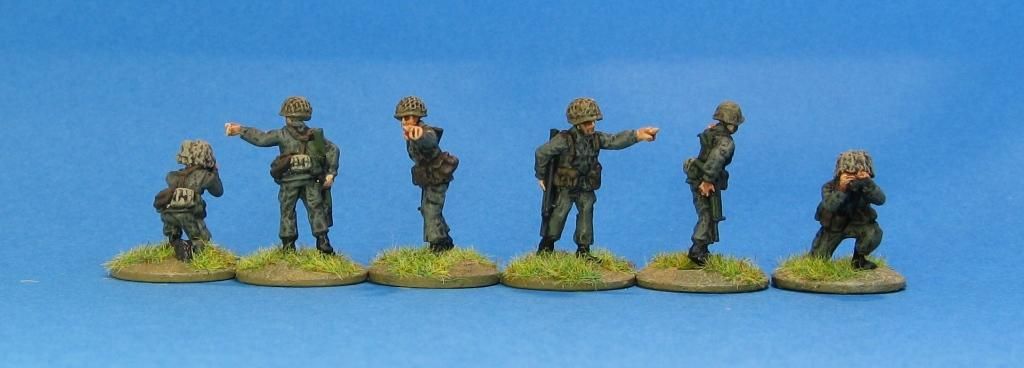
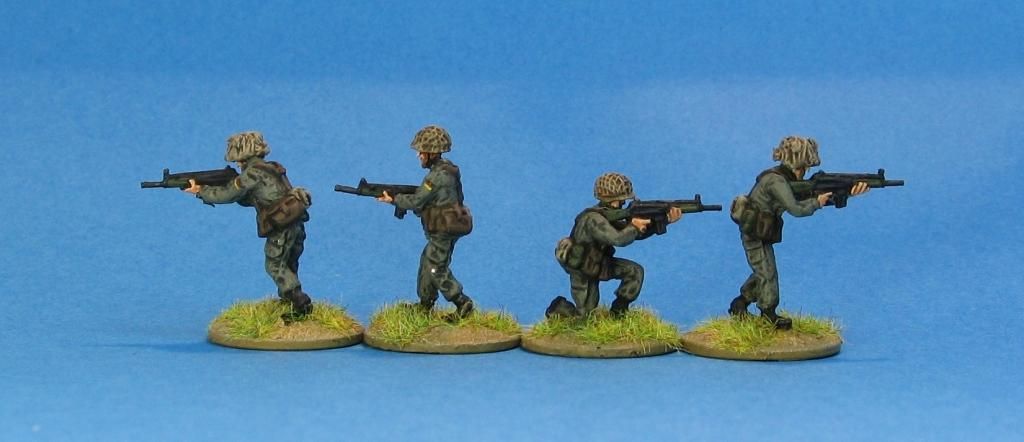
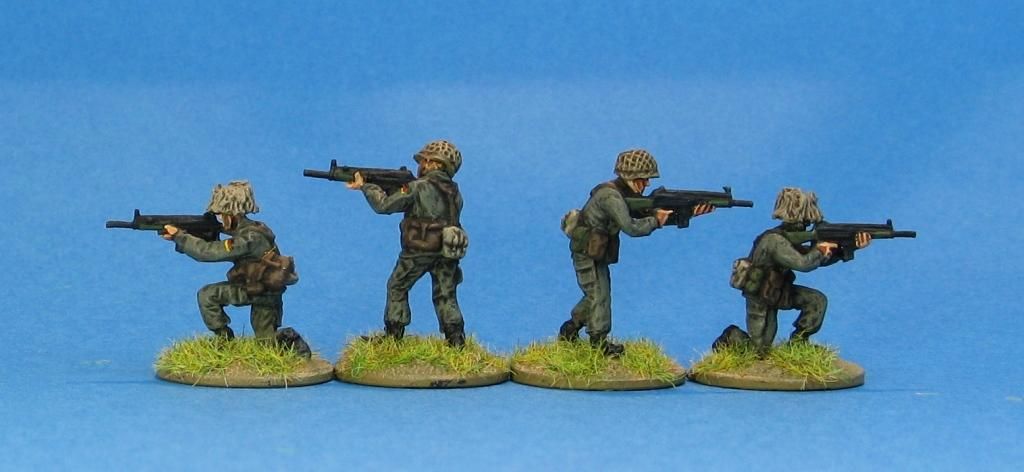
Really just wanted to post up a few group shots of my newly completed West Germans. Nothing you haven't really seen before, just altogether - except for 1 Kraka that I forgot to put in the photo...
Anyway - without further ado:
That's it. Next up - back to my urban terrain boards... finally!
Thanks
Richard
17 September 2013
I've gone crackers for Krakas!
Sorry - appalling title but I couldn't resist!
Carrying on the West German theme - from last week, I've also managed to finish off some great little S&S Models Krakas. Perfect for West German Paratroopers S&S Models (which now has a brand new web store) has a range of about 5 different Krakas. A standard utility, a version armed with a 20mm AA gun, another with a Milan ATGM, yet another with a TOW ATGM and finally a variant carrying a 120mm mortar.
You can find out more about the Kraka here and here and some walk around photos here. Unfortunately all three sites are in German but you'll get the picture.
The Kraka was replaced by the Weisel, but in my Cold war universe - the Kraka is still king - well - a very little dwarf king maybe.
So here are my pics:
First up the basic Kraka:
Of course I can always add some stowage - but I've been thinking of a system of different stowage loads that I could use - at some point in the future. The driver comes with the Kraka.
Here is the variant armed with a Rh202 20mm AA gun:
I like this one alot! I actually converted an Elhiem Soviet figure (with a head swap) to act as the gunner.
Next up a Milan ATGM armed Kraka:
To make this one a tiny bit different I used a Revell Milan launcher with no missile attached.
Finally I decided to make a diorama with my last Kraka:
Again the crew are Elhiem figures. The Loader is a standard Elhiem Milan loader, however, that is a kneeling down figure which had to be added to a standing pair of legs. The Gunner is a walking figure carrying a G3. The G3 was removed and his head popped off and twisted to show him firing. The Milan is a Liberation Miniatures milan.
That's it. I'm quite chuffed with my Krakas and know that deep down, I'll need a few more!
Thanks and have fun
Richard
12 September 2013
More West German Infantry
Well - here we are again... This time I thought I'd show you some of my recently (like 2 days ago) completed West German Infantry.
Before I jump into it, I first have to say that the "new" Elhiem West German Infantry are simply some of the best miniatures I've ever had the pleasure to paint. The poses are all excellent, very natural, well studied, with great attention to anatomy, weapons, uniforms etc. I simply love these figures and can't wait for Matt at Elhiem to add to the West German line - to match his excellent BAOR range.
Anyway - that's enough waffling from me - onto the photos - in no particular order:
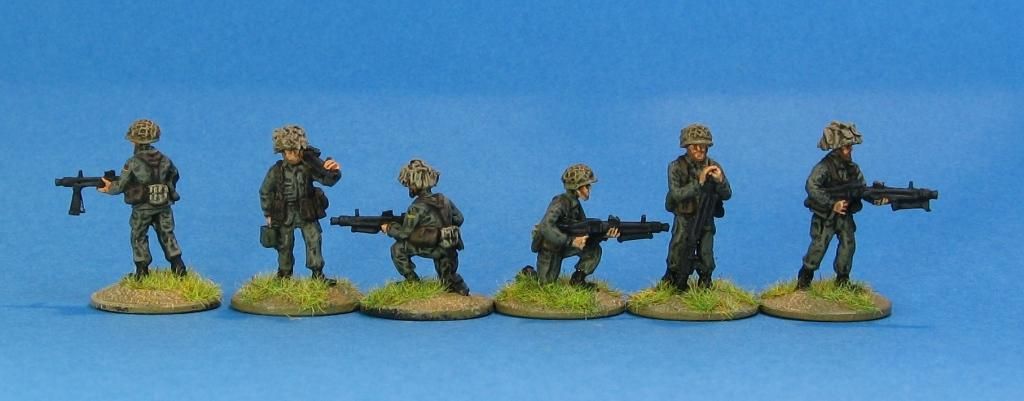
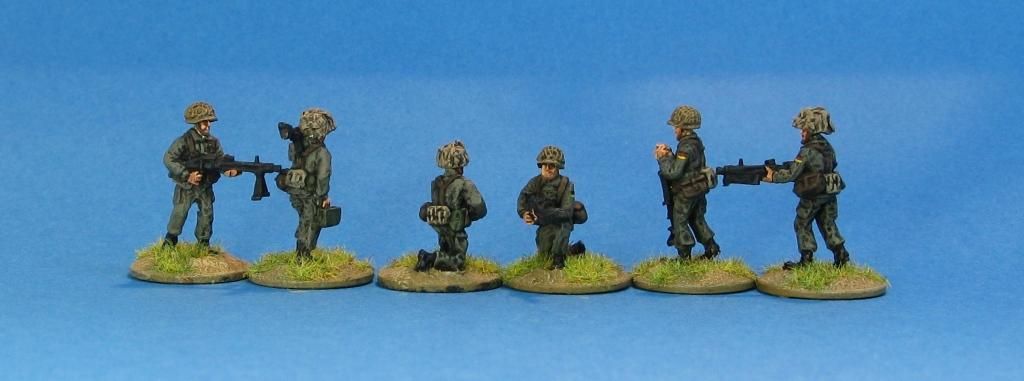
The first 2 shots give you an overview of the Elhiem BW03 MG3 range.
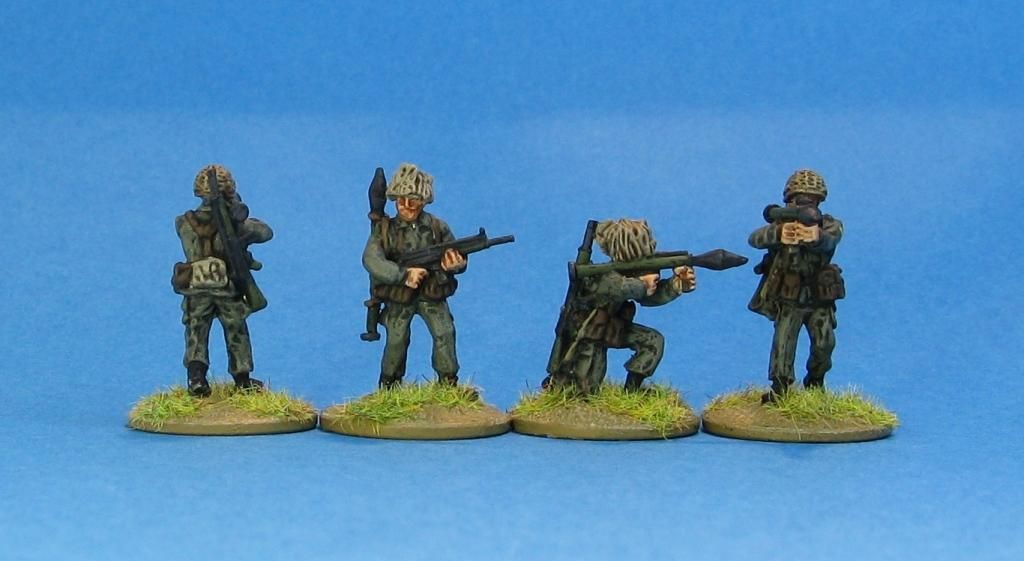
These 2 photos show the Elhiem BW04 set of infantry armed with Pzf 44. I particularly like how they are still carrying their G3s.
This photo is what I'm calling Officers and NCOs. The chaps pointing actually come from the BW02 and NAT02 rifleman sets while the chap kneeling down looking though bino's comes from the BW05 Milan ATGM team set. I'm using the pointers as NCOs, with one of the bino chaps as a Platoon officer (until a proper one comes out) and the other as part of a FOO team.
These 2 shots show a variety of things - from the left - a RTO - basically a standard rifleman from BW02 with a greenstuff radio backpack added by me. Next are 2 Carl Gustav gunners from BW04. The final chap is an old Elhiem figure firing a Redeye SAM. He is out of production - but I'm assuming Matt is planning a better version of him some time in the future.
Next are my new Milan ATGM teams. Elhiem's BW05 gives you 3 figures & the Milan. I only used 2 on each base - the gunner (Missiler?) plus either a loader or an observer - just to misx it up a bit. This also meant I was able to use as Revell Milan gunner and Milan and one of the observer figures to stretch it to another team - so I was pretty chuffed with that.
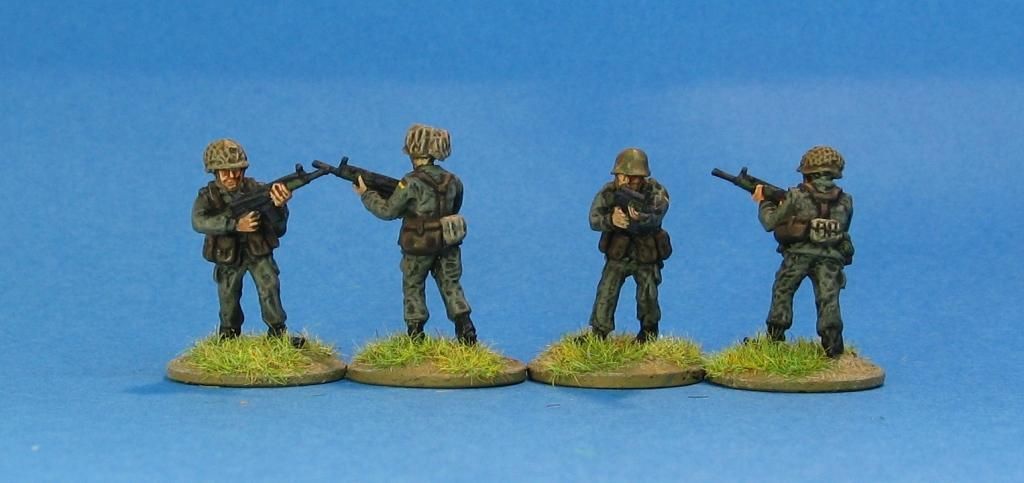
These are all the standard Riflemen that come from BW01, BW02, NAT01 and NAT02. I decided to get one pack each of the NAT01 and NAT02 so I could have a little more variety - basically they come with plain helmets.
Finally to complete a particular section I had half done a year or so ago, I needed a couple more Liberation Miniatures to be finished. I know the Panzerfaust 3 on the right is past my time period - but I'll be using it as a Pzf 44 instead.
So that's all my new West German infantry.
More West German goodness to follow soon.
Thanks
Richard
Subscribe to:
Comments (Atom)


