Showing posts with label W-I-P. Show all posts

18 January 2021

3D Printed Danish Centurions - a Work-in-Progress - Part 1

 A few years back, I stumbled across some very cheap Airfix Centurions in a bargain bin at an excellent Hobby store in Newcastle (Australia - not the UK).  At the time I already had 3 Centurions, and a pretty detailed list in my head of what I wanted to purchase at the store.  Centurions did make an appearance on the list.  I stood there for 5 minutes trying to decide on picking them up or not.  Eventually I reasoned to myself - I'll never need more than 3 Centurions - and went and bought the stuff I had planned.  I've regretted that decision ever since!

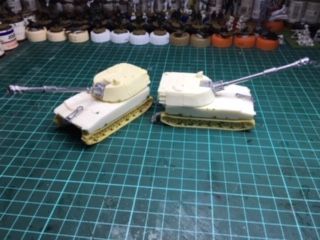
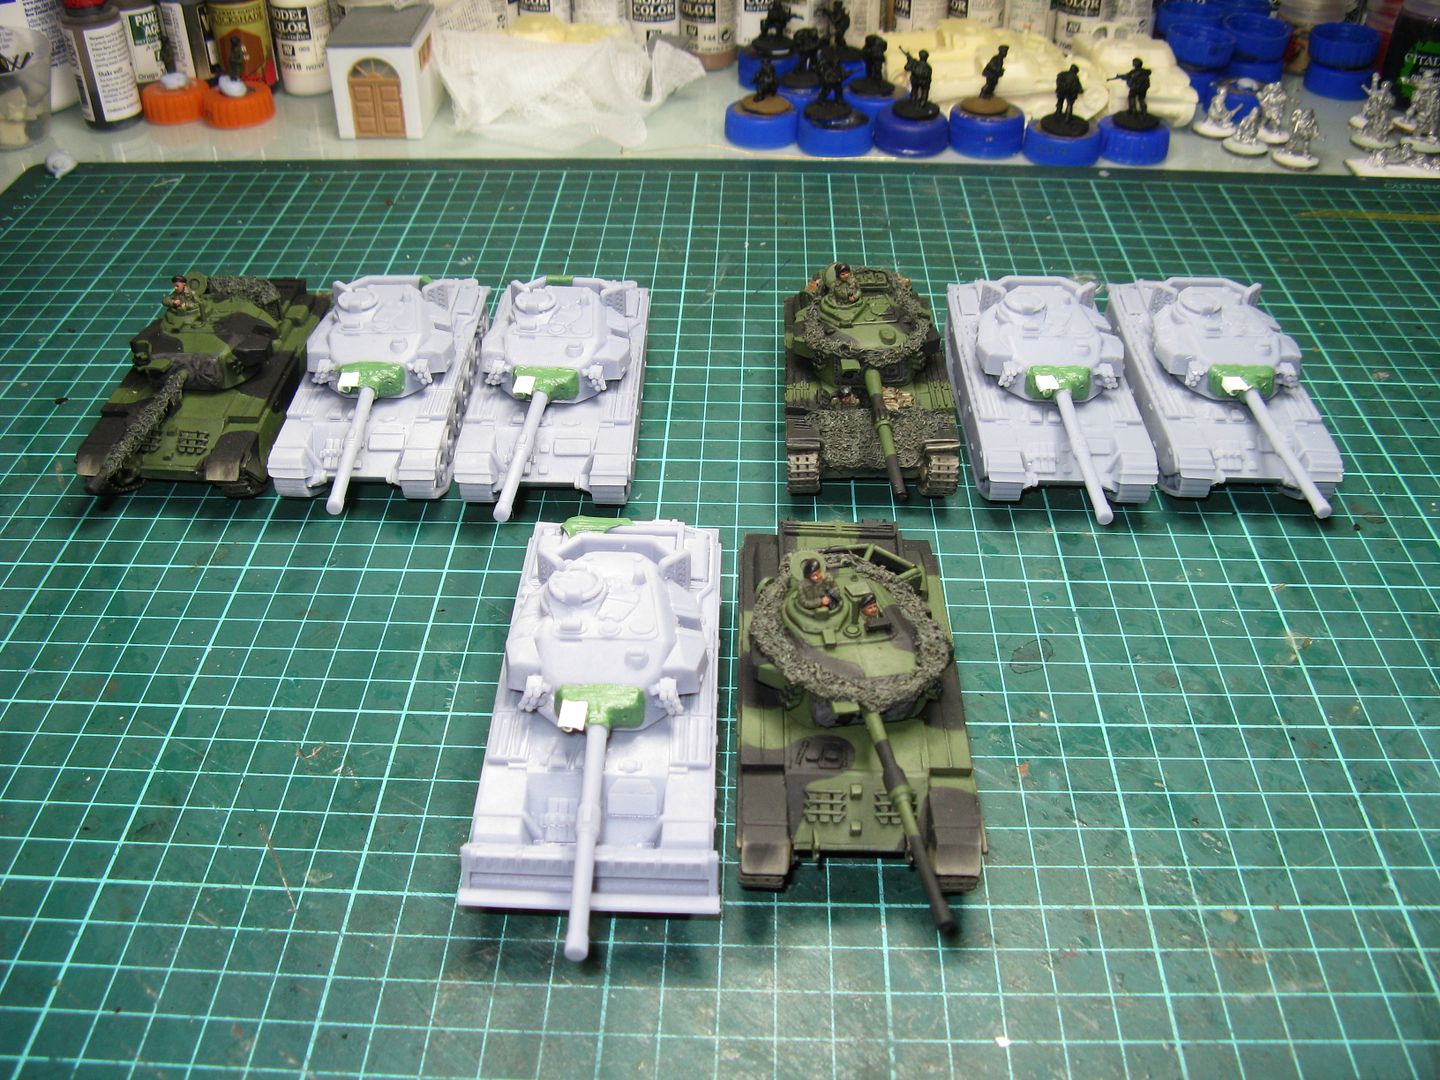
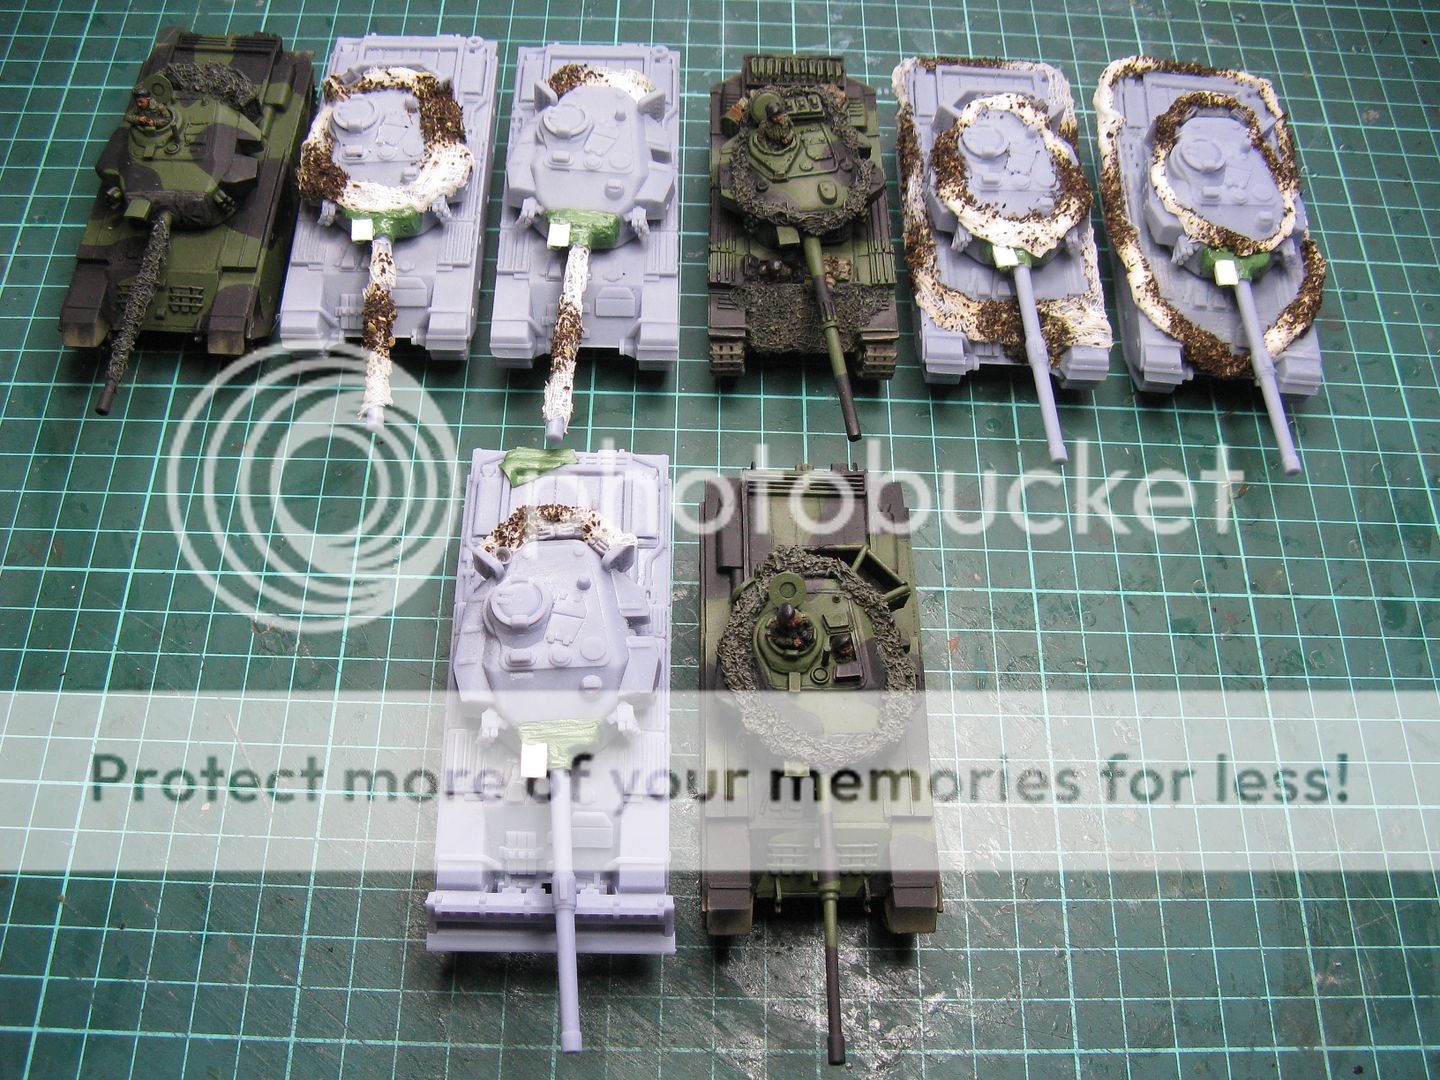
So when I started 3D printing, Centurions were high on the list of things that needed to get printed.  Here's a little sample:


Very meaty models.  The STL's can be found here.  I printed 4 standard Centurions, 3 with side skirts, 1 without.  As you can see below:


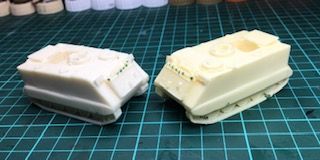
I then printed a Centurion with a dozer blade.  This was going to be my 2-I-C's vehicle.  Unfortunately here I had some issues.


It took me a while to figure out what was going on (it turned out to be some resin had spilt onto my LCD screen) and eventually I was able to print the final Danish Centurion.

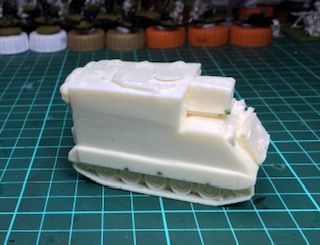
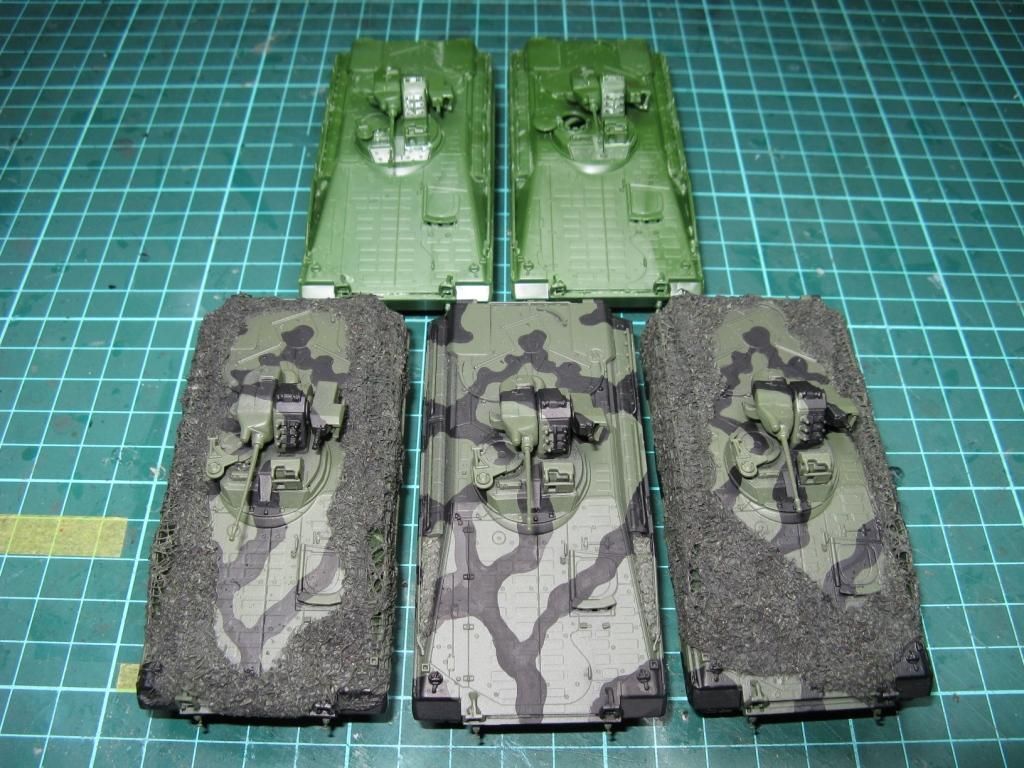
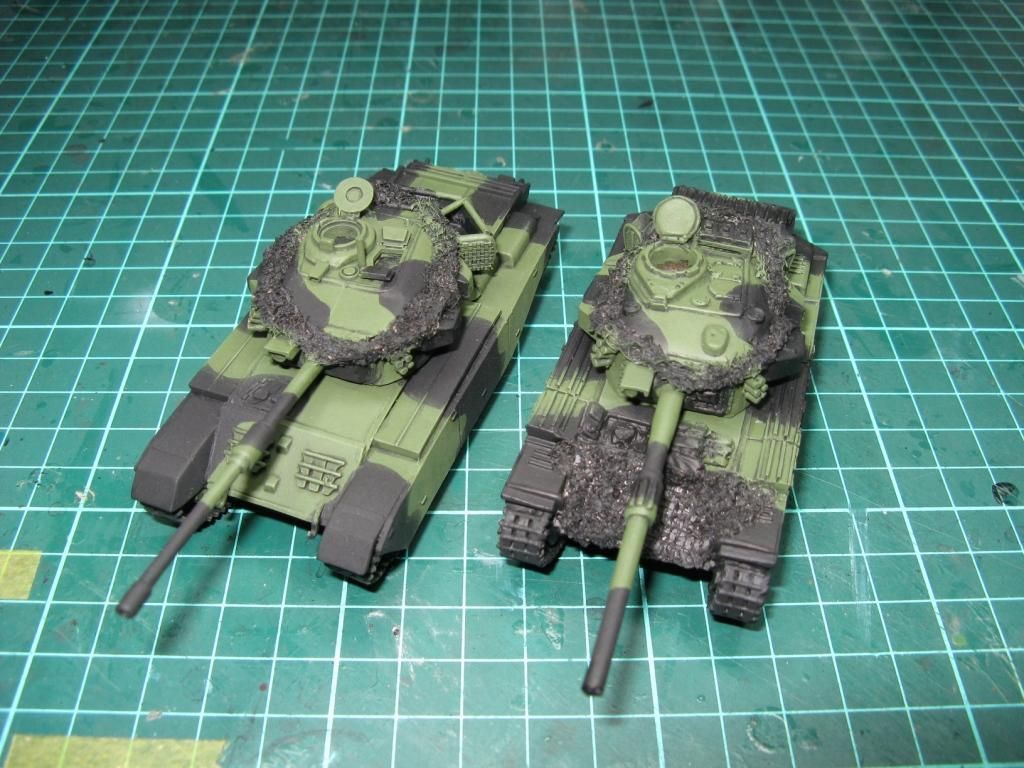
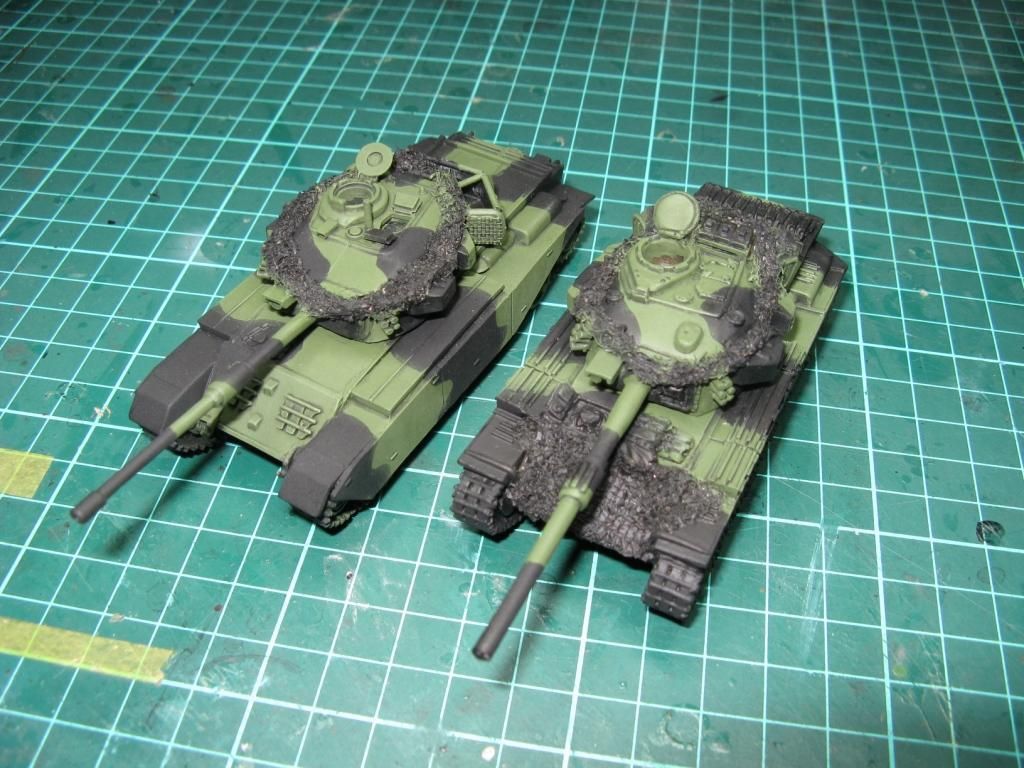
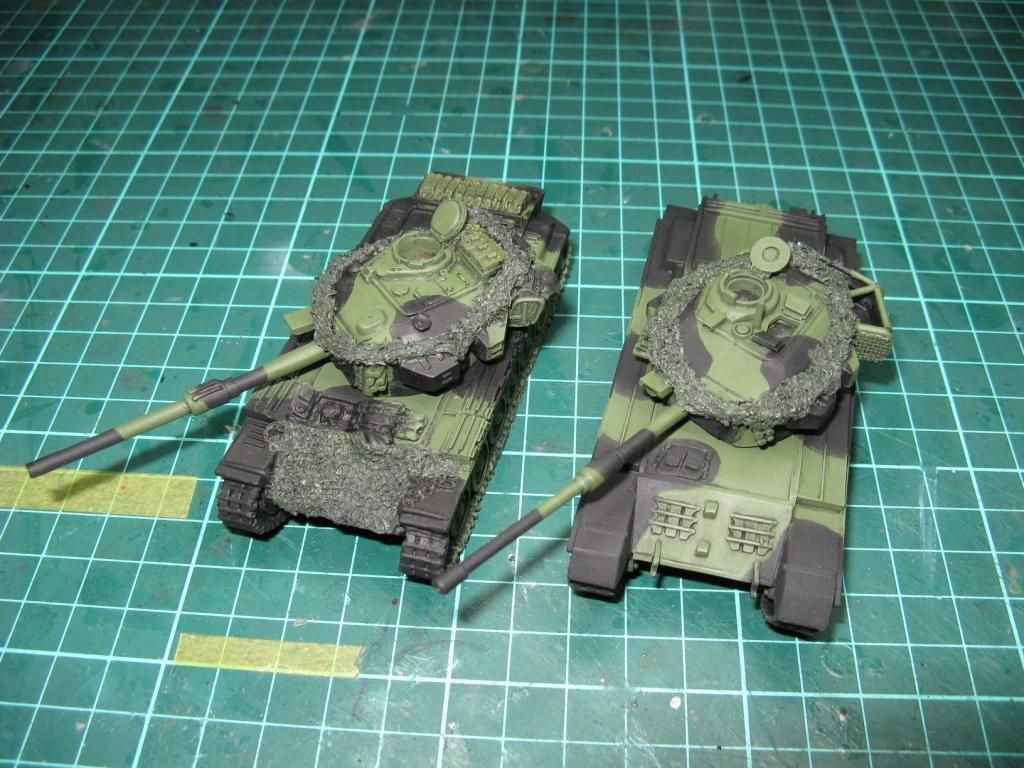
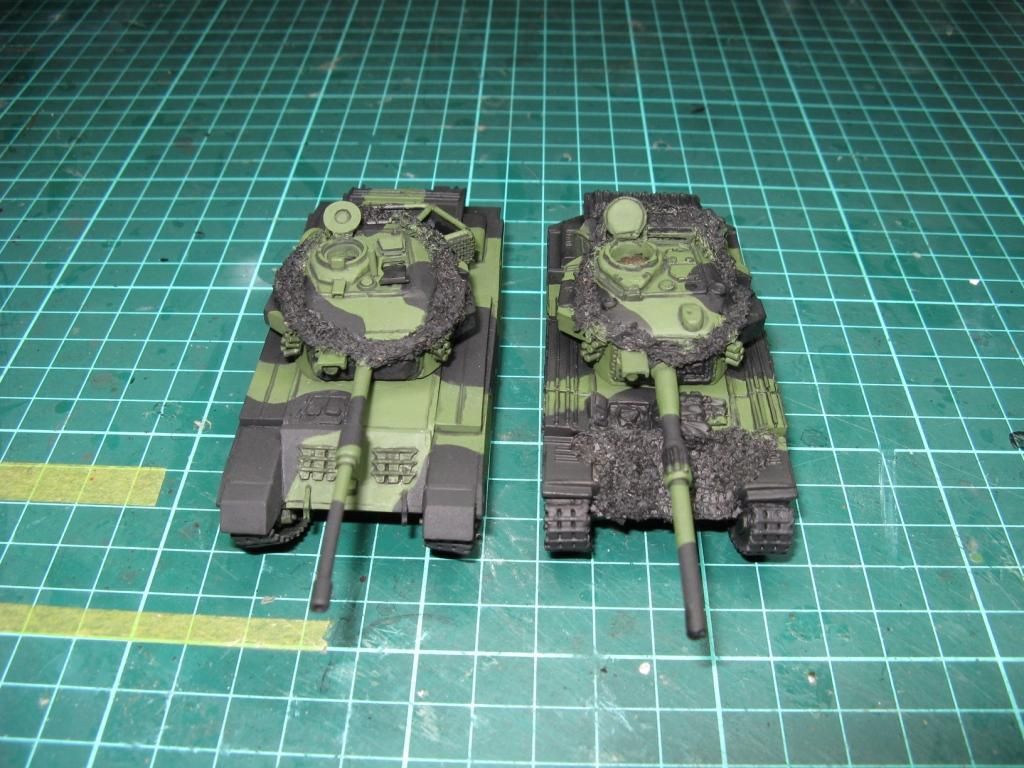
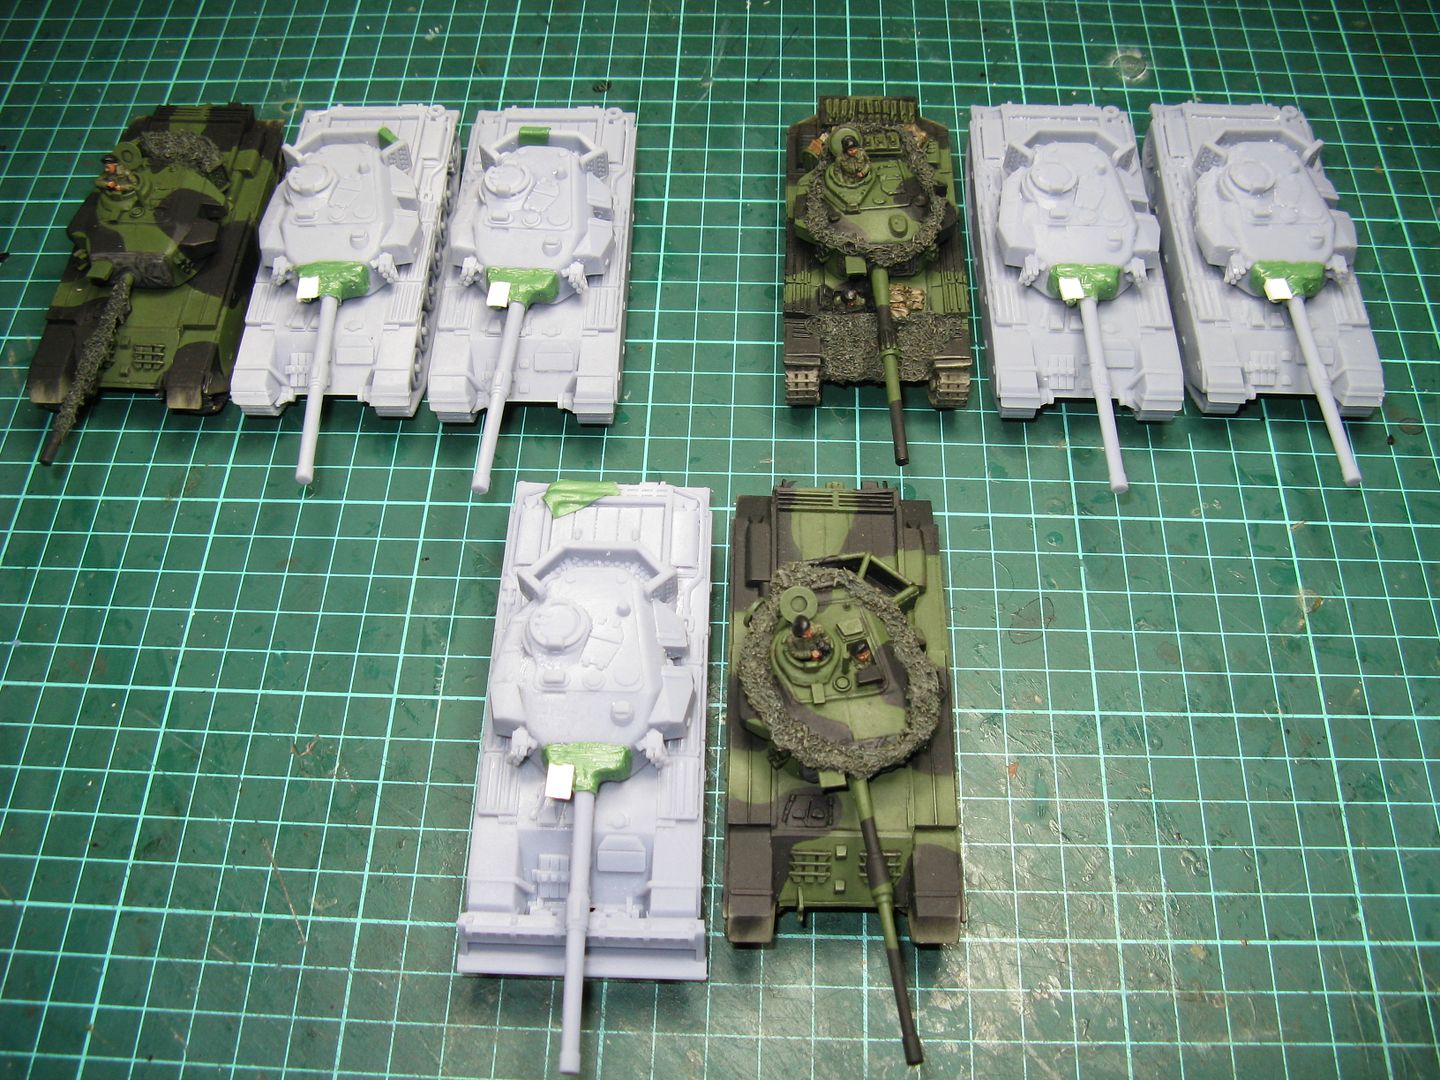
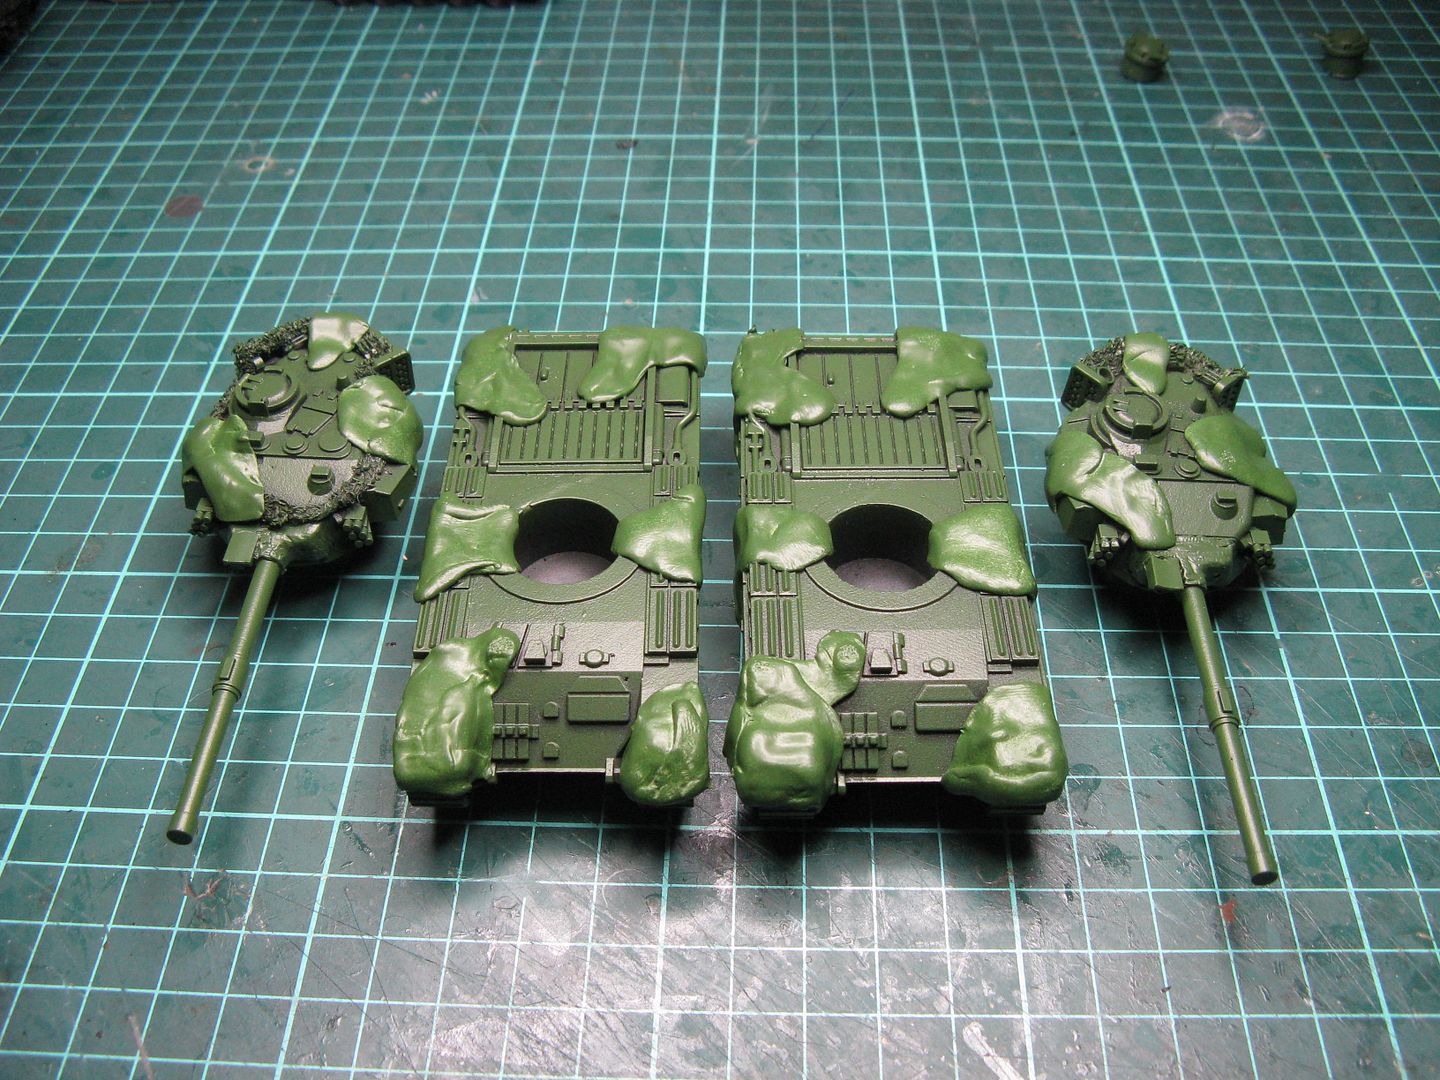
Next step was to add the Light Intensification sighting system the printed Centurions, adjust the mantlet to fit them, by scraping it down quite a lot, and then cover the mantlet in greenstuff to look like a canvas cover.

Here is the planned Squadron.  It is a short Squadron, in that I plan to replace the missing troop with a Mechanised Infantry Platoon.  Hopefully you can see the IL systems next to the barrels and the greenstuff covered mantlets.


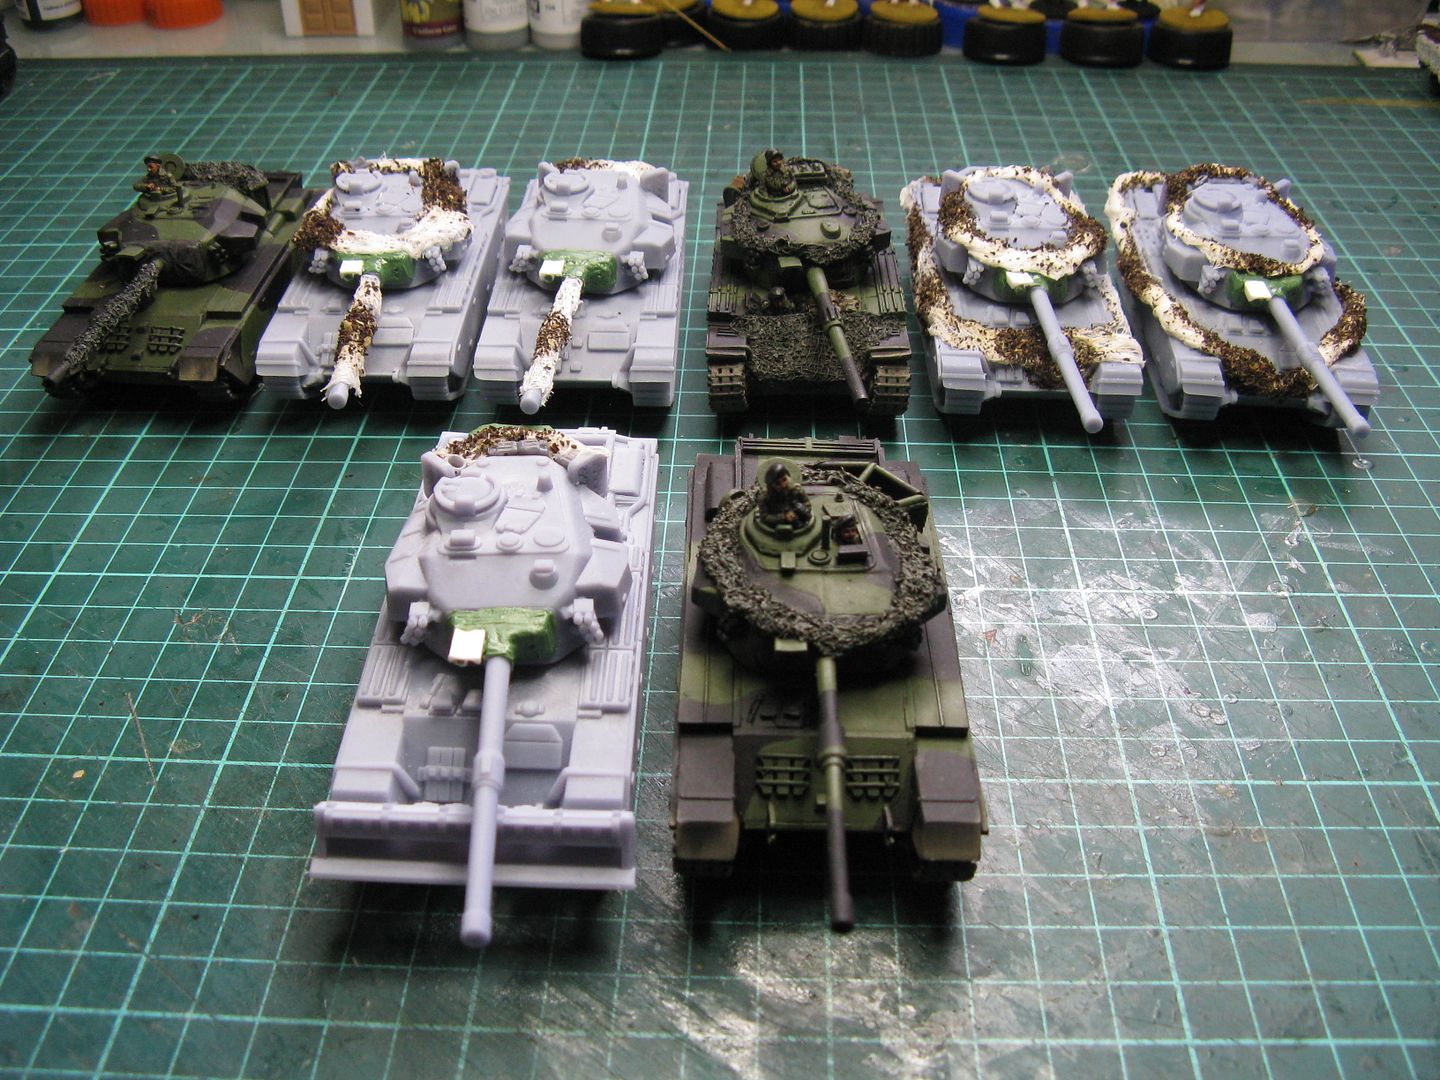
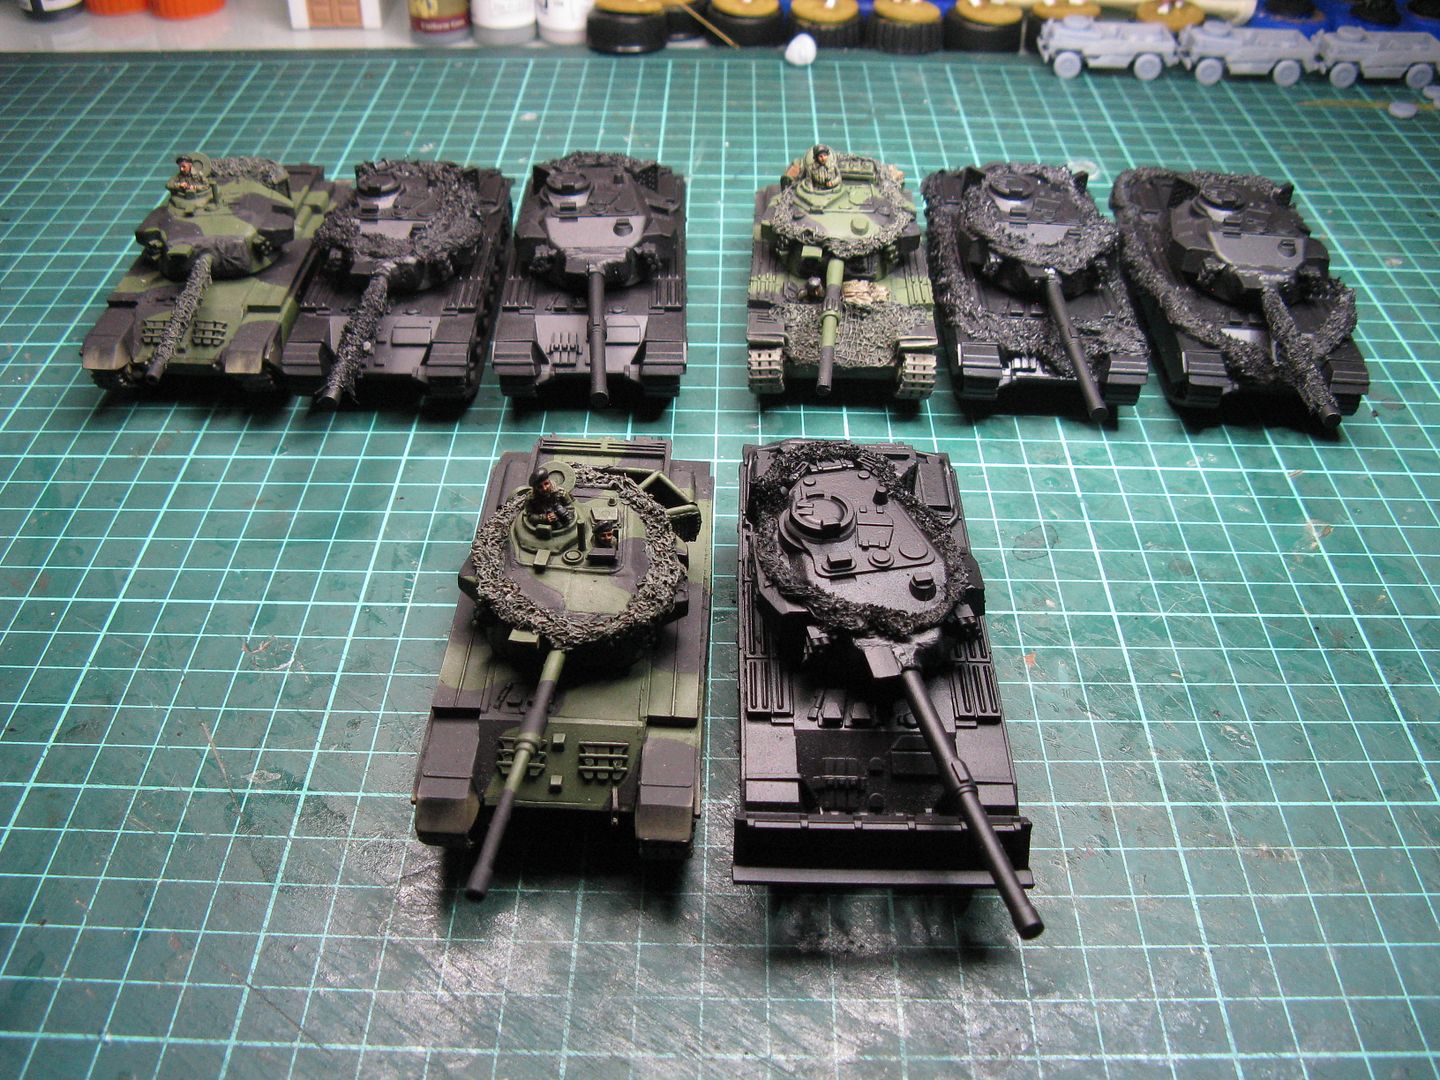
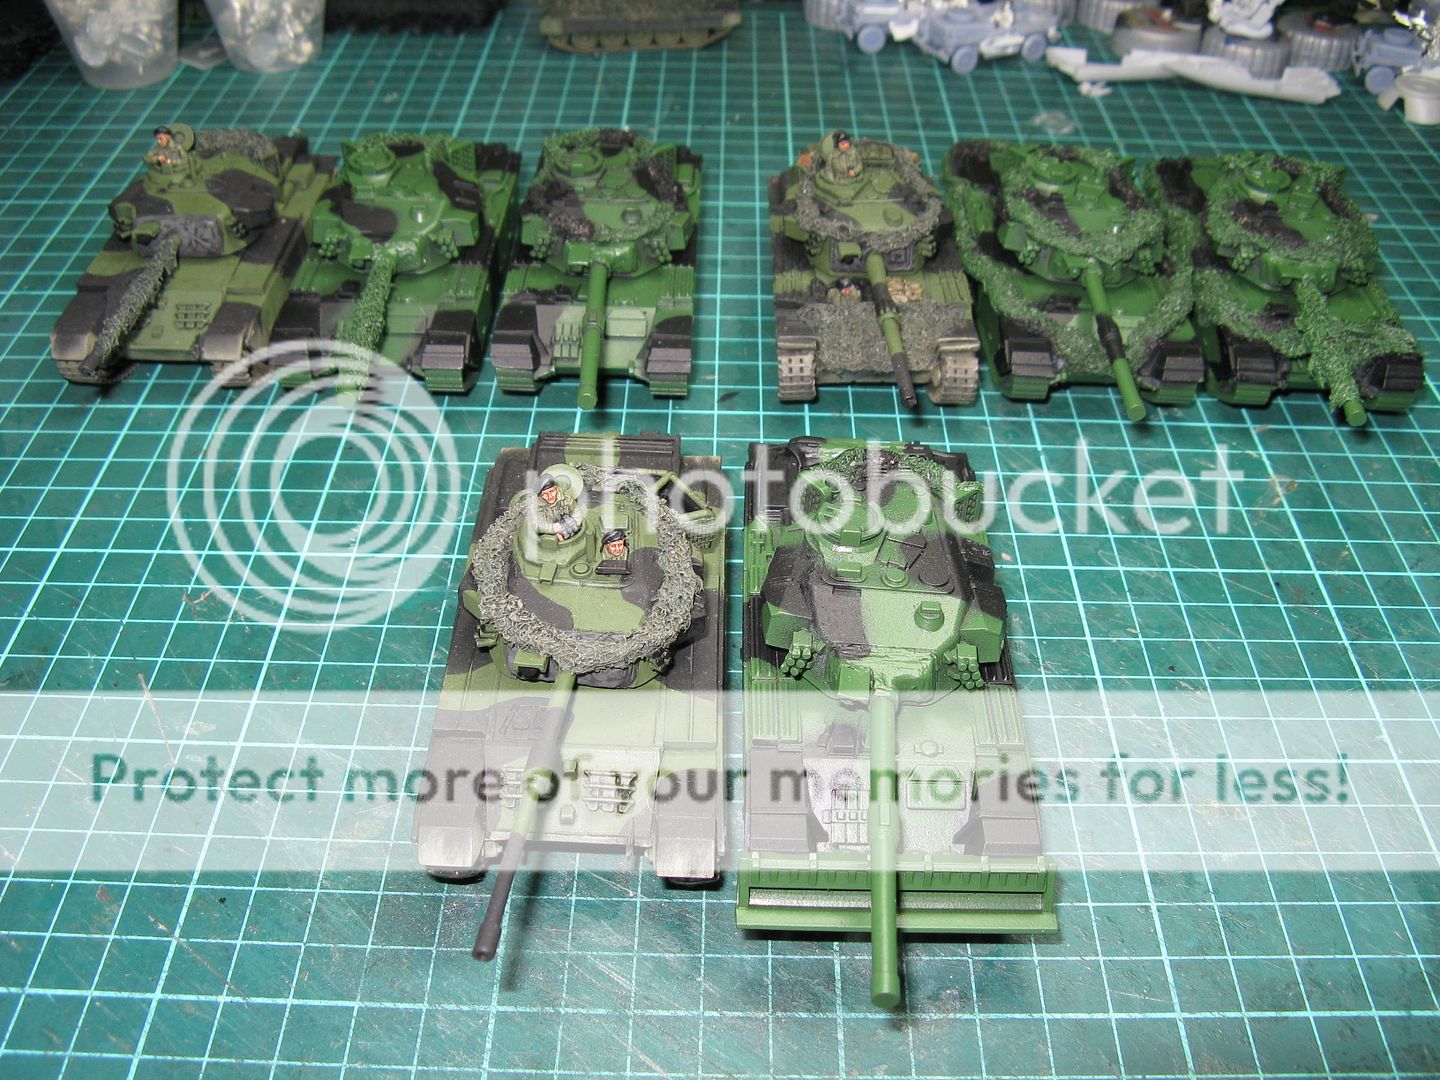
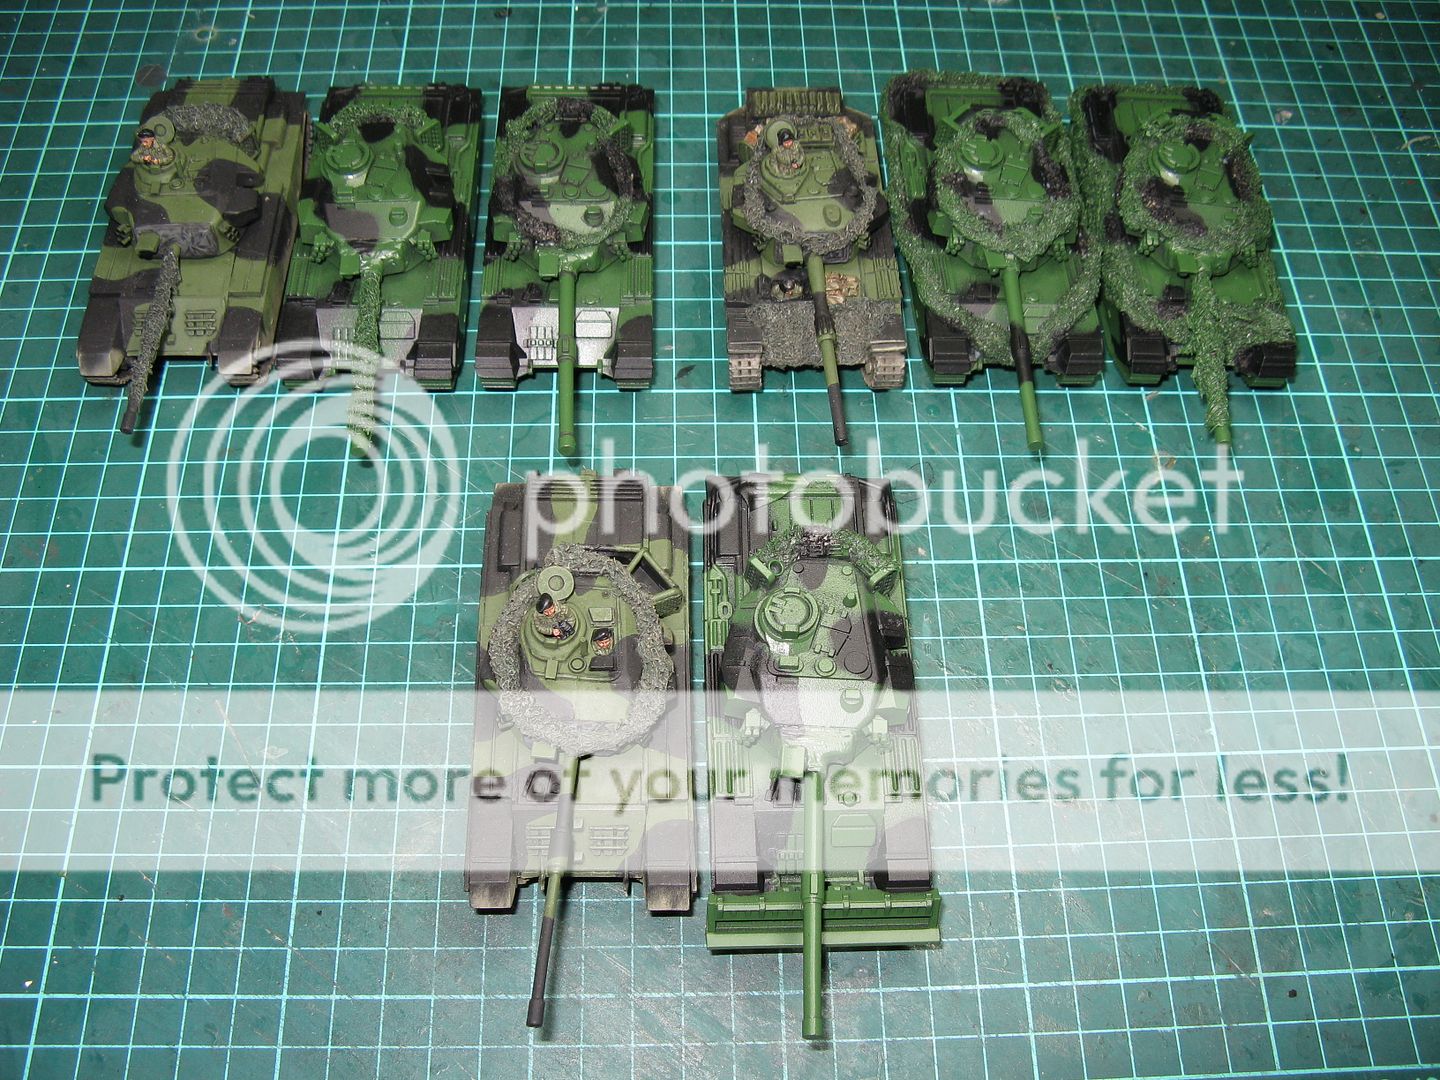
Next step was to deal with the cam netting and stowage


Then everything got a coat of black undercoat


Then the blu-tack came out:


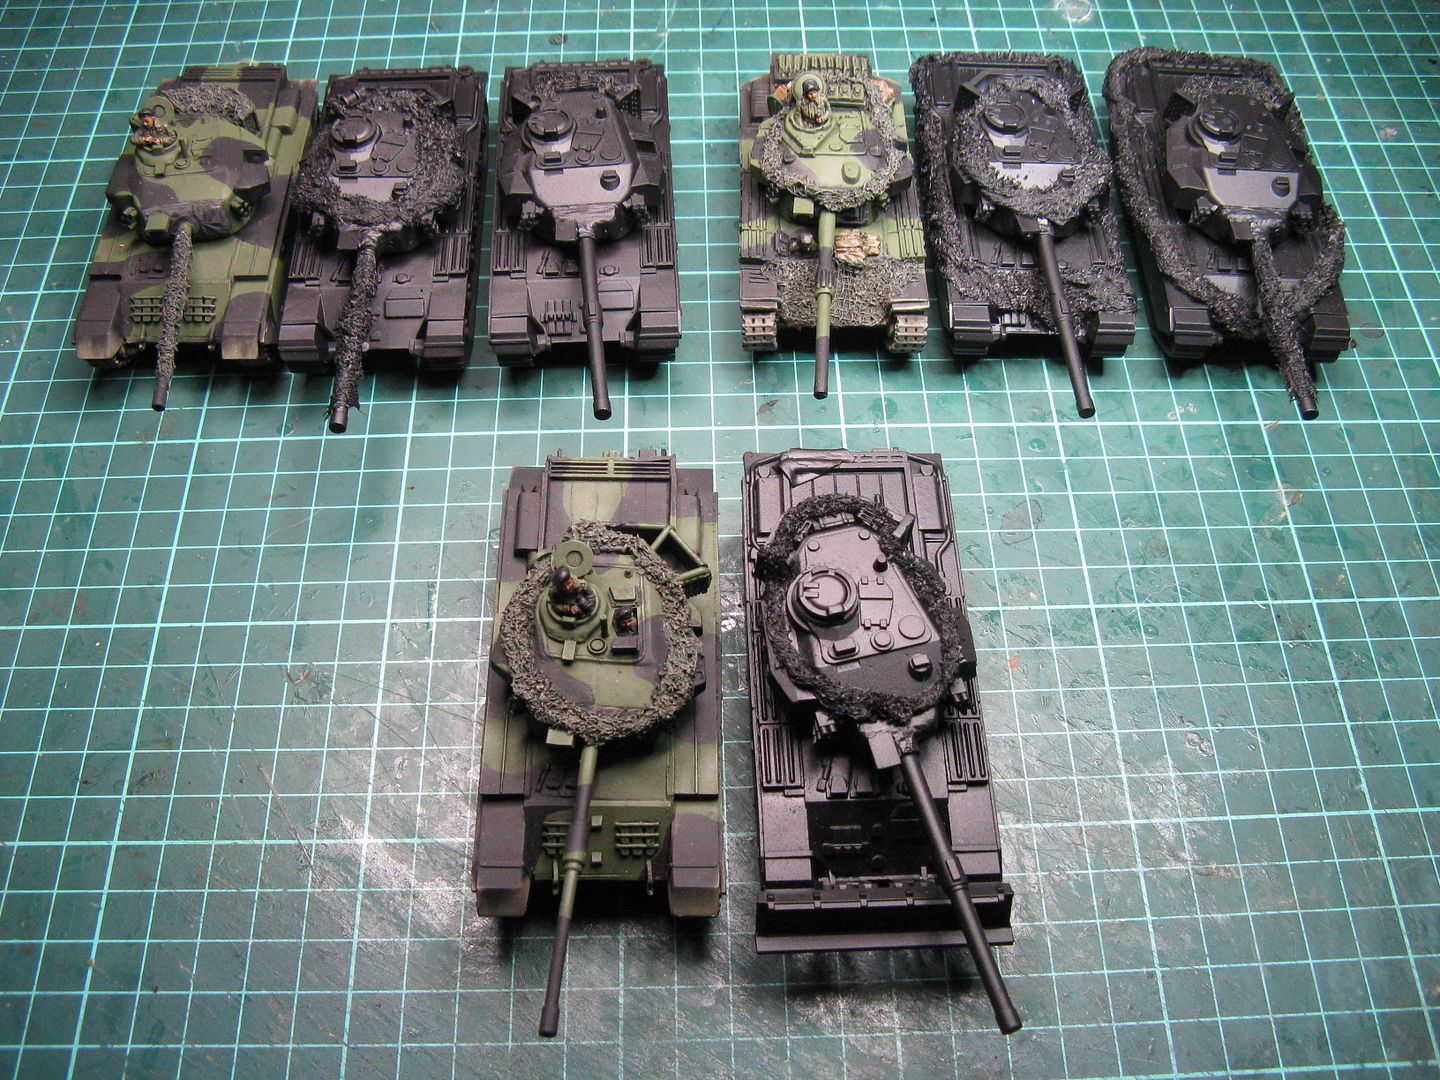
And the next coat of spray.  This time I used a Tamiya aircraft spray AS-23 Bright Green (Luftwaffe).


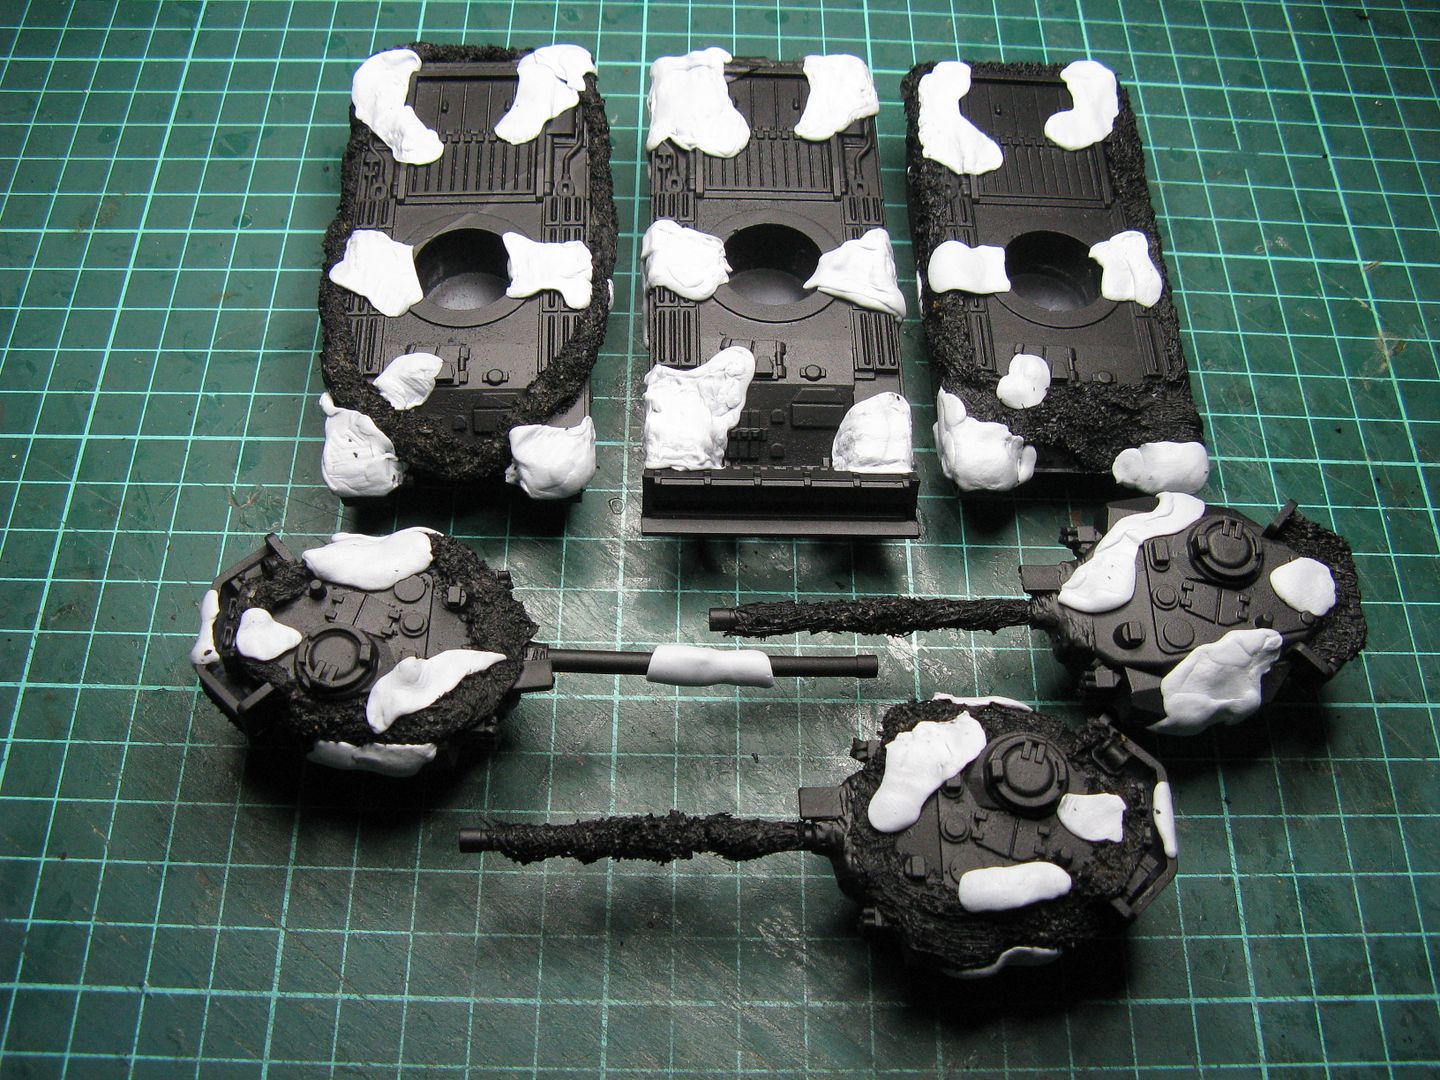
Peeling off the blu-tack we are left with this:


As you can see, AS-23 is quite different green to my final colour - but I don't mind it as a base colour.

Part 2 will cover the painting...  Coming soon.

Thanks and stay safe

Richard


29 March 2020

Finally... a new update

Hi everyone

Unbelievably it's been months since I last had the opportunity to post an update on this blog.  Like many I'm currently in self-isolation/quarantine at home after returning to Australia from the UK.  I imagine I'll be in this situation for quite a few months and again like many I'm going to use the opportunity to get a few things back on track - including this blog.

I have had some positive things happen over the last few months - with one of the most prominent being a published scenario in Wargames, Soldiers & Strategy magazine (Issue 106).  I'll have more information on that soon, including fixing the odd error that made it into the magazine and adding some stuff that was missed out a whole lot of random events that can spice up the scenario.  I'll see if I have any other pics that I took for the article that didn't make it into print and will share those as well.

But today I thought I'd share some photos of what's on my workbench.  Many of these of models I'm making/painting for a friend and a couple are for me.  I thought this would be a good way to bring the blog back up to speed.  I've also some pics of figures and some vehicles to post up as well - they'd be in the near future.

So - once again - on with the show:


Here's a couple M109Gs by S&S Models.  Not sure how well you can see but the spades at the rear are down for firing.


Here's another S&S Models vehicle.  This time a MAN Utility LKW  gl (4x4 Truck)


Next up are a couple of M113G's, this time from Hobbyden.  Very nice, straight forward models which just needed a bit of green-stuff to fix things like air bubble holes in the smoke dischargers.  Once painted I'll add the Commander's hatch , the pintle mount and the MG3 that come with the model.


This is another Hobbyden M113 variant.  This time a Panzermorser which comes with a metal 120mm mortar.


Yet another Hobbyden model.  This time a M577G.


Final M113 variant.  A  unique West German vehicle the M113 Beobachtungspanzer.  There was some significant damage done to this model, so it needed a fair amount of green stuff to fix it.

The final three models are actually for my collection - not my mates...


Back to S&SD Models - a lovely little Iltis with the soft top up.  I'll be using this for my Fallschirmjager Command of OP vehicles - amongst other uses.


Finally a couple of old school Unimogs, again from S&S Models.  These will be for my Danish Motorised Infantry.

So that's it for now.  Next post will be more W-I-P photos after cam netting has been added to some of the vehicles.

So stay well everyone, wash your hands and keep away from everyone!

Richard

30 October 2017

Back to Denmark - Final figures Work-in-Progress 1

Just to keep you all as confused as I am I've jumped back to Denmark to finish off a few figures I needed.  These will probably be my last "standard" danish troops/home guard - although I do have a wee plan for some HJV Special Forces at some point in time.

One of the things holding me back was I needed to convert a bunch of the figures and replace whatever personal weapons they have with Hovea m/49 SMGs.  My research (for what it's worth) lead me to believe they looked like this:


And with the stock folded, like this:


And in situ - like this:


On the chap on the left.

Back in January I made my first conversion of a Wartime WW2 US Infantry figure with a Thompson SMG to look like this:


Now I needed to do it all again - on a slightly more industrial scale - as in I needed to make 5 or 6 SMGs.

Here's what they ended up looking like:


And with the stock folded:


Now added to some Wartime figures with added scrim on their helmets:


The chap above actually has the stock unfolded - but it's hard to see in the photo. 


This chap is part of my FO team.  The stock is folded and the SMG cut down slightly as he is holding the barrel in his left hand.

I also needed a 60mm light mortar team for my Danish Infantry Platoon Command Squad - and I ended up using the AB Figures US 60mm mortar team.  I consider it almost heresy to convert AB figures, but all I was doing was removing their rifles, adding SMGs and helmet scrim.  So here they are:


Above - is the loader.  His SMG (stock extended) is on the ground in front of him.


The No. 2 in the team.  His SMG is on his back (stock folded).  I was going to add a strap but I think I'll simply paint it on.

So that's the Hoveas.  I've also prepared a medic and casualty for the platoon - nothing particularly exciting here.


The casualty


The medic.  He'll be placed on the same base as the casualty.  Both are Wartime WW2 US Infantry figures.

So that's it for this WIP.

Thanks

Richard

21 September 2017

The Berlin Project - Infantry and Urban Bases - Part 1

So things are starting to get a little more serious with my Berlin project as most of the elements are now coming together.  I have all the East German figures (from Elhiem) and I decided to do a specific British Infantry Platoon plus supports - again - all Elhiem - just for a change!  I still need a couple of British figures to complete it - but I have enough to start working.

I also decided that I wanted all the figures to have specific urban bases - and the easiest to do were urban ruin bases.  All support weapons would be on 40mm round "diorama" bases.

Here's some examples of the infantry:


3 Brits on the left and 3 East Germans on the right.  More way off in the background.

Here's how my 40mm bases are looking at the moment:

Front


And back.  From left to right - a 2 man GMPG (bipod) position - a paved area for a mortar team - a 2 man GPMG (tripod) position.  It would have made more sense with the figures on them, but then you wouldn't see everything...  I also added the mortar to the central base:


I was trolling through every last British Elhiem figure I had to find a use for them in this list, as I was coming up short in some areas, and I found I had a spare artillery man holding a 105mm round, that I thought with a bit of effort could be holding a mortar round.  I cut out the 105mm round and "sculpted" a 81mm mortar round out of plastic rod.  The round needs to be trimmed down a bit in this pic:


The new mortar round is a bit short for the pose - but I guess here I'm leaning to the near enough is good enough camp.  Here he is with the round glued in place:


All the figures have now been sprayed black (so it means I have to paint the urban base - not such good planning) and I'm now going to do a test team before I get stuck into them.

Thanks

Richard

14 August 2017

Danish Home Guard Mortar Load - A Work-in-Progress

An odd title for an odd topic.  Back here in February I posed a question on how to treat a range of Oxford Diecasts to be used as Danish Home Guard transport.  I got a fair few comments which covered a broad range from cover them with cam nets (removable if possible) to leave them alone.

I've been striving to "finish" these vehicles, but one thing I wanted to do was to make up a couple of sabot loads to give at least a couple of vehicles a slightly more military look - or at least a used look.

One such vehicle is this VW Combi-Van ute (as we would call it in Oz):


It seems perfectly suited to a sabot load, and I thought it would make a good transport for my Home Guard medium mortar team.  So I made up a quick and dirty load:


Please bear in mind that much of this will be covered by a tarp, so I really just wanted shapes.  On the sabot are a number of boxes, a Panther spare wheel with some plastic rod added so under a trap it will hopefully look like (or at least give a basic outline of) a mortar base plate, some rod used to give the idea of the mortar bipod, and a larger rod for the mortar barrel.  I also glued three rods together and cut it up to give the impression of mortar rounds in a carrying case.  It's a WW2 thing, but witht he Home Guard that kind of makes sense.  Once the tarp is on I'll add a spade and a backpack on top of the tarp.

So here it is fitted onto the ute's load bed:


Hopefully the next time you see this it will be the final product.

Thanks

Richard

19 July 2017

West German Marder W-I-P - Part 1

This will be a very short work-in-progress update with just one photo.  I'm currently working on a commission job of some Revell Marders for a mate.  And he wants a lot of them...  So here's where I'm currently up to:


The two at the back have just been built.  One of them is likely to get a pretty full on cam net treatment.  Two in the front row have already been cammed up, and all three obviously have their black cam lines painted on.  I now need to add the NATO brown patches before I start weathering them.  Its a bit of a slow process, but it all looks pretty reasonable in the end.

Hopefully I'll be able to show some good progress over the weekend.

Have fun

Richard

02 July 2017

Danish Centurions - Work-In-Progress - Part 5

Well my plan to have these finished about a week ago got interrupted by real life, Battlegroup: NORTHAG and plain old end-of-financial-year exhaustion.  So things have not progressed as quickly as I hoped, but over the weekend I made some progress.


First thing you'll notice is that I'm back to 3 tanks.  I followed the advice of Rolf from a week or two back, and covered the tacky tracks with undiluted PVA glue (and then threw away the brush!).  I left it to dry for 24 hours and lo and behold, it was no longer sticky!  Yah!  So the Centurion on the left is the one I put to one side previously, but is now returned to the fold.

The central tank is the Britannia one.  It comes with the driver hatch open and crew figure molded in as part of the resin tank.  The driver was missing most of his head so I loped it off long ago.  I decided to replaced it with a AB Figures head (to match the rest of the crew), but after chopping up the AB figure and cleaning up the head it just didn't look right.  So I decided that I needed to clean out the whole driver and put in a new Britannia 1/2 figure.  So I did that, then decided he would look out of place and decided to do another AB half figure.

So long story short, once I stopped dithering I started work on all the crew figures, which should be ready for the next photo.  Before I add them I have to decide on decals, then do the weathering, and then add the crew.

So maybe next week... who knows... obviously not me!

Thanks

Richard

21 June 2017

Danish Centurions - Work-In-Progress - Part 4

Another quick update as we are closing in on the finish line with these 2 Centurions.  Last night I was able to get a fair bit of work done (not that you can really tell in the photos...) with several dry-brush coats over the light green:


Then I had a little time left so started to paint the first colour on the cam nets on both, and the ammo cans and Jerry cans on the Britannia Centurion.


So hopefully these two will be finished over the weekend and ten I just have to deal with the "Tacky Tracked Beast from Hell" to finish off the platoon.

Thanks

Richard

20 June 2017

Danish Centurions - Work-In-Progress - Part 3

Very quick update today.  Last night I black-lined 2 of the Centurions and took a quick pic:


I was trying to have these finished by Friday, but very much doubt that will be the case!

Anyhow - that's it for now.

Richard