Showing posts with label Playtest. Show all posts

20 May 2024

Unmanned Aerial Vehicles (UAV)s in the "Totally Unofficial" Battlegroup Cold War Rules

Currently I'm writing the army list for the US 9th Infantry Division (Motorised) the High Technology Test Bed force for the US Army in the 1980s.  They either had, or kind of pretended to have, a lot of very cool bits of kit for the day and worked up these disparate bits and bobs into a well functioning motorised brigade which performed well in various exercises and tests.

As I've been reading about this division, I came across a few references to their use of UAVs - specifically one called "Mercury Green".  It appears this UAV was used to provide long-range surveillance, route reconnaissance and more - even some limited EW tasks.  Information from the UAV could be down-linked, processed and digitally reported to appropriate users in real time.  All the elements could be carried on HMMWVs.

Previously I had not considered UAVs to be part of a tactical battle as represented in Battlegroup.  My information on at least what I could see as the more prevalent UAVs of the day such as the Canadair CL-289, showed they had more of an operational role - flying pre-programmed routes, recording data onto something like video tape and then delivering the whole package back to base once it had completed the whole mission.  The tape was then analysed and the intelligence would be used primarily for planning purposes - rather than real time intel that could be used to direct artillery for instance.

Mercury Green appears to be well ahead of those other systems - but so far I've failed to find anything else about it.  I think therefore, it may have been a code name for the Lockheed MGM-105 Aquila, seen here. 

This UAV fits into the timeframe, and was part of a target acquisition, designation and aerial reconnaissance platform which was what I imagine was a low-light TV camera and a laser designator - specifically to lase targets for Copperhead rounds.

Interestingly, after the success of Israeli UAVs over the Beqaa Valley in 1982 the US Army pushed for Aquila Lite, where all the UAV assets could be fitted to HMMWVs, unlike this standard Aquila being launched from a 5-ton truck:

The other option of course is that Mercury Green was a cover name for the IAI Scout or the AAI RQ-2 Pioneer, seen here on the back of a 5-ton truck:

That's all academic in a way - as now, after ignoring them, if I wanted to properly represent this cutting edge motorised division, I needed some rules for them.  So here's what I've come up with so far - it's a little like the EW rules in that you'd get a bunch of options but you have to choose 1 to be used once per game.

~~~~~~~~~~~~~~~~~~~~~~~~~~~~~~~~~~~~~~~~~~~~~~~~~~~~~~~~

UAVs are Restricted and Unique.  Taking a UAV allows a player to employ it once per game.  When employed the player must roll a D6.  On a roll of 3+ they can then select one of the following UAV options to take: 

  • When your opponent has rolled for reinforcements, you may choose the enemy units to be placed on the edge of the table
  • Just before the first turn of the game, once both sides have  deployed you may change the aiming point of one of your Timed Barrages.
  • For one turn the UAV acts as a Forward Observation and Lasing Team and may direct one Copperhead PGM round.
  • Add +2 to your own side's counter-battery fire
~~~~~~~~~~~~~~~~~~~~~~~~~~~~~~~~~~~~~~~~~~~~~~~~~~~~~~~~~

So that's my current thinking.  I'd be very interested in any additions or subtractions you make from these rule ideas and any feedback such as what you'd think this would be worth points wise.

Please note that I'm only really considering this for the 9th ID (Motorised) at the moment, so it's not like this will significantly shake up the game.

Thanks as always

Richard


30 March 2020

My Unofficial Battlegroup: Cold War - UPDATE - New French AFV Data

One thousand apologies for not posting this sooner - but here is the most up-to-date copy of the French AFV Stats.  Looking at it and the most recent NATO Gun Data table, I don't believe I have added the different French weapons into the table.  That's a job for another day - but at least you can see the AFV data now.

French AFV Data

Once you've had a look through let me know if you find any obvious errors etc or missing vehicles etc.

Thanks

Richard

27 August 2019

My Unofficial Battlegroup: Cold War - UPDATE - New and Edited French Lists

Time for another update.  It's been a while I know but I've recently completed my revision of THREE French lists and I now feel they are in much better shape than they were when I first published the French Armoured Division Battlegroup list.

So here are the revised and new lists for the French:

French Armoured Division Battlegroup

French Infantry Division Battlegroup

French Rapid Reaction Force Battlegroup

I believe with these lists you should be able to replicate almost any French force from the mid to late 1980's - even possibly the first Gulf War.

The French have some awesome kit - certainly the best Armoured Cars (like the AMX-10RC) of any of the other lists, and also some pretty old and funky stuff (like the AMX-13).  I just need access to a complete range of French infantry options and then this is on my "to complete" list as I've already been putting away the odd bit of French kit for years.

Anyway - I think I have the Czechs still to do and then I'm largely calling the Army Lists complete.  Also as Battlegroup NORTHAG is coming closer - and will not be compatible with any of my stuff I won't be doing any more on this project.

As NORTHAG has gone in a slightly different direction I've decided to take the work I have done and work it into something different again, with my take on a Cold War game.

More of that in the future.

Thanks

Richard

18 February 2019

My Unofficial Battlegroup: Cold War - UPDATED - New AFV Data Tables

Hi Everyone

Another quick update - this time with four new AFV Data Tables for the Norwegians, Belgian, Polish and East Germans.  The Norwegian table has been updated to match the new version of the army list while the Belgian, Polish and East German AFV Data tables are brand new, and should (hopefully) cover everything in each of those nationalities lists.

If you can spot any problems with the tables, please let me know.

Here they are

Norwegian AFV Data

Belgian AFV Data

Polish AFV Data

East German AFV Data

Thanks

Richard

29 October 2018

My Unofficial Battlegroup: Cold War - West German Panzer Battlegroup List Updated

Just a very quick note to let you know the West German Panzer Division list has been updated.  The links at the top and side of the page have both been updated.  Mostly simple changes and corrections based on feedback.  Most dramatically Leopard 2 units are no longer veterans and are now a little cheaper points-wise.

Thanks

Richard

24 October 2018

My Unofficial Battlegroup: Cold War - Polish Airborne Brigade Battlegroup List

So finally I'm able to publish the last Polish list - the 6th Pomeranian Airborne Brigade.  This is another useful list if you want to game out the Battle for Denmark.

So here is the list

Polish Airborne Brigade Battlegroup

Still had no real feedback on these lists - so if you're interested in the Poles and you've had a look at the lists, please point out any errors or areas where we've missed something out.

As I said this will be the last list for the Poles - now we'll be moving to some French lists for a change.

Thanks

Richard

16 September 2018

My Unofficial Battlegroup: Cold War - Polish Naval Landing Brigade Battlegroup List

So today I'm posting up the third of the four Polish Lists that we have planned.  This list can be used to create a force from the 7th Luzycka Naval Landing Brigade - a very useful list if like me you'd like to play out a Battle for Denmark Campaign.

So here is the list

Polish Naval Landing Brigade Battlegroup

We haven't really had any feedback on the Polish lists so far, so please have a look at them and let me know what you think.

Thanks

Richard

09 September 2018

My Unofficial Battlegroup: Cold War - Polish Armoured Division Battlegroup List

Sorry - I had to pull the list and sort out a couple of small errors.  That is all now fixed

So here is the next Polish list - their Armoured Division list.  Not really that much different to the Motorised Rifle list - but now with T-72s!

Here it is:

Polish Armoured Division Battlegroup

As always - please let me know what you think - good or bad...

Thanks

Richard

05 September 2018

My Unofficial Battlegroup: Cold War - Polish Motorised Rifle Division Battlegroup List

Well this has been some time in coming, but I'm very pleased to be posting up today the newest list for my unofficial Battlegroup: Cold War.  This time around it's the first Polish list - focussed on the Polish Motorised Rilfe Divisions of the Pomeranian Military District - the ones that would be primarily involved in heading towards Denmark (with the 15. MRD being assigned the role of the main force to come ashore on Zeeland as the follow-on force to Soviet and Polish Naval Infantry.

Anyway - here it is:

Polish Motorised Rifle Division Battlegropup 1.1

Once again the speed by which this list appeared and most of the heavy lifting is all down to Paul Cziganj whose immense help has meant you are getting this now, not 3 years from now when I could have gotten around to it by myself!  So thanks Paul, once again.

So please have a look for yourself.  Download, let me know of any errors or omissions etc and I'll be happy to go back in a revise.

Oh yes - I'll now also be adding the Belgian list to the side bar for easy access.

Thanks

Richard

11 August 2018

West of Hannover - A BAOR vs Soviets After Action Report (the first attempt at Part 2)

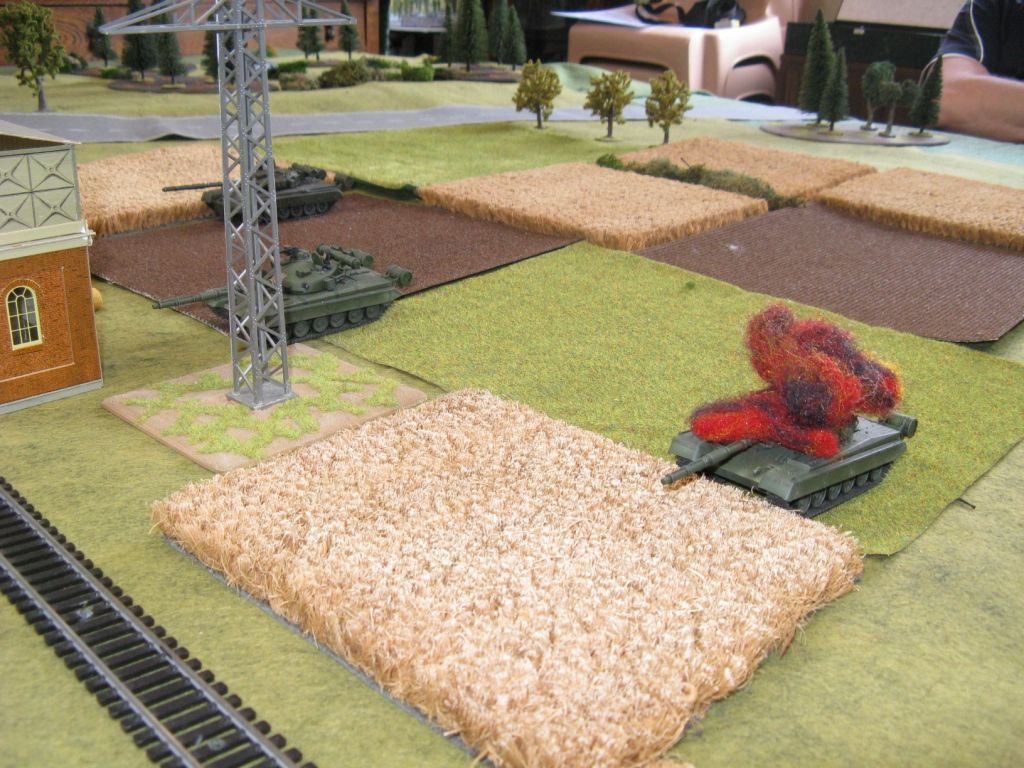
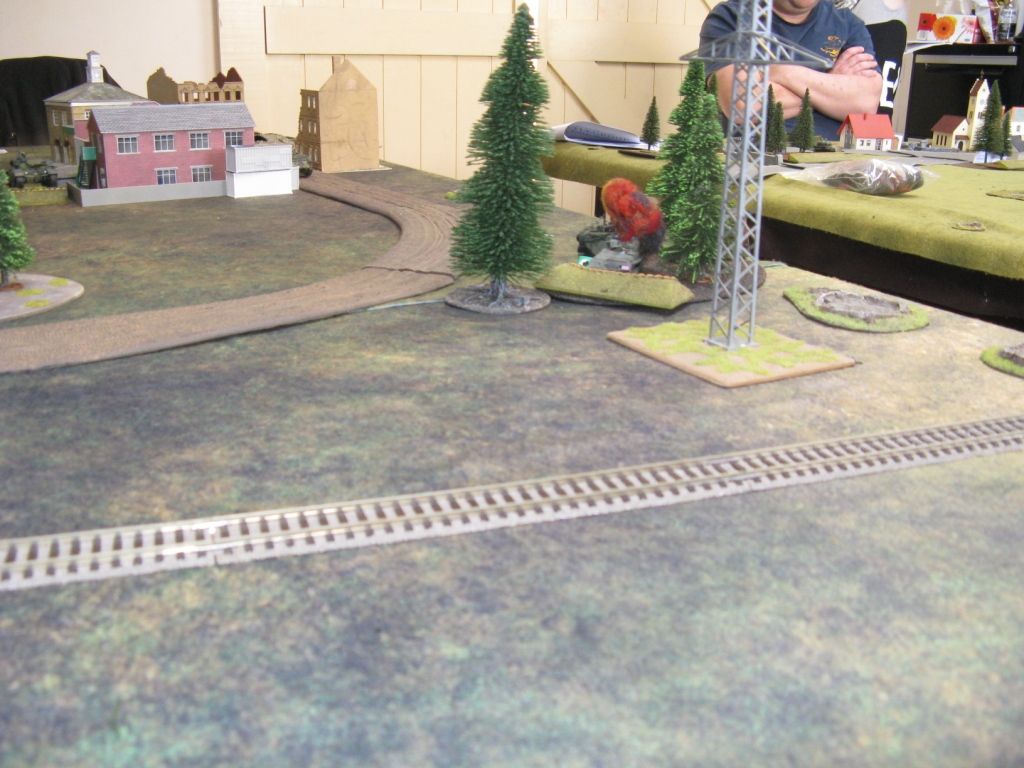
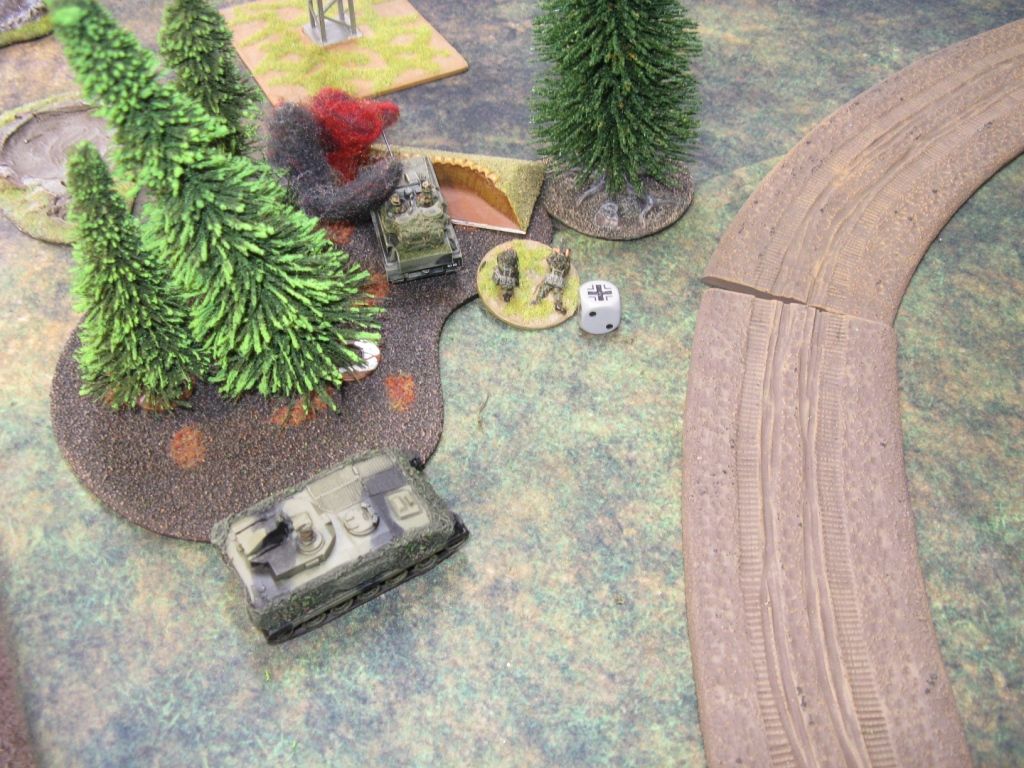
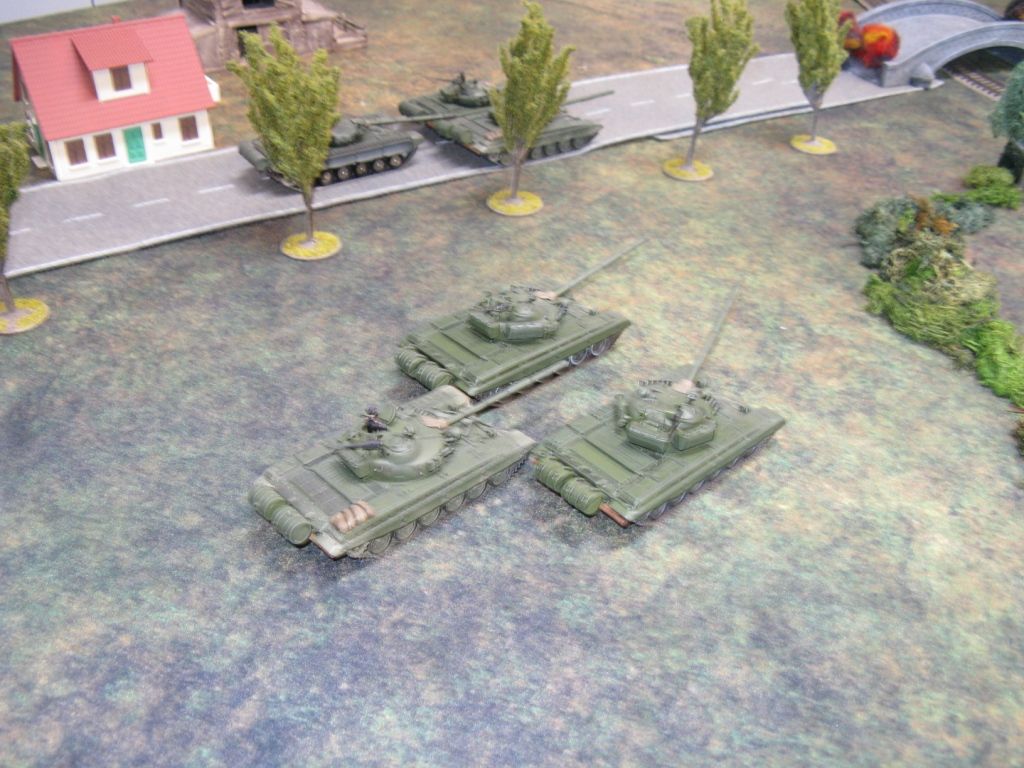
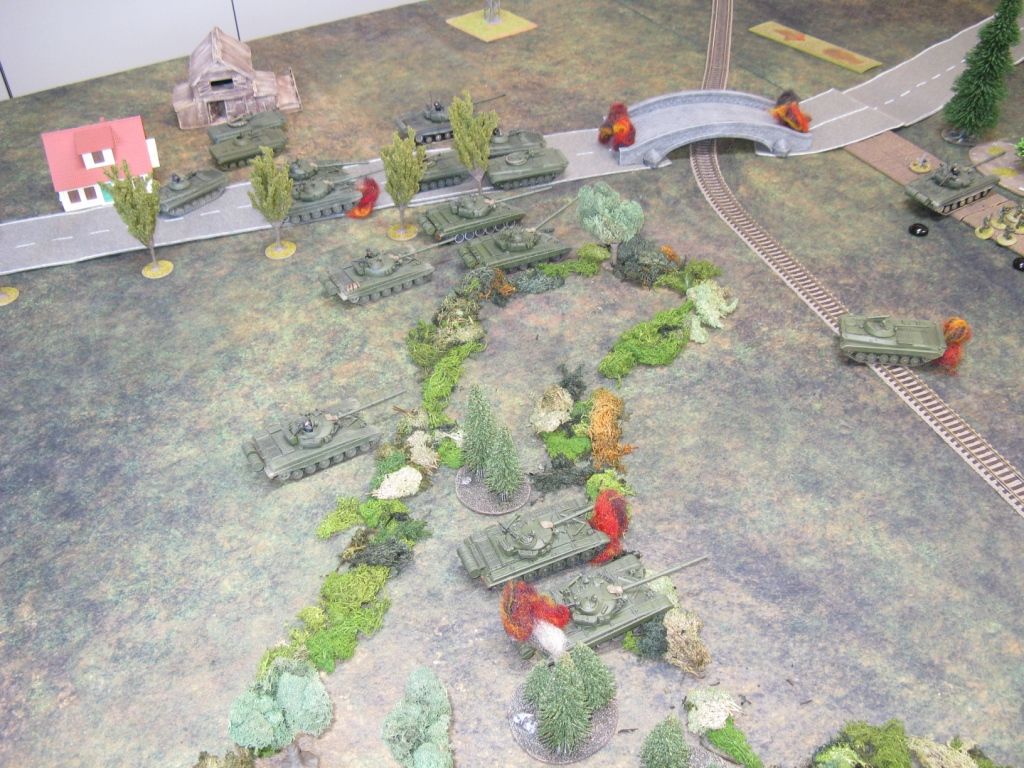
It's been a while since the game, and Photobucket seems to lovingly randomise the order of the photos - so I've put this together the best I can.  Bear in mind that all T-72s and T-80s in the following photos are actually T-64Bs.  OK?

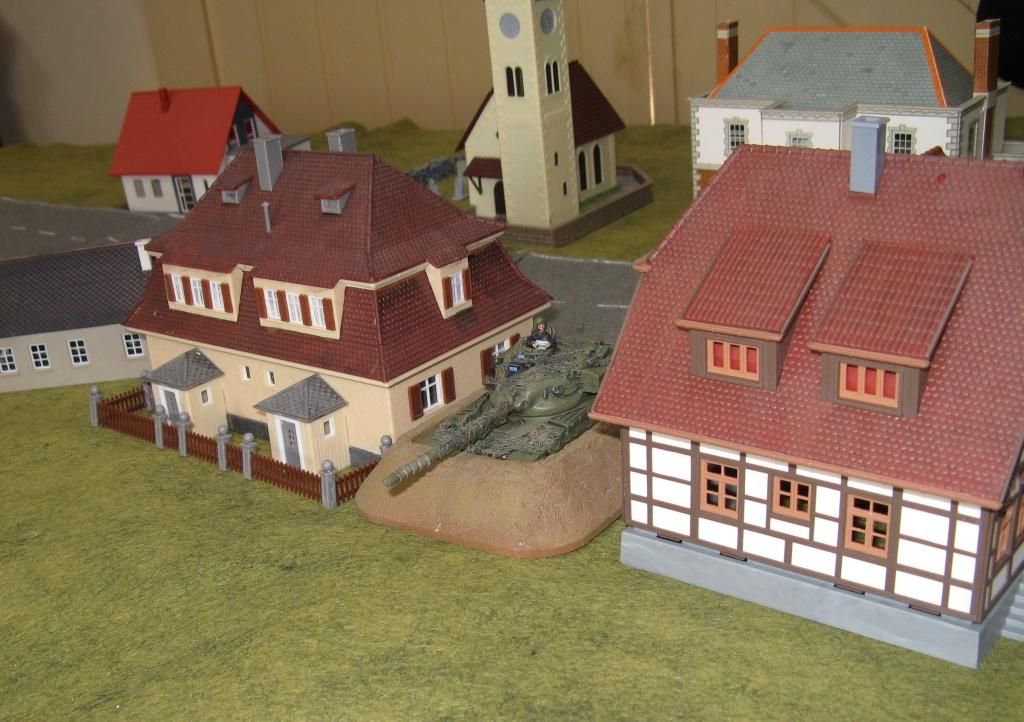
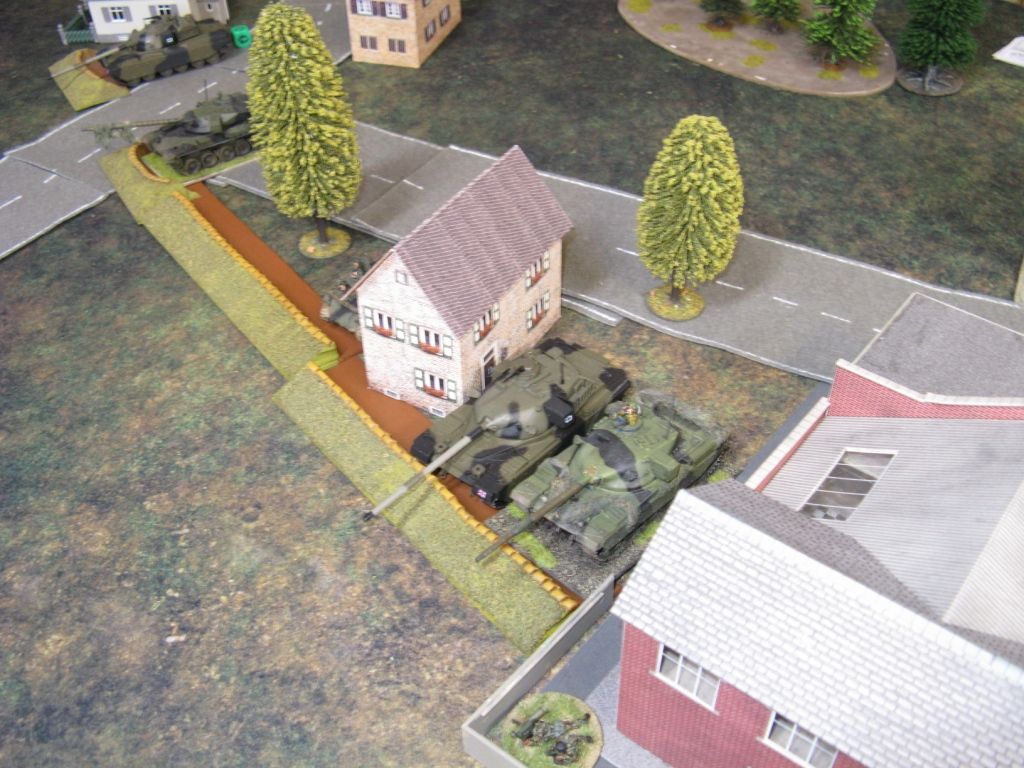
First NATO started their set-up.  On Table 1 the chieftains set up in fighting positions between the houses:


And two infantry section did likewise:


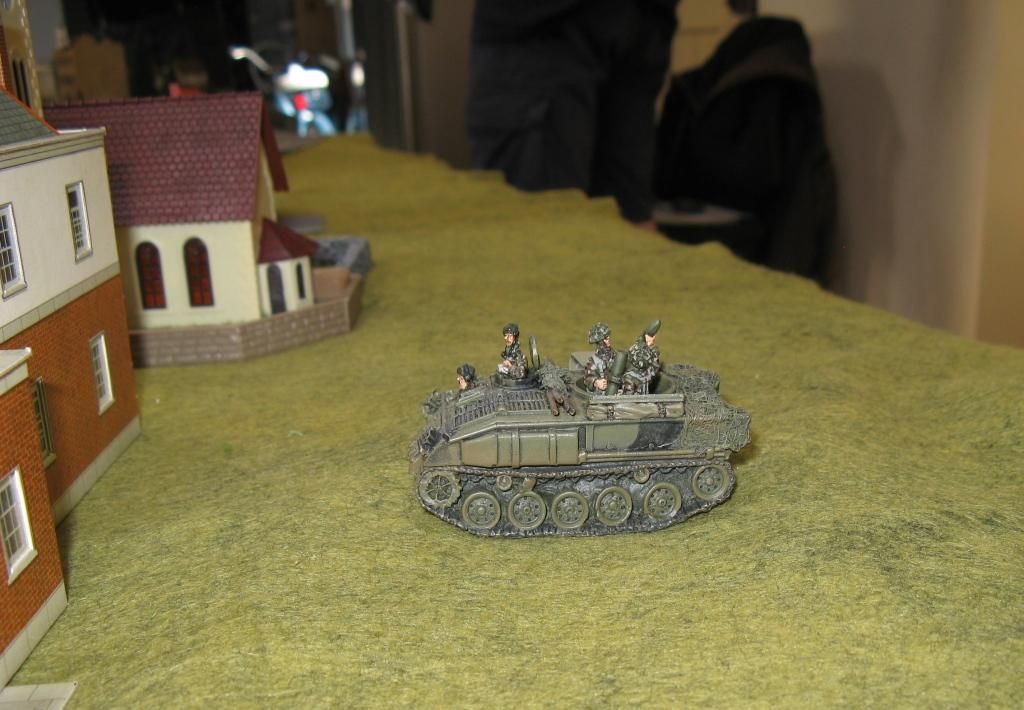
The Mortar team was also on call to provide immediate support:


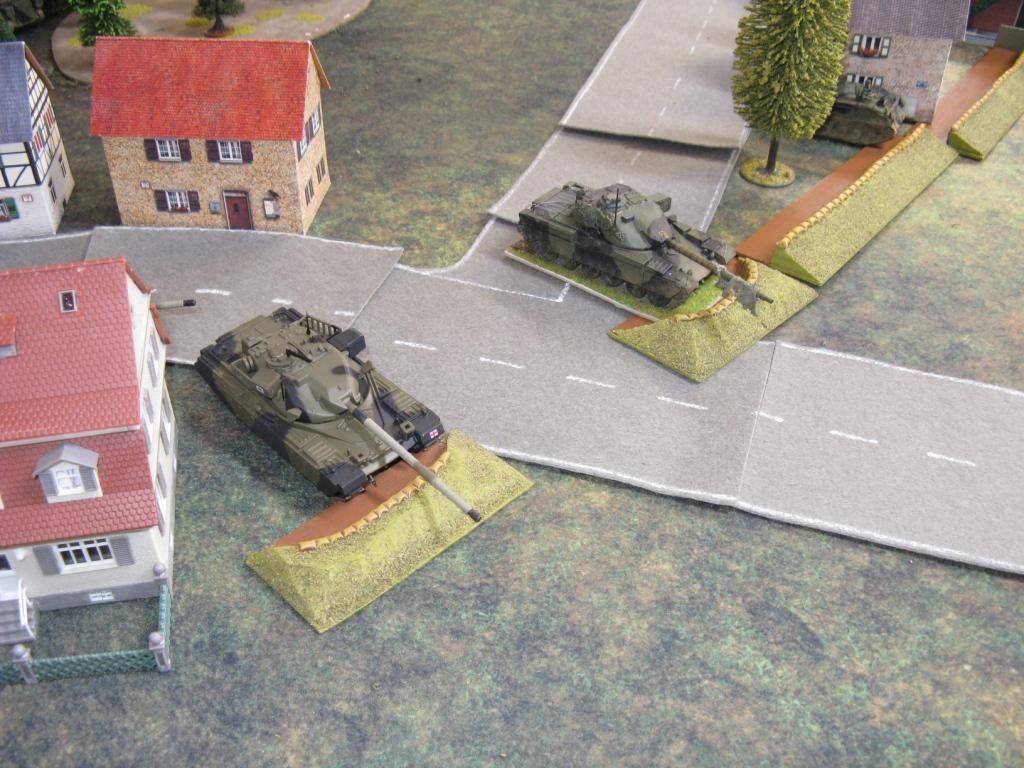
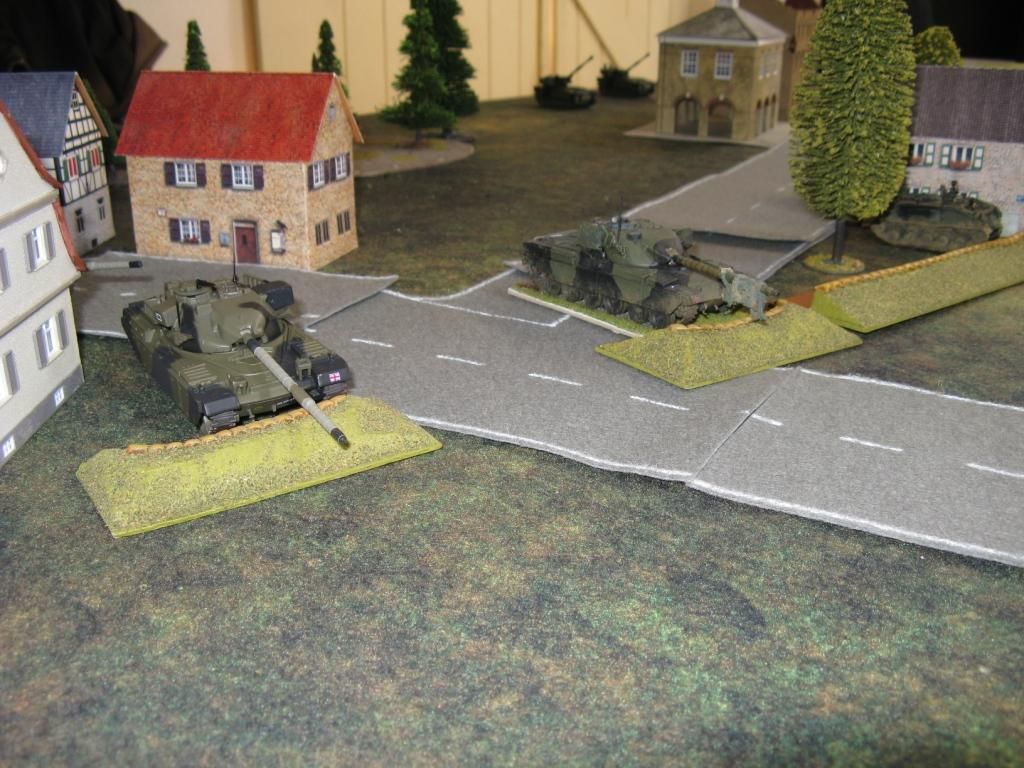
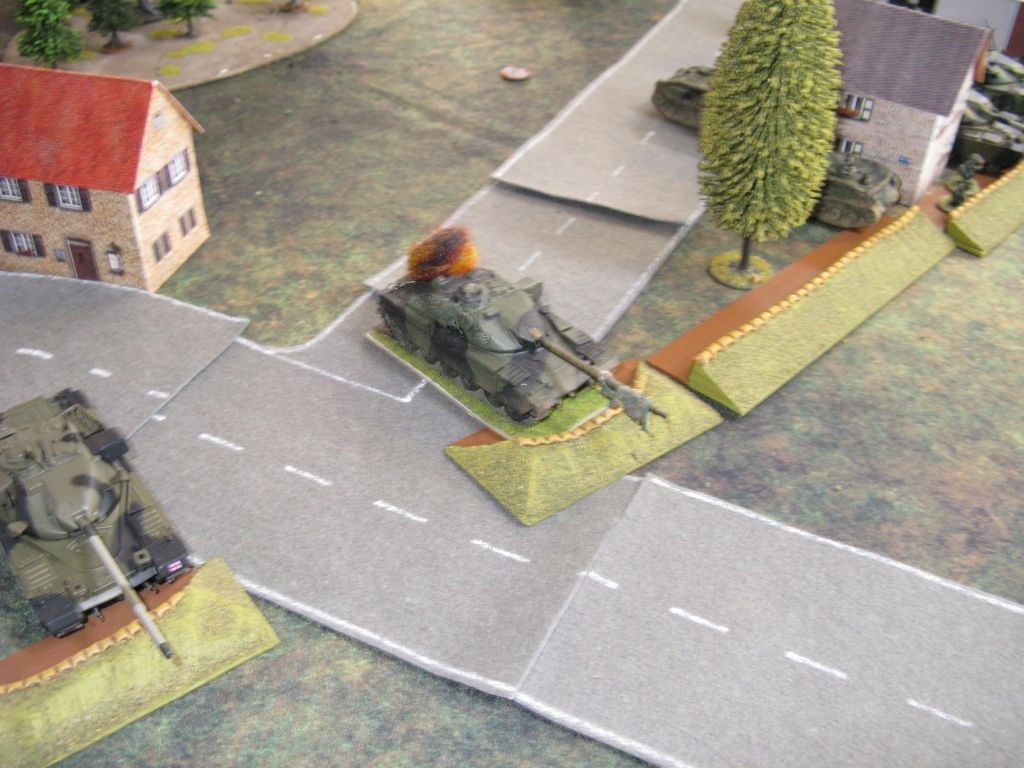
On Table 2 set-up it was a similar story, with the Chieftains dug in around the road junctions:


And another angle:


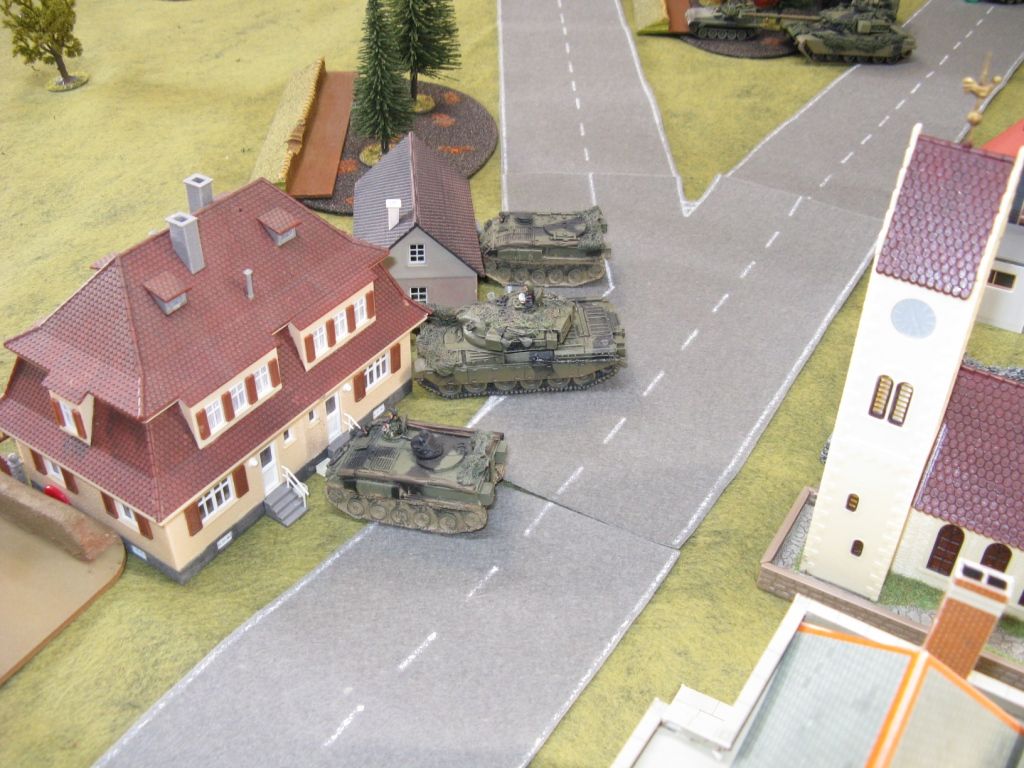
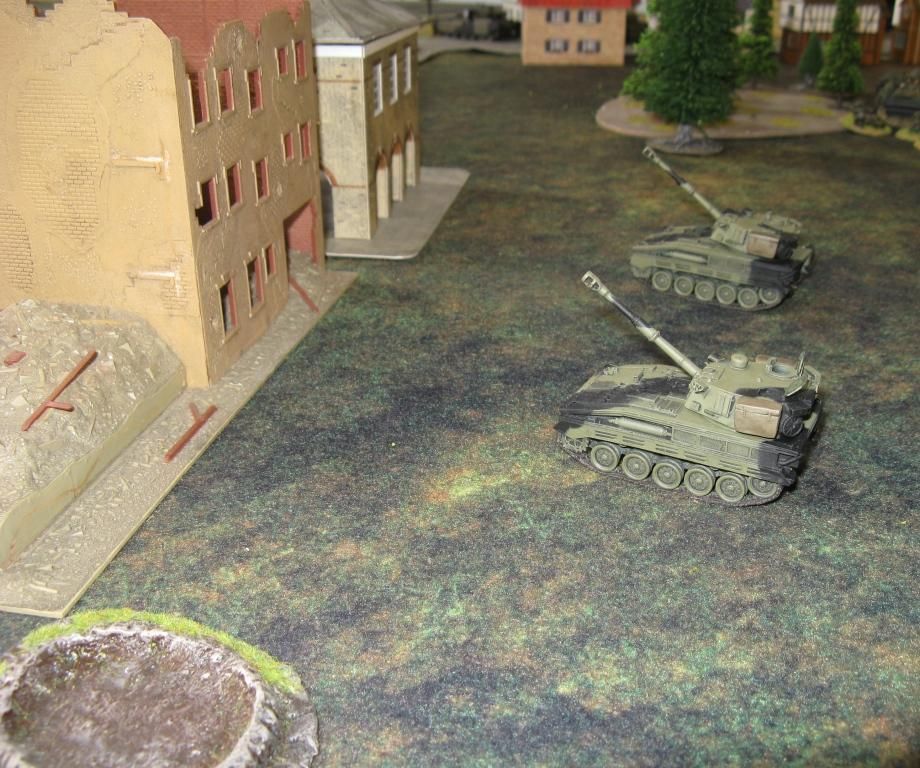
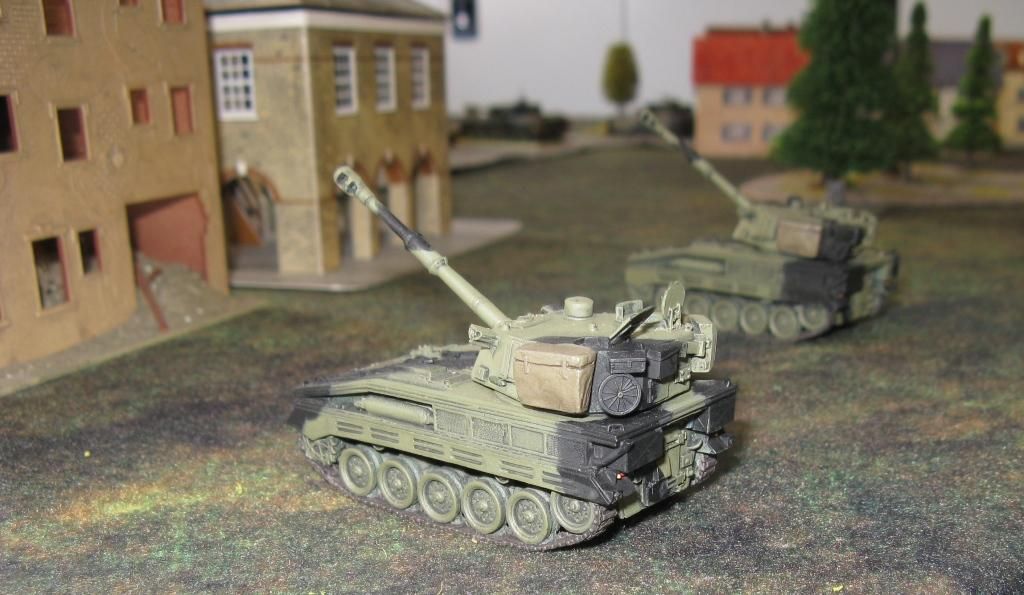
With the Abbots in support (like the FV432M the artillery support was available to either table)


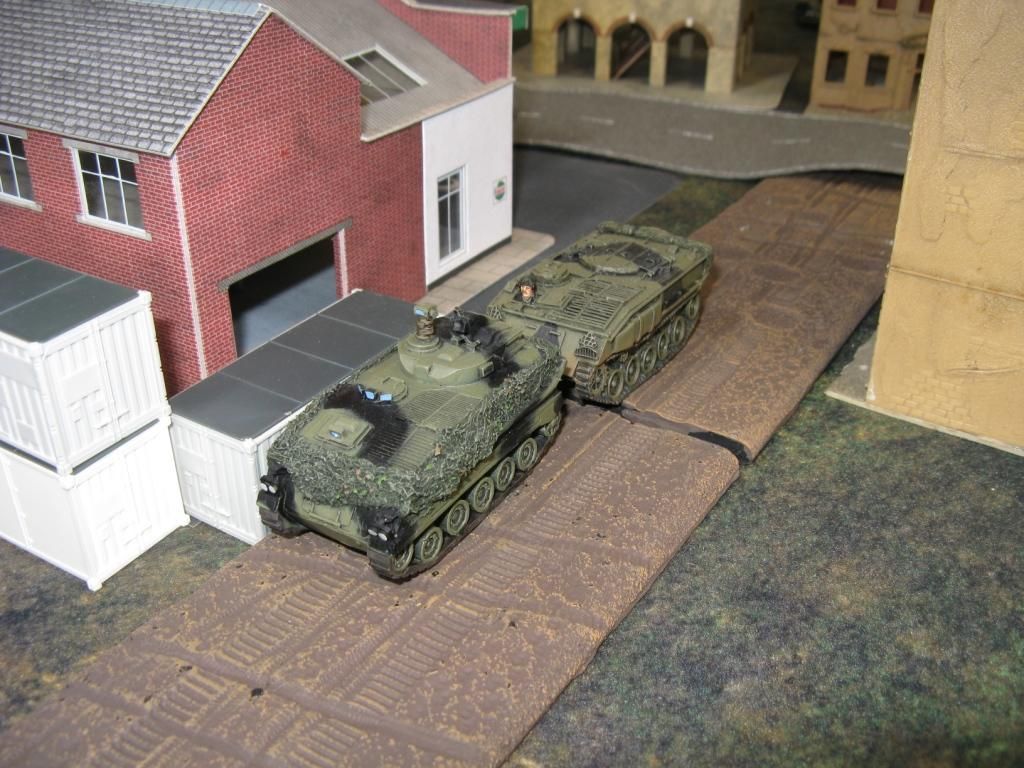
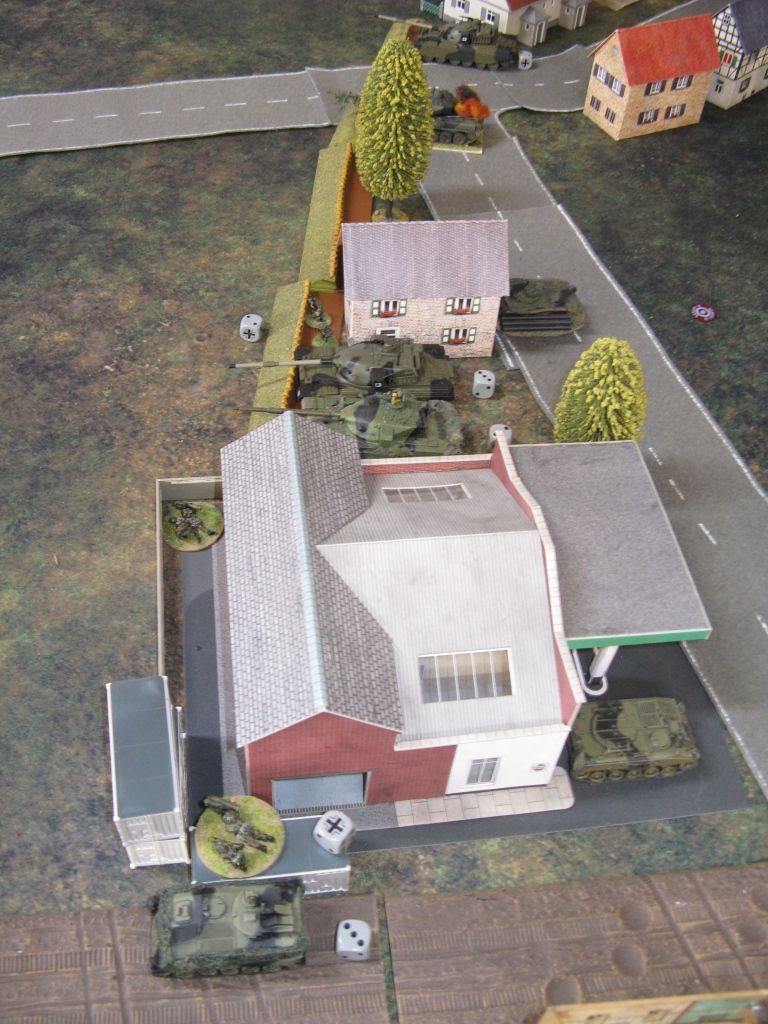
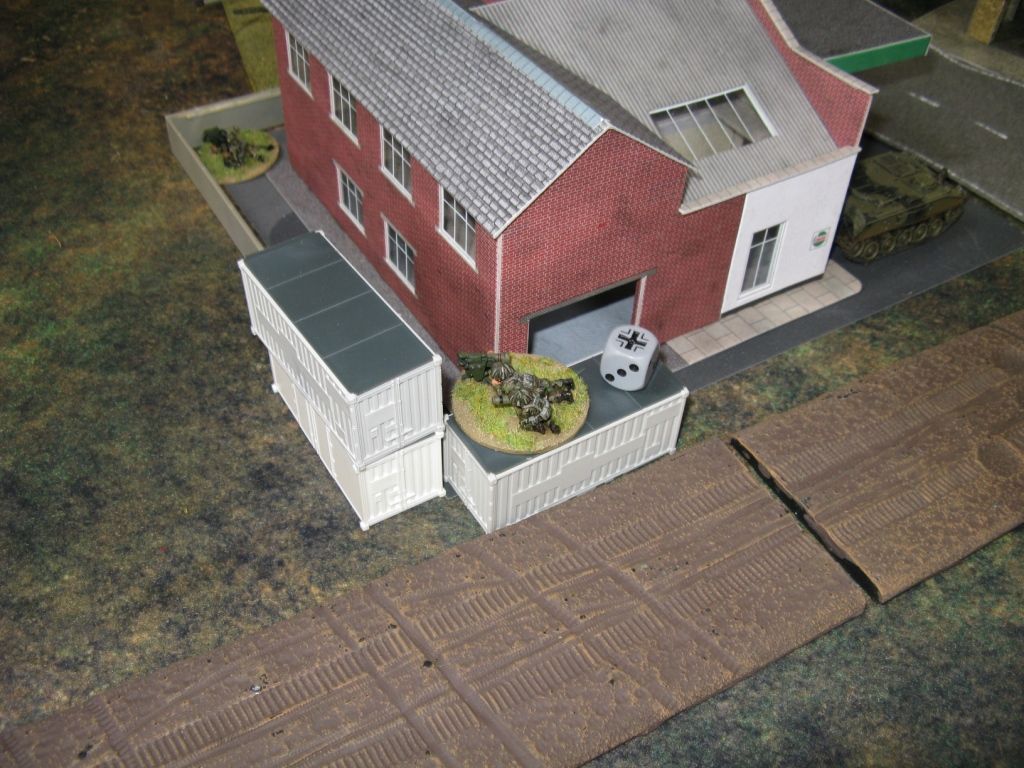
A Swingfire armed FV438 and the Milan Teams waited, hiding behind the garage:


One Scorpion was deployed well in advance of the rest of the NATO force on Table 2:


He would be my first target...

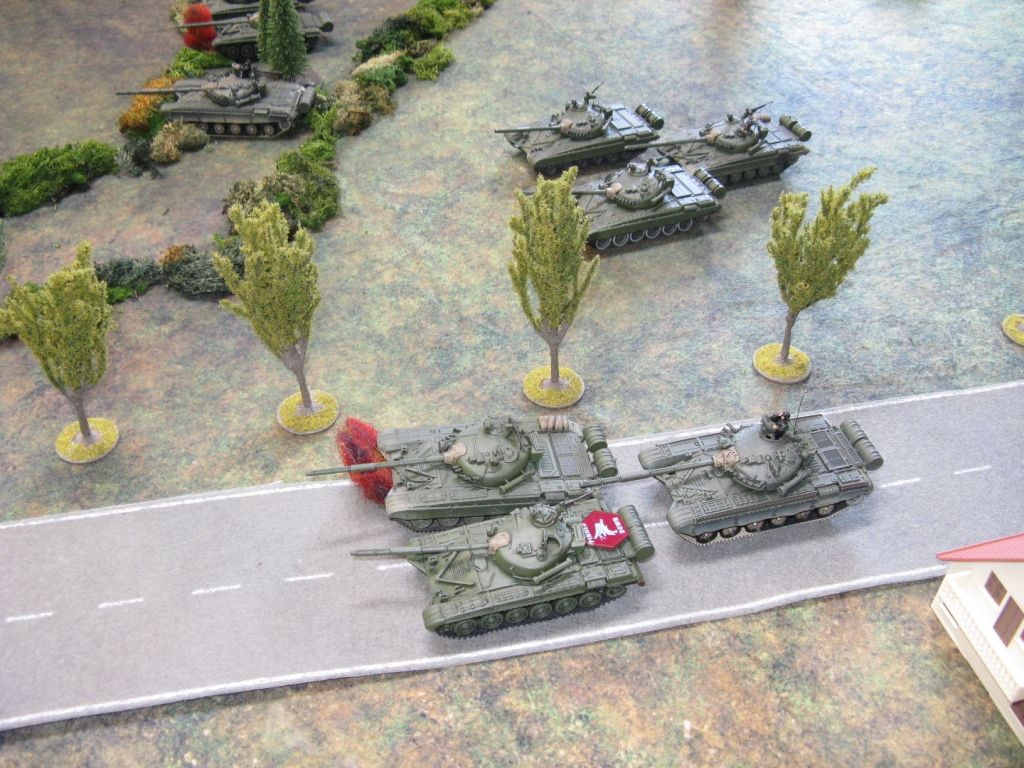
Back on Table 1, Soviet forces began to deploy:


And then more substantial Soviet forces arrive:


My Soviets move up to a decent sized wooded area:


And then into them.  This is nice...


Mick's lads continue to motor forwards:


The road to the bridge is clear!


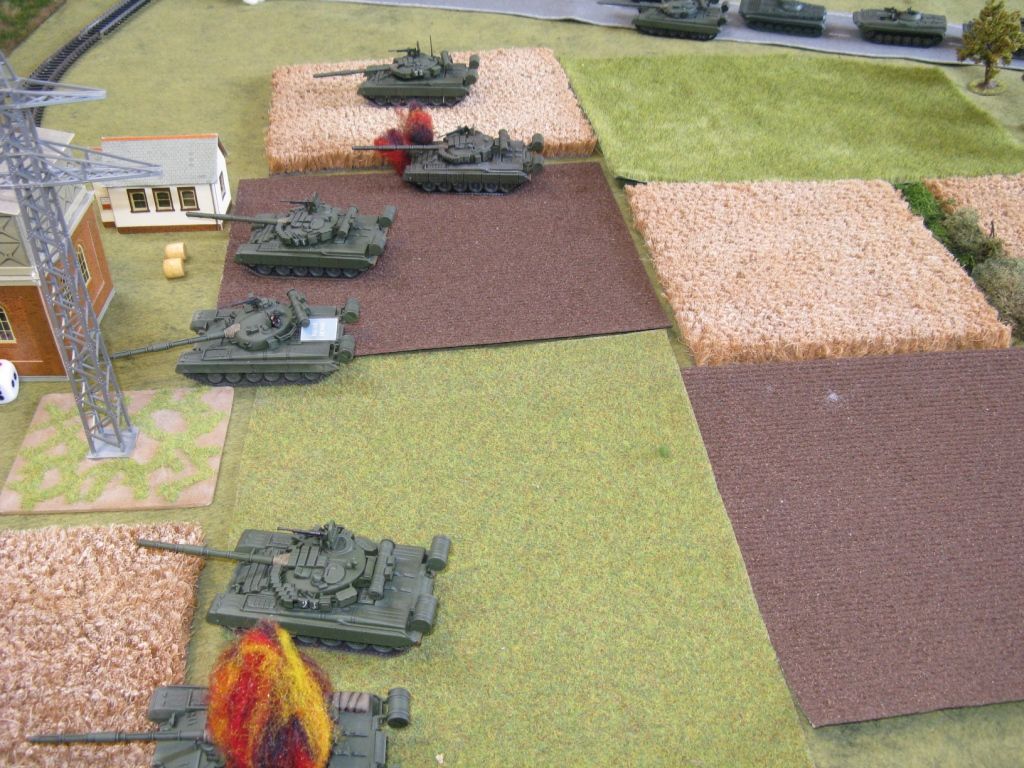
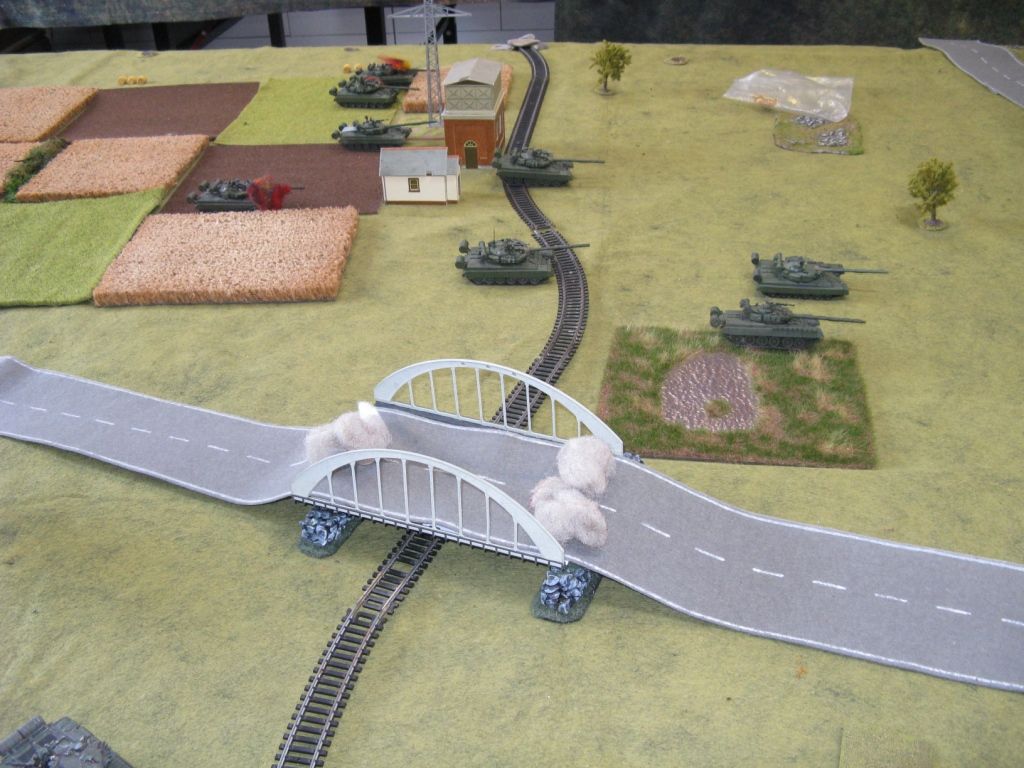
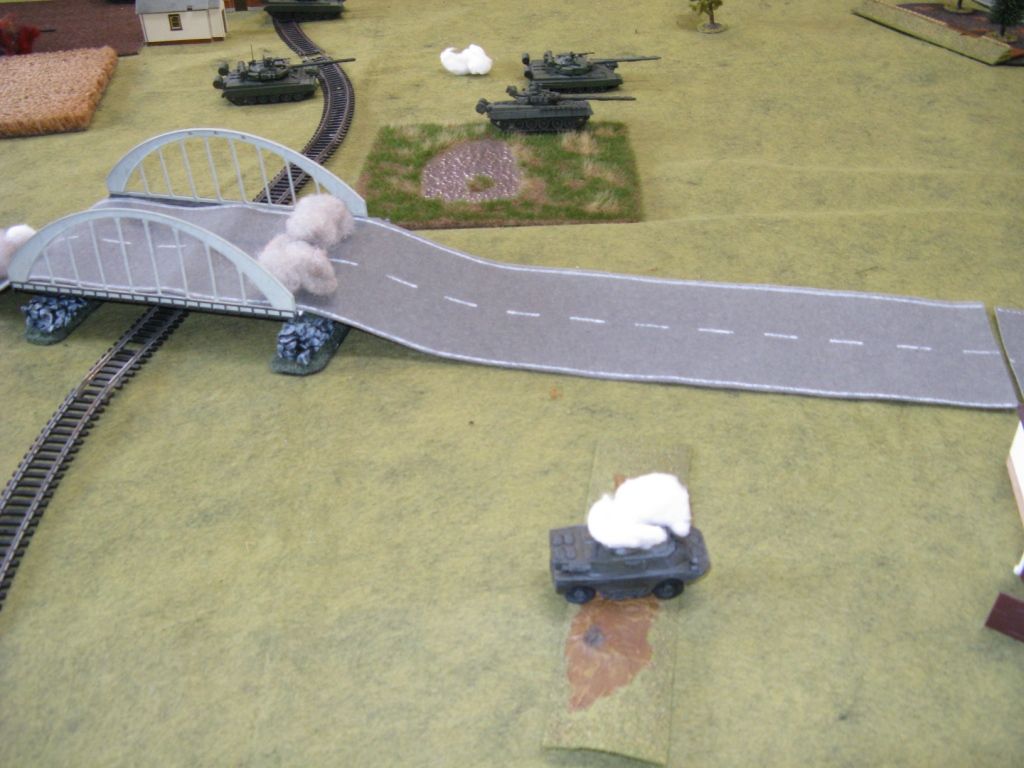
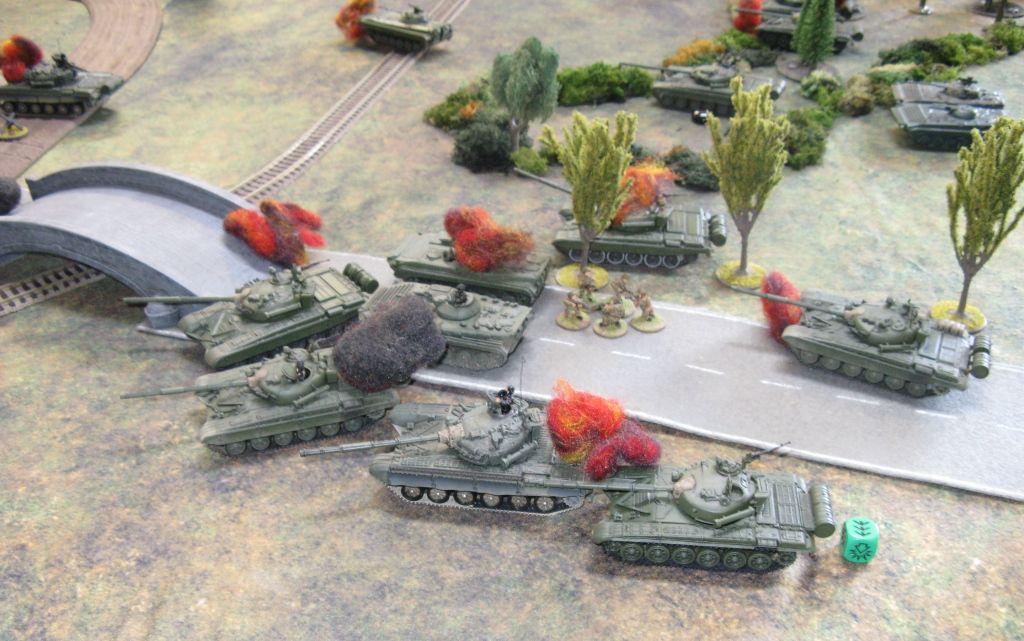
Bugger!  Both bridges are blown on the same NATO turn.  Detours are required:


Leading to our first loss:


Probably should have said losses.  At this point things appear to be going well for me and not so well for Mick.  No Mick - you take the artillery - I don't need it...  A wee be of hubris never hurt anybody... right?


My BMP-2 Recon Squad moves forwards, dismounts and takes on the Scimitar, knocking it out.


My first kill!


Charles's reply is to move forward his Swingfire unit and deploy his remote team:


I'm not exactly sure why he did that, but who cares - my carefully hidden tanks in the woods just got hammered!


It's OK - I have plenty more.  Nah - I got this - I don't need no arty!  Let's start to divert around the woods towards the smoking bridge remains.


Oops - looks like this route is covered to:


Yeah - no doubt.  Charles has that angle pretty well covered also.


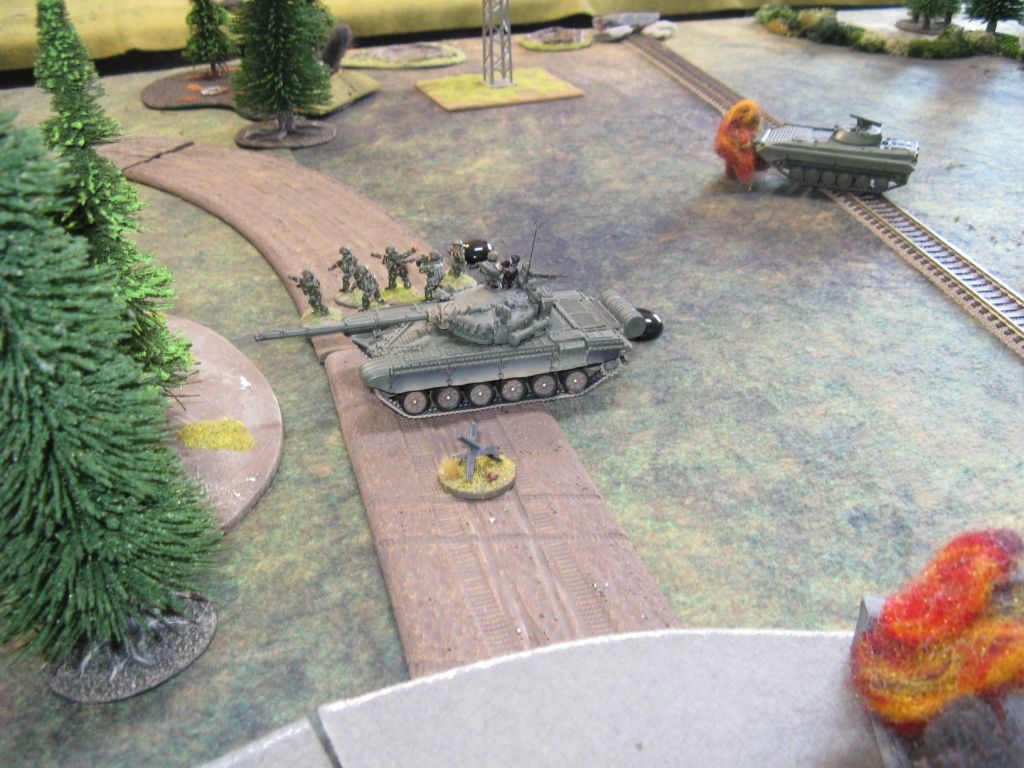
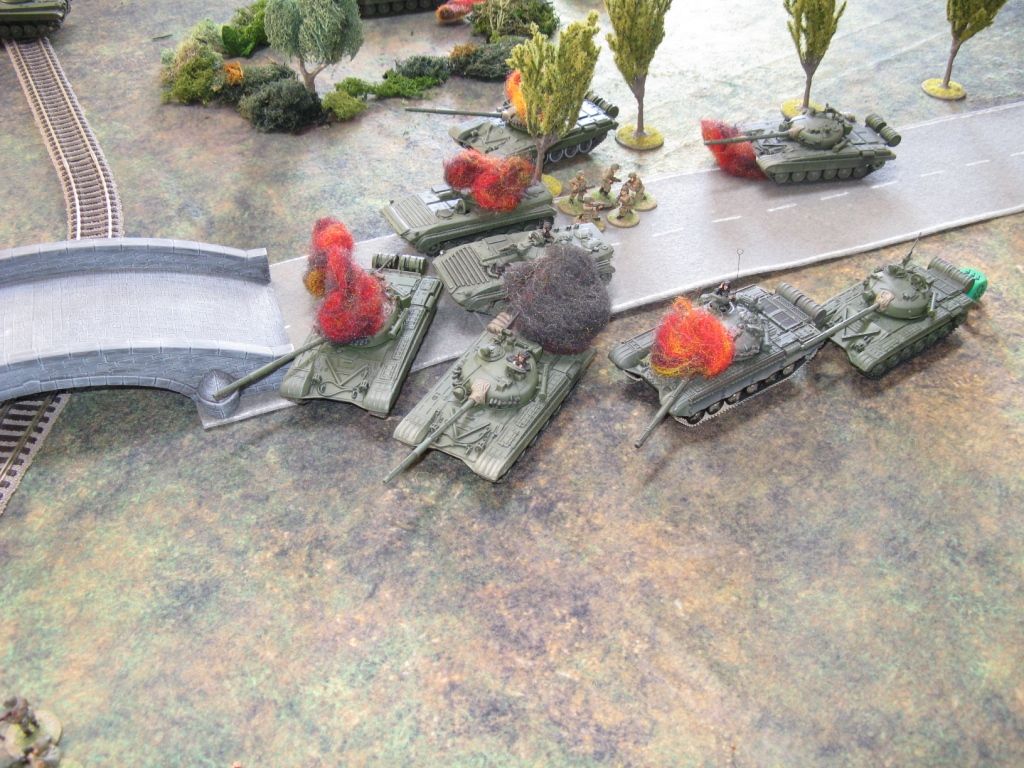
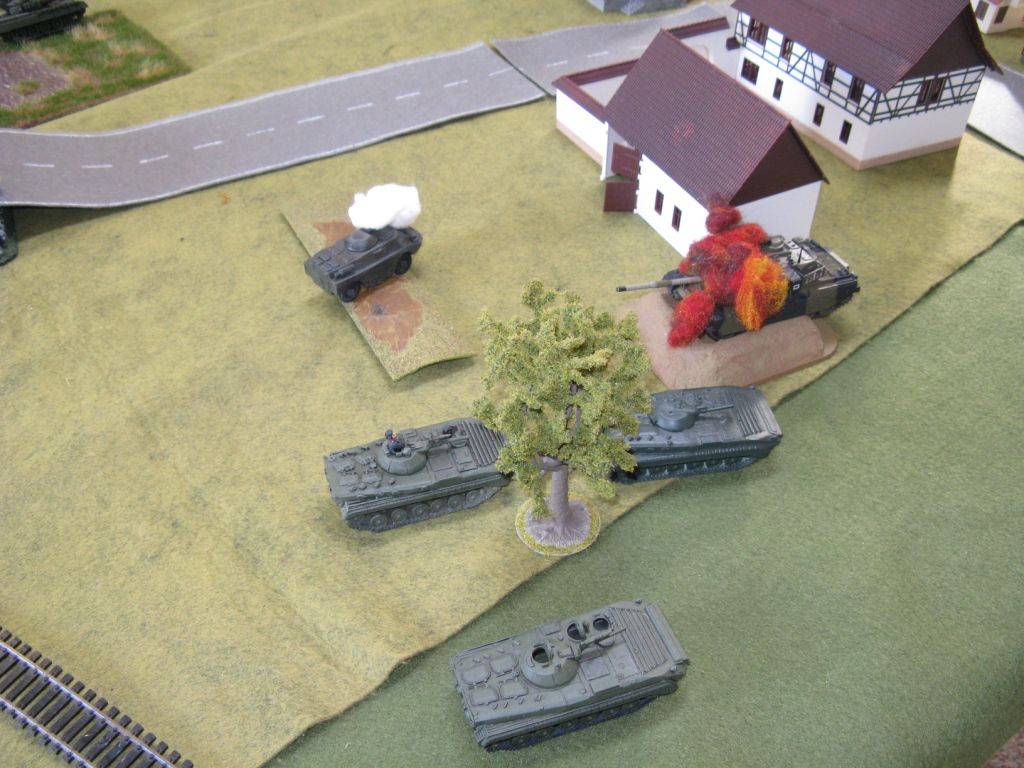
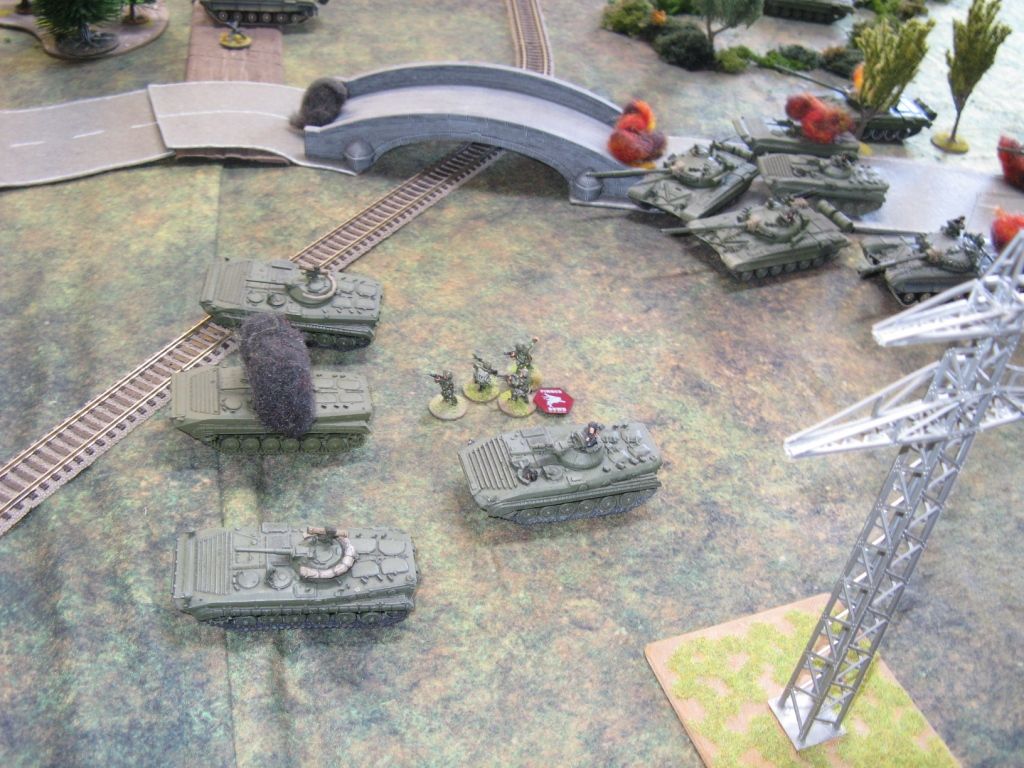
As one T-64B makes it in behind the final piece of cover before the British lines, my BMP-2 takes a hit and explodes.  My remaining tropps rush towards the T-64B.  Charles nicely points out I've just driven into his hidden minefield.  Ahhhhhh bum.


Now things look a bit like this on my Table:


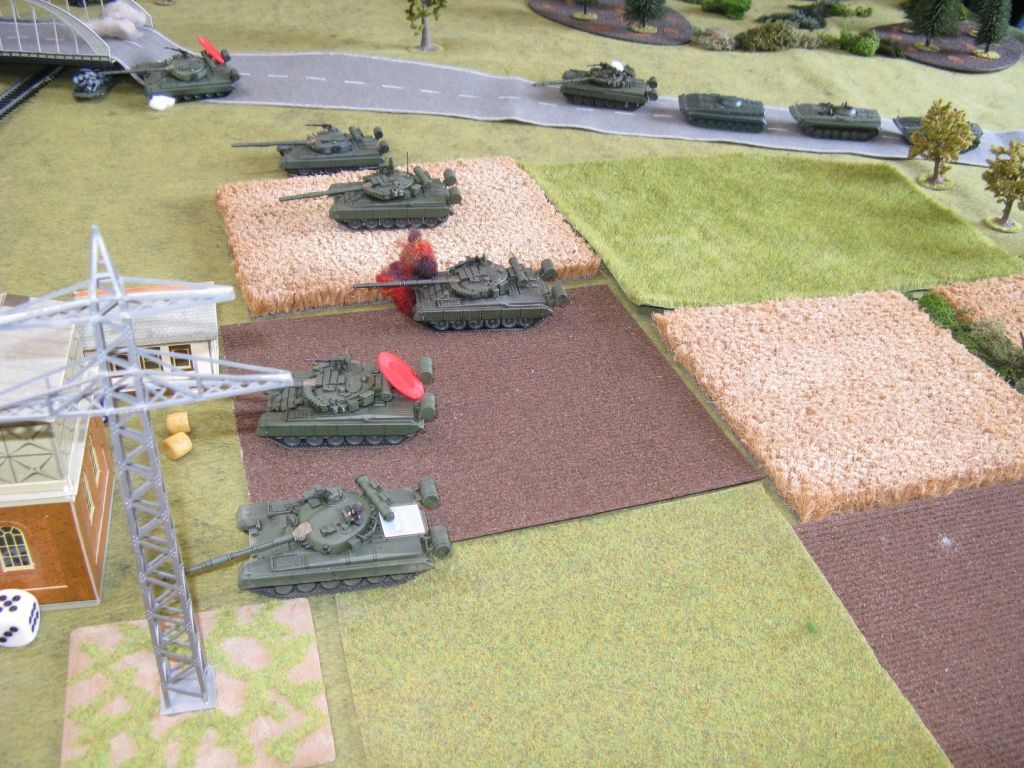
Where as back on Table 1, things have shifted a little.  Mick's Soviets are again on the move:


He's taking the odd hit, but nothing like the killing zone on Table 2:


And he has lots of tanks, with good arcs of fire moving forwards:
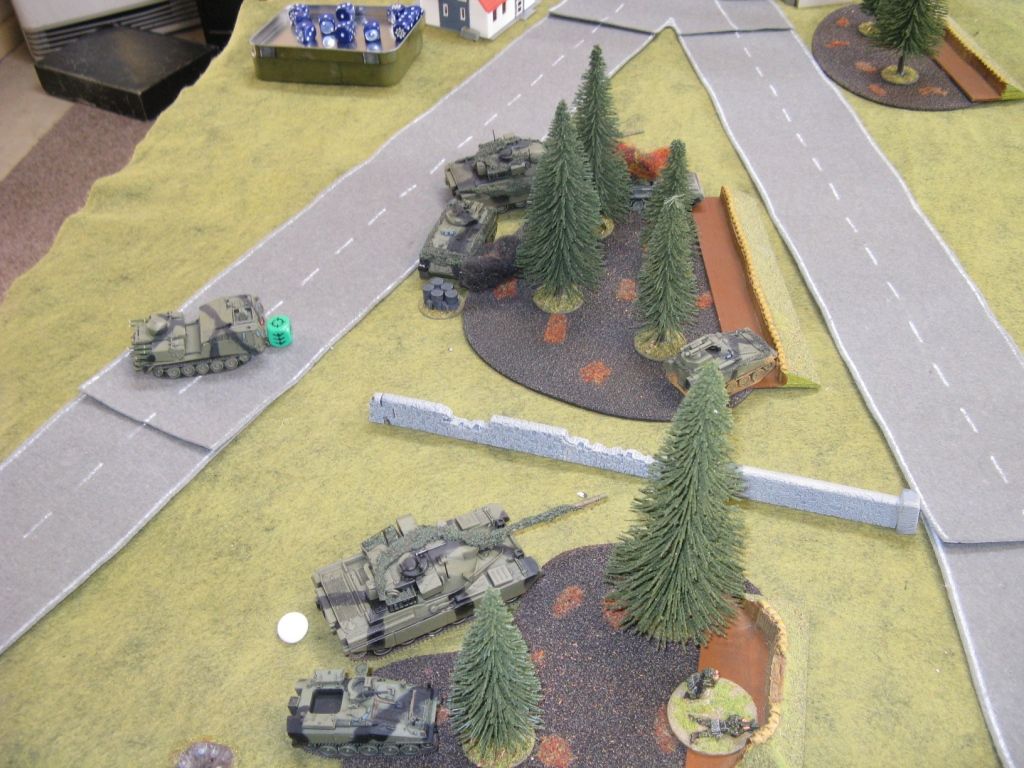

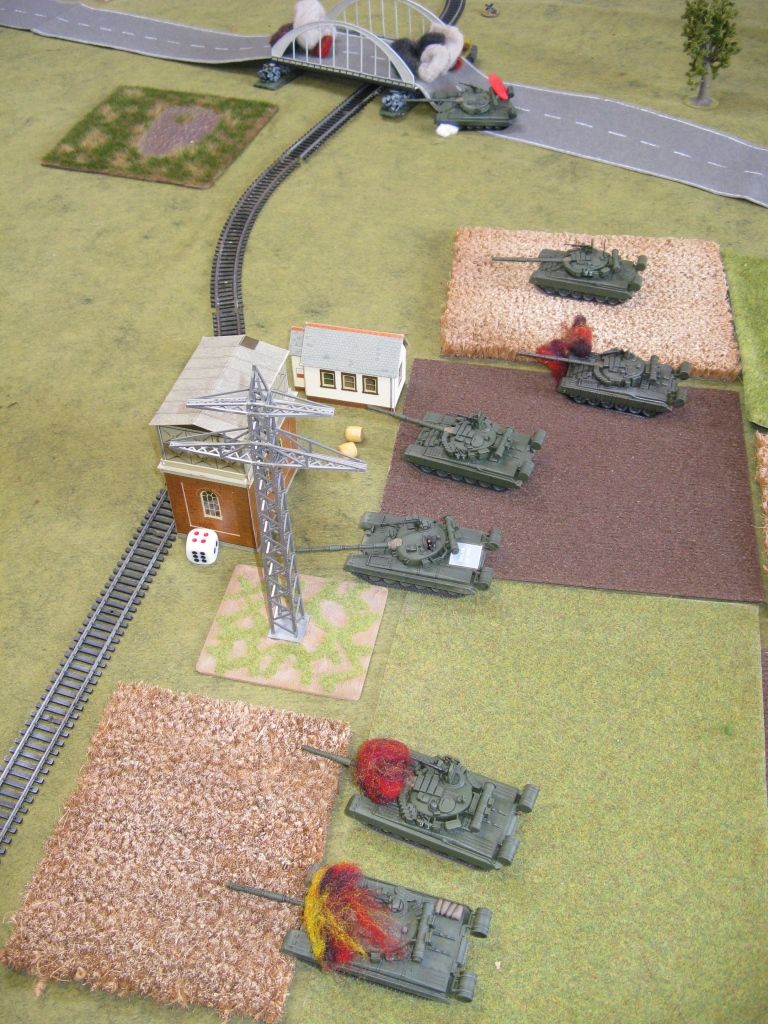
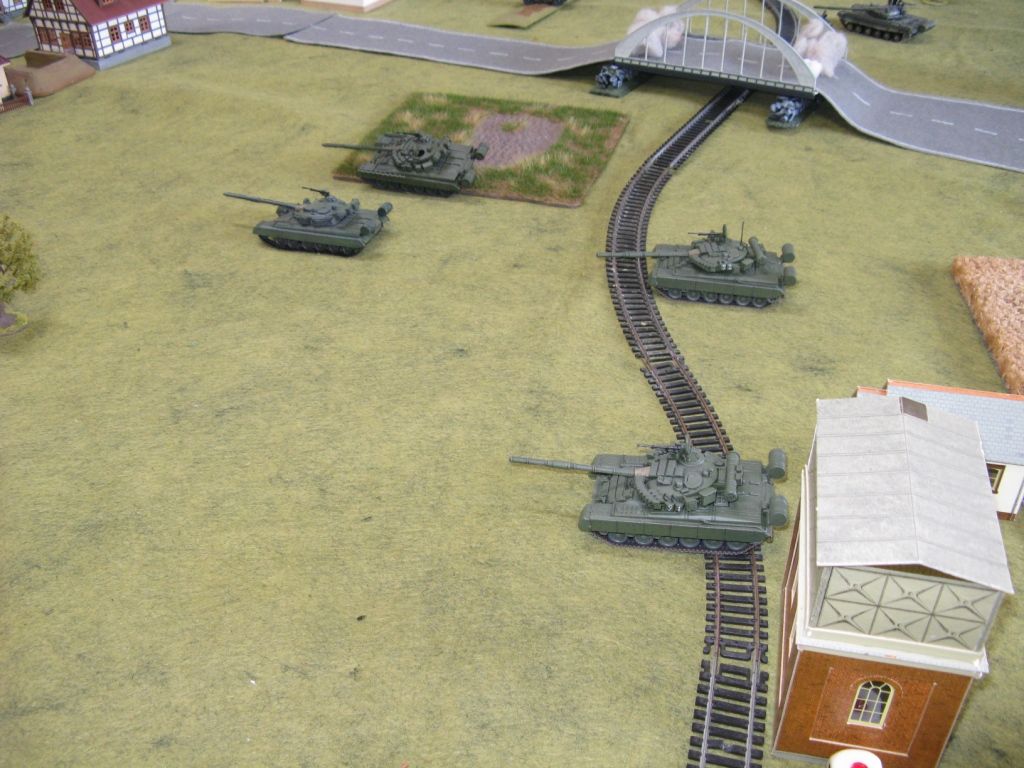
Closer and closer to the rail line which is the biggest obstacle before the British lines on his table:
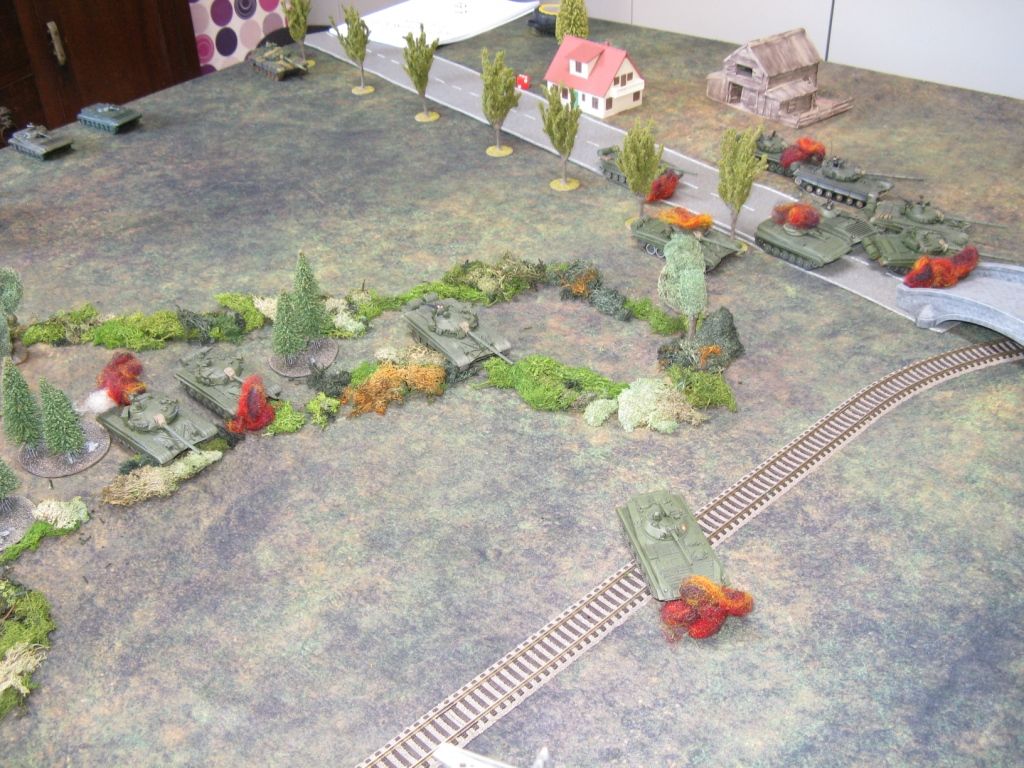

Meanwhile BAOR reinforcements have arrived and taken position


And the same story on Table 2, while the infantry wait with nothing to do...


More flamin' Milans!


At about this point you'll note the photography (and the generalship) takes on a distinct tone of mashocism.  It's like the car crash you can't look away from.


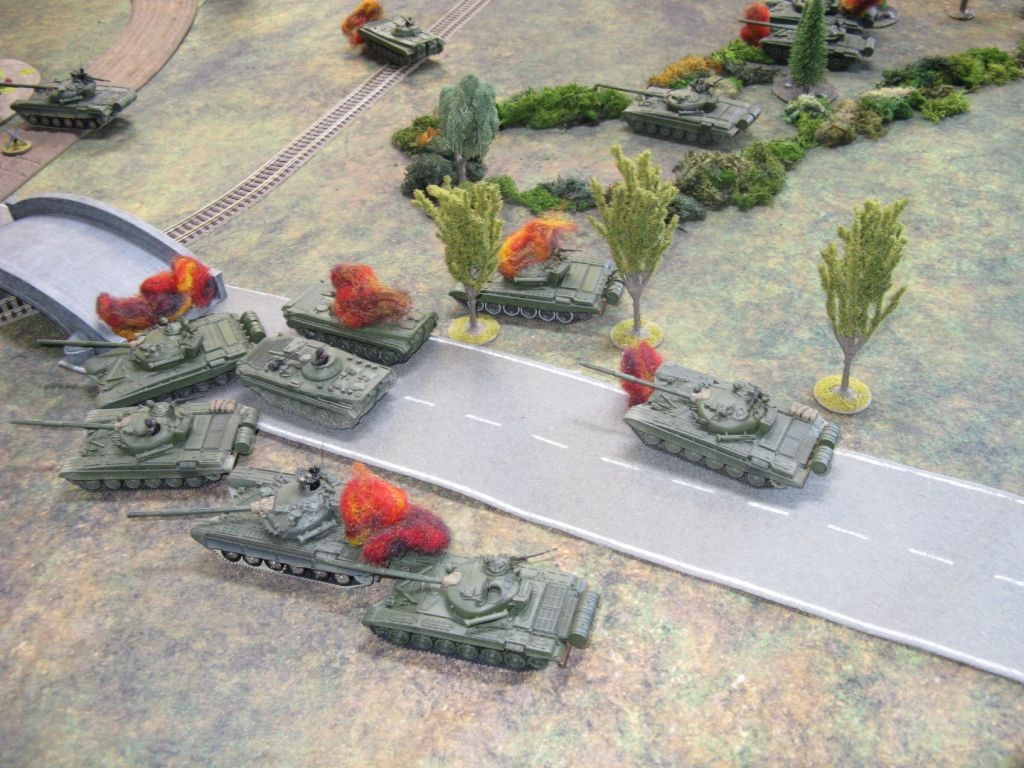
A T-64B & BMP death zone begins to appear around the bridge.  


I seriously believed it was the best way forwards - I swear:


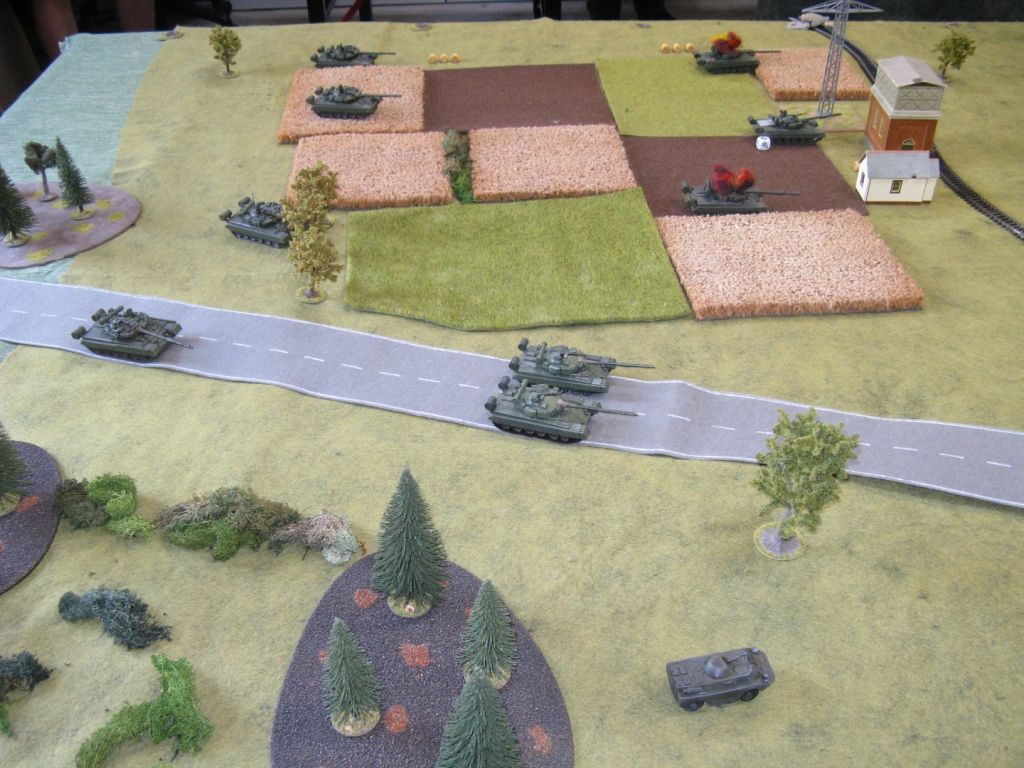
On Table 1, it is a completely different story.  Less terrain actually mean a straighter drive, so Mick was making good progress.  It didn't hurt that Greg was having no luck with the dice while Charles was literally hitting everything he aimed at.


Over the railway - full steam ahead.


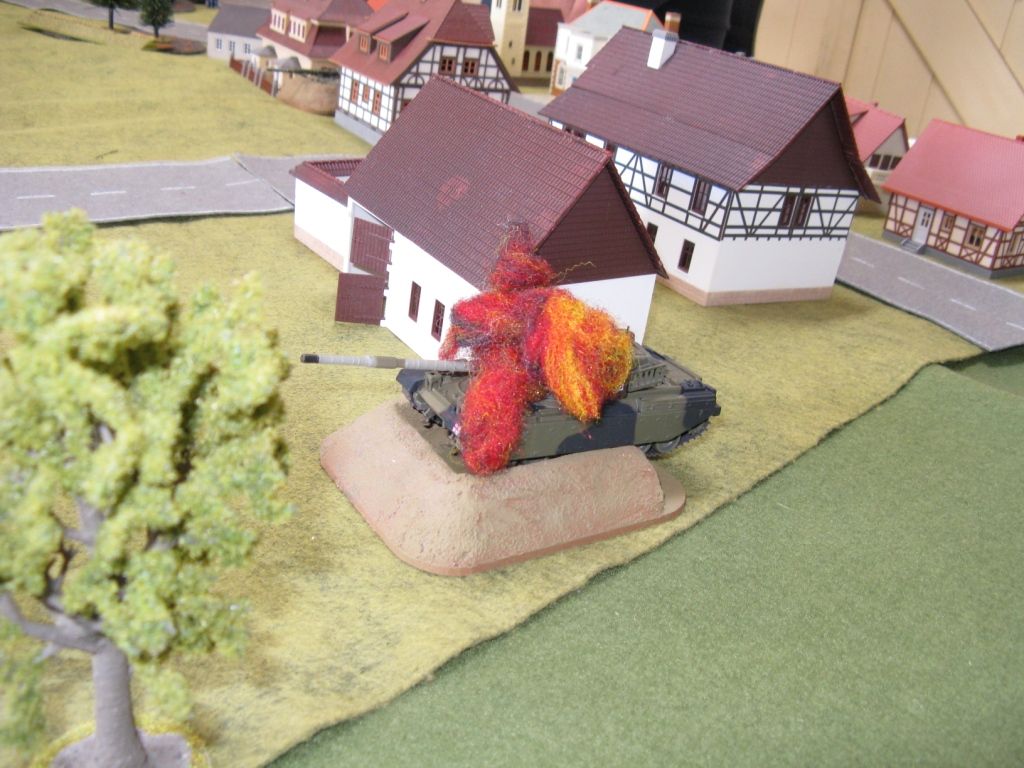
The first of a number of Chieftains on this table takes a hit.


Not that Mick wasn't losing vehicles.  As you can see the Soviets had used so much flamey looking fluff balls that we had to resort to cotton wool to cover the amount of dead stuff we (really me) had.


Getting closer!


OK - now Mick is ready to start rolling up the British flank


Back on Table 2 I almost fainted when I actually killed a Chieftain.  I would be the rather pathetic highlight of my game.  If we ignore the Scimitar, I only suffered something like a 20 to 1 kill ratio - meaning I lost 20 units and he lost 1.  I guess that artillery wouldn't have been such a bad idea afterall!
 

Here's the middle of the beginning of the end.


Here's an example of reinforcing defeat


Here's an excellent example of what happens when you send a platoon of BMPs charging straight at dug-in tanks and missiles.


Here's the remnants of that platoon trying to escape their burning vehicles.


Here's why I'll never be a Hero of the Soviet Union - although, I sure if I survived all this to be able to report...

I could say I brilliantly lulled the enemy into a false sense of security while my partner in the attack rolled up the other flank.

Here are Mick's forces rolling into Lehre - taking the Brits in the rear.


So on Table 1 the Soviets won a glorious victory whilst on Table 2 the Soviets suffered an ignominious defeat.  So -does that make it a balanced playtest?  I kind of think so.

I think the playtest worked.  I don't own any 6mm or 15mm Cold war kit - and had to make do with 20mm gear.  Sure - this would look stupid on a 6' x 4' table - but spread across two 9' x 5' with 4 players it worked well.  No real problems with the rules - sure air did not turn up and our artillery (especially the Soviets arty) was pretty light on - but that didn't stop us having a fun game.

Always lots to think about afterward - but as a good Soviet player, I would have promoted Mick and then taken myself out back and shot myself.

Onwards and upwards

Thanks for looking

Richard