16 August 2011

Soviet 120mm Mortar Teams

This week I've added a couple of 120mm Mortar teams to my Soviets.

As I understand it, the Soviets developed an excellent 120mm mortar just prior to WWII. It was such a good design that the Germans simply copied it. Since then it has been improved at least a couple of times, but the basic design remains the same. You can read a very brief description of this development process here and here and finally here. I'm going to "pretend" that my mortars are more likely to be the PM-43 variety rather than the 2B11 Sani developed in 1981, as I doubt all units would have them within the timeframe I'm dealing with and because the model I used is a WWII variant.

So...

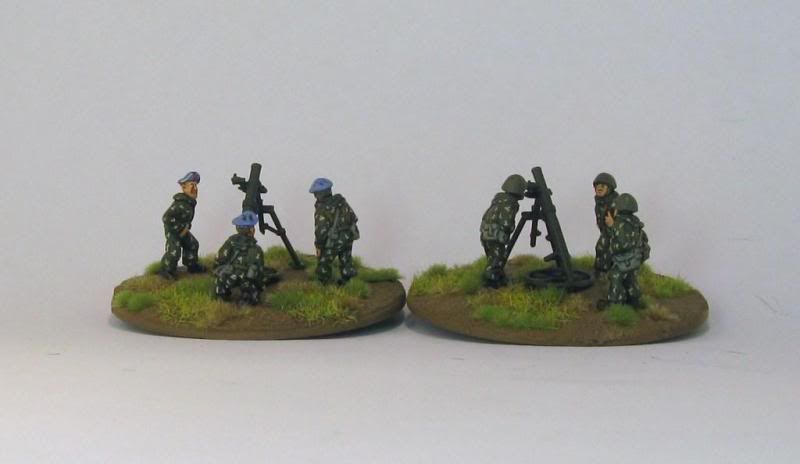
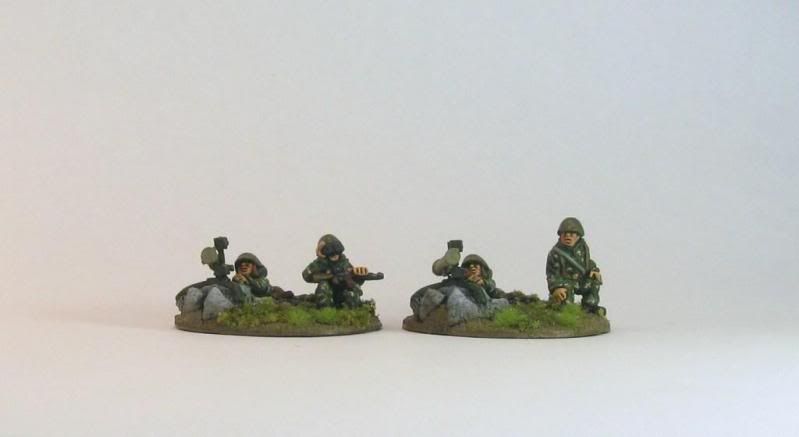
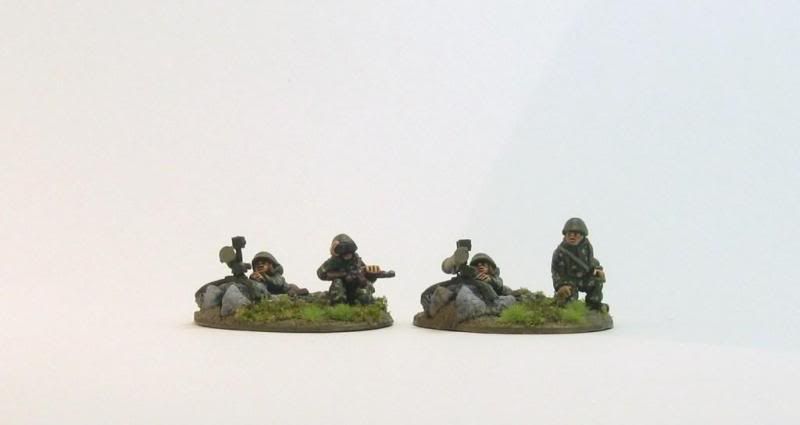
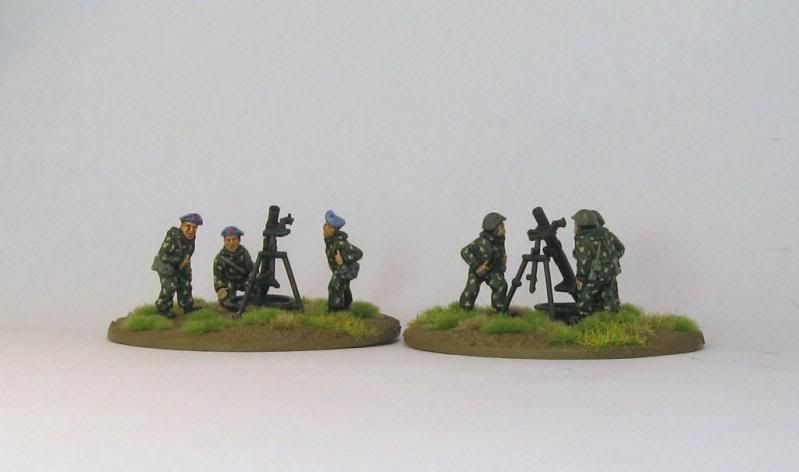
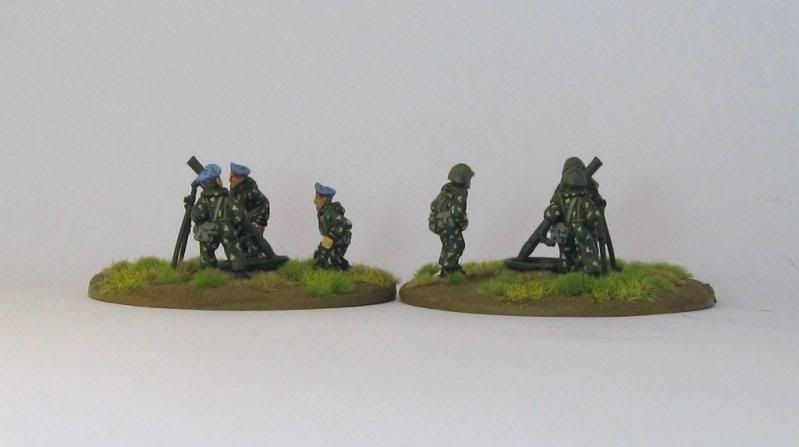
For these teams I used Liberation VDV and Cam Jump Suit figures for the mortar crews. I found someWartime Miniatures 120mm mortars at Cancon earlier in the year (like January!) and thought they would look pretty good together. They are based on large GW round bases - 60mm I think... Here they are:
Photobucket

Photobucket

Photobucket

I'm basically happy with the result - but I tried something different with the basing and I'm not happy with that result. I won't be using static grass and Silfor tufts together again. I also don't have any 120mm mortar bombs or appropriate sized boxes which could have made the bases that much better...

Onto a couple of youtube clips:

This first clip is from WWII but as it is about a german copy of the Soviet 120mm mortar I thought it worth having here. It gives you a good idea of the size etc.


This is a clip about a modern US Marine's 120mm mortar - gives you a good sense of the size of the rounds in particular


That's all for now

have fun

Richard
04 August 2011

M106 W-I-P and S&S Group Build

A while back (March actually) I posted an update about the S&S Models +15 Club - you can read it here if you are so inclined.

In the post I put forward my keeness for an American M106 Mortar Carrier and for the similar West German variant.

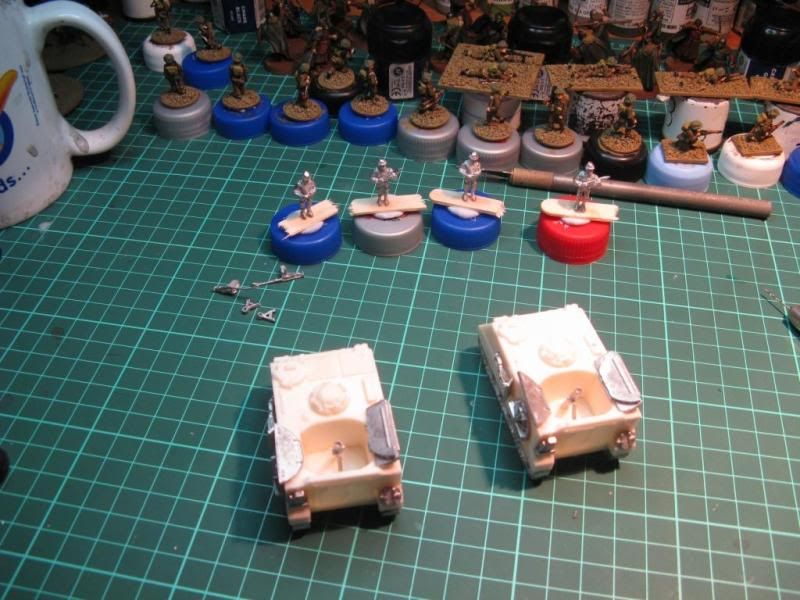
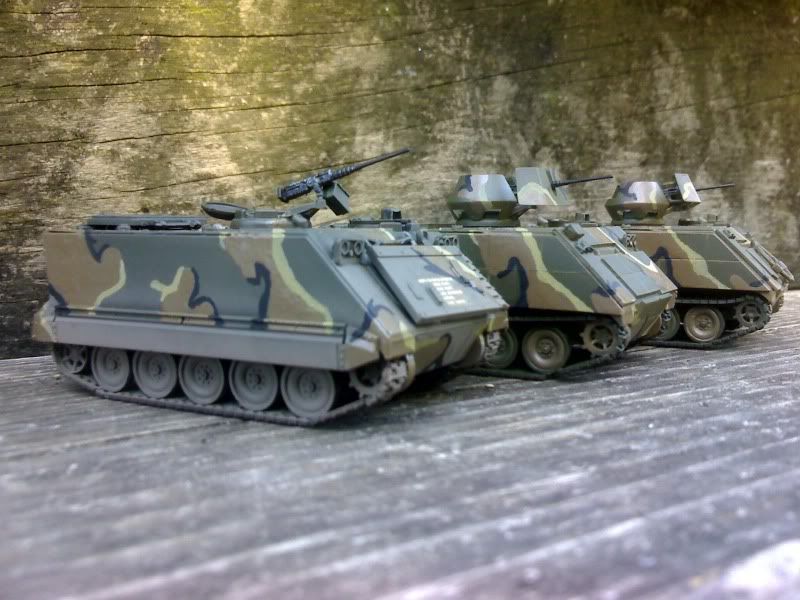
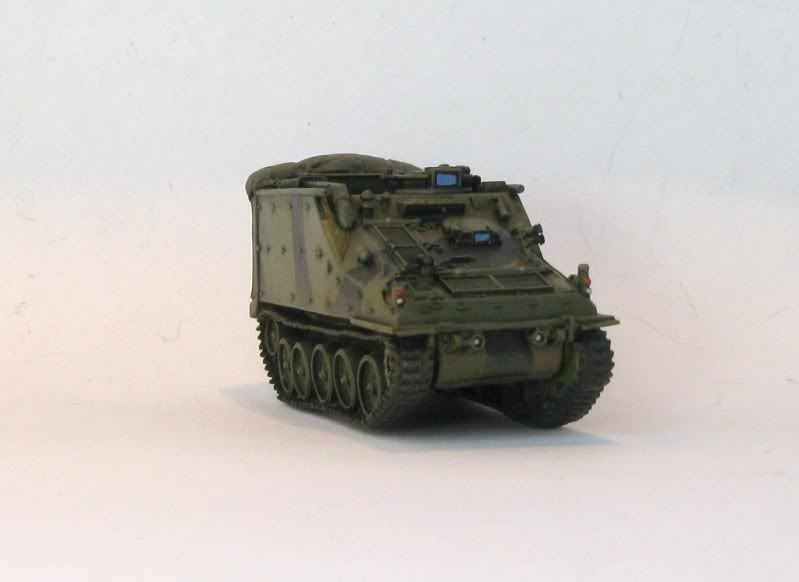
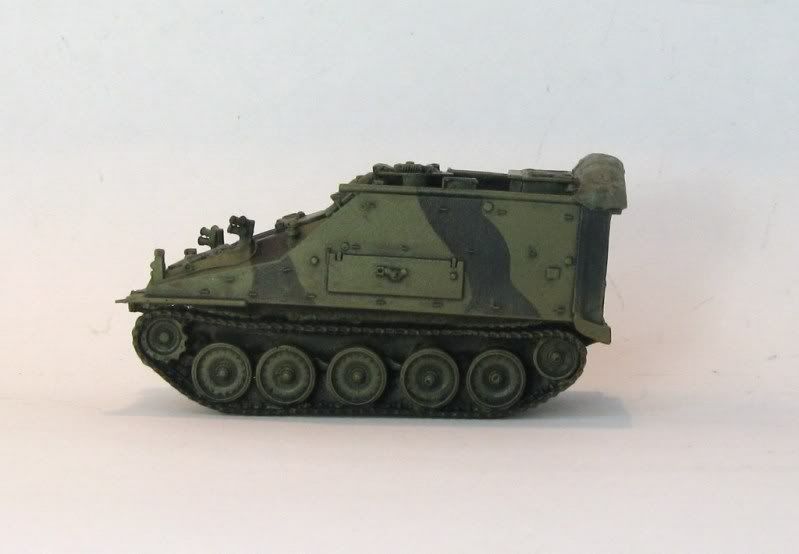
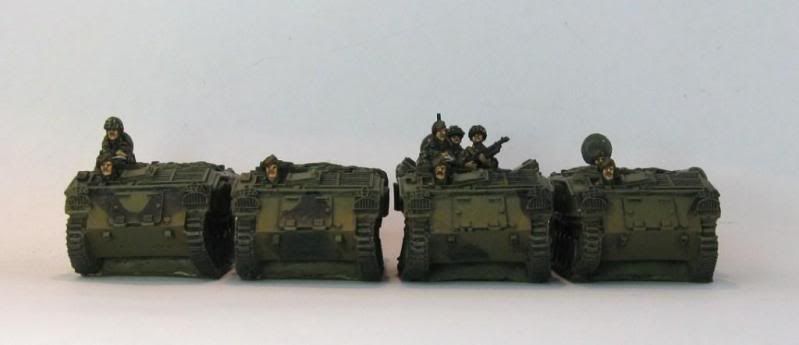
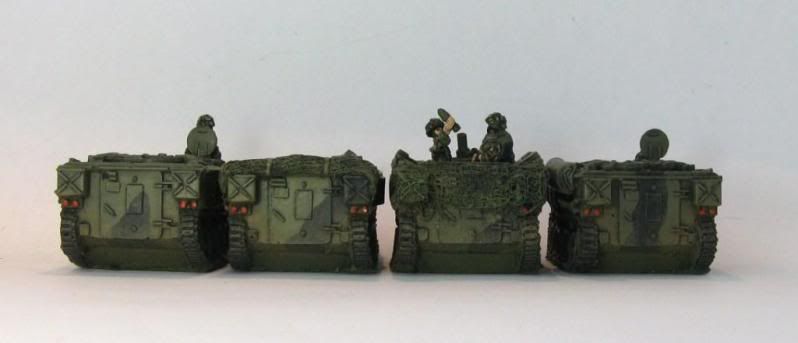
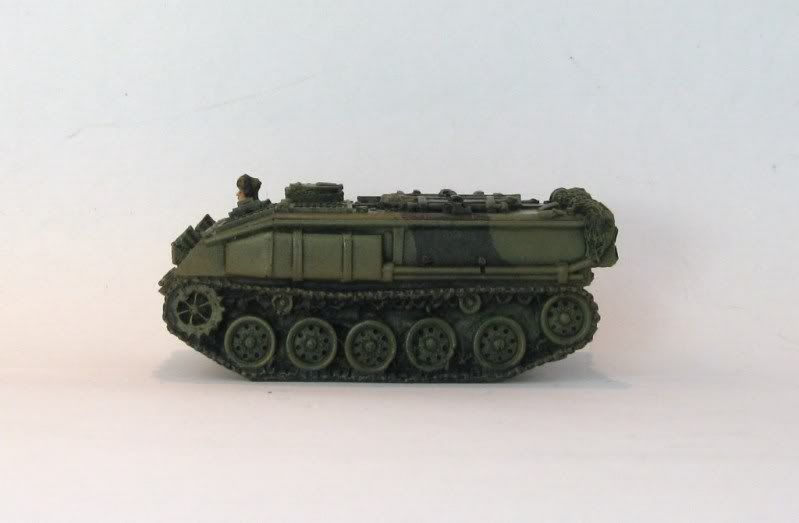
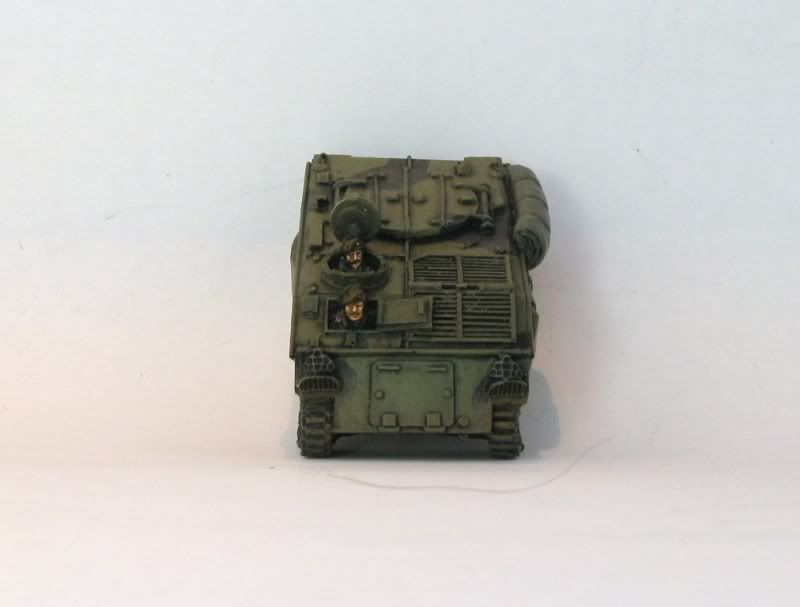
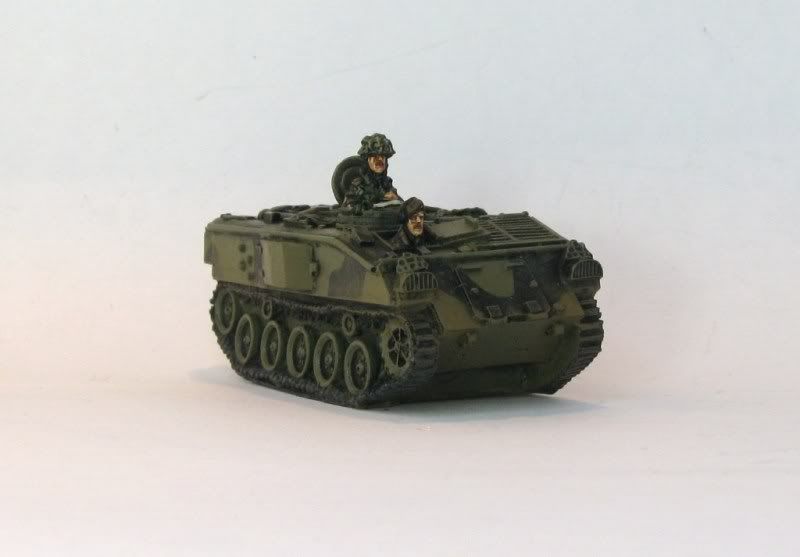
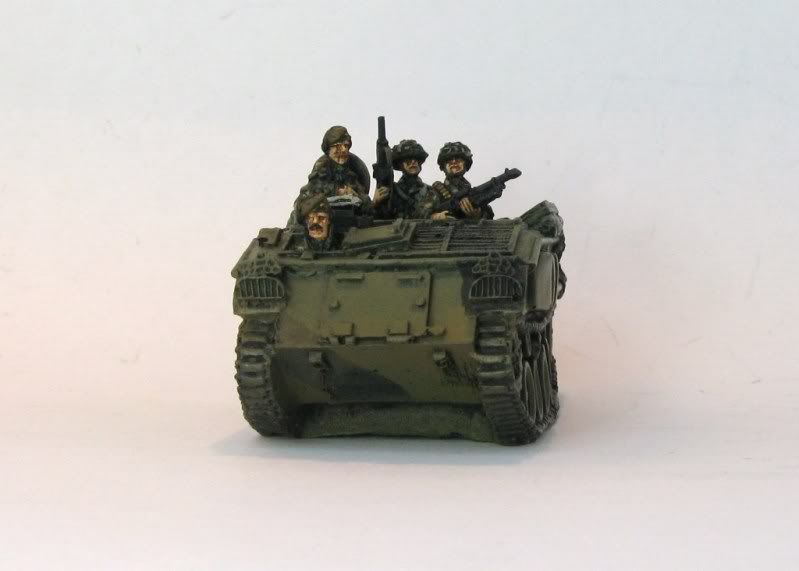
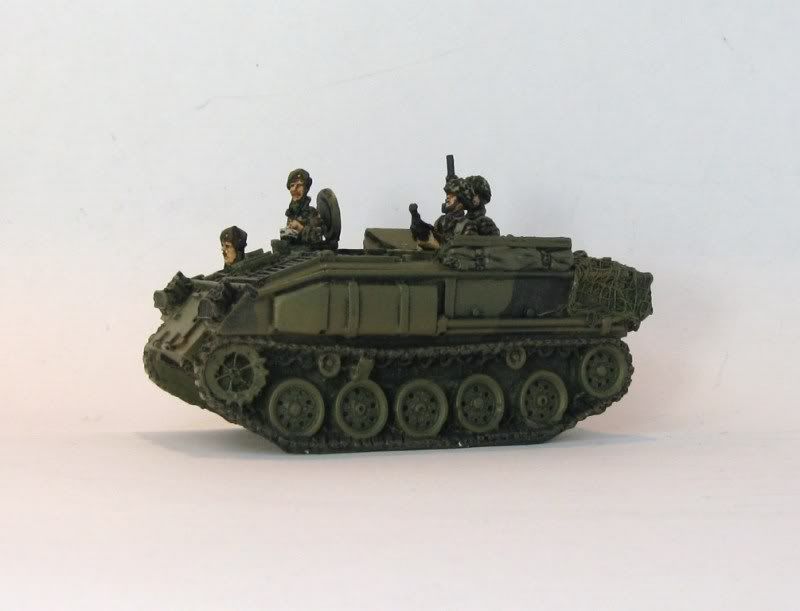
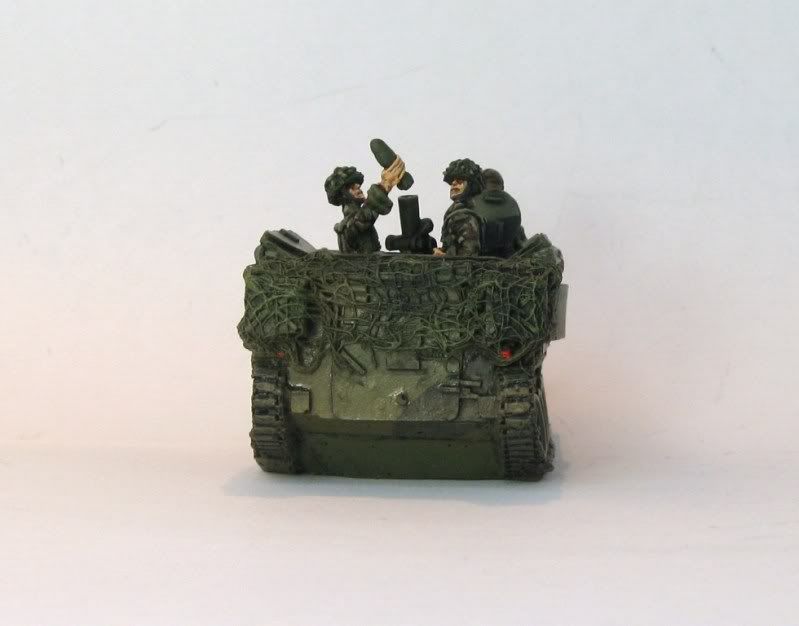
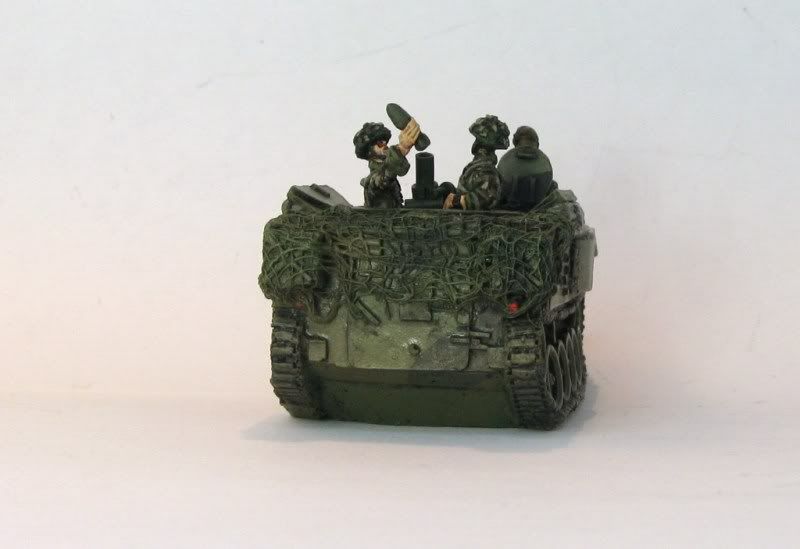
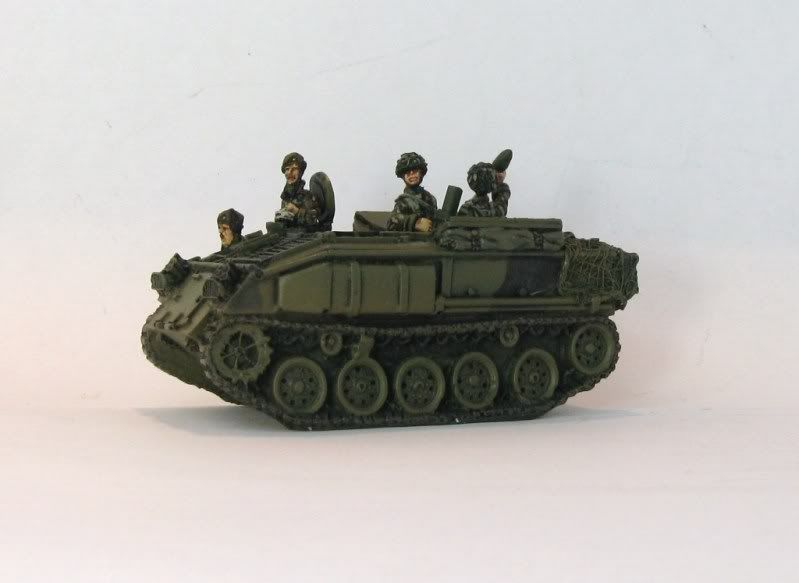
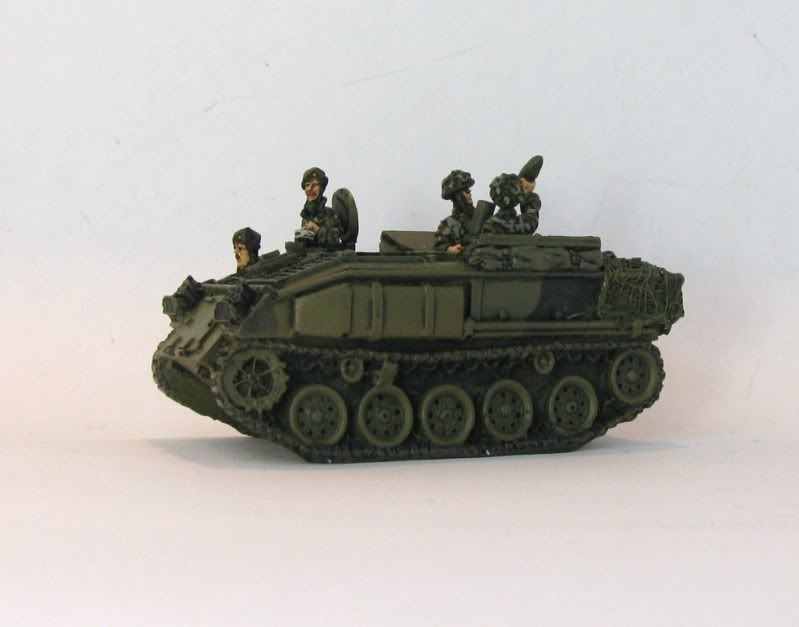
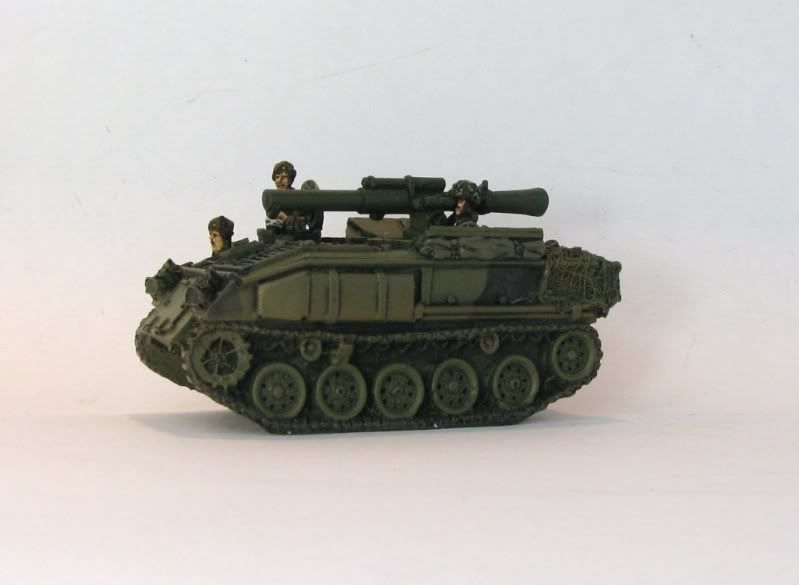
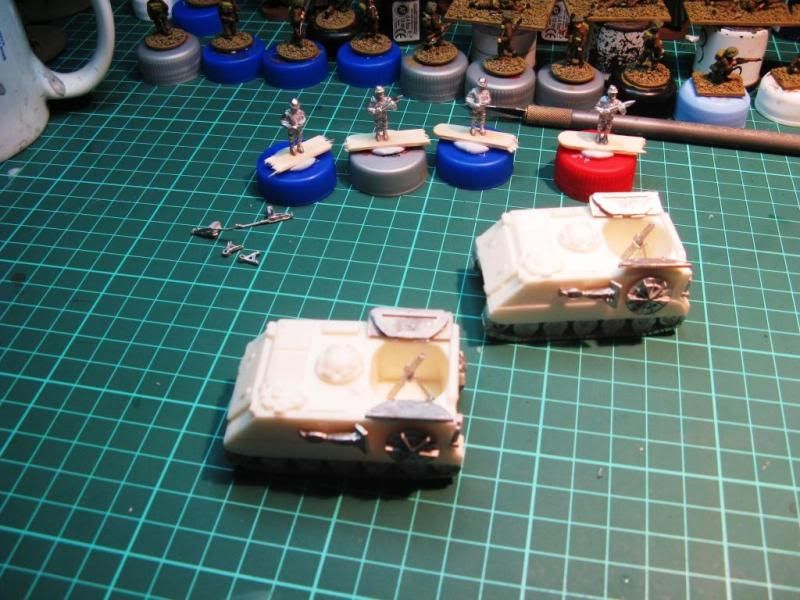
In an impressive display of responsiveness two S&S M106s arrived in the post on Monday. I spent the last couple of nights cleaning and assembling and now mine looks like this:

Photobucket

Photobucket

Yeah - I know - crappy photos, but the best I could do at short notice!

These wil be my entry into The Guild's next Group Build which is sponsored by S&S Models

I might make a little diorama - but from the little research I've done I think in reality that these vehicles would have deplyed about 200 metres apart when firing - so a diorama might look kind of sad with the tow in action right next to each other.

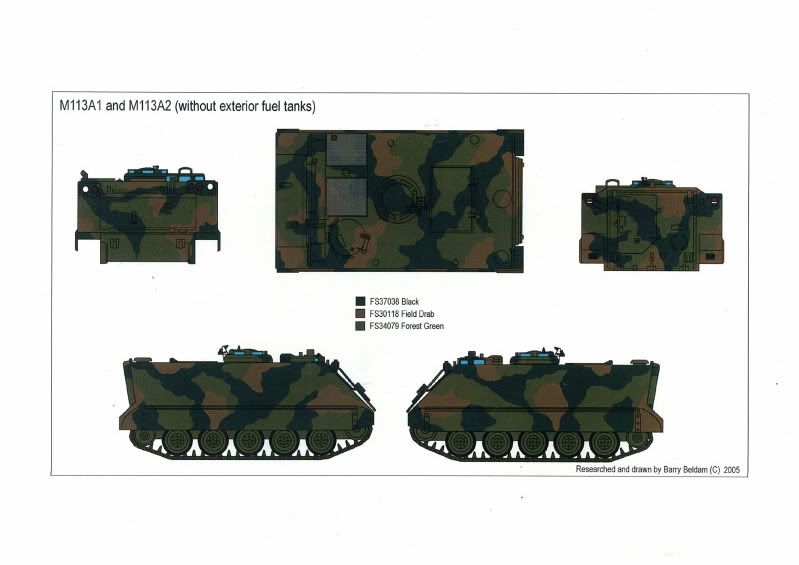
Next I have to decide how to paint them... I find US Armour cam colours in the 1980's a fairly confusing topic.

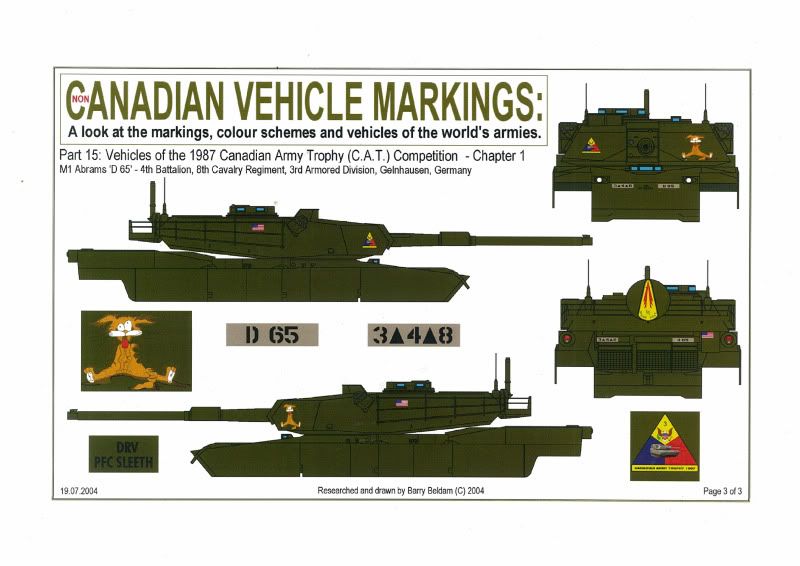
It appears that in 1970s the US Army came up with a camo scheme names MERDC. Here is an excellent photo of one version of it borrowed from the Plastic Warriors blog. An excellent and inspirational blog it is too - so I hope they don't mind me using this picture :-)

Photobucket

That looks truly difficult to paint and I'm not sure if I can be bothered - however as an end result - it's pretty cool.

In Europe though - it gets even more confusing becasue as I understand in the early 1980's all M1s and M2/3s arrived looking like this:

Photobucket

This picture is borrowed from another exceptional website called Armoured Acorn. This site has fantastic pics of a range of Canadian, NATO and even WARPAC AFVs - as well as a whole heap of other stuff like Soviet TO&Es so is well worth looking at.

Anyway later in the 80's a M113 might have looked like this:

Photobucket

From the same site as above. This was meant to be the standard NATO 3-tone camo. Fortunately this is a little to late in the 80's for what I'm trying to do so I can safely ignore this one.

Amusingly enough, in action I'm sure they all actually looked like this:

Photobucket

Photo from the armorama website. That's supposedly a MERDC cammed M1 - pretty hard to tell.

So... perhaps I need to paint my M1s and M2/3s in Forest Green (I'll be using FoW War Paint US Armour), and my M113s, M901s and M106s in MERDC? I've no idea!

That's all for now - have fun

Richard

19 July 2011

Soviet 9K111 Fagot Teams

Another short but hopefully sweet update this week.

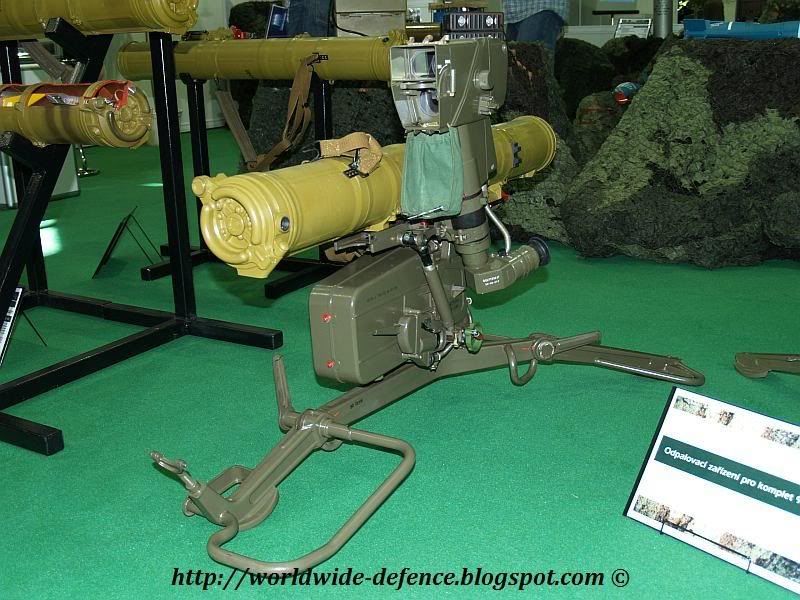
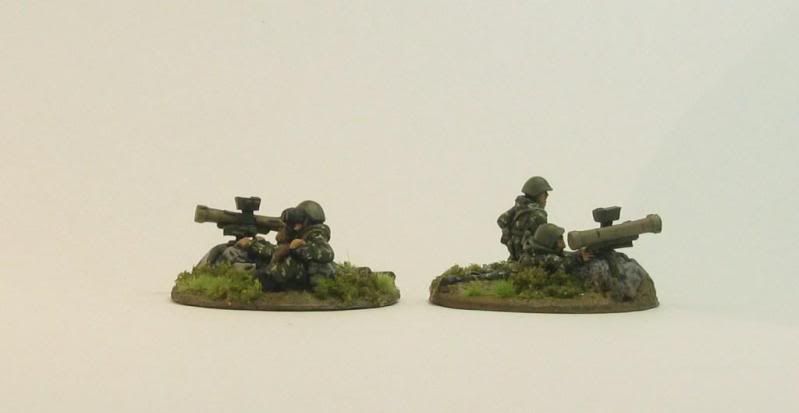
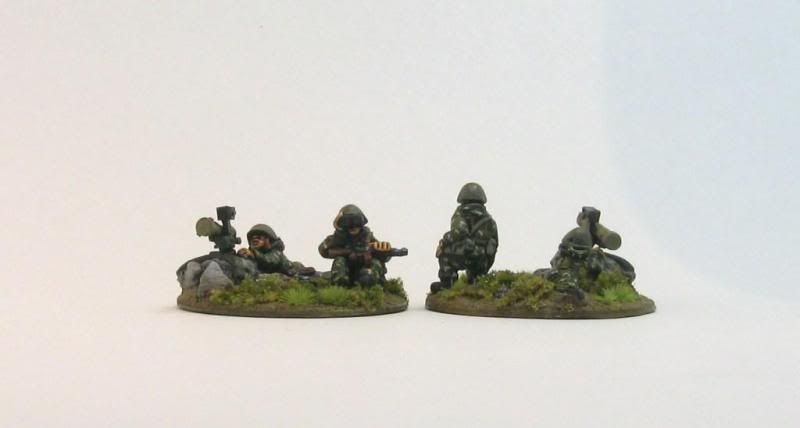
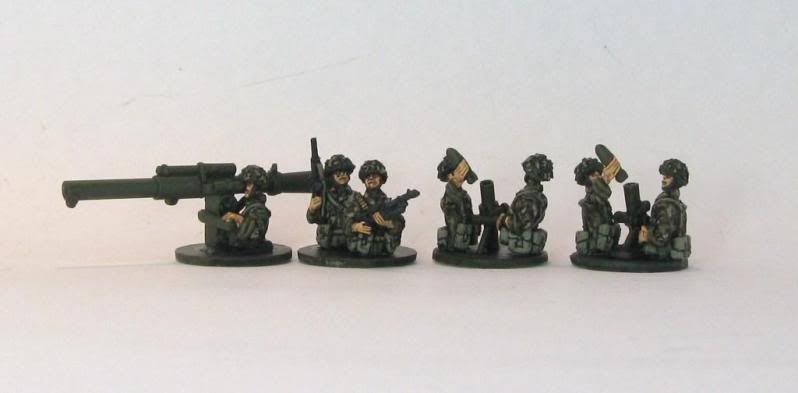
Over on the The Guild they recently had a groupbuild, with the omly criteria being that whatever it was you did had to be on a 40mm base. This fit in quite well with a couple of Soviet 9K111 Fagot (NATO Designation: AT-4 Spigot) teams I had wanted to finish.

You can find out more about the Fagot/Spigot here

The Models

My teams came from Liberation Miniatures, which includes the firer and loader (one of which I swapped around for a more observer type figure) also include the base of the launcher attached to a kind of rocky outcrop. It looks kind of weird, but makes the missile launcher unit much more stable than it would be without it.

I didn't have any LibMin Fagots handy, but when I got my last S&S Models order I had asked for a number of these missile units to attach to my BMP-1s and BMD-1/2s. I decided to use them, and they fitted in very well with the LibMin figures.

The Look

This is the look I was going for:

Photobucket

And this is what I ended up with:

Photobucket

Photobucket

Photobucket

Photobucket

I think they came out OK. I'm not happy with how the Woodlands Scenics turf turned out - I have to work on that...

Anyway... here's a couple of Fagot/Spigot youtube clips:


I found it interestingt he way the tube pops open before the missile launches.

Have fun

Richard

11 July 2011

Cromwell Models FV105 Sultan

A fairly quick update this week with my version of a Sultan. A member of the very cool CVR(T) family every modern British force - in real life or in miniature - needs at least one. You can find out a little more about the Sultan here and alot more about the whole CVR(T) family here.

REVIEW

I'm a little bit of a fan of Cromwell Models - apart from the difficulty you can have in getting them - and this little beauty sits right up there with the rest of their stuff that I have seen. Its a very simple little kit - just 3 pieces from memory - the body and two sets of tracks.

My only problem was that the tracks had a quite significant bow in them and needed to be bent back into shape. Not having much experience in this I probably tried to do it too speedily and ended up snapping one of the track sections in half. This did, however largely solve the bow whn both peices were glued seperately to the hull.

Apart from that it was all very straight forward and painted up extremely easily. I liked it so much I'm trying to work out if I need another one!

Here are some photos of the completed effort:

Photobucket
Front angle

Photobucket
Side shot

Photobucket
Rear view

Finally a couple of clips from youtube:


Good quality clip with nice look at details


View from the Commander's hatch


Convoy - including 4 Sultan's

That's all for now

have fun

Richard
29 June 2011

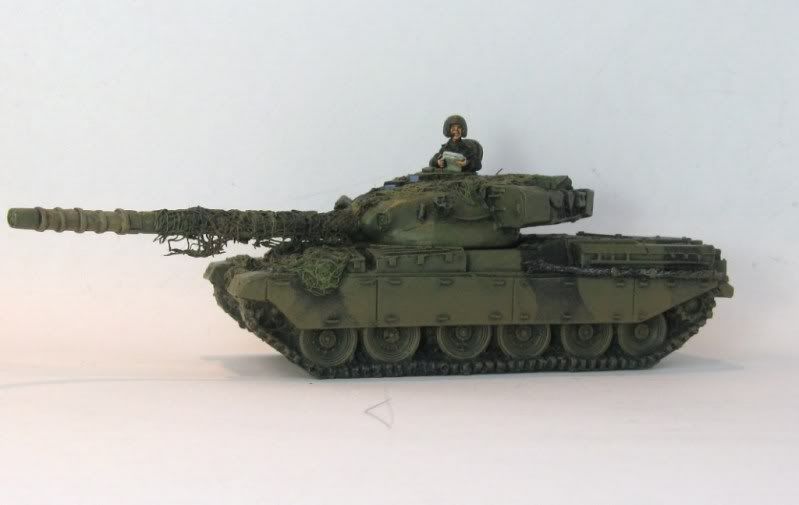
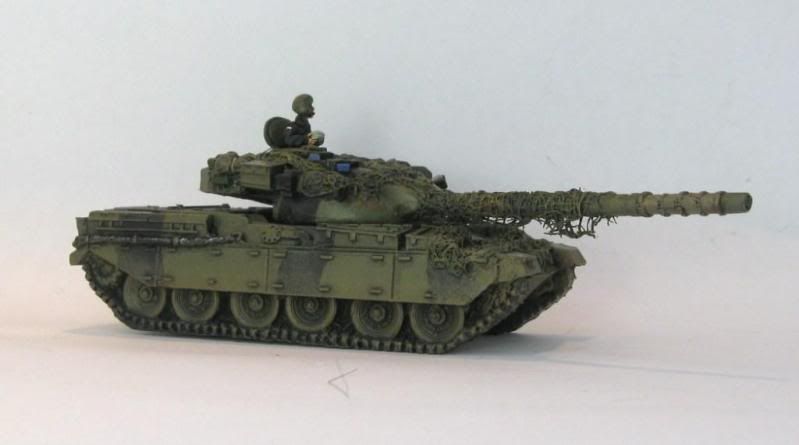
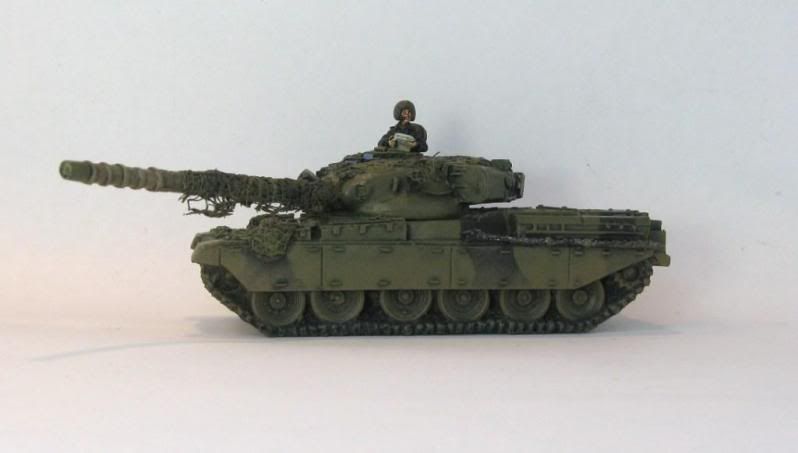
Britannia FV4201 Chieftain Tank

This weeks update is solely about 1 model - my only Britannia Chieftain Tank. I have 4 more Chieftains - 2 Airfix ones, built and painted by somone else long ago, bought recently by me off Leigh. I also have 2 from the Tank Collection Magazine - but I have to say that the one I am most proud of is this Britannia model.

BTW - Britannia has been recently reopened by Andy Grubb. You can find the new Britannia website here I'm not sure how much Cold War kit is actually available yet - but this will be the best place to get your Britannia needs from.

For more on the Chieftain Tank you might want to look here for a start.

Review

I think the Chieftain is the nicest Britannia model I have dealt with so far. I don't believe there were any particularly big air bubbles in the resin, and I used greenstuff to fix up any small ones I did find. My only issue was that the commander's MG was a bit deformed so I simply left it off the finished model.

Putting it up against the Airfix Chieftains - it is exactly the same size - and against the Tank Collection Chieftains it is a little smaller - which at a guess means it is a 1/76th scale model rather than 1/72 - but that's just my guess.

It comes with a very nice metal barrel and commander figures. It has the commander's hatch molded open and the driver's hatch molded closed.

All-in-all I really rate this model and would be happy to suggest it to anyone.

Painting

I painted this the exact same way as the FV432s in the previous post. Only difference was I used Vallejo Khaki and a Citadel Devlan Mud was on the sections of the barrel covered in the shroud.

So here is the finished product:

Photobucket

Photobucket

Photobucket

As you can see - pretty straight forward stuff.

A few cool youtube clips


Finally a reminder - if you want to see an excellent TV doco on tanks with loads of fantastic shots of BAOR Chieftains in action look no further than here an old post of mine showing "Soldiers - A History of Men in Battle - Tanks". Well worth watching.

Have fun

Richard

22 June 2011

BAOR Britannia FV432 APC

Back to normal now...

So in the lead up to last weeks game, I came close to completing a bunch of BAOR vehicles. These have now been finished and first up I'd like to go with the Britannia FV432 Armoured Personnel Carriers.

Here's some info from wikipedia on the FV432

Review

The Britannia FV432 is a very nice little model. It is a solid resin kit, with some metal peices, like a command figure, and hatch covers. You can make it, with the commander's hatch open or closed - which is something I like. You can get a couple of variants - the base APC and a FV432 with an open rear hatch. This can come with either 2 infantry men who are "standing" in the open hatch, a 81mm mortar and 2 crew, or a wombat recoilless rifle and 2 crew. All these figures are half figures and are very nicely styled and molded.

On the negative side, it does come with some air holes - which I didn't pay to much attention to on these vehicles - which I now regret - but these can be easily fixed. The other negative I have is that the driver's hatch is molded open with the driver's neck and head sticking out. I know I bang on about this all the time.... yawn.... but I would much prefer this to be optional. It's just me... Having said that - the driver is a nice little representation anyway.

Painting

These have been painted in what has become my British Army standard:

1. Undercoat - Citadel Chaos Black Spray
2. Base Coat - FoW War paint - British Armour
3. Squiggly Black Lines - Citadel Chaos Black
4. Black Wash - Citadel Babab Black - pretty liberally splashed on...
5. Drybrush - Vallejo Russian Uniform (Just the Green areas)
6. Drybrush - Vallejo Russian Uniform & Vallejo Khaki - adding more and more Khaki - eventually going over the black areas as well.
7. Paint the tracks the standard way I do...
8. Drybrush Vallejo Flat Earth or something similar over the tracks and lower parts of the AFV to represent dirt.
9. Paint lights etc.

All done

No decals at this point as I don't really own any good enough to suit. Eventually I'll try and get some from B W Models

Lastly - I had a not particularly cunning plan... I decided to make little bases - I'll call them sabots (coz it sounds cooler) to fit into the open topped FV432 so I could make them multi-use. I think they cam out quite well.

Onto the pictures:

Photobucket
Front view - all the painted FV432s

Photobucket
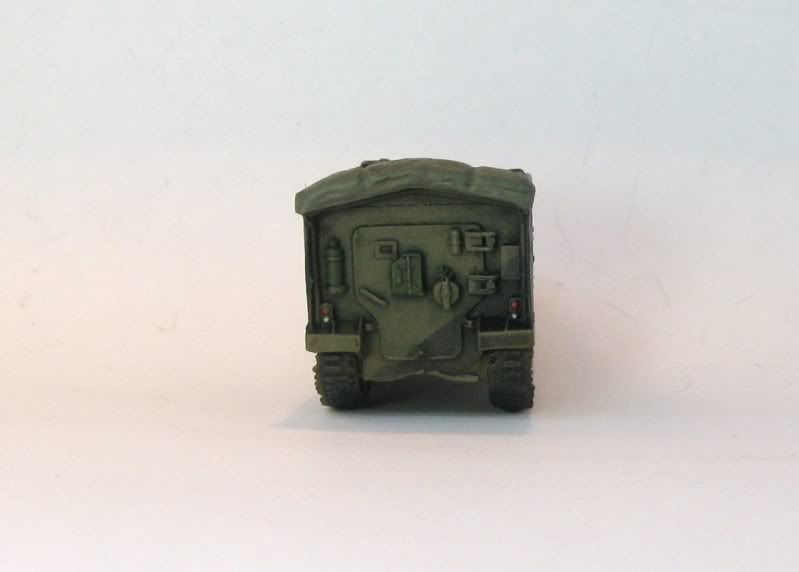
Rear view

Photobucket
Side shot of a bog standard FV432

Photobucket
Top view of another FV432

Photobucket
Front angled shot of yet another FV432

Now onto the open topped one

Photobucket
This are the sabot bases

Photobucket
Front view with infantry

Photobucket
Side view with infantry

Photobucket
Rear view with mortar

Photobucket
Rear view with the other mortar (I actually made this mortar and was pretty chuffed with how it came out)

Photobucket
Side view with mortar

Photobucket
Side view with other mortar

Photobucket
Side view with wombat

Photobucket
Slightly different side view with wombat.

Obviously all this finally umpteen pics are of exactly the same open topped FV432. I have 2 other unpainted open topped FV432 to do and another standard APC variant to paint.

Now a couple of youtube clips to keep you entertained


The obligatory car crushing clip


More like my colour scheme


Demo


A detailed look

That's all for now - have fun

Richard
15 June 2011

A Small Airfield in Germany - Part 2 - AAR

OK - On with the game

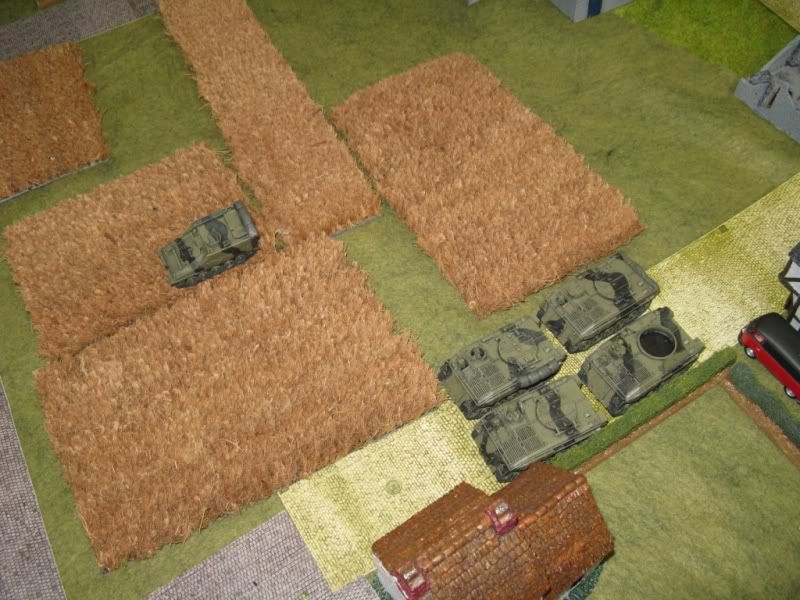
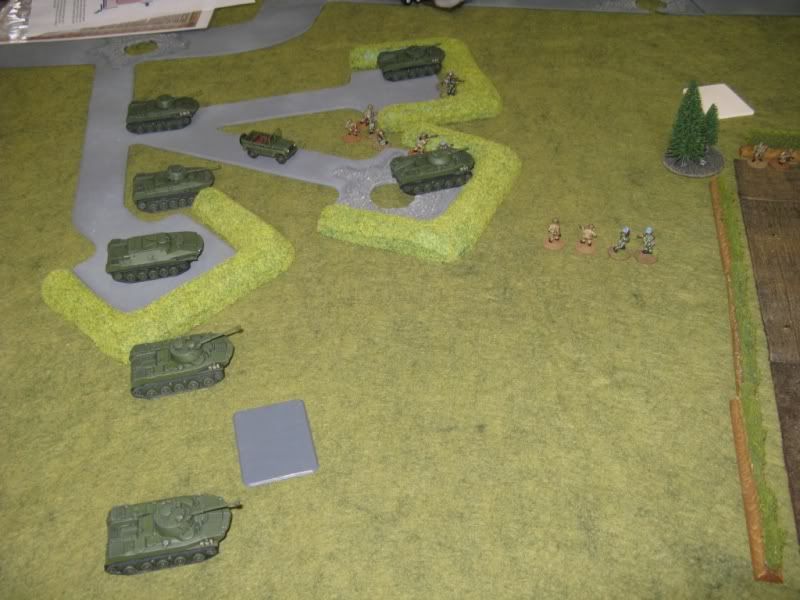
BAOR recce units move further onto the table, closing on the dug in VDV.

Landie Gunships prepare to engage:
Photobucket

Scimitars bounding forwards:
Photobucket

All the while further BAOR reinforcements arrived from the NATO table edge.

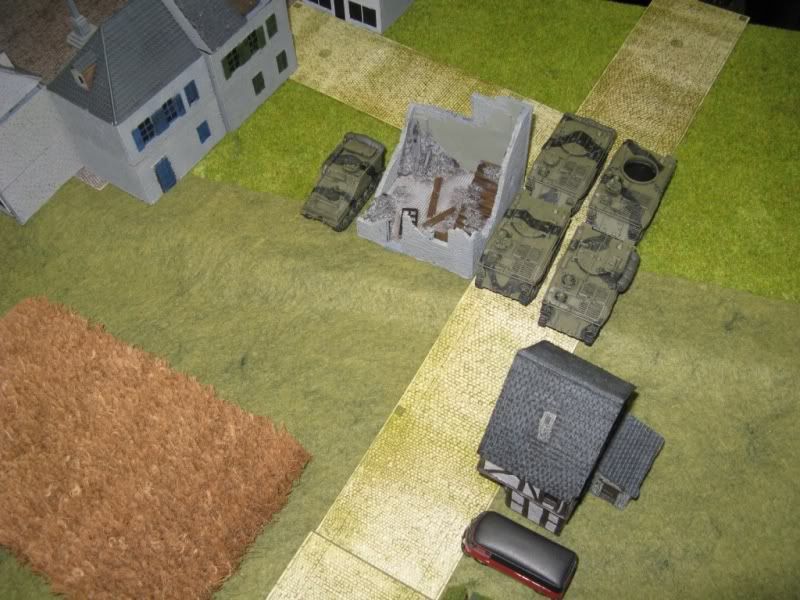
The FO team (in the Spartan) and Milan Sections (in LWB Landies) move up:
Photobucket

While the CO (Sultan) and Mechanised Infantry Platoon (FV432) drive on:
Photobucket

and on...
Photobucket

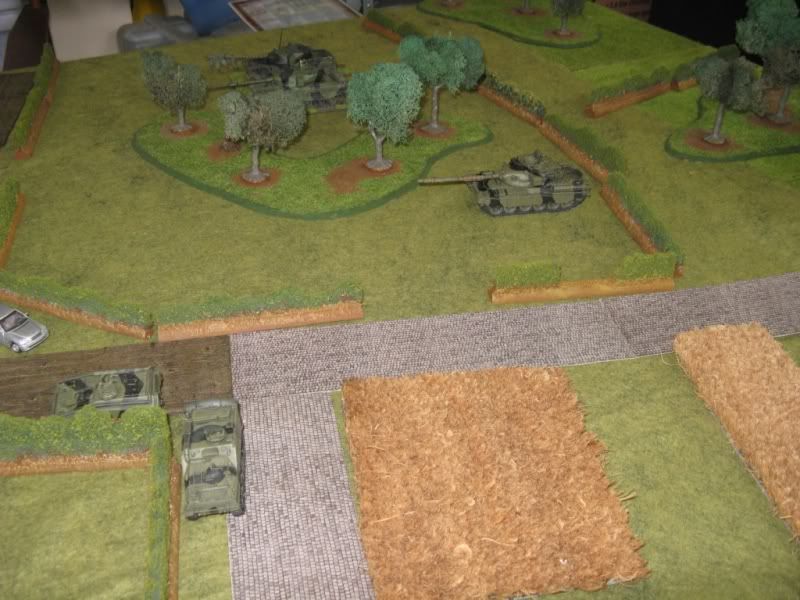
The last of the BAOR reserves, the Chieftain troop arrive:
Photobucket

Throughout the majority of this time the VDV silently waited until they were able to spring their ambush:
Photobucket
taking out a Scimitar section.

Under cover of the hangers, the BAOR units move forward:
Photobucket

The chieftains following:
Photobucket

Of course as the game intensified I kept forgetting to take photos!

The first VDV reinforcements arrive (a BMD-2 platoon)
Photobucket

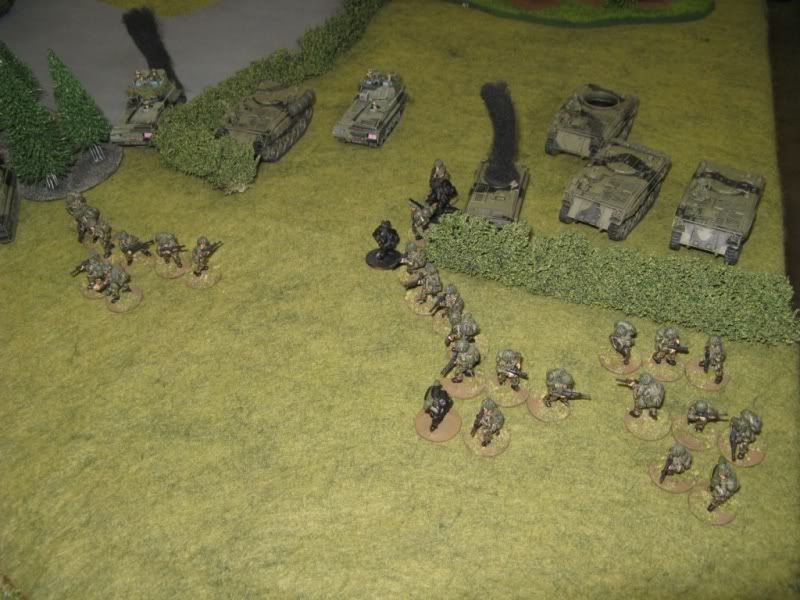
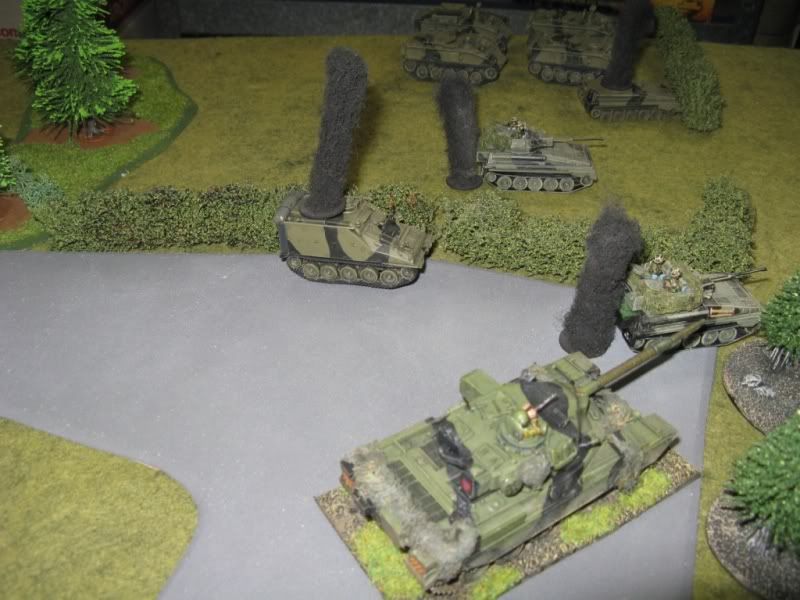
Well time as on the Soviet right flank the BAOR mechanised platoon launched a somewhat ill-fated assault. You can see some burning Scimitars in the background:
Photobucket

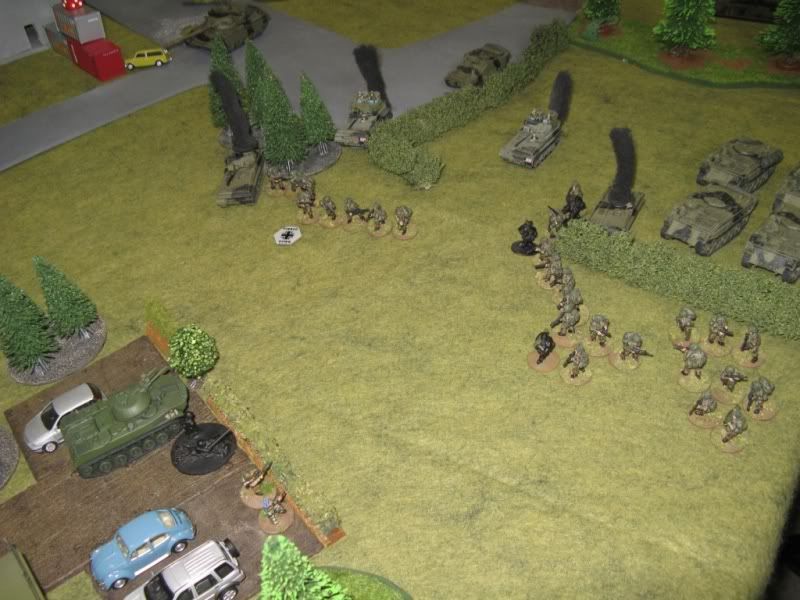
Things appear to be going badly for NATO as the assault never really gets started and more Scimitars burn:
Photobucket

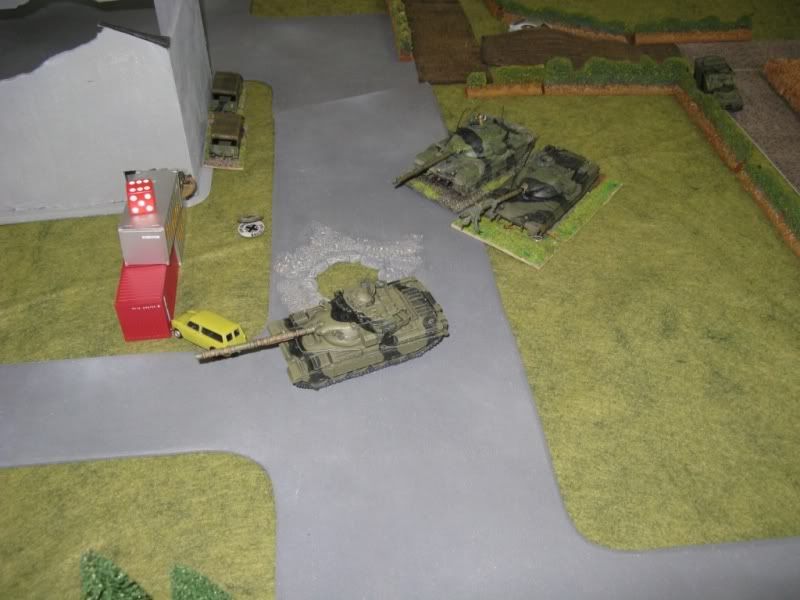
However, the Chieftains arrive:
Photobucket
and begin to shift the balance.

Photobucket

Photobucket

By now however, the VDV have taken out both Scimitar sections, the Recce Landie platoon and the Milan Platoon, leaving the BAOR with only two units on the board. The NATO player must keep making Company Morale Checks at the beginning of each of his turns - which he keeps doing!

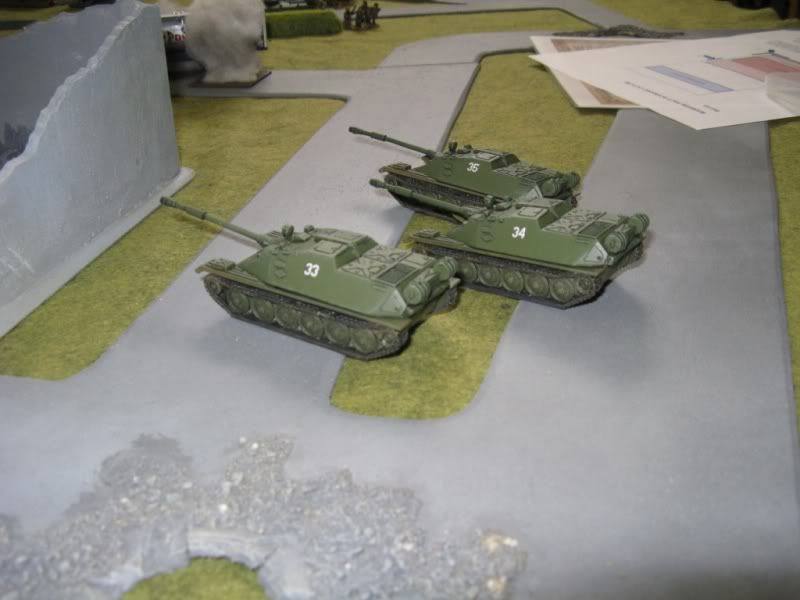
The final VDV assets arrive - the ASU-85 platoon.
Photobucket

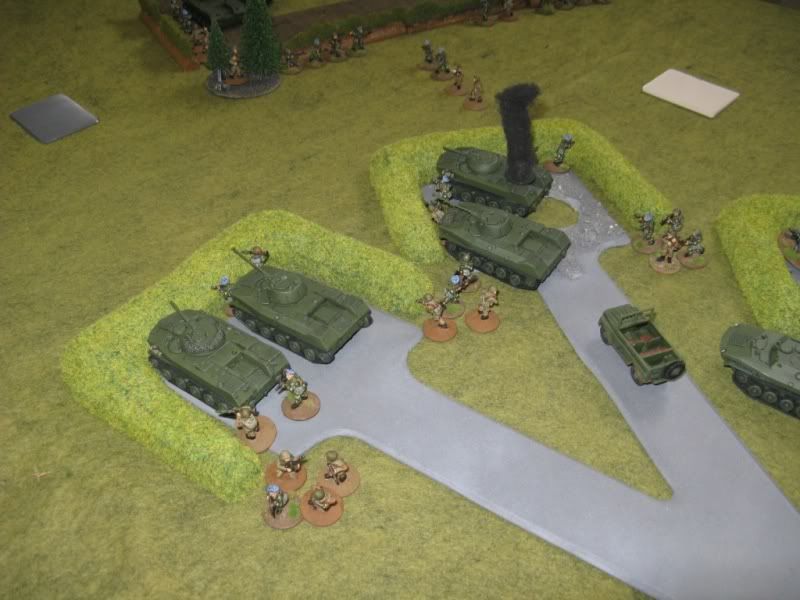
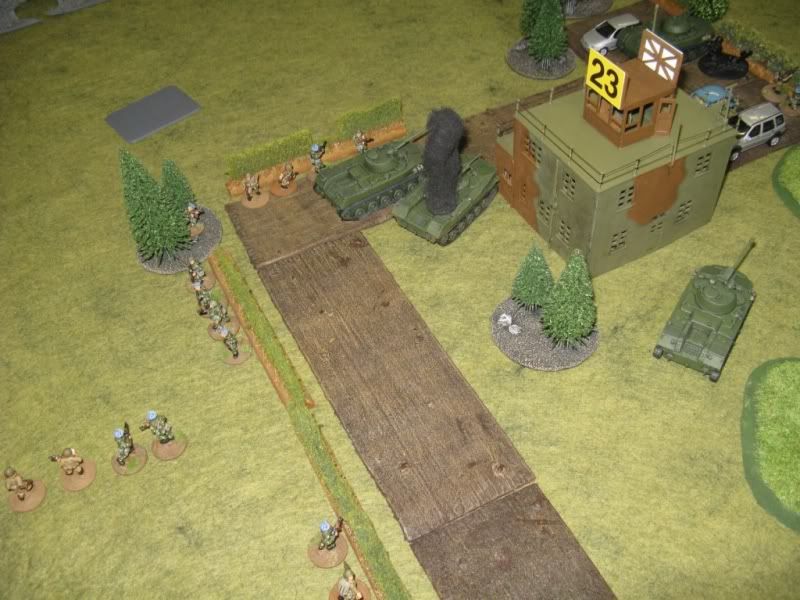
The VDV BRDMs and ASU-85s start to move up the airfield behind the hangars:
Photobucket

The BAOR player isn't too bothered as the BRDMs have no chance of scratching the paintwork of the Chieftains, while the ASU-85s must take flank shots.

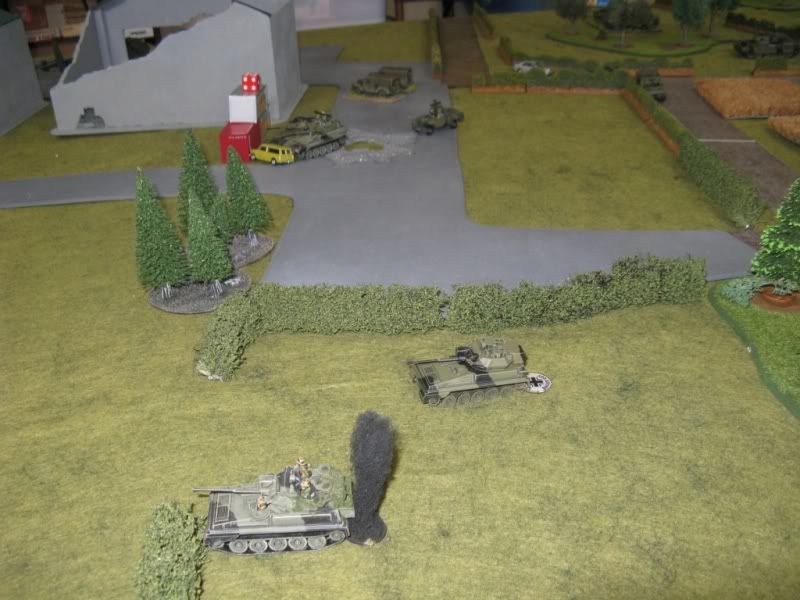
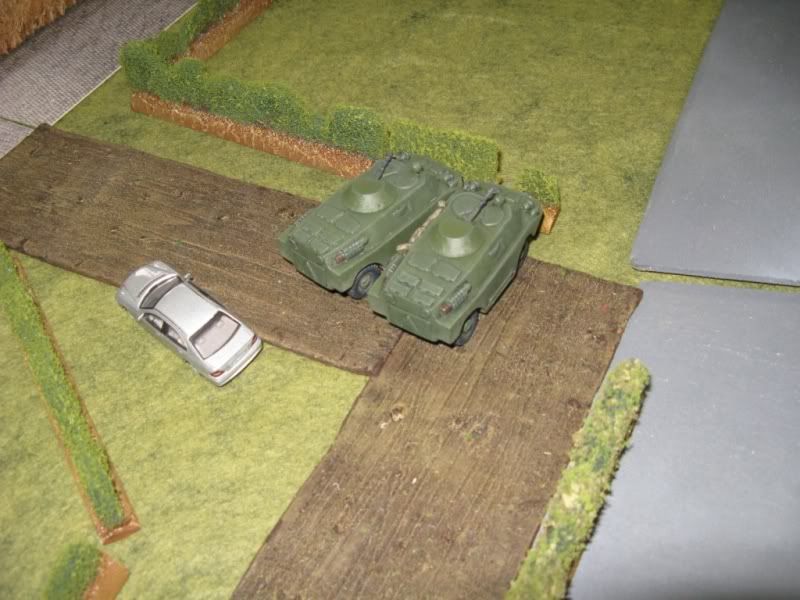
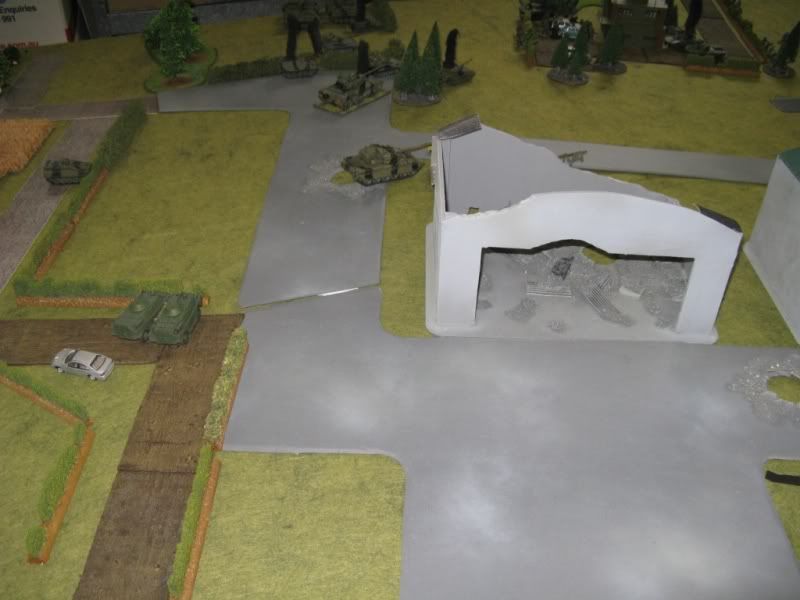
The BRDMs rush out from behind the last hangar into the cover of a hedge:
Photobucket

and take out the Company Commander's Sultan, killing him and ending the game.
Photobucket

Photobucket

So - for once the Soviets pull out a win. Although the NATO force suffered a large amount of casualties, once the Chieftains came into play the balance began to shift back towards the BAOR as nothing the Soviets had could damage the frontal armour of the MBTs - (I'll have to revisit those stats).

The NATO player could have just waited until his Chieftains arrived and then advanced, but one of the sceanrio rules stated that he had to have at least one team over the 1/2 way mark of the table by the beginning of the Soviet turn six. This drove him forward and made the game that much more interesting.
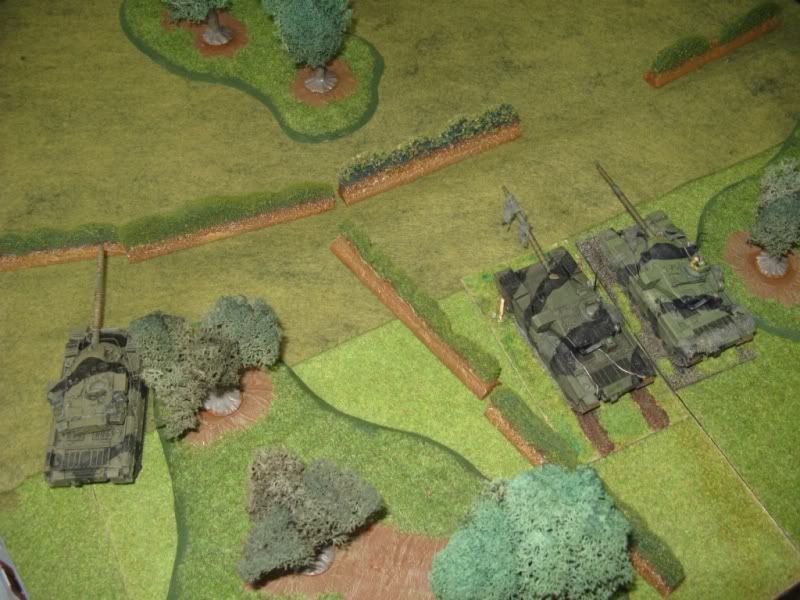
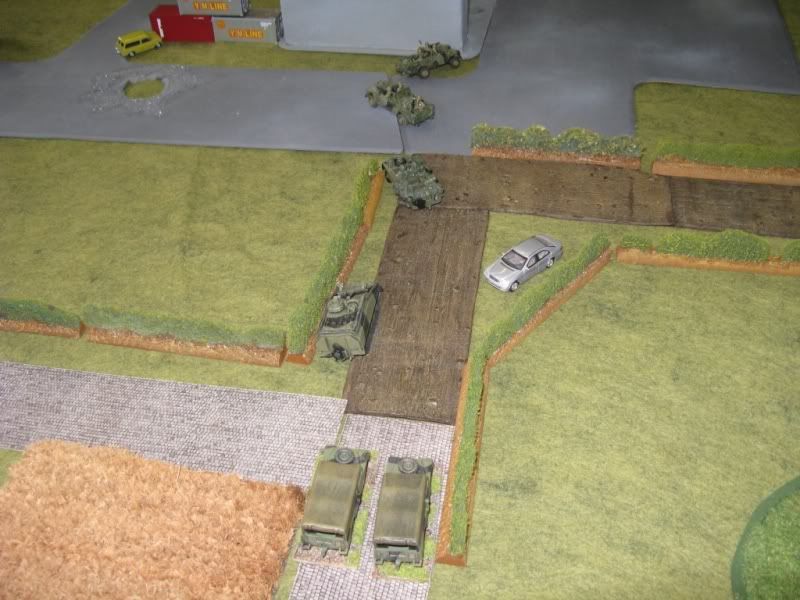
All-in-all a great game - lots of fun and as we didn't try and fit everything we had onto the table, it was manageable, had a good outcome and was relatively balanced.

So - have fun

Richard