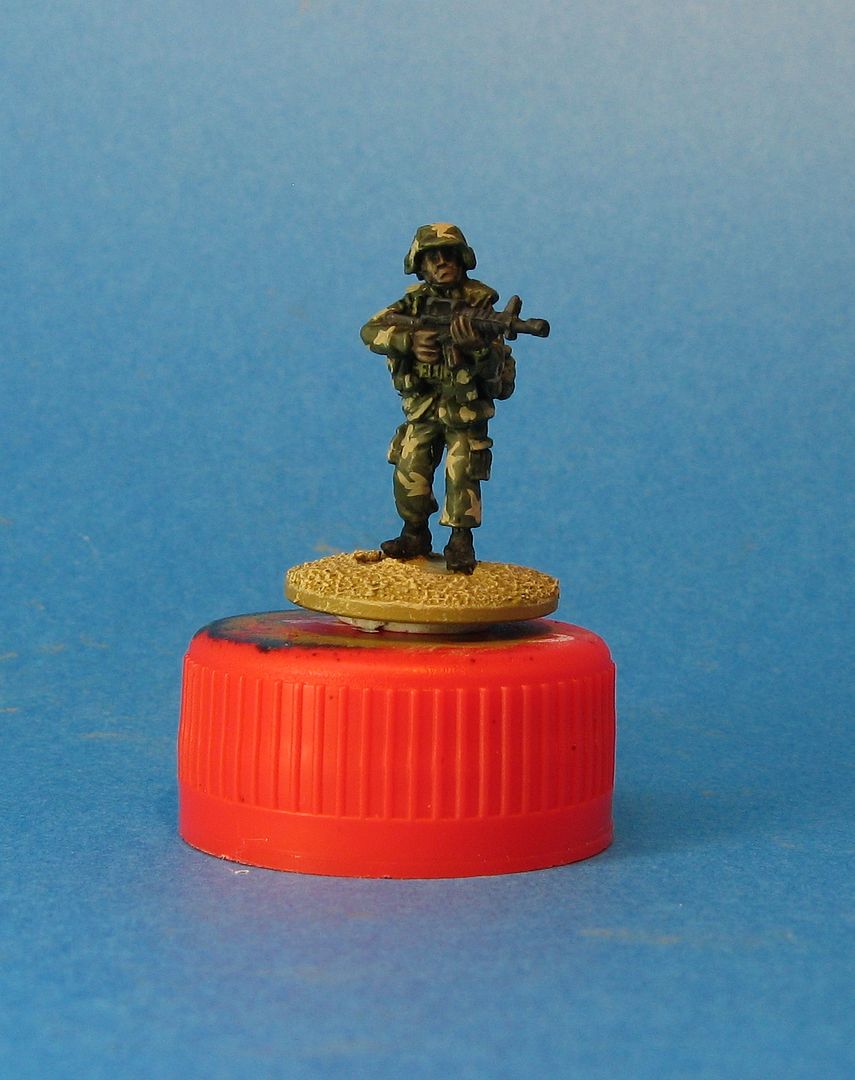
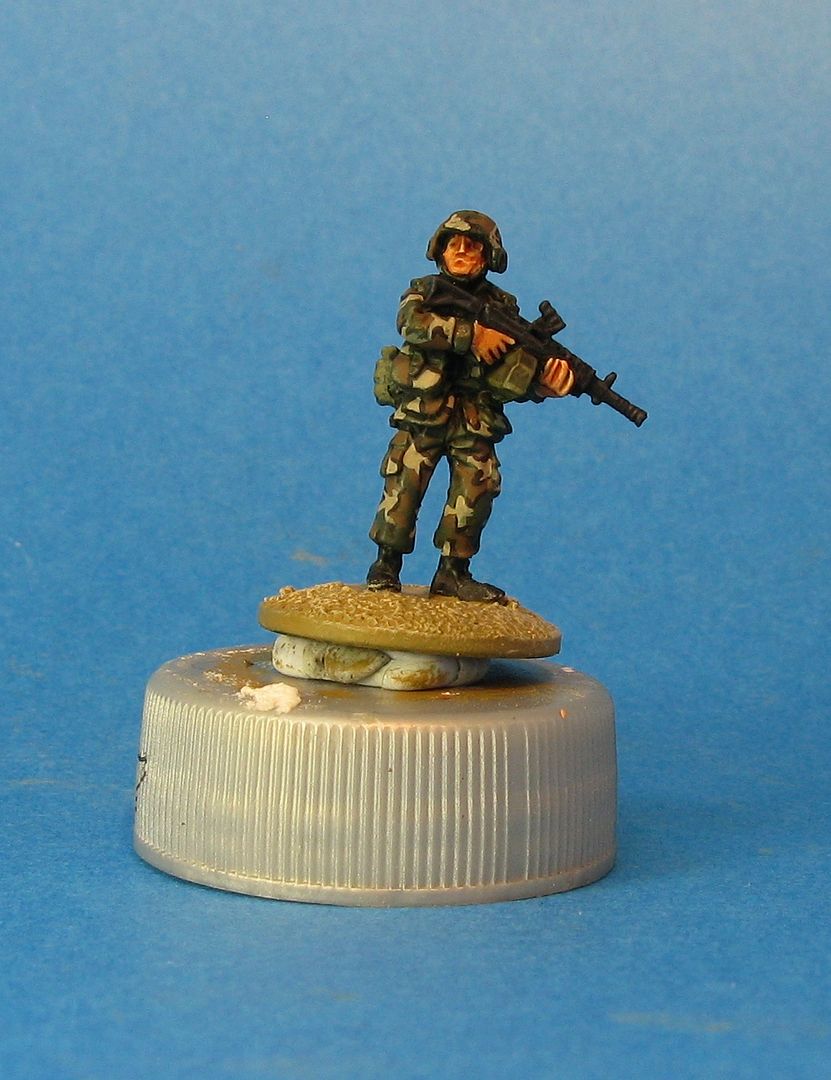
Being a careful chap I had bought a note book where I was supposed to write all this down - but of course I forgot too... Part of the idea of this blog was also to be able to record how I had done something - in case I needed to replicate it several years down the track. Except in cases like this one where I had not gotten around to it...
So... I found the peice of paper (which I'm sure would surprise my wife - but she never reads this blog) and wrote it all down in my note book, promising myself I would put it up on the blog asap. So here we are!
First aim - the aim is to make something that vaguely (on a 20mm figure) resembles this:
or these:
Step 1
I started off undercoating the figures with a matt black spray can.
Step 2
Then I used another can of Tamiya spray - in what I considered to be a close enough green to VMC Reflective Green (and sorry I can't remember that so you'll have to work that out for yourselves) and gave the whole figure a green base coat.
Step 3
I then washed the whole figure with a Vallejo Black wash
Step 4
Drybrush the figure in either VMC Reflective Green or VMC Olive Green - which ever grabs you best
Step 5
Paint the boots and guns black
Step 6
Looking at the webbing straps, pouches, water bottle and NBC bag, choose some of them to paint with VMC Russian Uniform. This is to represent bits of webbing that haven't yet been replaced by webbing with the Woodland Cam. The more you do the less you'll have to apply cam too!
At this point the figure should look like this:
In the second pic you should be able to see some of the webbing standing out in the Russian Uniform.
Now you are ready to start on the cam patterns. I find it much easier to do with some reference pics, or previously painted figures nearby so you can get the next stages at least kind of looking right.
Step 7
Add fairly large swirls of VMC German Cam Beige Brown. Something like this:
On the second pic here you can see some of the large pouch has been painted in the first cam pattern, while the water bottle and the pouch opposite are in the Russian Uniform colour.
Step 8
Add splotches of VMC Cam Medium Brown, in between and connecting to the Cam Beige Brown. To look like this:
This is perhaps the hardest step, as the cam pattern needs to "lock into" the previous cam colour, so it can't be done slap dash.
Step 9
Almost done. Now add thin black lines to the cam pattern. Like this:
Again, this needs to be pretty neat and not 100% random. I find that for the best look, and to make the cam pop, the thin black lines should largely go between the first two cam colours.
Now you can move onto faces, weapon highlights etc and you're done. Final result should be this:
I've shown those two pics previously - but they are the finished troops used in the tutorial.
That's it for the day - it's fairly simplistic I know, and I'm sure you can find more accurate tutorials out there, but I'm very happy with the result.
Thanks
Richard


This one works pretty well, too.
ReplyDeletehttp://wfarcadia.blogspot.com/2013/02/painting-m81-woodland-tutorial.html
Thanks! I'd not seen that one.
ReplyDeleteRichard
Thanks for posting, just about to venture into 15mm moderns so perfrect timing.
ReplyDeleteCheers
Stu
This comment has been removed by the author.
ReplyDeletePretty good and you have a high level of skill in your paintwork. However I think you emphasised the khaki a little too much in your woodland. Seems to "bright", In my humble opinion it all needs to be darkened down a little.
ReplyDelete