Pages

24 November 2015

US Infantry Woodland BDU (Simplistic) Tutorial

I probably should have posted this like a year ago, but last night I had to search my office/painting room, looking for the peice of paper where I had written down the paints I use to paint Woodland cam on US Cold War infantry.

Being a careful chap I had bought a note book where I was supposed to write all this down - but of course I forgot too...  Part of the idea of this blog was also to be able to record how I had done something - in case I needed to replicate it several years down the track.  Except in cases like this one where I had not gotten around to it...

So... I found the peice of paper (which I'm sure would surprise my wife - but she never reads this blog) and wrote it all down in my note book, promising myself I would put it up on the blog asap.  So here we are!

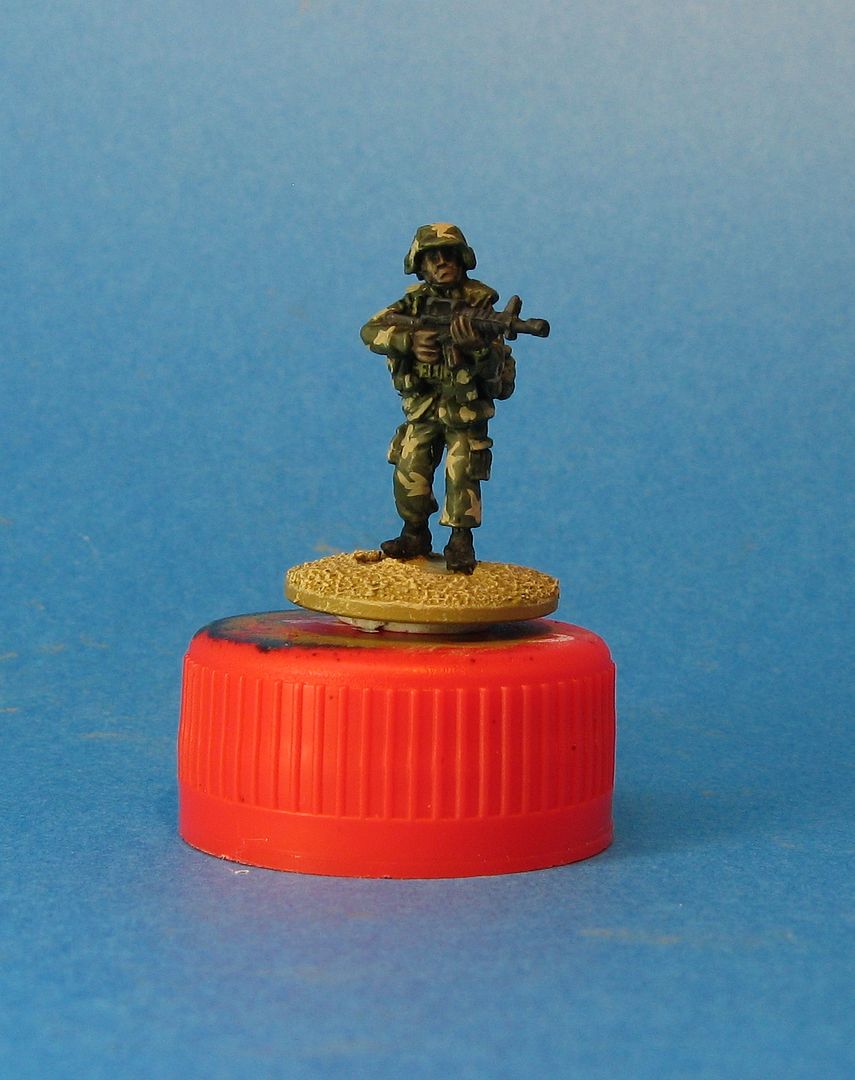
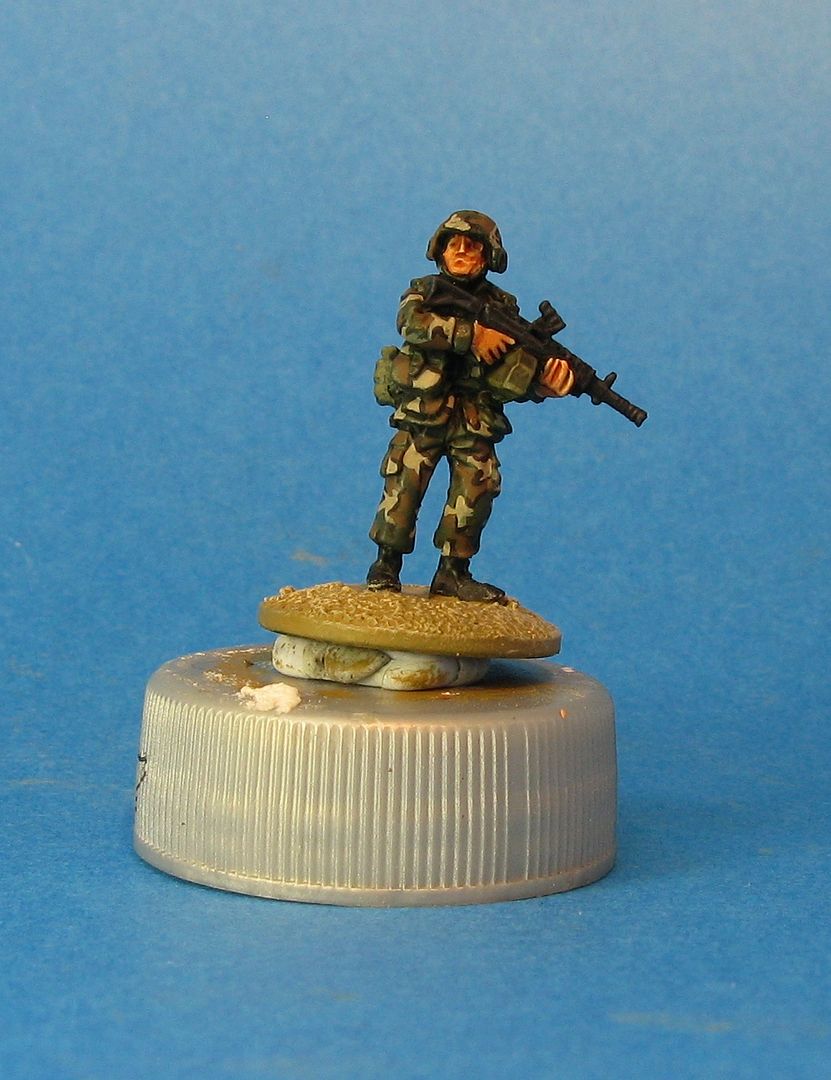
First aim - the aim is to make something that vaguely (on a 20mm figure) resembles this:


or these:


Step 1
I started off undercoating the figures with a matt black spray can. 

Step 2
Then I used another can of Tamiya spray - in what I considered to be a close enough green to VMC Reflective Green (and sorry I can't remember that so you'll have to work that out for yourselves) and gave the whole figure a green base coat.

Step 3
I then washed the whole figure with a Vallejo Black wash

Step 4
Drybrush the figure in either VMC Reflective Green or VMC Olive Green - which ever grabs you best

Step 5
Paint the boots and guns black

Step 6
Looking at the webbing straps, pouches, water bottle and NBC bag, choose some of them to paint with VMC Russian Uniform.  This is to represent bits of webbing that haven't yet been replaced by webbing with the Woodland Cam.  The more you do the less you'll have to apply cam too!

At this point the figure should look like this:


In the second pic you should be able to see some of the webbing standing out in the Russian Uniform.

Now you are ready to start on the cam patterns.  I find it much easier to do with some reference pics, or previously painted figures nearby so you can get the next stages at least kind of looking right.

Step 7
Add fairly large swirls of VMC German Cam Beige Brown.  Something like this:


On the second pic here you can see some of the large pouch has been painted in the first cam pattern, while the water bottle and the pouch opposite are in the Russian Uniform colour.

Step 8
Add splotches of VMC Cam Medium Brown, in between and connecting to the Cam Beige Brown.  To look like this:


This is perhaps the hardest step, as the cam pattern needs to "lock into" the previous cam colour, so it can't be done slap dash.

Step 9
Almost done.  Now add thin black lines to the cam pattern.  Like this:


Again, this needs to be pretty neat and not 100% random.  I find that for the best look, and to make the cam pop, the thin black lines should largely go between the first two cam colours.

Now you can move onto faces, weapon highlights etc and you're done.  Final result should be this:


I've shown those two pics previously - but they are the finished troops used in the tutorial.

That's it for the day - it's fairly simplistic I know, and I'm sure you can find more accurate tutorials out there, but I'm very happy with the result.

Thanks

Richard


23 November 2015

S&S Models - M106 - Work-in-Progress Part 1

I've been rather busy later - all my hobby time has been consumed by either flogging some of my (very) old stuff on ebay, or avoiding my painting desk because it's been so ridiculously hot.

So as I set up my new and definitely not improved photo "booth" last night (again for ebay) I thought I'd sneak in a look at another pair of vehicles I'm getting close to finishing.

I'm embarassed (but not surprised) to see that I started these in August 2011 here and they are still not finished!  I struggled for a long time trying to get the "right" MERDC colours, and then decided to change to crew to use the Elhiem US mortar crew.

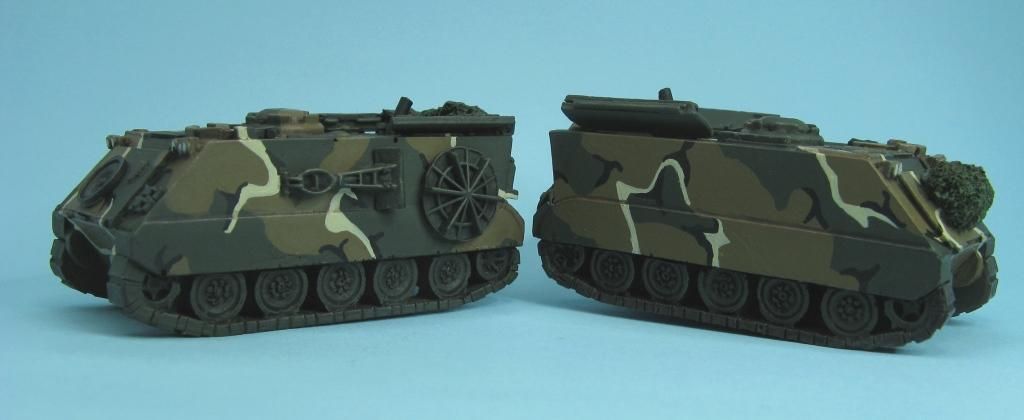
Anyway - here's where they are up to:


I'm basically happy with the MERDC - at least I think it looks pretty good on the table top.  I still have a couple of air bubble holes to fill in, to add the .50cal mount and the HMG itself, plus some weathering before the vehicles are complete.

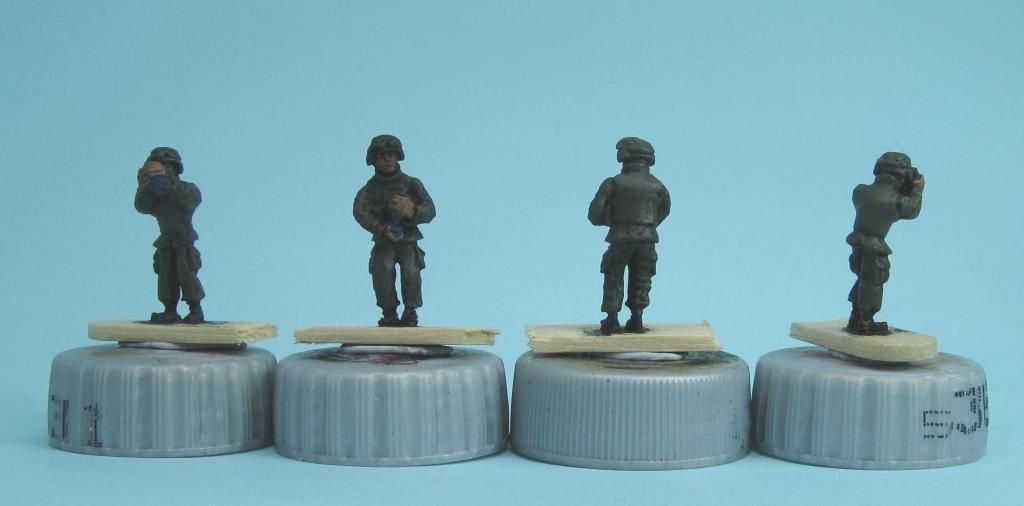
I had to make some slight alterations to the Elhiem figures which are about 1/2 finished:


Terrible photo, but as they are not the finished product - I'm not too bothered right now.

So hopefully these will be finished this week and I can move onto something else!

That's it for now

Thanks

Richard

S&S Models FV712 Fox CRV(W) Armoured Car W-I-P Part 2

World's shortest blog update!

I've managed to spray the Fox white...


Unfortunately all this photo has done is show me that I've still missed a few air bubble holes - so more green stuff required - so not that start I was looking for.

Thanks

Richard

01 November 2015

S&S Models FV712 Fox CRV(W) Armoured Car W-I-P Part 1

Well I've actually been really busy with a bunch of different modelling projects which means nothing is really finished so not much to show for all the work - at least on this blog...

So I thought I'd show you a set of Work In Progress shots of my Fox Armoured Car.  My apologies for the not great photos, but would you beleive it my carefully prepared hiding place (behind a book shelf) for my large blue cardboard peice I use for all my background has literally disappeared behind the book case and I can't get it out!

This Fox will be part of my small Berlin Infantry Brigade force and the aim is to paint in in the crazy urban scheme seen here:


I decided no cam nets (to cover up mistakes) - just a few bits of stowage max.

So on with the photos:


I was able to use all the viewing blocks from a spare Airfix Scorpion turret to make them a bit more distinct, and other bits and bobs (such as the front lights) came from other kits.

Still not 100% finished - but perhaps 99% - and then I ran out of white spray paint so can't progress it yet anyway.

I think I've worked out the order to paint it in.  I'll be using tape and sprays to try and get nice squares of all the different colours.

Thanks

Richard