Here's a link to one of the coolest tanks of all time the Leopard 2
Anyway - any Cold War Hot game or collection I was planning had to include at least a couple of Leopard 2s. So many moons ago, when this all started, I built a couple of Leopard 2A4s and 1A5s.

REVIEW
I ended up with 2 Revell Leopard 2A4s and I built them both at the same time to make it a bit easier for myself. This worked pretty well. Its a pretty straight forward kit and (from memory - as I built them a while ago) it didn't have any glaring issues. I had my perennial track problems - but that's just me :-)
I did leave off a couple of the railings from around the turret, which I knew would be the firstthings to break either while I was painting it or when gaming with it - so I tried to make a wargamer friendly model and all-in-all I think you end with a pretty good one.
PAINTING
I had some real issues with the painting. I first I sought what I thought was the easy option. The brownie-green or gelb-olive colour of Bundeswehr armour in the early 1980's looked pretty simple. 1 colour, dry brush it a bit and your done! Just like Soviet armour with a different colour.
Try as I might I couldn't come up with the right colour. I thought the FoW War Paint US Armour (which is an olive drab) would do nicely and this is what it looked like - just the base coat mind you.

Basically - I didn't like it. Just to brown for my liking.
Essentially I gave up and decided that it might be easier to go with the more recent three-tone camouflage used by the Bundeswehr from the later 1980s. Tamiya made a spray called NATO Green, as well as NATO Brown and NATO Black. These appeared to be the right colours.
So after re undercoating everything again in Citadel Black and the respraying with Tamiya NATO Green at least left me with a colour that looked right in my eyes. I then decided to mask the vehicles and use the Tamiya NATO Brown. 1/2 an hour into the masking I was bored witless and decided that this would take days, so I decided to hand paint the other 2 tones.
This still took hours but at least I was happy with the colours in the end. Again after I stuffed up and used a Vallejo Panzer Grey colour instead of black, leaving that Leopard looking like this:

So I went back to Citadel black
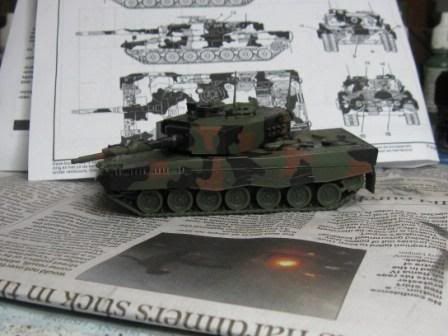
Not wanting to waste my Tamiya NATO Brown, I took the cap into my LGS so I could use it to find the closest match in Vallejo. In the end I choose Vallejo Flat Brown, which I think is as close to spot on that it doesn't matter!
Must say that I was amazed at how long it took to paint on the cam patterns - not something I enjoy doing!
Tracks were painted black and then Vallejo German Grey. This was followed by a wash of Citadel Babab Black. I used the same paint to pin wash the entire model (at least the bits that weren't already black!

Finally (after painting all the tools and the MG3) I used Tamiya Weathering pastels to make the tansk look nice and dirty. Here's the finished product:
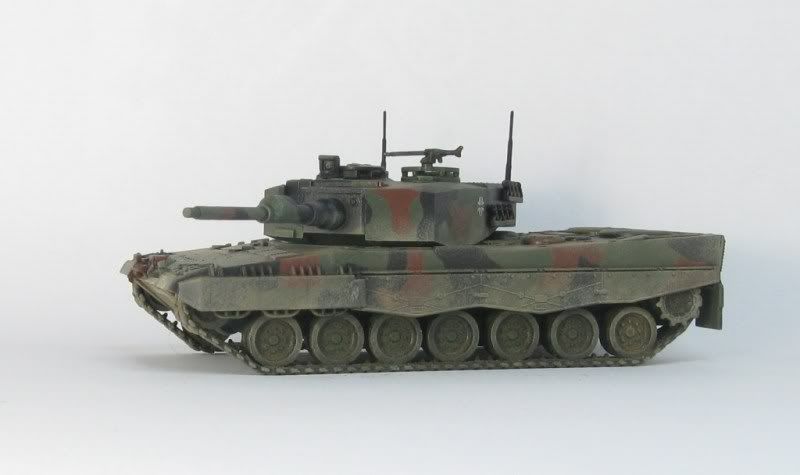
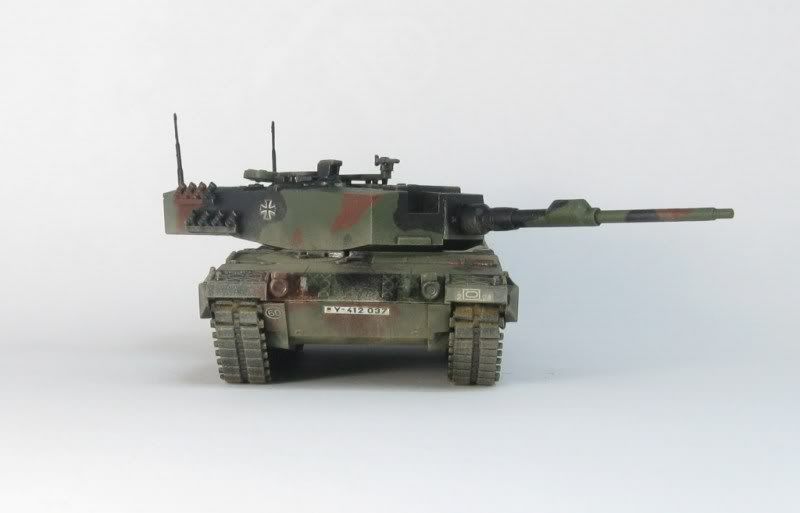
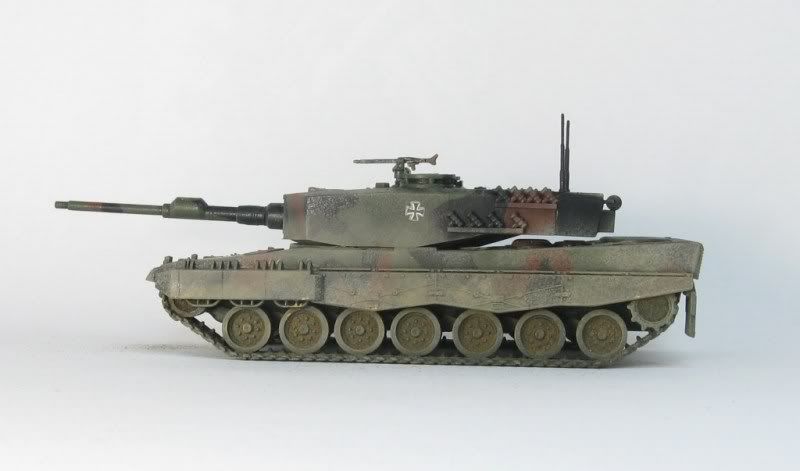
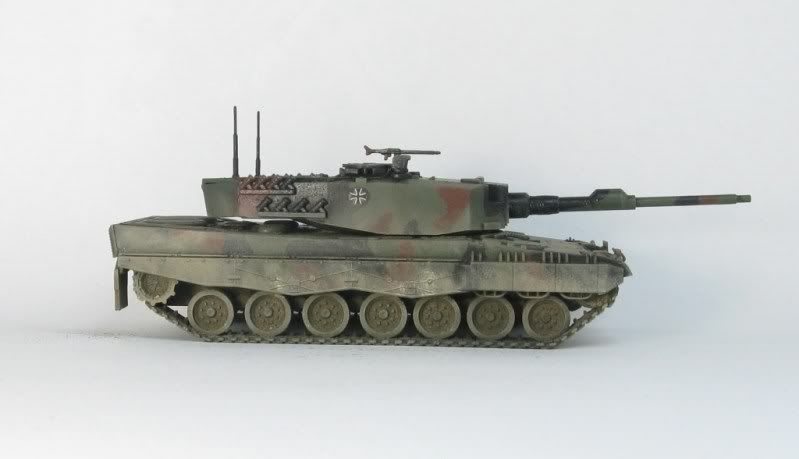
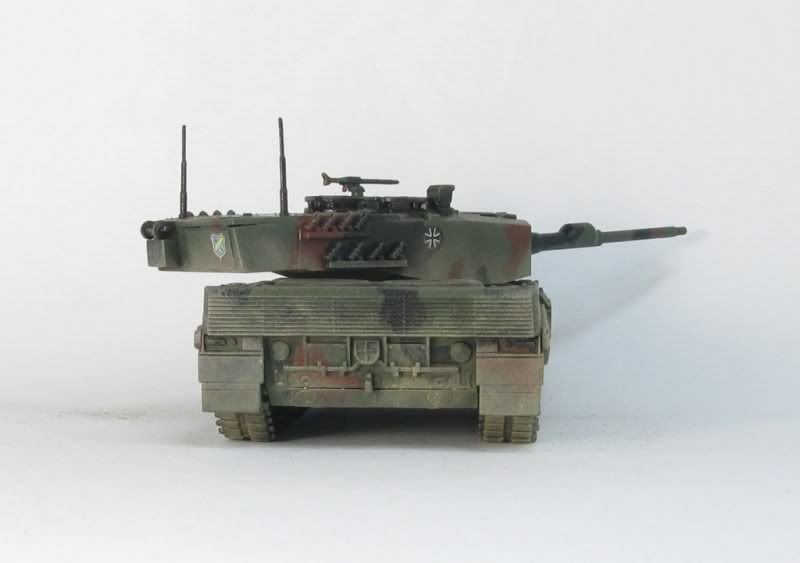
And here they are together:
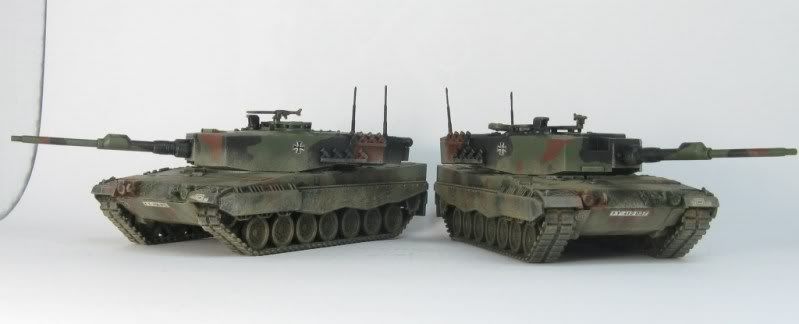
As always - here are some youtube links. First up is an excellent little documentary about the Leopard 2
The obligatory Tank versus car video:
The not quite so obligatory tank shooting bus video:
A fairly cool first person type video:
These last three focus on the newer Leopard 2 models - the the quality pretty good so I though they were worth adding.
Have fun
Richard
No comments:
Post a Comment