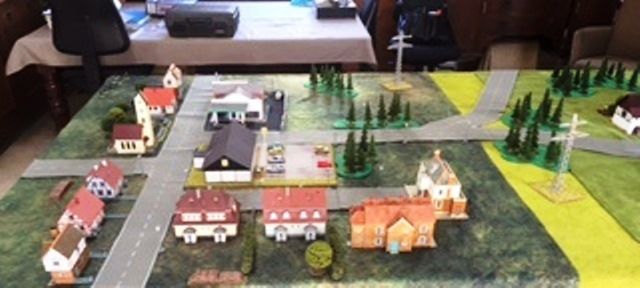
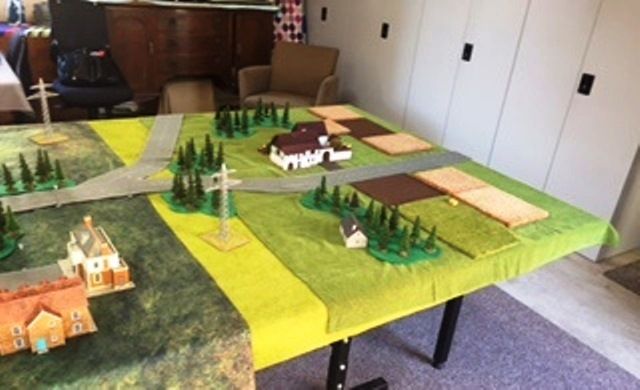
Fear not, dear reader - this is not another randomly started and never finished work-in-progress post, but finally a finished product post. And it will be a short one.
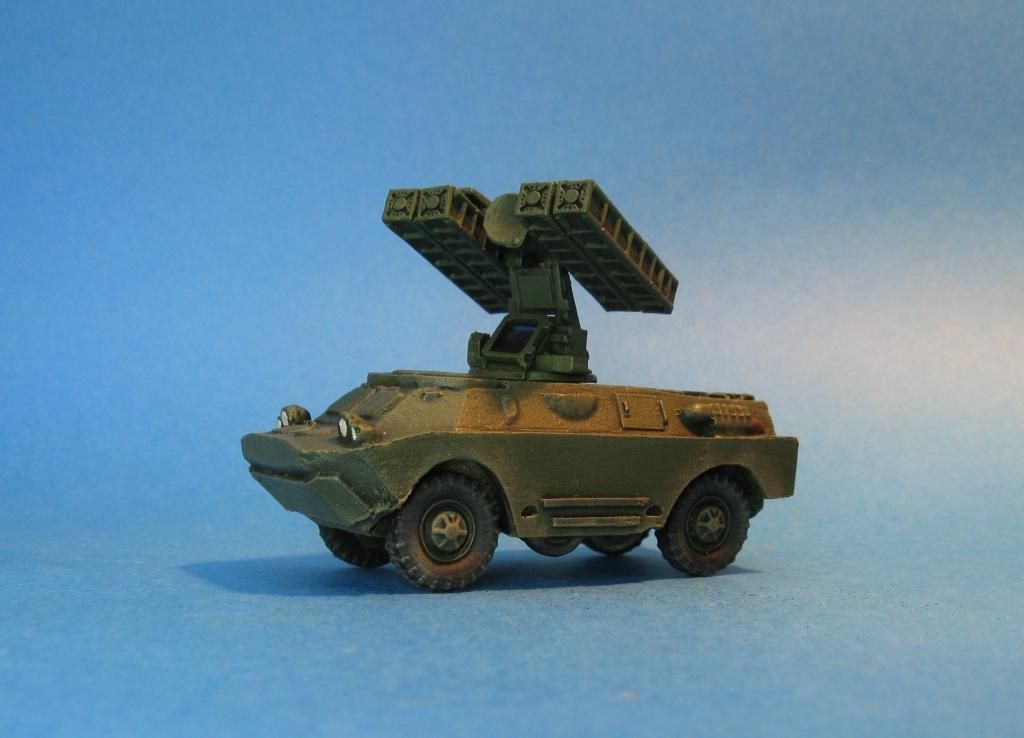
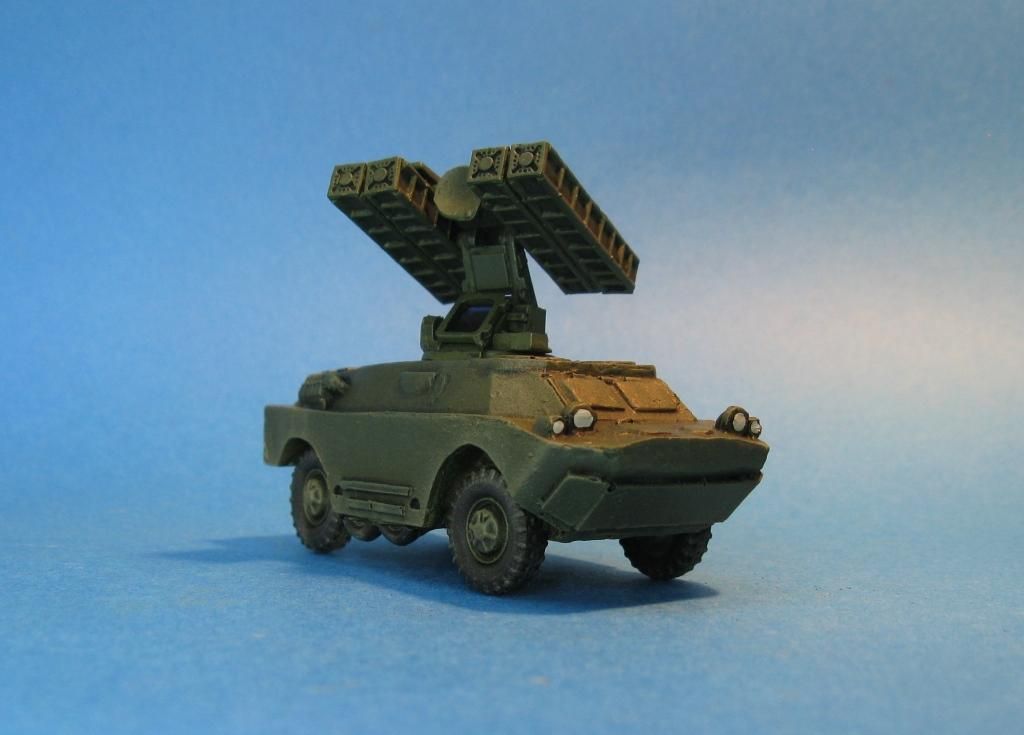
Over the weekend I knocked out the Britannia chassis/main body BRDM-2 so it could be fitted to the SA-13 launcher turret to make it into a good proxy for a 9K31 Strela-1 SA-9 Gaskin which you can read about on wikipedia here if you so desire.
Anyway - onto the completed model photos:
So there we are - project and SA-9 completed.
My BRDM collection continues to grow...
Thanks all
Richard
Pages
▼
30 April 2017
26 April 2017
Here comes another one! SA-9 Gaskin Work-In-Progress
I’ve always wanted an SA-9 Gaskin for some reason. Probably because it was pretty common but I’ve
always liked the vehicle. When I was a
kid (and had no $$) I somehow was able to get a couple of bits of micro armour –
no idea where from – and I chose a Gaskin and a Scorpion. So I guess I’ve liked it for a long time!
Anyway… I wanted
to get an ACE Models SA-9, but they are literally as rare as hen’s teeth and
the 1 I found on Ebay (in years of looking) went for a lot more than I was
willing to pay. So the dream died a little
bit.
This has meant that whenever I put together a Soviet
force and want to add a mobile SAM I go for a SA-13 Gopher – as I have the
model. In my lists this is a bit more
expensive than a SA-9 – as it’s a better missile.
One day I was thinking about it, and I realised the SAM hammerhead
on the SA-13 is almost identical as on a SA-9.
Hang on a moment… I stopped
whatever it was I was doing and went over to my cabinet and grabbed a completed
Britannia BRDM-2 and the launcher hammerhead from the SA-13 and put them
together. Not an exact fit – but good
enough to game with. In fact, you may
not have noticed but I included this very slap-dash conversion in my last two
games:
Its the one with the red square around it!
So then I decided to do a new Britannia BRDM-2 – slightly
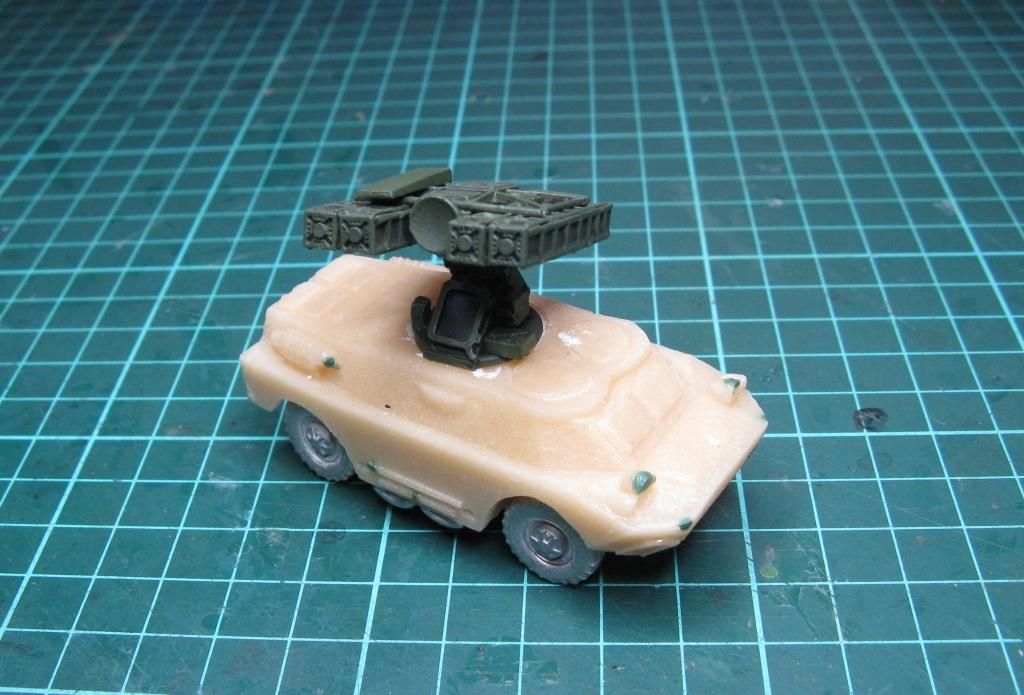
modified to better accept the ACE Models SA-13 launcher. Essentially all I did was add some plastic
card and filler to make the SA-13 launcher head fit slightly better:
You can see it needed a bit of green stuff work as well.
So here is how it might look with the launcher added:
So now it just needs to be painted and I have a dedicated
BRDM-2 body if I want to use a SA-9 Gaskin.
Of course this does not solve the problem if I want to run a force with
both a SA-9 and a SA-13, but I think the chances of wanting to do that are
pretty slim.
So I’m putting this down as a win – just a worry that it
took me something like 4 or 5 years to work it out! D’oh!!!!
Have fun
Richard
12 April 2017
Bundeswehr Bergepanzer 2 - Another Work-In-Progress
Ahh yes - time for another side project - although I have a sort of excuse for this one.
A mate has asked me to build and paint for him seven Revell Marder 1A3s and a couple of Revell Leopard 1A5s. Last weekend I started the Leopards and as I was building them (it takes me a while) I decided to throw in one of my own Leopard 1A5 kits I have been holding onto in order to build a Bergepanzer 2.
Back in May last year I reported that Hobbyden was planning on bringing out a conversion set for a Bergepanzer 2. I subsequently got my hands on the conversion set and had been waiting for the right day to try putting it together.
It was all relatively straight forward, once I managed to find some pics that showed me the back of the Bergepanzer and this is how the build turned out (apologies in advance for the quick and dirty photos):
Just for clarity - all the dark green bits are from the Revell kit, and all the white bits are the Hobbyden conversion set.
I had a couple of bits left over that I wasn't sure of, and I had to glue the dozer blade in a fairly high position directly to the front of the model to hid some gaps between the resin hull and the plastic chassis.
All-in-all though I'm very happy with how this has turned out and it will be painted when I finish the Leo 1A5 build and get to painting them. Just have to decide on all Yellow-Olive or NATO three tone camo. Decisions, decisions...
Thanks
Richard
11 April 2017
LandZeeland Danish Armour - W-I-P - Part 5
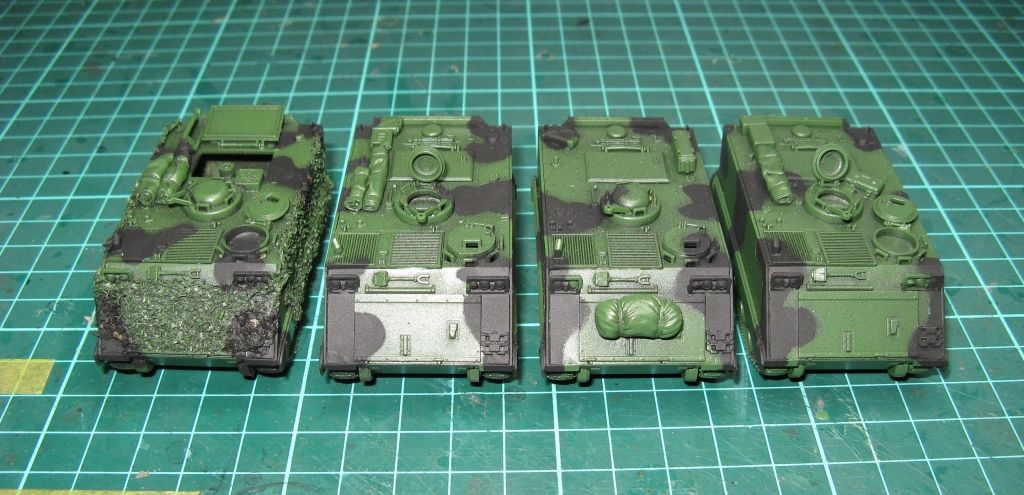
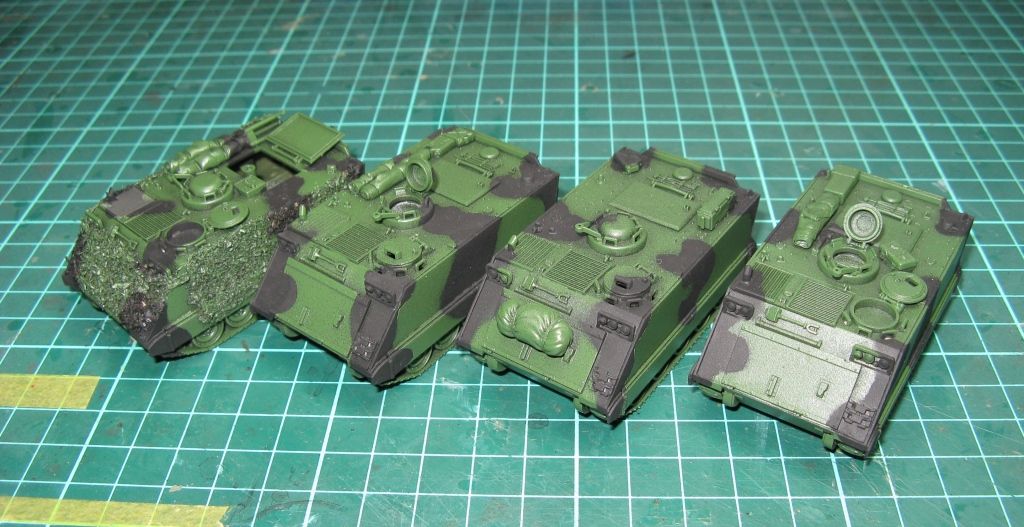
Time for a couple more quick photos of some progress on this project. This time I'm trying to move my Danish M113s along. As explained previously they are all S-Model kits. Here's where they are up to:
As you can see the green is pretty bright. We'll see how it looks once the black pin wash has been added and then the models are dry brushed up.
More soon - and maybe something else completely different...
Thanks
Richard
As you can see the green is pretty bright. We'll see how it looks once the black pin wash has been added and then the models are dry brushed up.
More soon - and maybe something else completely different...
Thanks
Richard
03 April 2017
Destroy the Bridge/Capture the Bridge Mission - Game 2 AAR
So - onto Game 2 - same mission, slightly different table, and US Forces opposing instead of West Germans. I forgot my camera, so we relied on an iphone, with the pics largely being taken from the US point-of-view.
NATO began by deploying a minefield and a barbed wire obstacle. I wasn't too concerned about either to be honest, but they were both placed in good positions and the barbed wire turned out to have a relatively significant impact on me afterall.
NATO the deployed 2 M3 Bradley CFVs in good defensive positions - one covering the obstacles and the other covering my right flank
You can see the West German police unit have also been deployed into the house closest to my deployment.
I deployed my recce units in a similar fashion to the previous game. We rolled 5 turns for the Scout Battle Phase and I proceeded to advance my BMP-2 forward, I moved my motorcycle combination into the house on my left flank - directly across from the West German unit. My BDRM-2 stayed in hidden in some woods in the centre of the table.
The US forces turned out to be significantly more aggressive than the West Germans a couple of days earlier. Both CFVs left their defensive positions and started chasing me down! This was the first result:
While the second saw my BRDM-2 running away!
You can see him cowering in the distance. Meanwhile the police unit started slowly taking the motorcycle combination team to bits with their MG3. I hadn't counted on the table being slightly shorter and had thought they were out of range! Do'h!
Unfortunately for the brave Bradley, that move was the end of the Scout Battle Phase and I had D6 reinforcements arriving, while he was stuck in the middle of the road leading straight to my table edge.
Say hello to my little friends! In what sadly turned out to be the highlight of my shooting for the rest of the game, CFV road warrior didn't last too long.
And my units started their long drive down the table:
NATO reinforcements also started to arrive:
Two M1A1s and a couple of M113s come on, with one squad dismounting into the cemetry.
The T-80 advance continued:
And continued while more NATO forces arrived:
Don't worry dear readers, the red dots on the M1A1s don't mean I actually hit those tanks, they are just overwatch counters...
In what I thought was a calculated and cunning plan, 2 of my T-80s advanced quickly down the road. One swung into the car park for a side on shot on the leading M1A1. Miss. The other T-80 took a longer range, and front-on shot against the M1A1 parked next to the supermarket. Miss.
A third T-80 drove cross country towards the little wooded area where the remaining Bradley was hiding for a near point blank shot. Miss
Now you can see the result of what happened next:
Ouch!!! The Bradley casually fired a TOW missile into the backside of the T-80 in the car park, while the M1A1 near the supermarket slotted the T-80 that had the temerity to shoot at it.
Yeah, yeah - just rub it in...
The NATO force started to pull back its most at risk units, while an M113 drove up to better support them.
I'm starting to get a little desperate... BTR Squad to the rescue
BTR platoon moving up and into the most forward house, recently the defensive position of the police unit:
If you look very carefully in these photos you'll see a knocked out M113 with a pinned squad, and a knocked out M1A1 (the Battlegroup HQ). These were not hit by me shooting them - oh no, nothing like that - but I managed to get them with my two timed strikes - pretty much my best result in the game...
In the middle of all this NATO drew a Gas! Gas! Gas! counter, and although it turned out to be a false alarm we did spend one turn with reduce vision, worse comms checks, reduced infantry movement etc. We also lost orders and had to take another Battle Counter each.
This next photo is taken towards the end of the game (Turn 7, so by now the engineers have successfully rigged the bridge to blow) - this is the point I like to call the High Water Mark of the Soviet attack:
You can see in the upper left corner I have finally managed to kill the Bradley - not before (if you look a little towards the road) said Bradley knocked out another T-80. The final T-80 is now immobilised. Behind some containers near the garage, at the intersection of the main road and the side road behind the supermarket - you can see my advancing BTRs - all I have left to advance with really. Parked close by (even behind 1 BTR) are tow perfectly healthy M1A1s.
Here's what followed:
The Americans successfully took out everything of mine close to the bridge, and had enough movement to mount up and drive over the bridge and win the game.
By this point I was about 3 points off my Battle Rating total, in the last 5 chit pulls getting 3,5,5,5,4 - I went from way below my total right on the edge super quick. That drained my (personal) morale and I was ready to concede at that point anyway. But I still got close, and if a couple of dice rolls had just gone my way, like killing that bloody Bradley in the woods straight up rather than wasting 3 or 4 turns failing to kill it - and taking the M1A1 in the side - I might have made it. NATO was at least sweating at that point.
That barbed wire on the road cost me D6 of movement every time something drove over it. That might not seem much when you are using road movement - but when you are playing a game where you have to drive off the other end of the table to win, every inch makes a difference and it really slowed me down. A great use of defences.
All-in-all it was a great game. Much closer than I felt it was during the game - both sides felt they were in with a chance at some point and both sides felt it was slipping through their fingers at some point - that sounds like a damn good game in my book
Thanks for reading
Richard
02 April 2017
Destroy the Bridge/Capture the Bridge Mission - The Table and Forces - Game 2
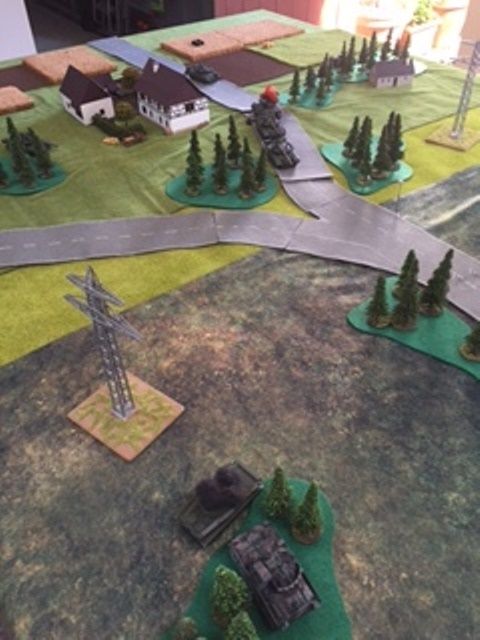
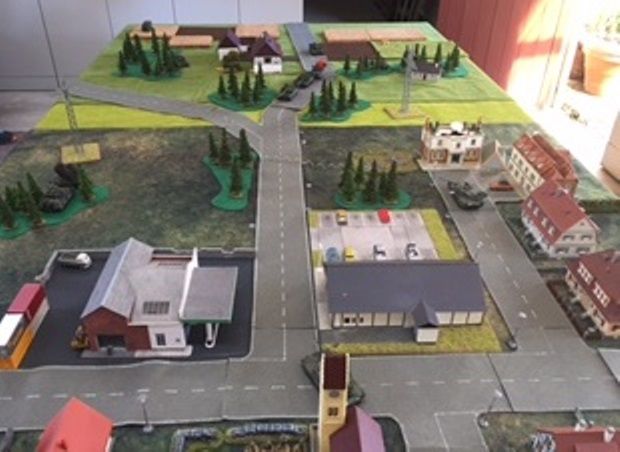
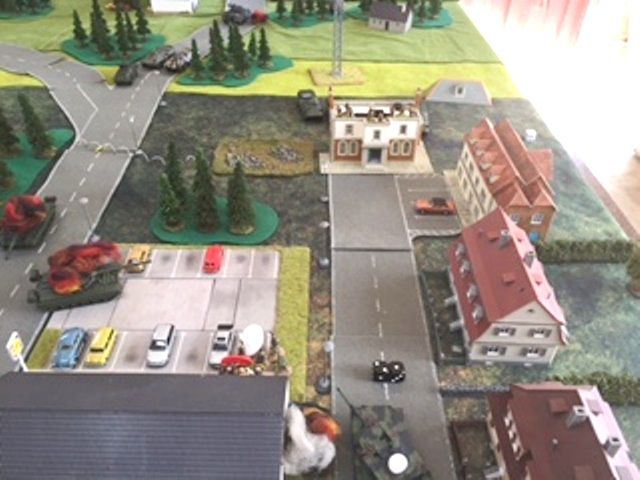
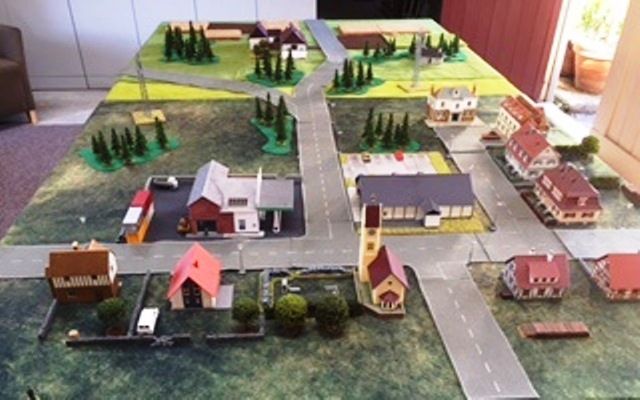
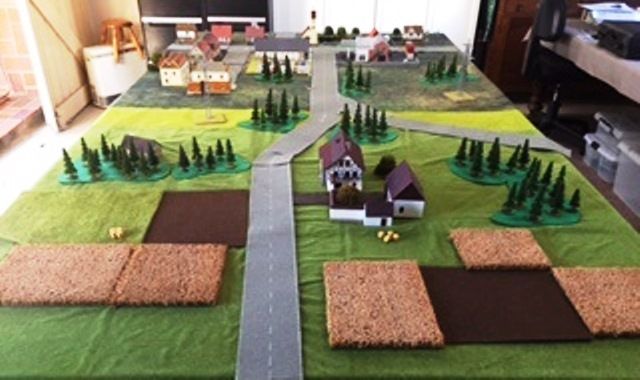
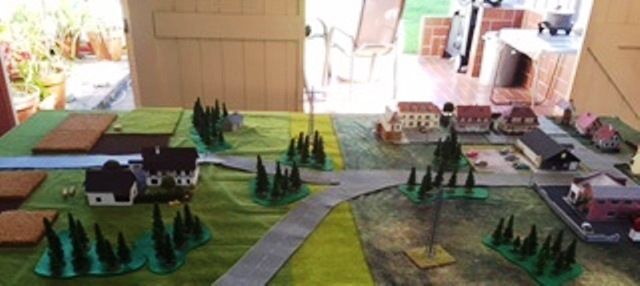
OK - so like the last game - before I jump into the AAR I thought I'd do a quick display of the table and run through the forces involved. This game was on a slightly smaller table (a table tennis table) so it looks a little compressed compared to Game 1, however it still all worked really well on the table.
First up - the table from the NATO point-of-view:
Again at the bottom of the table you can see the road leading off the table to the bridge.
Now the Soviet point-of-view:
Now the table length-ways:
And again - but from the opposite side of the table:
So that's the table for Game 2.
My force - the Soviets - were exactly the same as the last game:
2 x Motor Rifle Platoons in BTR-80s and 2 x attached AT-4 teams
1 x 120mm mortar towed by a Gaz-66
1 x T-80BV platoon (with 4 tanks) - 1 with Cobra ATGM load-out
1 x Recce BMP-2 (with squad)
1 x Recce BRDM-2
1 x Recce Motorcycle combination
1 x ZSU-23-4
1 x SA-9 Gaskin
1 x AT-5 BRDM-2
1 x Timed 152mm strike
1 x Timed 122mm strike
Now I'm going on memory hear - so this may change - but the US force facing me was made up of:
1 x Battlegroup HQ in a M1A1
1 x Mech Infantry Platoon in 4 M113s
1 x M1A1 Section (2 tanks)
2 x Recce M3 Bradley CFVs
1 x FO Team
1 x Off Table 82mm Battery
2 x Timed 105mm strikes
1 x minefield
1 x barbed wire obstacle
1 x Bundesgrenschutz squad (police)
Sorry - no pics of the two forces for this game.
So - next up - the AAR.
Thanks
Richard
