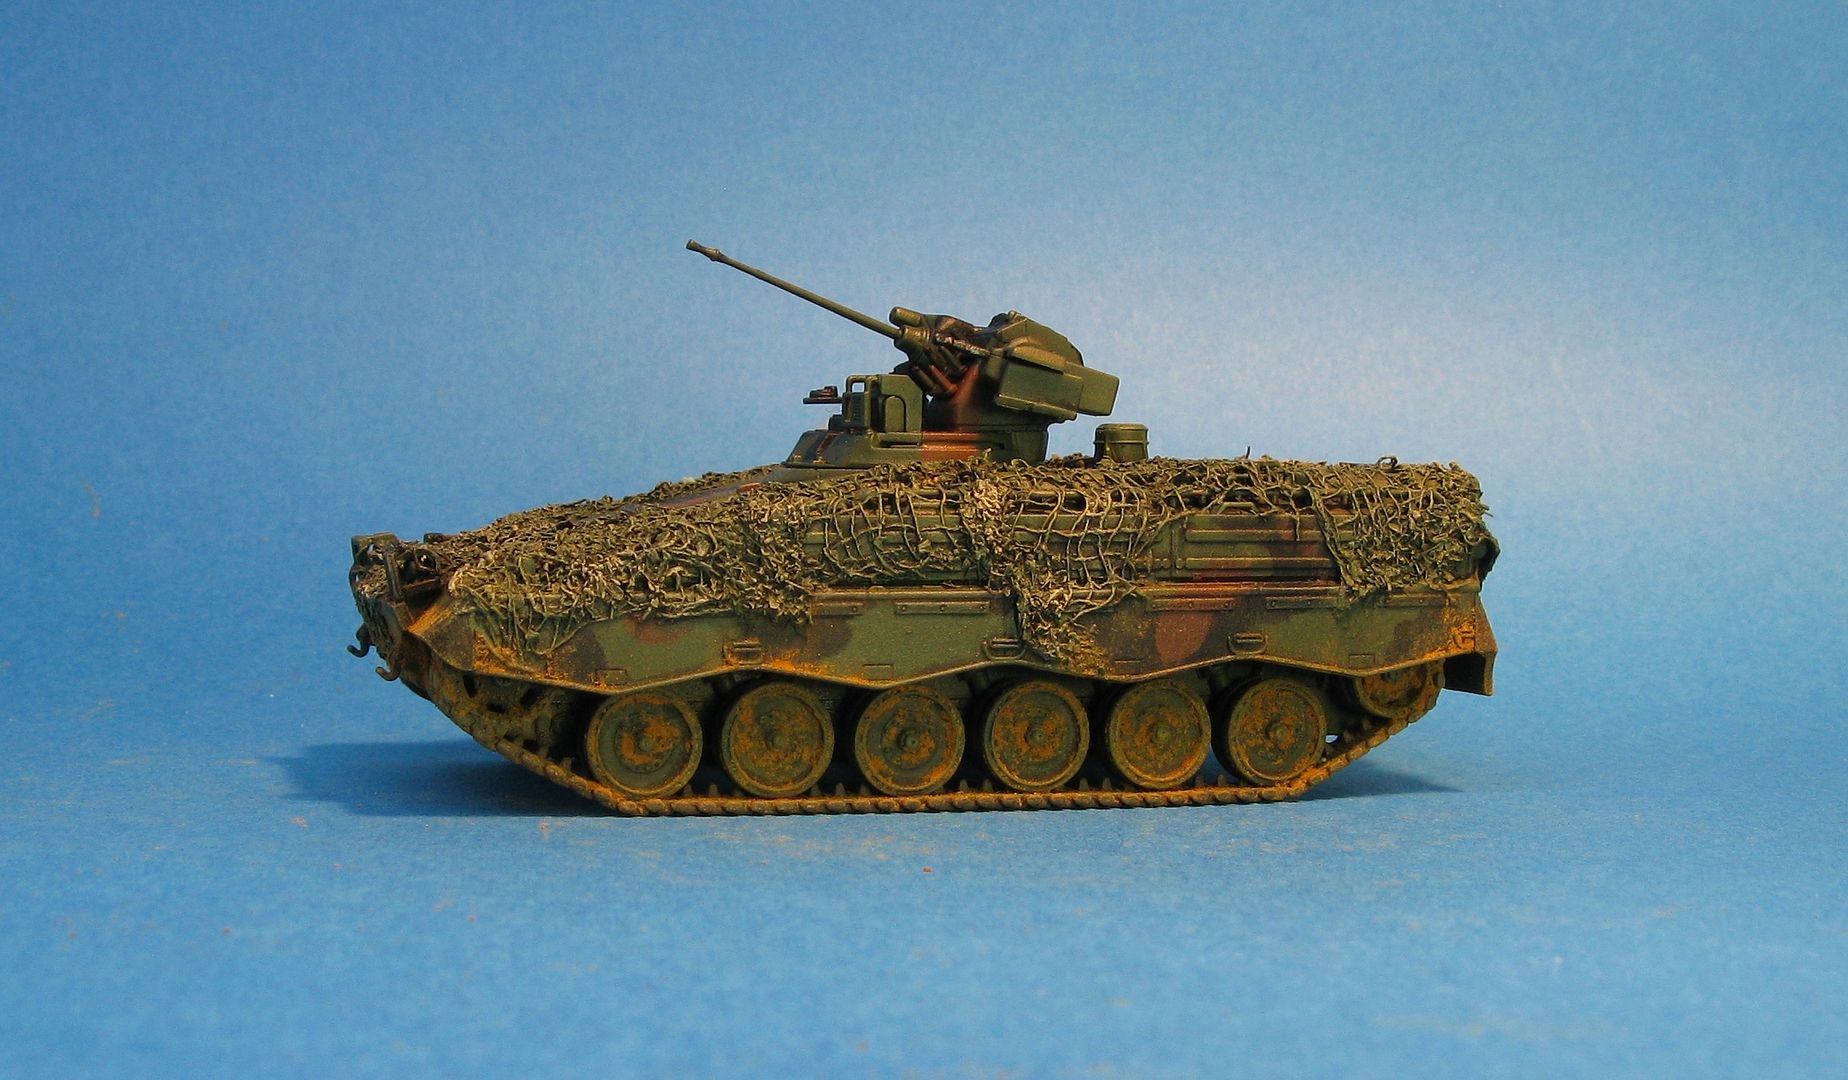
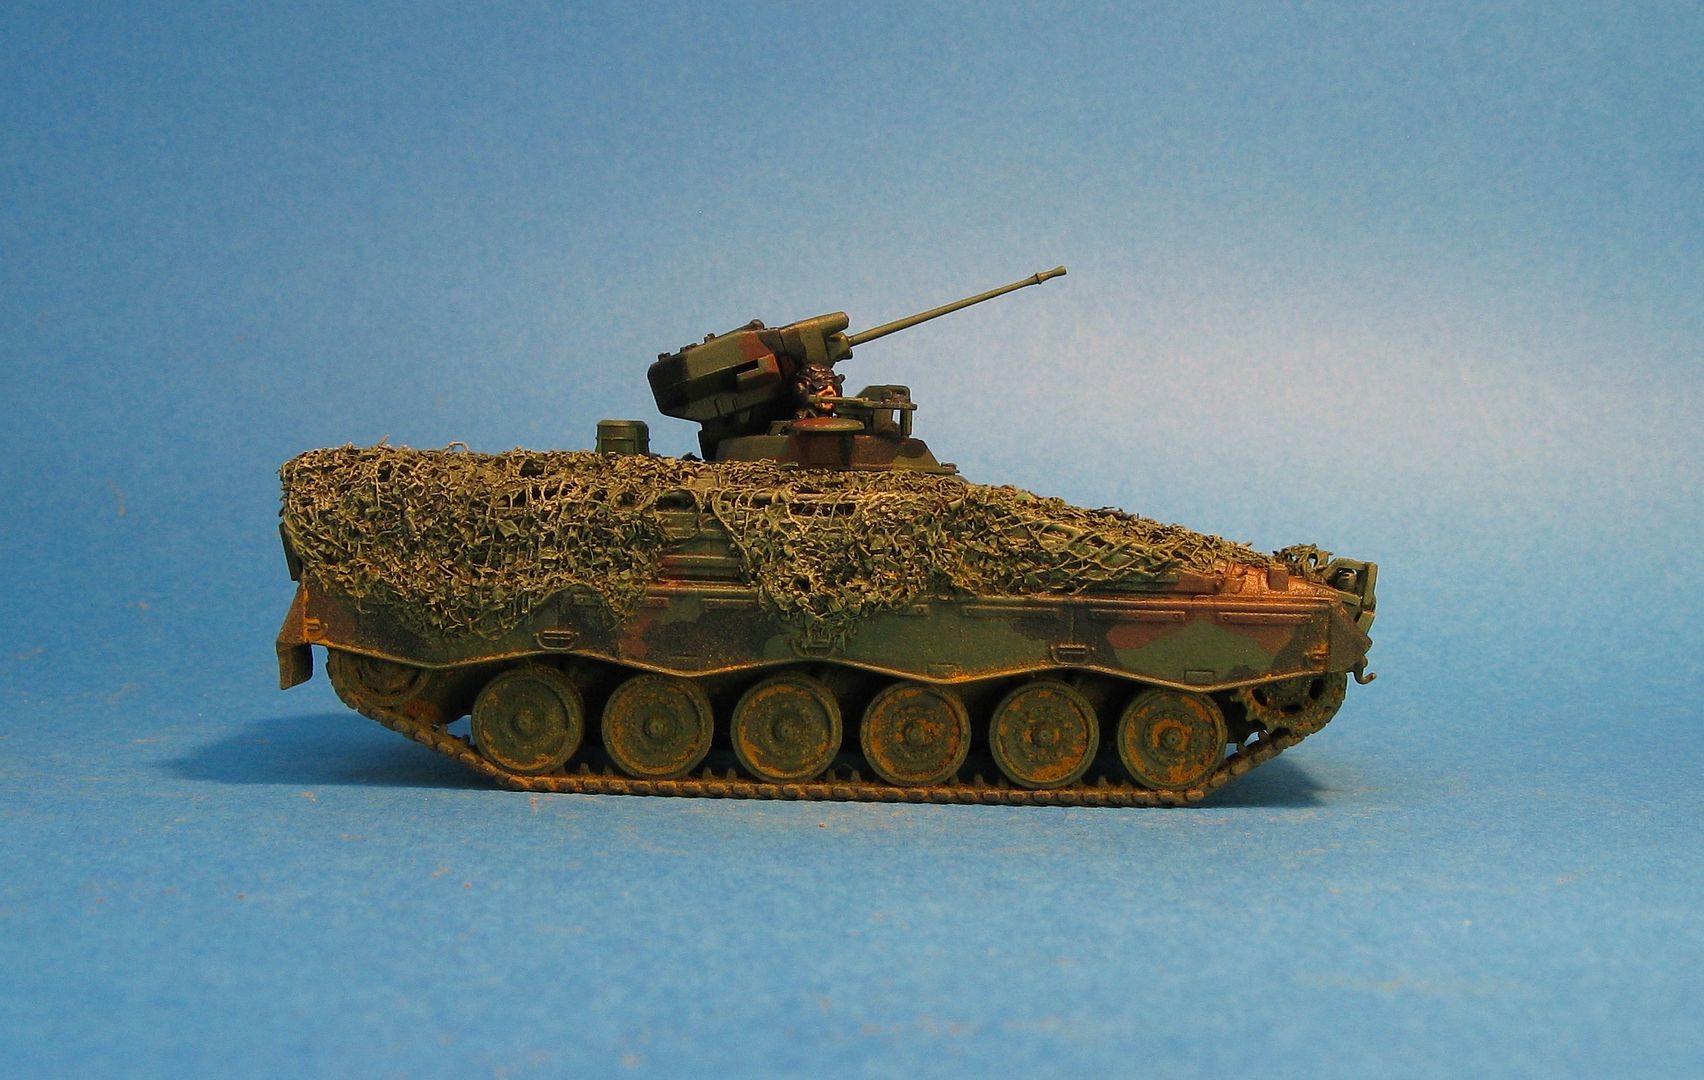
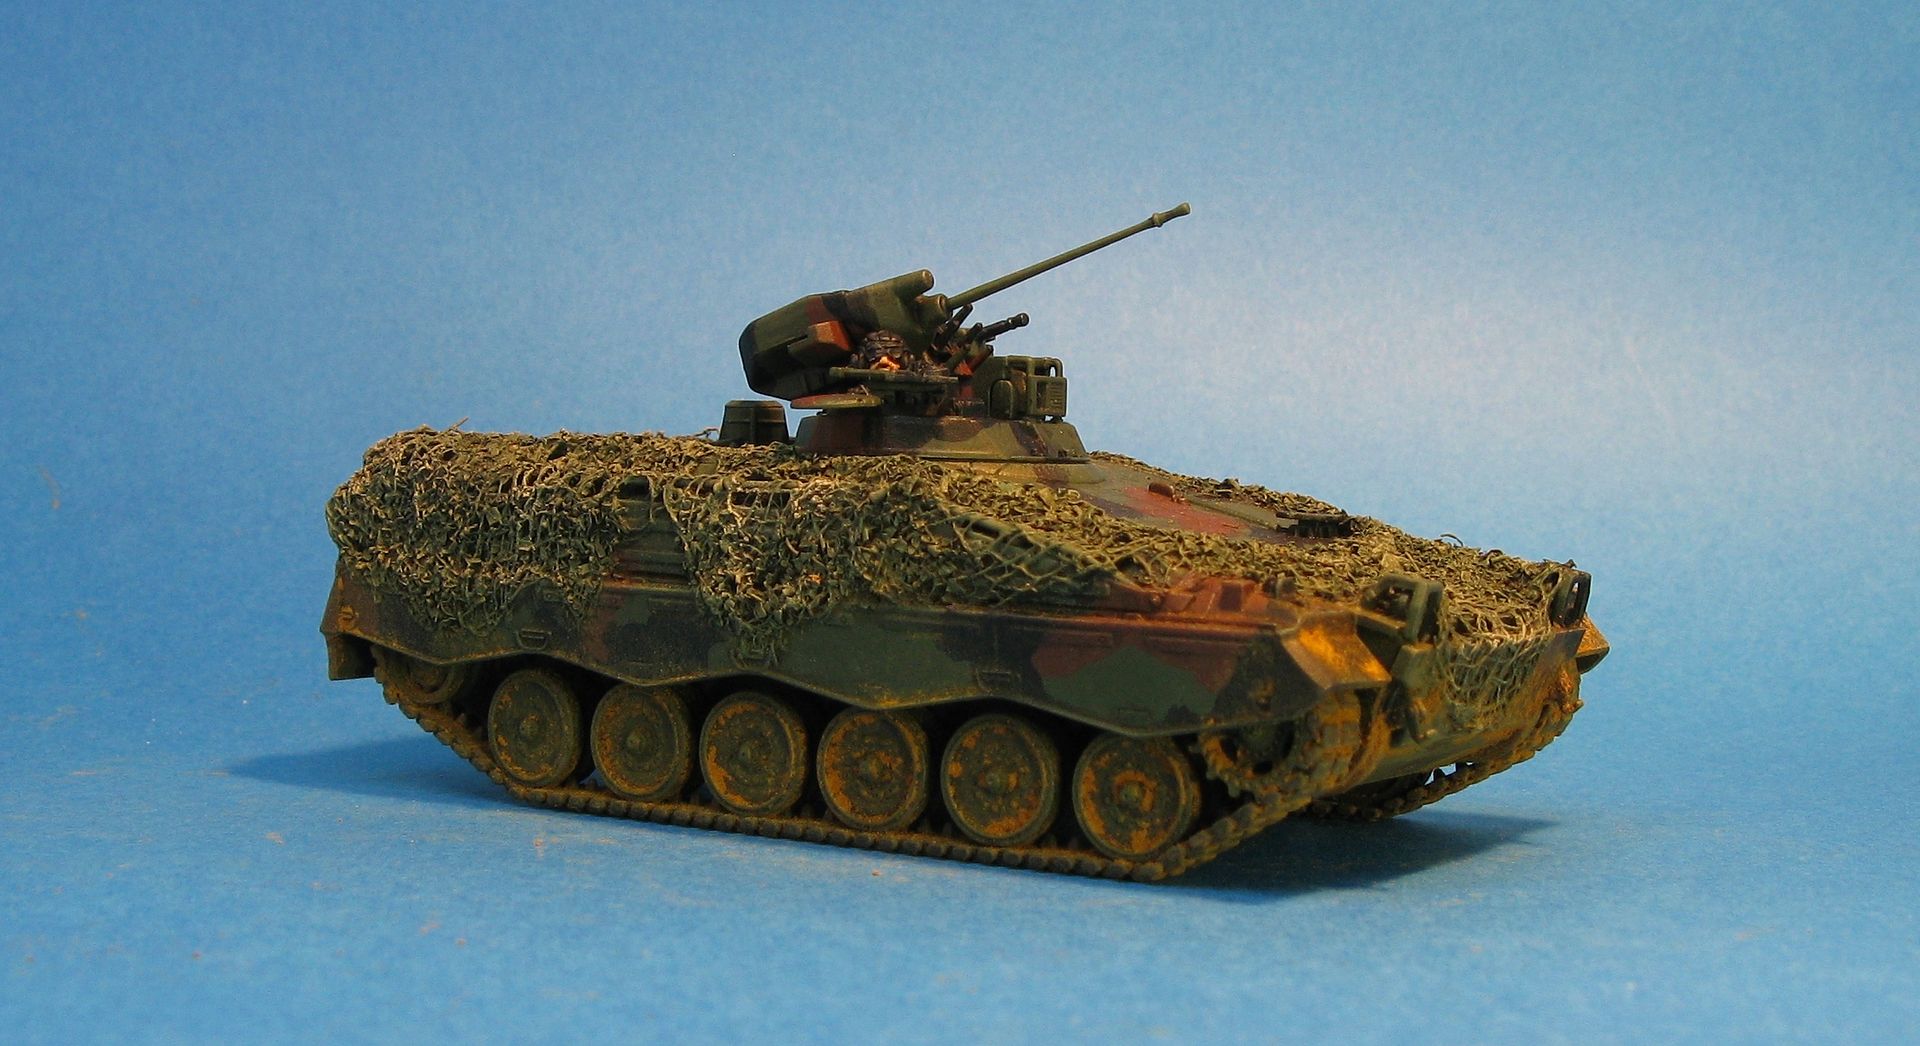
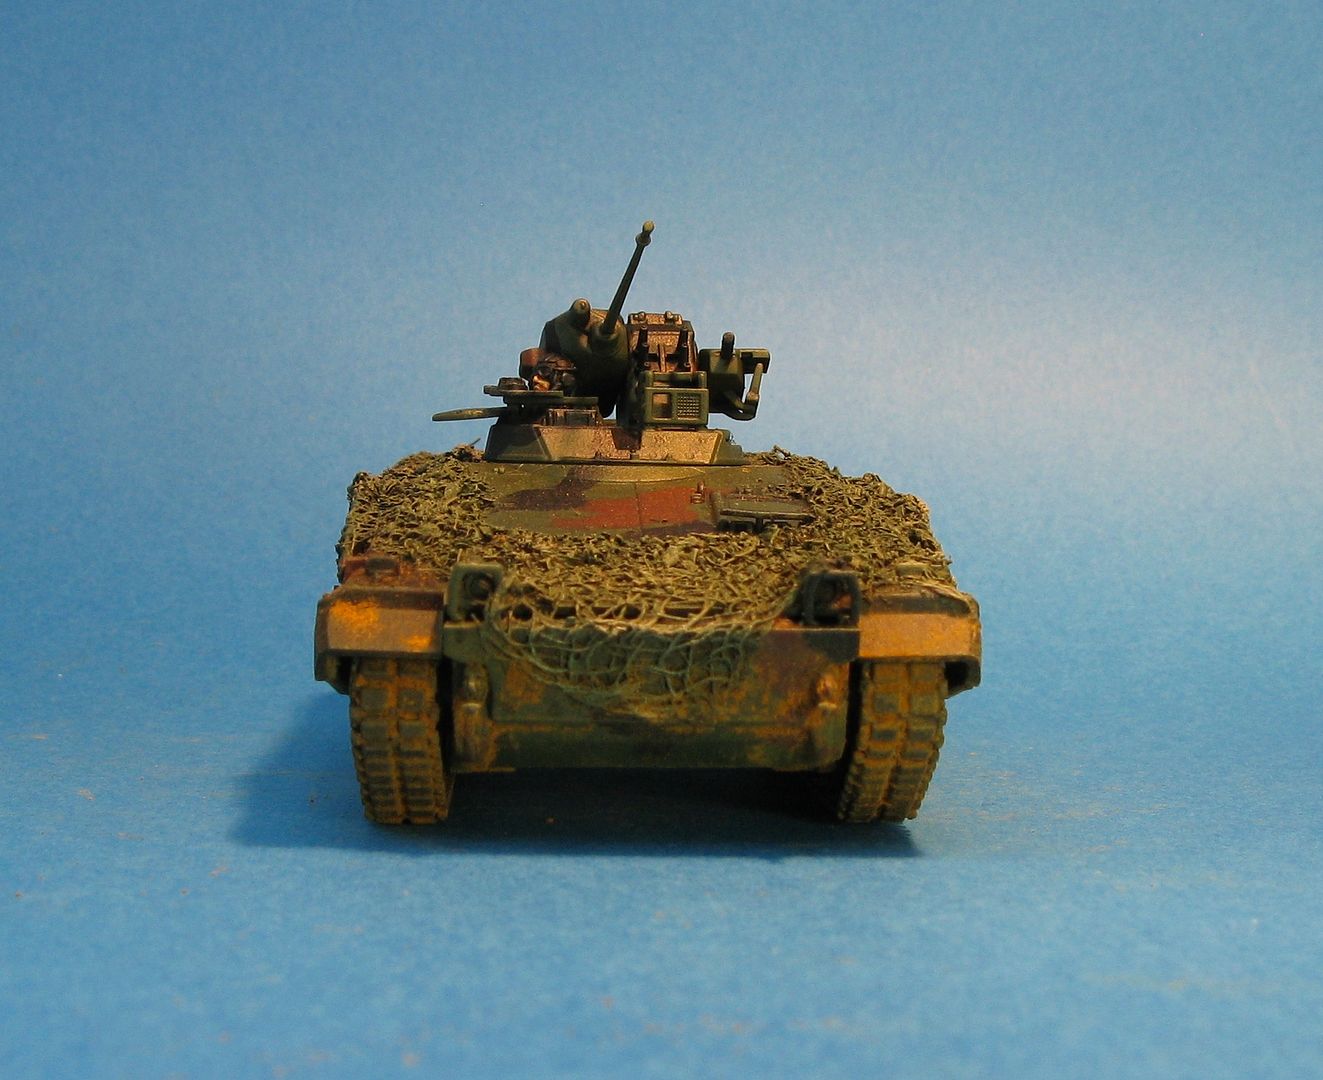
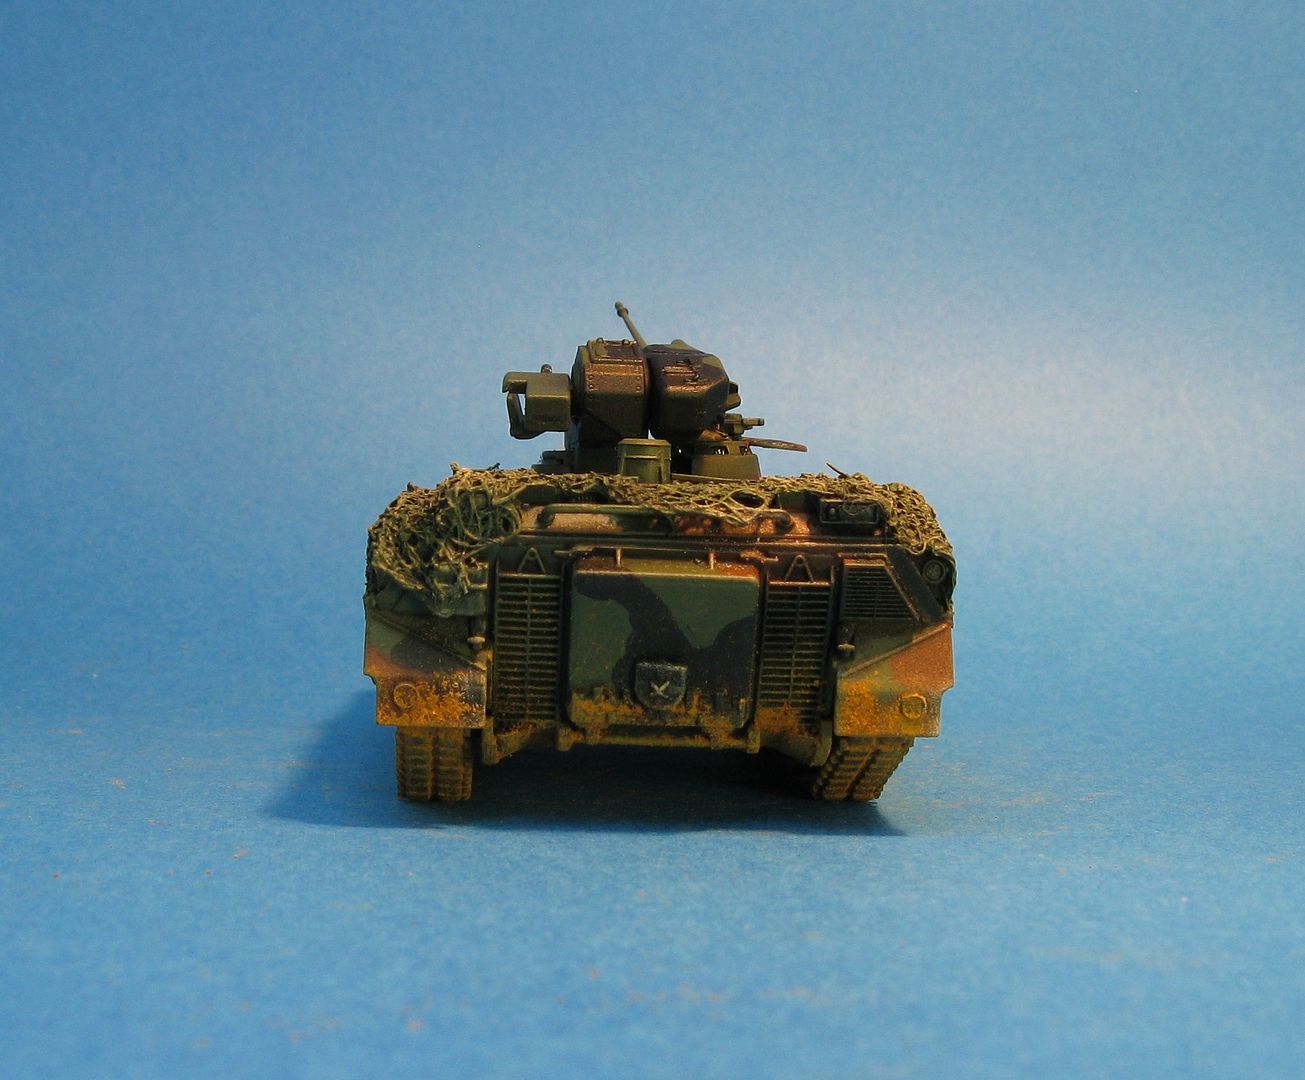
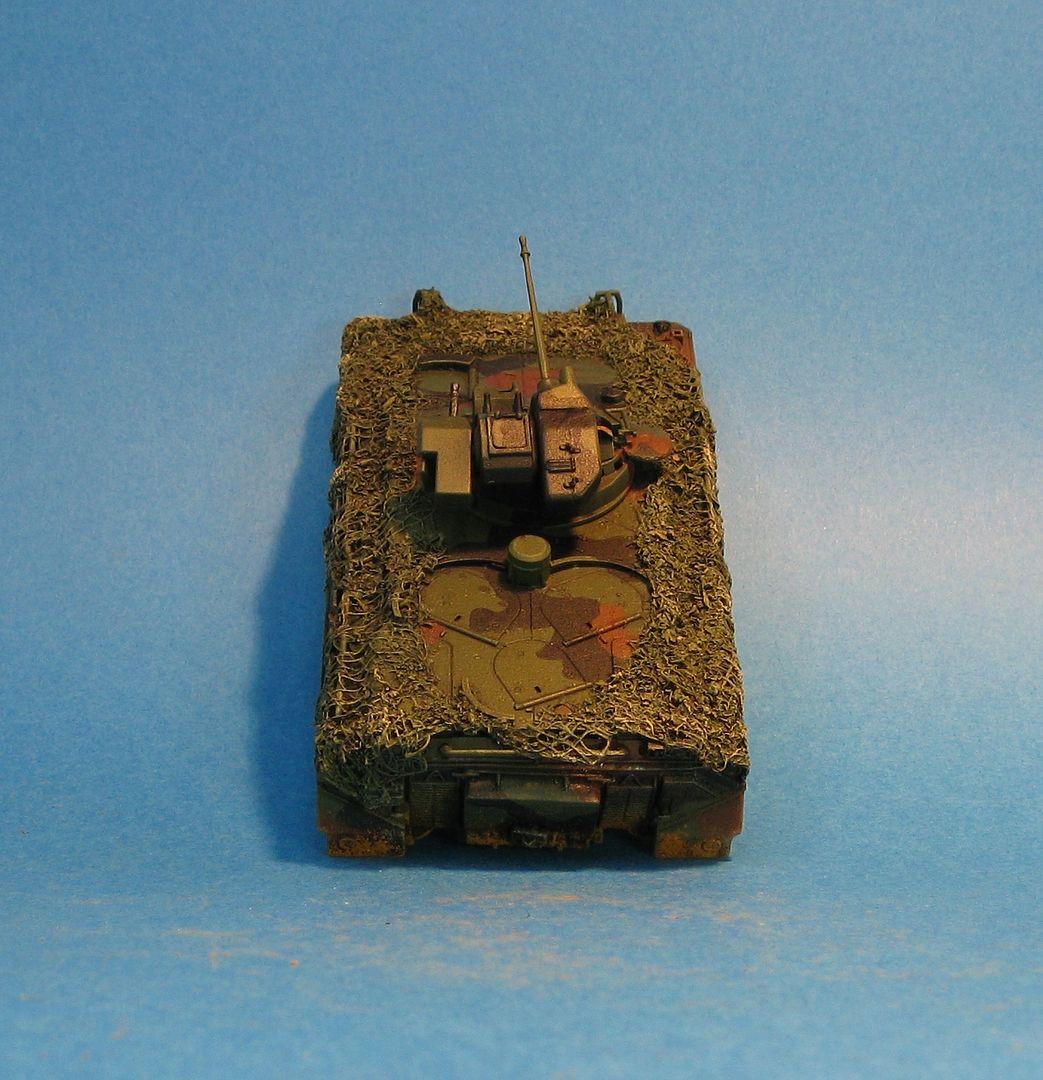
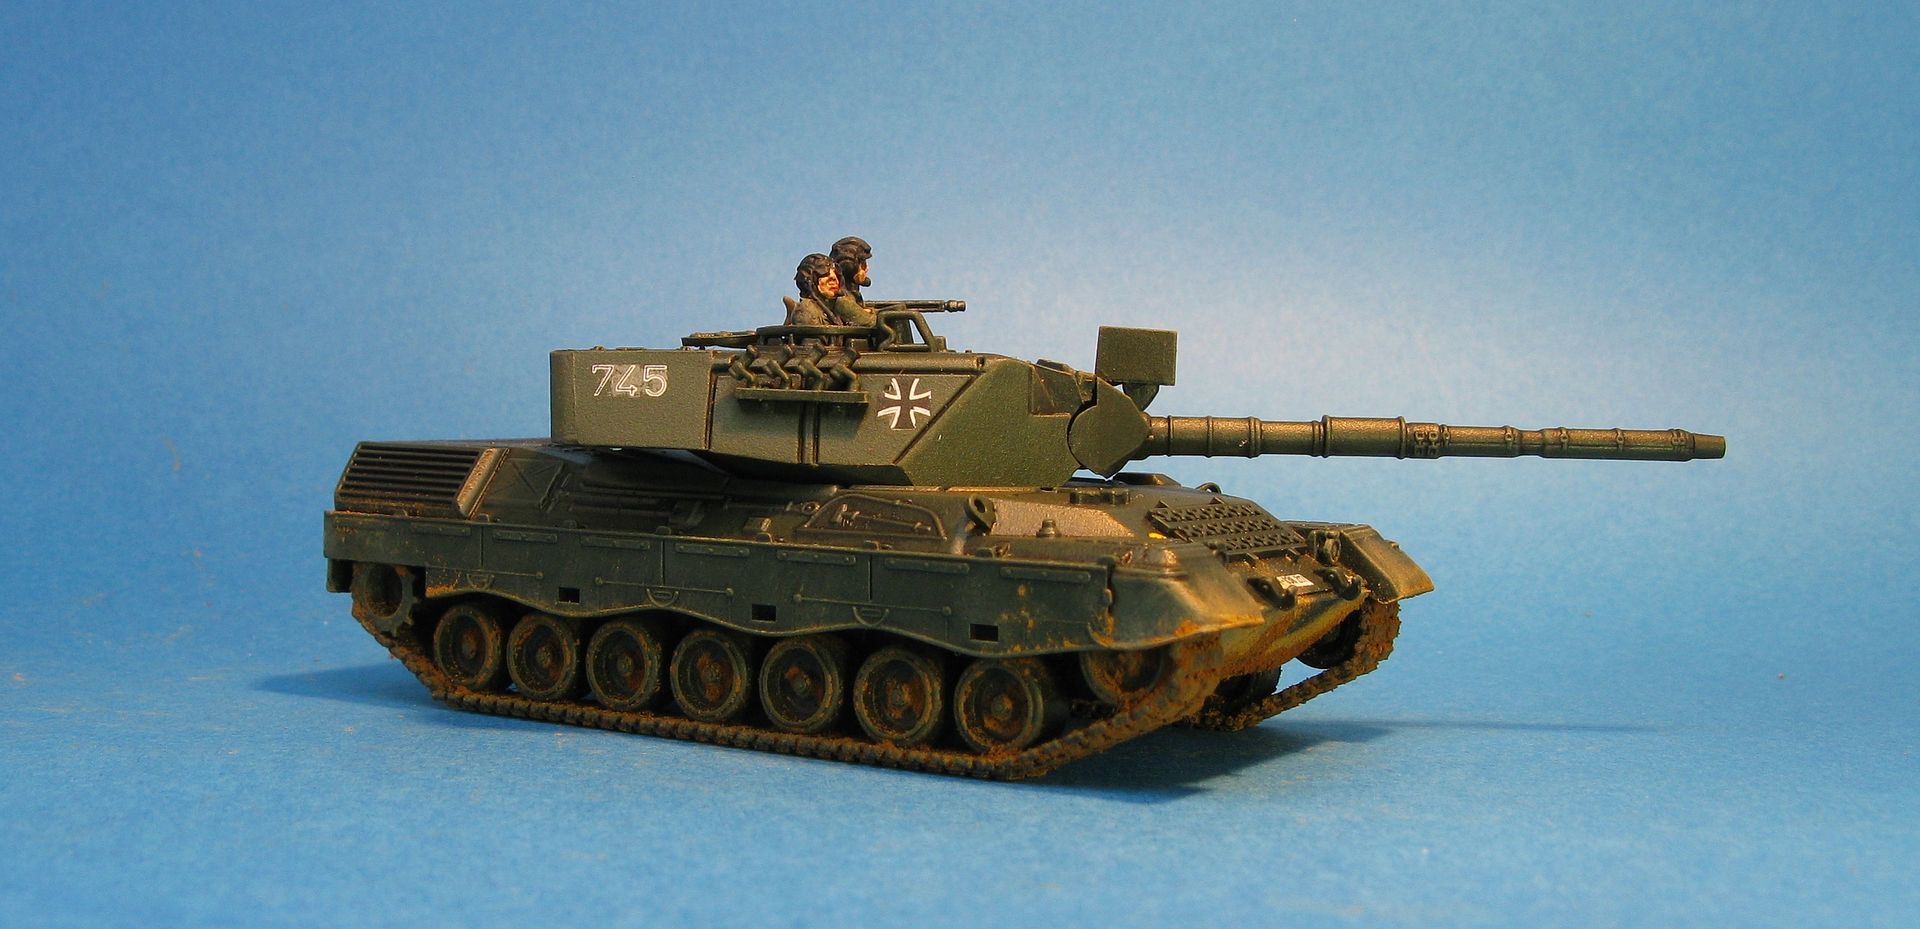
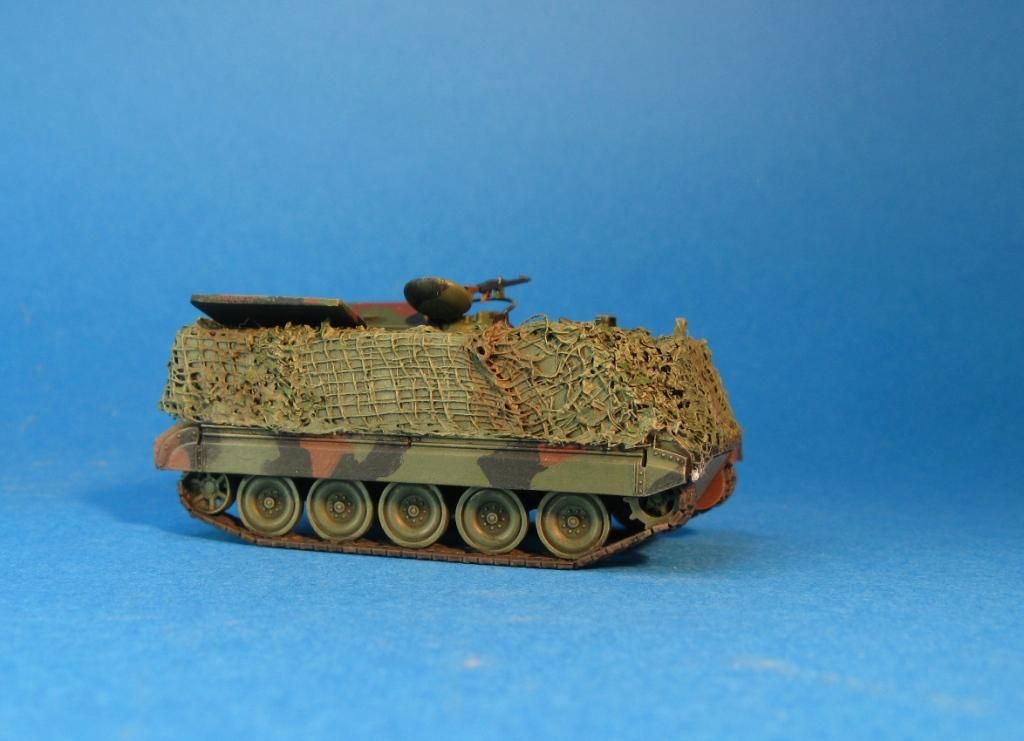
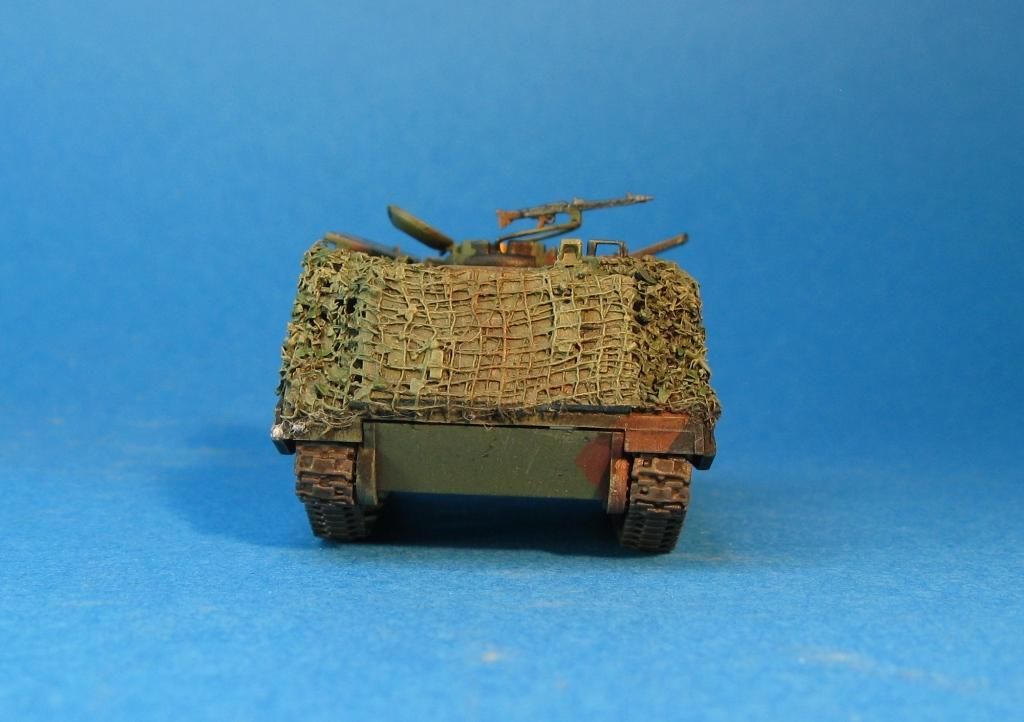
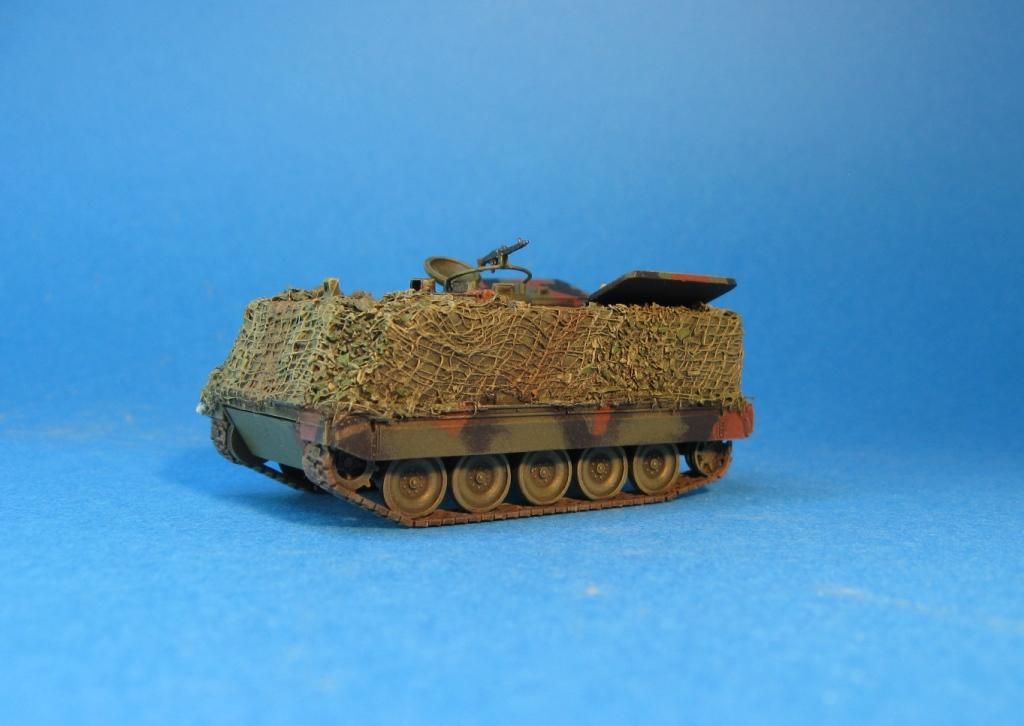
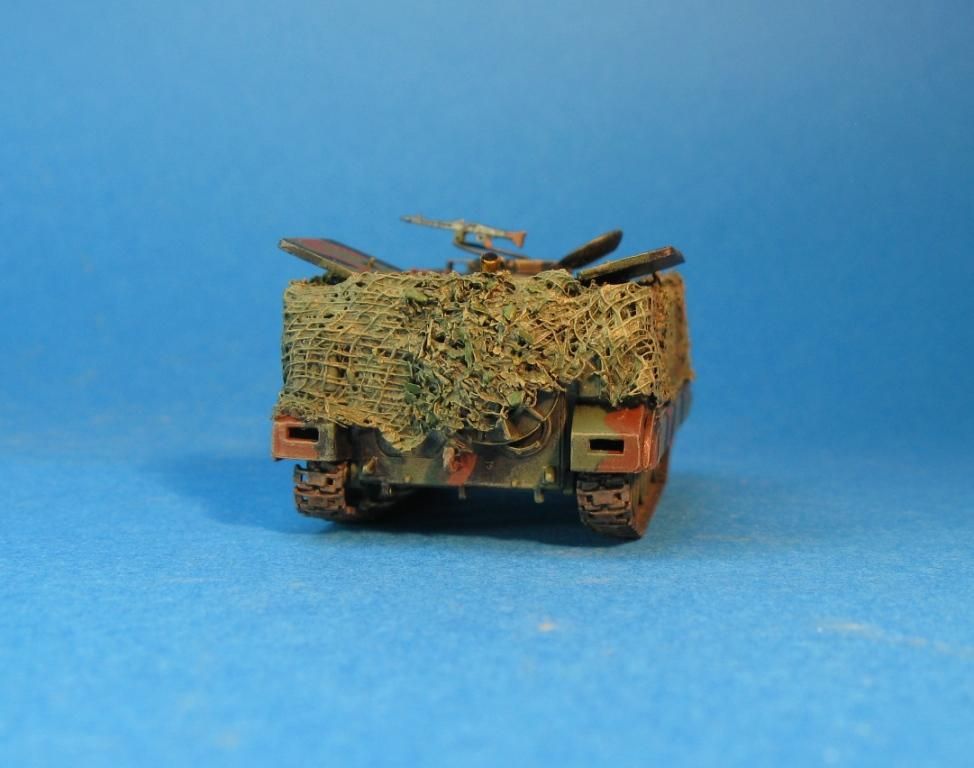
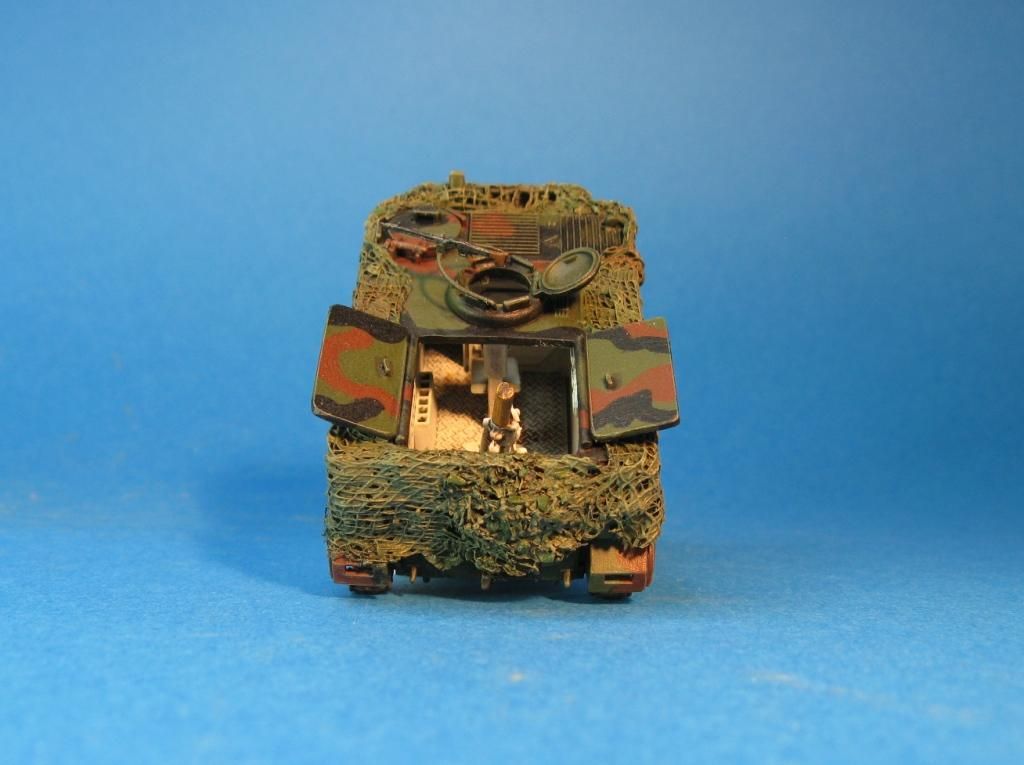
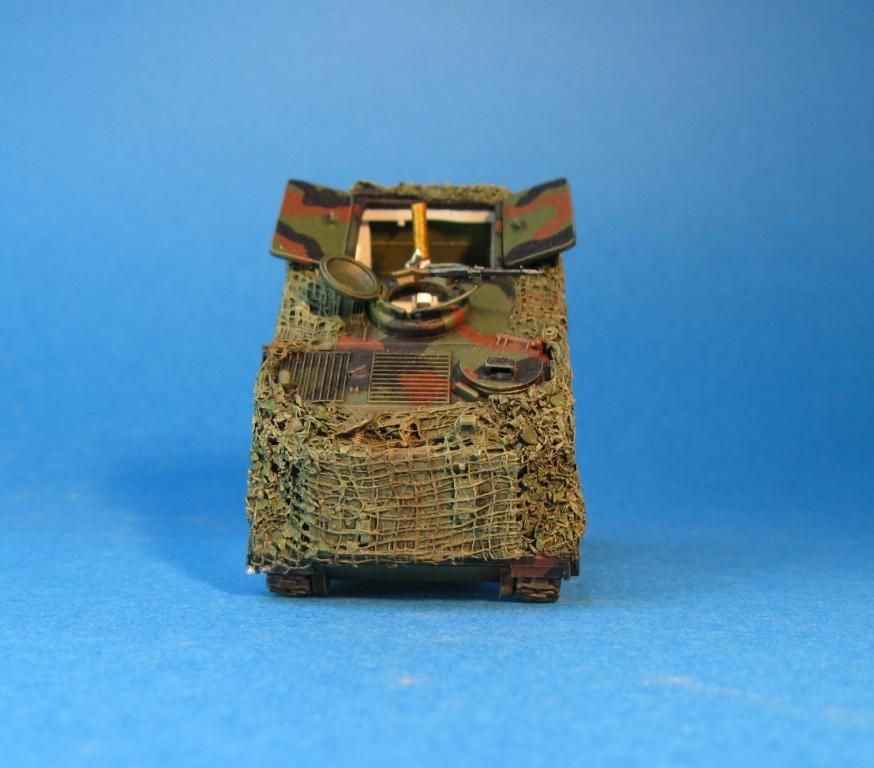
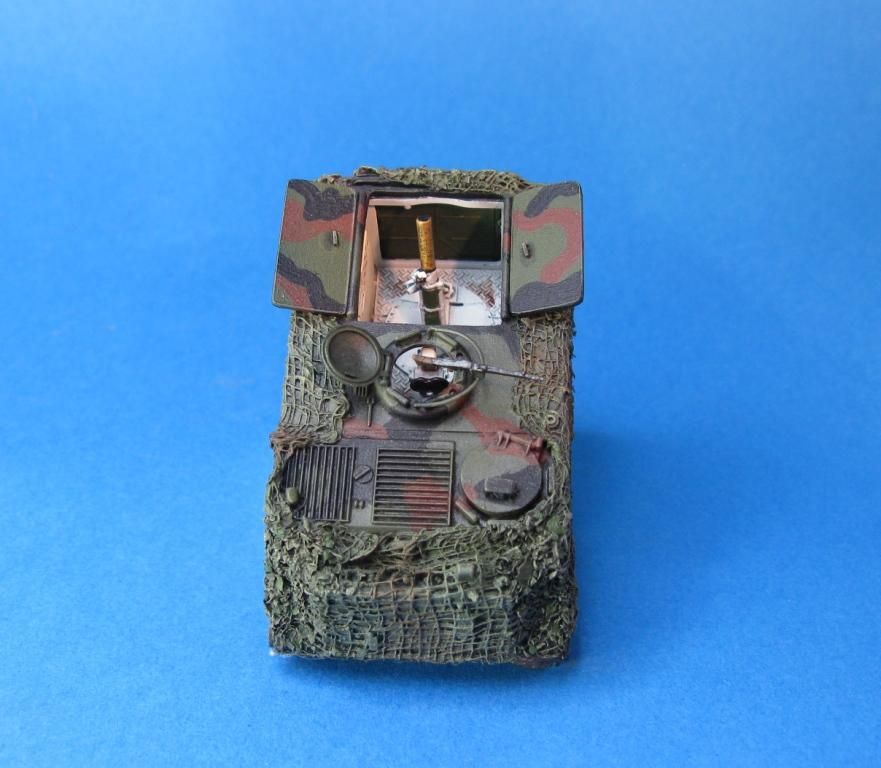
Another update with another Marder (with more coming over the next few months...) This too was painted for the afore mentioned game and I think the only newly painted AFV to survive!
Straight into the photos is probably the best way to go:
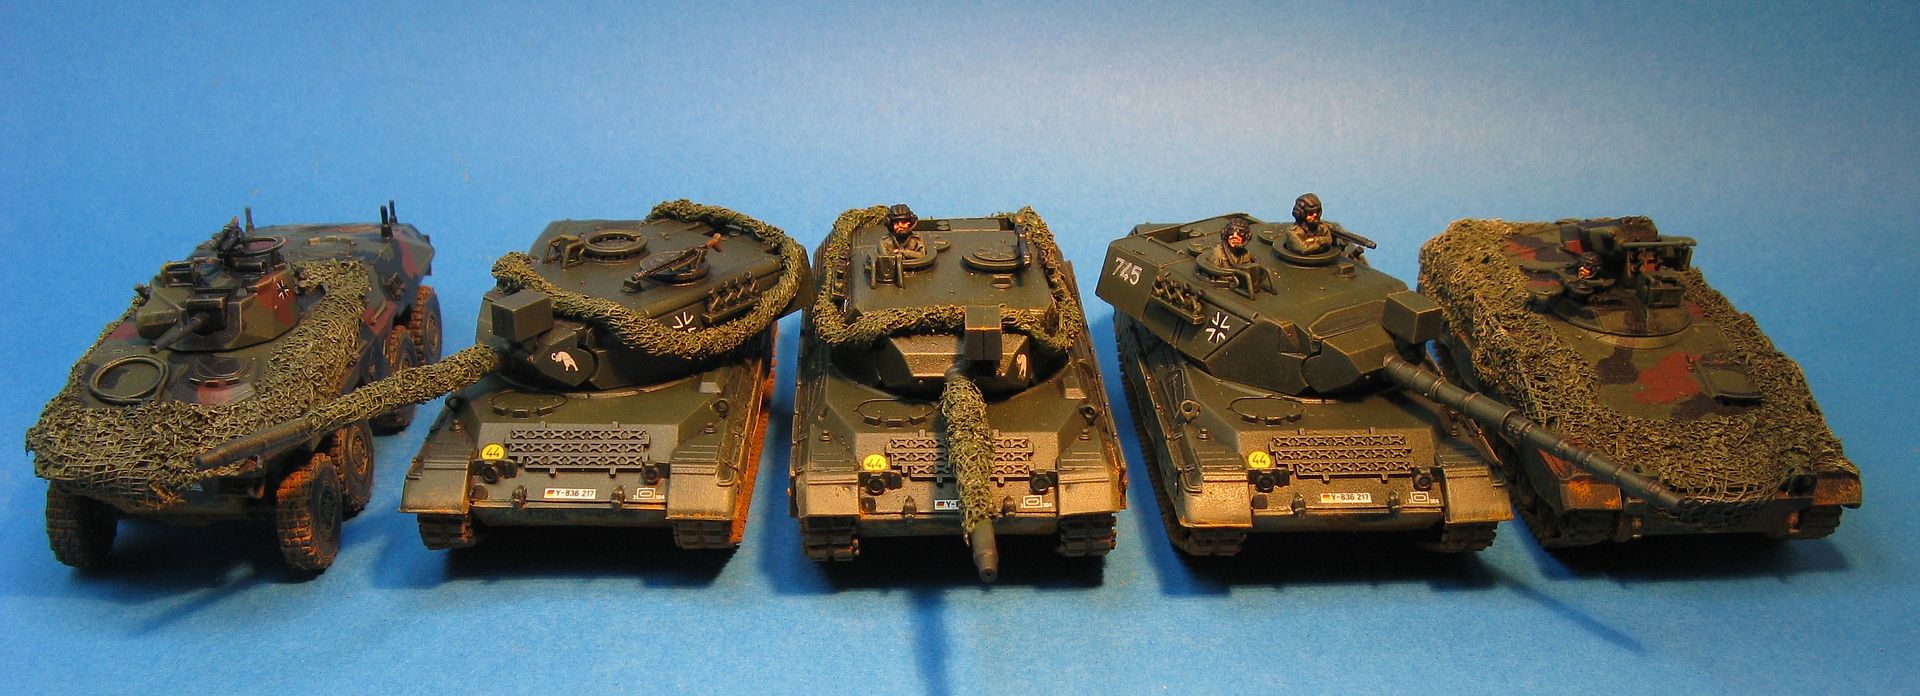
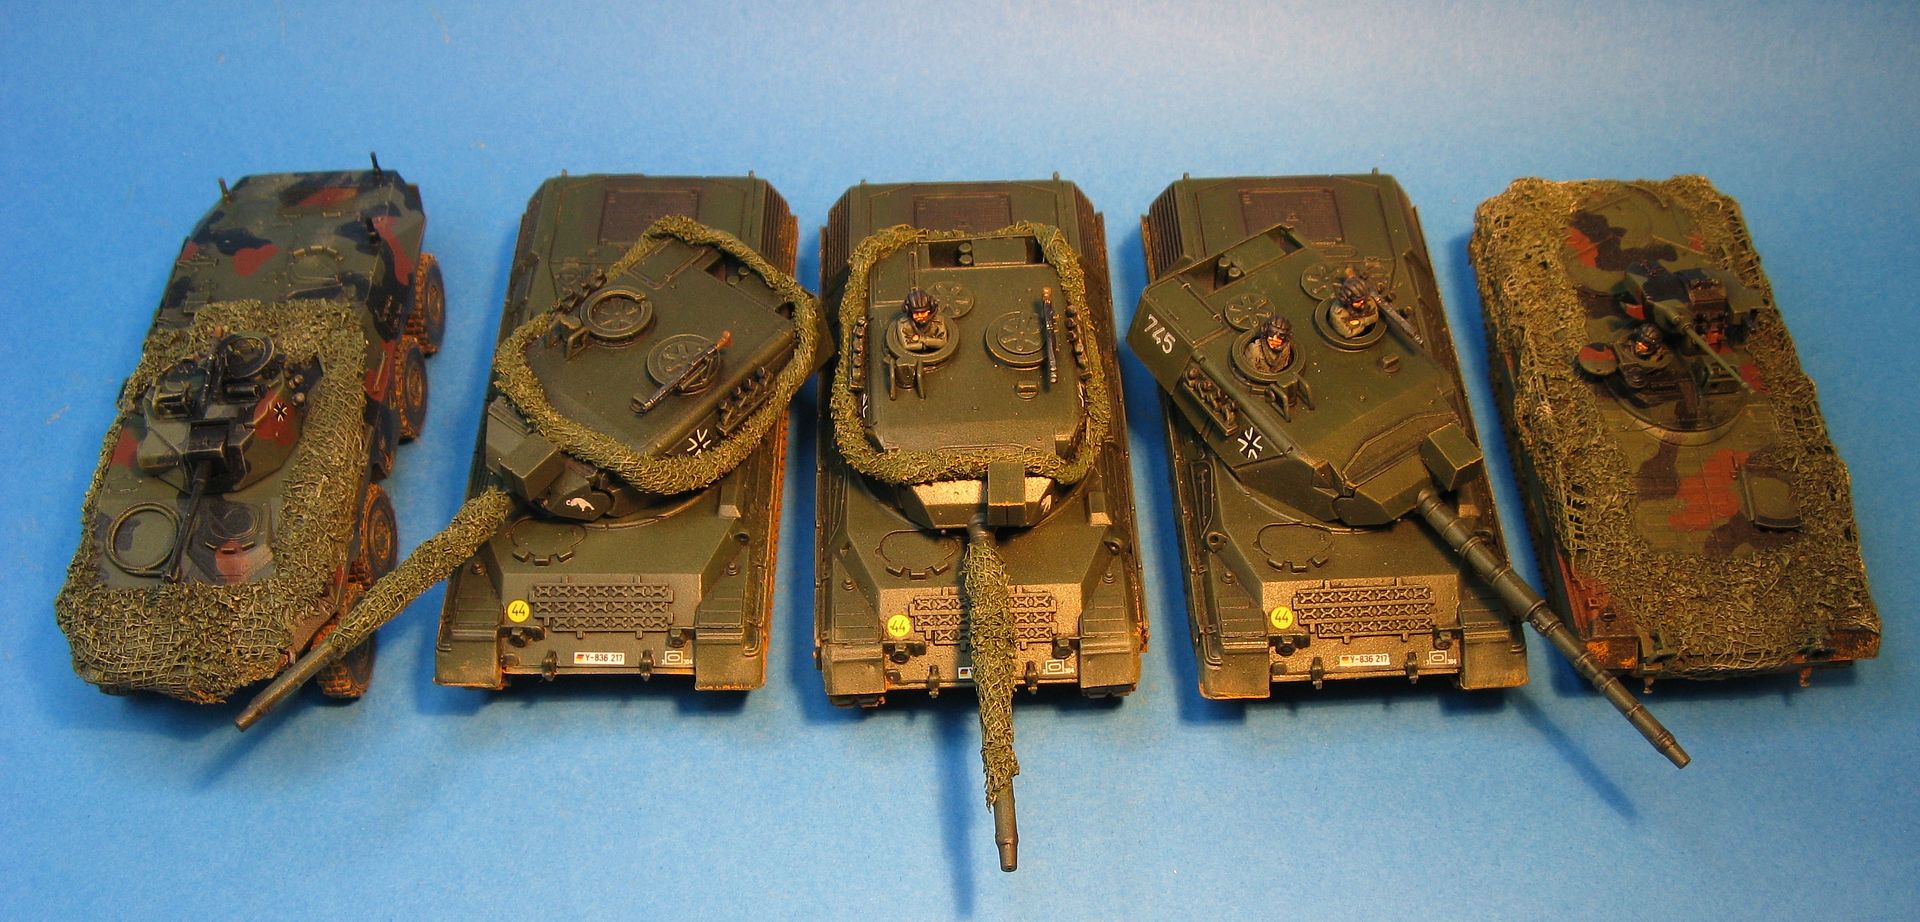
Now all the recently shown Bundeswehr AFV's together:
That's all for now - next time - back to the BAOR.
Thanks
Richard
Pages
▼
31 August 2014
28 August 2014
200th Post! - Spahpanzer Luchs
Without really realising it - this is my 200th post! Quite chuffed with that really. Was going to celebrate it somehow - but completely forgot about it... Maybe I should have a competeion or something for post 250?
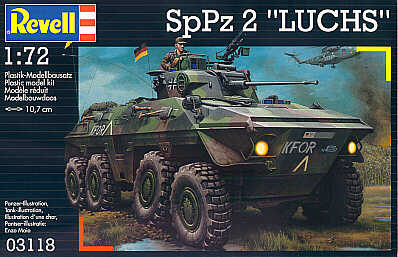
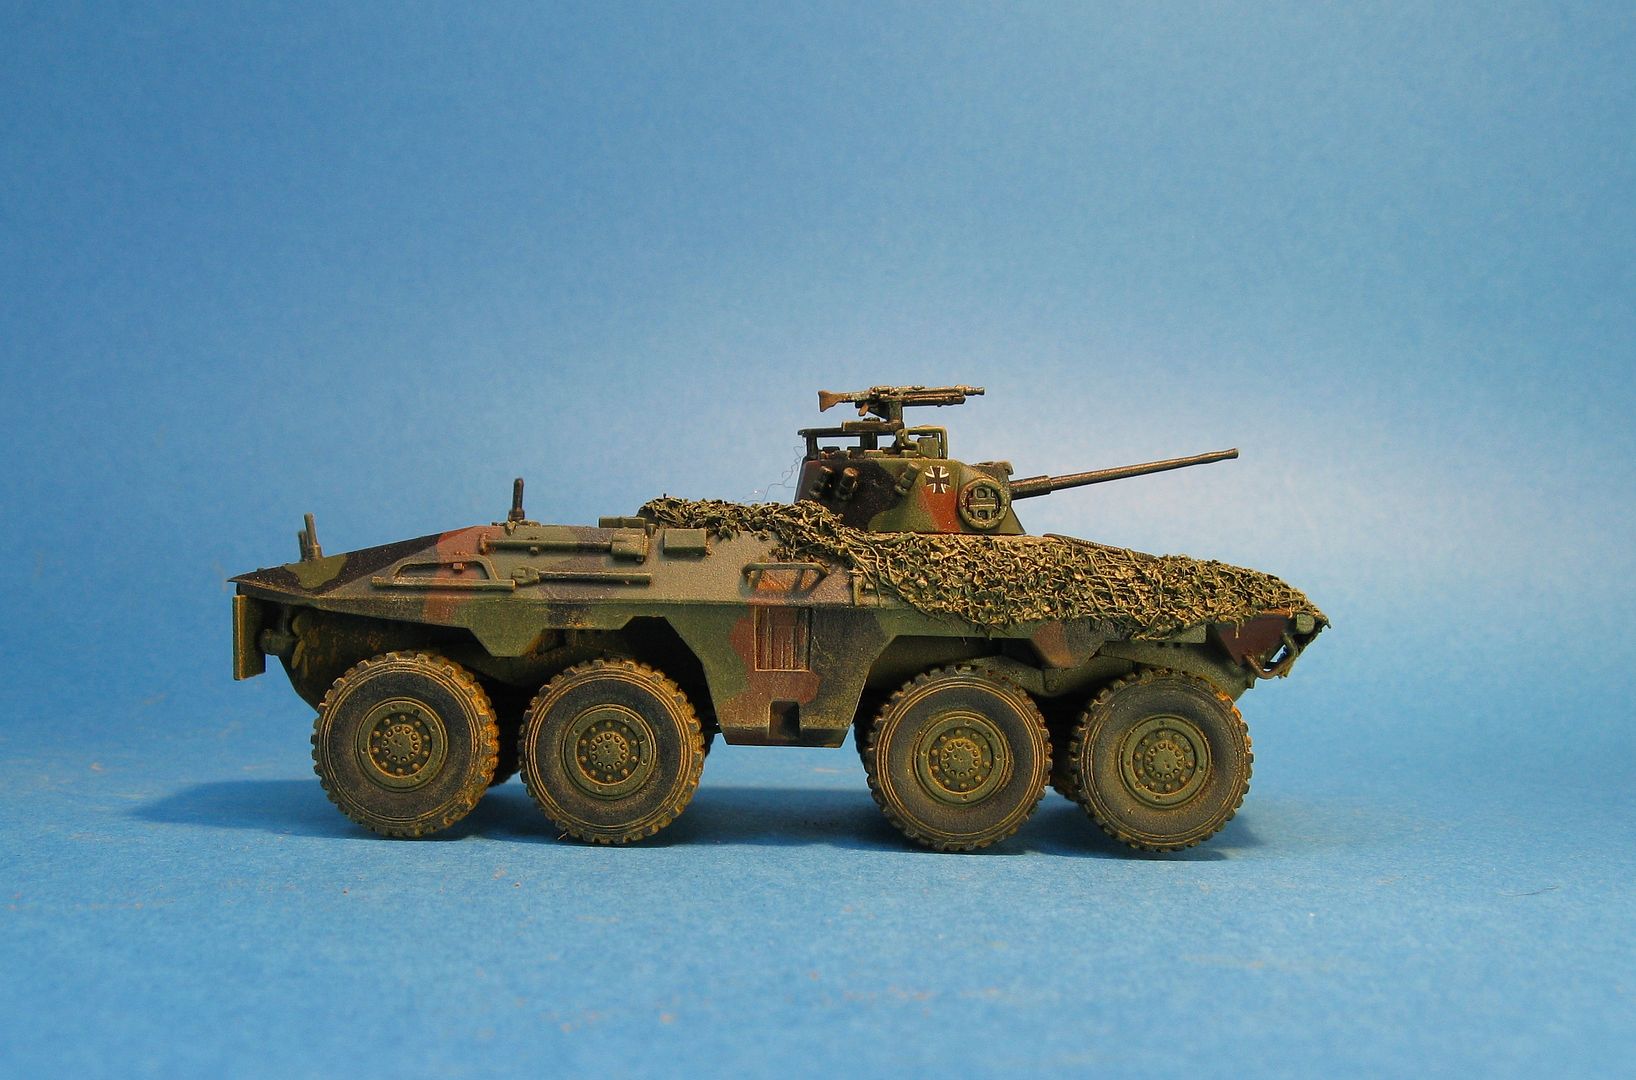
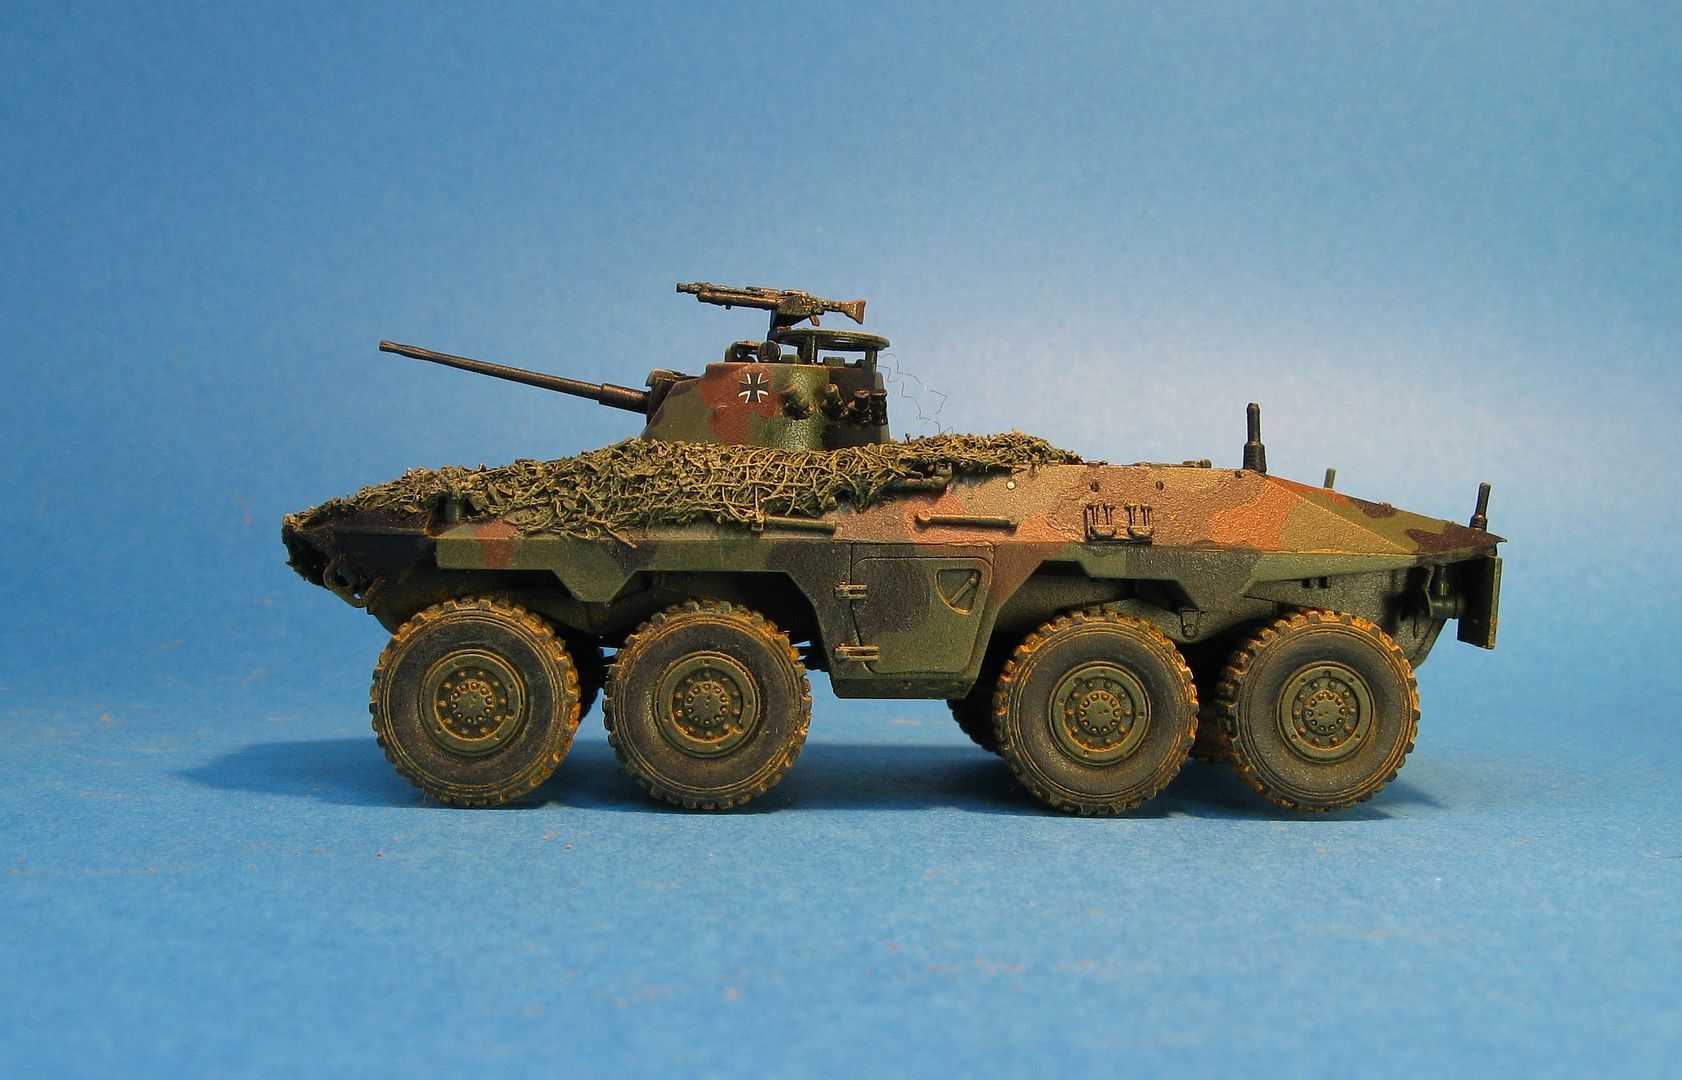
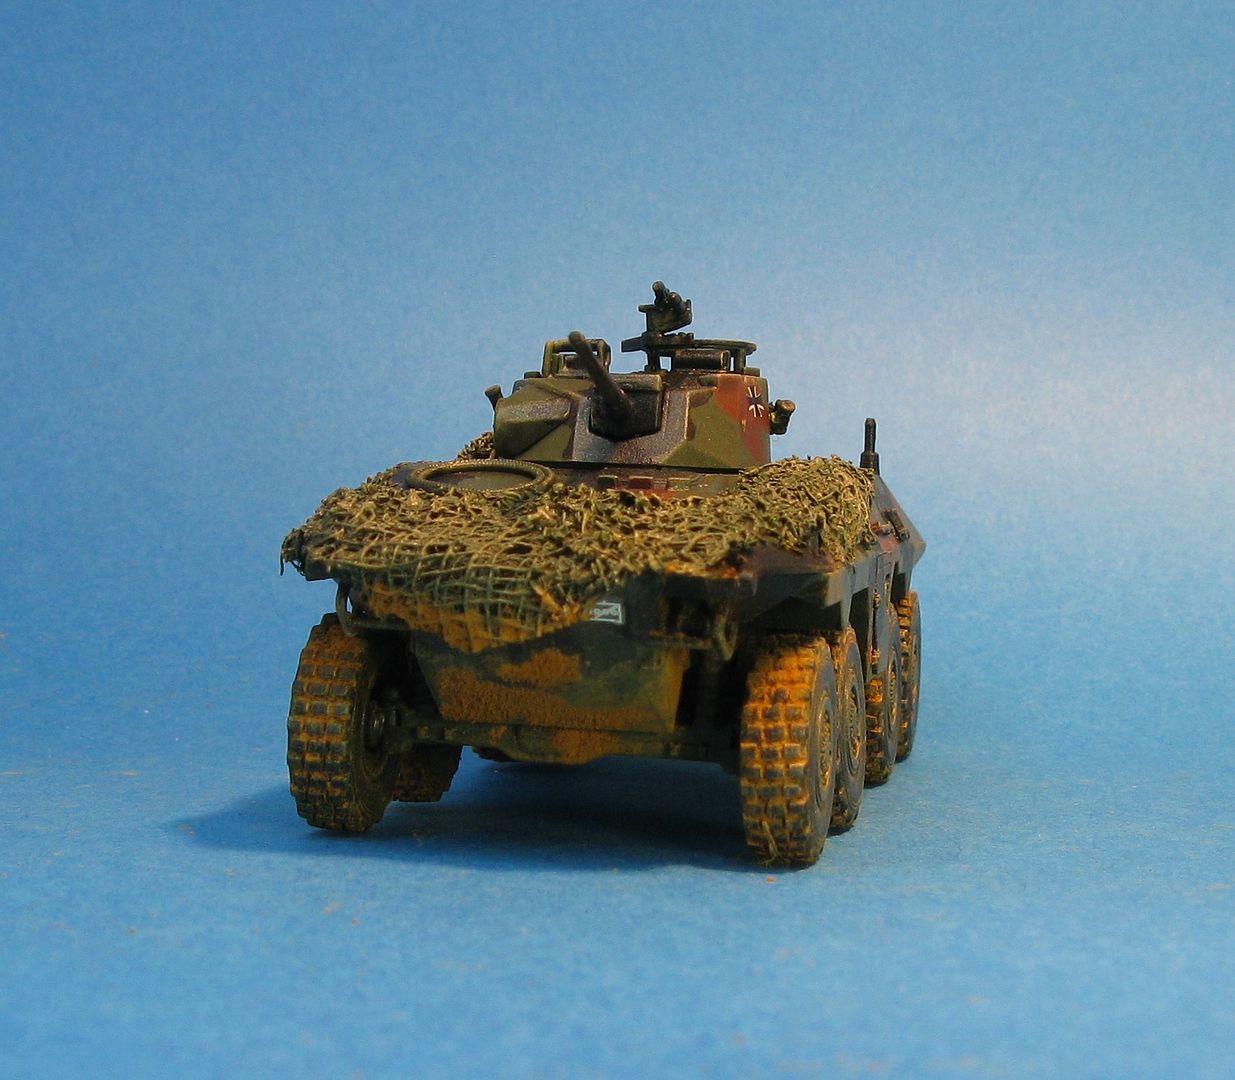
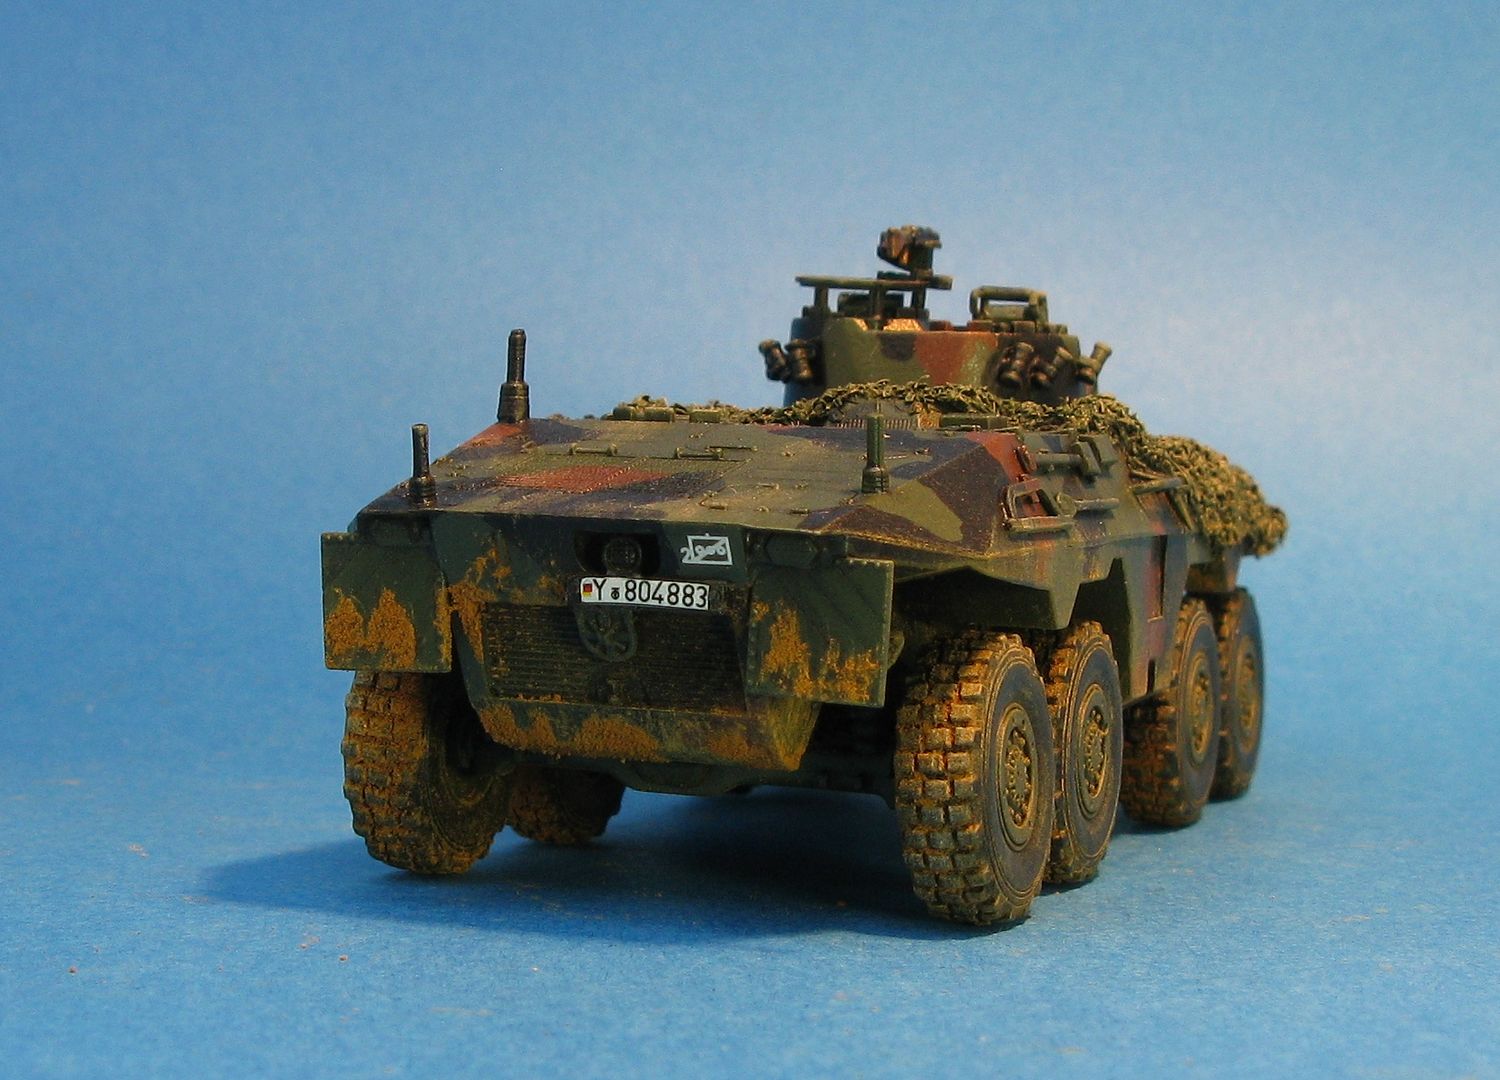
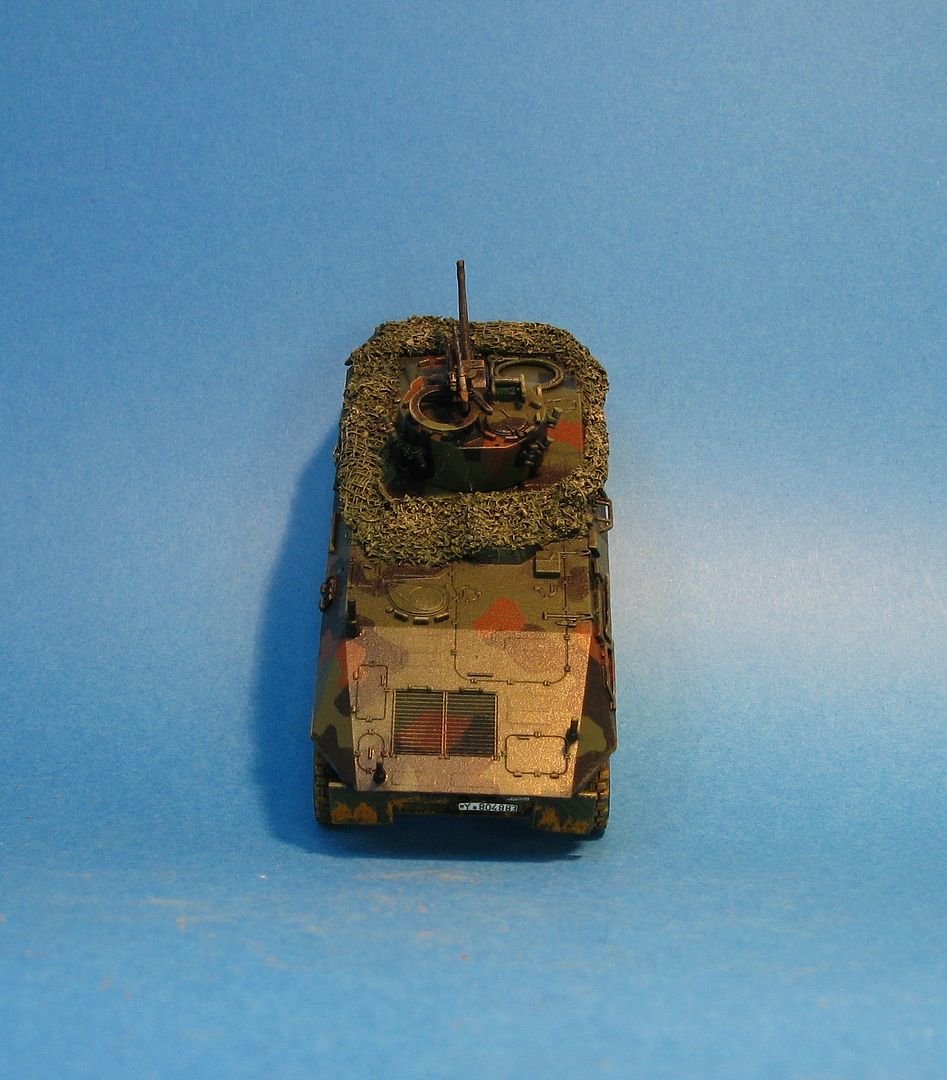
Anyway, my next completed model is a Revell Spahpanzer Luchs recon vehicle. This is an interesting kit to build as the suspension etc is pretty complex (I'm sure I managed to build mine backwards!) and very realistic (the rubber parts on the wheels come in 3 seperate peices) and yet none of the hatches open... So an excellent model - but none of the flexibility, no real options that you would expect in a decent kit.
Here is the box art:
I have about 5 or 6 (or even 7) more of these kits to build. Normally I try and build things 2 at once - but the undercarriage seemed so complicated, I decided just to do the one. I must admit though - that the Revell instructions are excellent - it was like a book! Very detailed strep by step.
So this one got painted in the later Bundeswehr/NATO 3 tone cam. Here it is:
So there she is. Pretty sure the Luchs died quite quickly in its first game as well. A 20mm canon vs a T-72 Super Dolly Parton isn't much of a match!
Have fun
Richard
24 August 2014
Leopard 1A4 Platoon
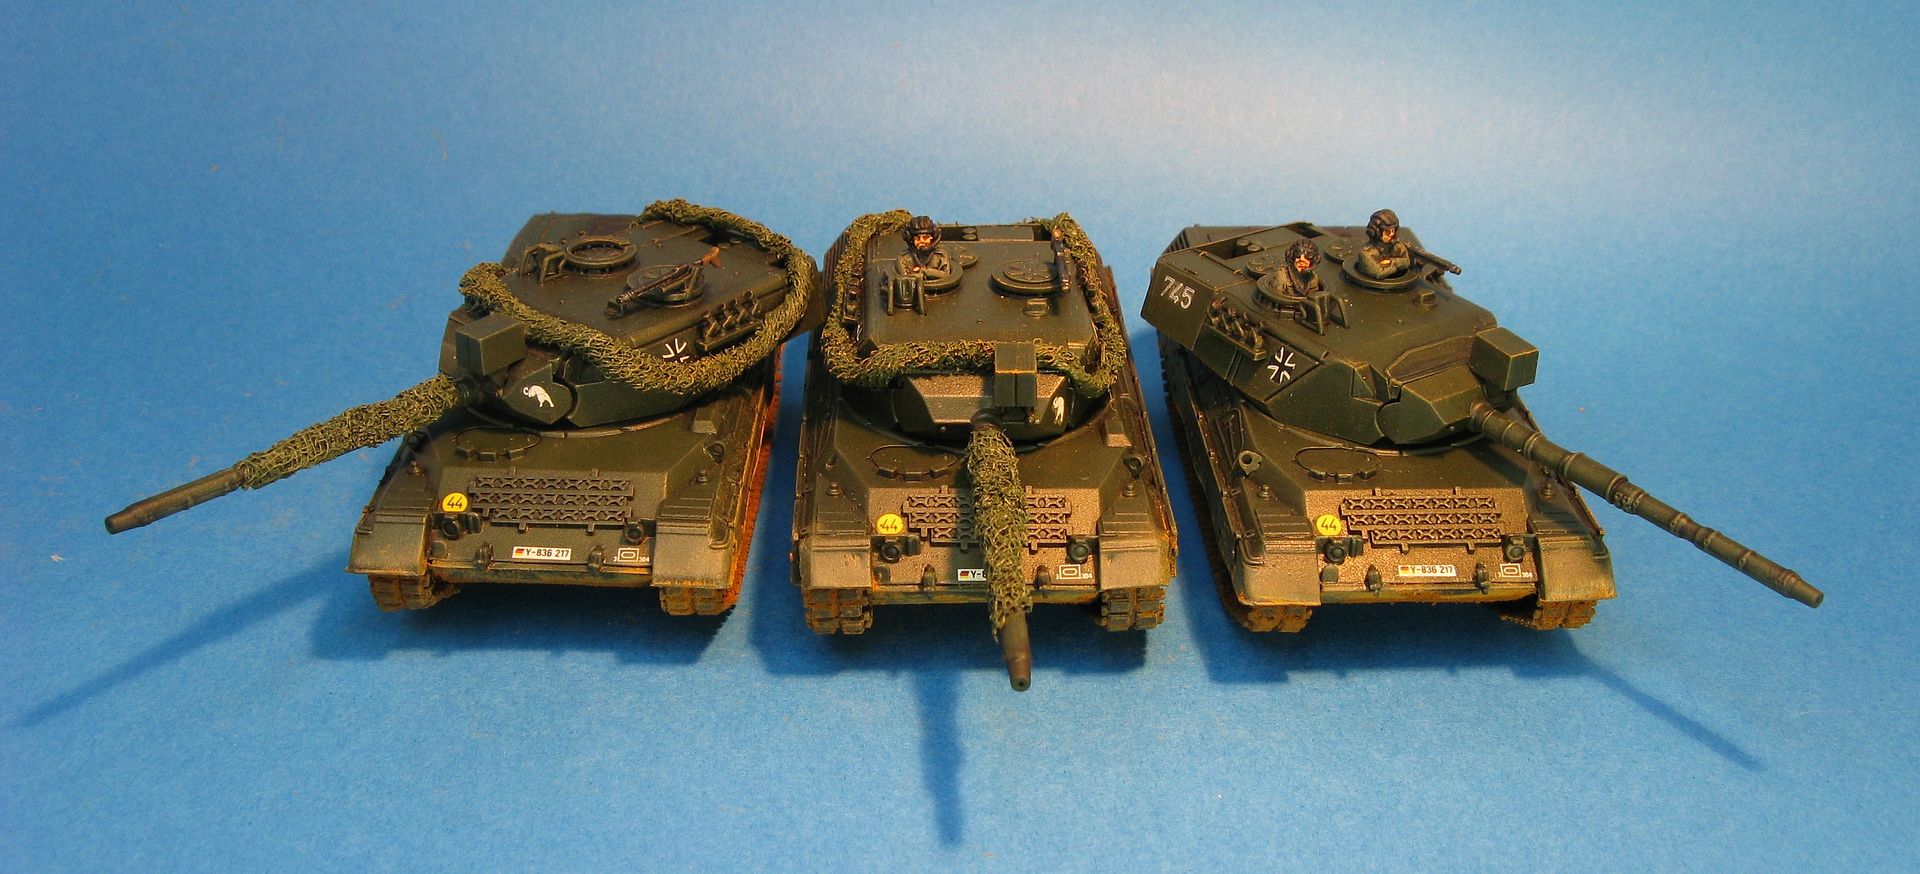
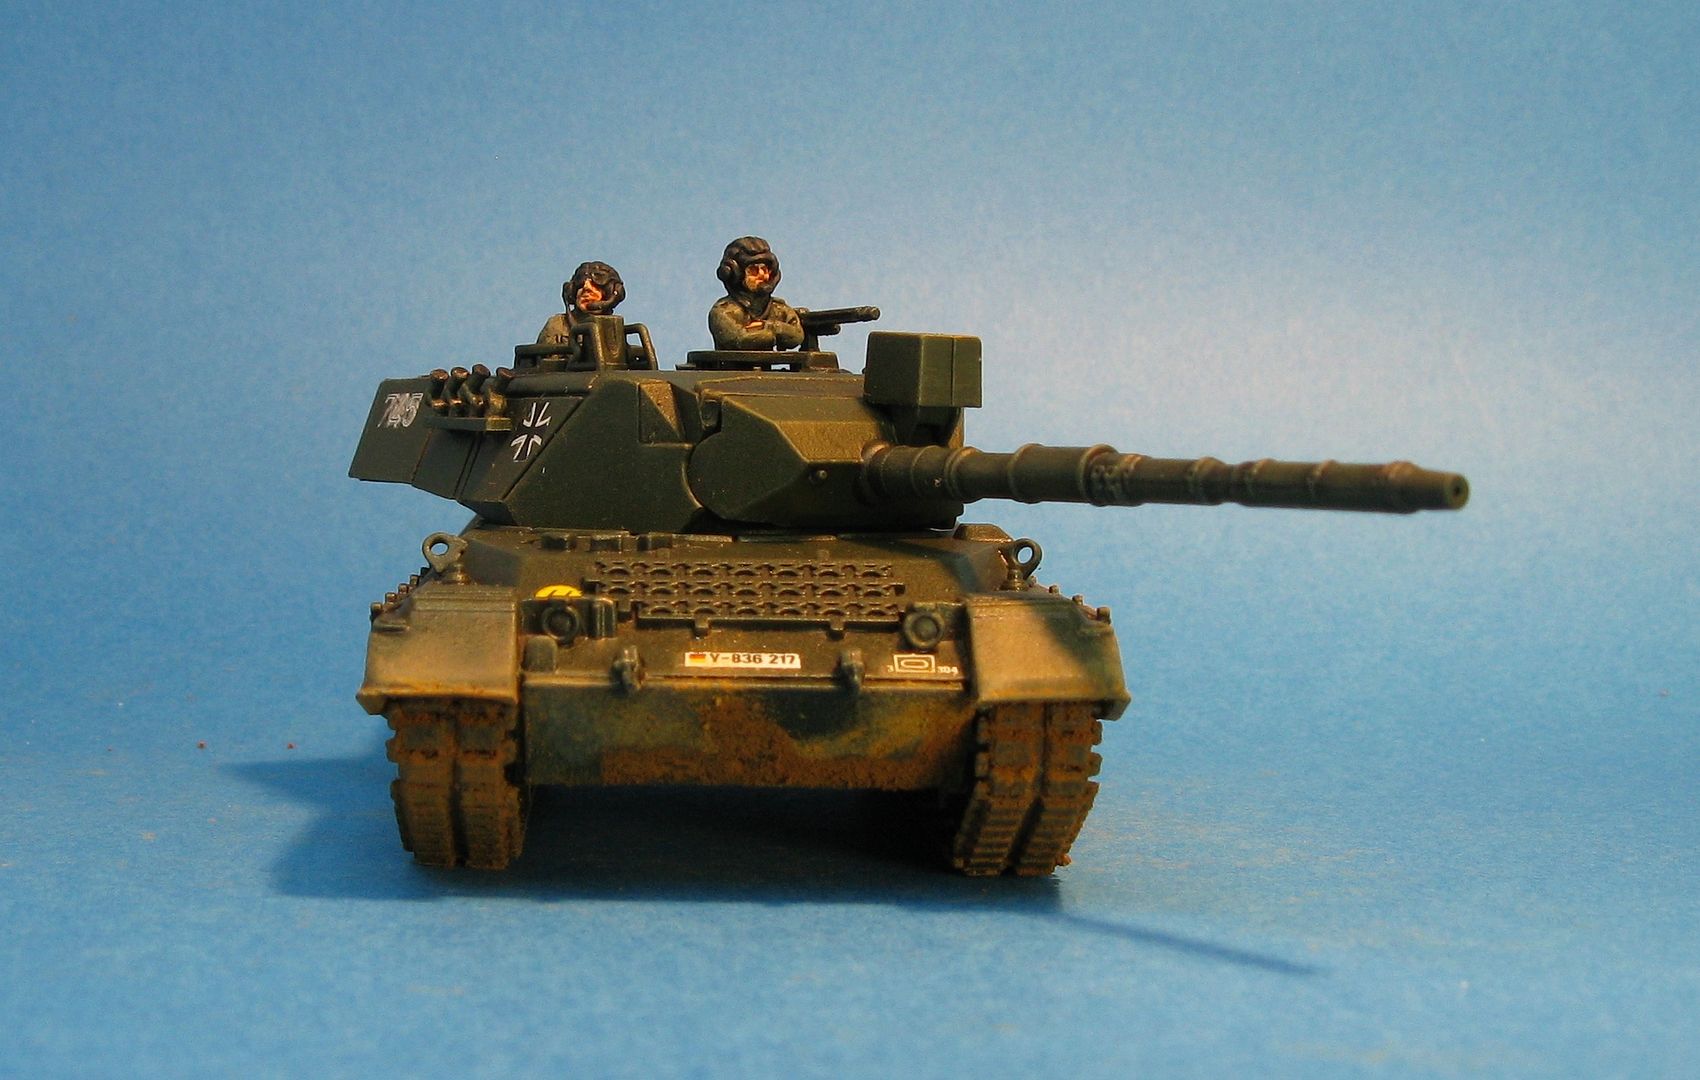
As you would be aware, one of the Cold War forces I collect is the West Germans. They come with a variety of tank types - particularly variants of the Leopard 1 tank. Some of these have been a little hard to collect over the years, as many variants were originally made by Esci - which has long since ceased to exist. Whilst having a bit of a brain snap I managed to pick up 3 ESci Leopard 1A4s from ebay. Why 3? Ask the brain snap - somehow I screwed up when I should have got 4... idiot that I am....
Anyway this is what the box looks like (Borrowed image)
I understand Italeri have now started making the exact same kit - and it looks like this:
So I made all three kits up in one go, and only managed to screw up two of them - but that's another story - and was very happy with the result. It took me a while to paint them - mainly because I wanted to use a Tamiya spray and of course Tamiya do not do the correct Bundeswehr tank colour... So eventually after going through a few test cans, I decided to use AS21 Dark Green 2 (IJN) as the base colour, over a black undercoat. I'll check that later to make sure I've got it right...
I was then able to use my standard black pin wash and drybrush method - using Vallejo Yellow Olive, progressively getting lighter. I used Elhiem West German crew men, and cut up gauze dressings to make the netting where used.
This got them ready for a game - shown in the last AAR - where being newly painted they died horribly of course.
Over the last weekend I weathered them and now consider them basically finalised. Here they are:
So that's them. Obviously I need to get one more for a full platoon, but right now they will have to operate as a written down platoon.
More to follow later this week...
Richard
10 August 2014
AVLB Bridge Ramps
In the recent AAR I knew I was going to use my MTU-55 AVLB bridge as one of the major objectives. Now the S&S MTU-55 model comes with 2 bridges - the folded bridge to be carried by the tank:
and the folded out bride - ready to cross a small river or obstacle:
As you can see in the above photo, the bridge sits nice and flat (as it should). However, this is a little problem as my rivers (from Battlefront) also sit flat on the table:
So I needed some simple ramp to allow the bridge to cross the river, without resting on the river sides or leaving one side of the bridge up in the air.
The solution was pretty simple and obvious - small ramps to raise the bridge:
And here in action prior to the game:
And in game:
So very happy with that and worth a post!
Thanks
Richard
04 August 2014
Elhiem PAS01 Set
Very quick update (2 in 1 day!) - just wanted to show my take on Elhiem's PAS01 figures.
Thanks
Richard
Thanks
Richard
M113G Panzermorser - Final Part
Everytime I organise a game, I try and use something new or add something to the list that I haven't yet completed. That way I use the upcoming game as a deadline to try and get things completed by. In the last game I decided to give my West Germans a boost, and use the game as a boost to finish off several models that I had already built, but never got around to painting. And to top it off I decided to include a M113G Panzermorser (self-propelled mortar), which I had not even put together, let alone done the necessary conversion work on. As I said in earlier posts, this is based on the Italeri M106.
The work-in-progress of the build can be found here at Part 1, Part 2 and at Part 3.
So the Panzermorser is now finished... Well actually the two halves are still seperate and it is not crewed... so it's as finished as it's going to be for a while anyway. Here it is:
That's it for now.
Thanks
Richard
